
Next up on the canopy task list…installing the side latch handle, linkage and latch tube. The only tedious part of this process was laying out and cutting holes – very visible holes – in the fuselage side skin to accommodate the latch handle slot and rivets.
Vans includes a template in the plans to lay out and drill the holes, but I decided to measure and lay them out by hand. It took a little time, but the results were good.
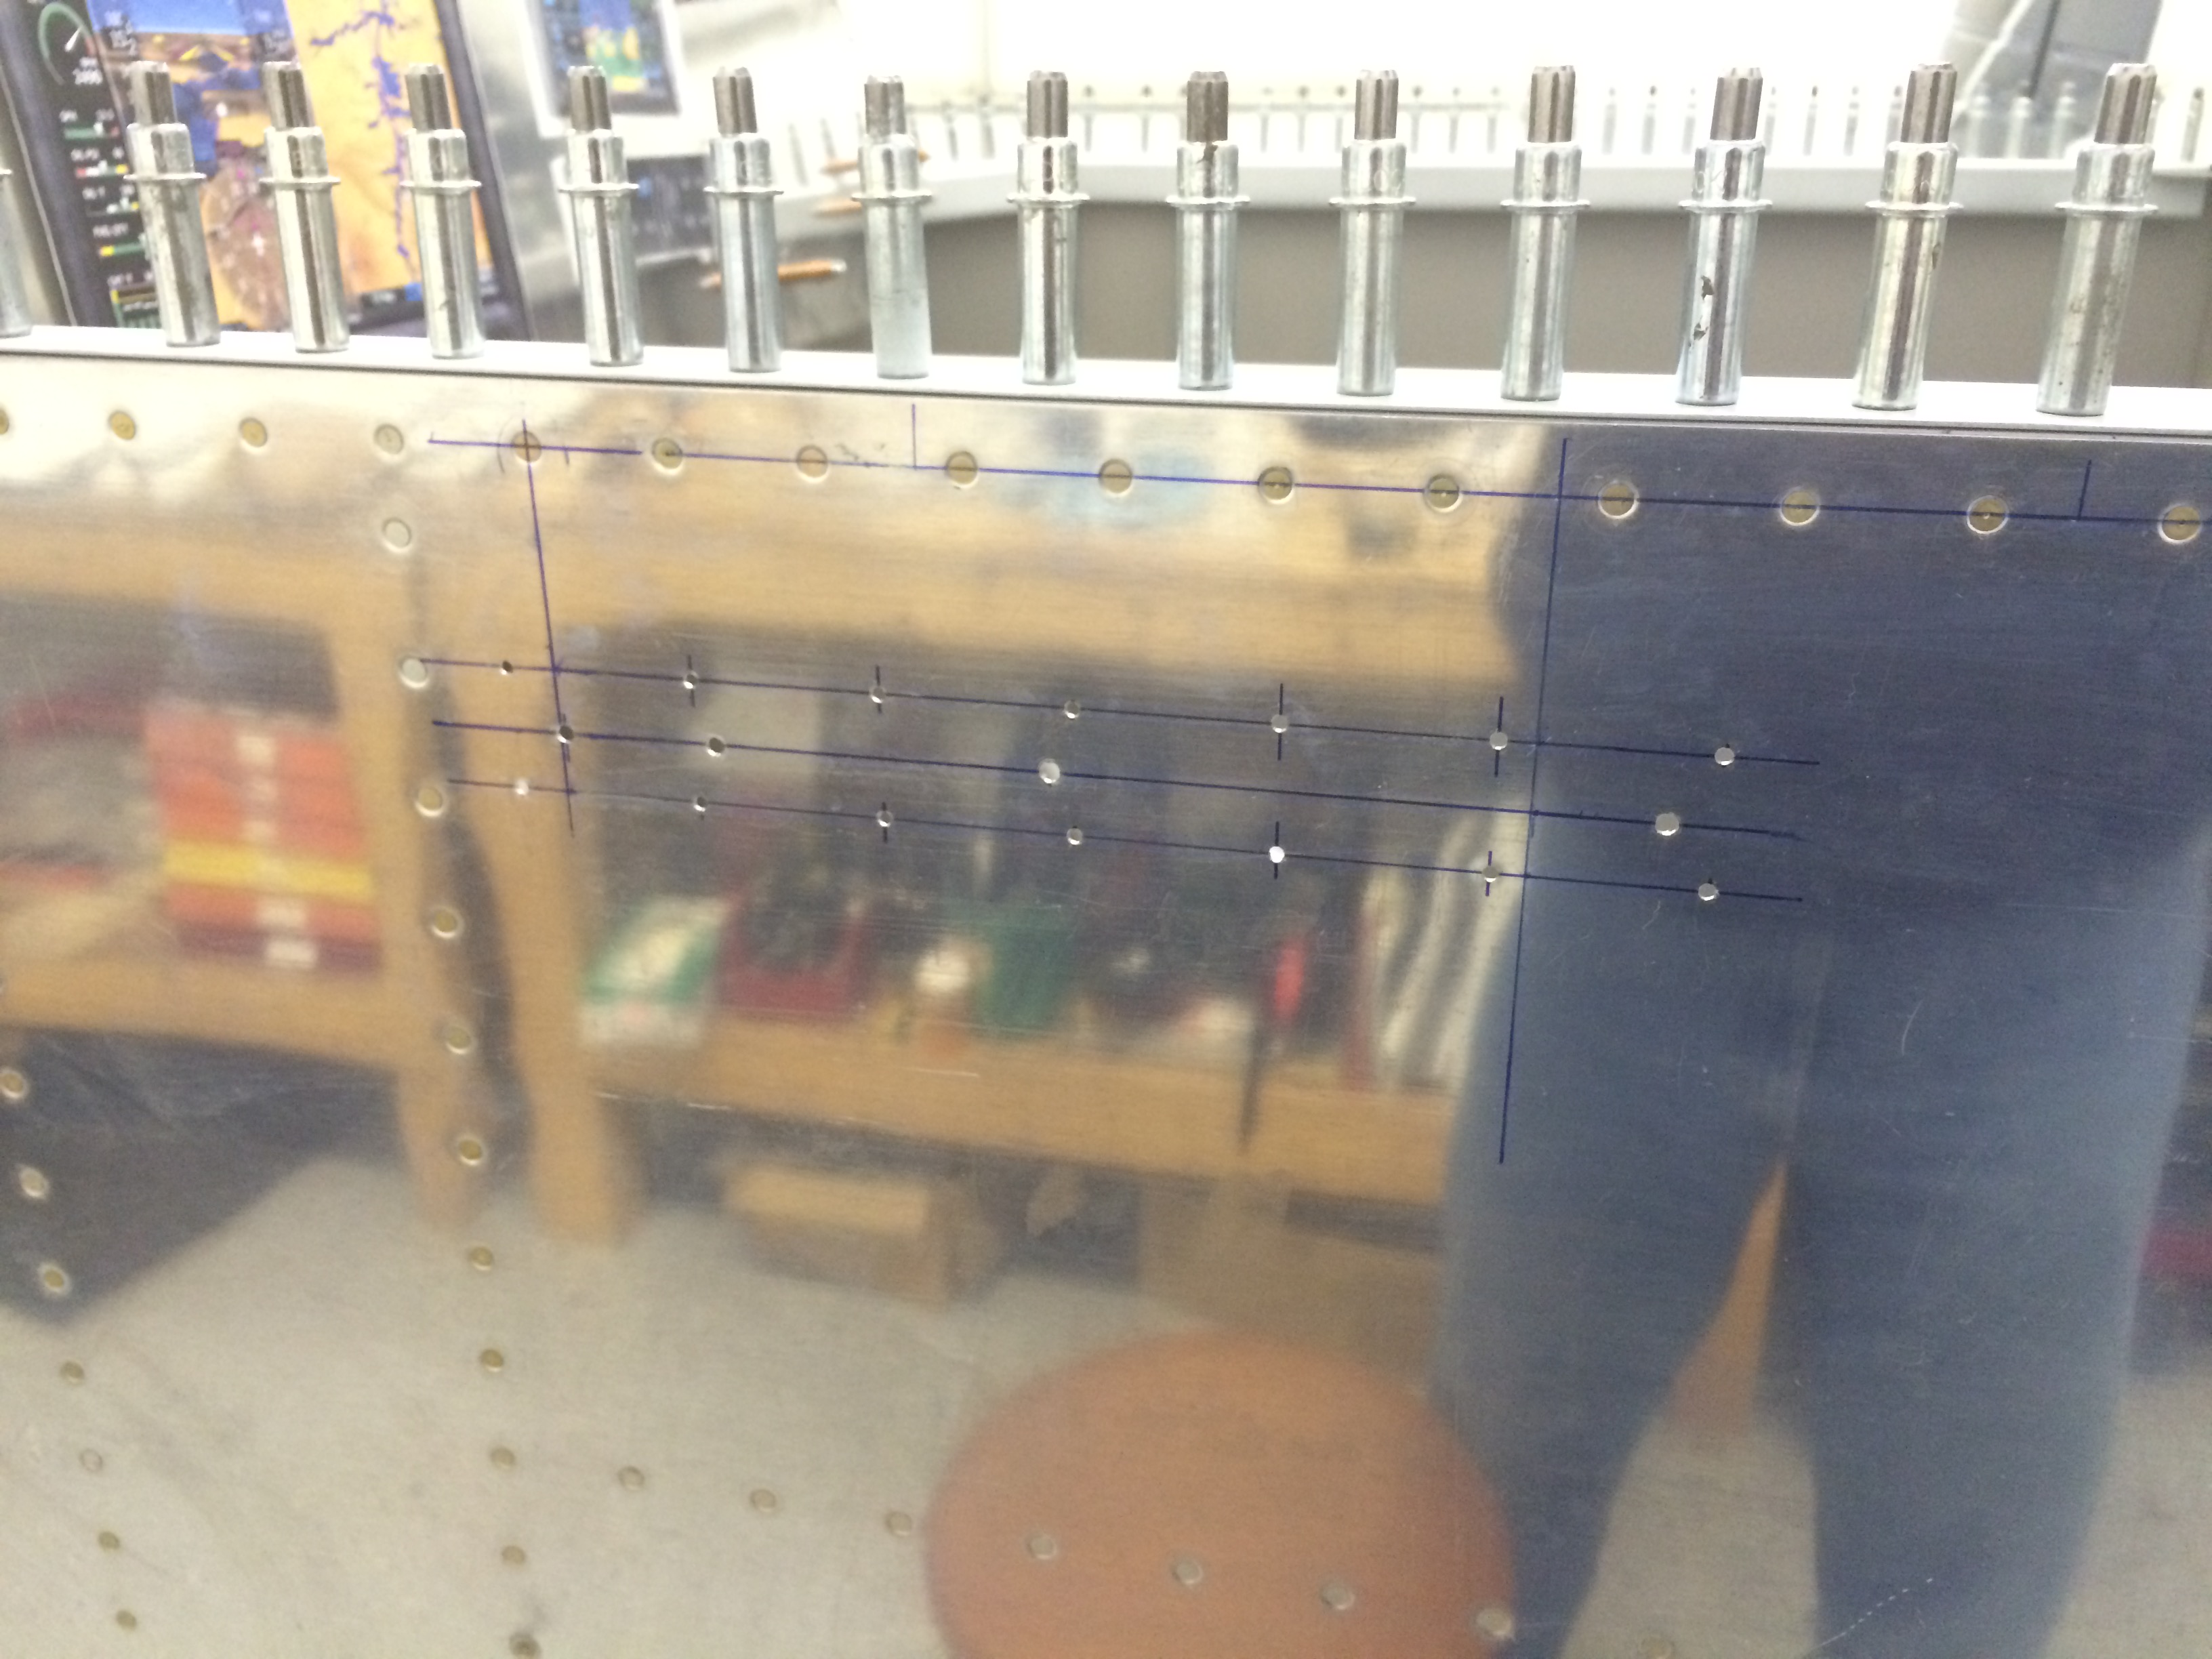
The four larger holes in the middle mark the start and end of two rectangular holes for the canopy latch handle. I used – very carefully – a cutoff wheel in my Dremel tool to start the holes, then finished them with a flat jeweler’s file.

I borrowed an idea from fellow builder Mike Bullock and clamped a piece of scrap angle to the skin as a reference for filing. The holes came out nice and straight…very cool.
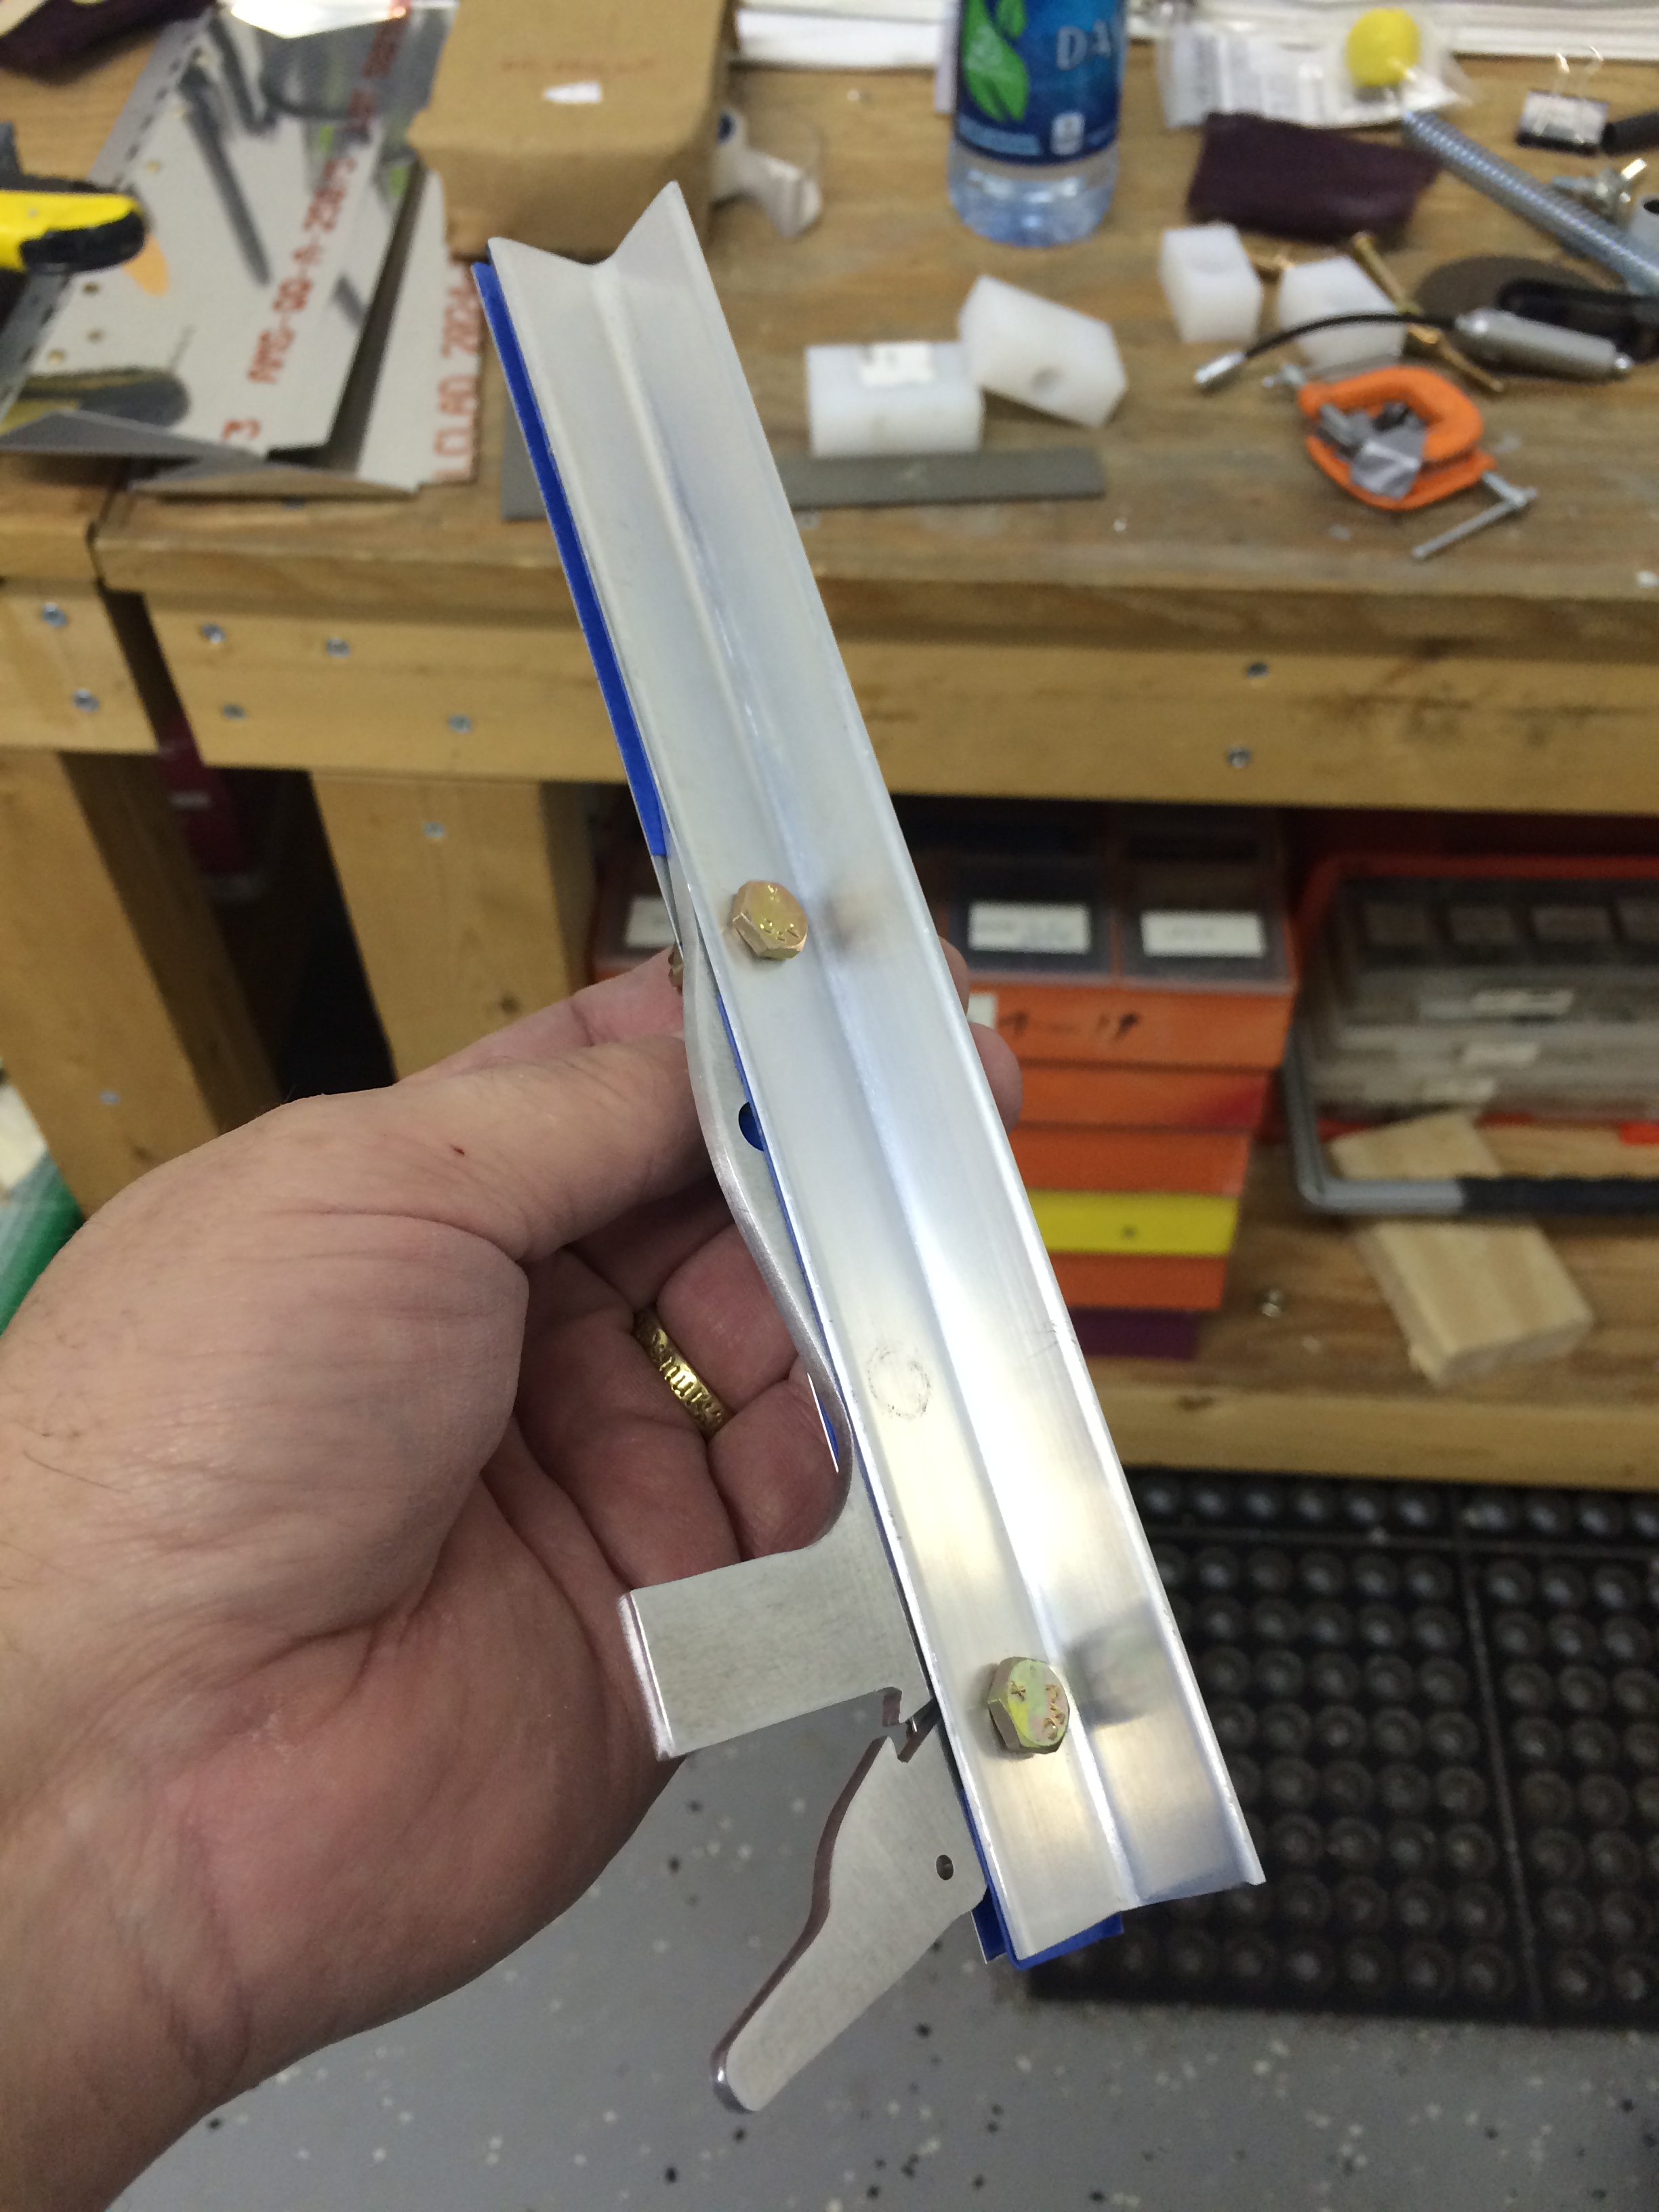
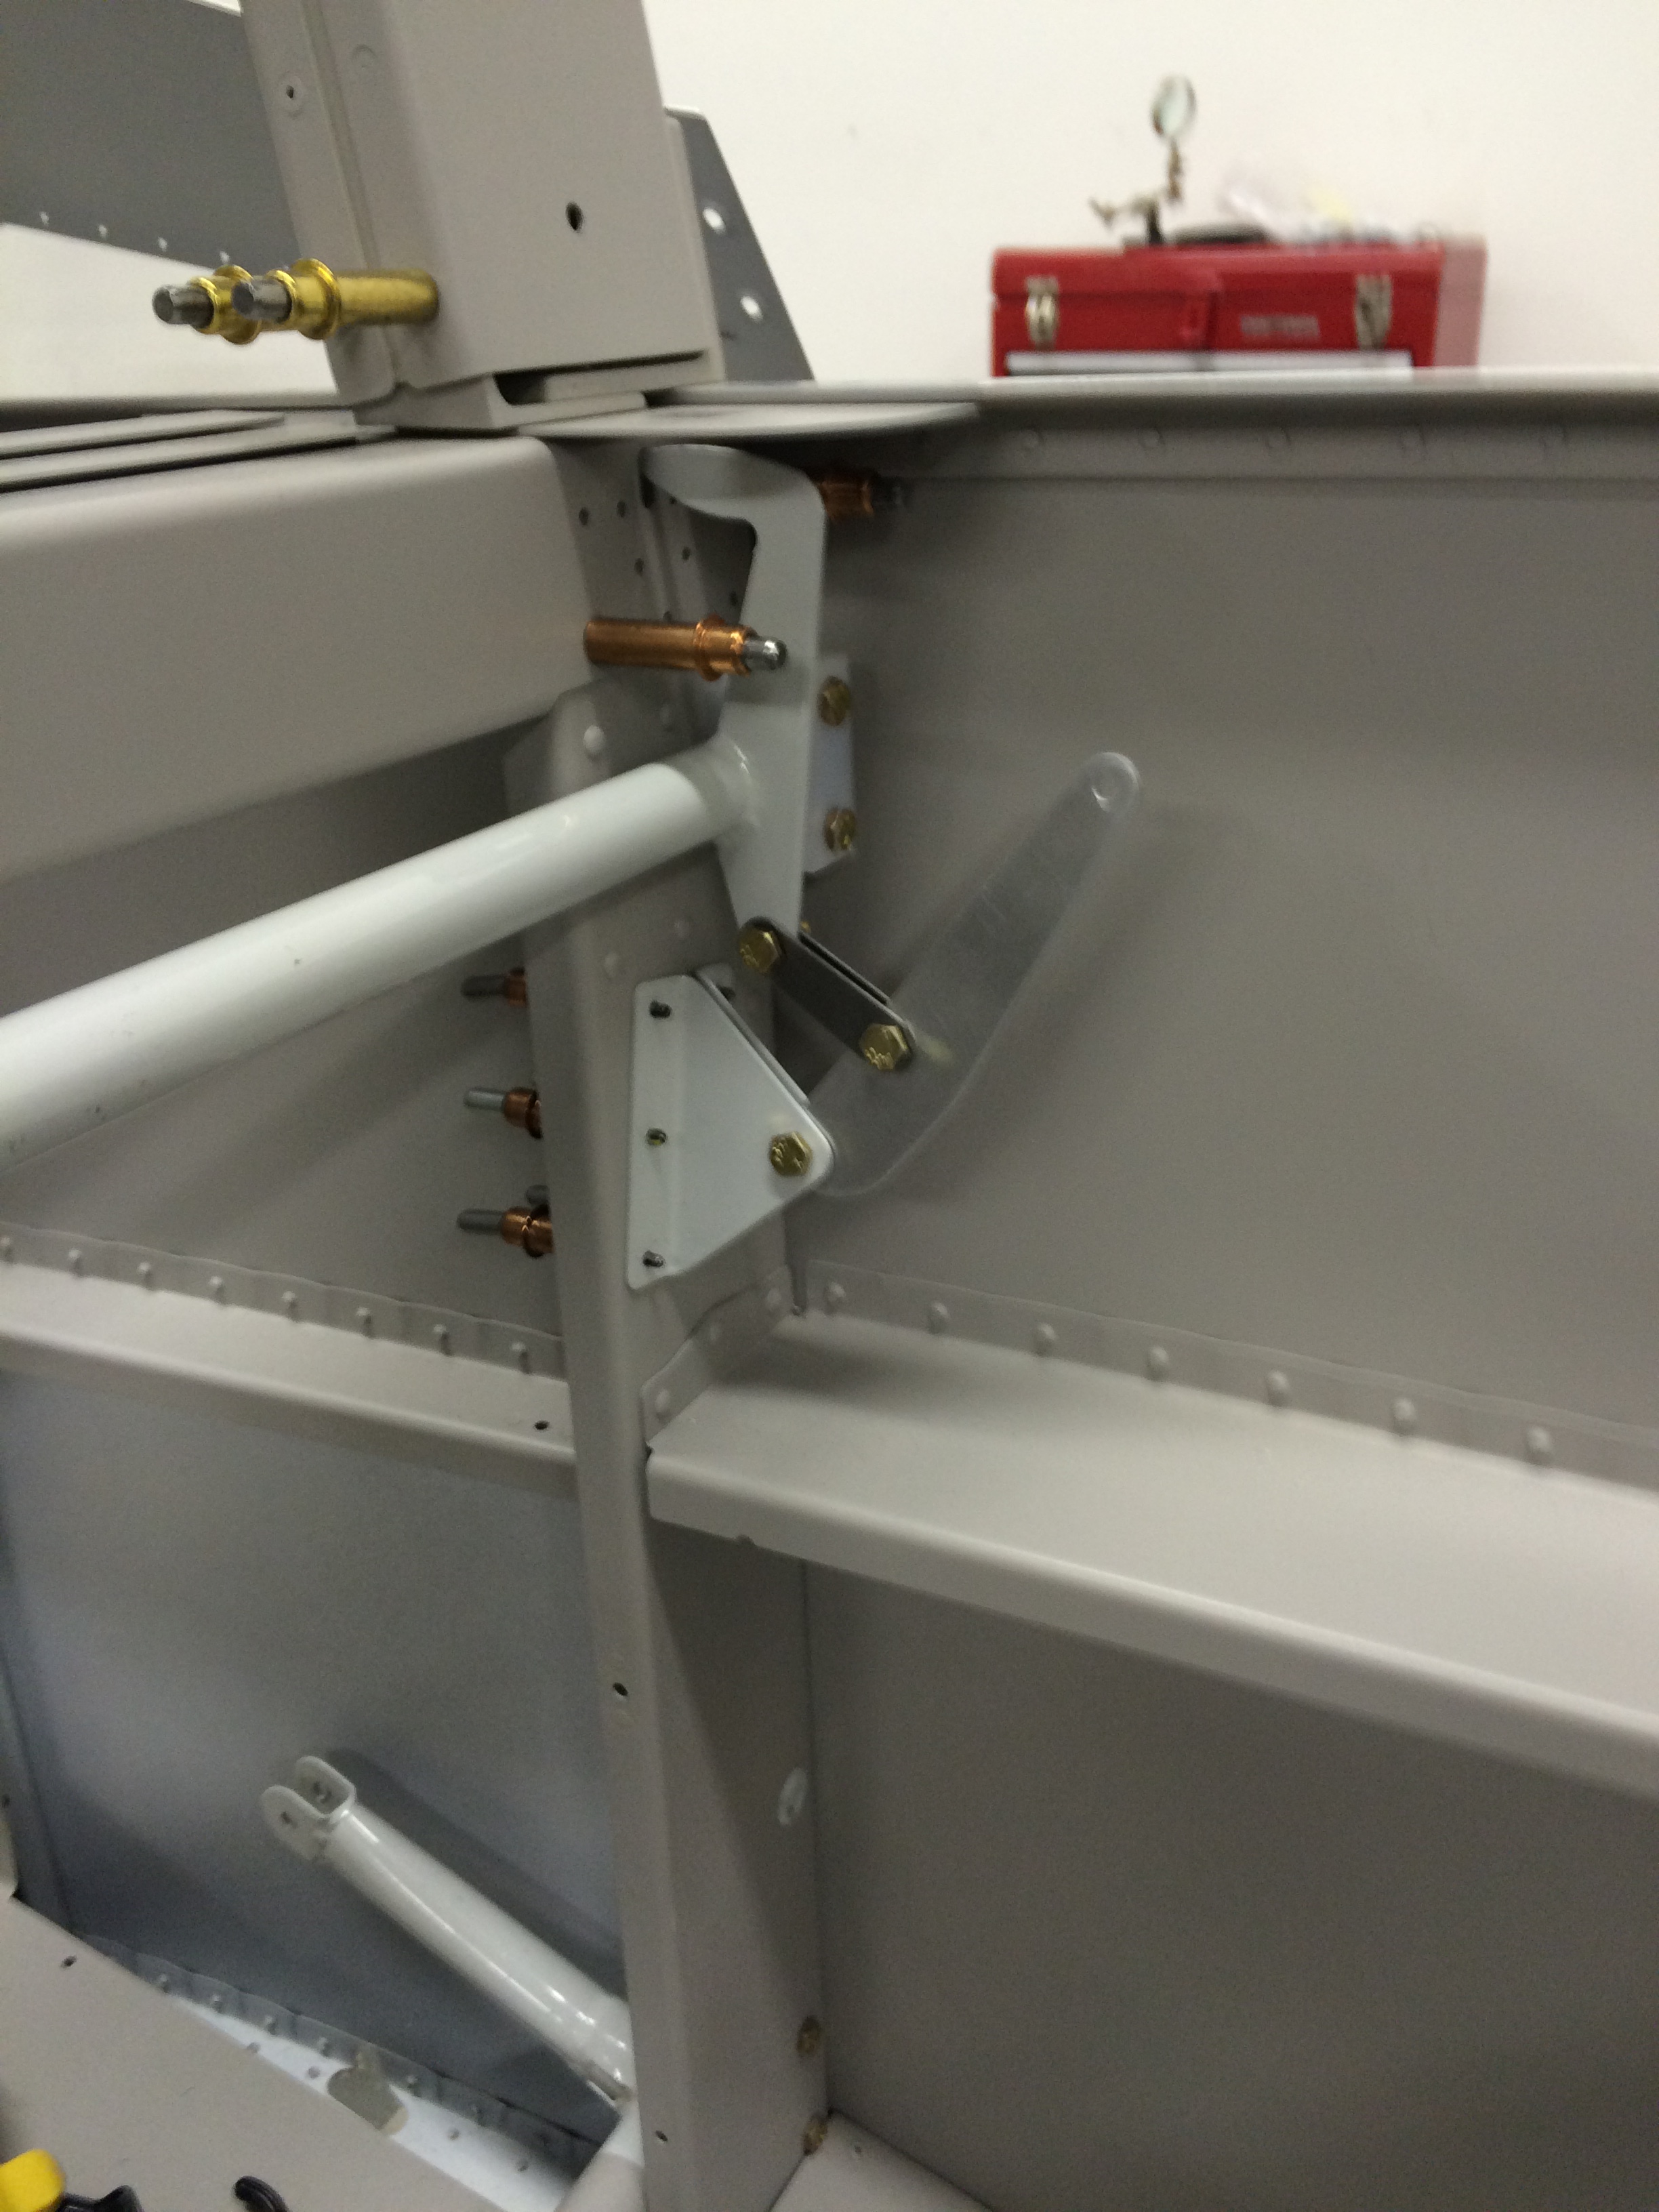
Here’s the latch mechanism itself – two pieces of 0.063″ angle sandwiching the latch handle (top) and locking mechanism (bottom).
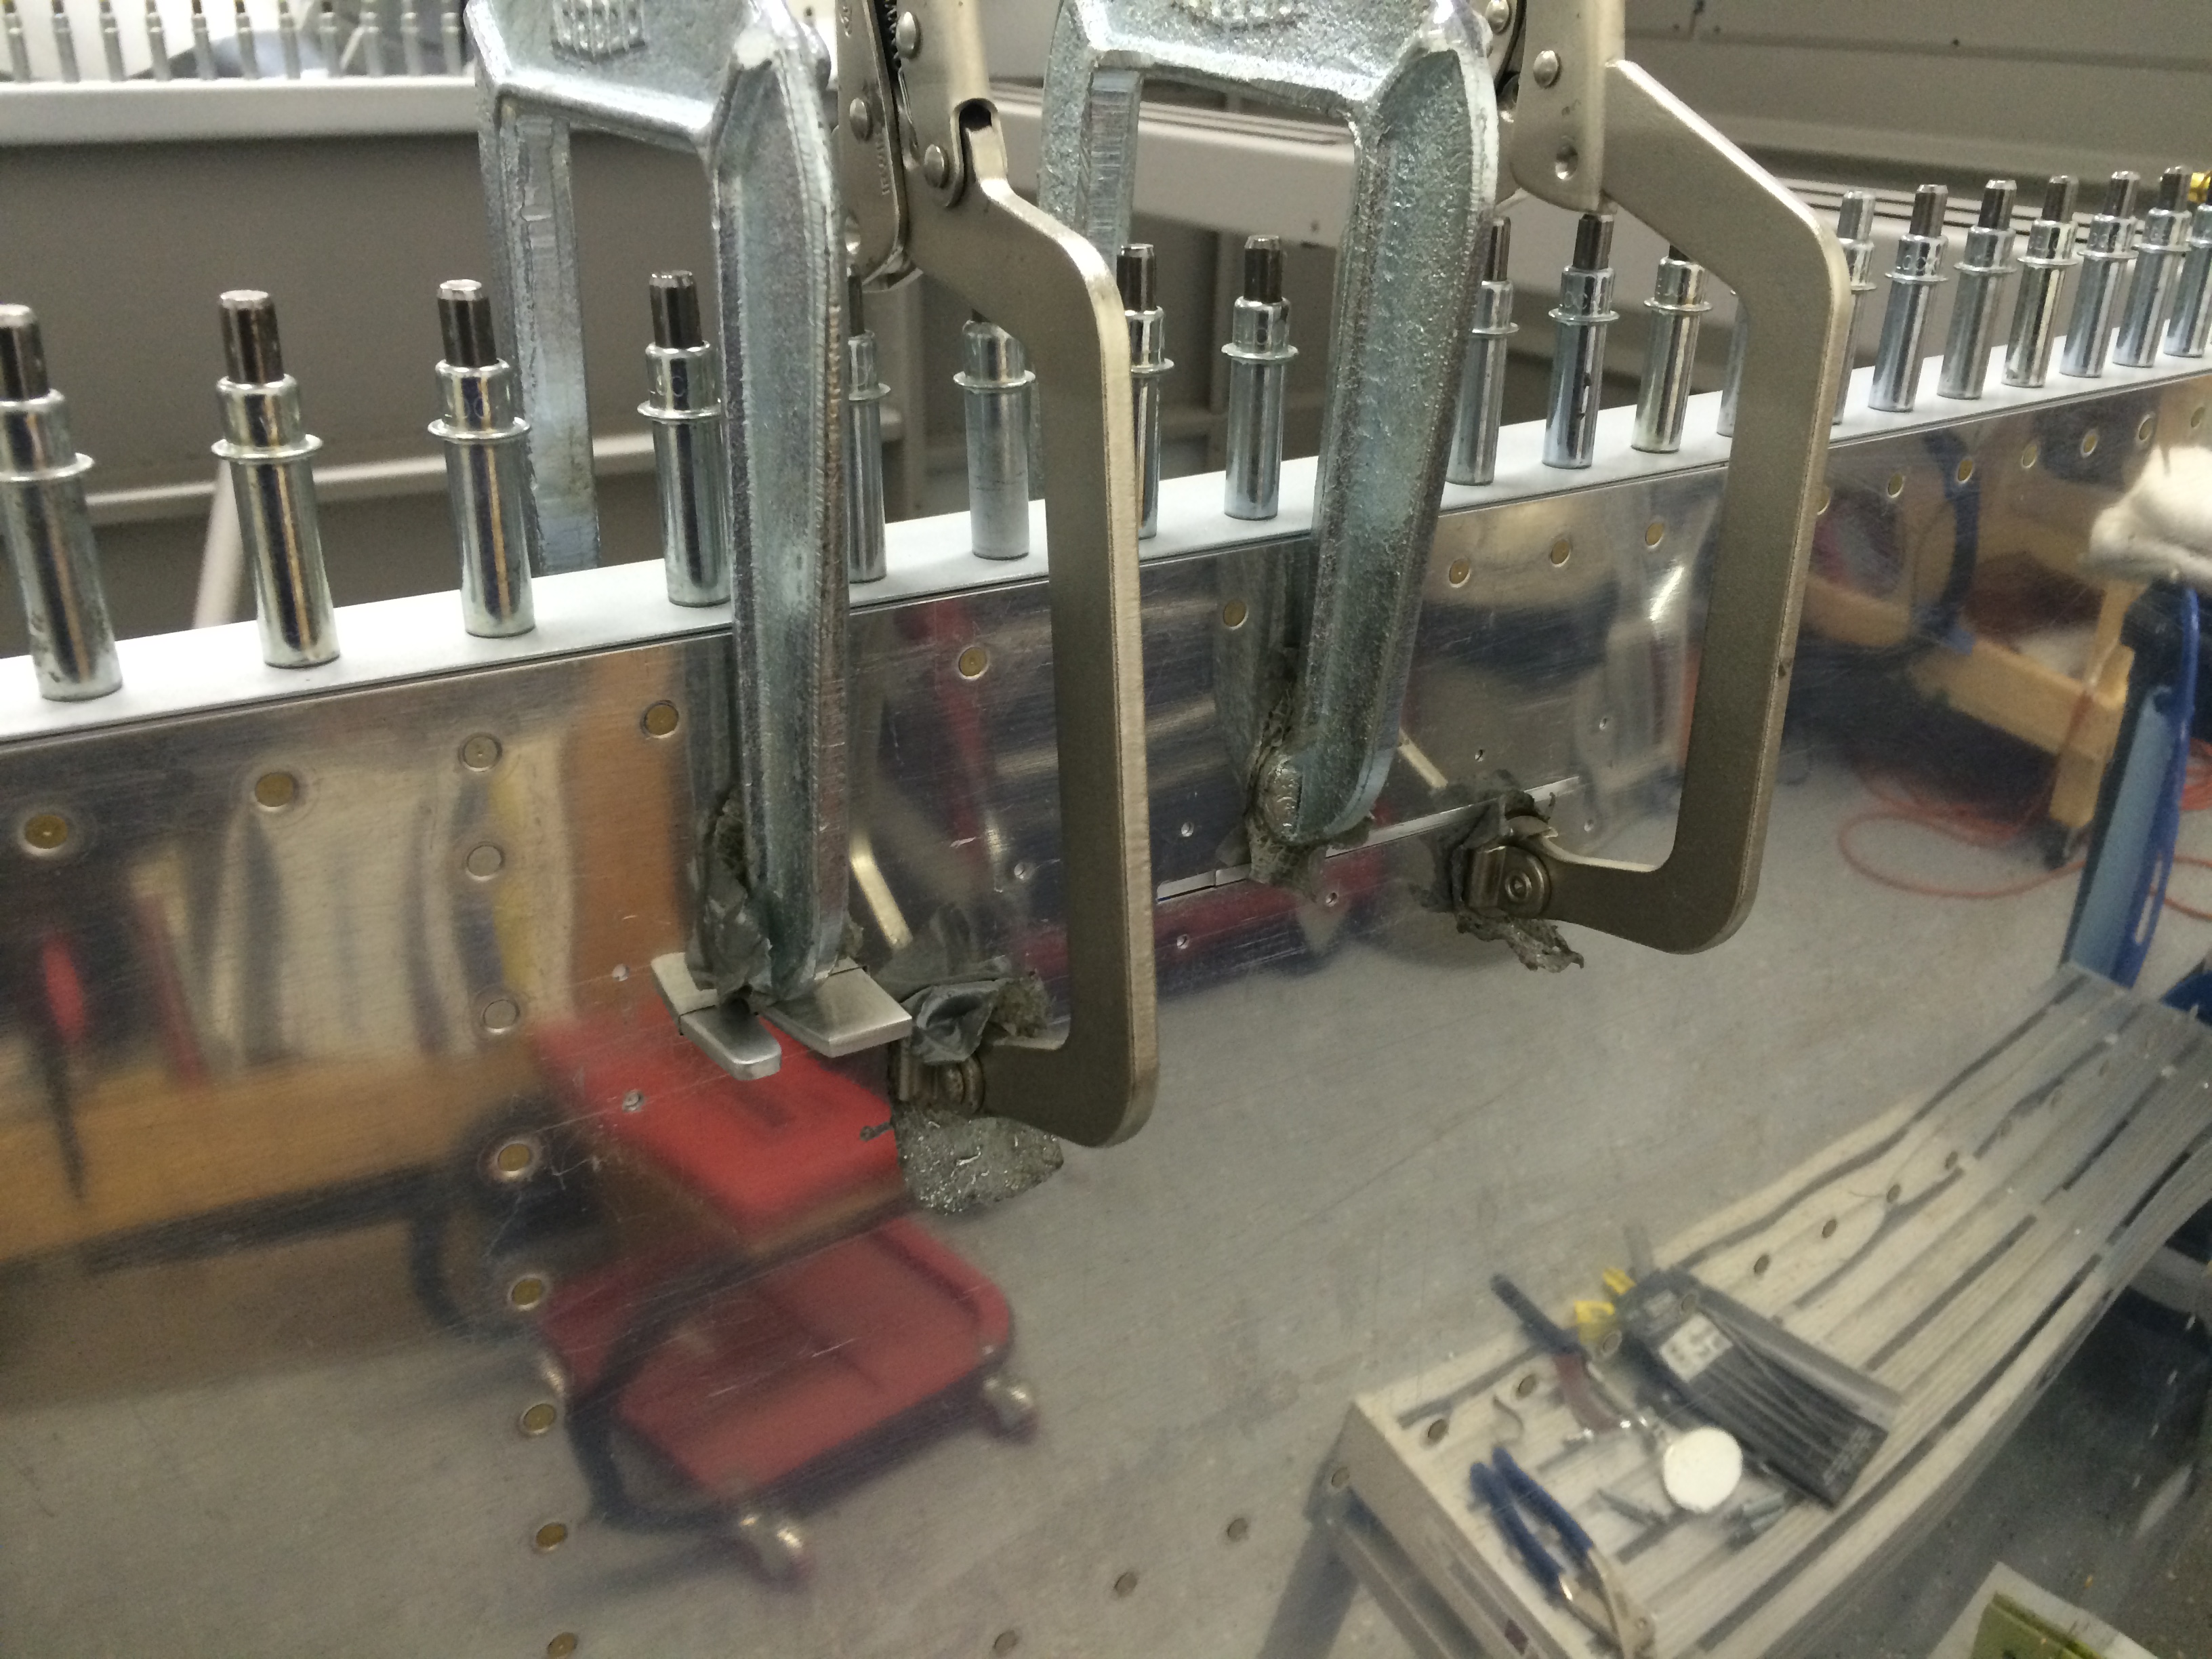
The latch mechanism fit almost perfectly in the slots I cut – only a little adjusting was required on the front hole. I clamped the mechanism in place and match-drilled the angles to lock the whole assembly into place.
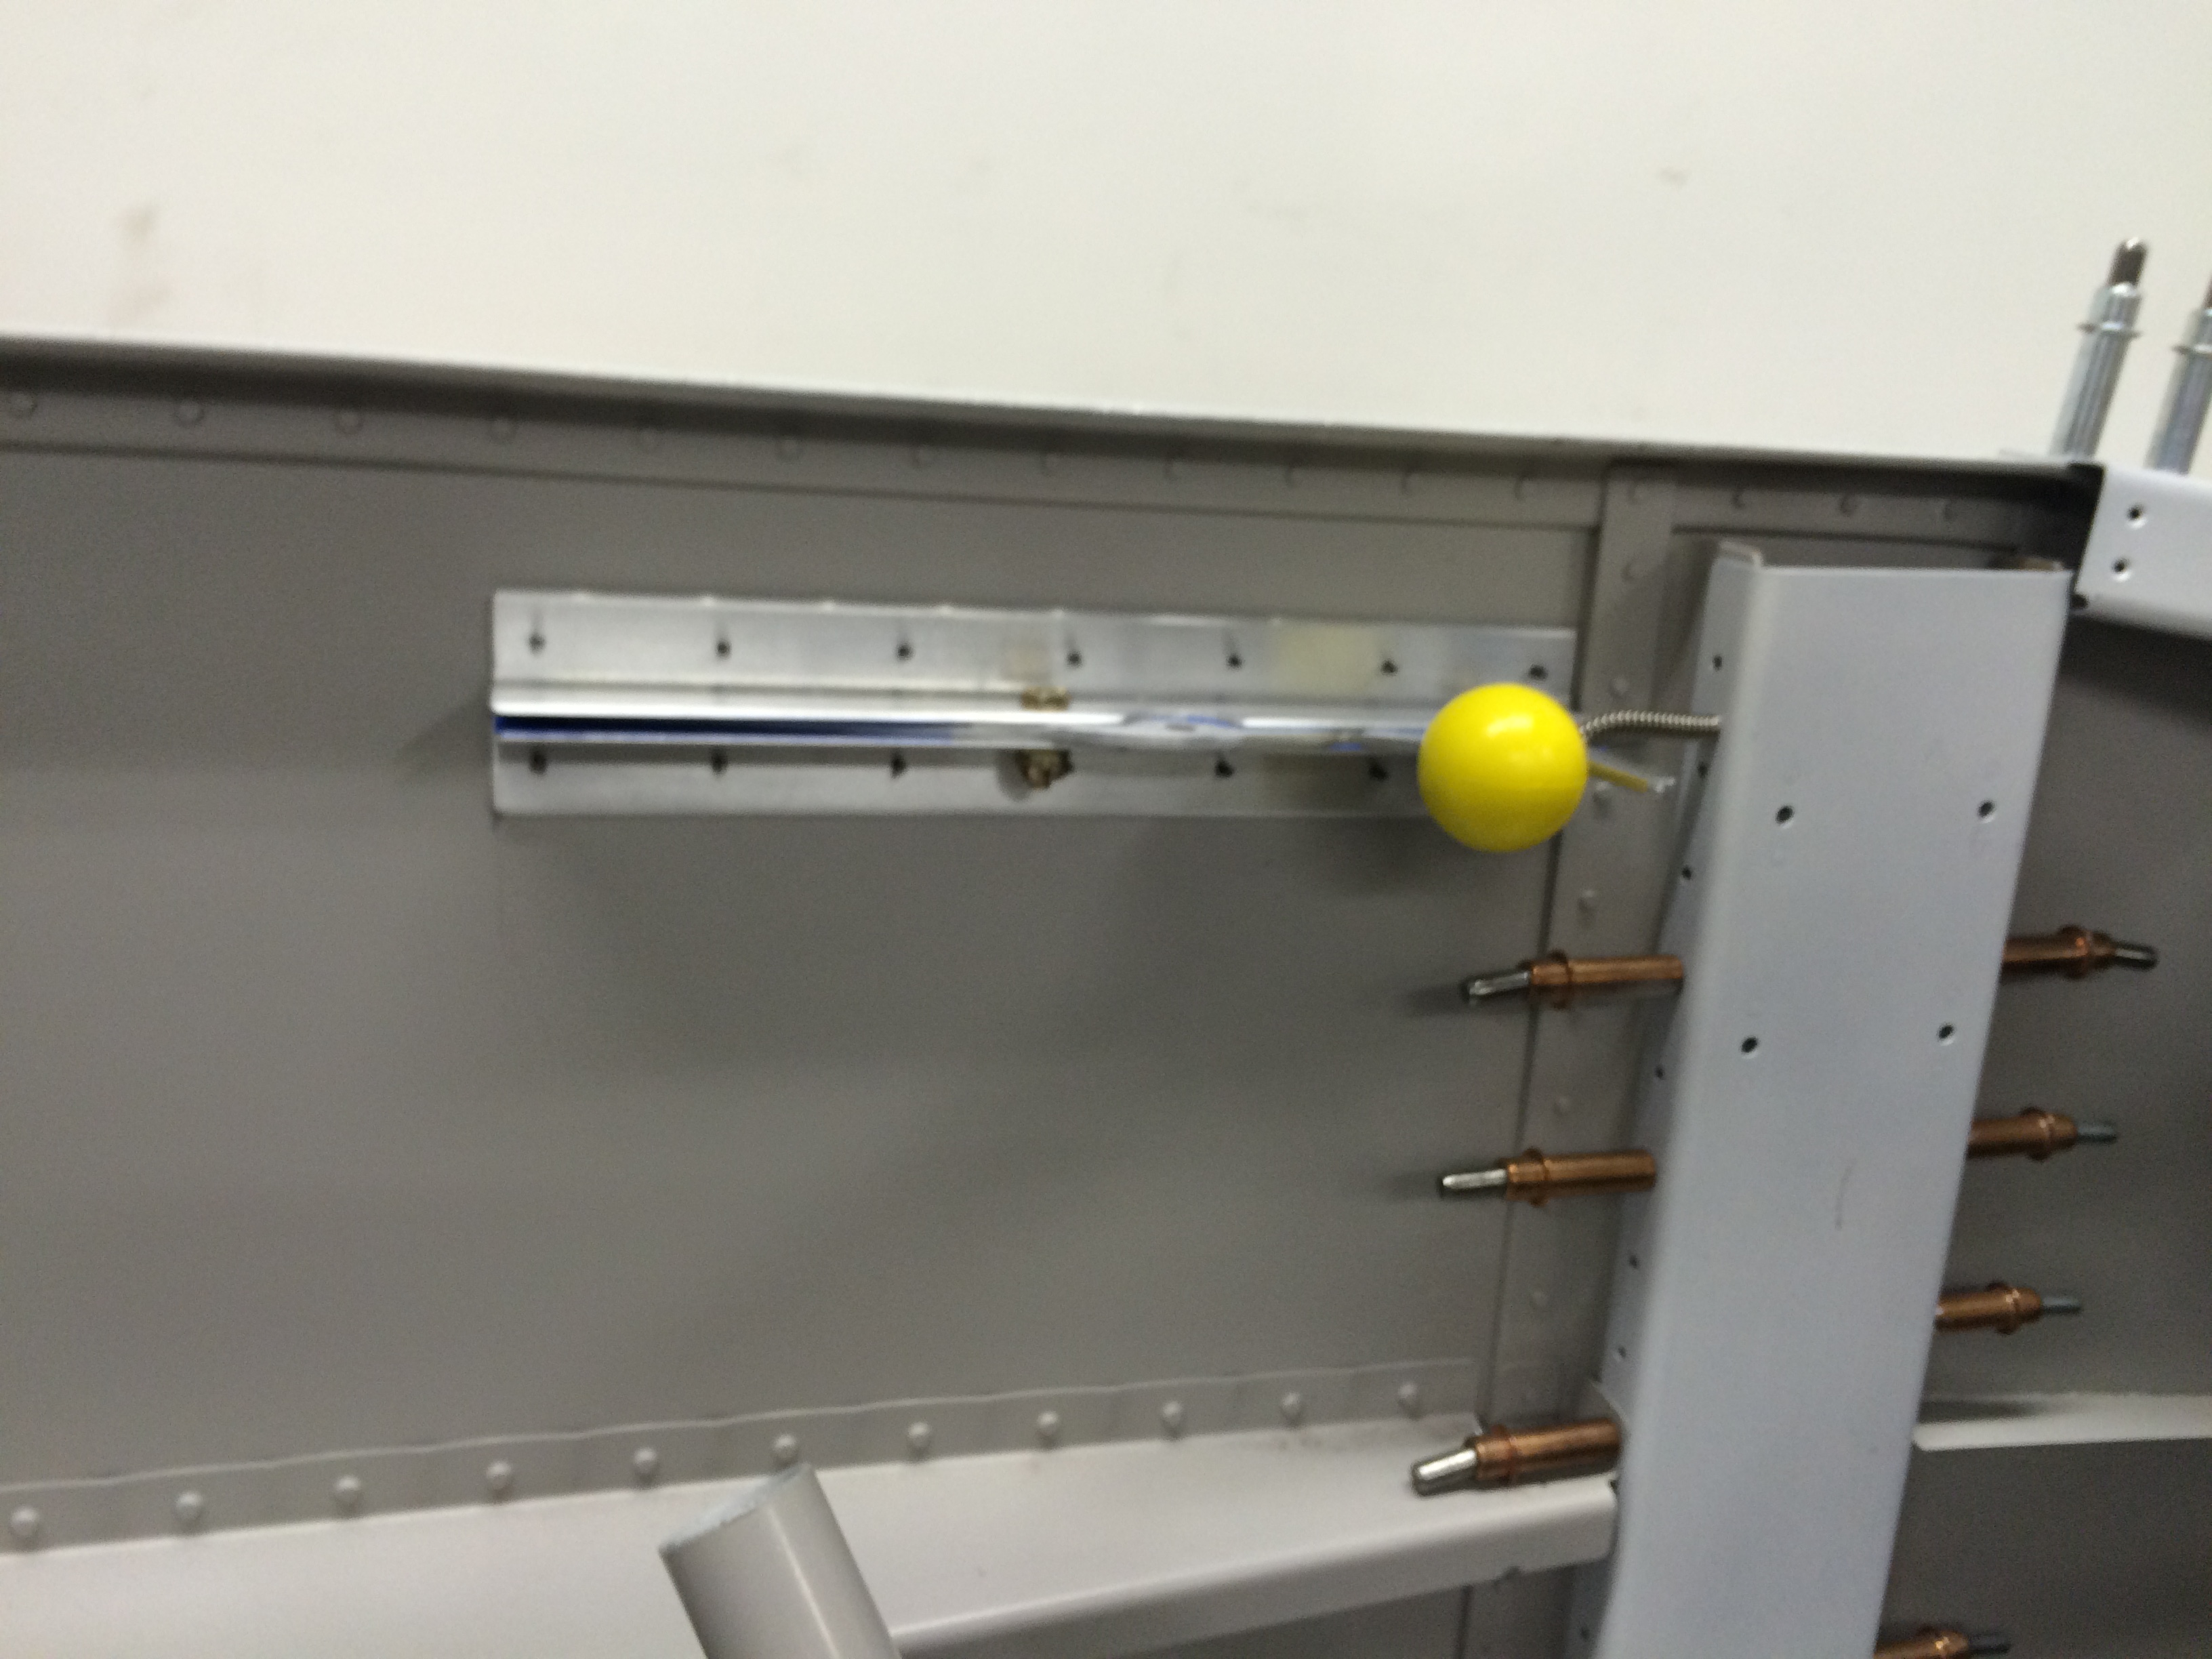
Here’s the other side with the spiffy yellow latch knob installed. There’s also a very small hole drilled in the wing carrythrough bulkhead which supports a small spring that keeps the locking mechanism pressed against the latch handle.

The latch tube itself is held in place by two Delrin blocks that are match-drilled to the F-705 bulkhead. Fingers on the latch tube engage holes in the bulkhead. There was only one minor problem – the tube was slightly too long, which made it impossible to center the blocks on the F-705 reference holes. A tubing cutter took care of that problem.
I drilled the blocks to #10, and the F-705 holes to #12, to accommodate AN3 bolts that hold the blocks to the bulkhead. Here’s the tube bolted into place, and two parts of the latch linkage in place.
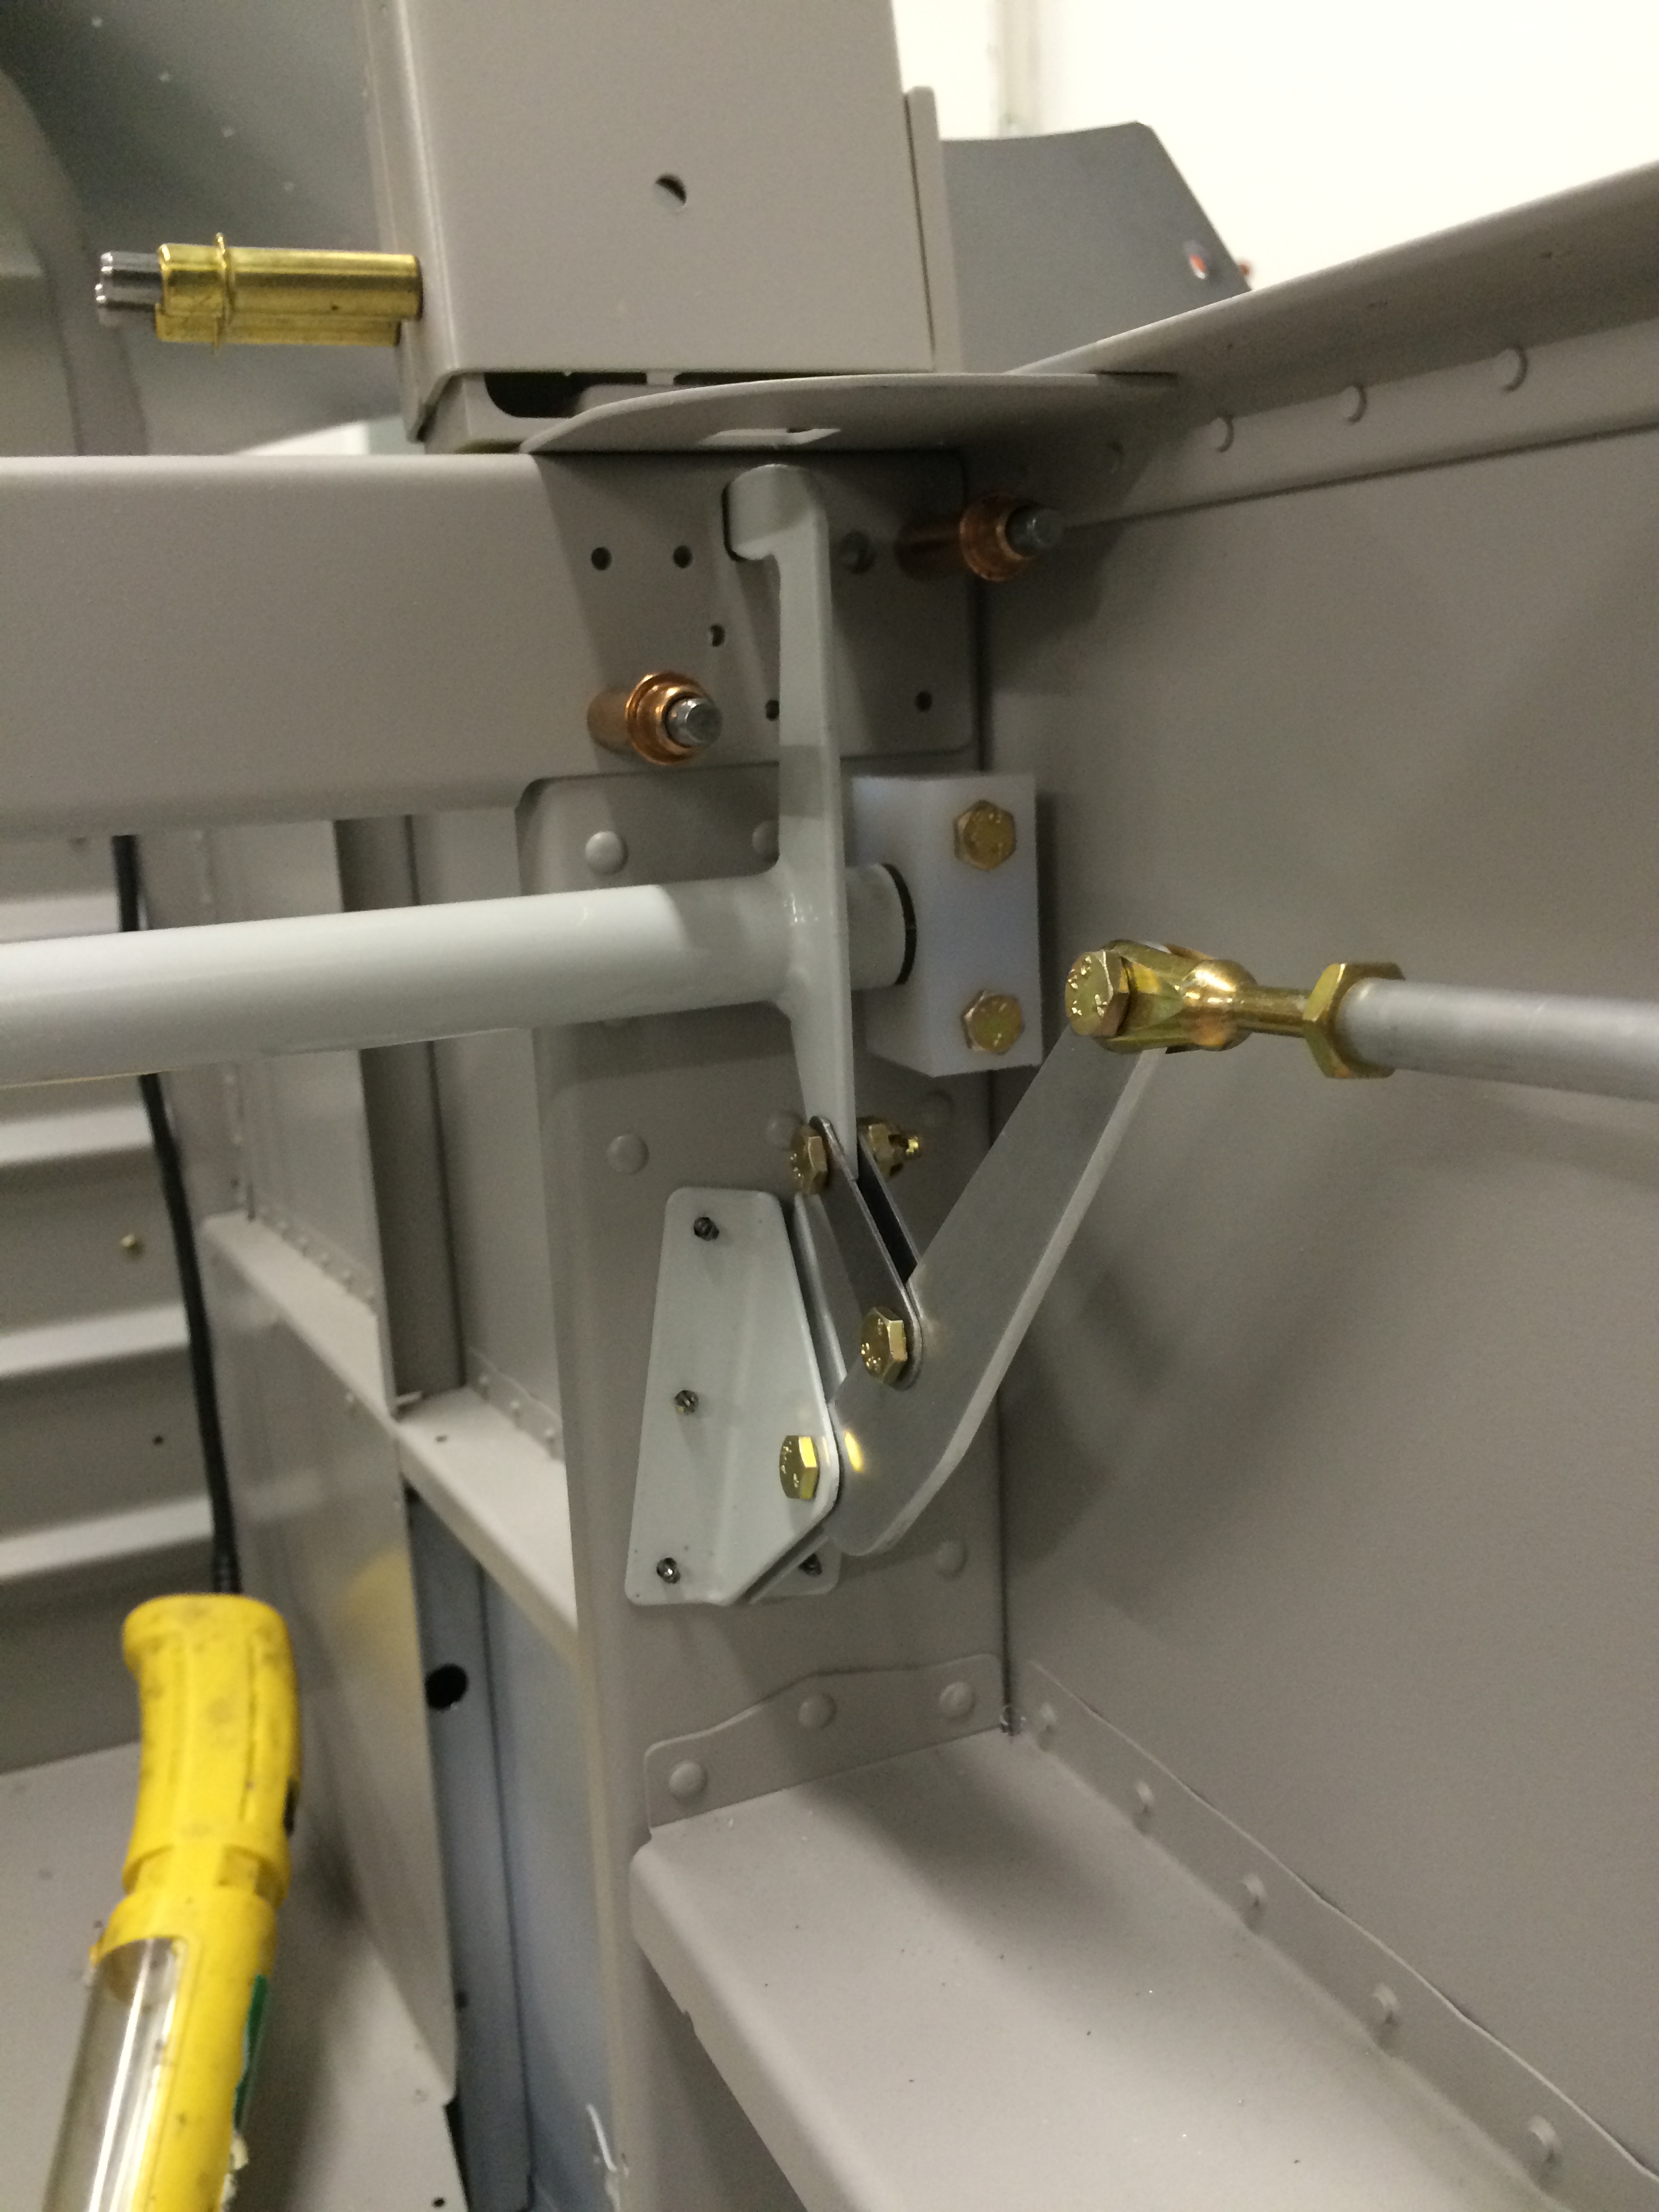
The only remaining part to be fabricated was the pushrod that connects the latch handle to the latch tube linkage. Nothing too difficult, just a lot of twisting with a 1/4″-28 tap.
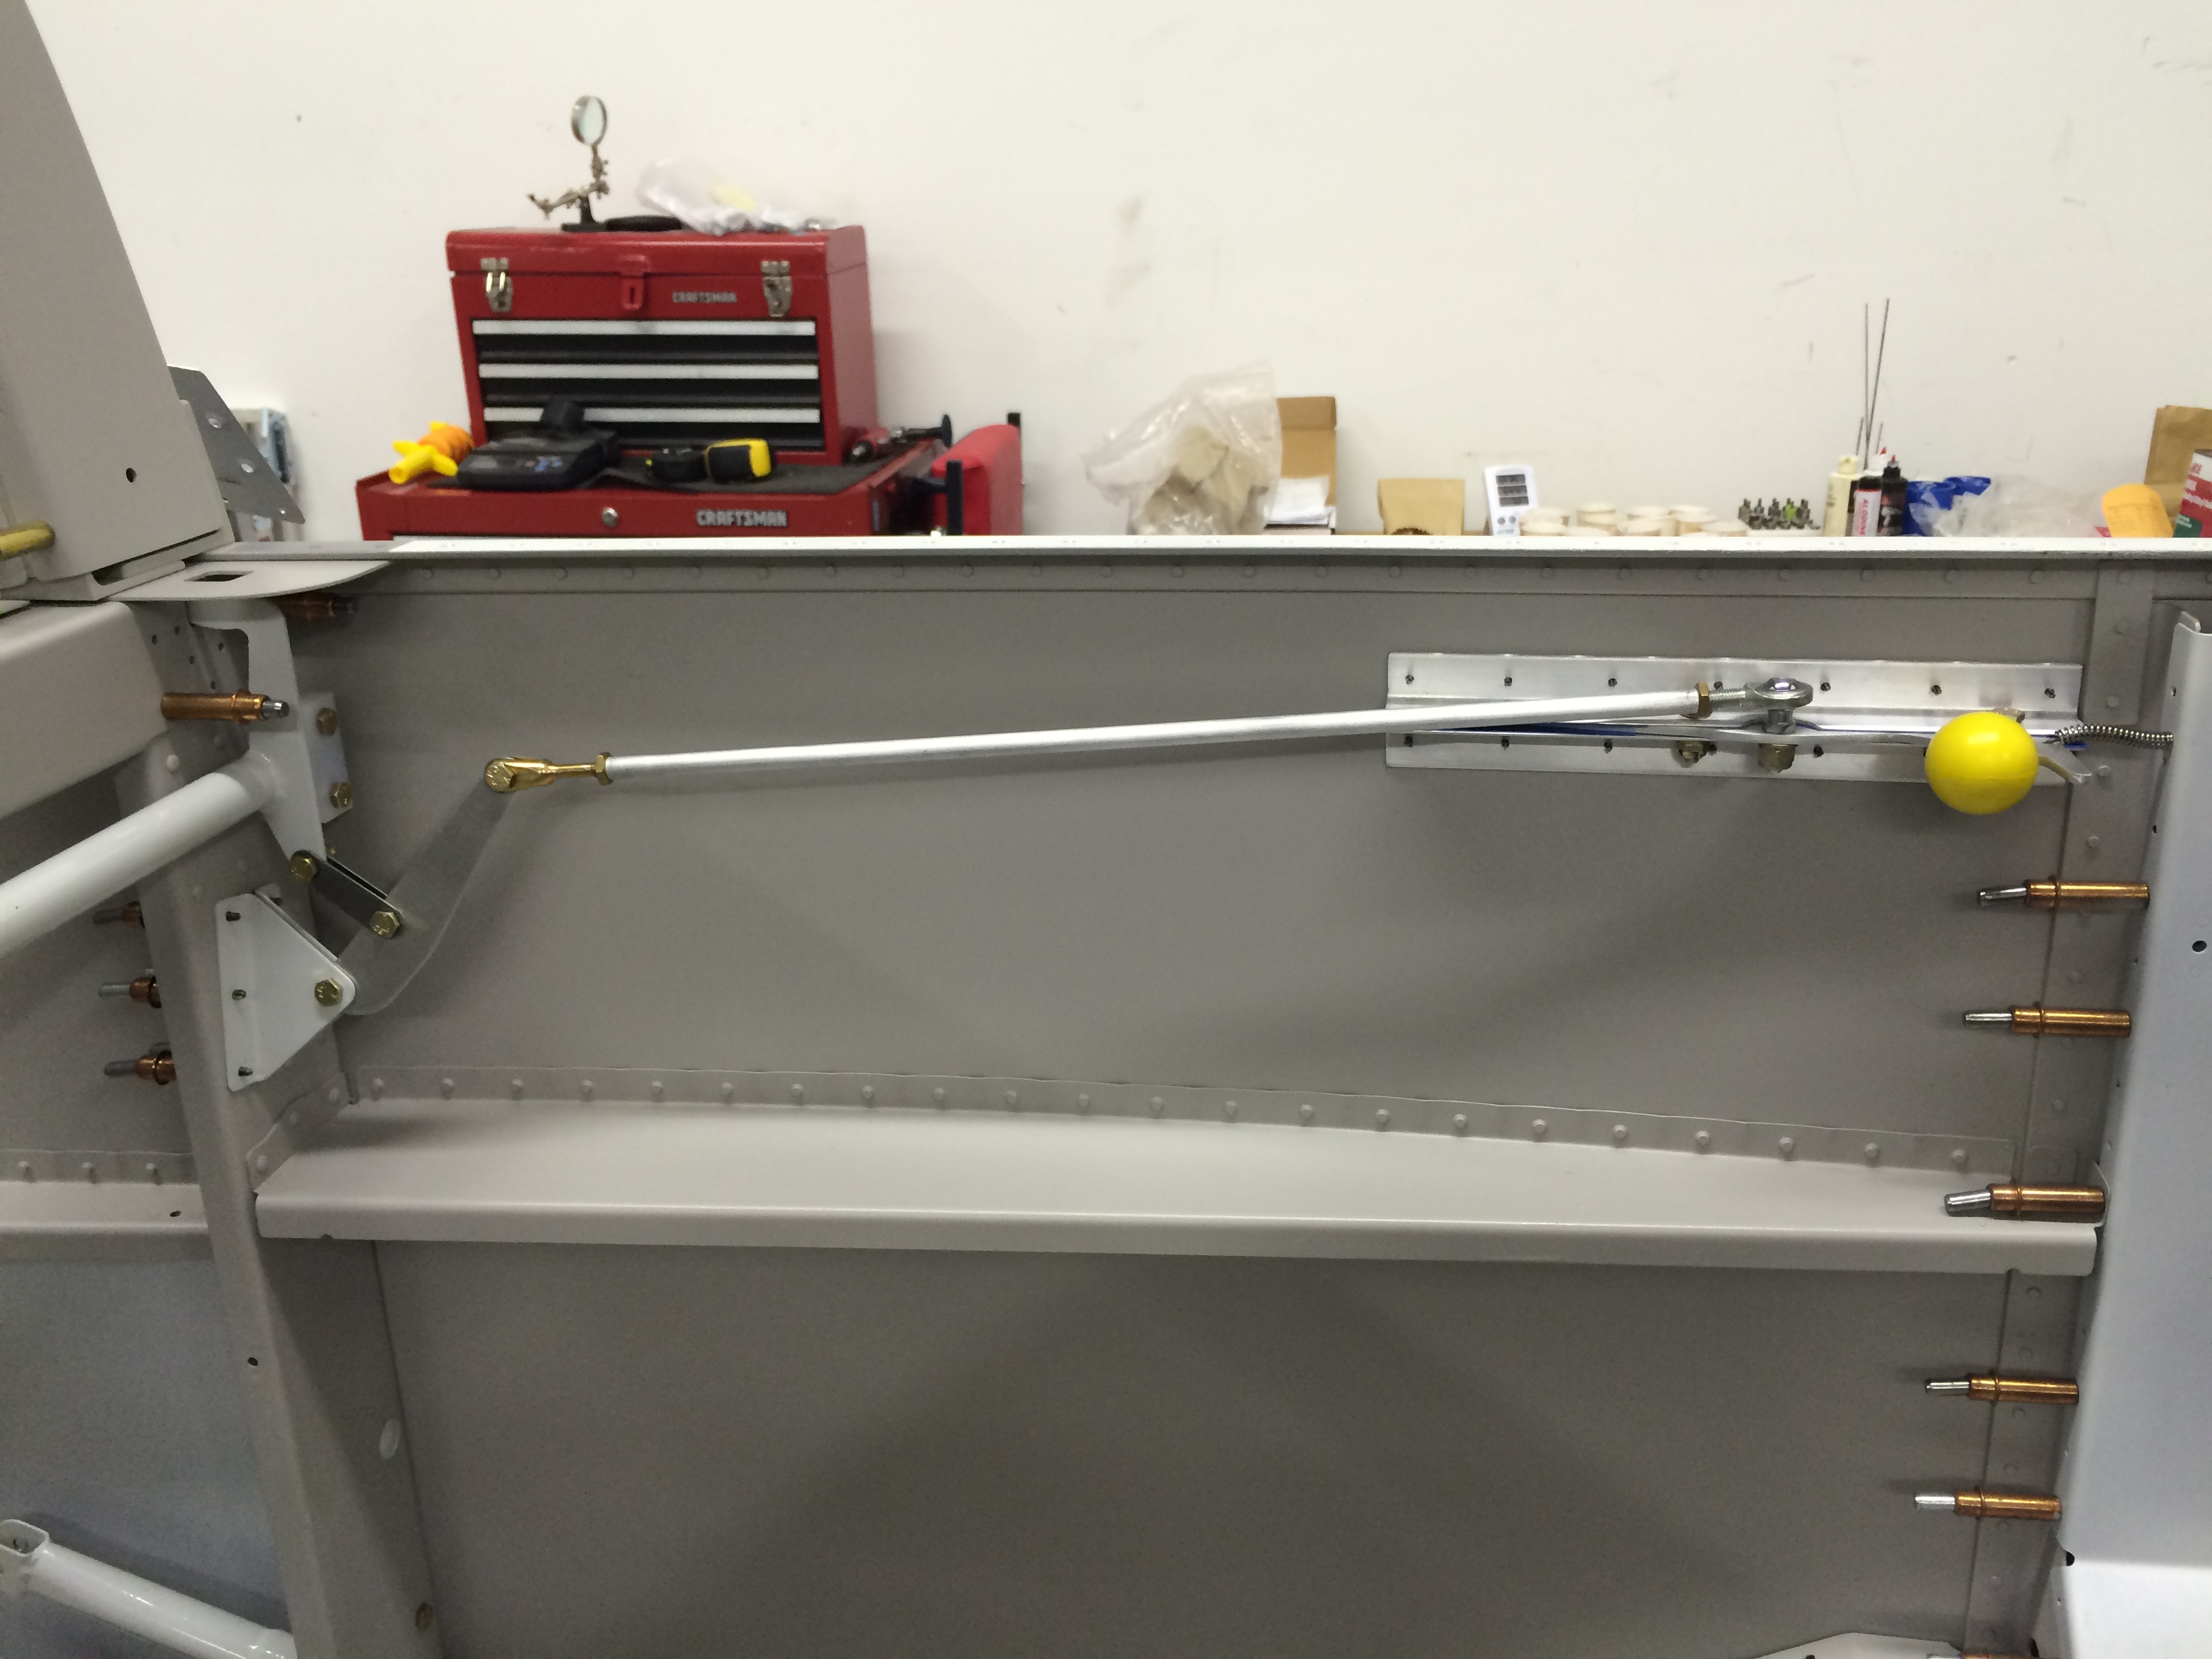
And here’s the final product…everything works smoothly. Cool.