
I’ve had the baggage compartment bulkhead walls sitting around for several years, it was nice to finally break them out for installation. Fitting the bottom bulkhead wall is easy, there are prepunched holes that match the platenuts previously installed on the baggage floor.
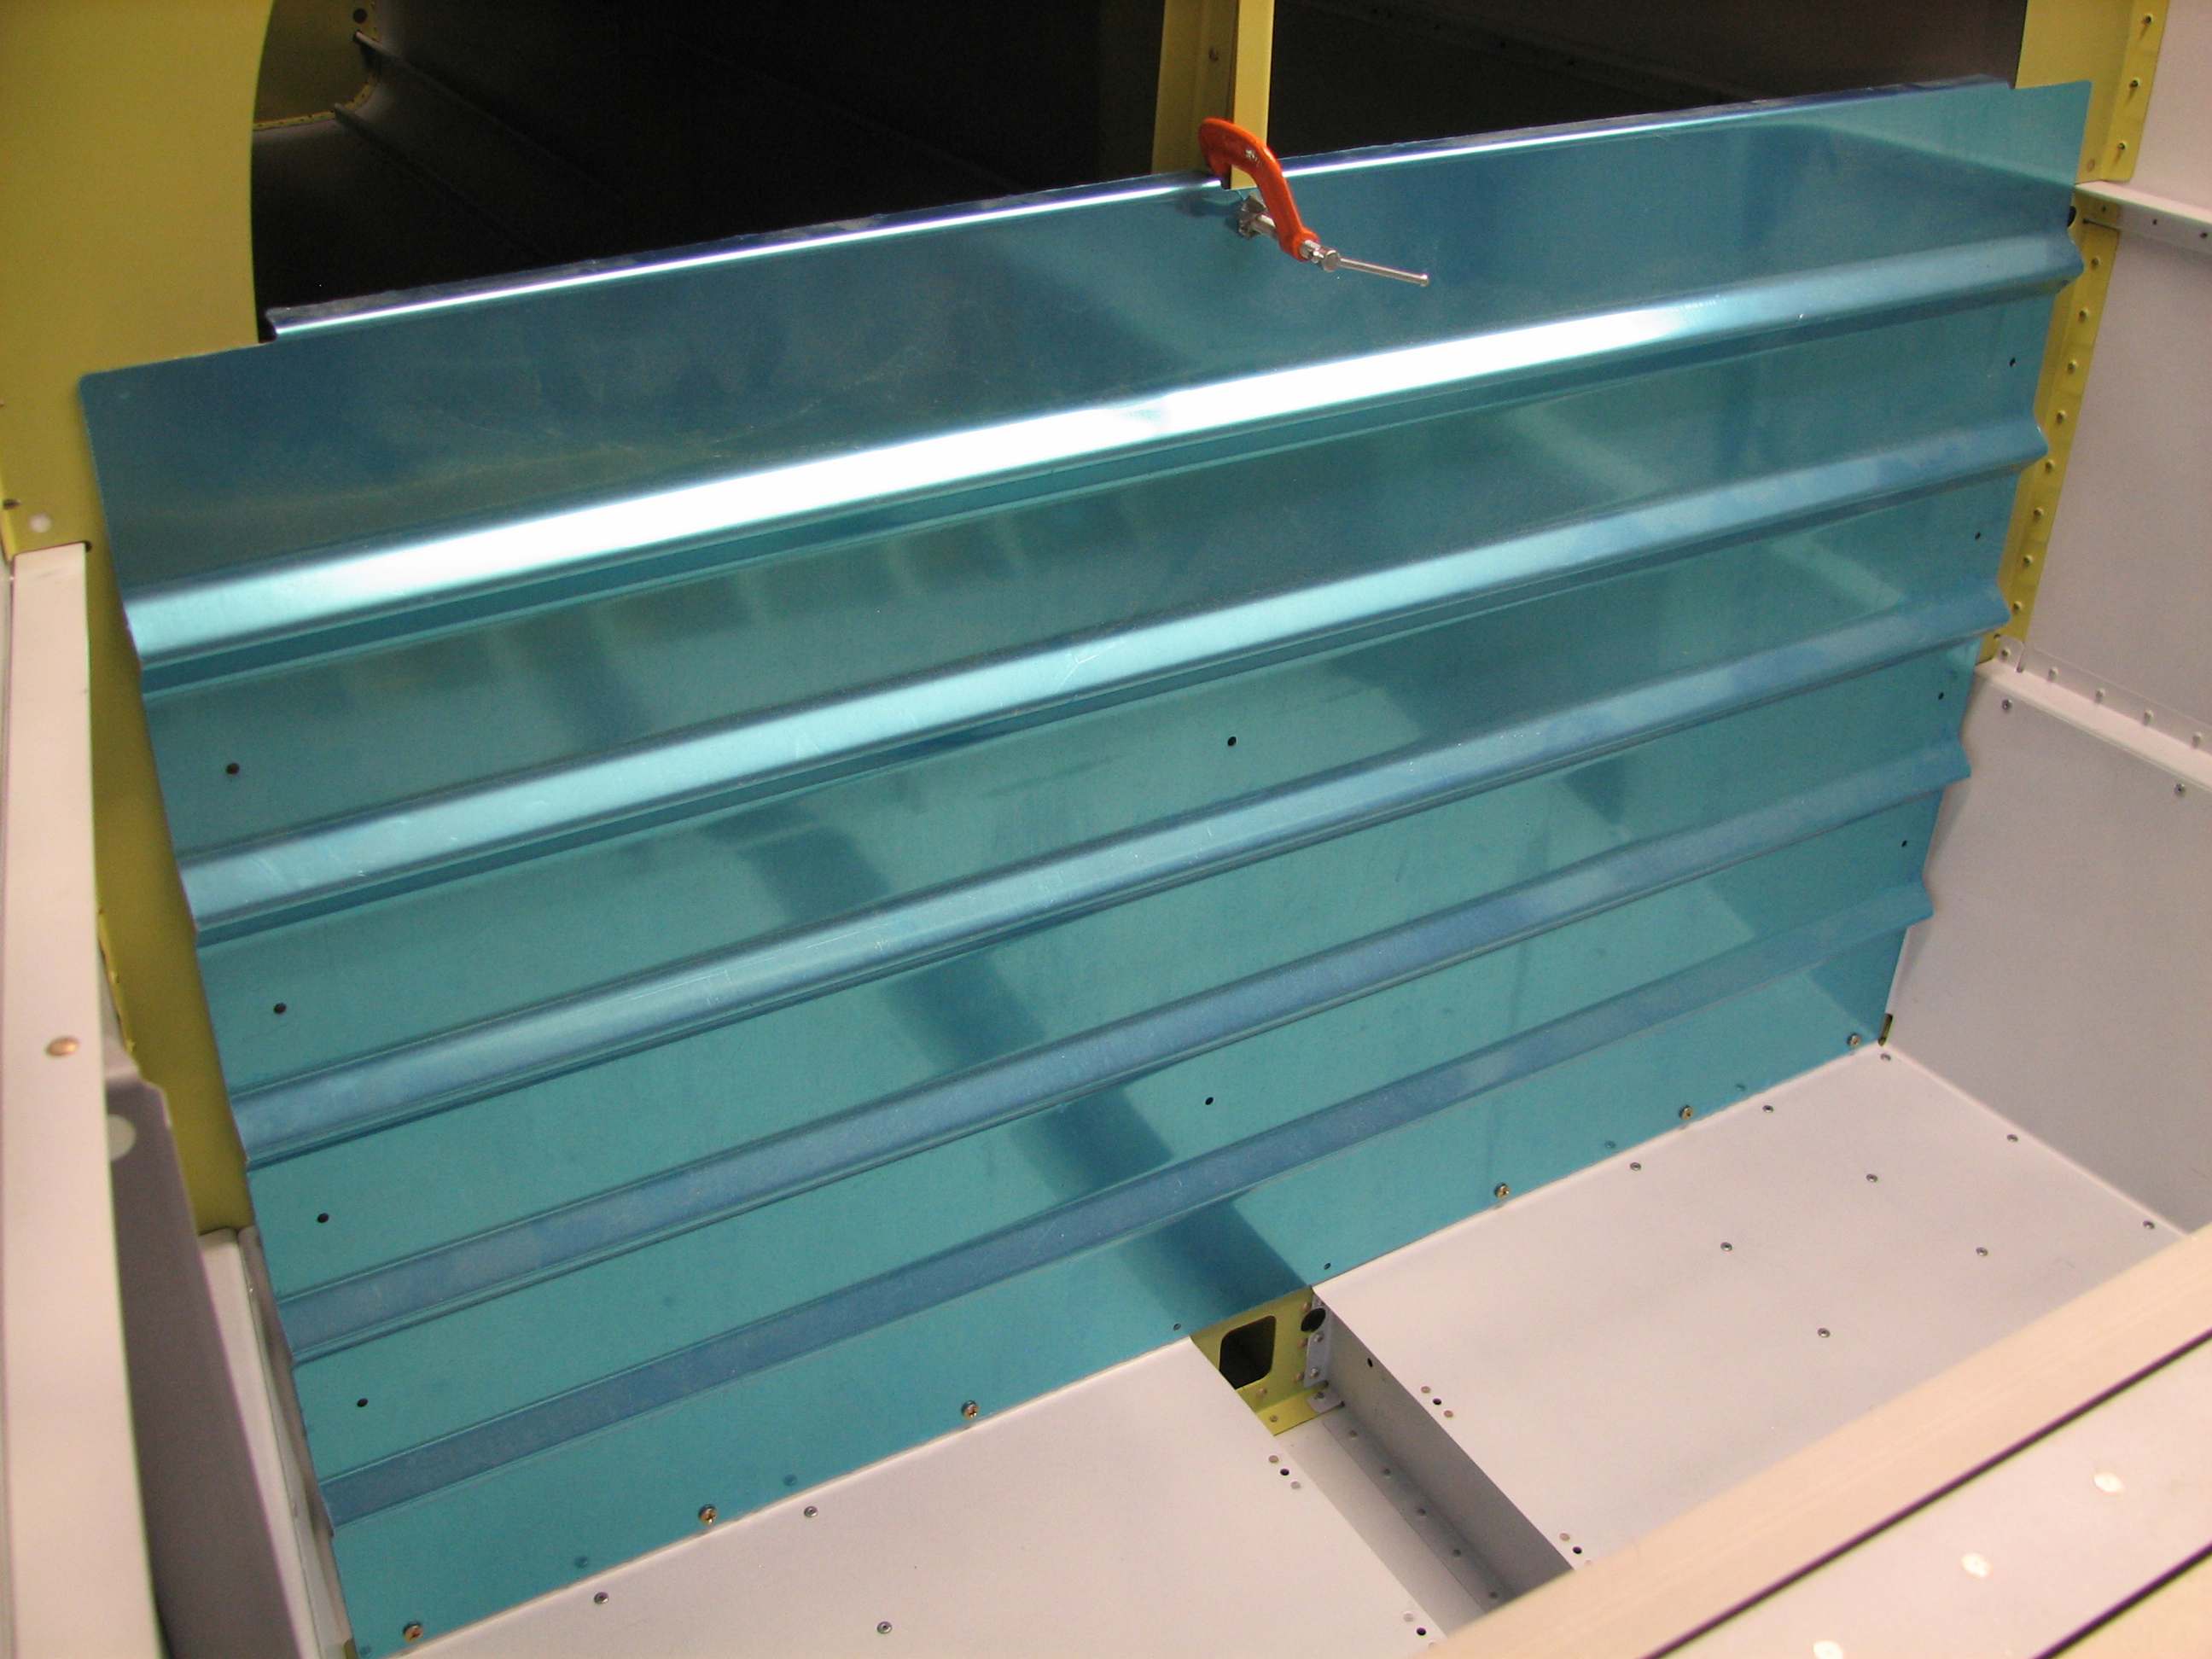 Once the wall bottom was attached with screws, I worked my way up from the bottom, match-drilling the bulkheads through prepunched holes on the sides.
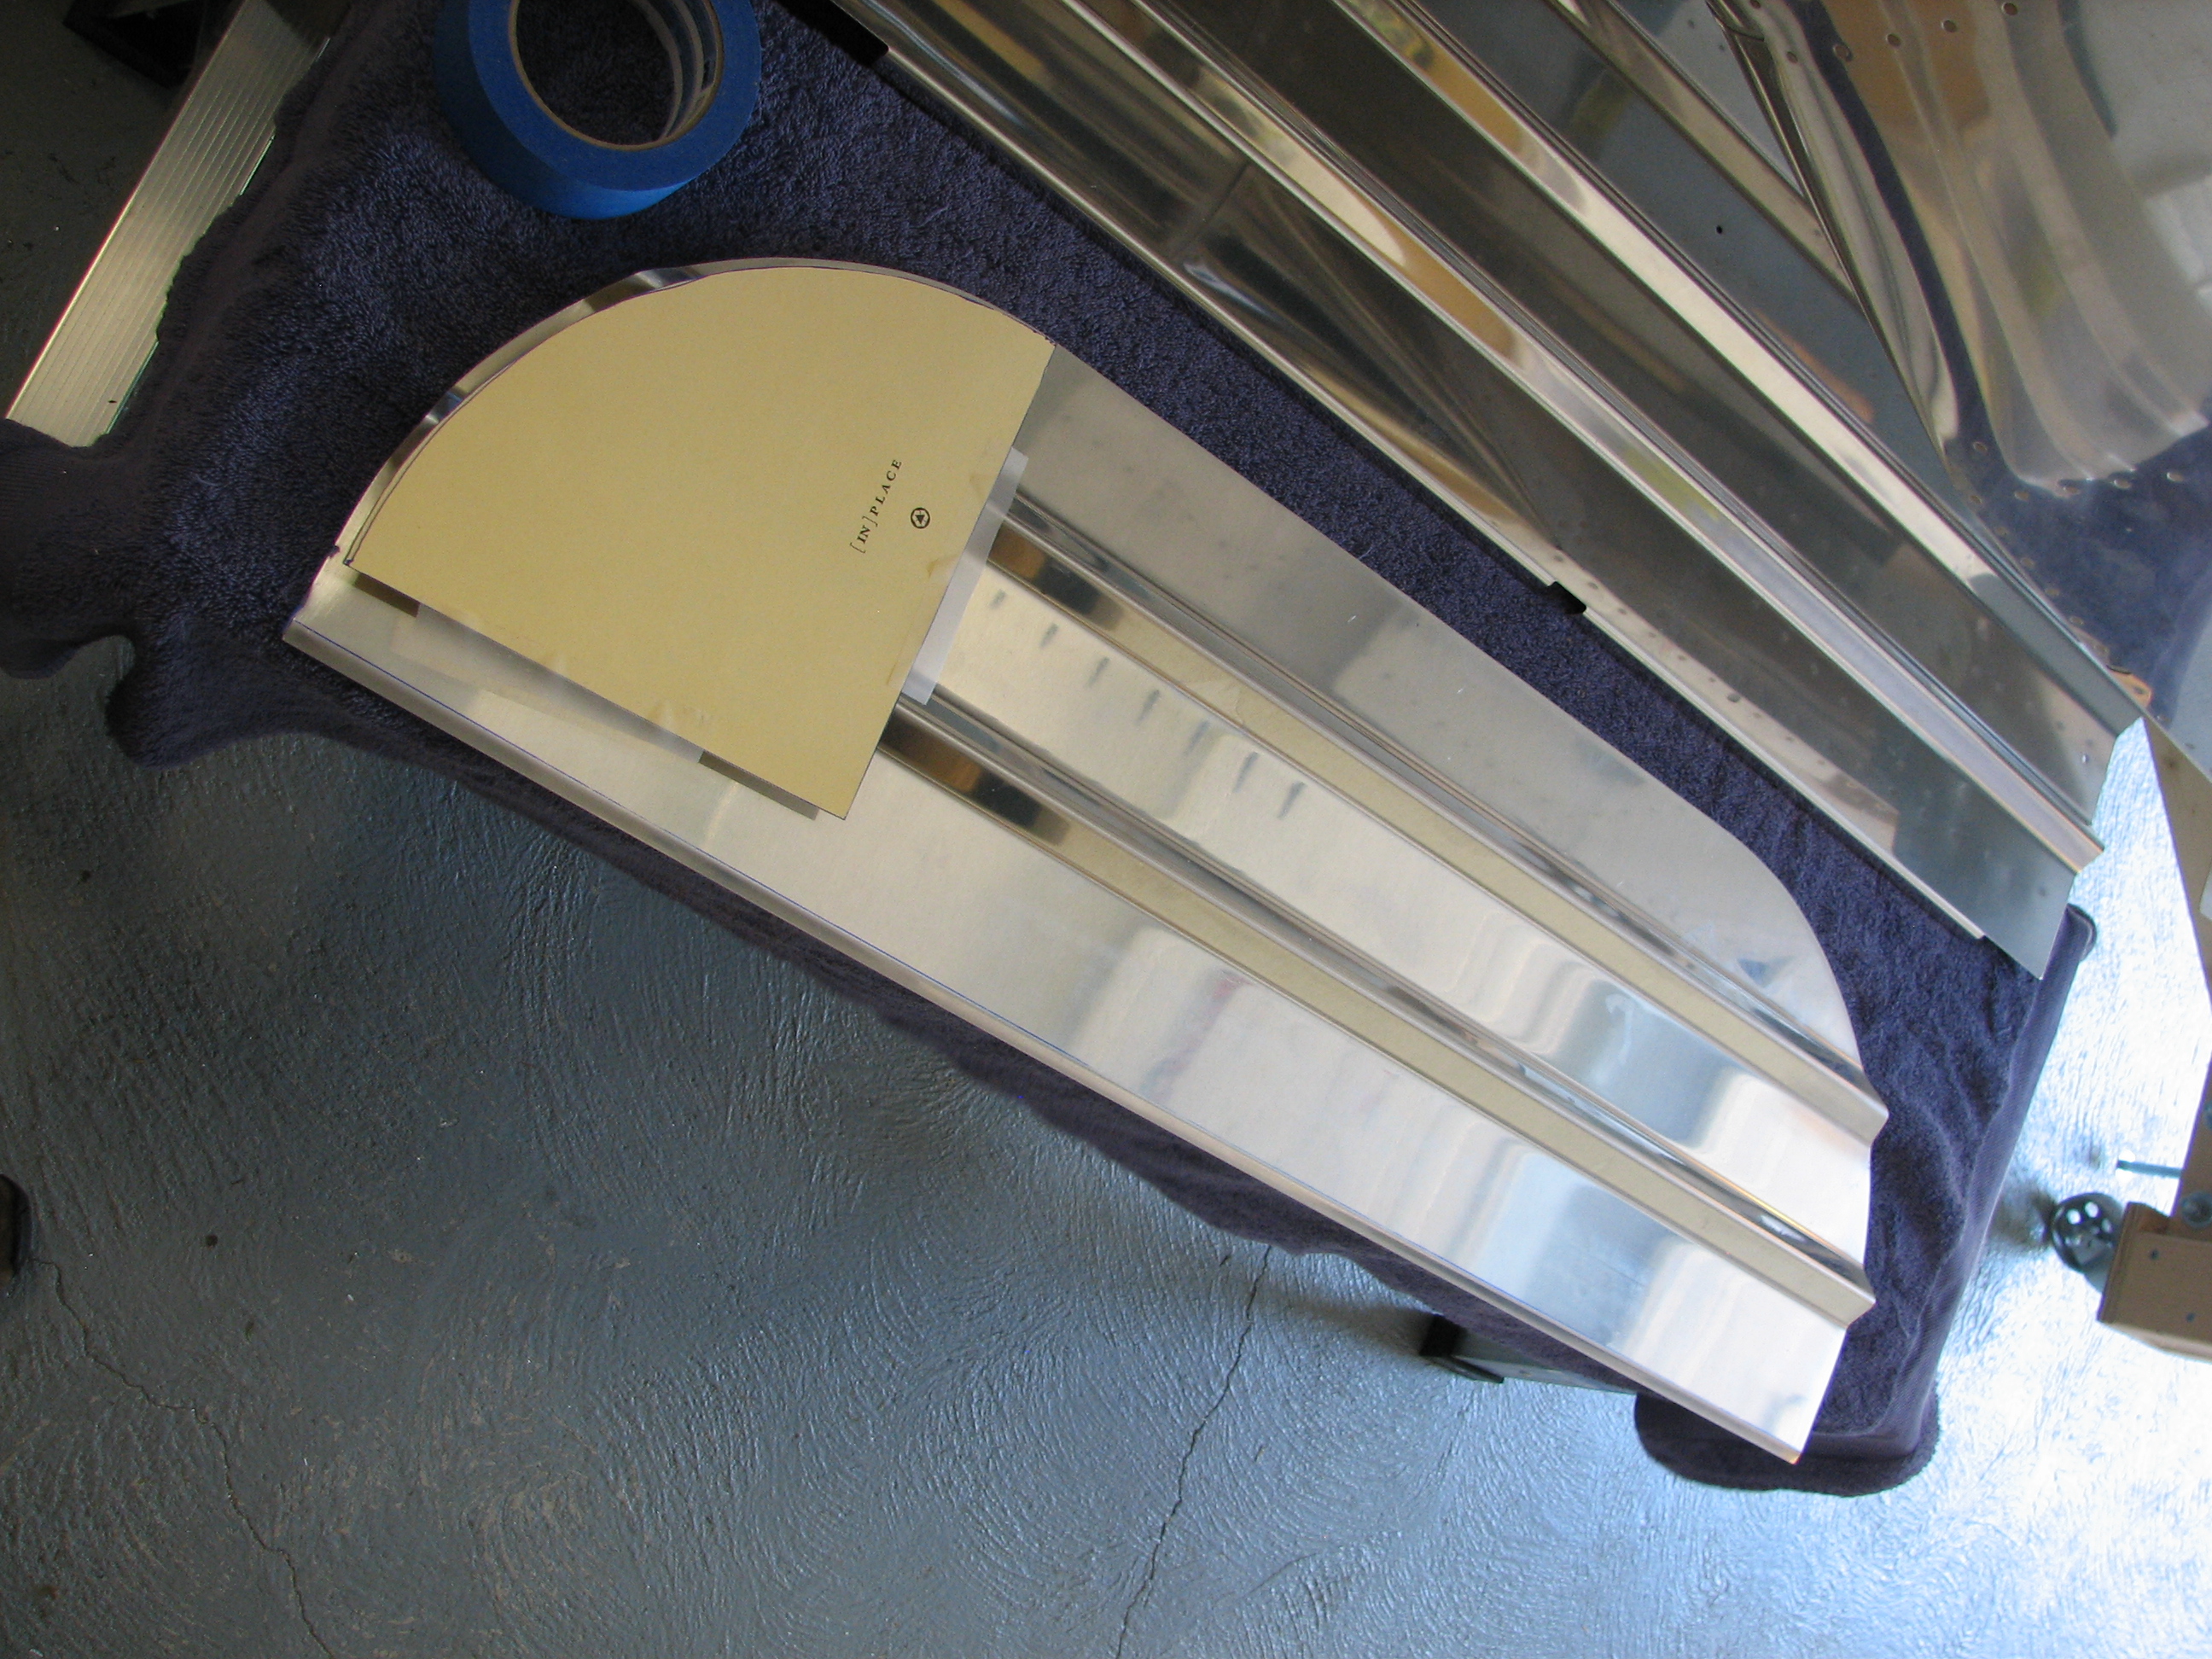
The top of the wall requires a little more work. The upper corners must be trimmed on an 8.5 inch radius, so I borrowed a tip from Mike Bullock and cut a template from stiff paper to lay out the cut line. It was a little tricky tracing and cutting through the wall’s deep corrugations, but with a little filing and trimming they look fine.
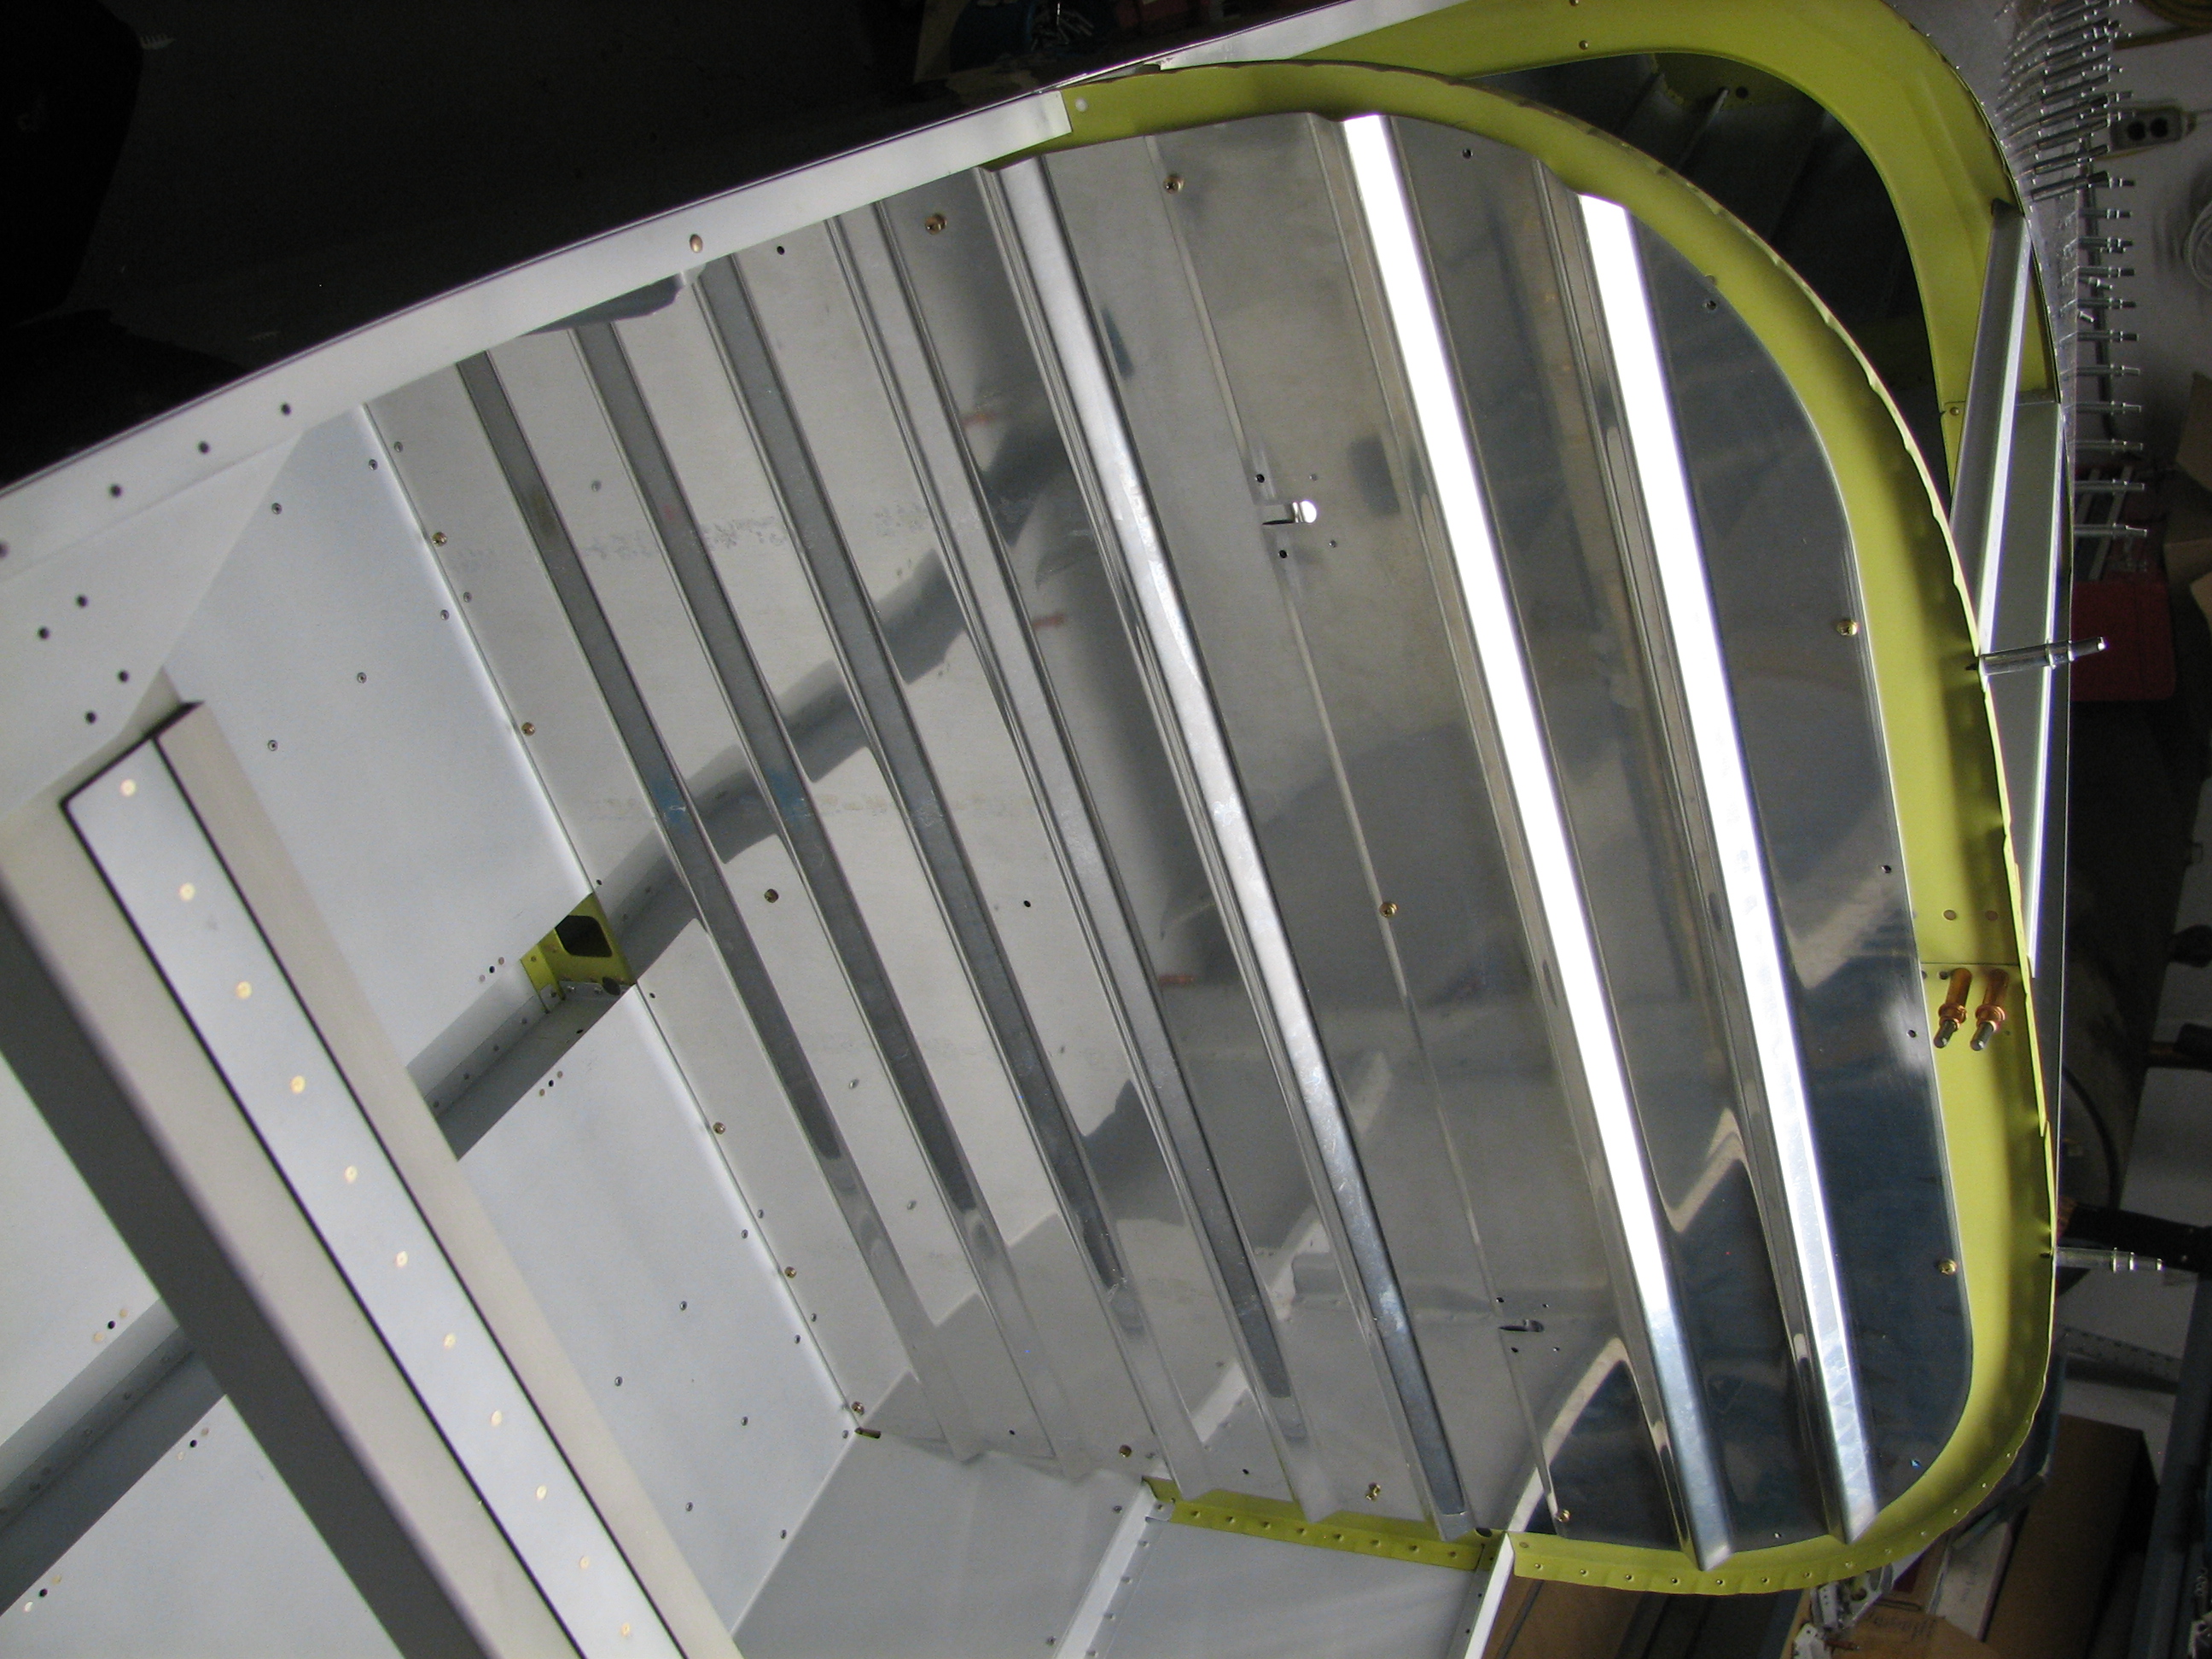
With the corners radiused, I laid out and drilled the remaining wall-to-bulkhead screw holes and match-drilled the wall to the bulkhead. Nothing too tricky here.
 For some reason, it was pretty motivational to see this bulkhead wall in place…makes the fuselage seem more “finished.”
 I broke out the #8 nutplate jig, drilled the bulkhead for nutplates, dimpled both the nutplates and mounting holes, and installed the nutplates.

The shoulder harness restraint cables penetrate the bulkhead well, so I laid out and cut slots for the cables. There are a couple of pieces of UHMW plastic that get fitted around these slots to provide a wear surface, so I trimmed and drilled them to the upper and lower walls.
 I’m saving the wear block final installation until the walls are painted. I’ll probably do that sooner than later, since we want to see how our interior color choice (JetFlex WR “Pepperdust”) looks. I can paint the wall parts, and if we don’t like the color, I can strip ’em down and find another color.