
This was a busy week around the house but I still managed to keep some momentum on the airplane. The next task on the list was fabricating and installing the hinges that attach both seat backs to the cabin floor.
There’s not much to installing these hinges. Trimming the hinge material is trivial, and the only gotcha is to make sure the hinge spacing from the inboard seat floor edge is actually measured from the edge, and not from the center of the nutplate holes as the plans trick you into believing if you’re not careful.
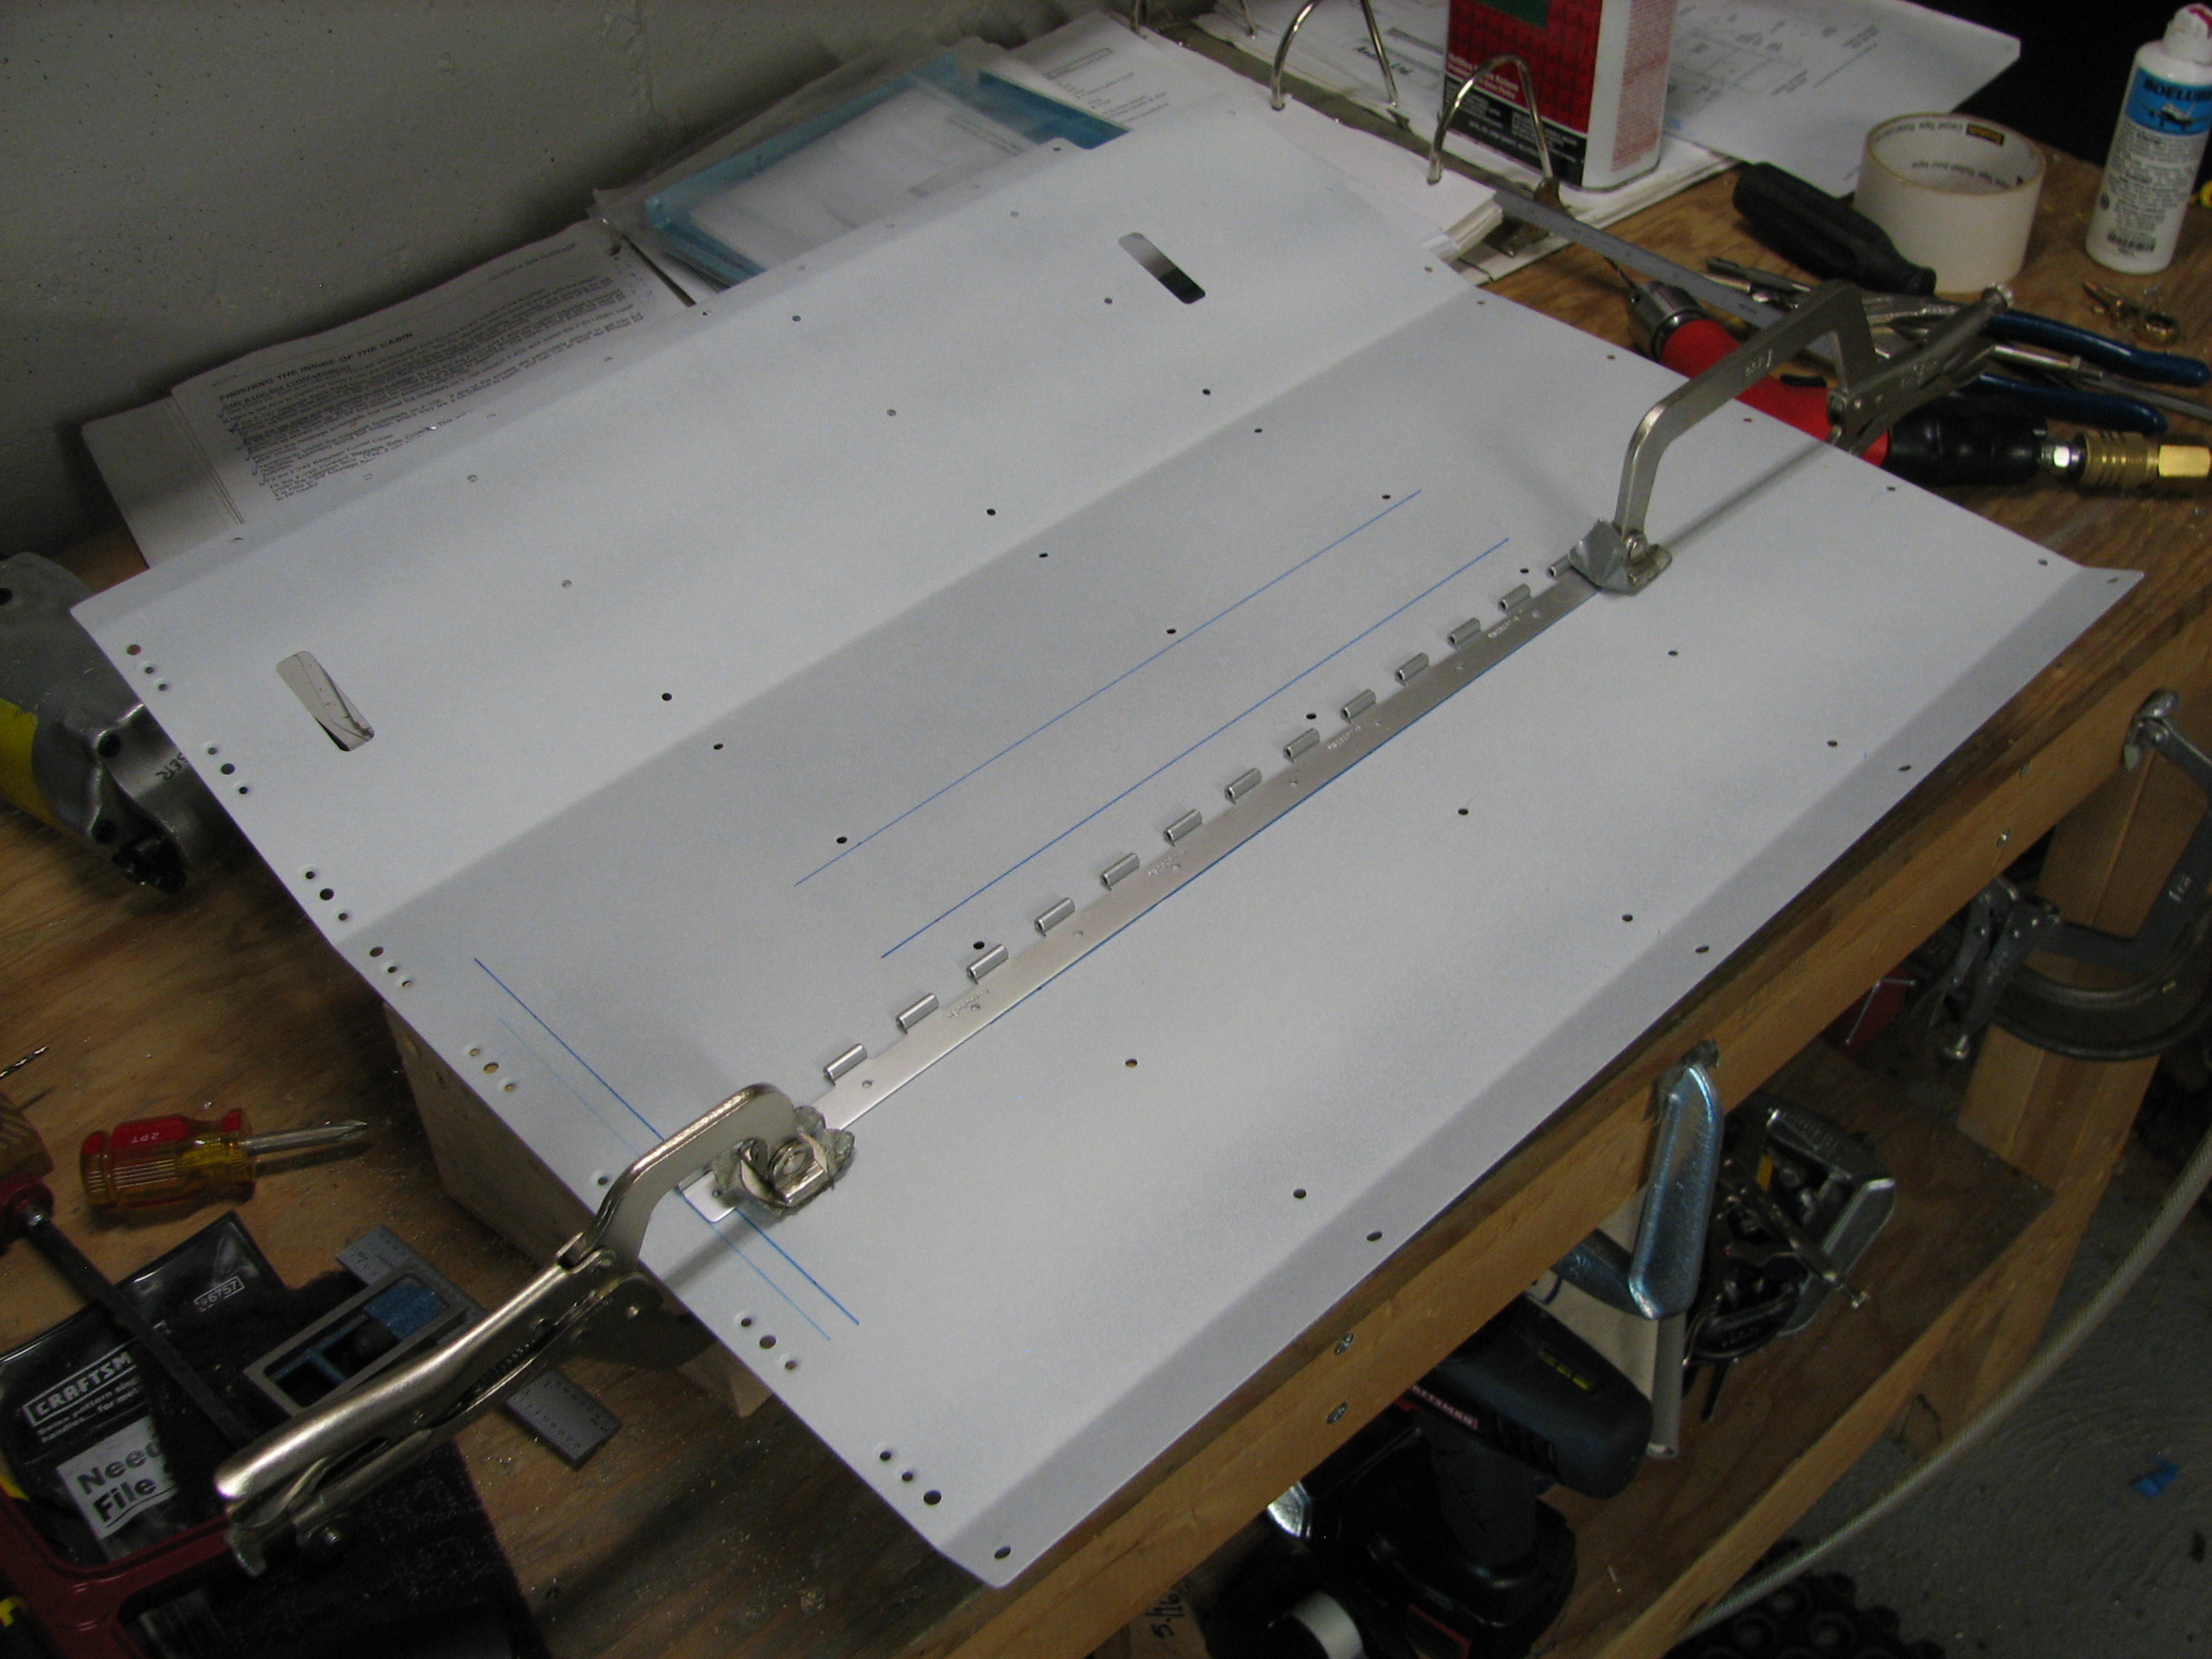
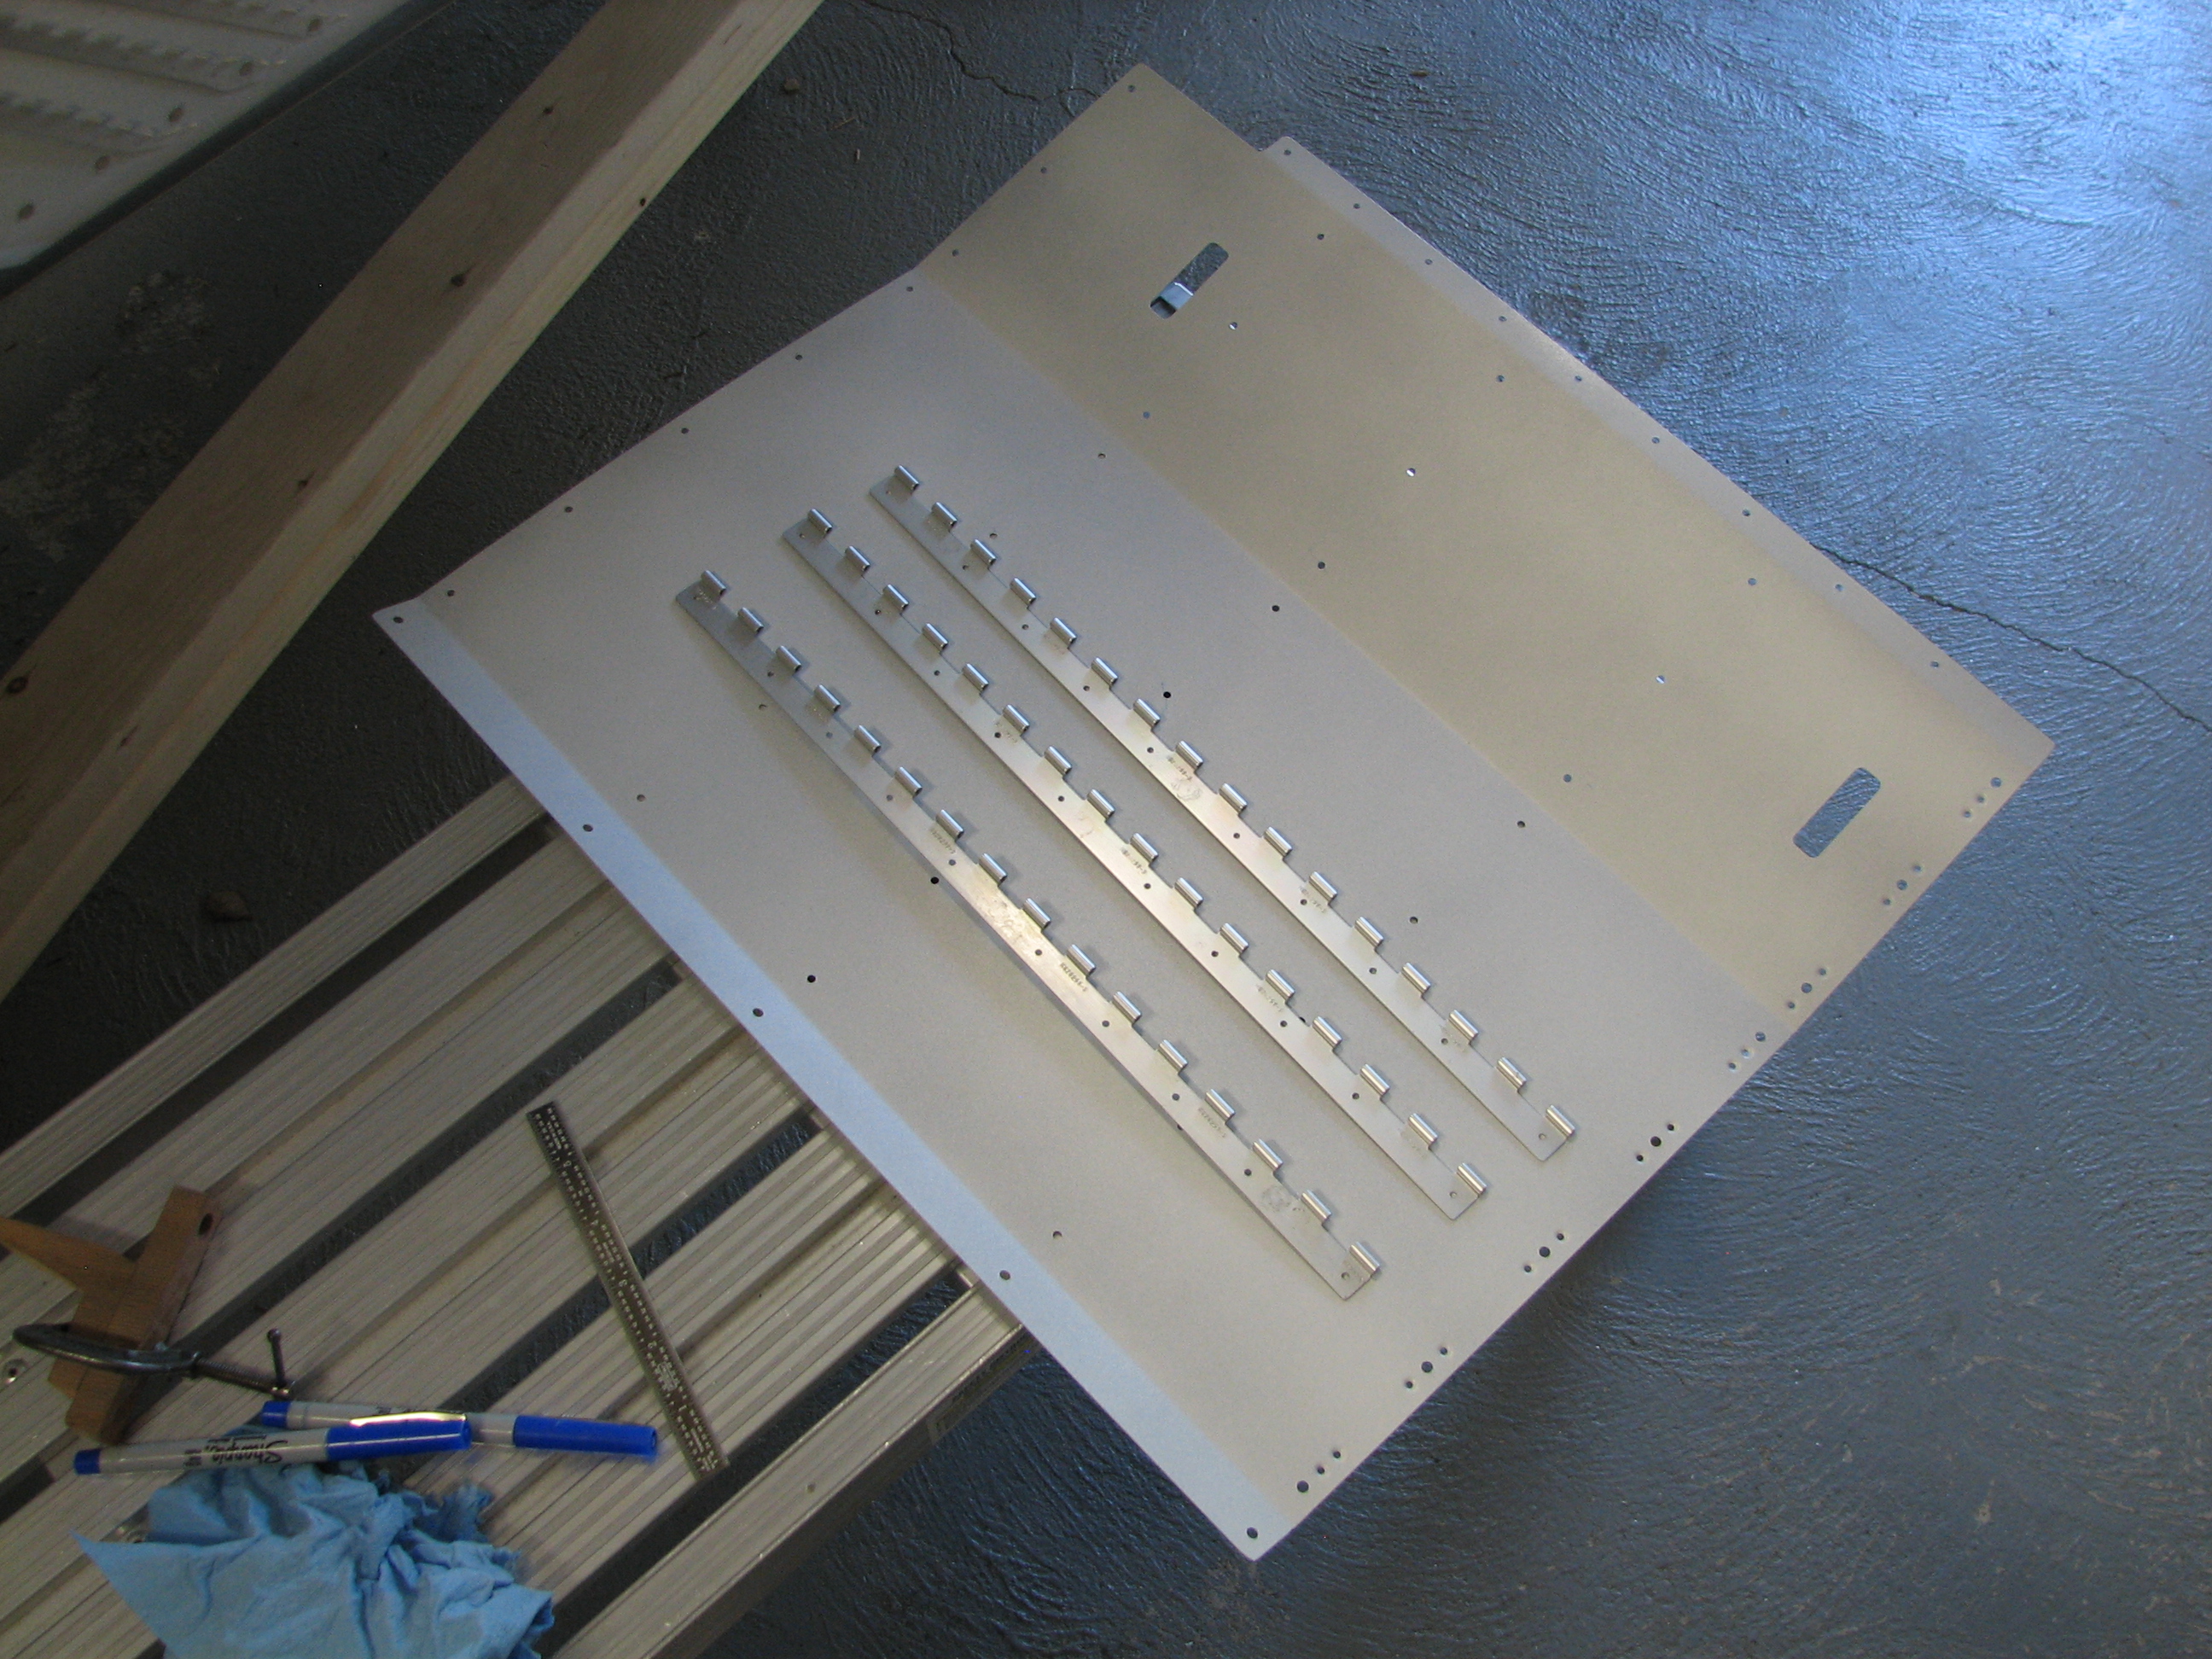
Although I didn’t take any pictures of the process, I laid out and drilled rivet holes on one hinge plate and used it as a template to match-drill the other hinges. It was easy then to clamp the hinges onto the floor and match-drill first to #40, and then final-drill to #30 for the rivets.
Only one or two of the rivets can be squeezed, and I don’t have a C-frame dimpler/riveter, so I just laid out my backrivet plate on the workbench and used it as a bucking bar as I drove the rivets from the top. Worked pretty good. The hinge material is a little on the soft side, which causes them to distort a little when riveted but I can still get a hinge pin in.
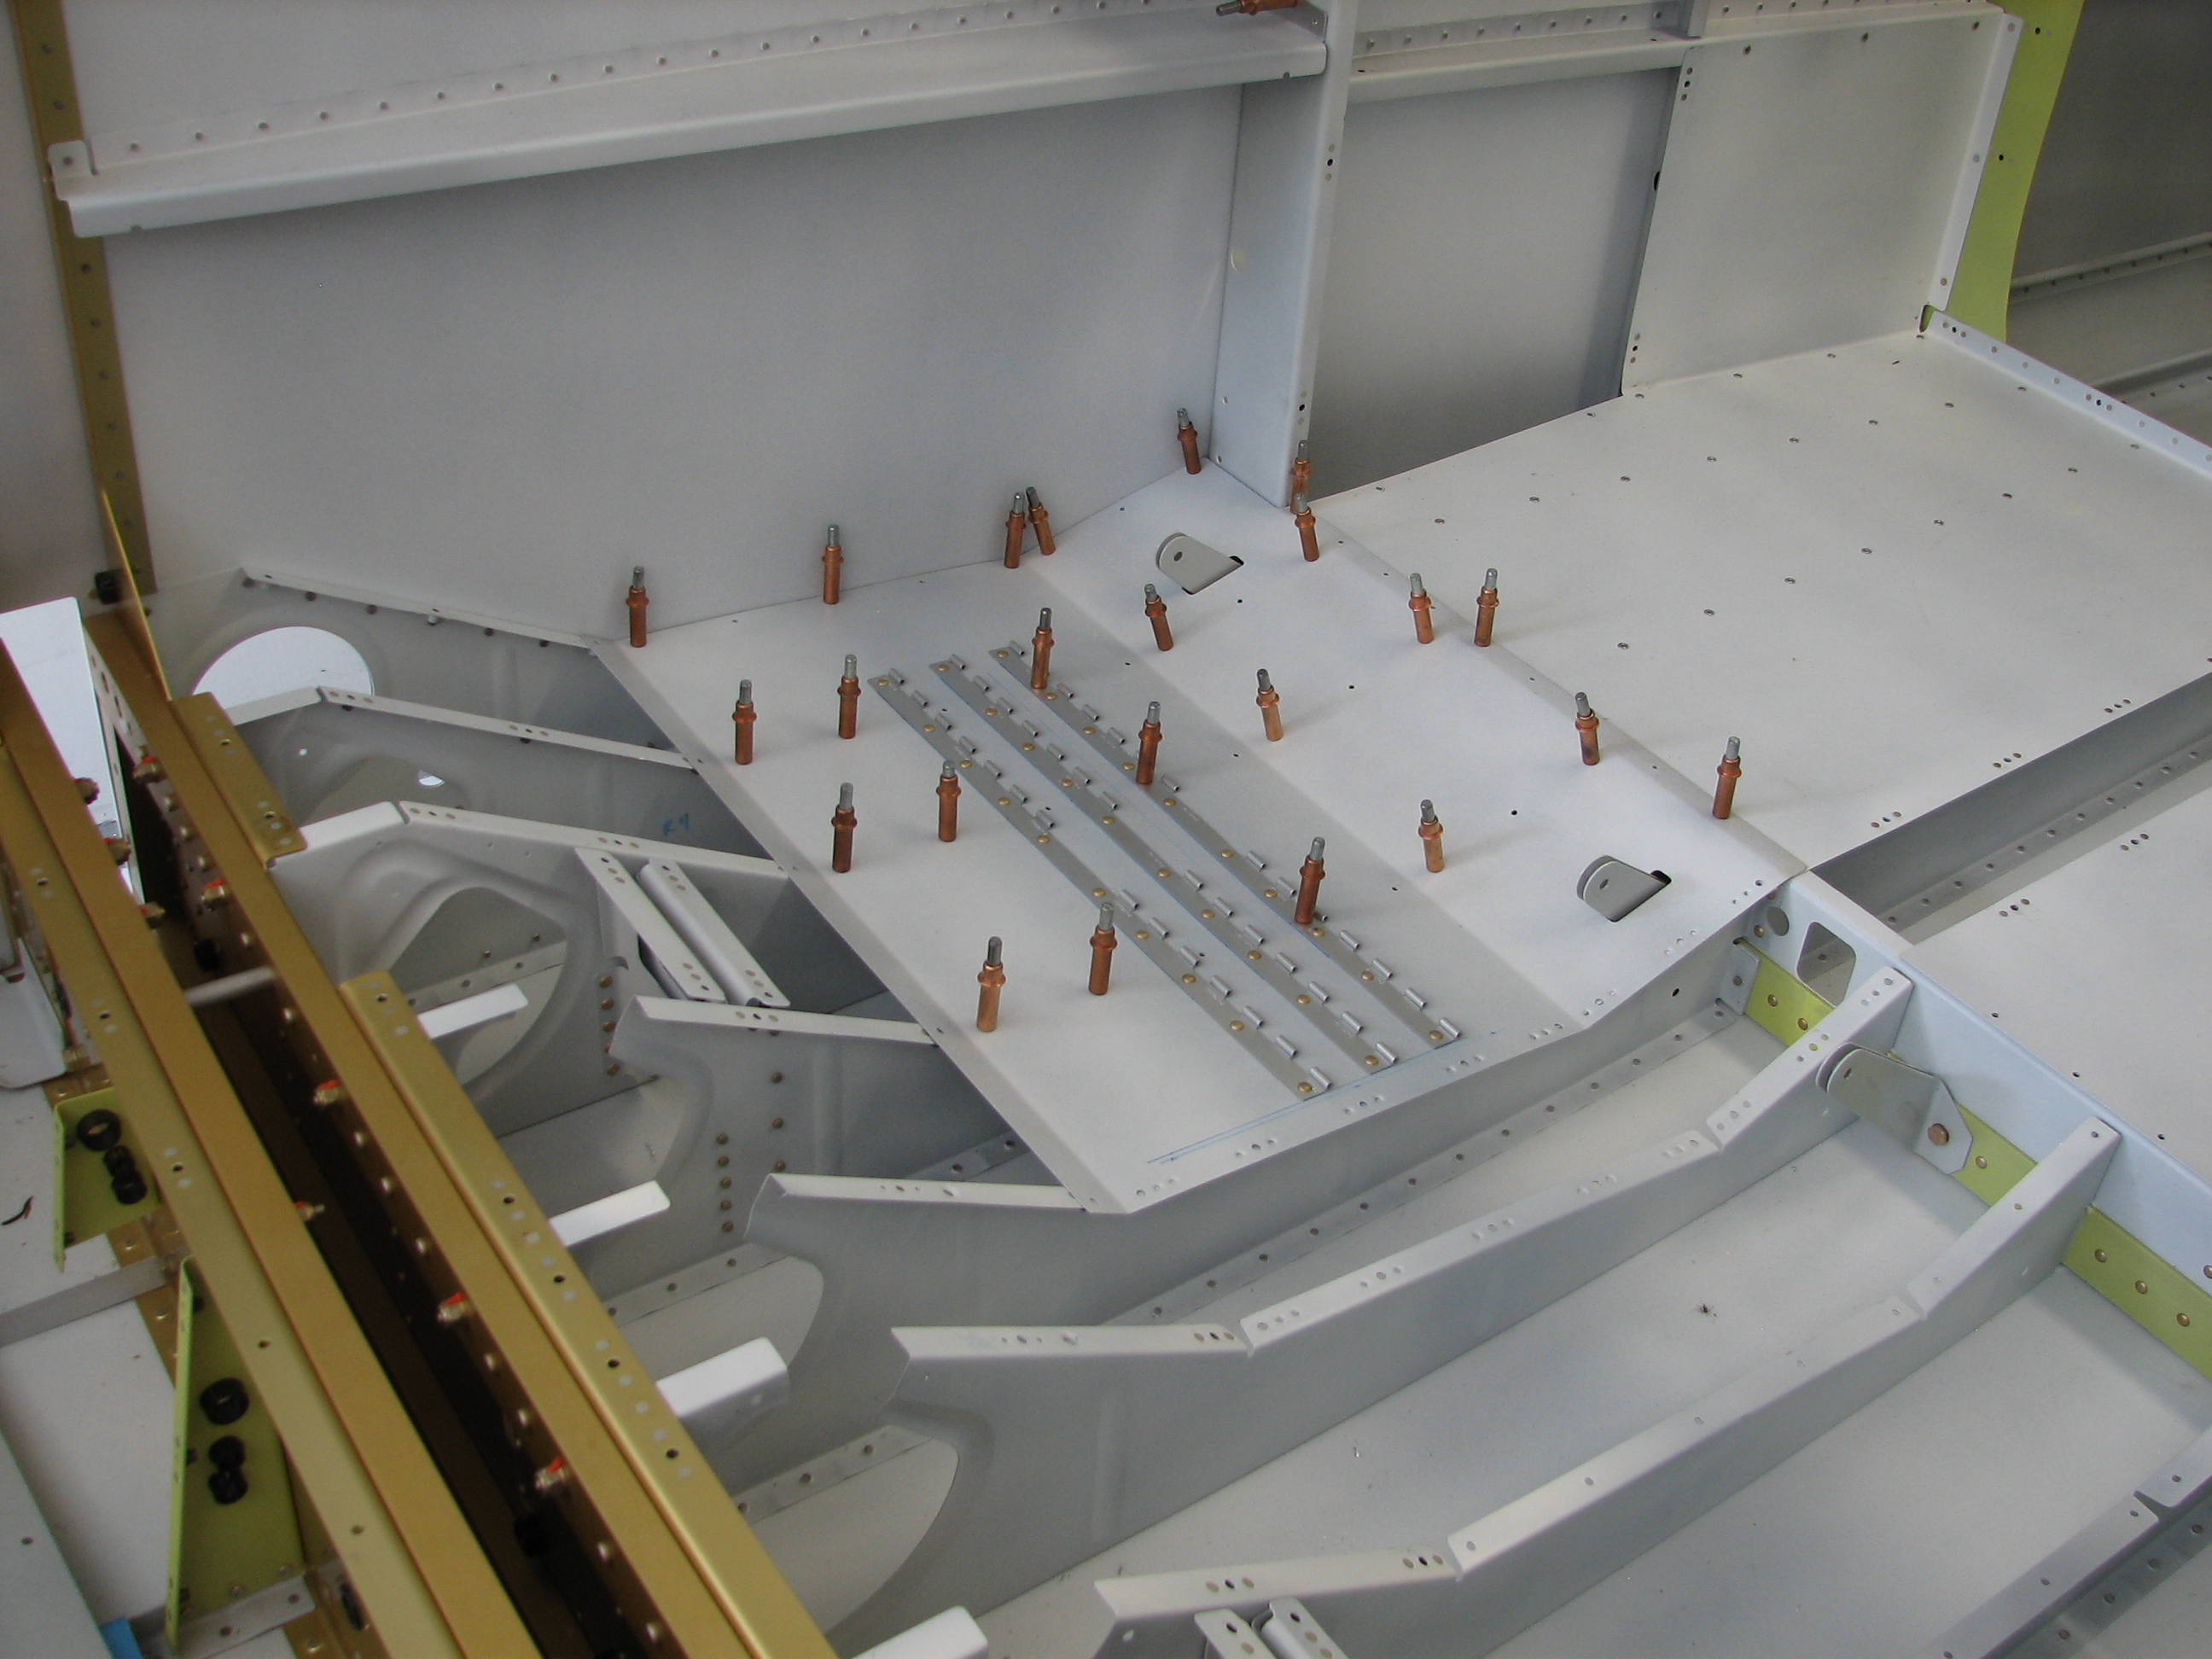 Here’s the copilot side ready to be blind-riveted to the seat ribs. The other side looks pretty much the same, except for one problem.
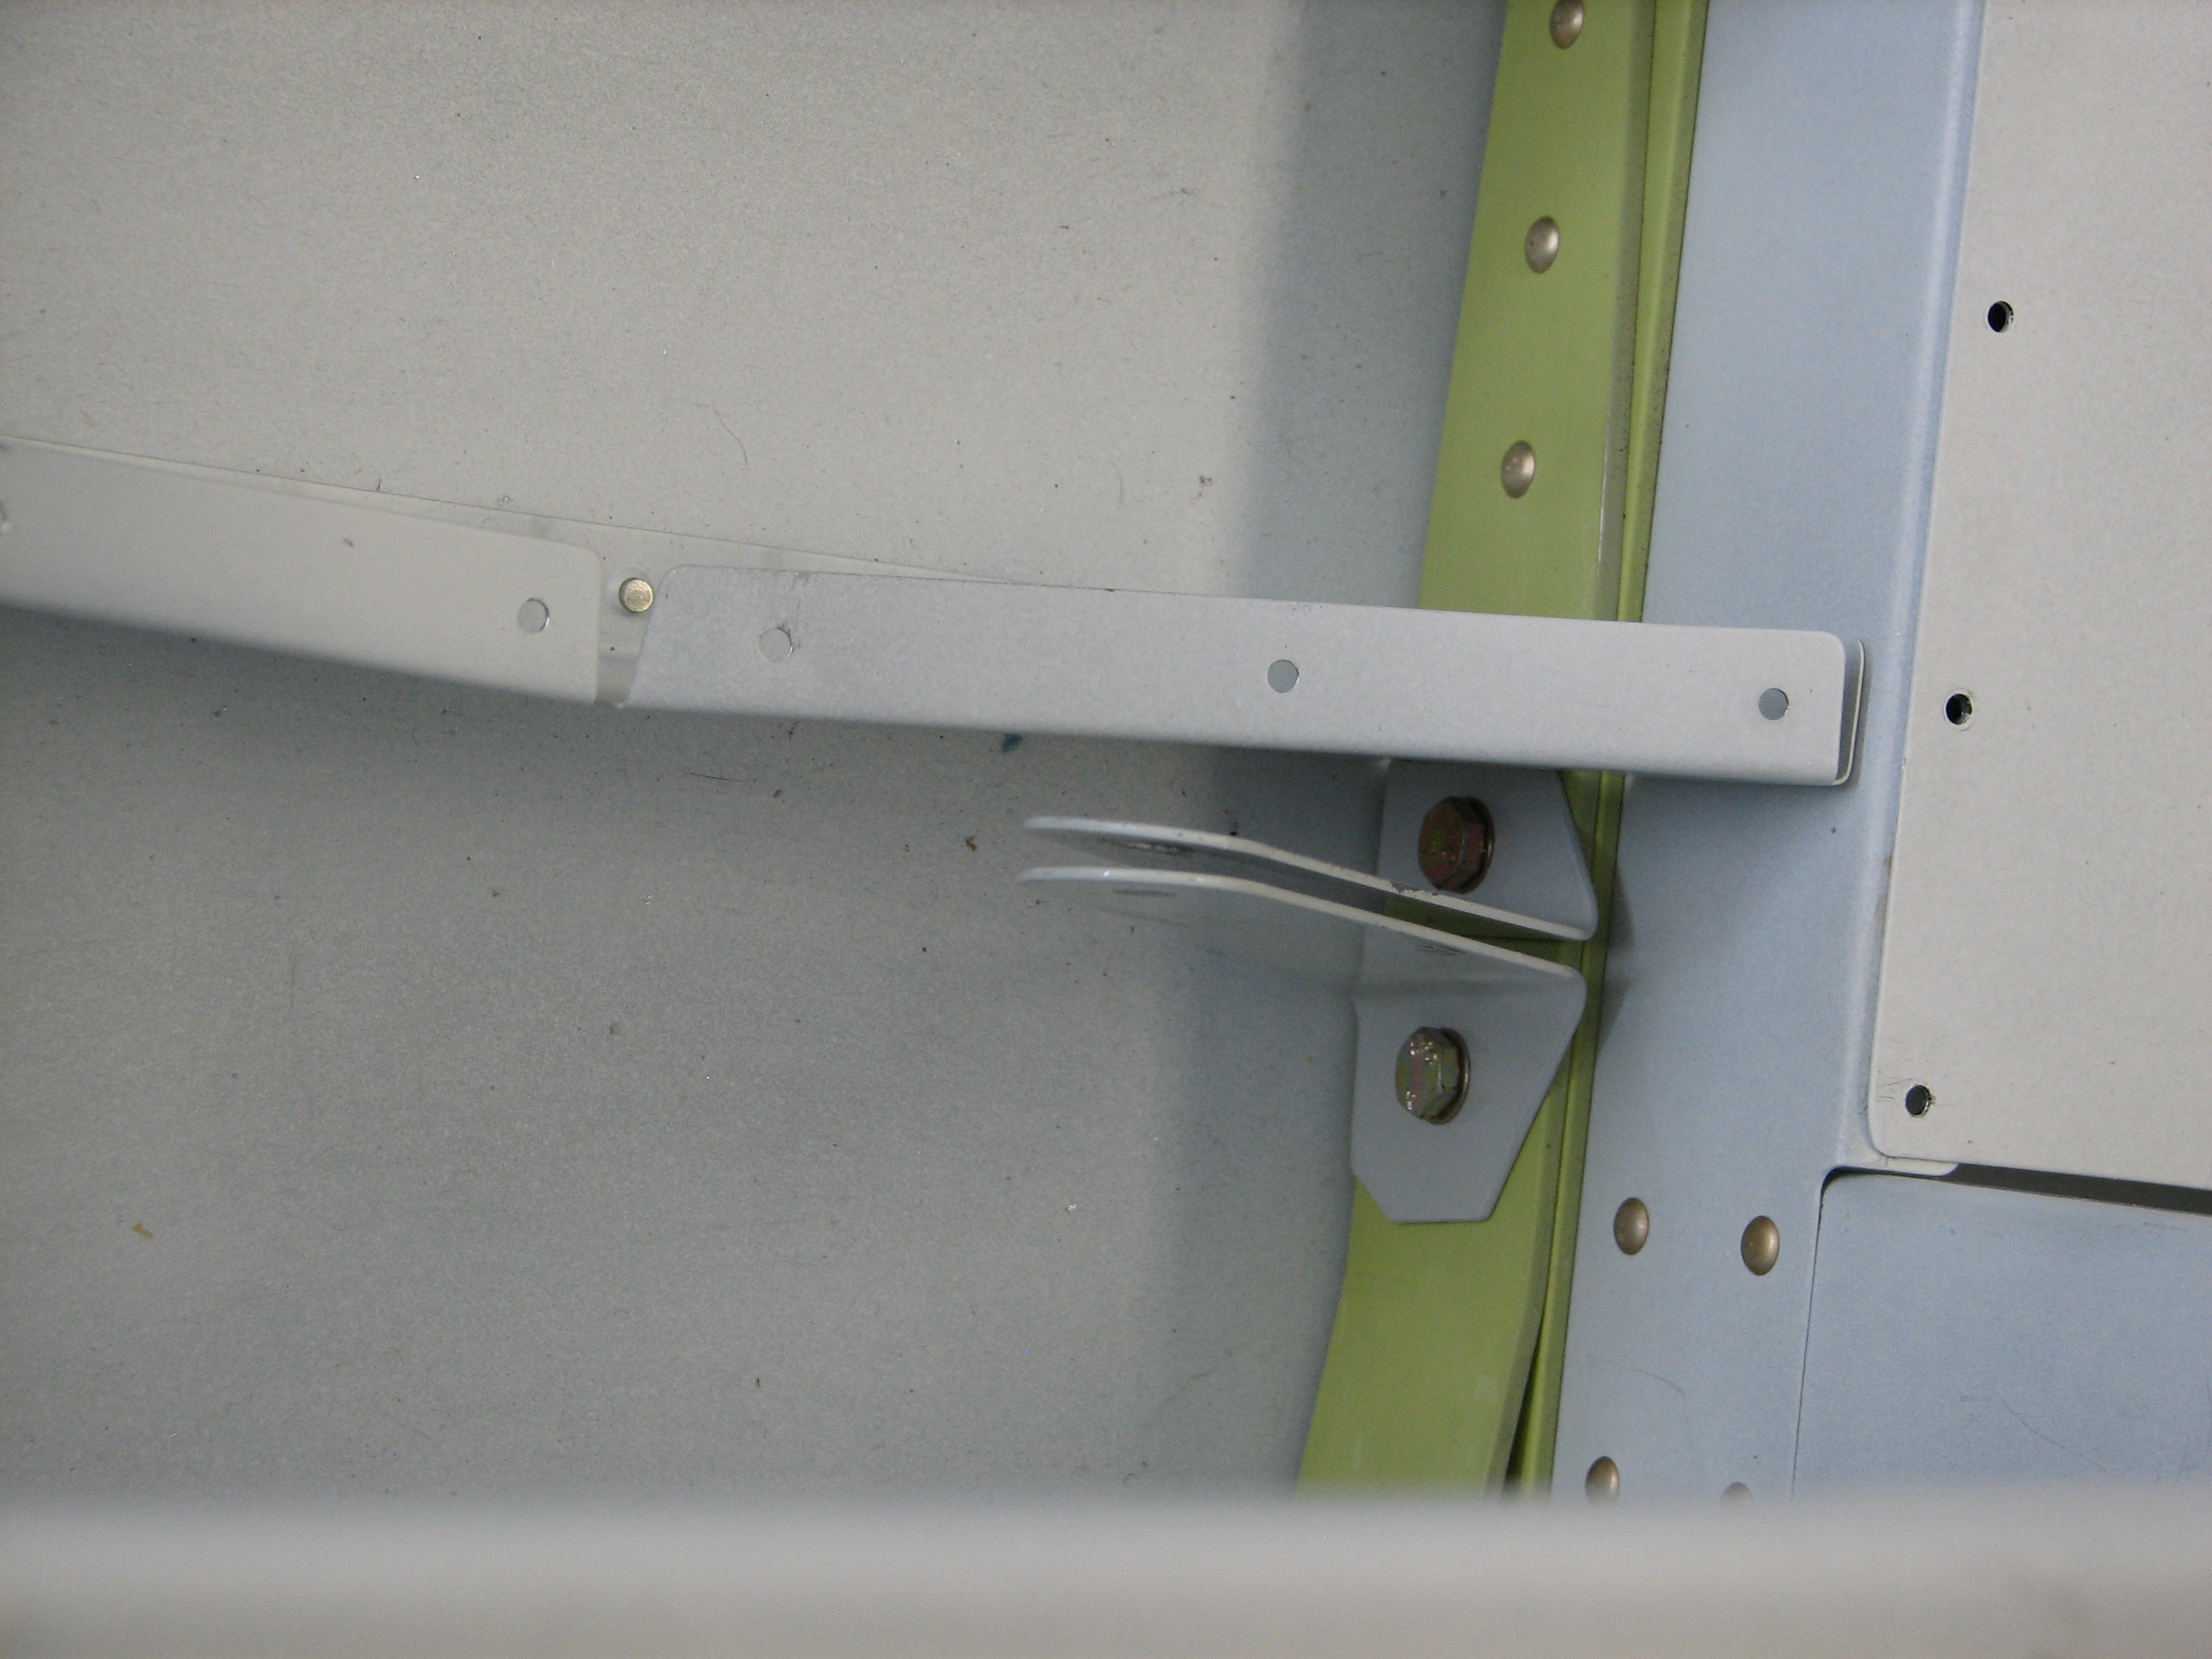 Turns out that one of the pilot’s seatbelt anchors somehow got tweaked out of alignment, and I wasn’t too keen on bashing it back into alignment with a hammer or pliers. This had to be fixed before I can blind-rivet the seat floor, which means drilling out a lot of blind rivets and hard-to-reach solid rivets…merde!
So, I spent my entire shop time on Sunday drilling out all the rivets that attach the left baggage floor, so I could yank it out for access to the anchor bolt. It took a lot of time to *very* carefully remove all the solid-riveted nutplates, because many of them were in corners or in hard-to-reach areas.
With the solid rivets and nutplates removed, I used an ATS Blind Rivet Removal Tool to drill out all the blind rivets – this gadget worked like a champ, unlike other ATS-made tools I’ve owned. The tool’s drill bit is surrounded by a spring-loaded serrated collar that applies pressure to the rivet head when the tool is pressed onto it, keeping the rivet from spinning in the hole as the drill bit does its thing. Driving out the steel mandrel from the blind rivet is essential, since it can cause the drill bit to wander as it punches through the rivet.
After cleaning up all the rivet carcasses, mandrels and shavings, I reinstalled and retorqued the offending seat belt bracket and declared success for the day. It was a lot of work, but worth it to get the job done right.