
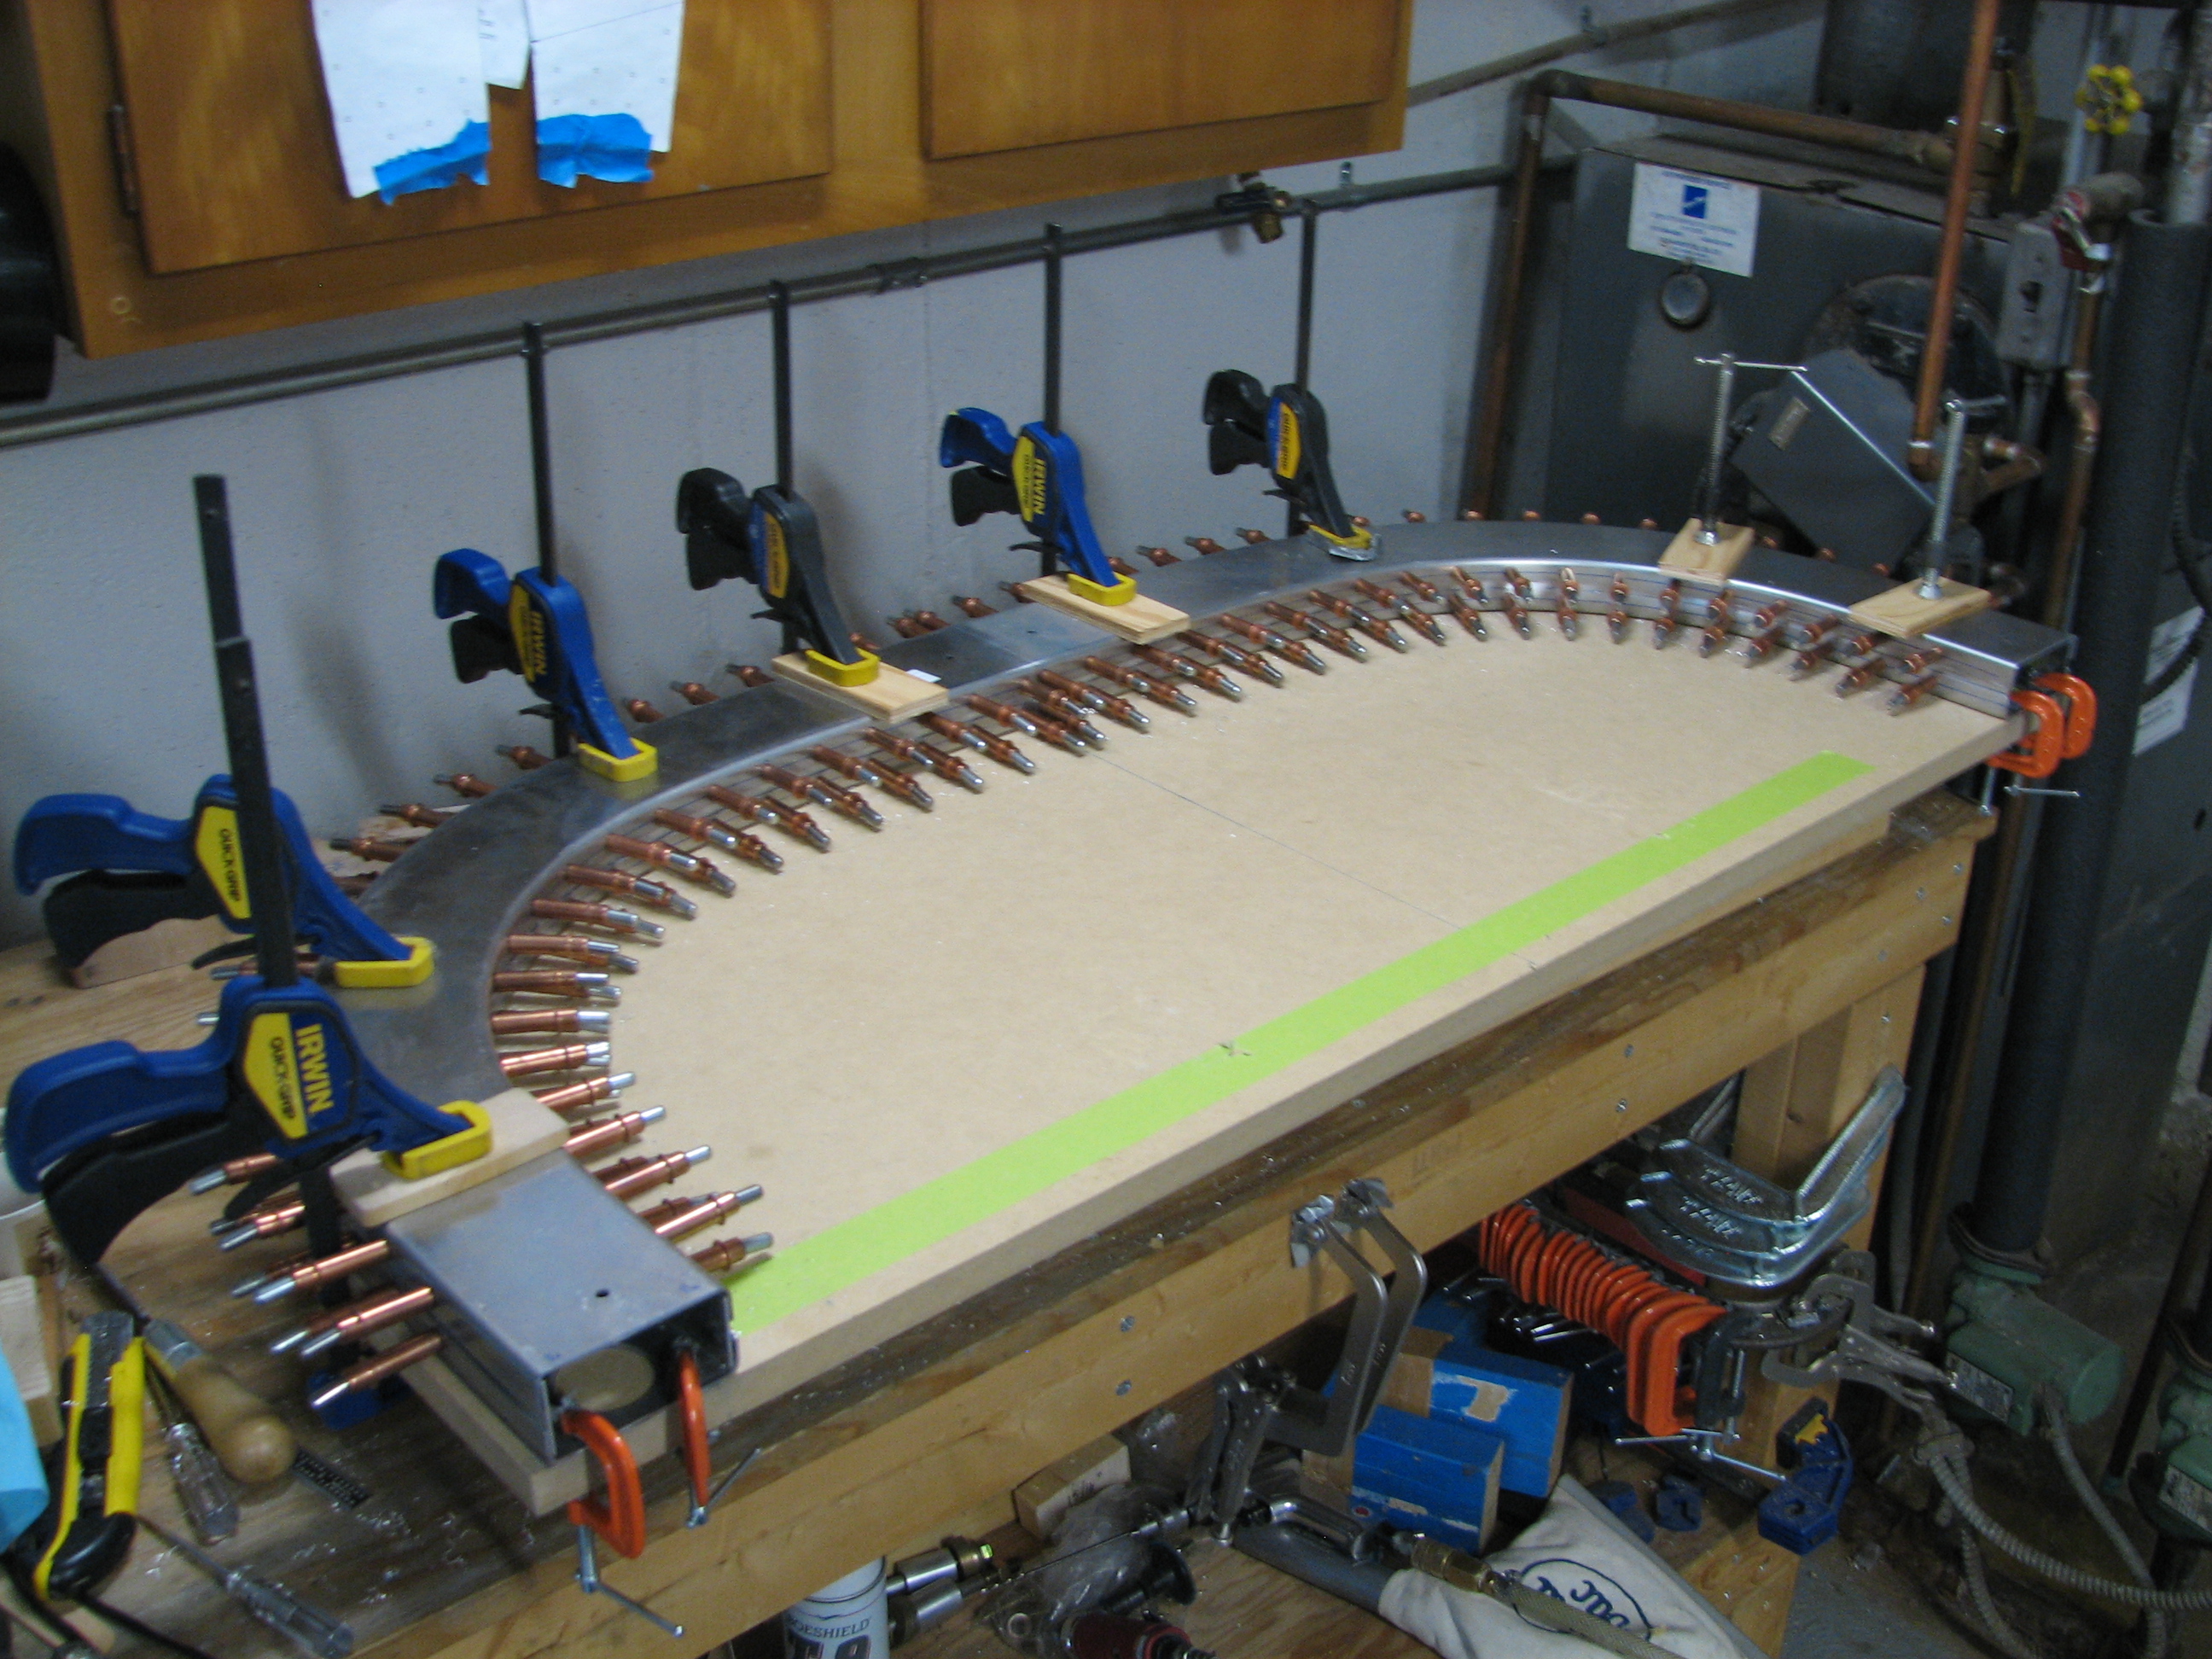
With the forward rollbar channels clamped in place such that the entire assembly is the correct thickness, I match-drilled them to the straps.
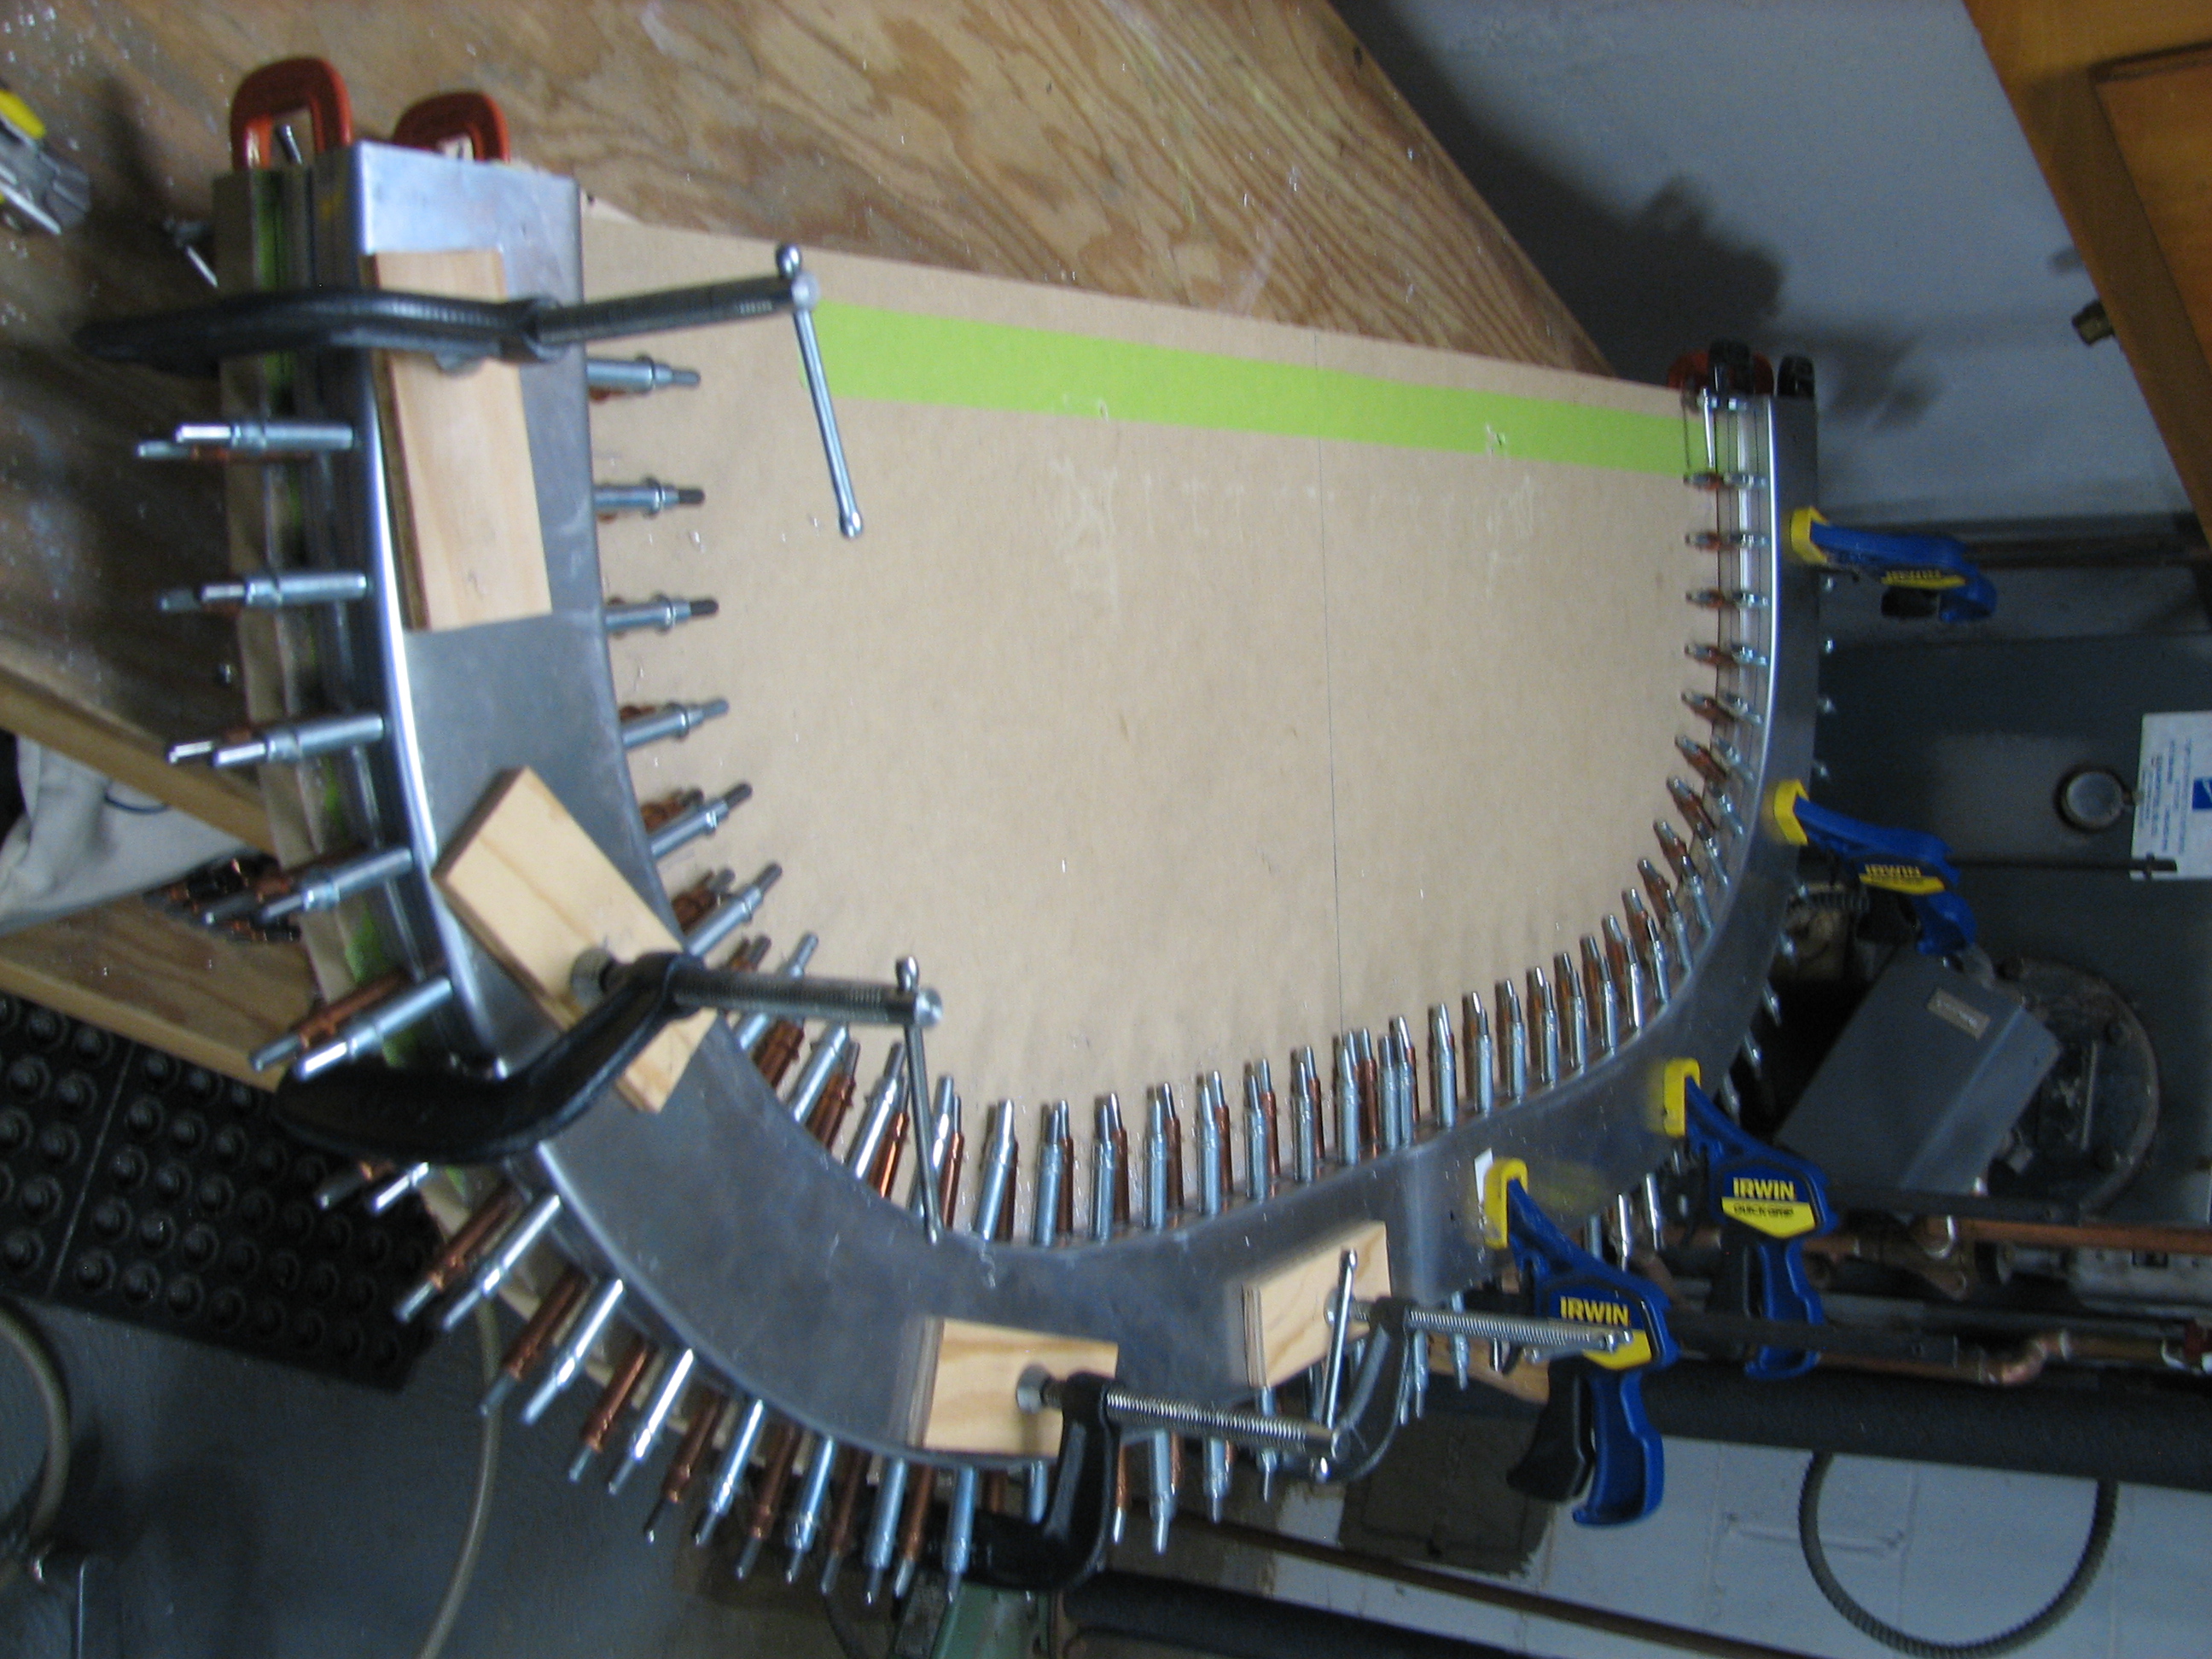 This was an iterative process of checking the height, clamping/re-clamping and drilling and in the end it seems to have come out ok. One end of the rollbar may be slightly thicker but I don’t think there will be any problems installing it.
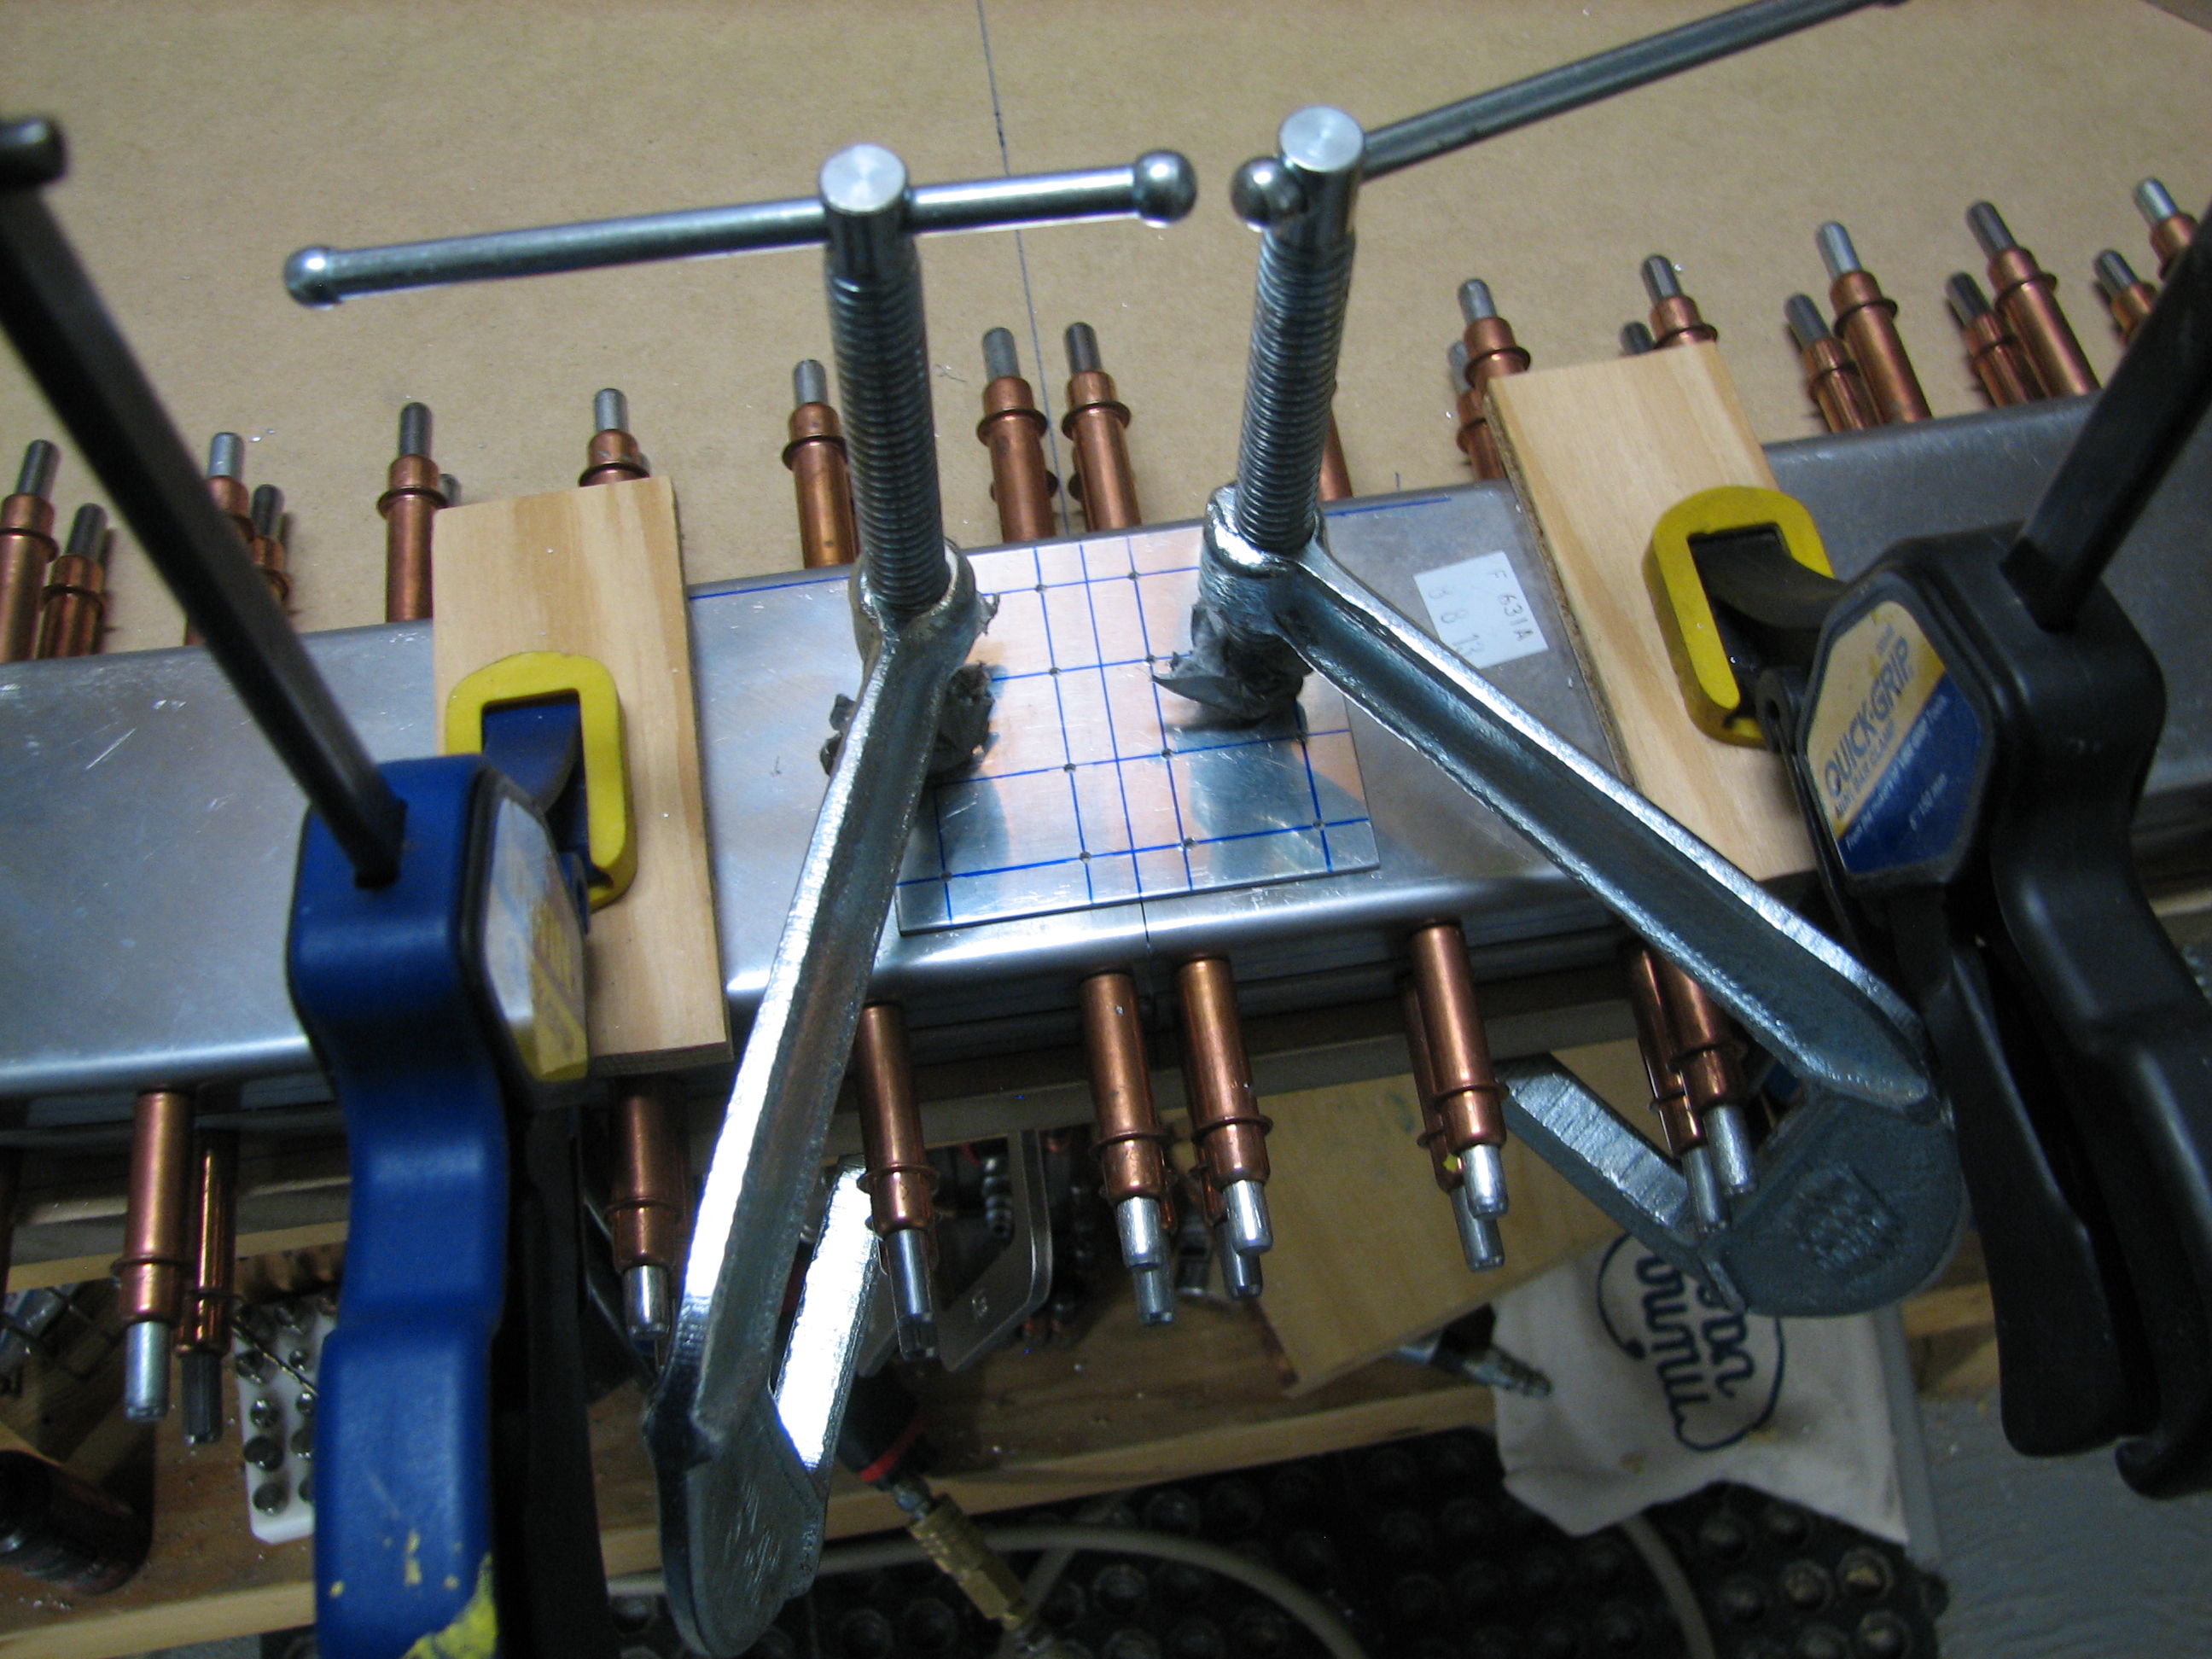
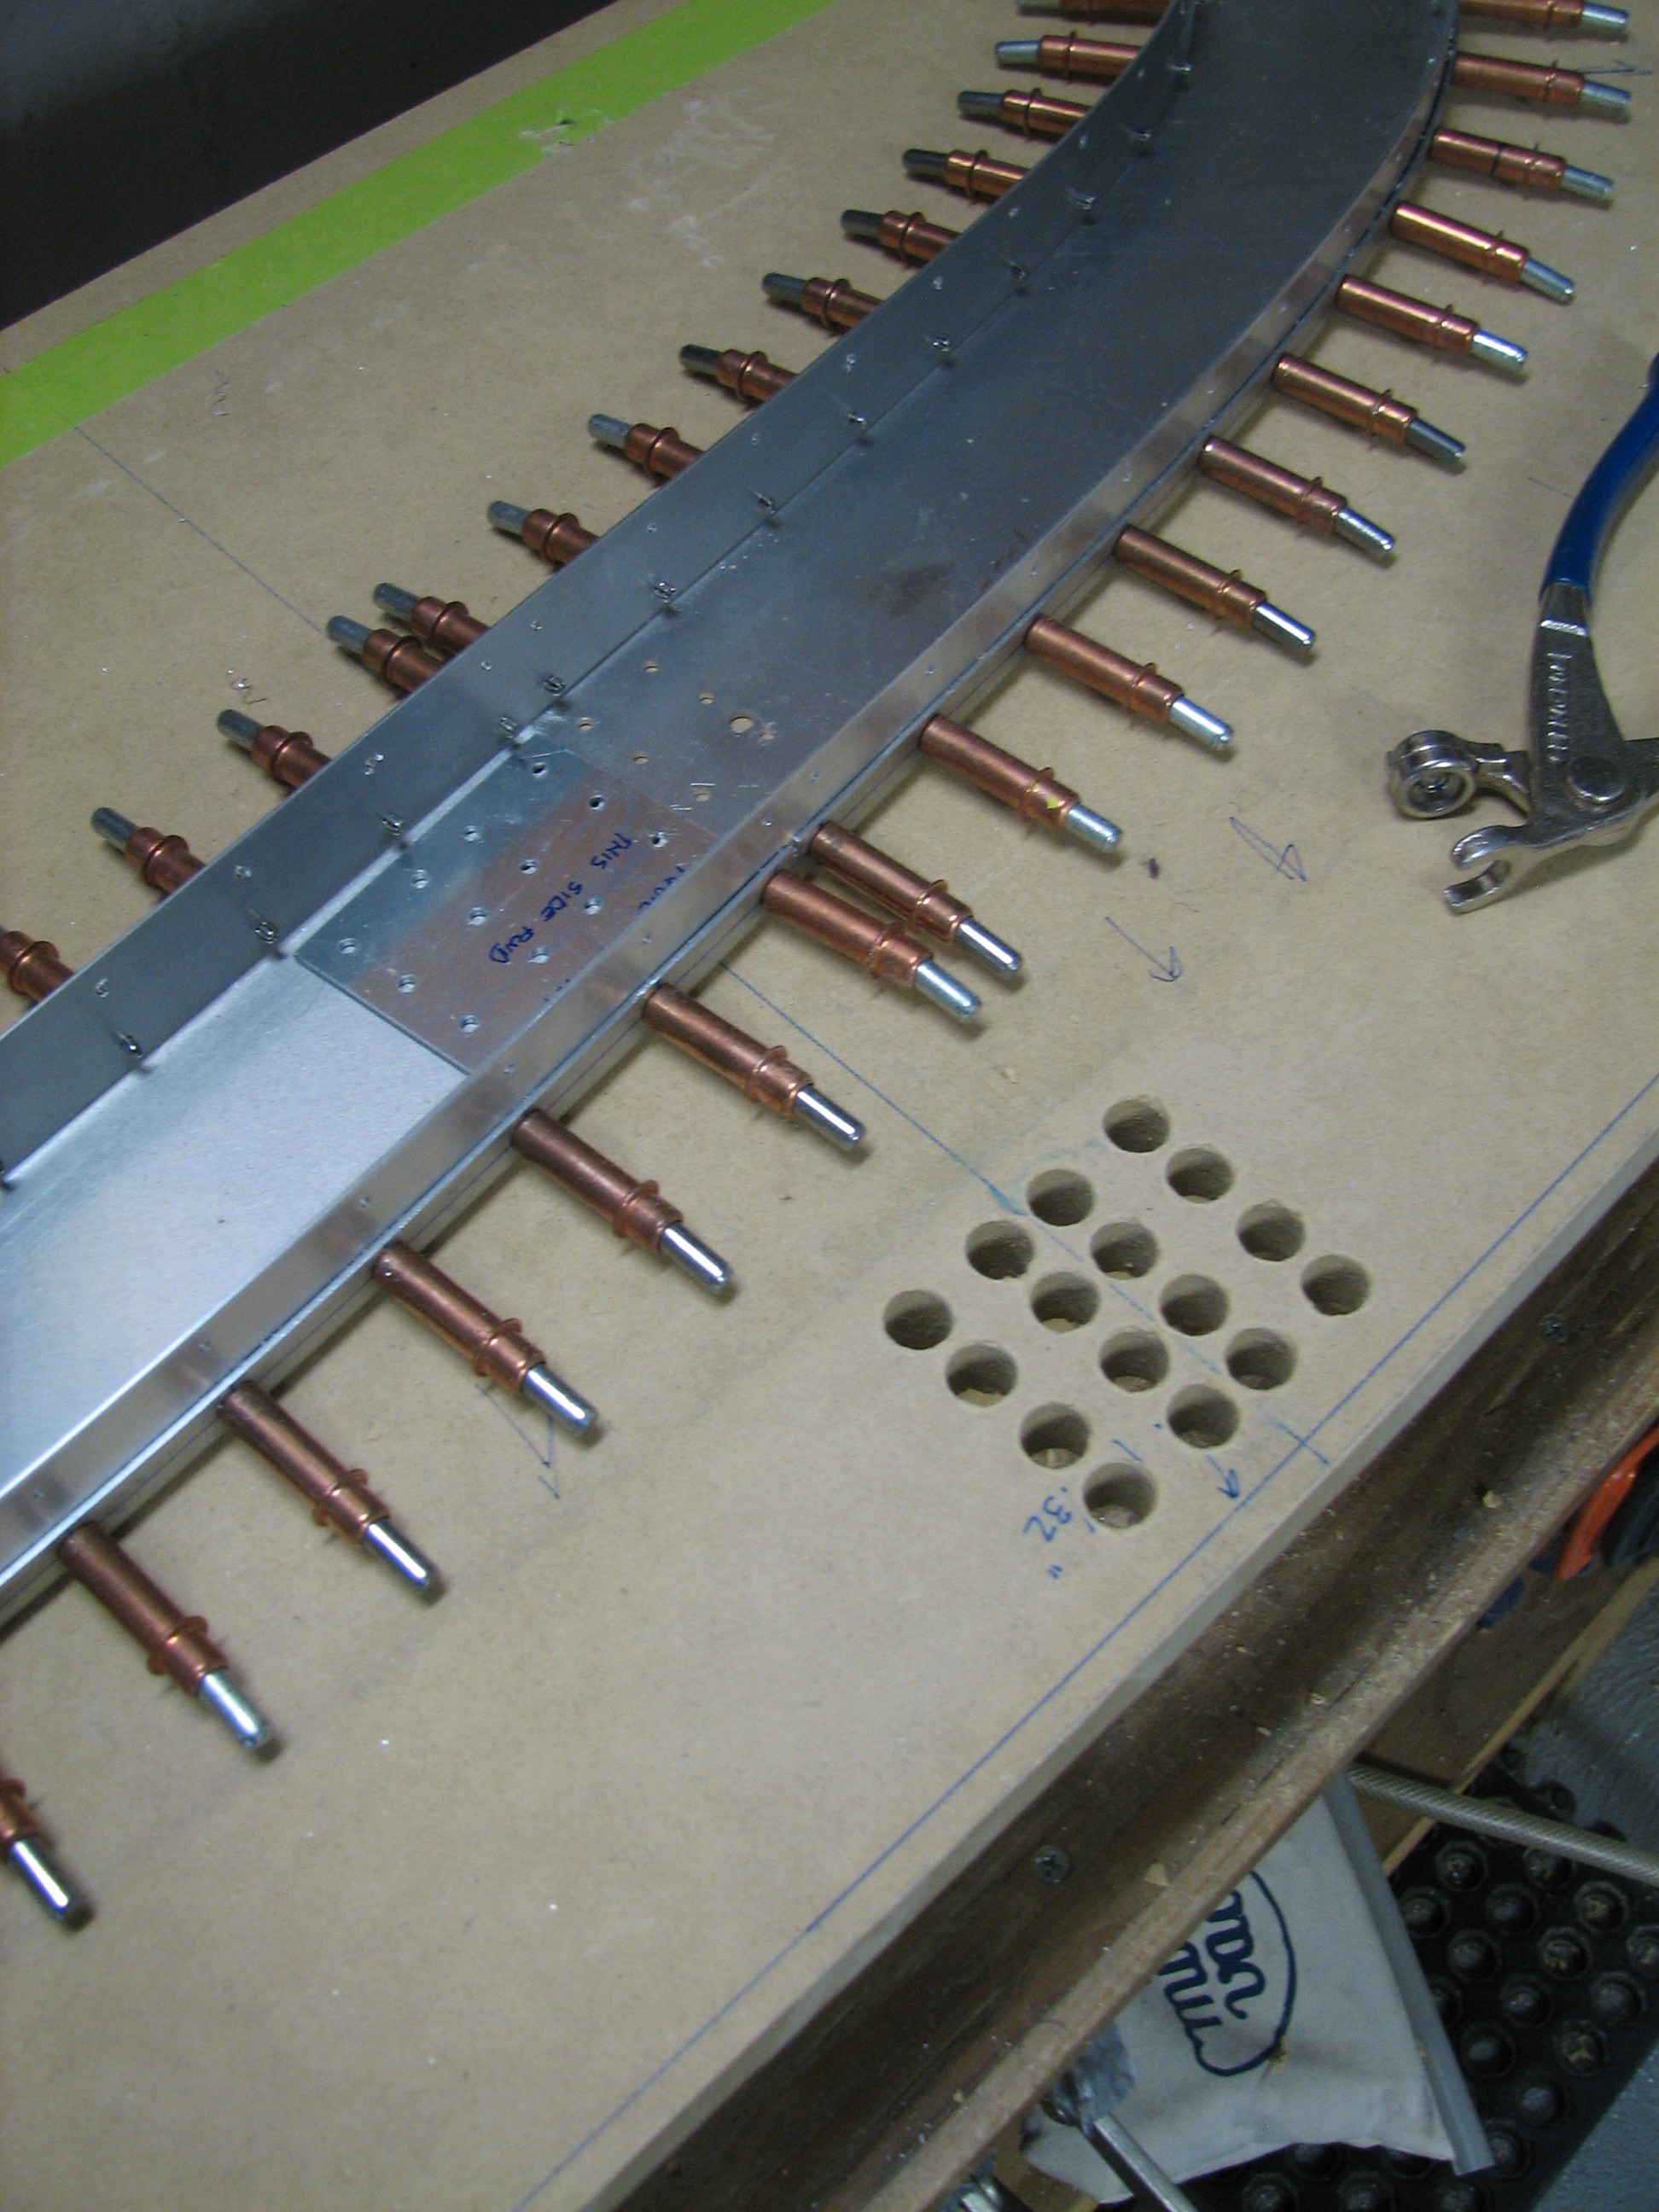
The last remaining task was installing a splice plate on the front rollbar half. It’ll be riveted on the inside, but it gets match-drilled on the outside…and here it is, clamped into place for drilling through the holes already laid out and pilot-drilled in the plate…
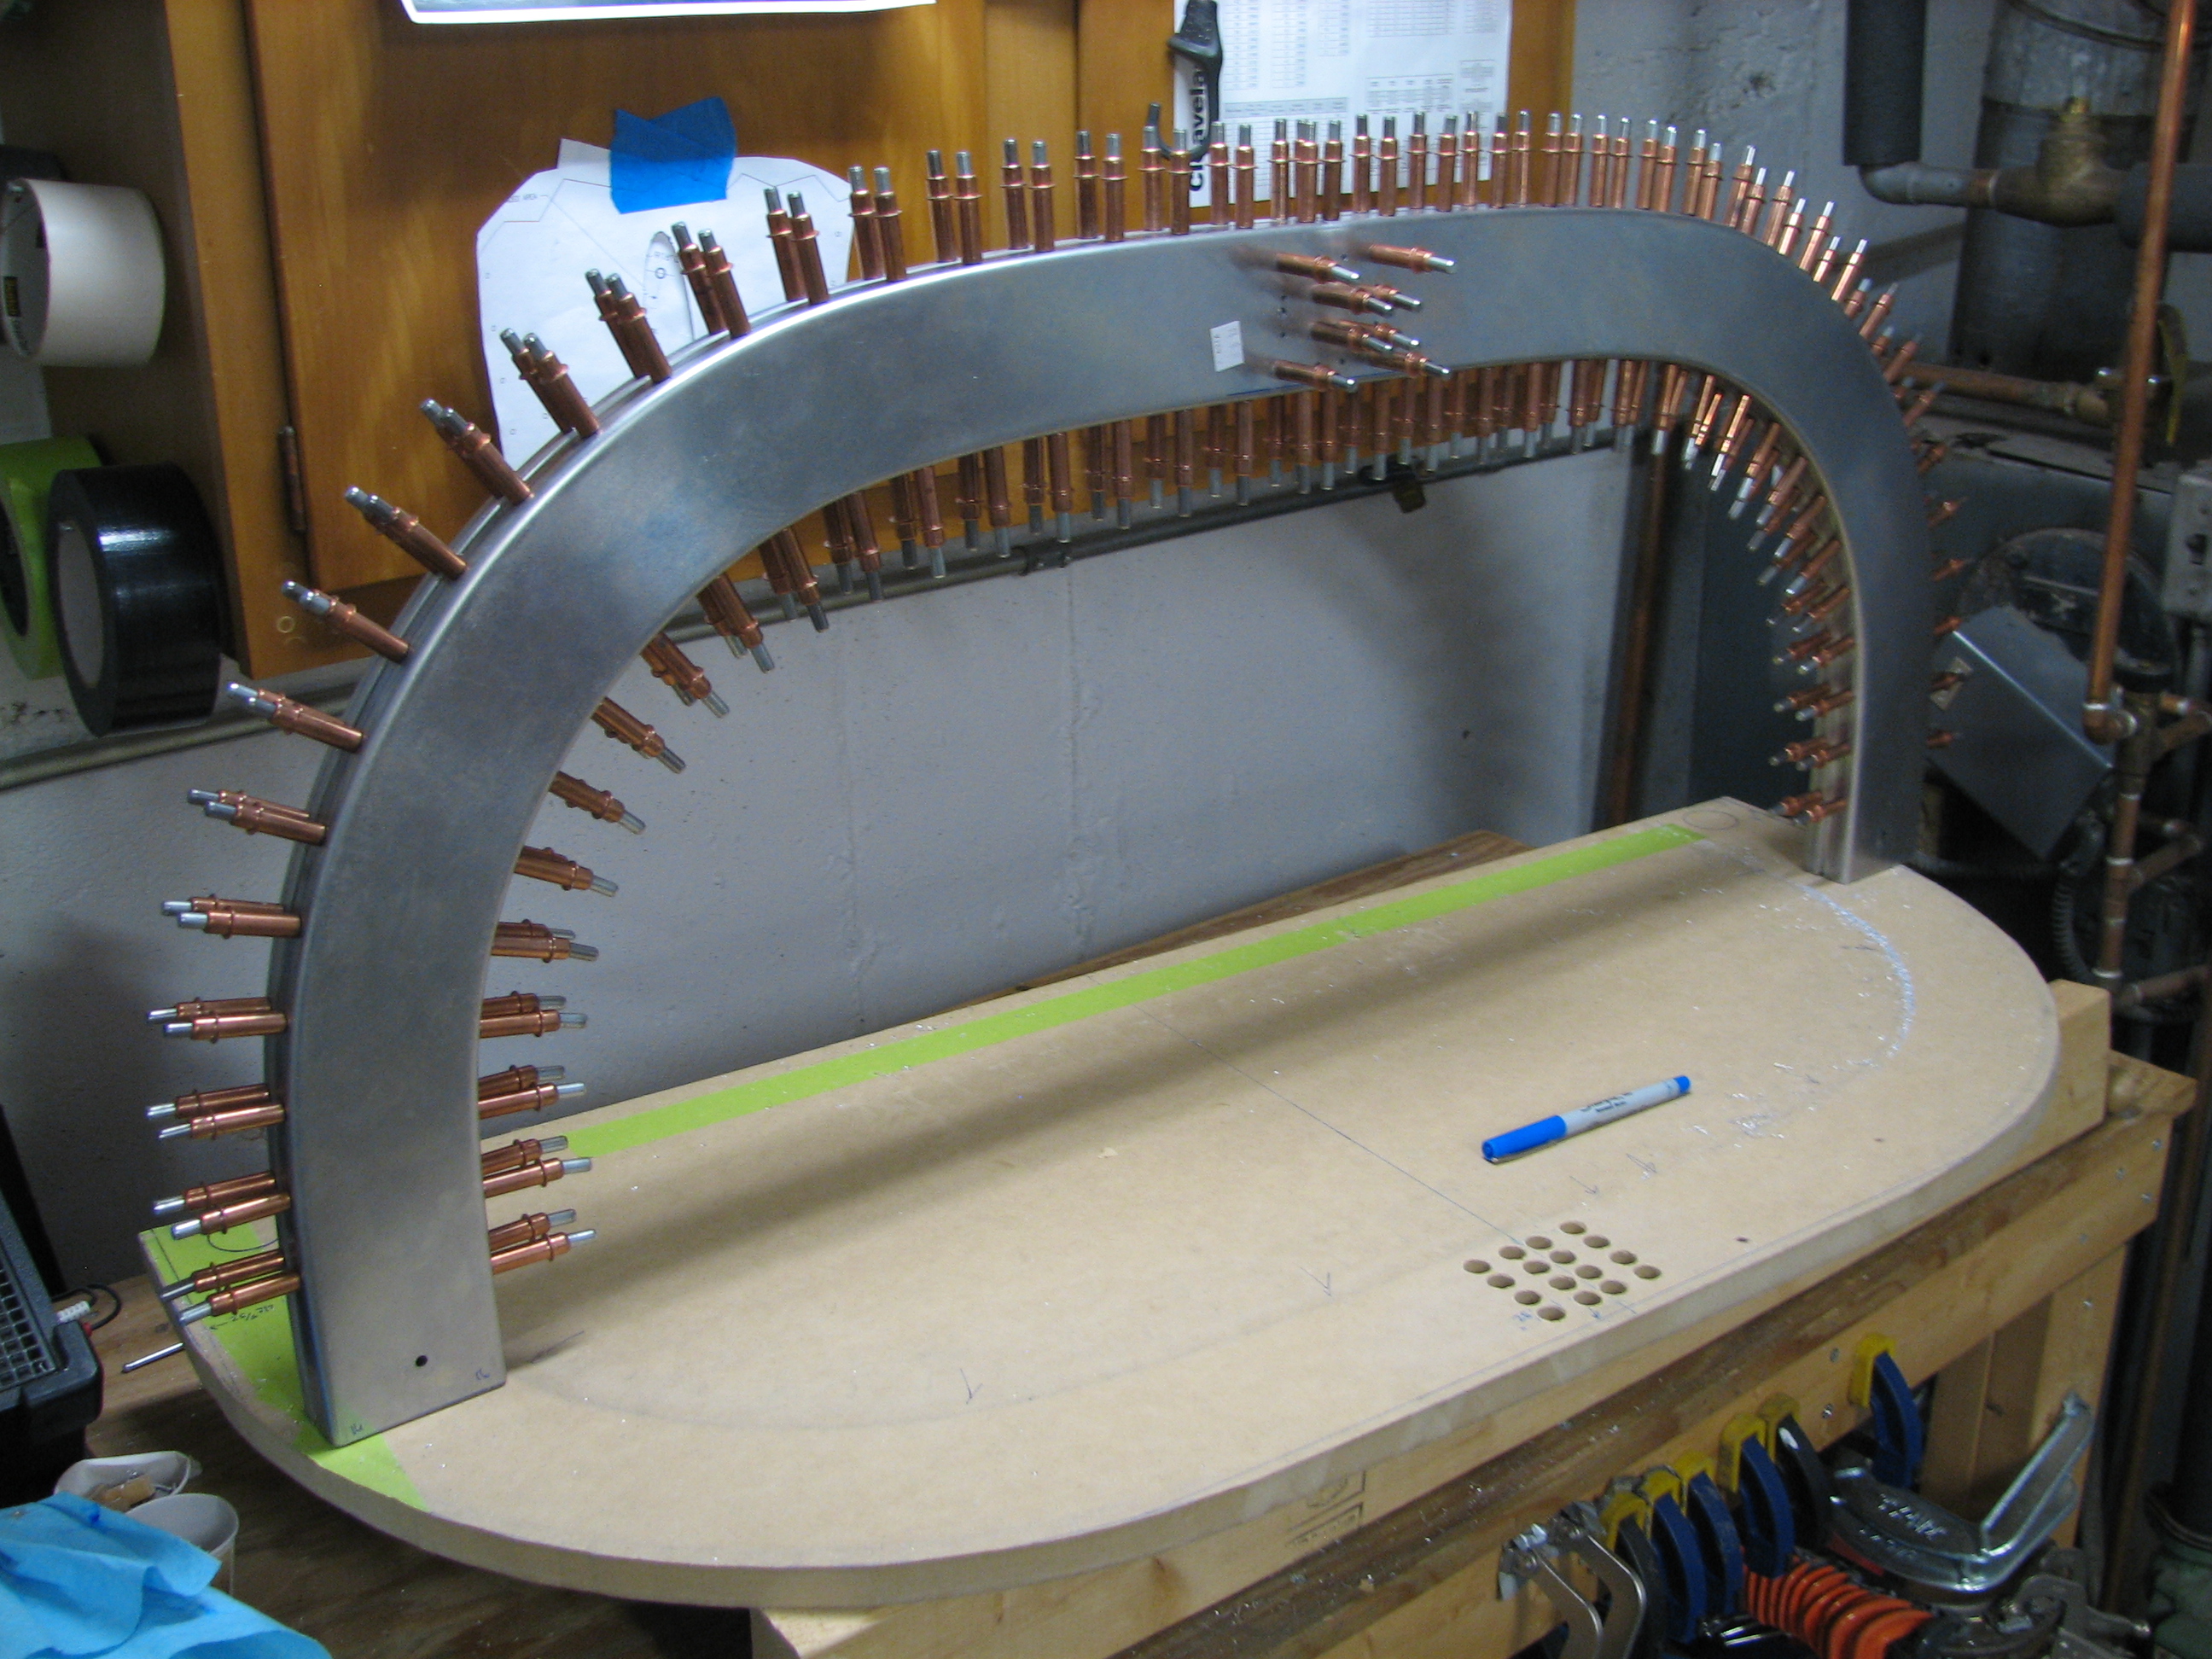
To accommodate the clecoes holding the rear rollbar half together, I had to drill some holes in the MDF board. Thanks to Bruce Swayze for documenting this little tip in his website.
Here’s the finished product clecoed together…
 …and here it’s temporarily placed on the fuse for motivational purposes. Very cool.
