
Much coolness today…I finally got a chance to work on the instrument panel. Another one of those tasks that’s been a long time coming
 Unfortunately, this particular task is a gigantic Pain In The Ass™ because it requires fitting the 0.125″ angle to the panel’s top edge. And that, in turn, means a lot of cutting.
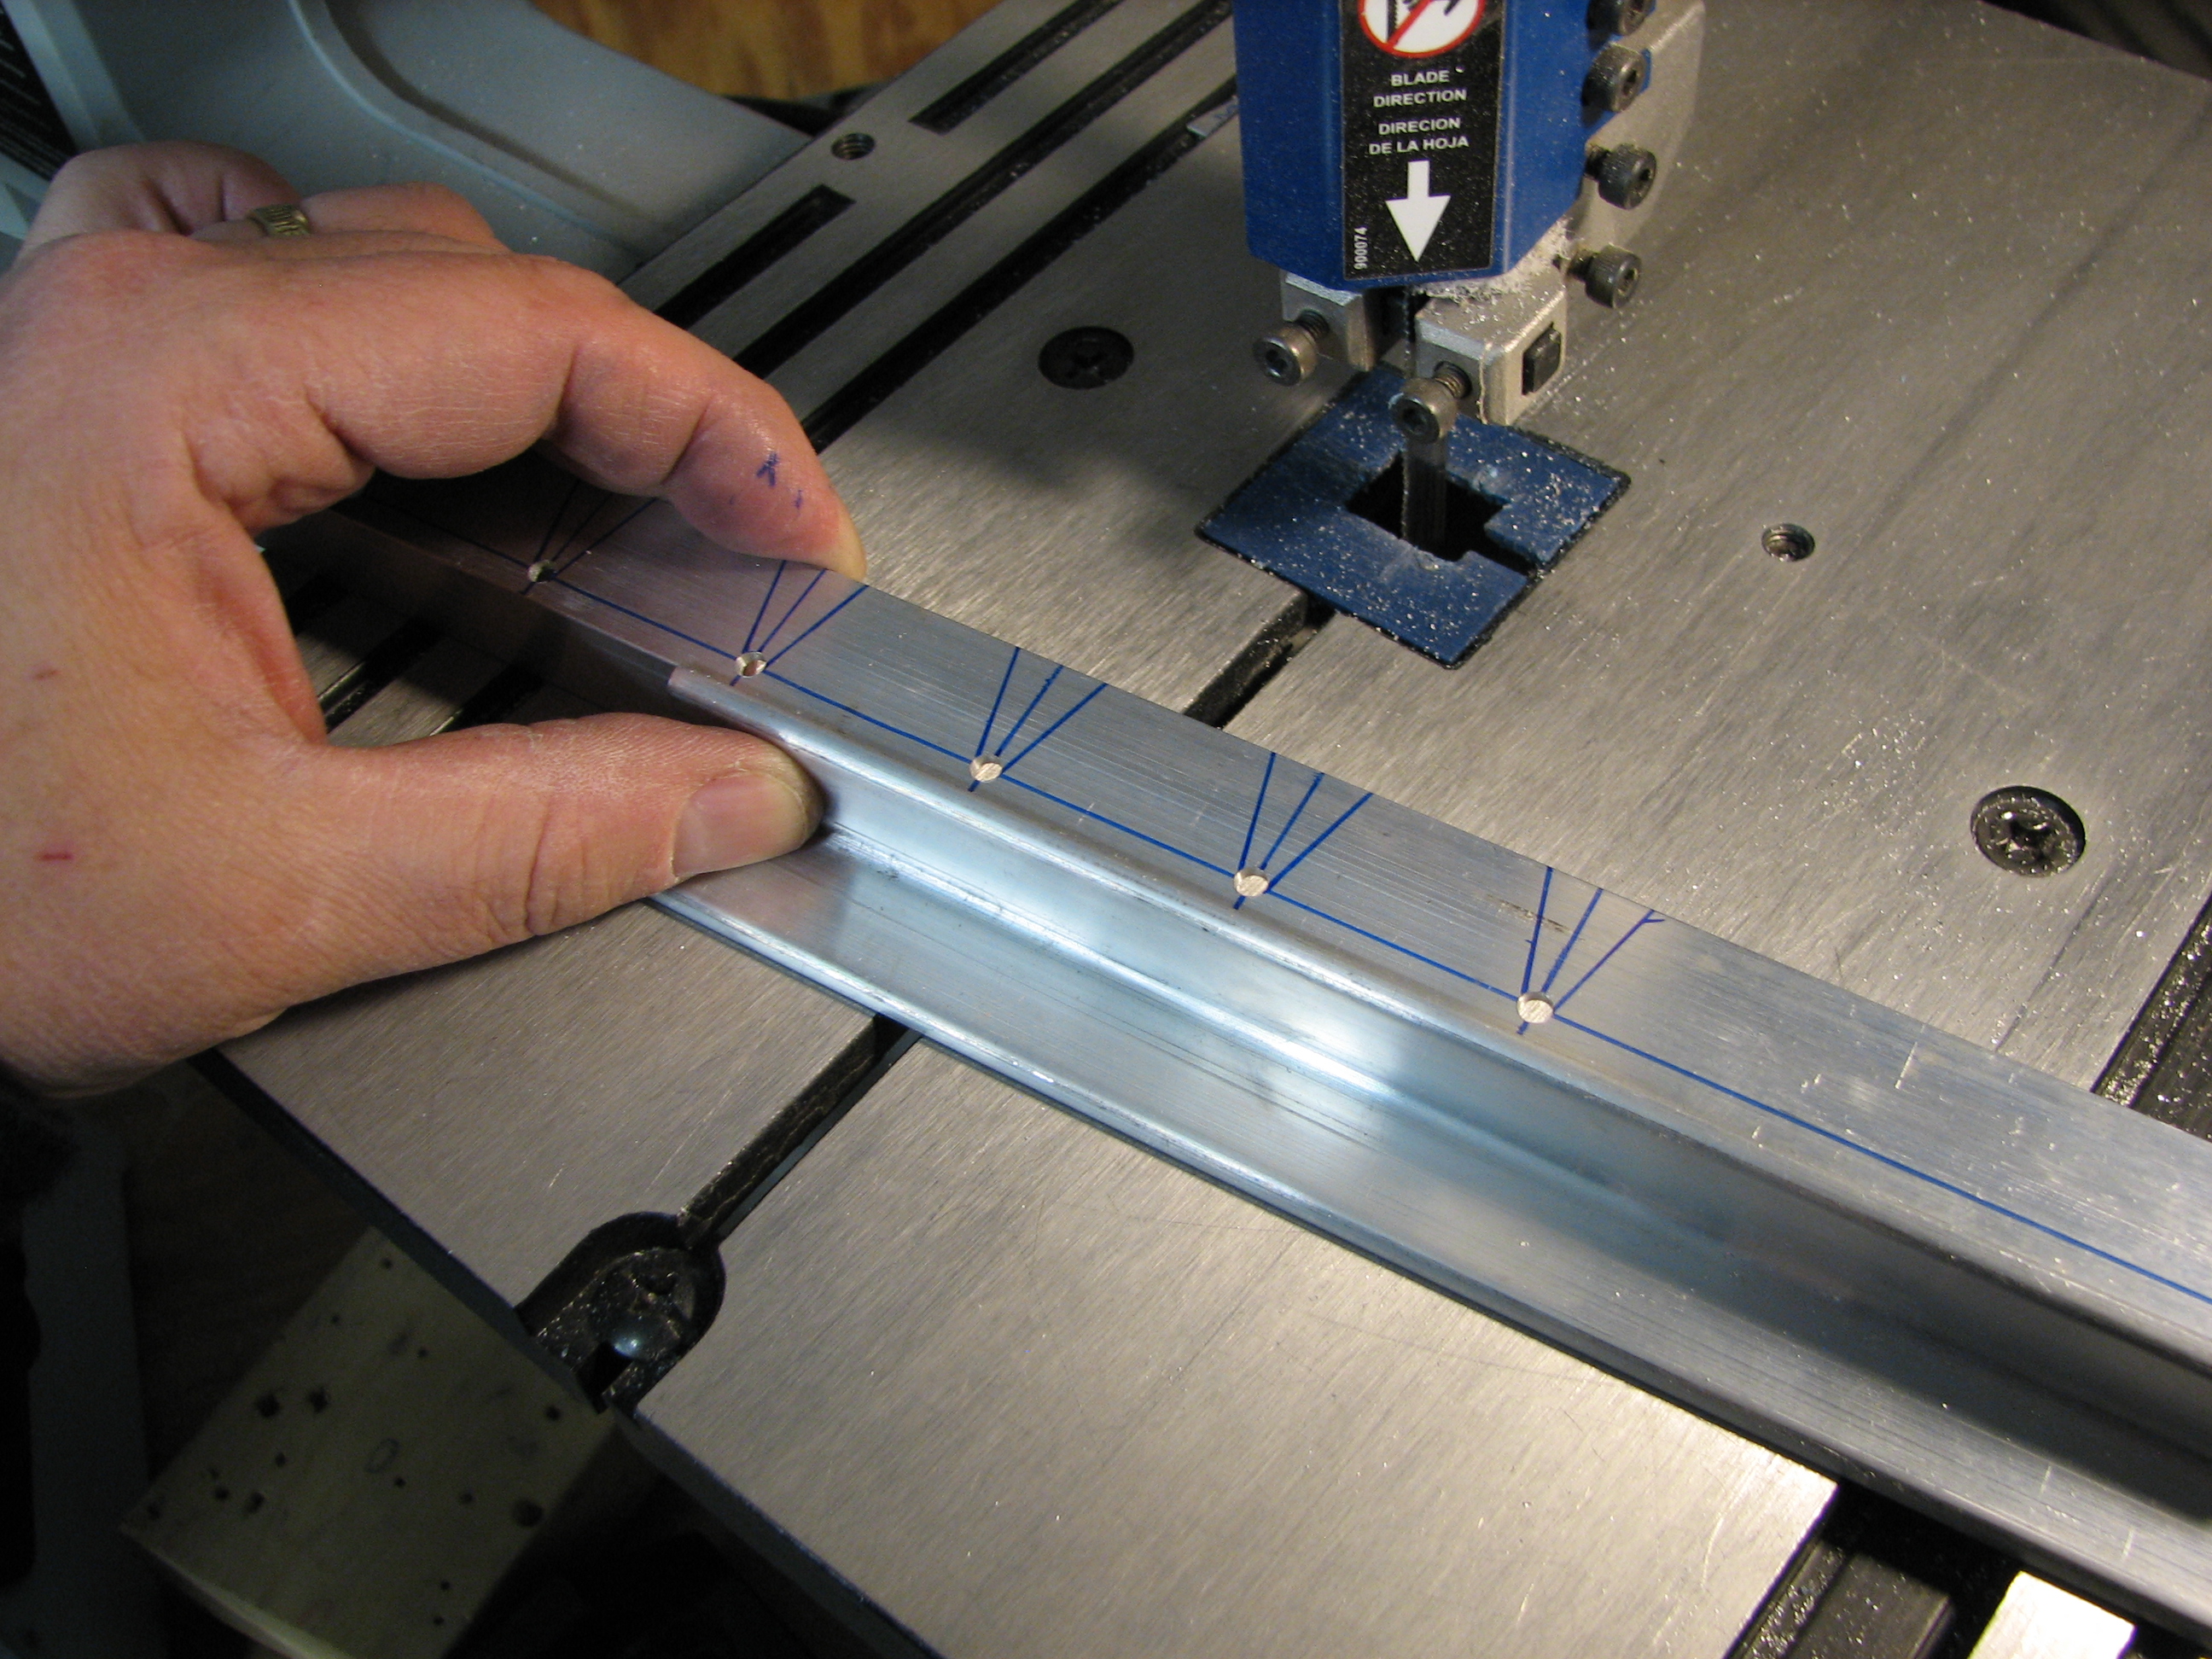 Fitting the angle basically involves cutting a series of wedge-shaped sections to make it easier to bend, and each of those wedges is started with a 1/4″ hole and then enlarged to make the final shape. Were it so easy.
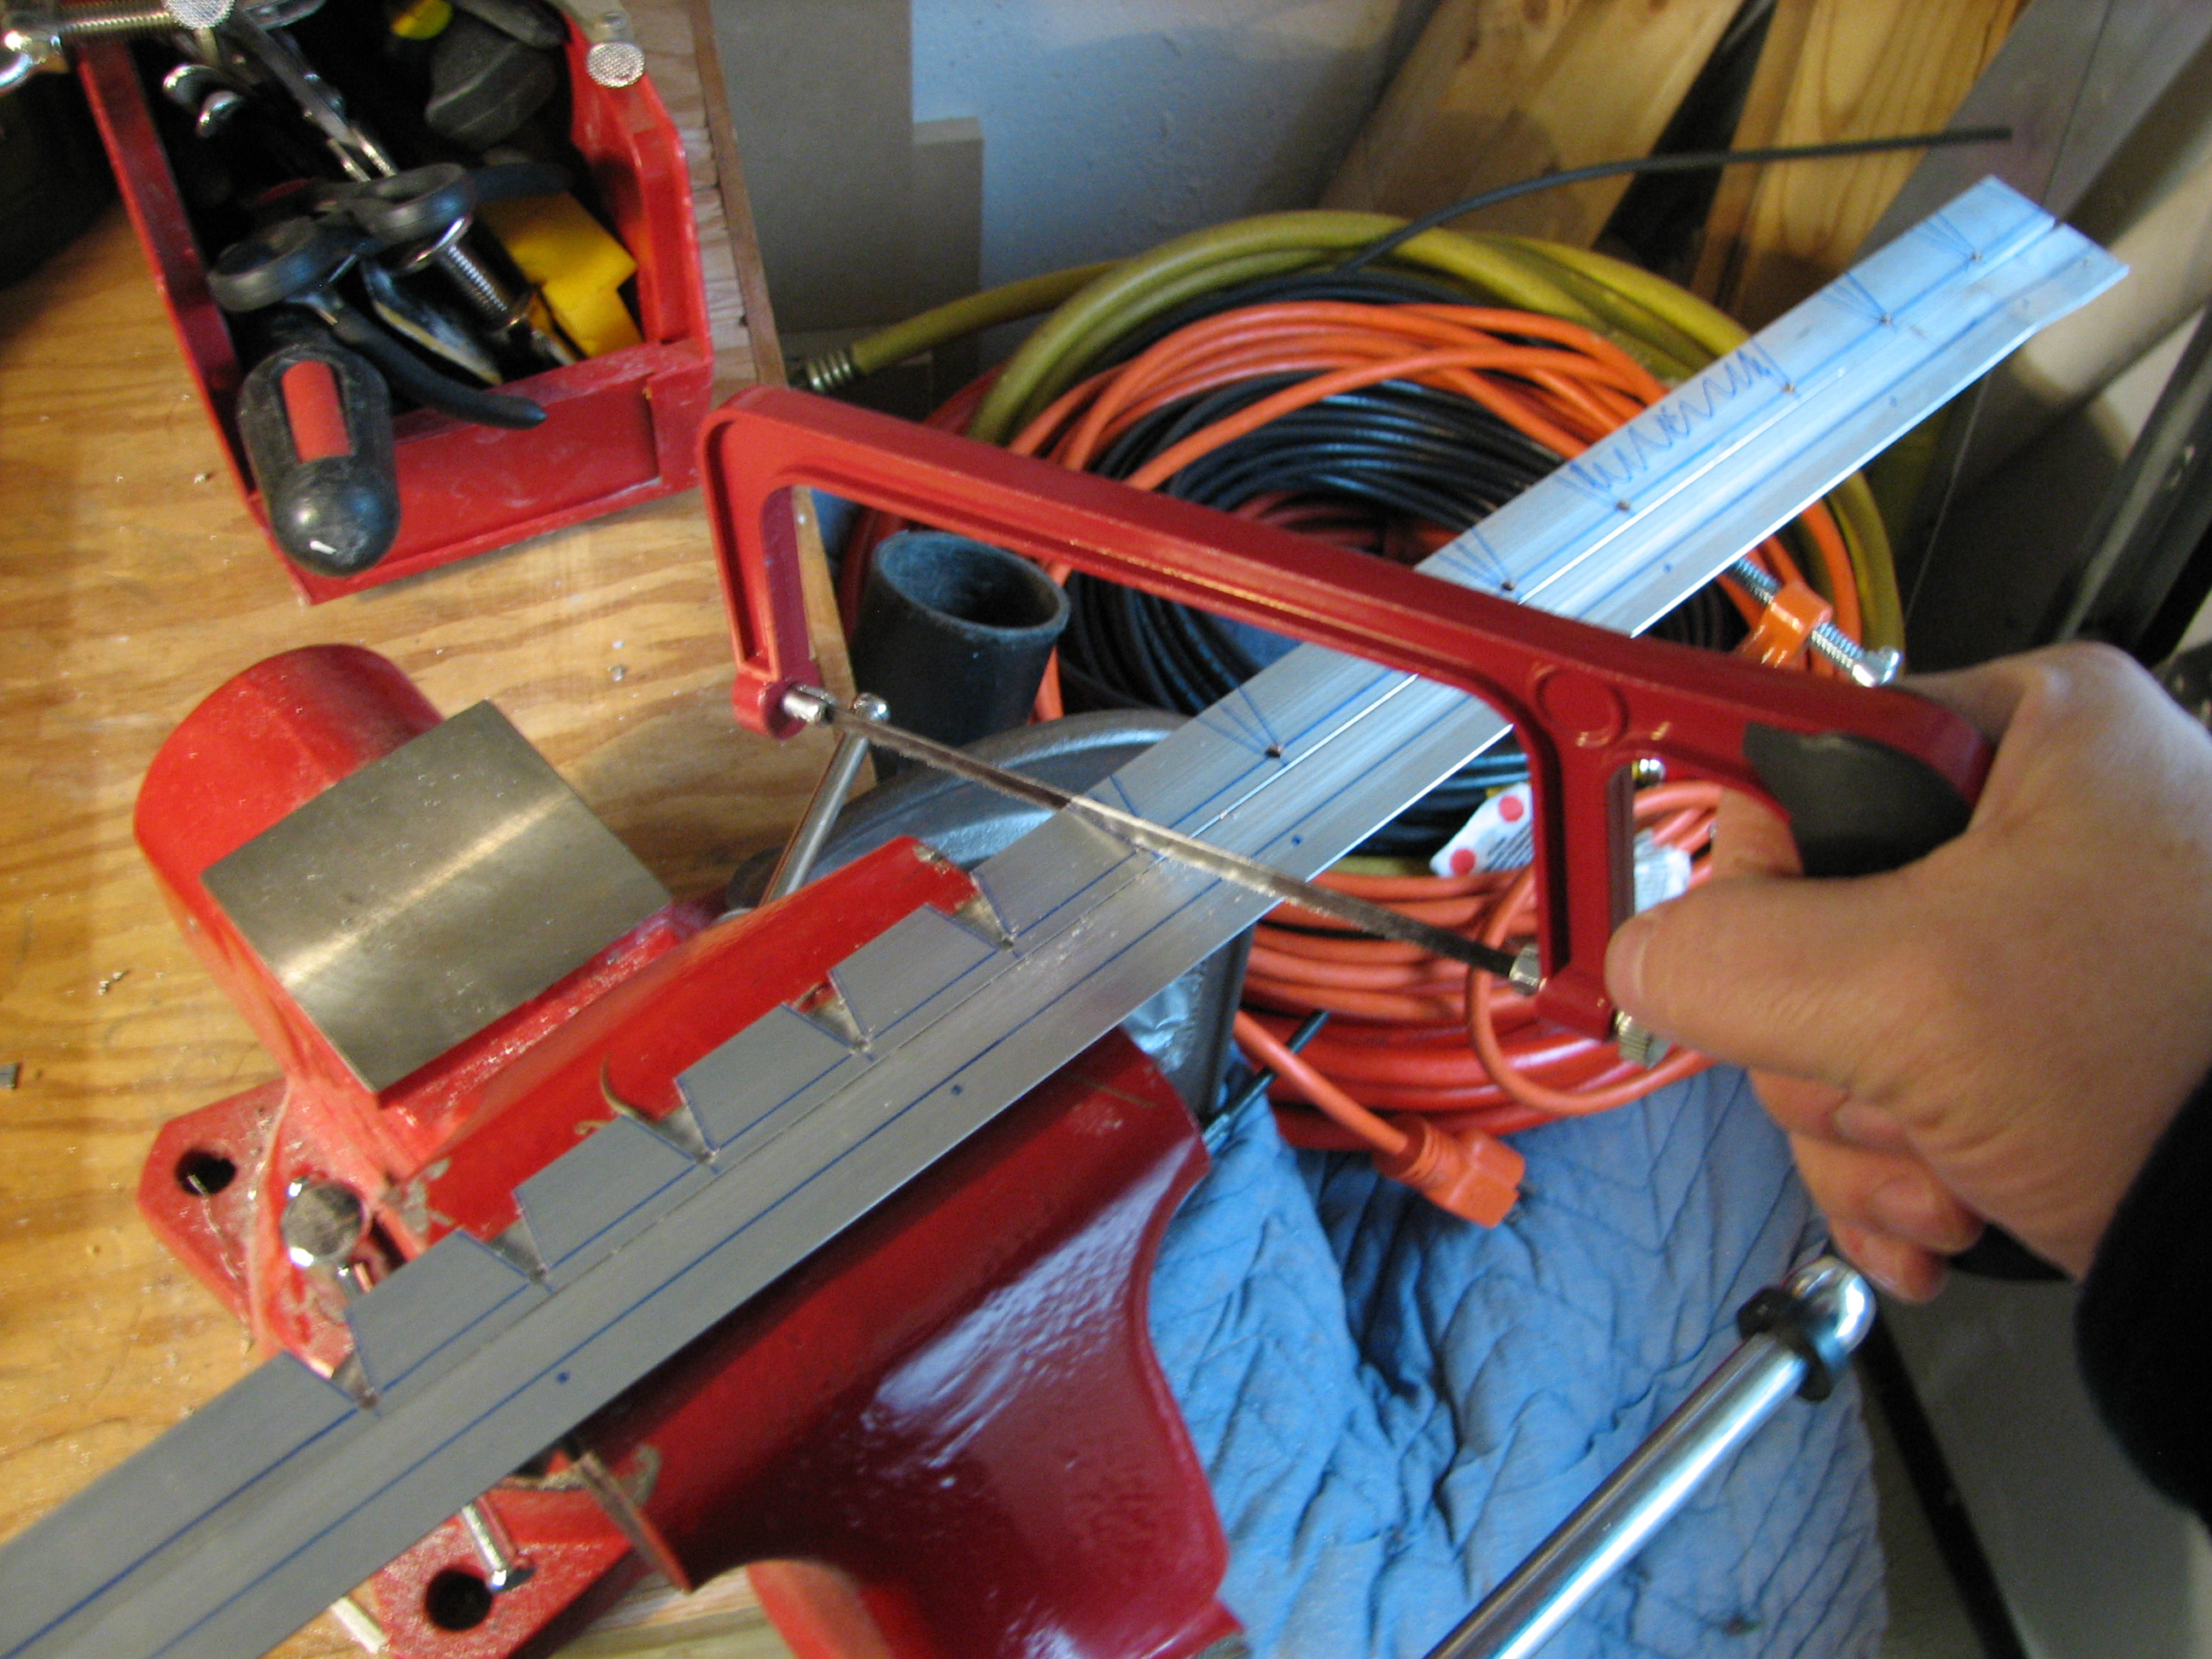
If you could make all those cuts with the bandsaw, this would be a relatively easy part to fabricate. But it’s just too long for my 9″ bandsaw, so that meant the dreaded mini hacksaw…
 No kidding, this part took me a solid day to fabricate. Adding to the fun was a mistake I made in laying out the angles…I made them double the size they were supposed to be, and didn’t notice that mistake until I was almost done. Fortunately, the second part always takes less time to fabricate.
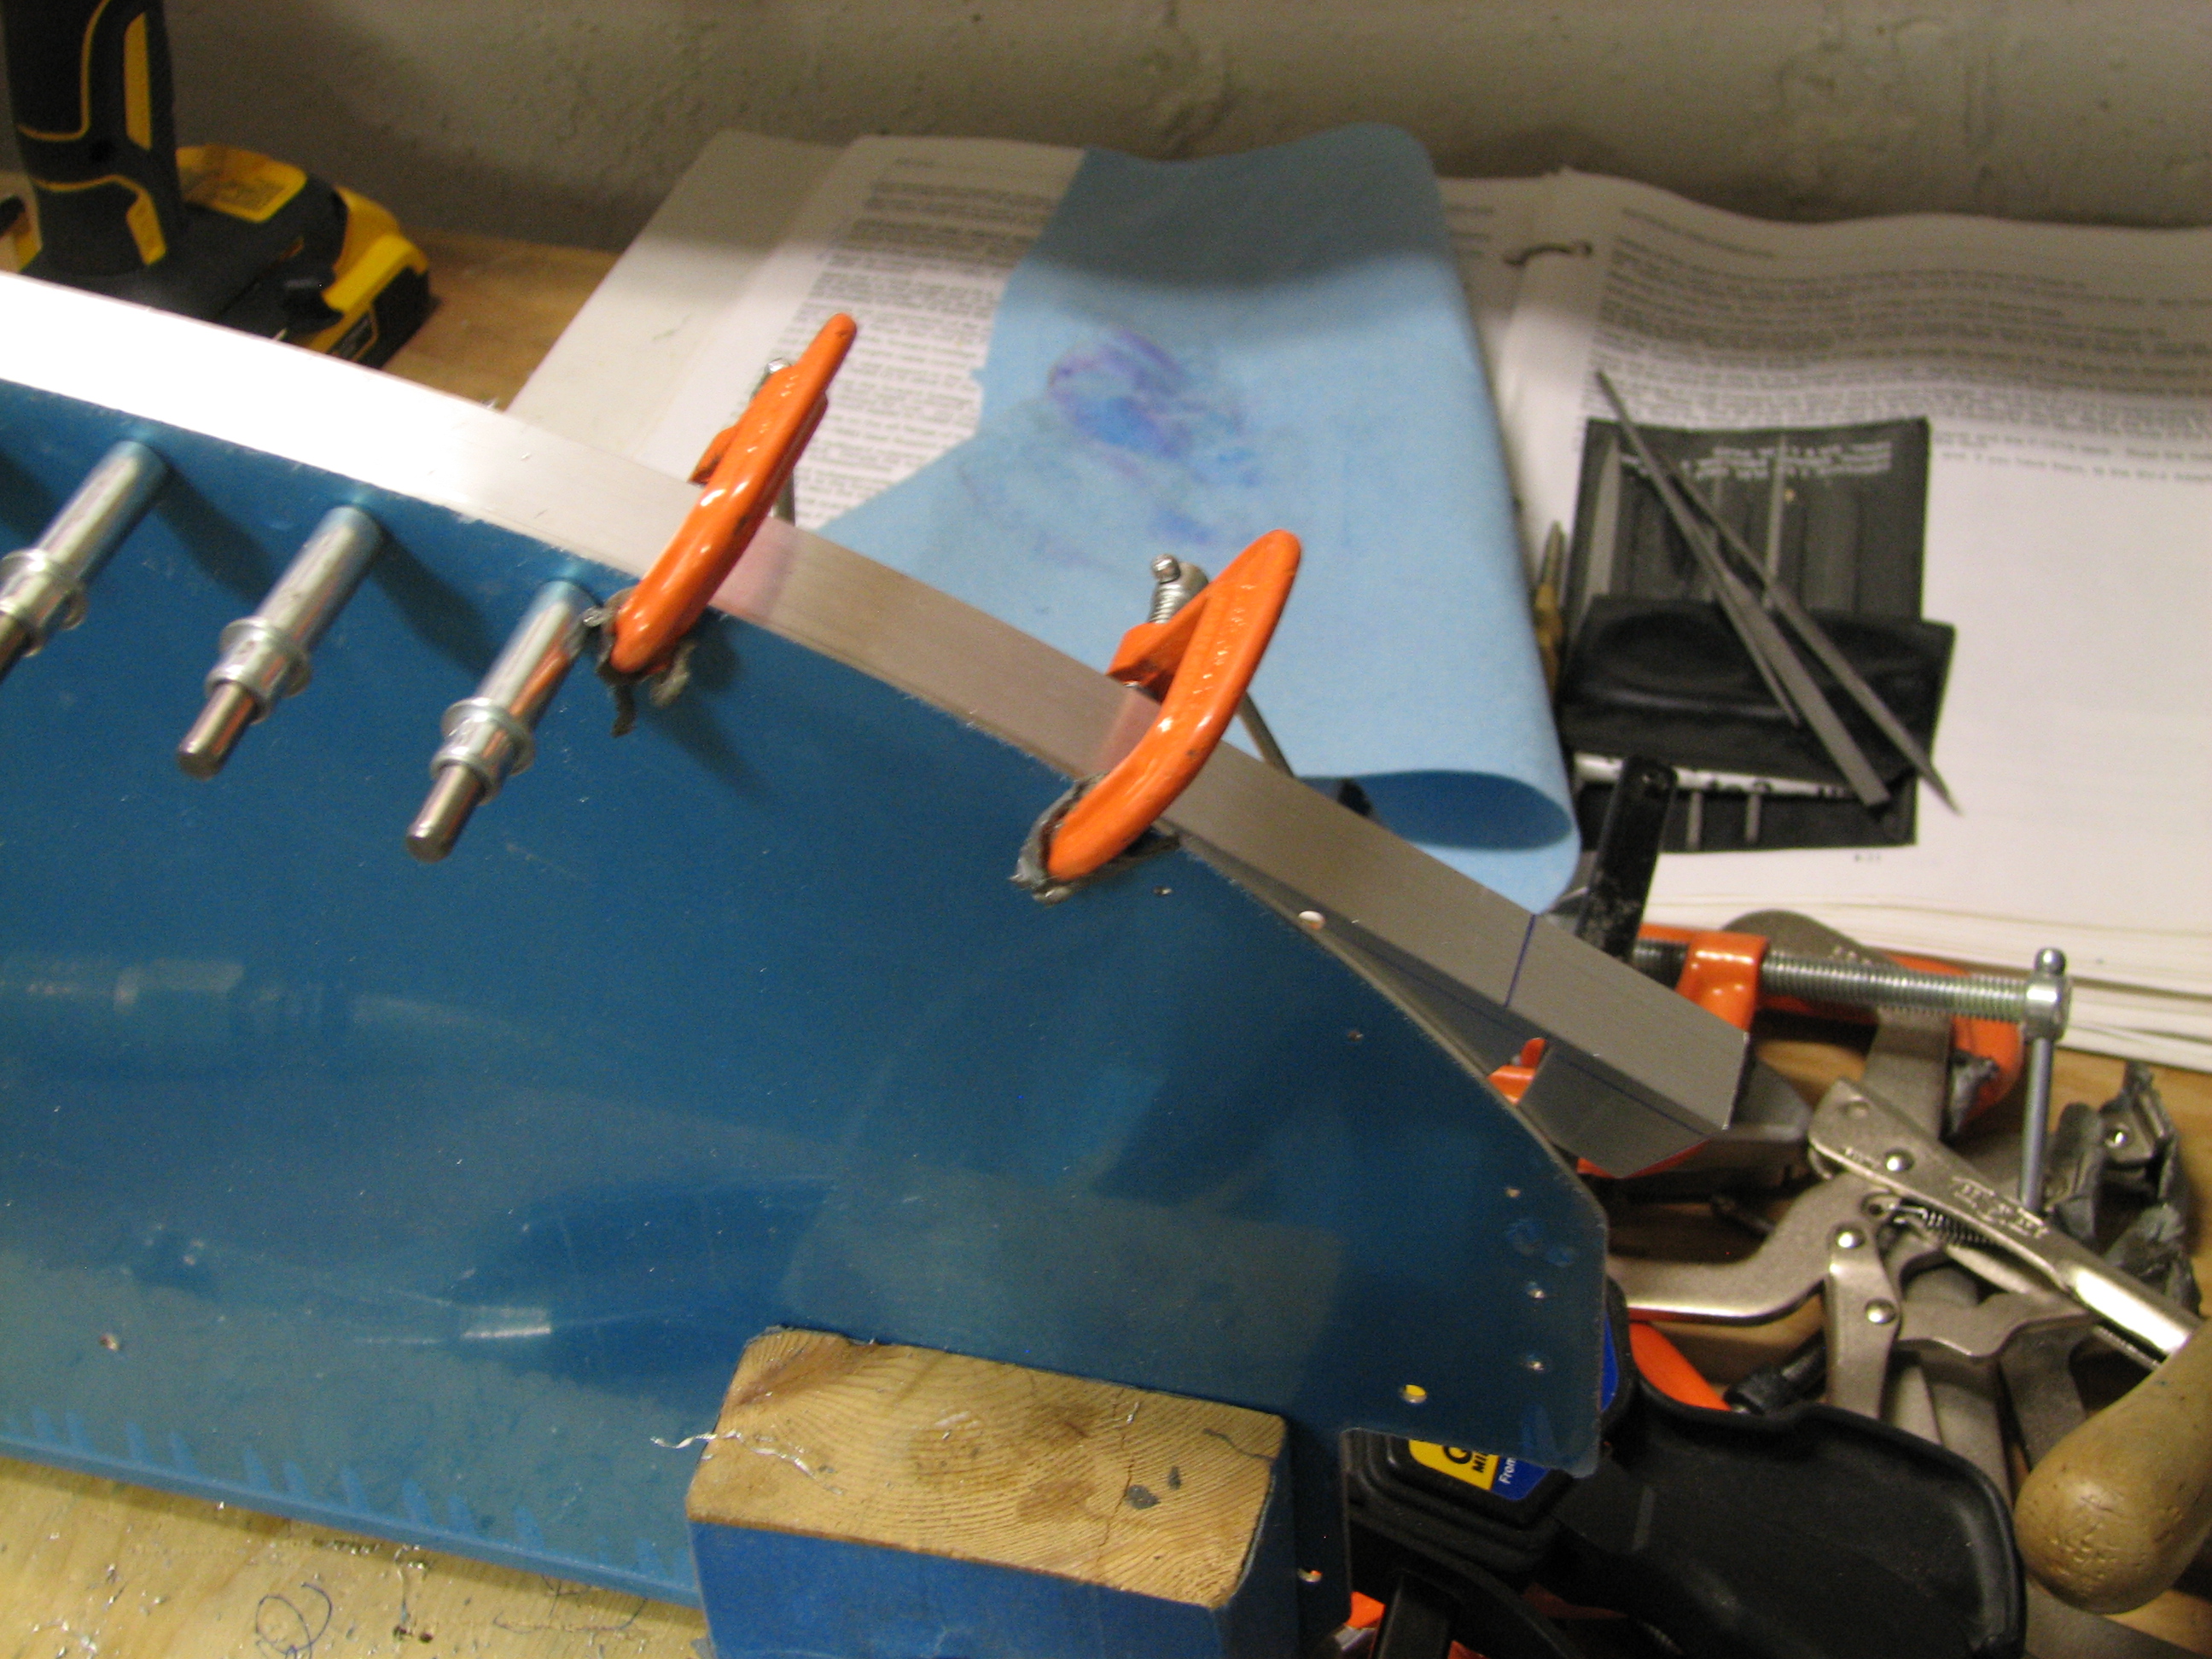
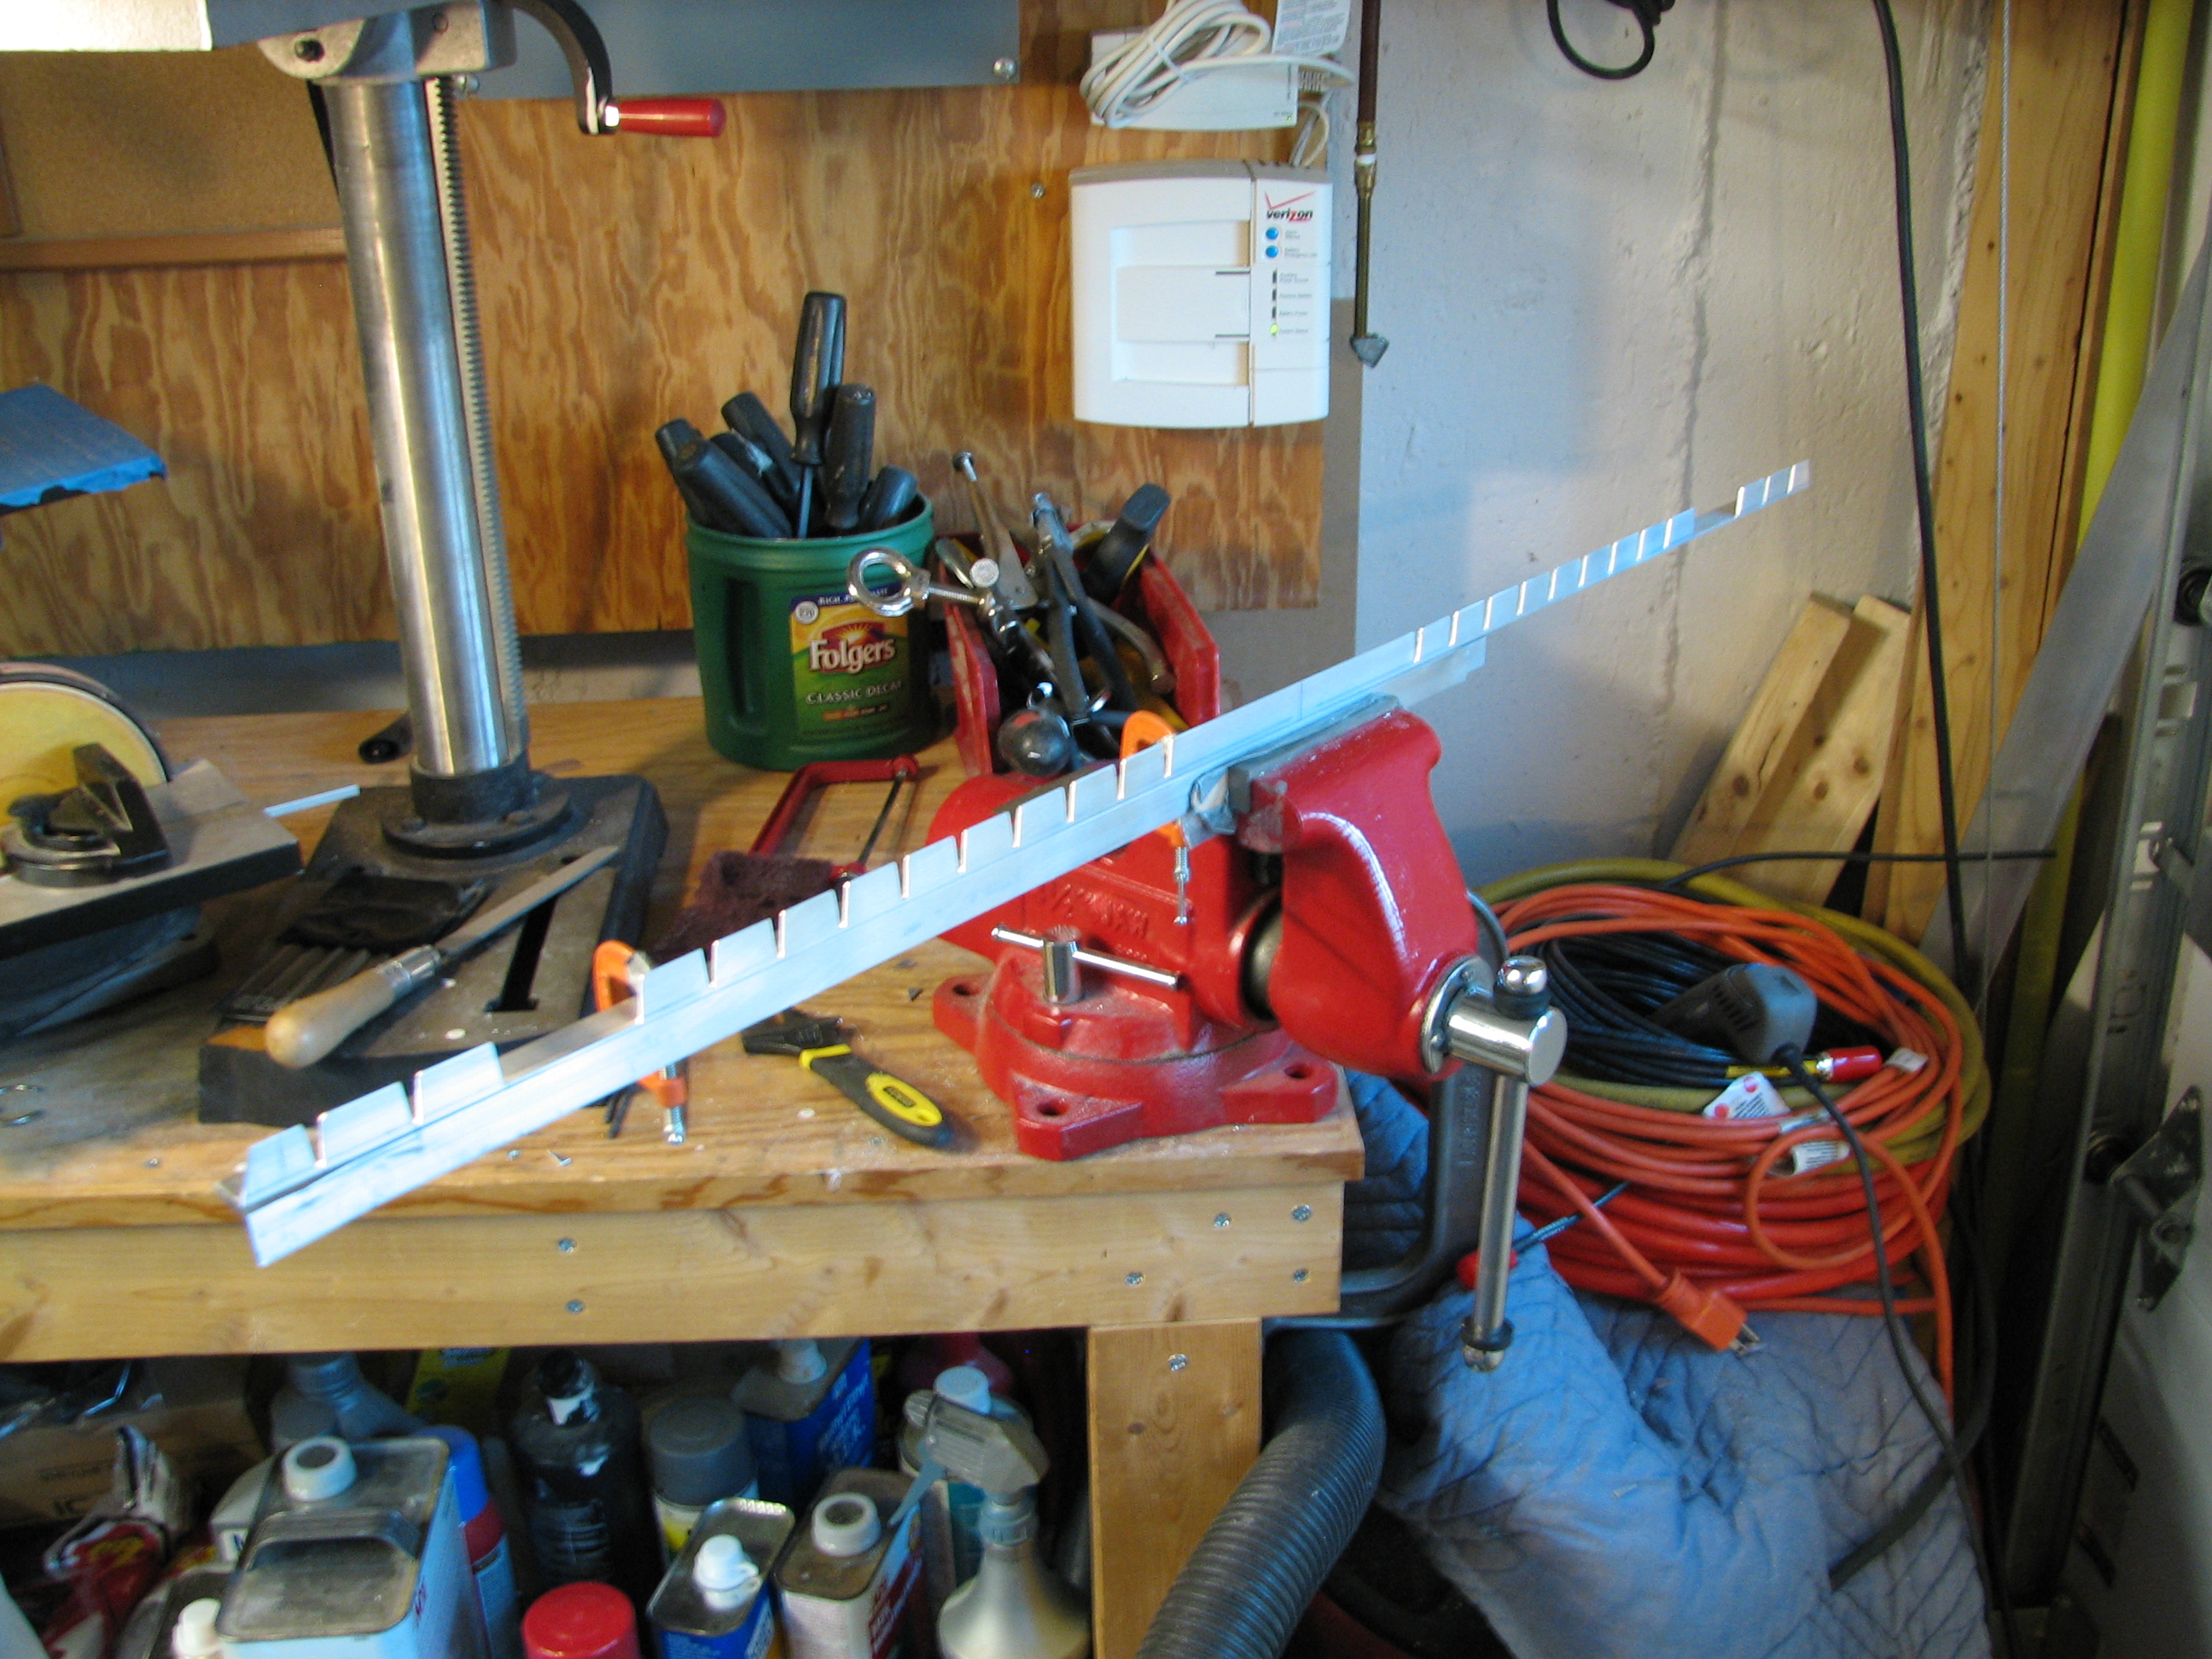 After all that work, here’s the finished product. I’ve clamped it to another piece of angle to make it easier to file and scotchbrite, because it does get a little wobbly with all those angles cut out of it.
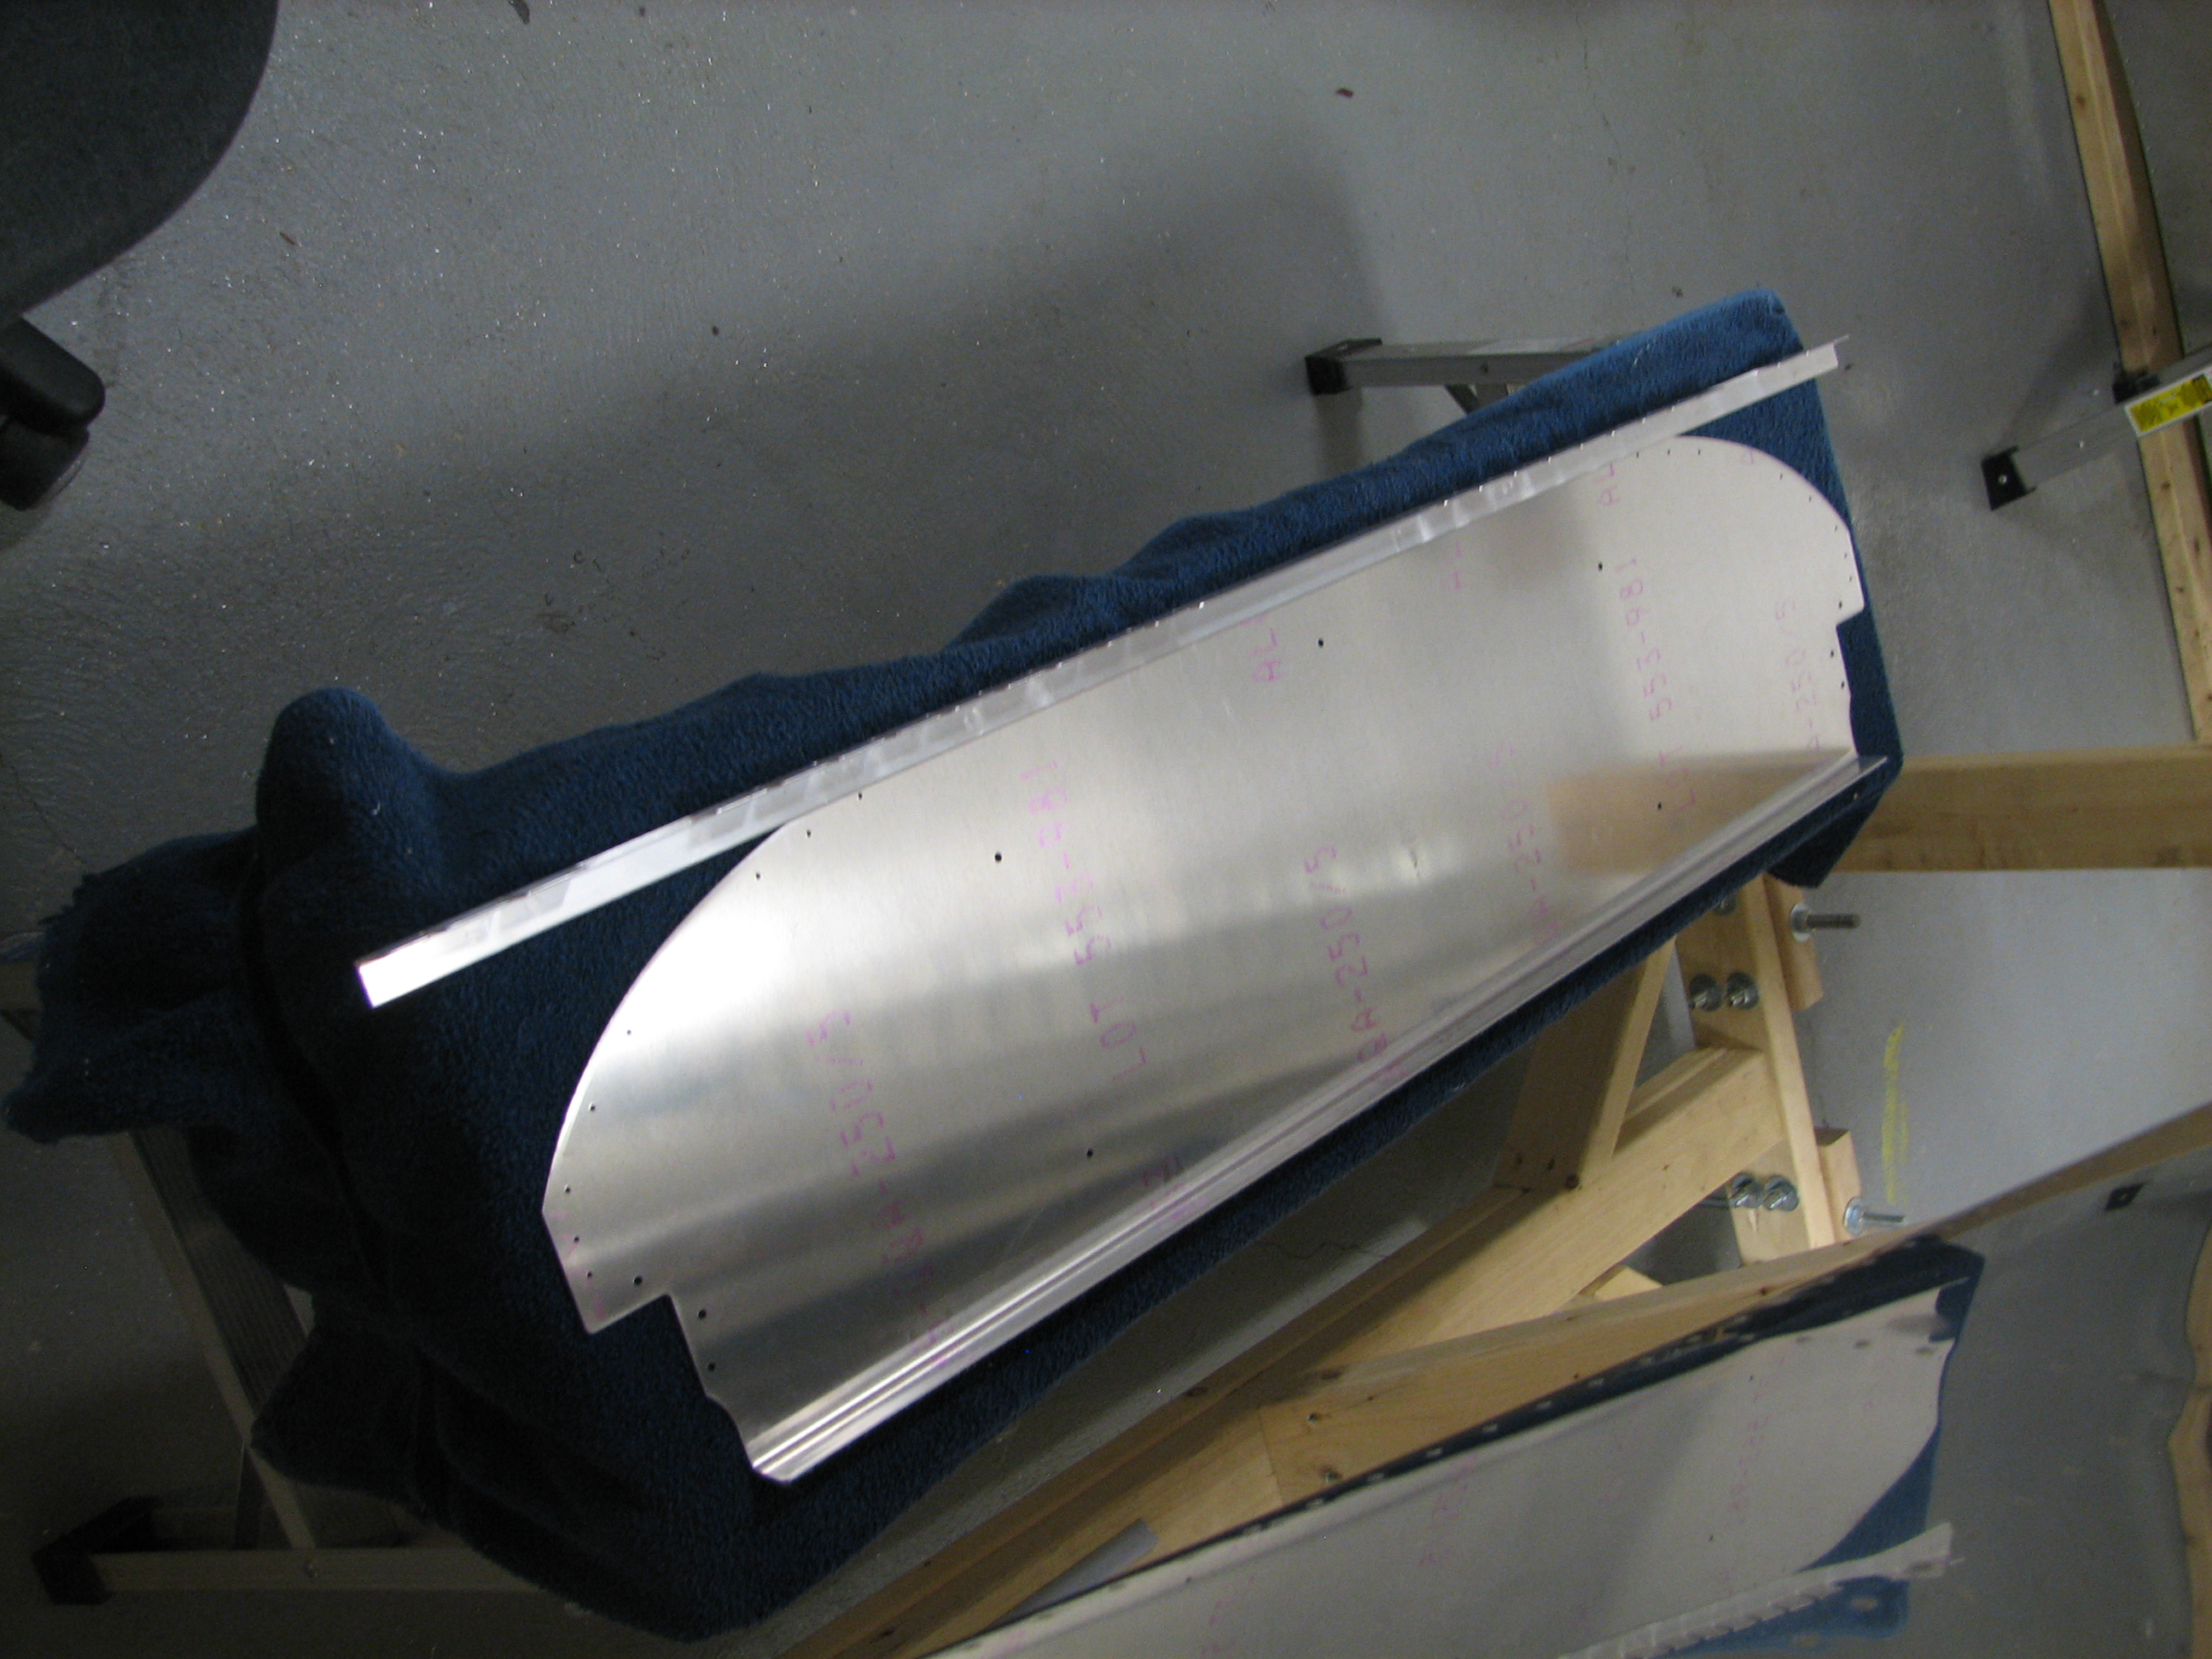
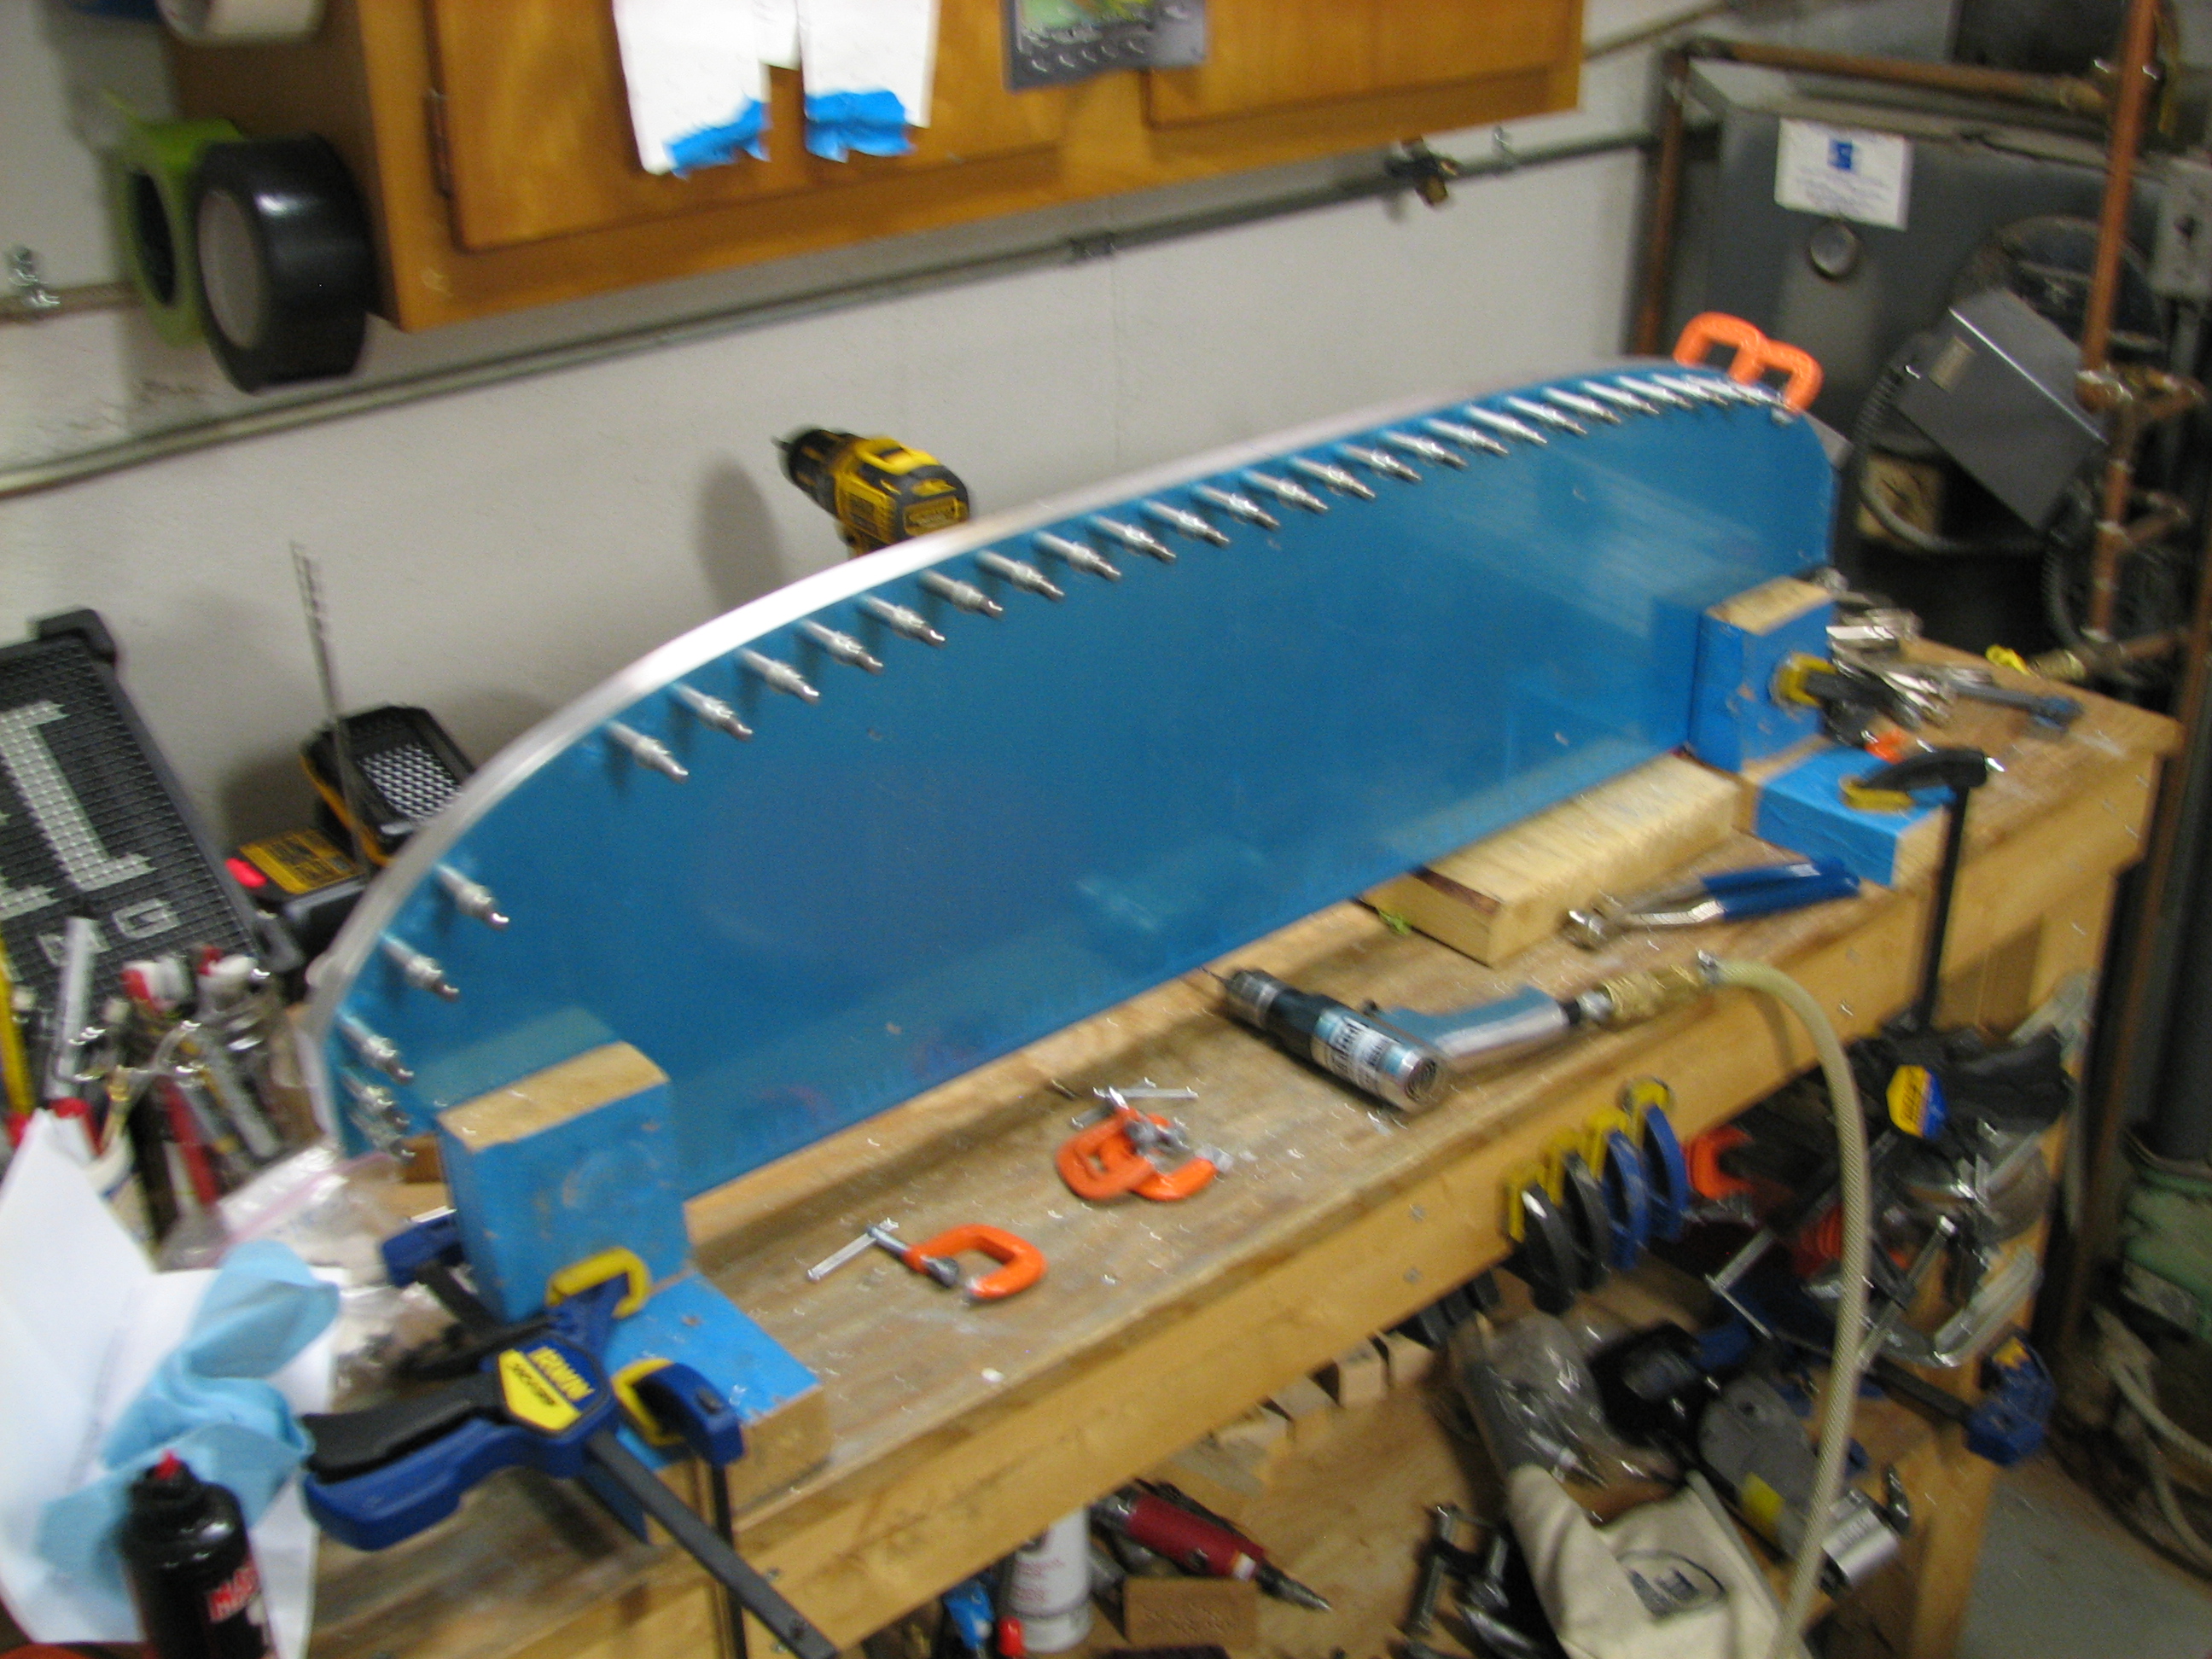
 Drilling the angle to the panel was pretty easy in comparison, but it still took awhile. I clamped it in place on the panel and worked out from the center, adjusting the fit of each section and then drilling and clecoing. Here’s the final product..
 I also fabricated some of the little support angles that go into the subpanel…sorry, no pictures.