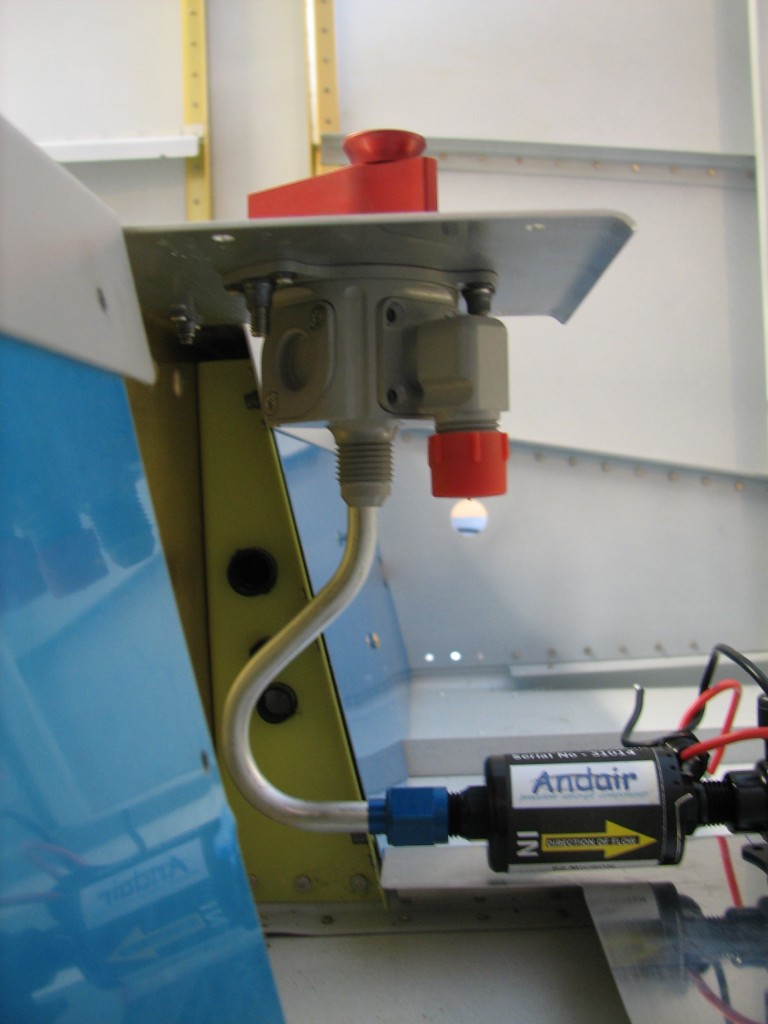
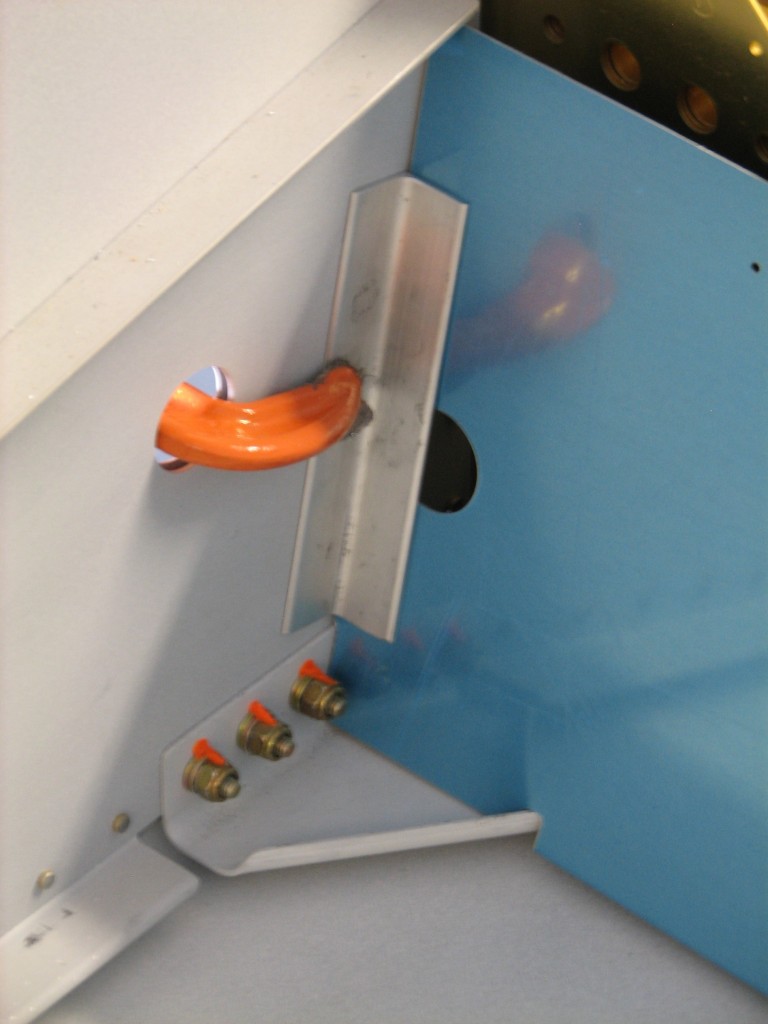
Some days you spend a lot of time in the shop and don’t get much done…a lot of lateral or backward motion, without a lot of forward progress. The last few days were like that.
I mentioned in the last couple of posts that I needed to fabricate an aluminum line that connects the fuel selector to the fuel filter/pump. Turns out that Van’s ships its RV-7 fuselage kits with 8 feet of 3/8″ diameter aluminum tubing for fabricating all the fuse fuel plumbing, and I used just about all of that trying – and failing – to make one simple damn 8-inch line.
You might think from the picture above that I got it just about right, but there’s just not enough space left at the top of the line to attach the same AN coupling that’s on the other end. So I did what any good civil servant does – I threw money at the problem. I ordered some right-angle AN fluid fittings from Aircraft Spruce that I hope will solve the problem. More to follow…
The next item on my punch list was fitting the forward fuel line covers. Before I could do that some clean-up work was necessary – mounting and torquing a couple of corner gussets that take the place of landing gear weldments for the RV-7A main gear.
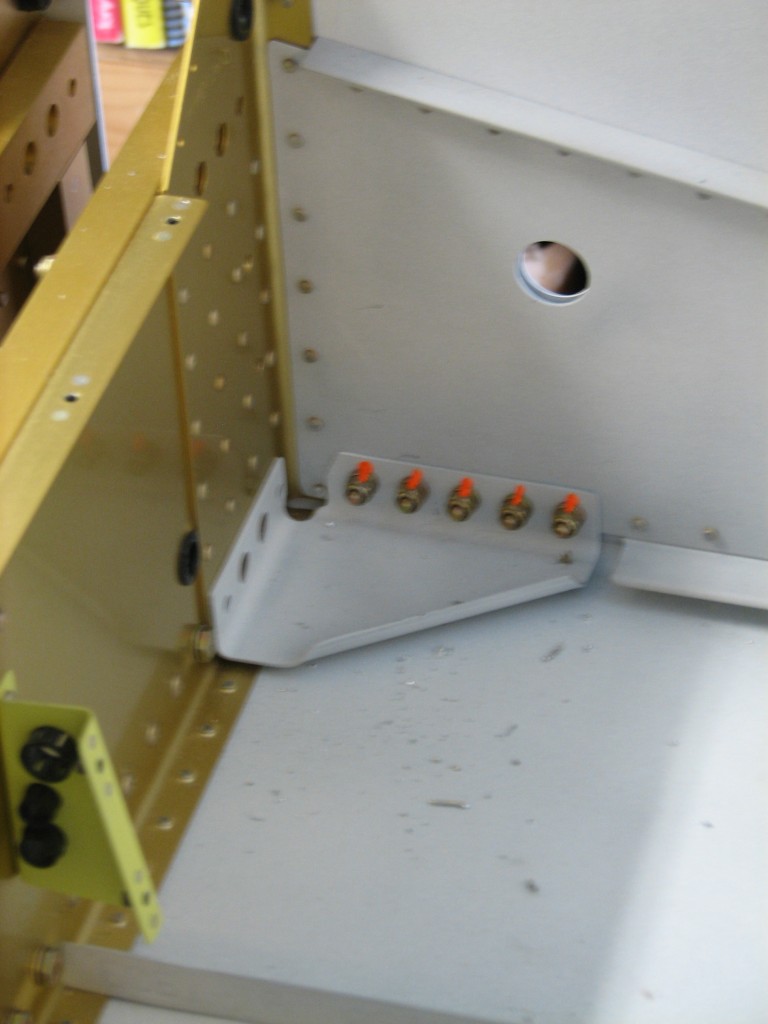 Sorry, this is a crappy pic but you get the idea. I’d actually finished these gussets several months ago, but the left one (pictured here) needed some work with a file to clear one of the skin-to-spar rivets. Once the gussets were in place, I moved on to mounting the forward tunnel covers.
The covers themselves are easy, but support angles on each cover’s outboard end require some sheet metal gymnastics to fit and drill to the heavy F-7101 gussets on each side of the fuse. Fortunately, I used a technique devised by fellow RV builder Mike Bullock, and it worked like a champ. I won’t steal Mike’s glory, so here are the highlights.
Here’s a piece of scrap angle clamped in place through the fuel line access hole, to provide a fore/aft reference for the actual support angle. It’s adjusted so it’s flat against the cover.
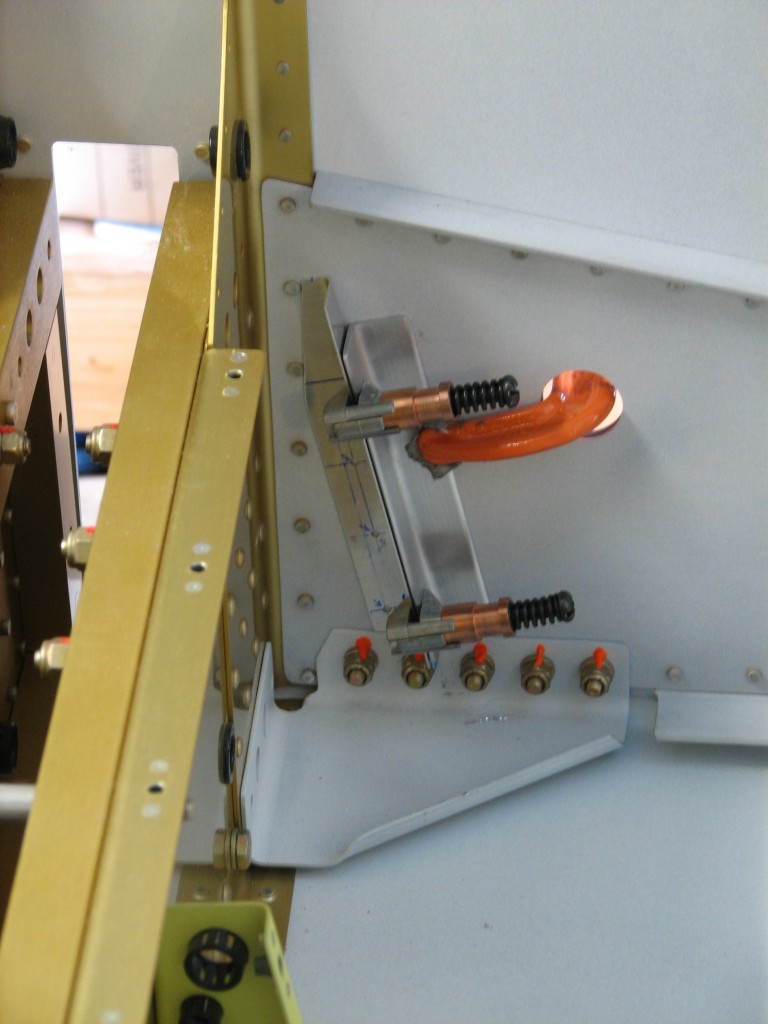 Here’s the support angle itself, already trimmed and pre-drilled according to plans, clamped to the scrap angle with a piece of 0.020″ scrap in between to simulate the forward cover.
With the support angles clamped in place, I match-drilled them to the F-7101 gussets with a #40 drill bit, which will eventually be upsized to #30. I used a drill stop to avoid drilling through the outside skins.
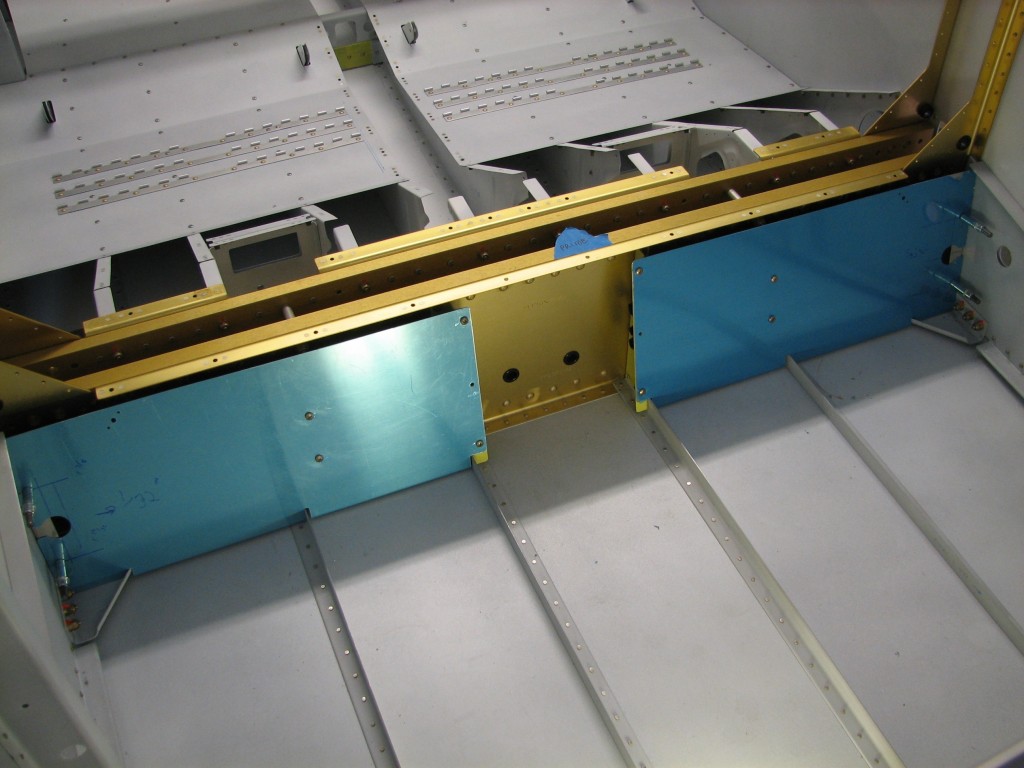 Here are the covers match-drilled to the support angles; when they’re done the covers will be attached to the angles with #8 screws. All that’s left is to enlarge the holes to final size and debur everything. It took several hours to fit and drill these parts, but everything came out fine.
Thanks for the great instructions, Mike!

