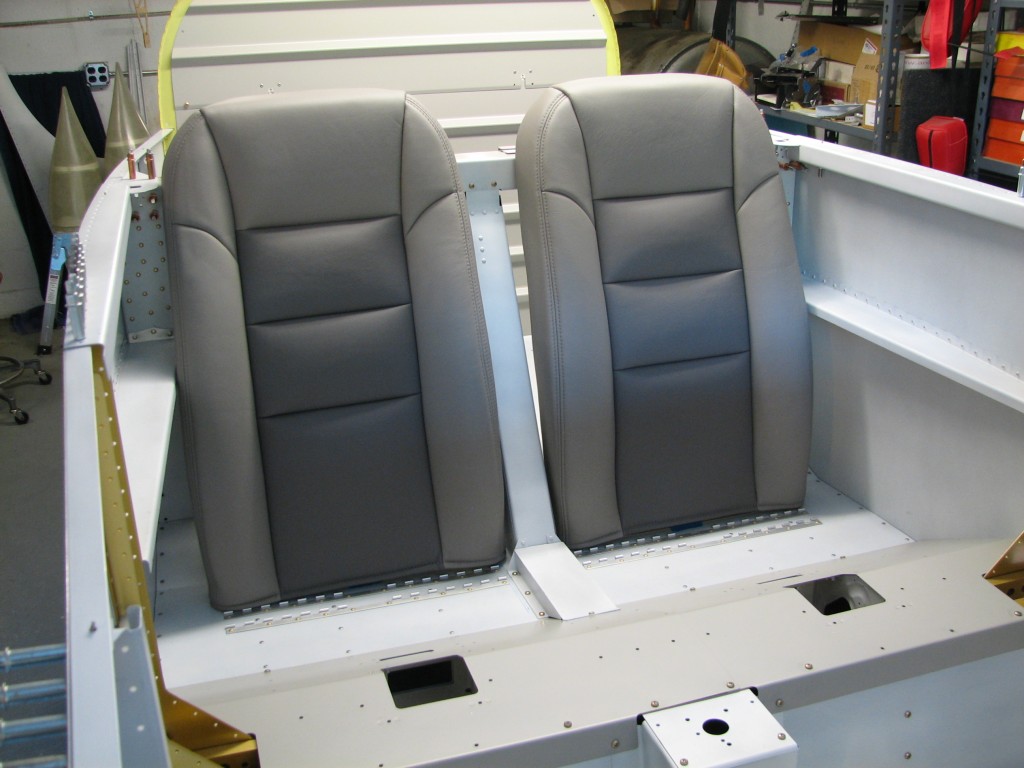
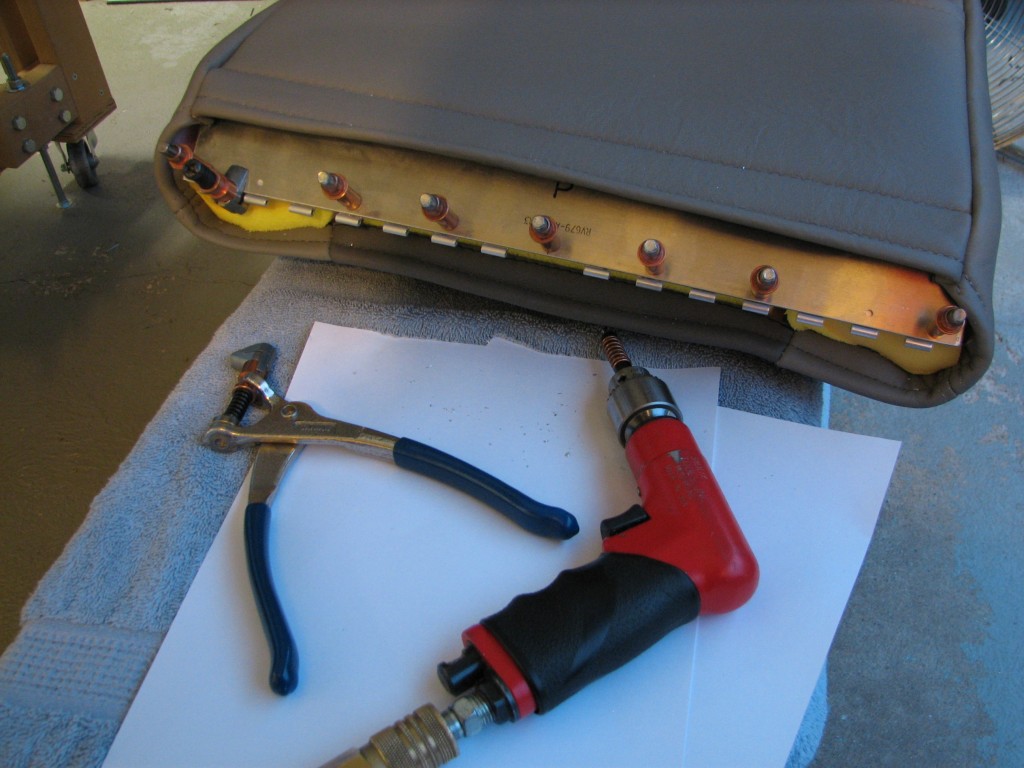
I posted some pictures a few weeks ago after we received our seats from Classic Aero Designs. With most of the interior complete, it’s time to fit the seatbacks and install the hinges that attach them to the seat floors.
Classic Aero Designs provides comprehensive instructions for fitting the seat backs. The most important part is adjusting them side-to-side so they don’t interfere with anything else in the cockpit. The first step in that process is finding and marking a centerline between each seat’s belt attach brackets.
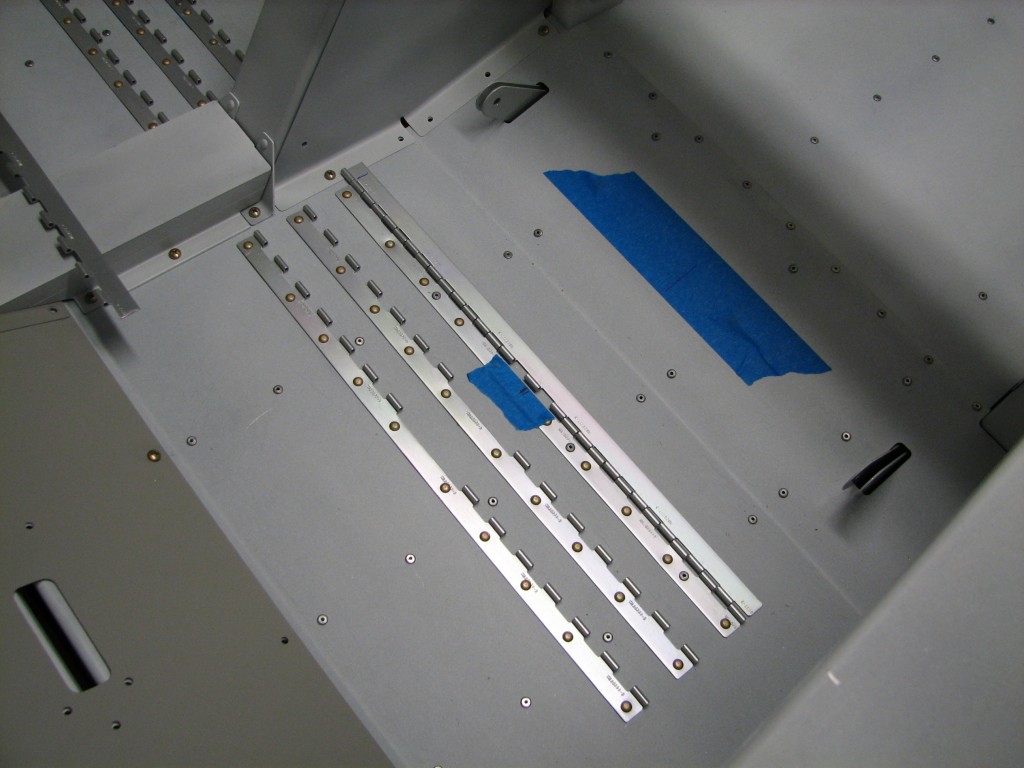 I marked the center point between the seat belt brackets on the larger piece of masking tape at the rear, and I used a square to transfer that center mark to the aft most seat attach hinge. The seat backs are pre-drilled for the attach hinge rivets, and the center rivet hole is the reference for lining up the seat relative to the centerline marked on the hinge.
Once I had the seat backs where I wanted them, I marked the center rivet location on the aft seat attach hinge, and transferred that to the piece of hinge to be riveted to the seat. Turns out that my measured centerline was within 1/16″ or so of where I had placed the seat center, so I simply used the center of the seat hinges as my reference. Some builders have had problems with the seats backs hitting part of canopy latch structure, but I lucked out – the seats fit as designed.
I then lined up the seat hinge centerline on the seat back’s center rivet hole, and match-drilled the hinge to the seat. Easy peasy.
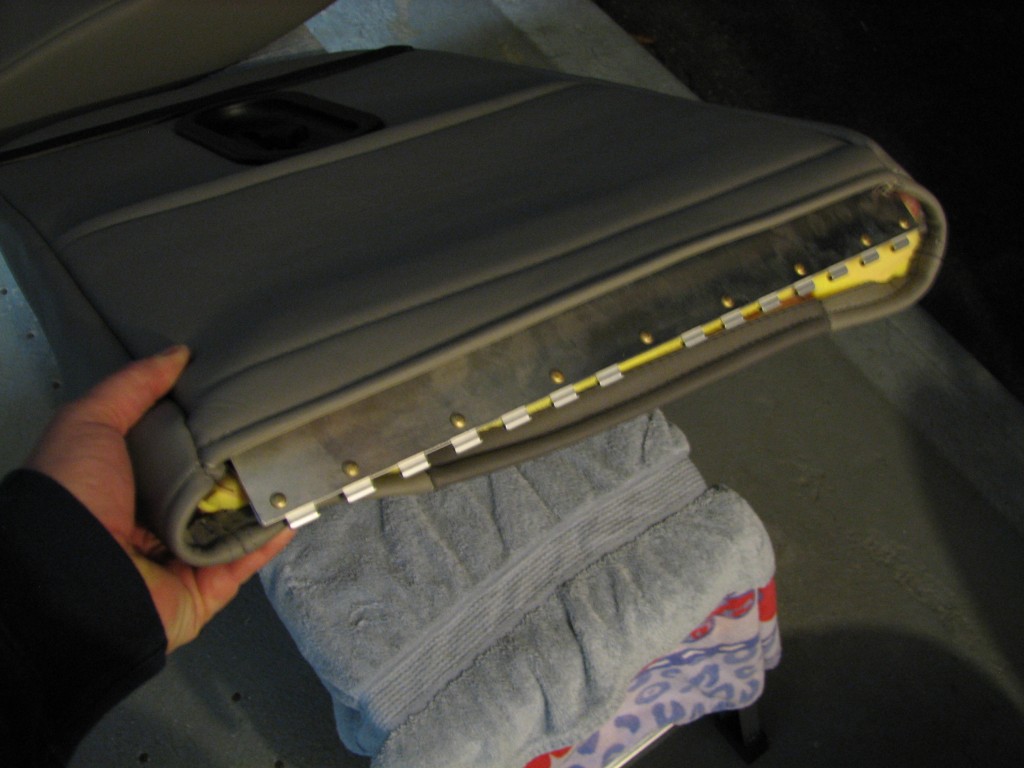 After a little deburring and trimming the hinge ends to fit inside the seat back, I riveted it to the seat…then repeated the whole process on the other seat back. I also had to fabricate some hinge pins from stock hinge wire…nothing too complicated.
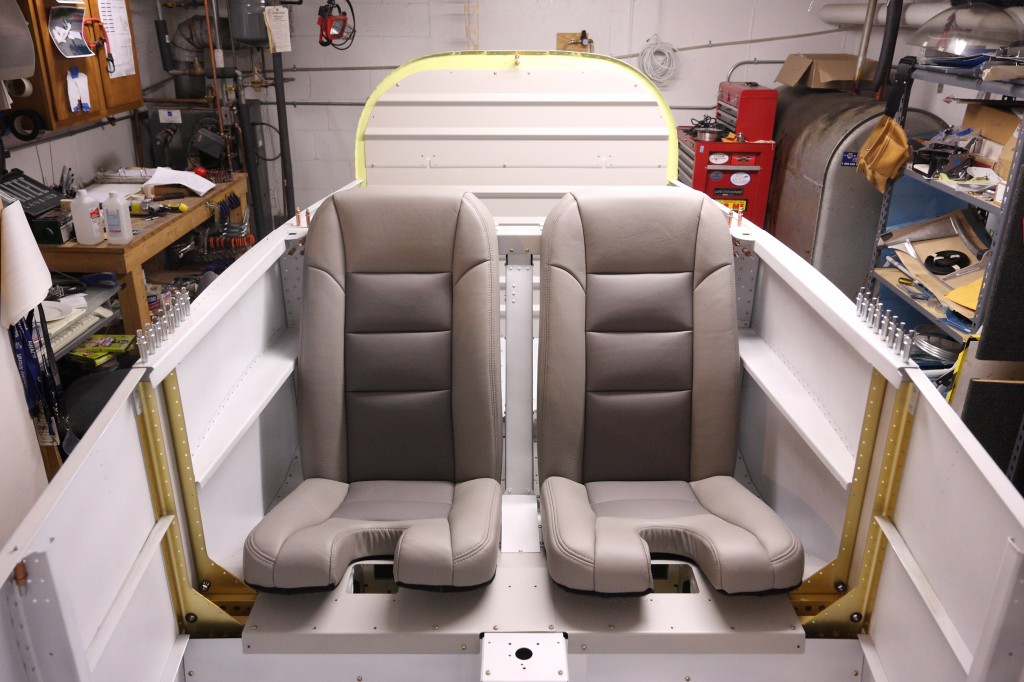 And here are the seats in place, and ready for sitting. We have a bottle of bubbly chilling in the ‘fridge to celebrate the first time we sit in the airplane!

