
Thanks to my enforced absence from work, I had a few days to finish up the flap housing and get the seats installed.
The last flap issue I had to deal with was installing two nutplates for the flap actuator tube’s center bearing block. The bearing block is match-drilled to one of the baggage compartment ribs – it’s really difficult to spot in the picture below but if you look about halfway across the tube, you’ll see it peeking from behind the flap motor actuator arm.
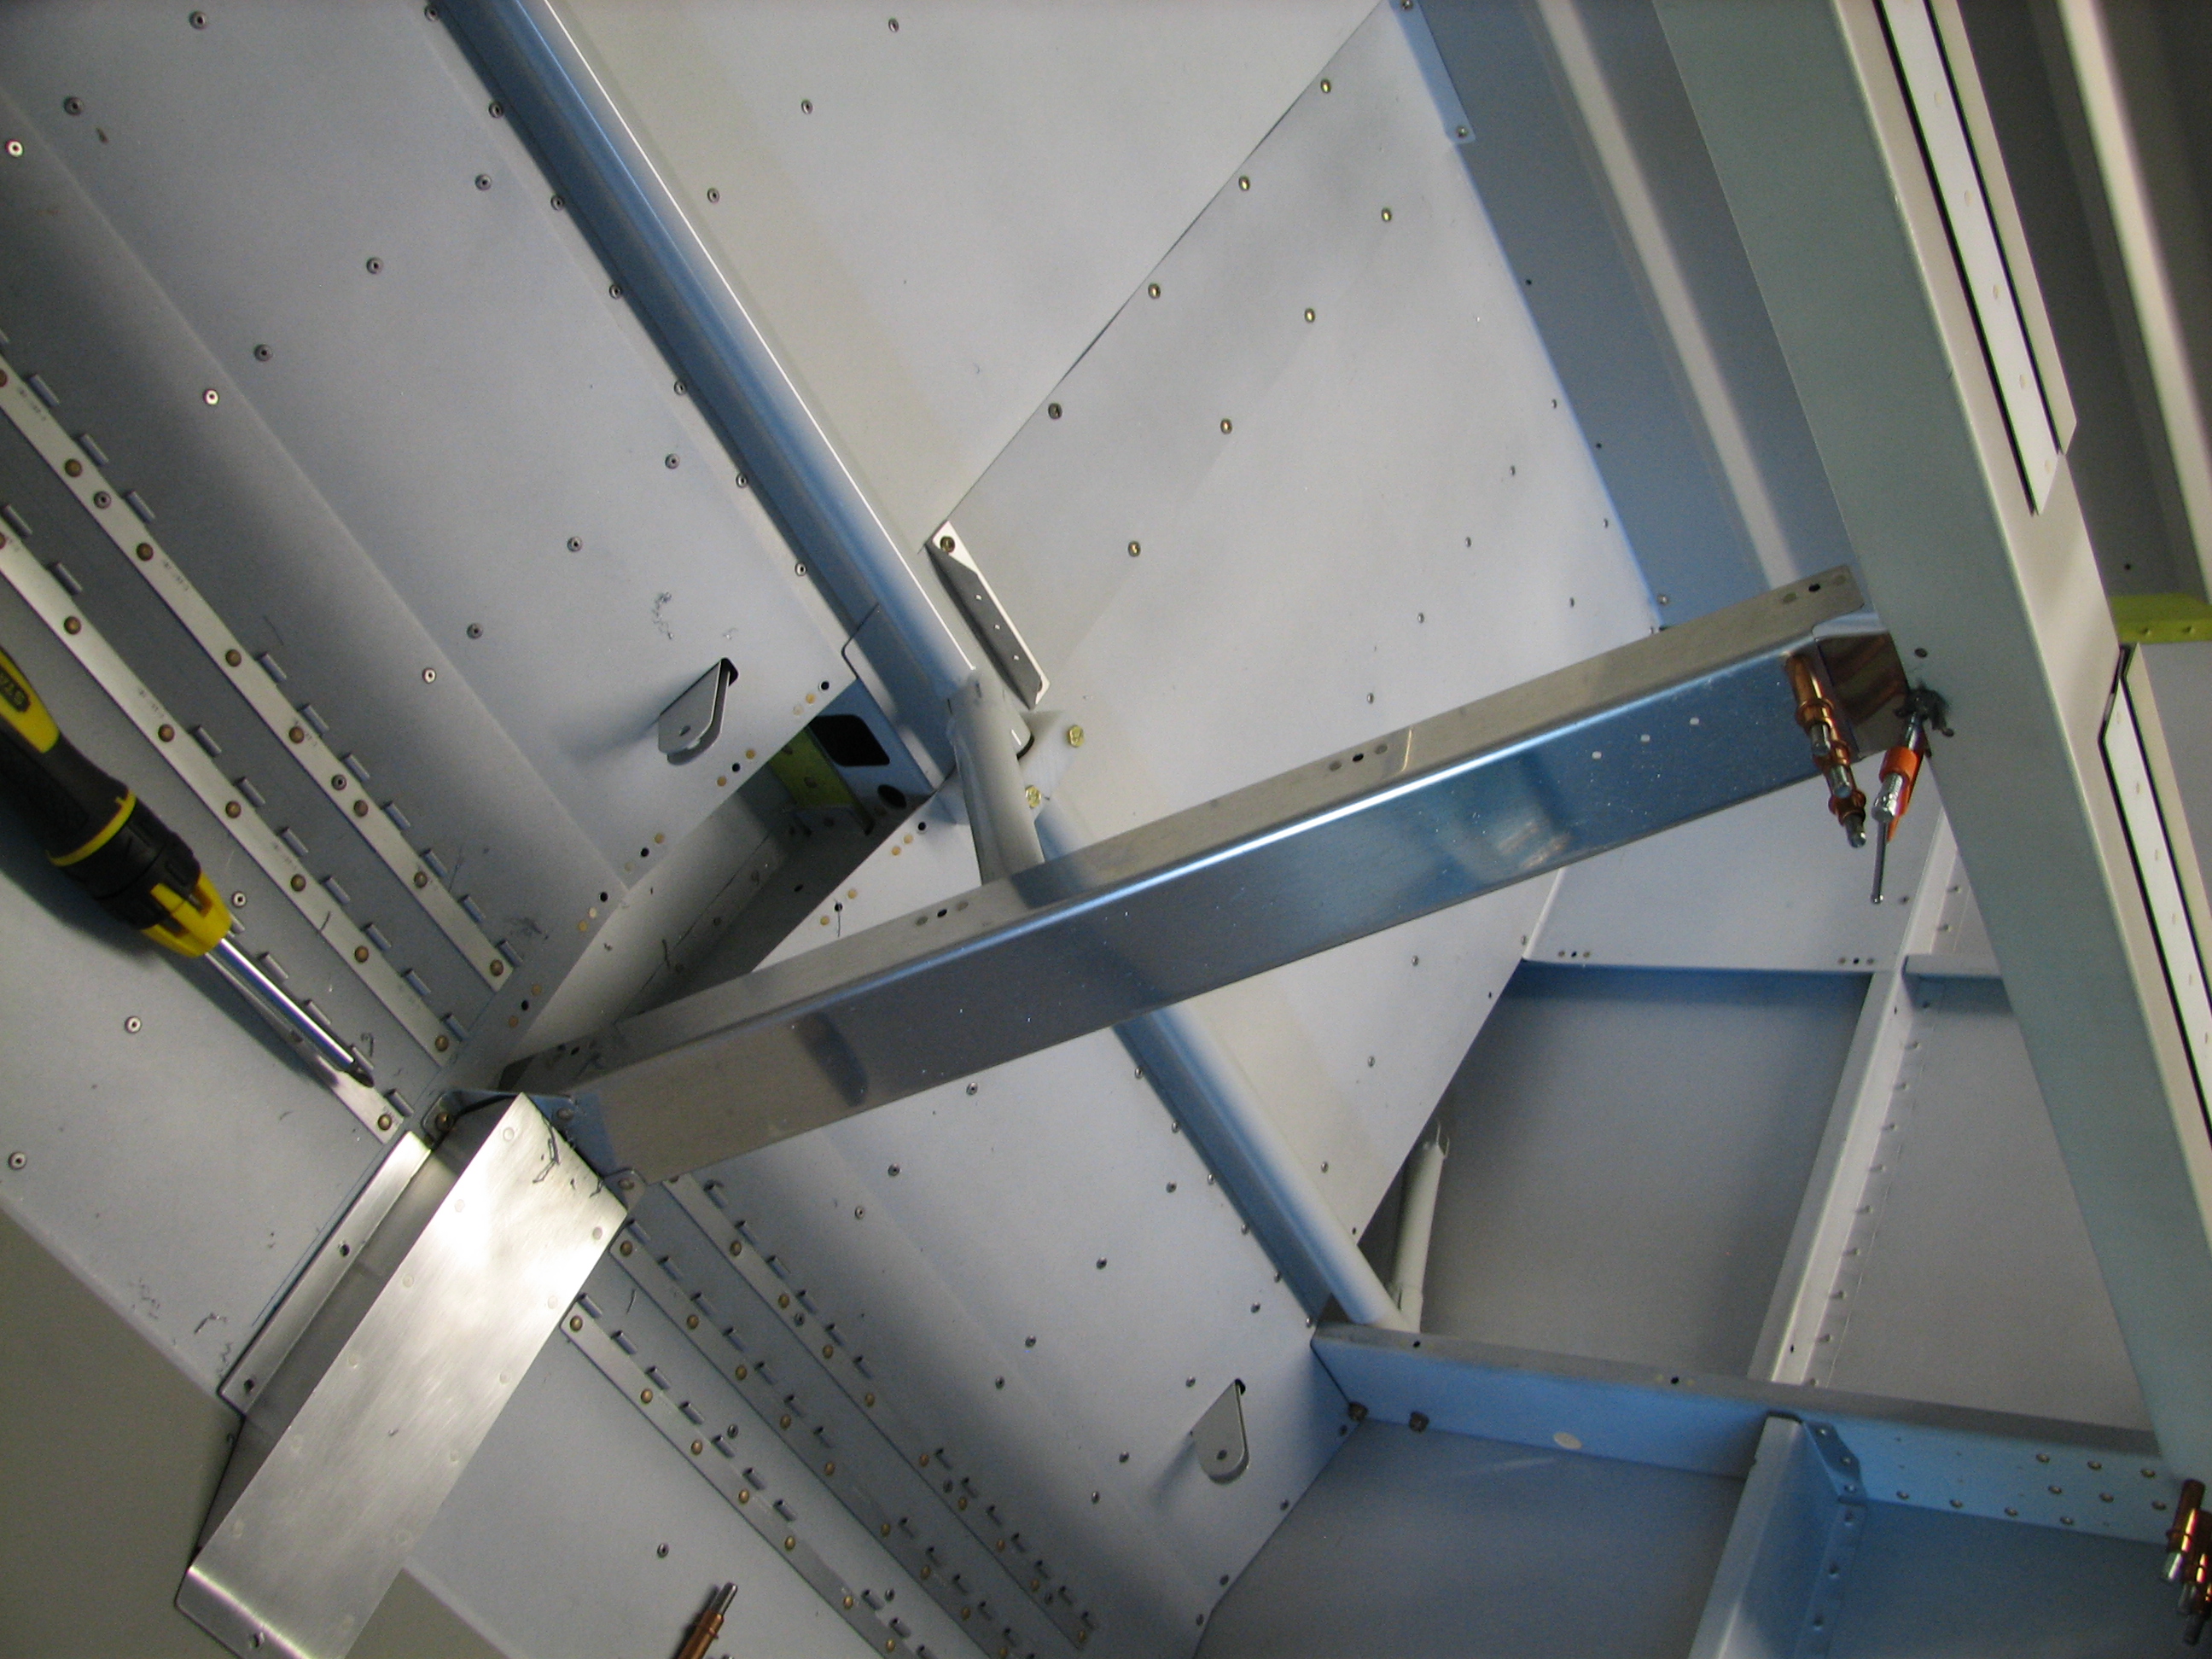
The problem with these nutplates is that they’re in a very awkward position to rivet, and the forward one has a rivet in a really bad spot – right where the seat floor ends. I also didn’t think enough about where to place the block before I drilled the mounting holes, ’cause I could’ve moved the block a little to put the mounting holes in a more accessible location. But the deed is done and I have a problem to solve…what’s to be done?
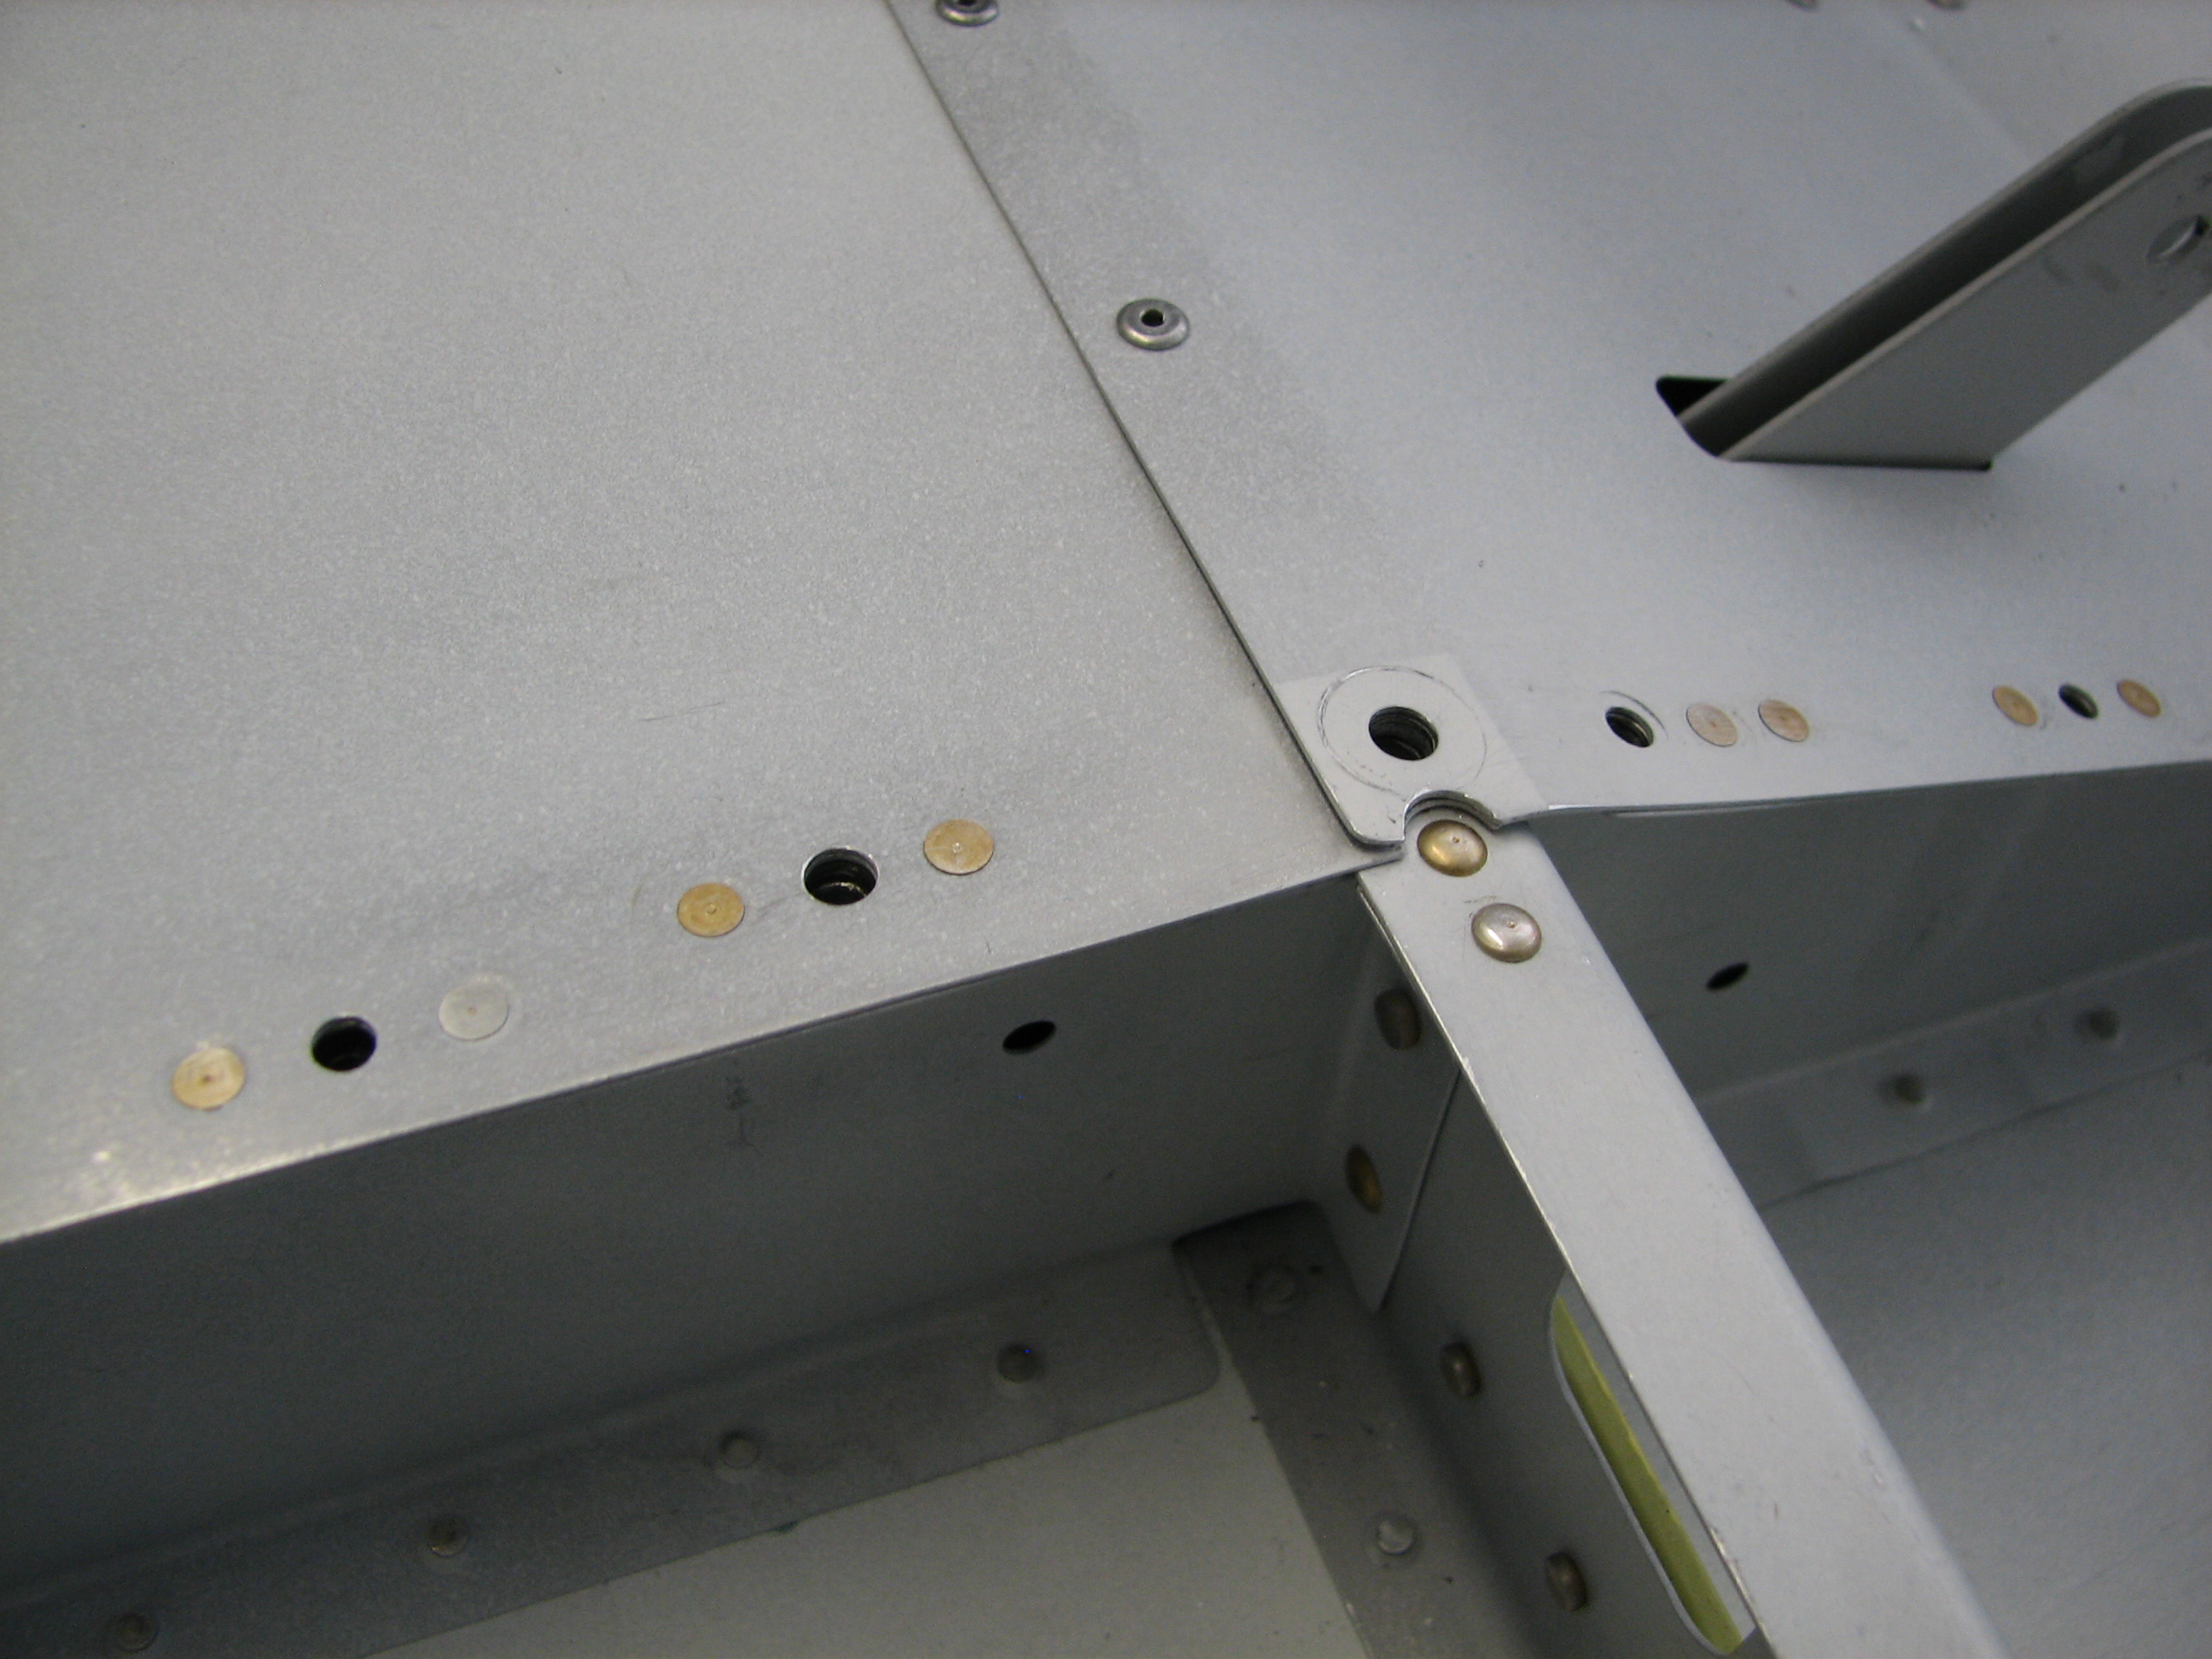
Jumping ahead a few steps, you can see where those forward nutplate rivets lay on the F-705 bulkhead, and how dimpling the hole closest to the bolt would have made for a very messy rivet…not necessarily unsafe, because this isn’t a particularly critical part of the plane, but that sort of workmanship I wouldn’t want others to see.
So, I elected to use some AN470-3 universal rivets I happened to have in the shop, but that meant finding a way to remove some material from the seat and baggage floors surrounding the topmost rivet hole.
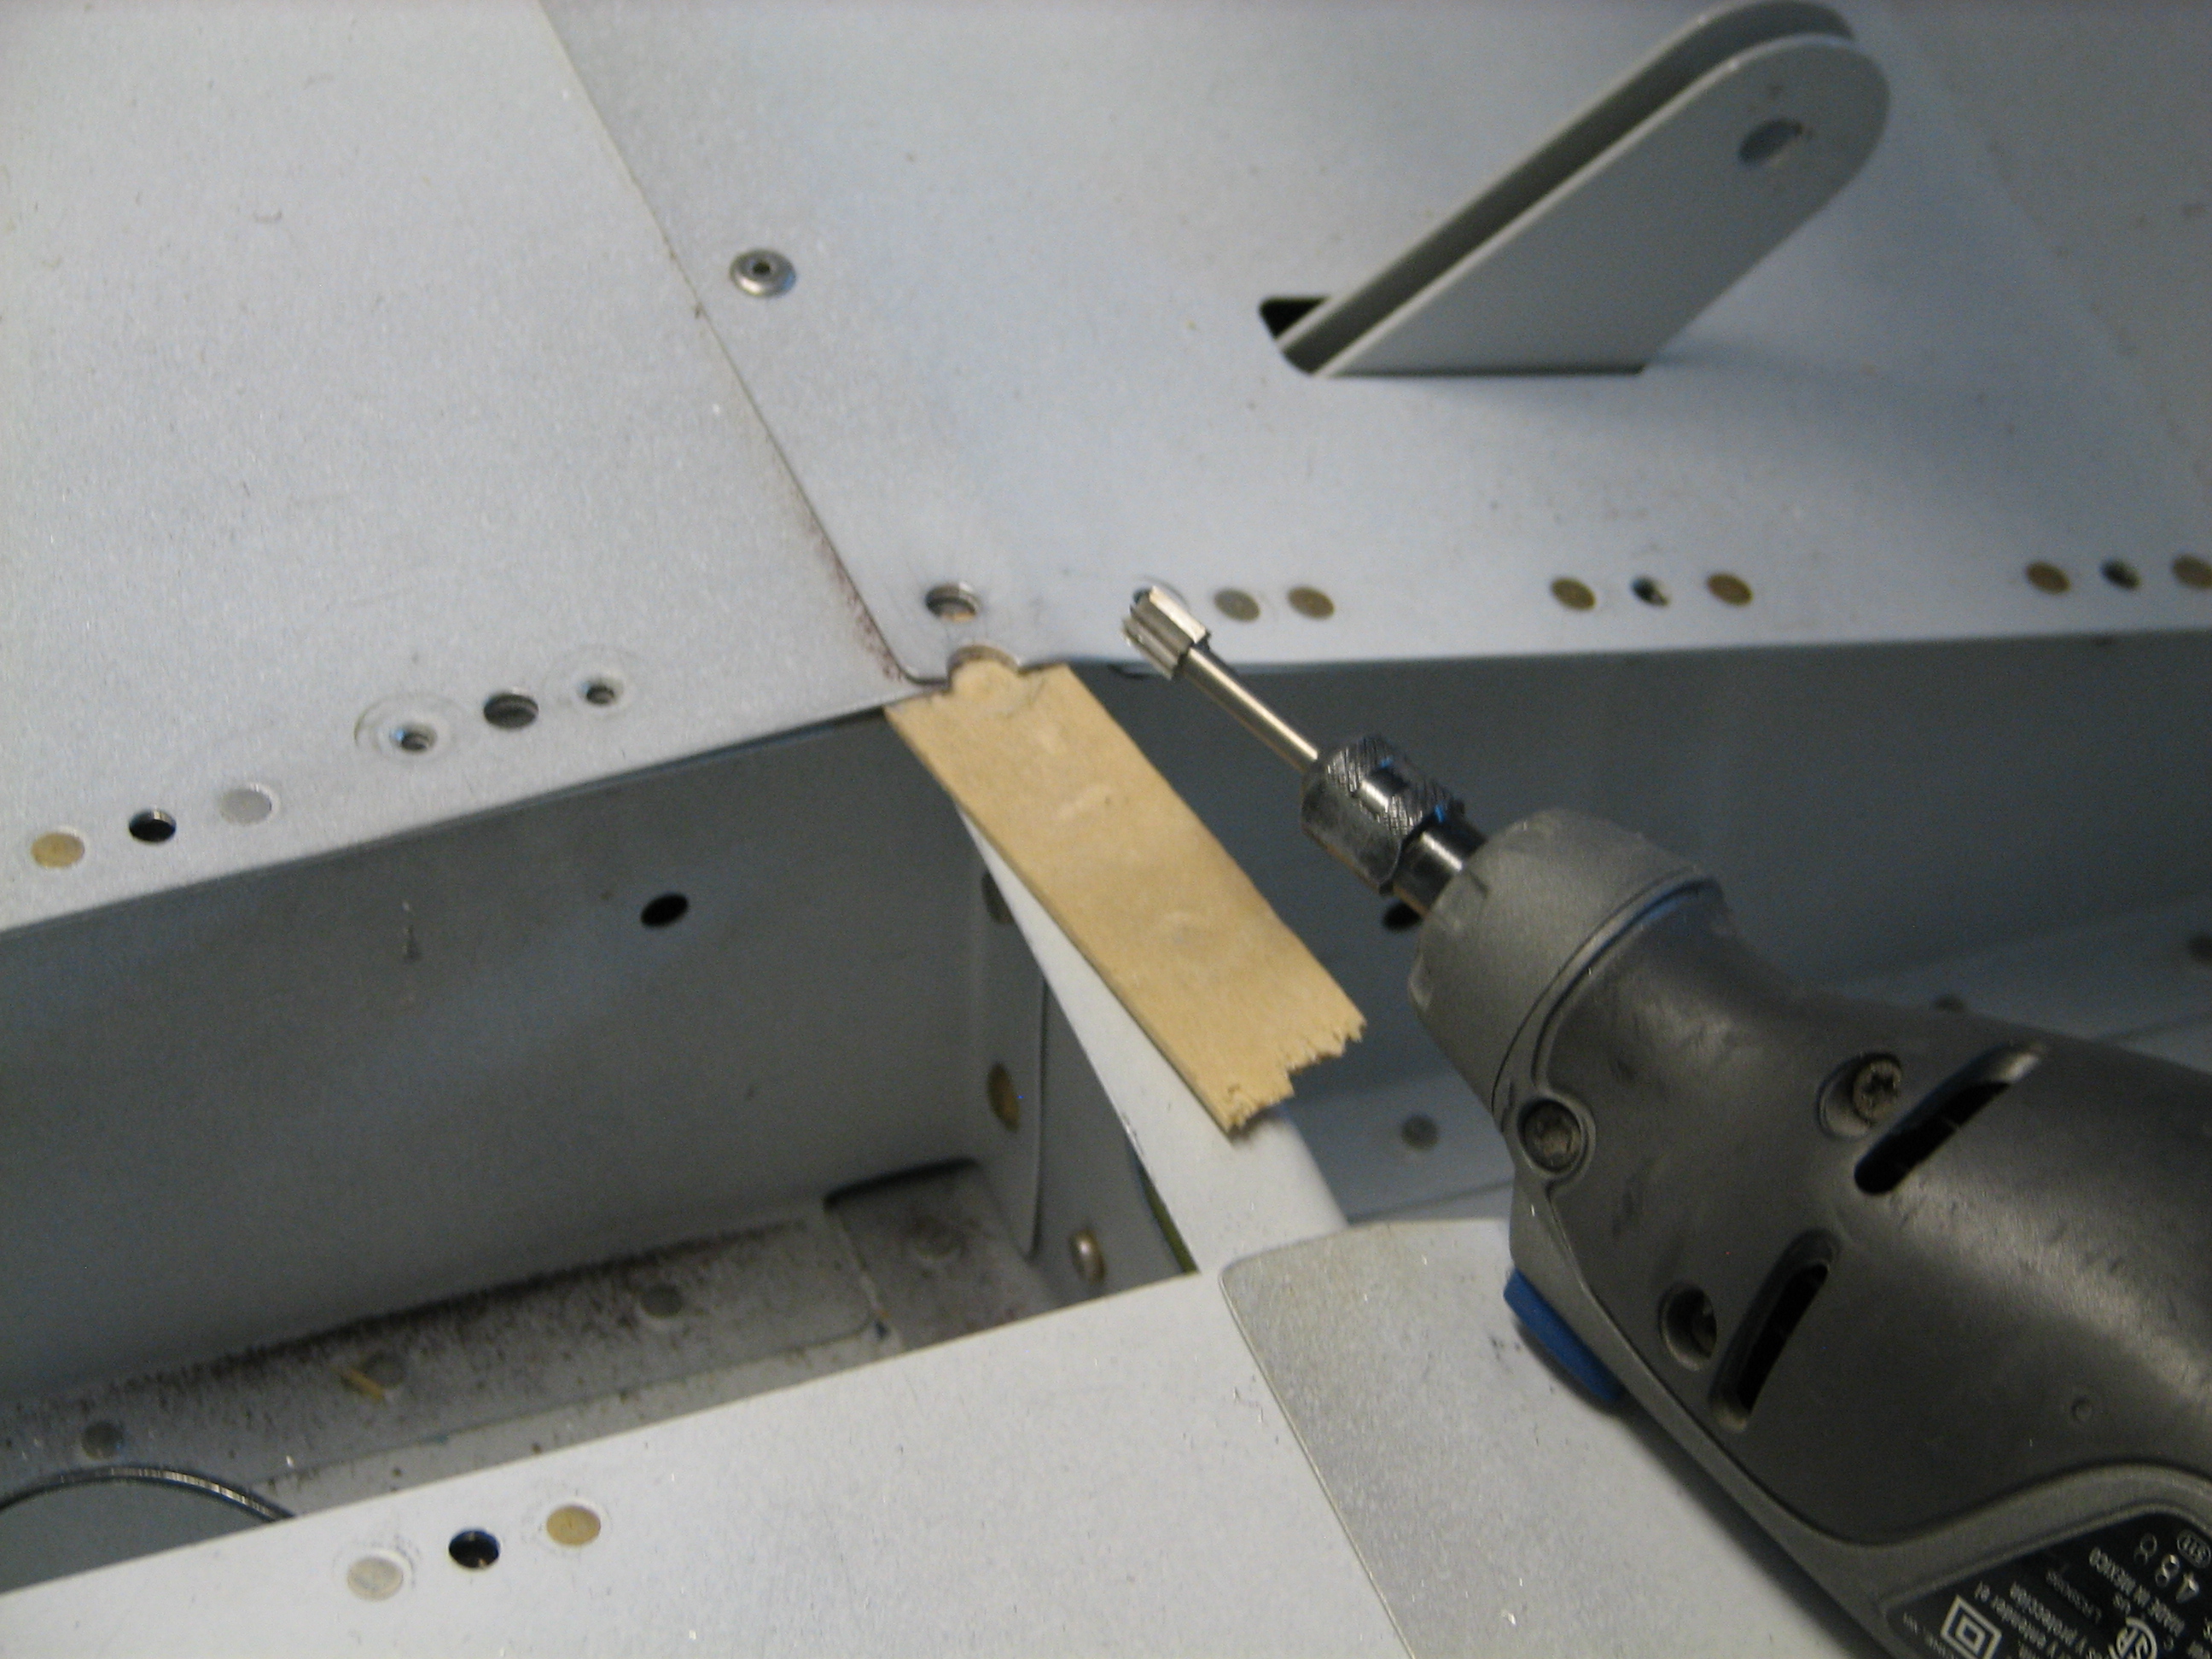
I noodled over this one for awhile, and then decided to try a cylindrical cutting bit in the Dremel tool. But I had to find a way to protect the F-705 while using the Dremel…and a piece of tongue depressor, tapered with the belt sander so I could slide it between the floors and bulkhead, fit the bill perfectly. If you’ve read this far, you already know it worked and I was able to get the nutplates riveted. I also had to insert a small 0.025″ shim under part of the forward nut plate so it would lie flat across the seat rib flange.
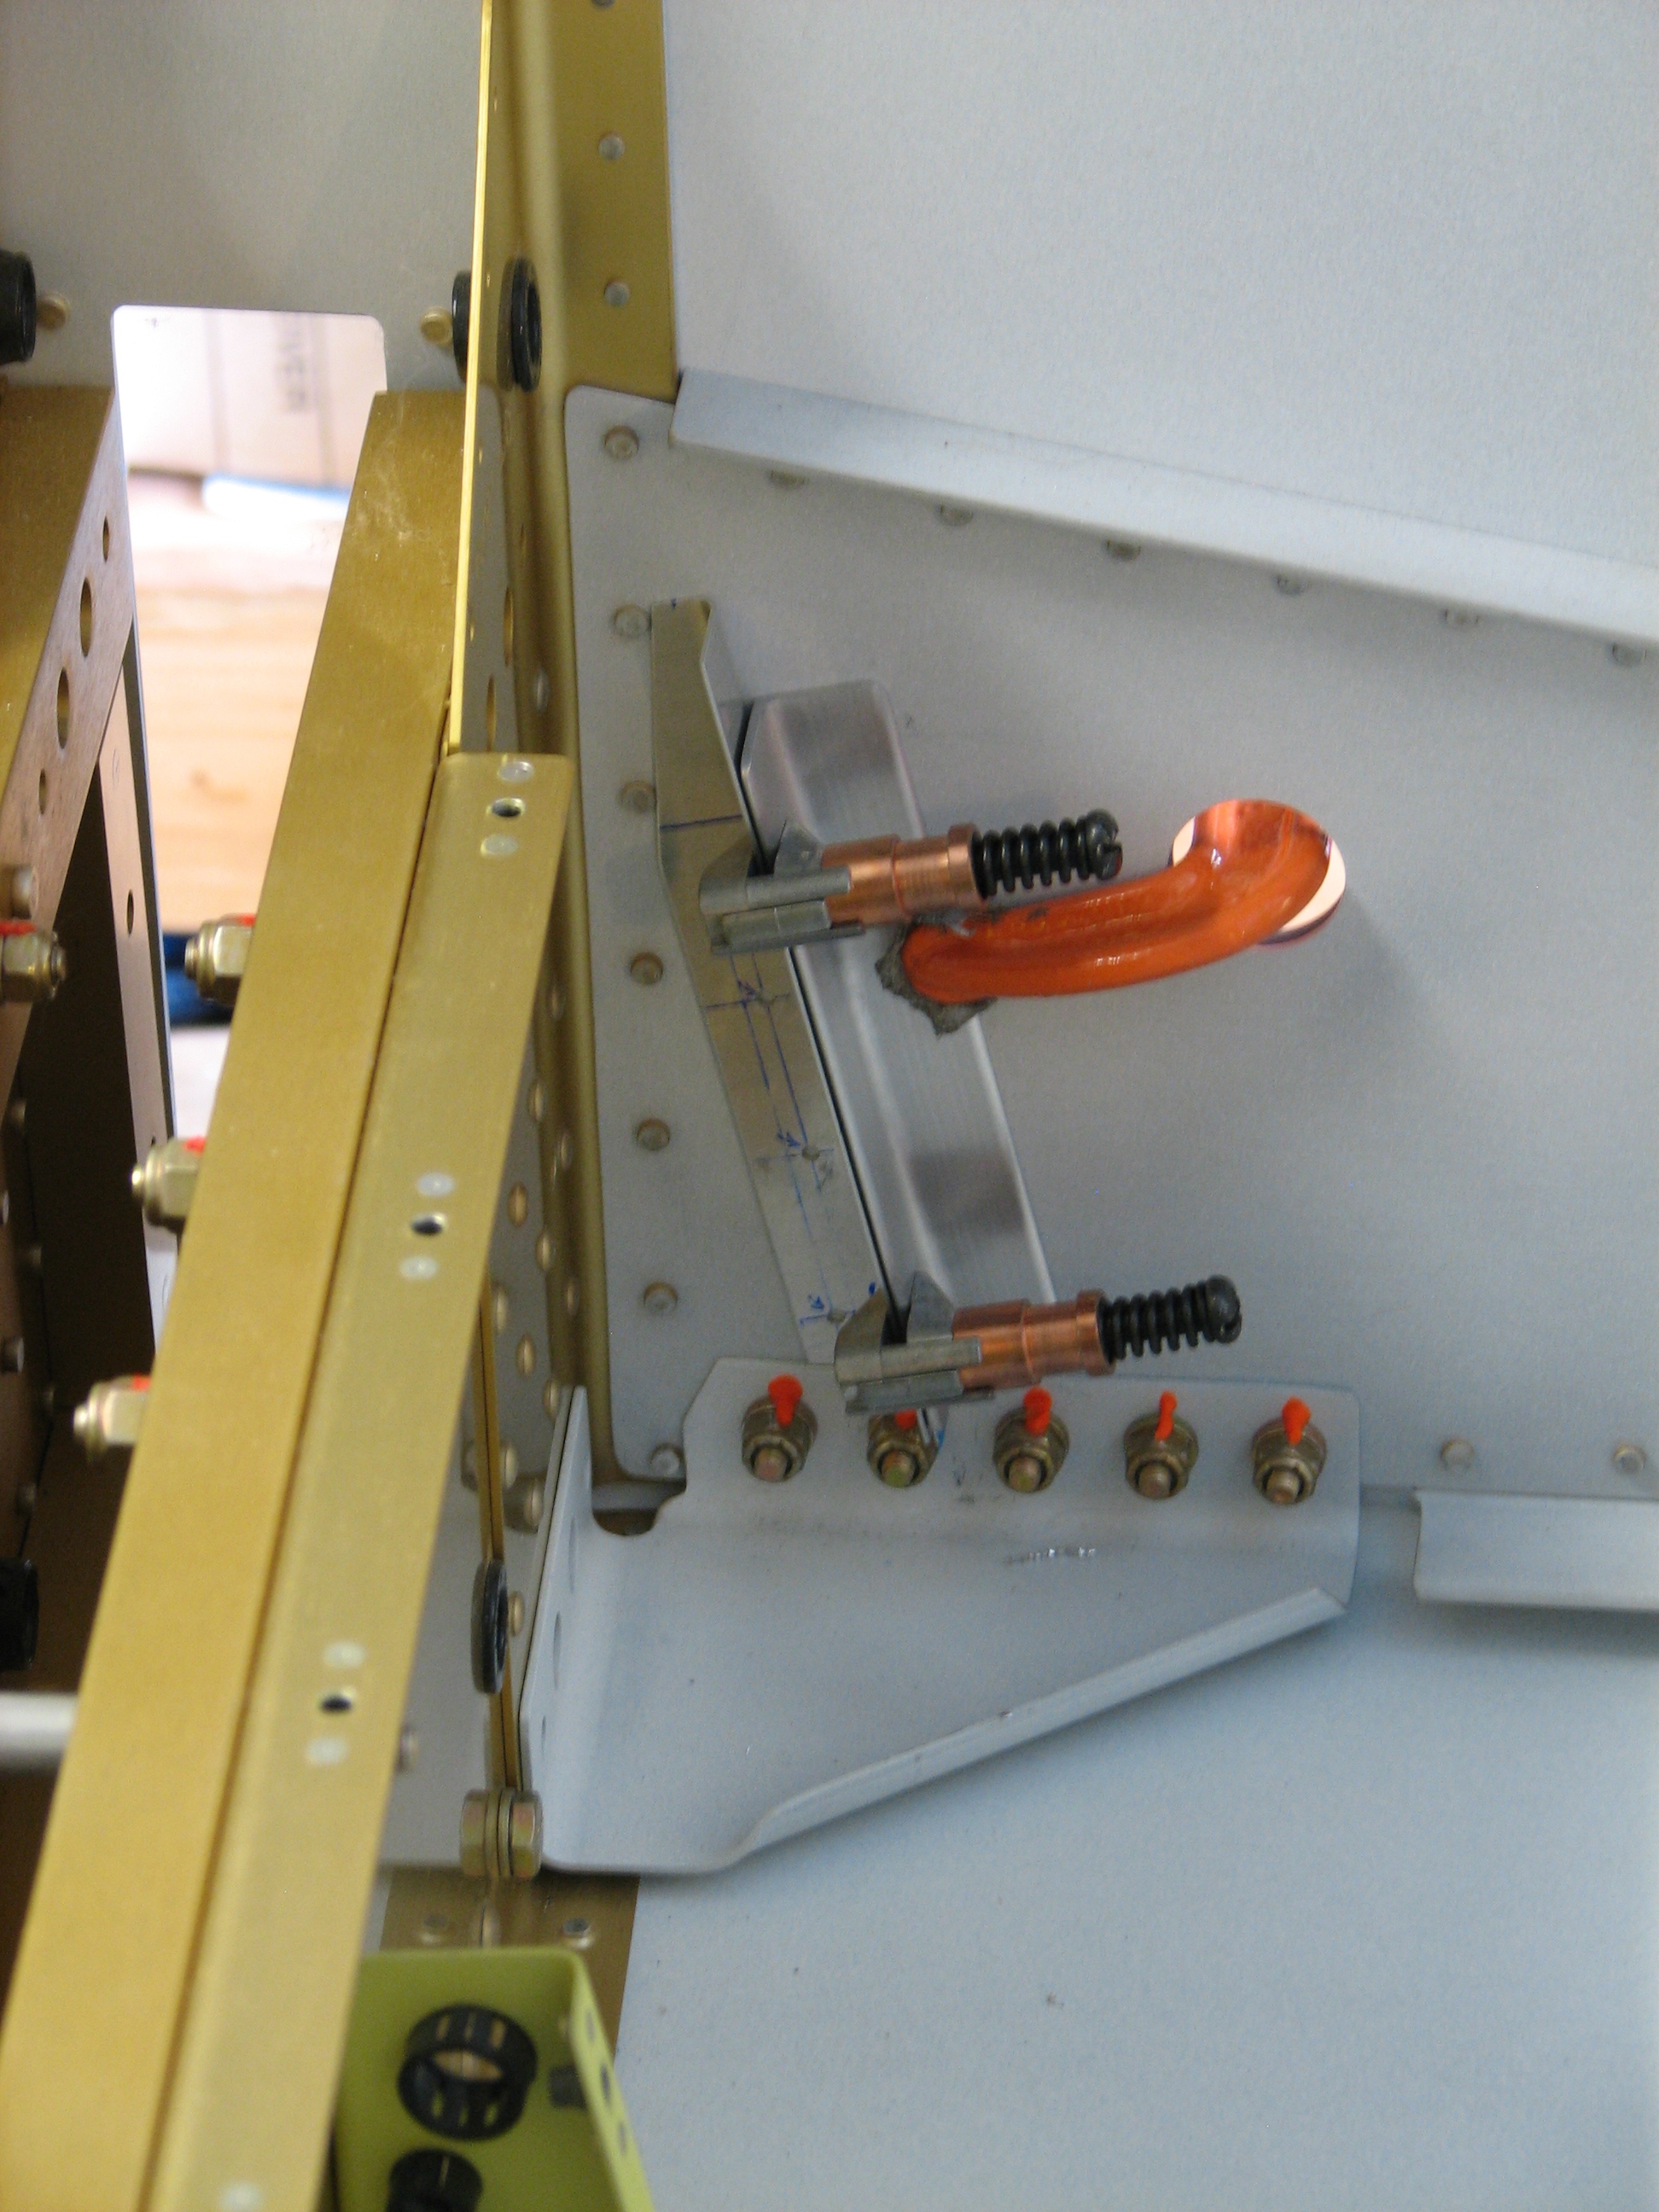
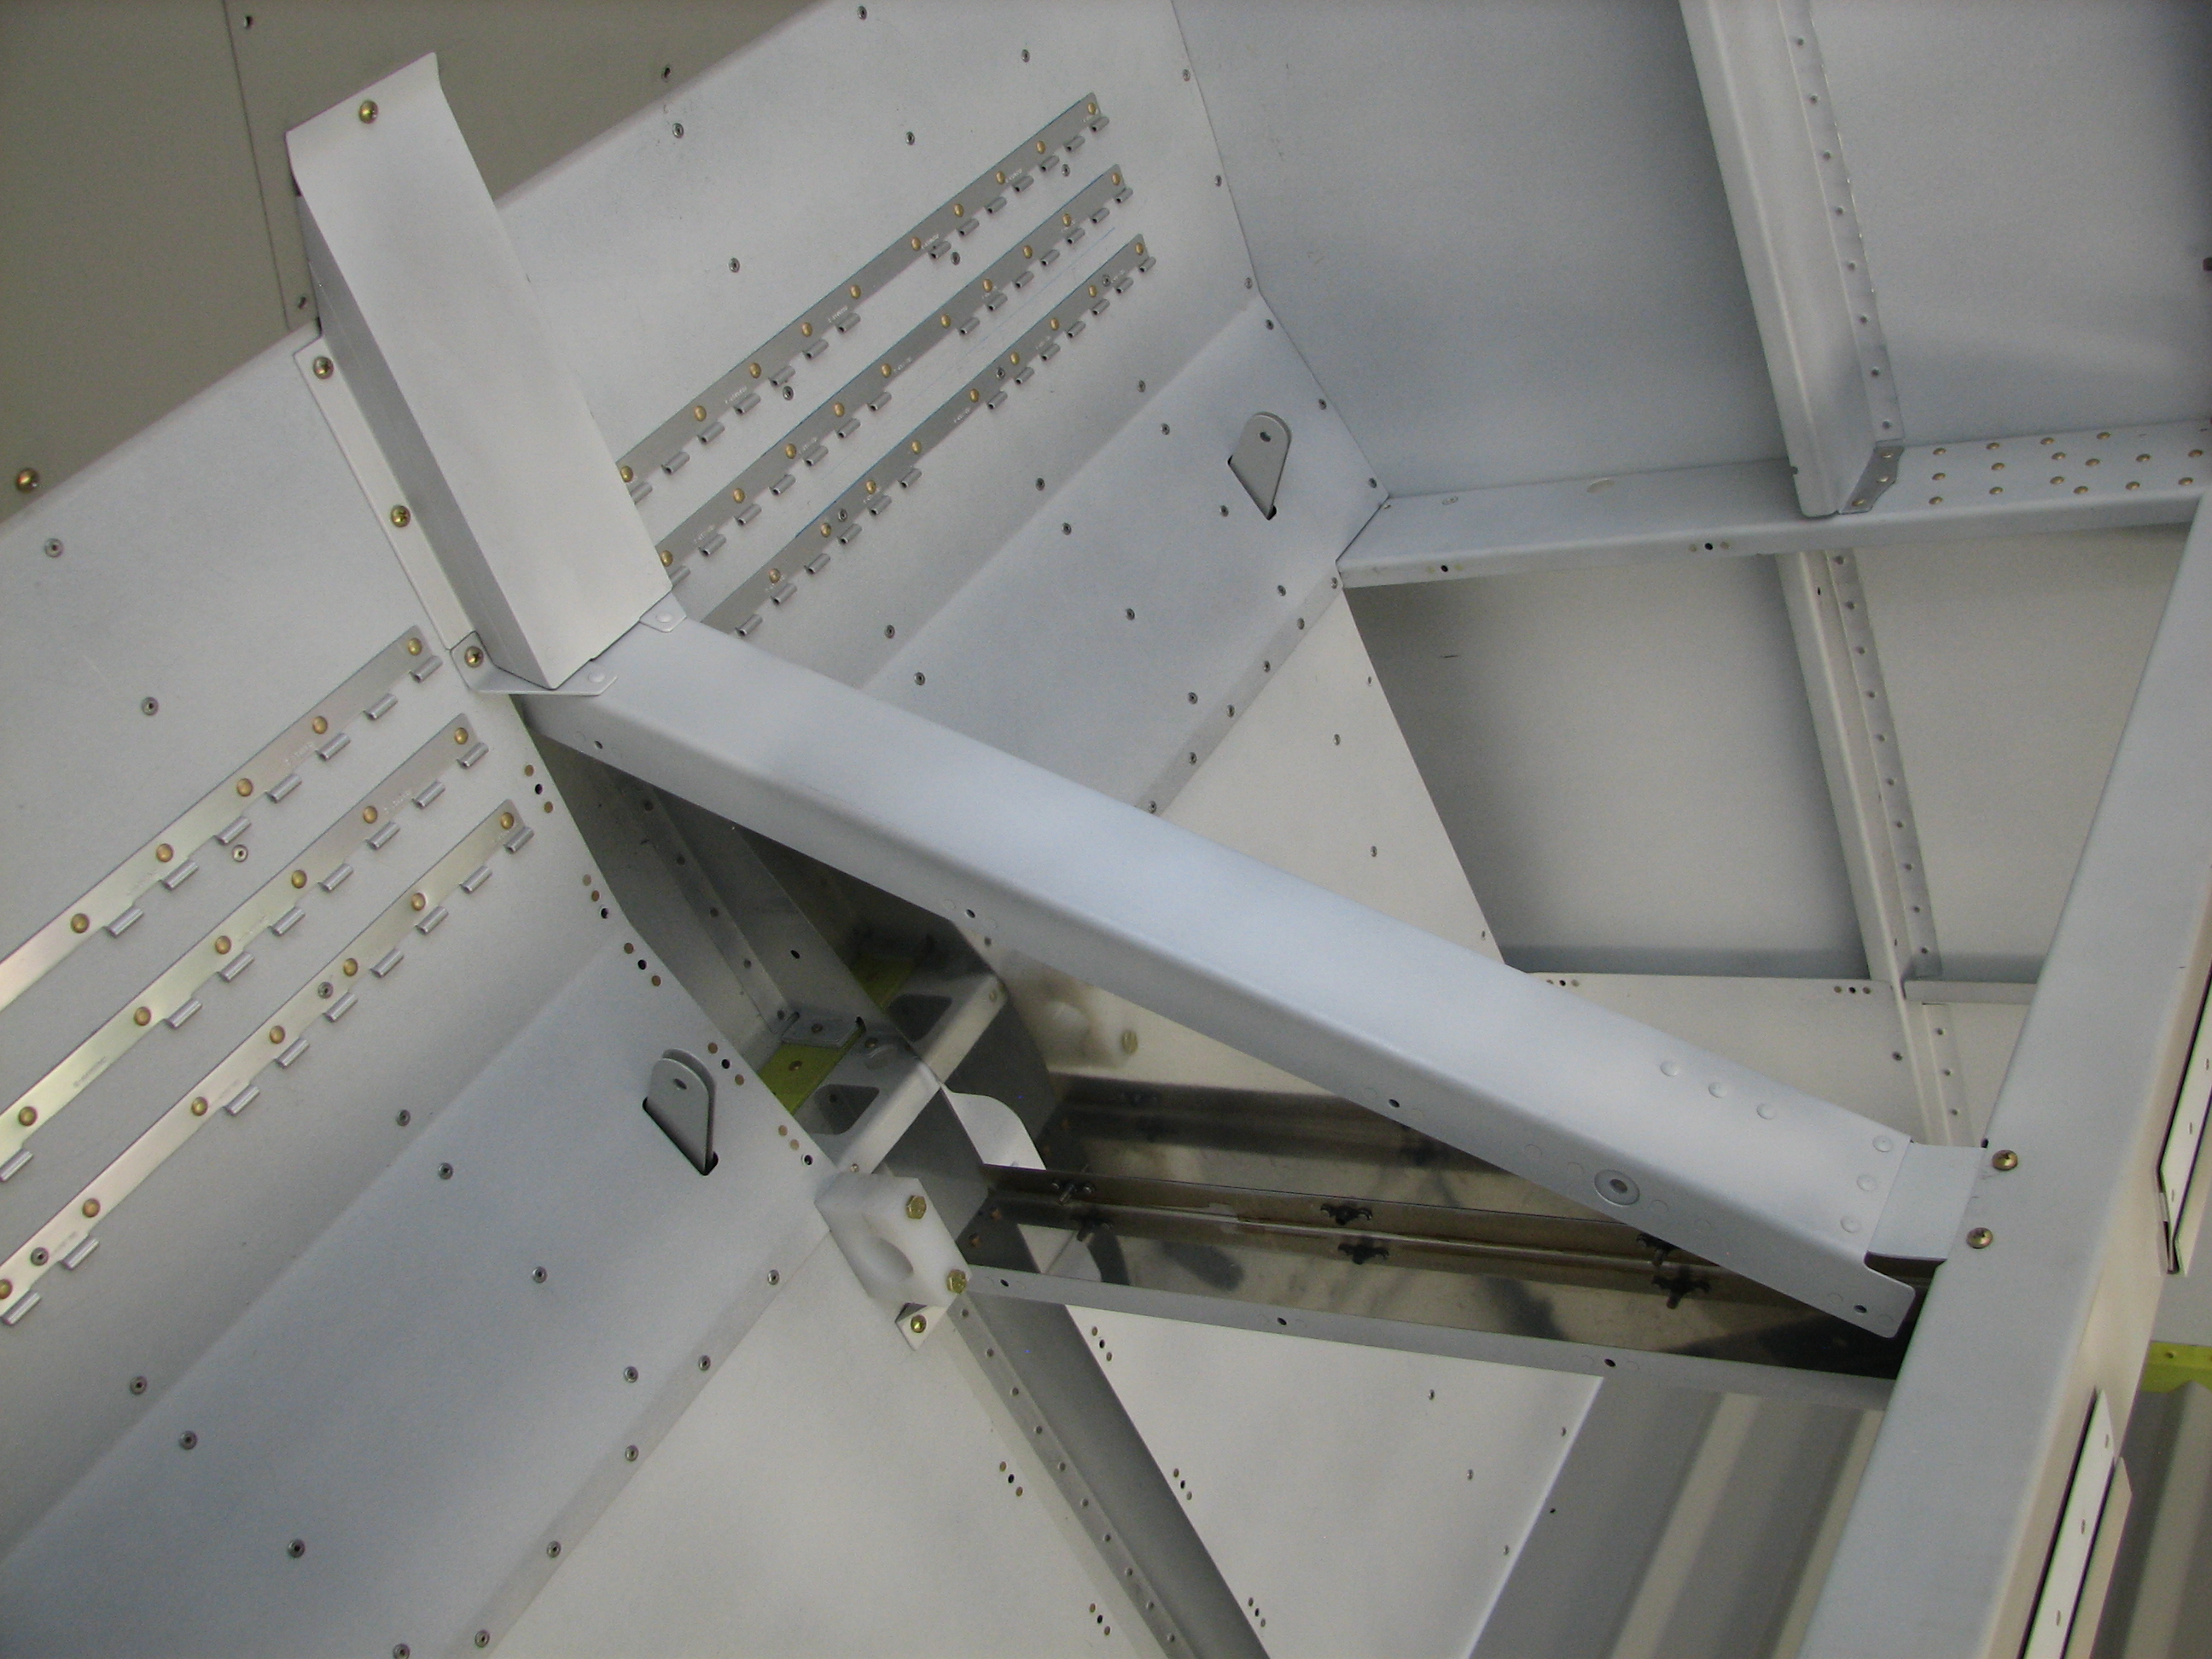
One other task remaining was to blind-rivet the forward fuel line cover supports to the fuselage sides. I didn’t get any pictures of the supports riveted in place, but if look at the pic above you’ll see the left support clamped in place for drilling.
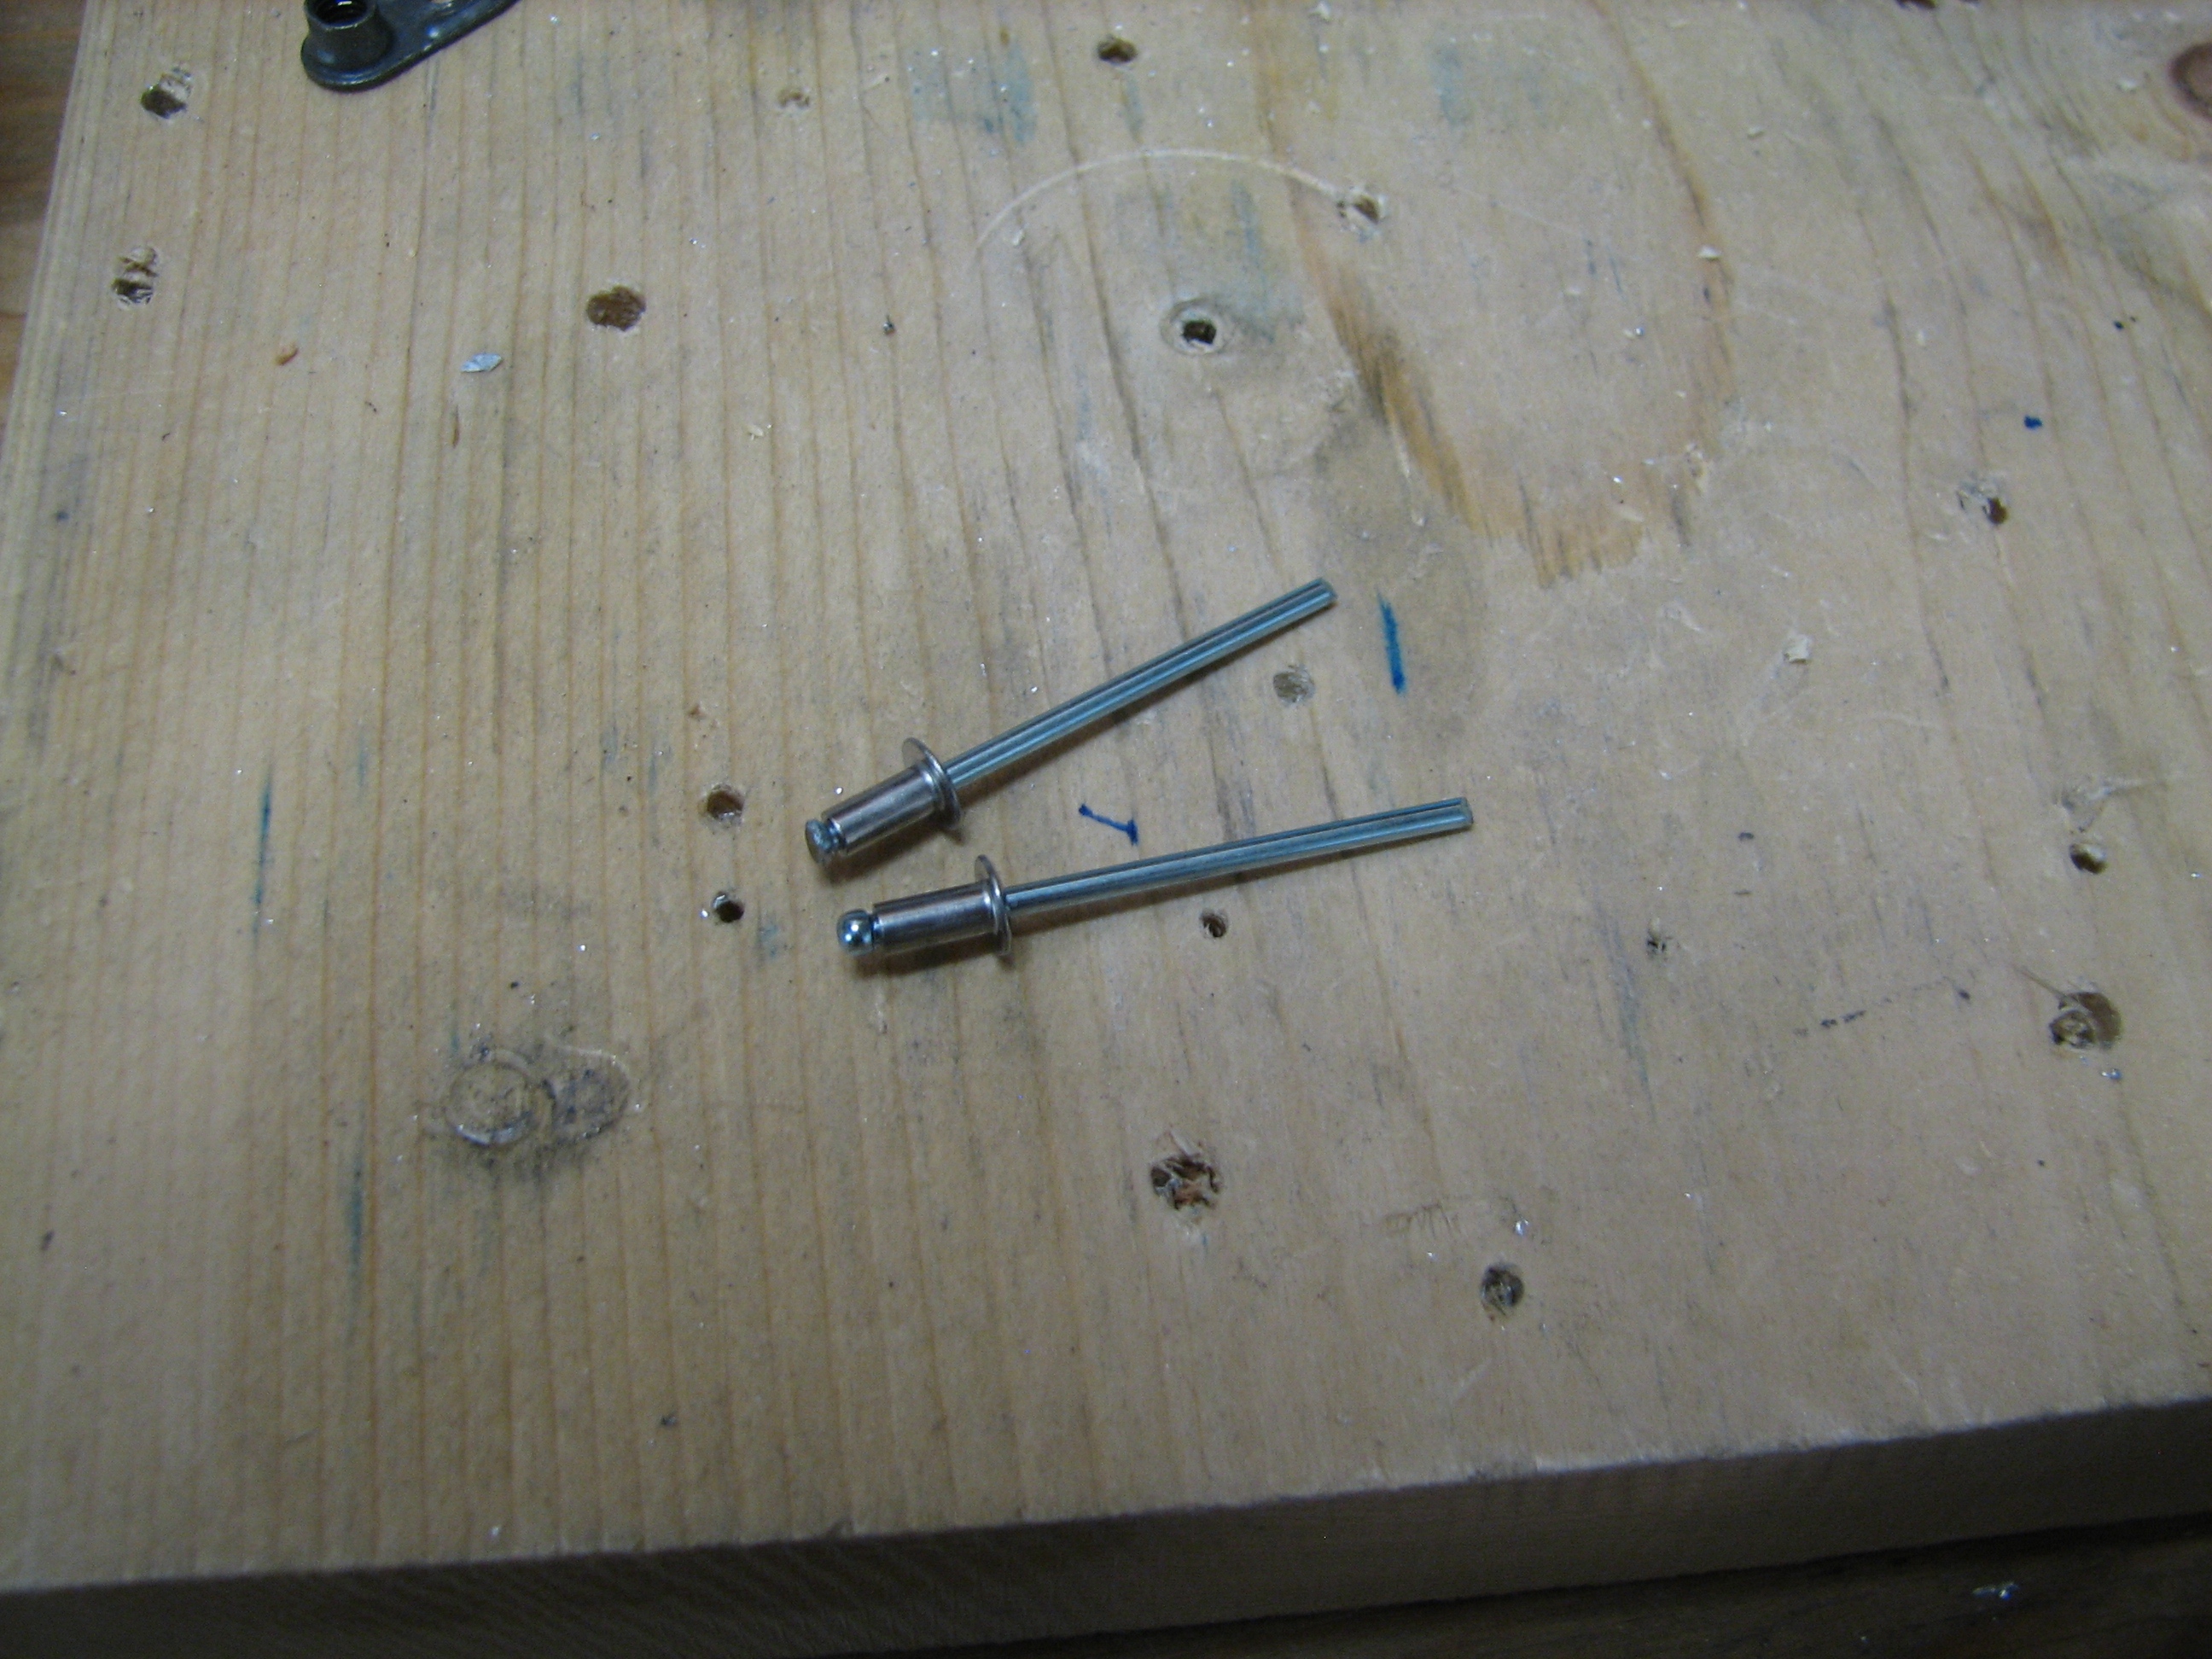 The LP4-3 blind rivets that Van’s calls for are far too long for this application, so I substituted some MSP-42 blind rivets that are both shorter and stronger. I still had to grind down the heads a little for extra room so they’d fit into the limited space behind the support and F-7101 gusset.
With those supports riveted in place, I prepped and primed all the interior parts I’ve been working on for the past few weeks.
Here’s the forward tunnel cover and forward/aft flap housings screwed in place.
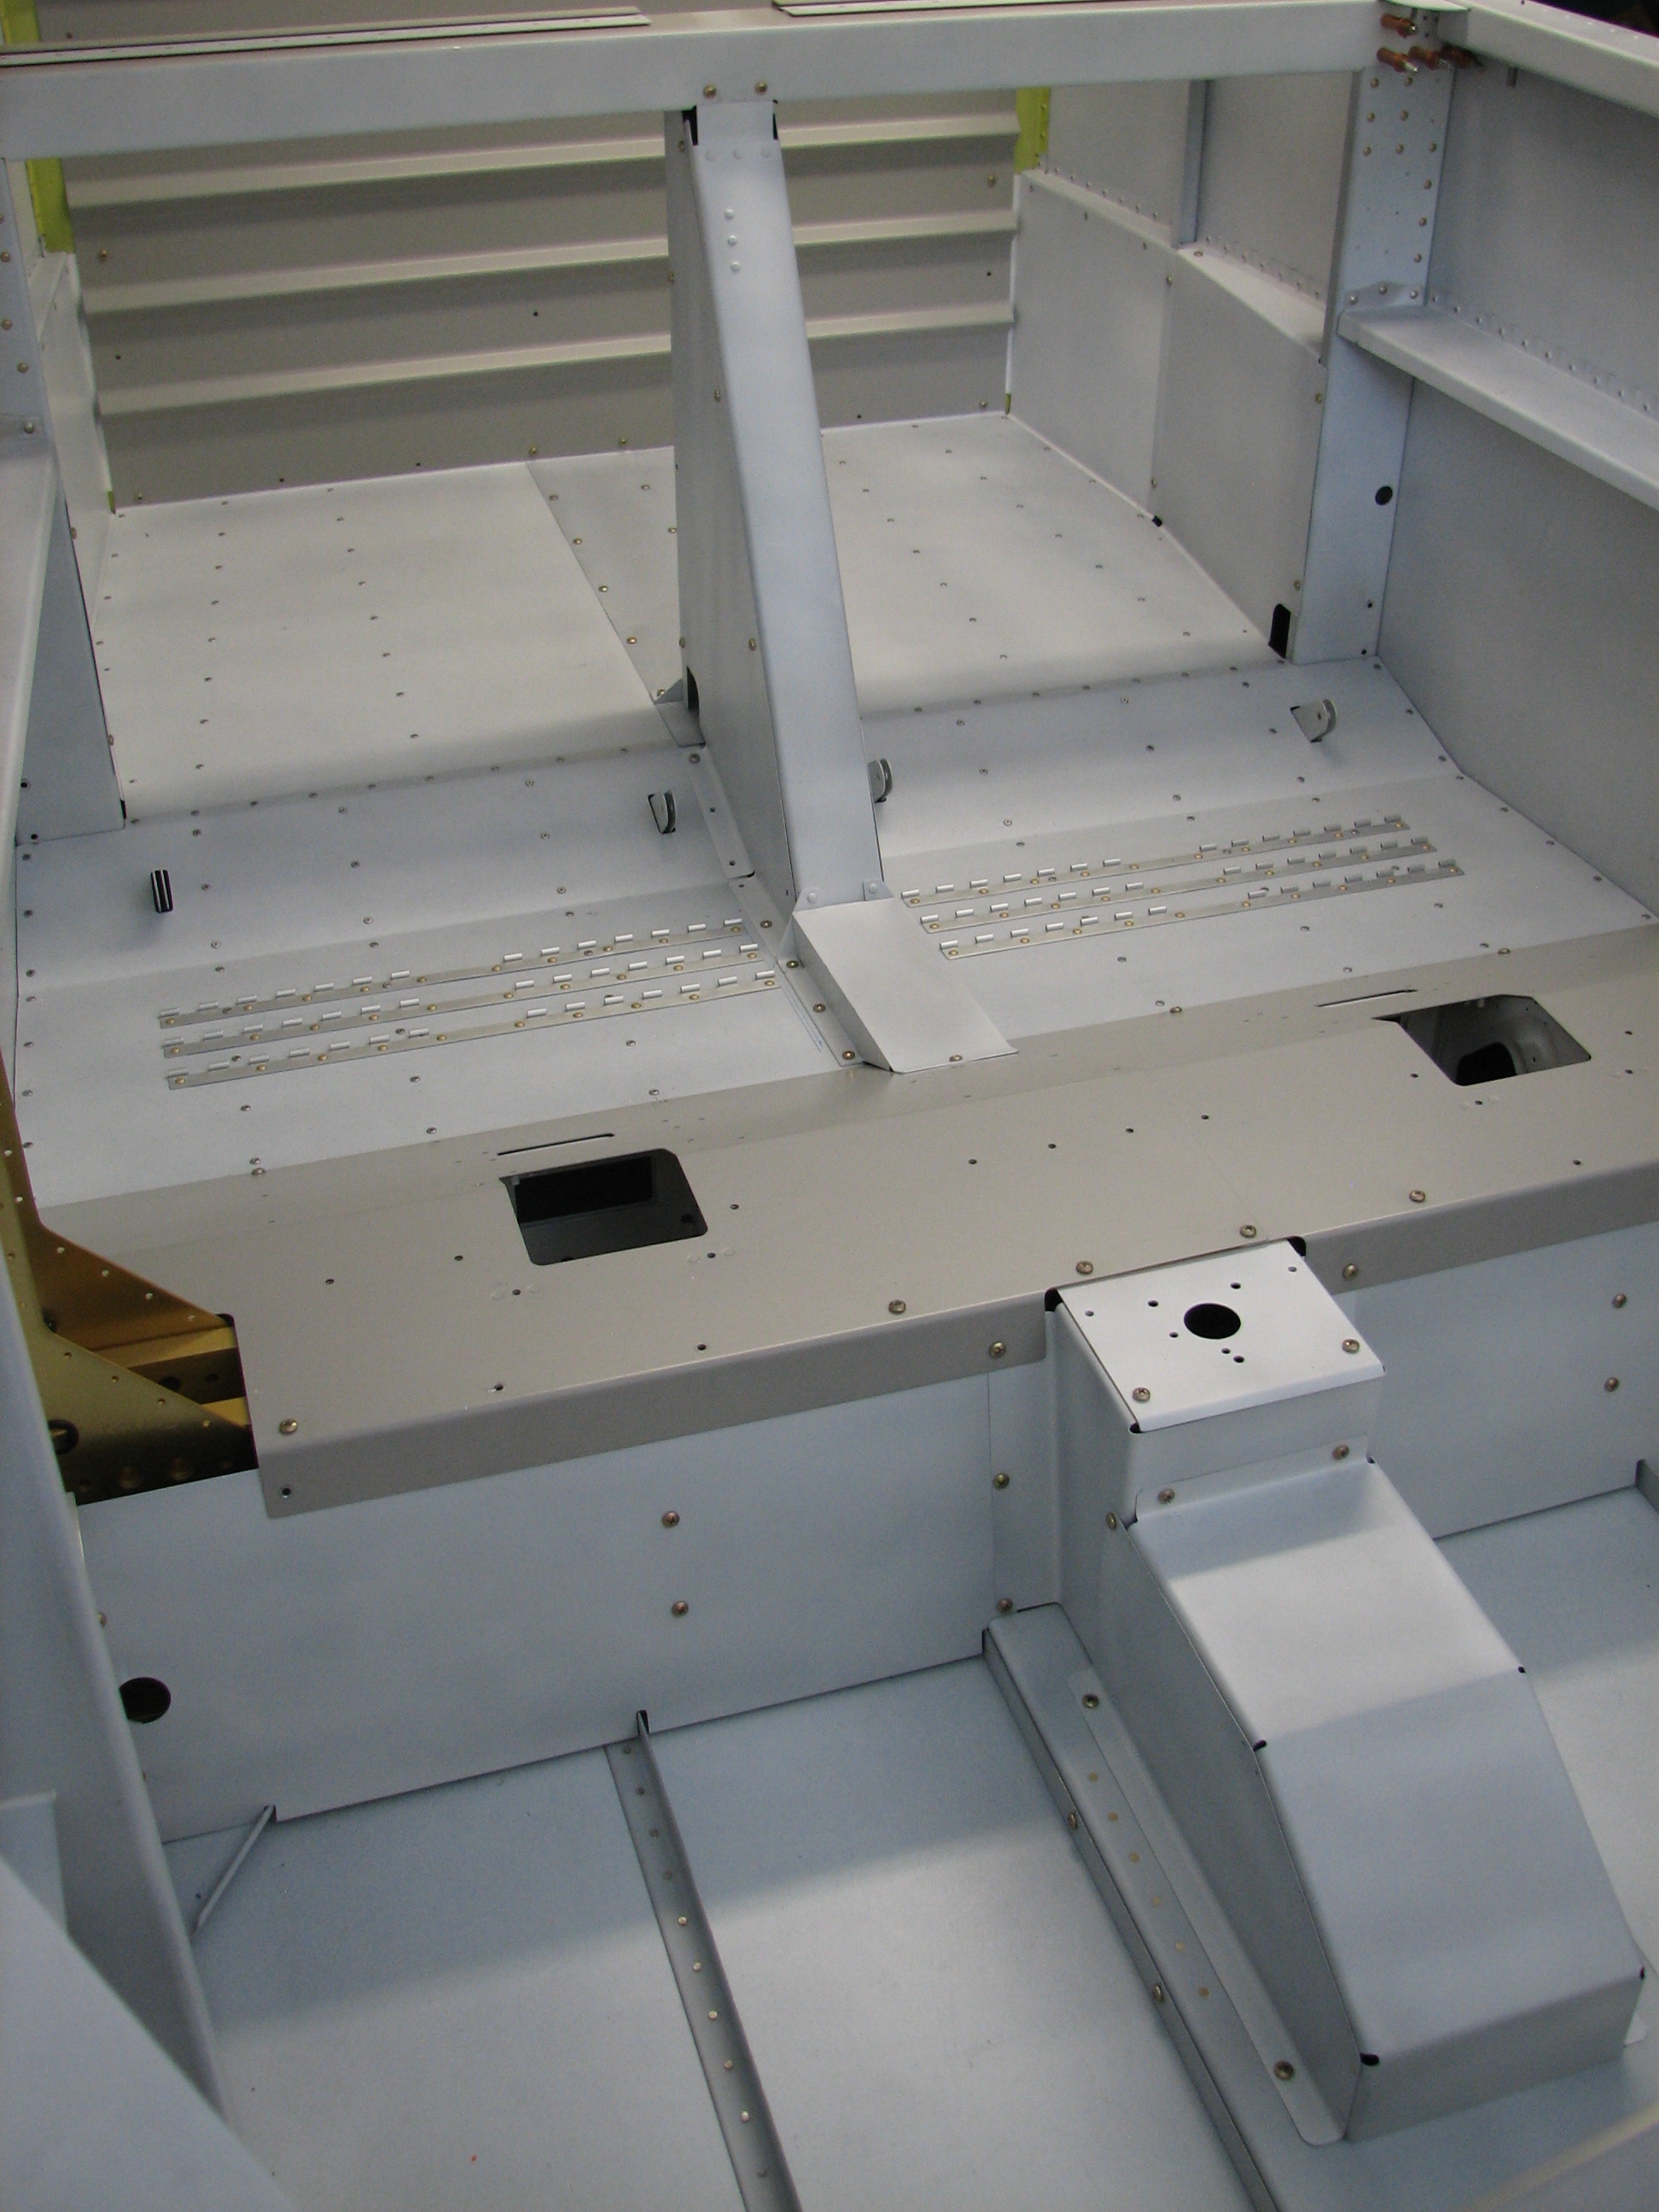
And here’s the rest of the interior temporarily attached to get ready for seat fitting. Looks pretty good, I think…