
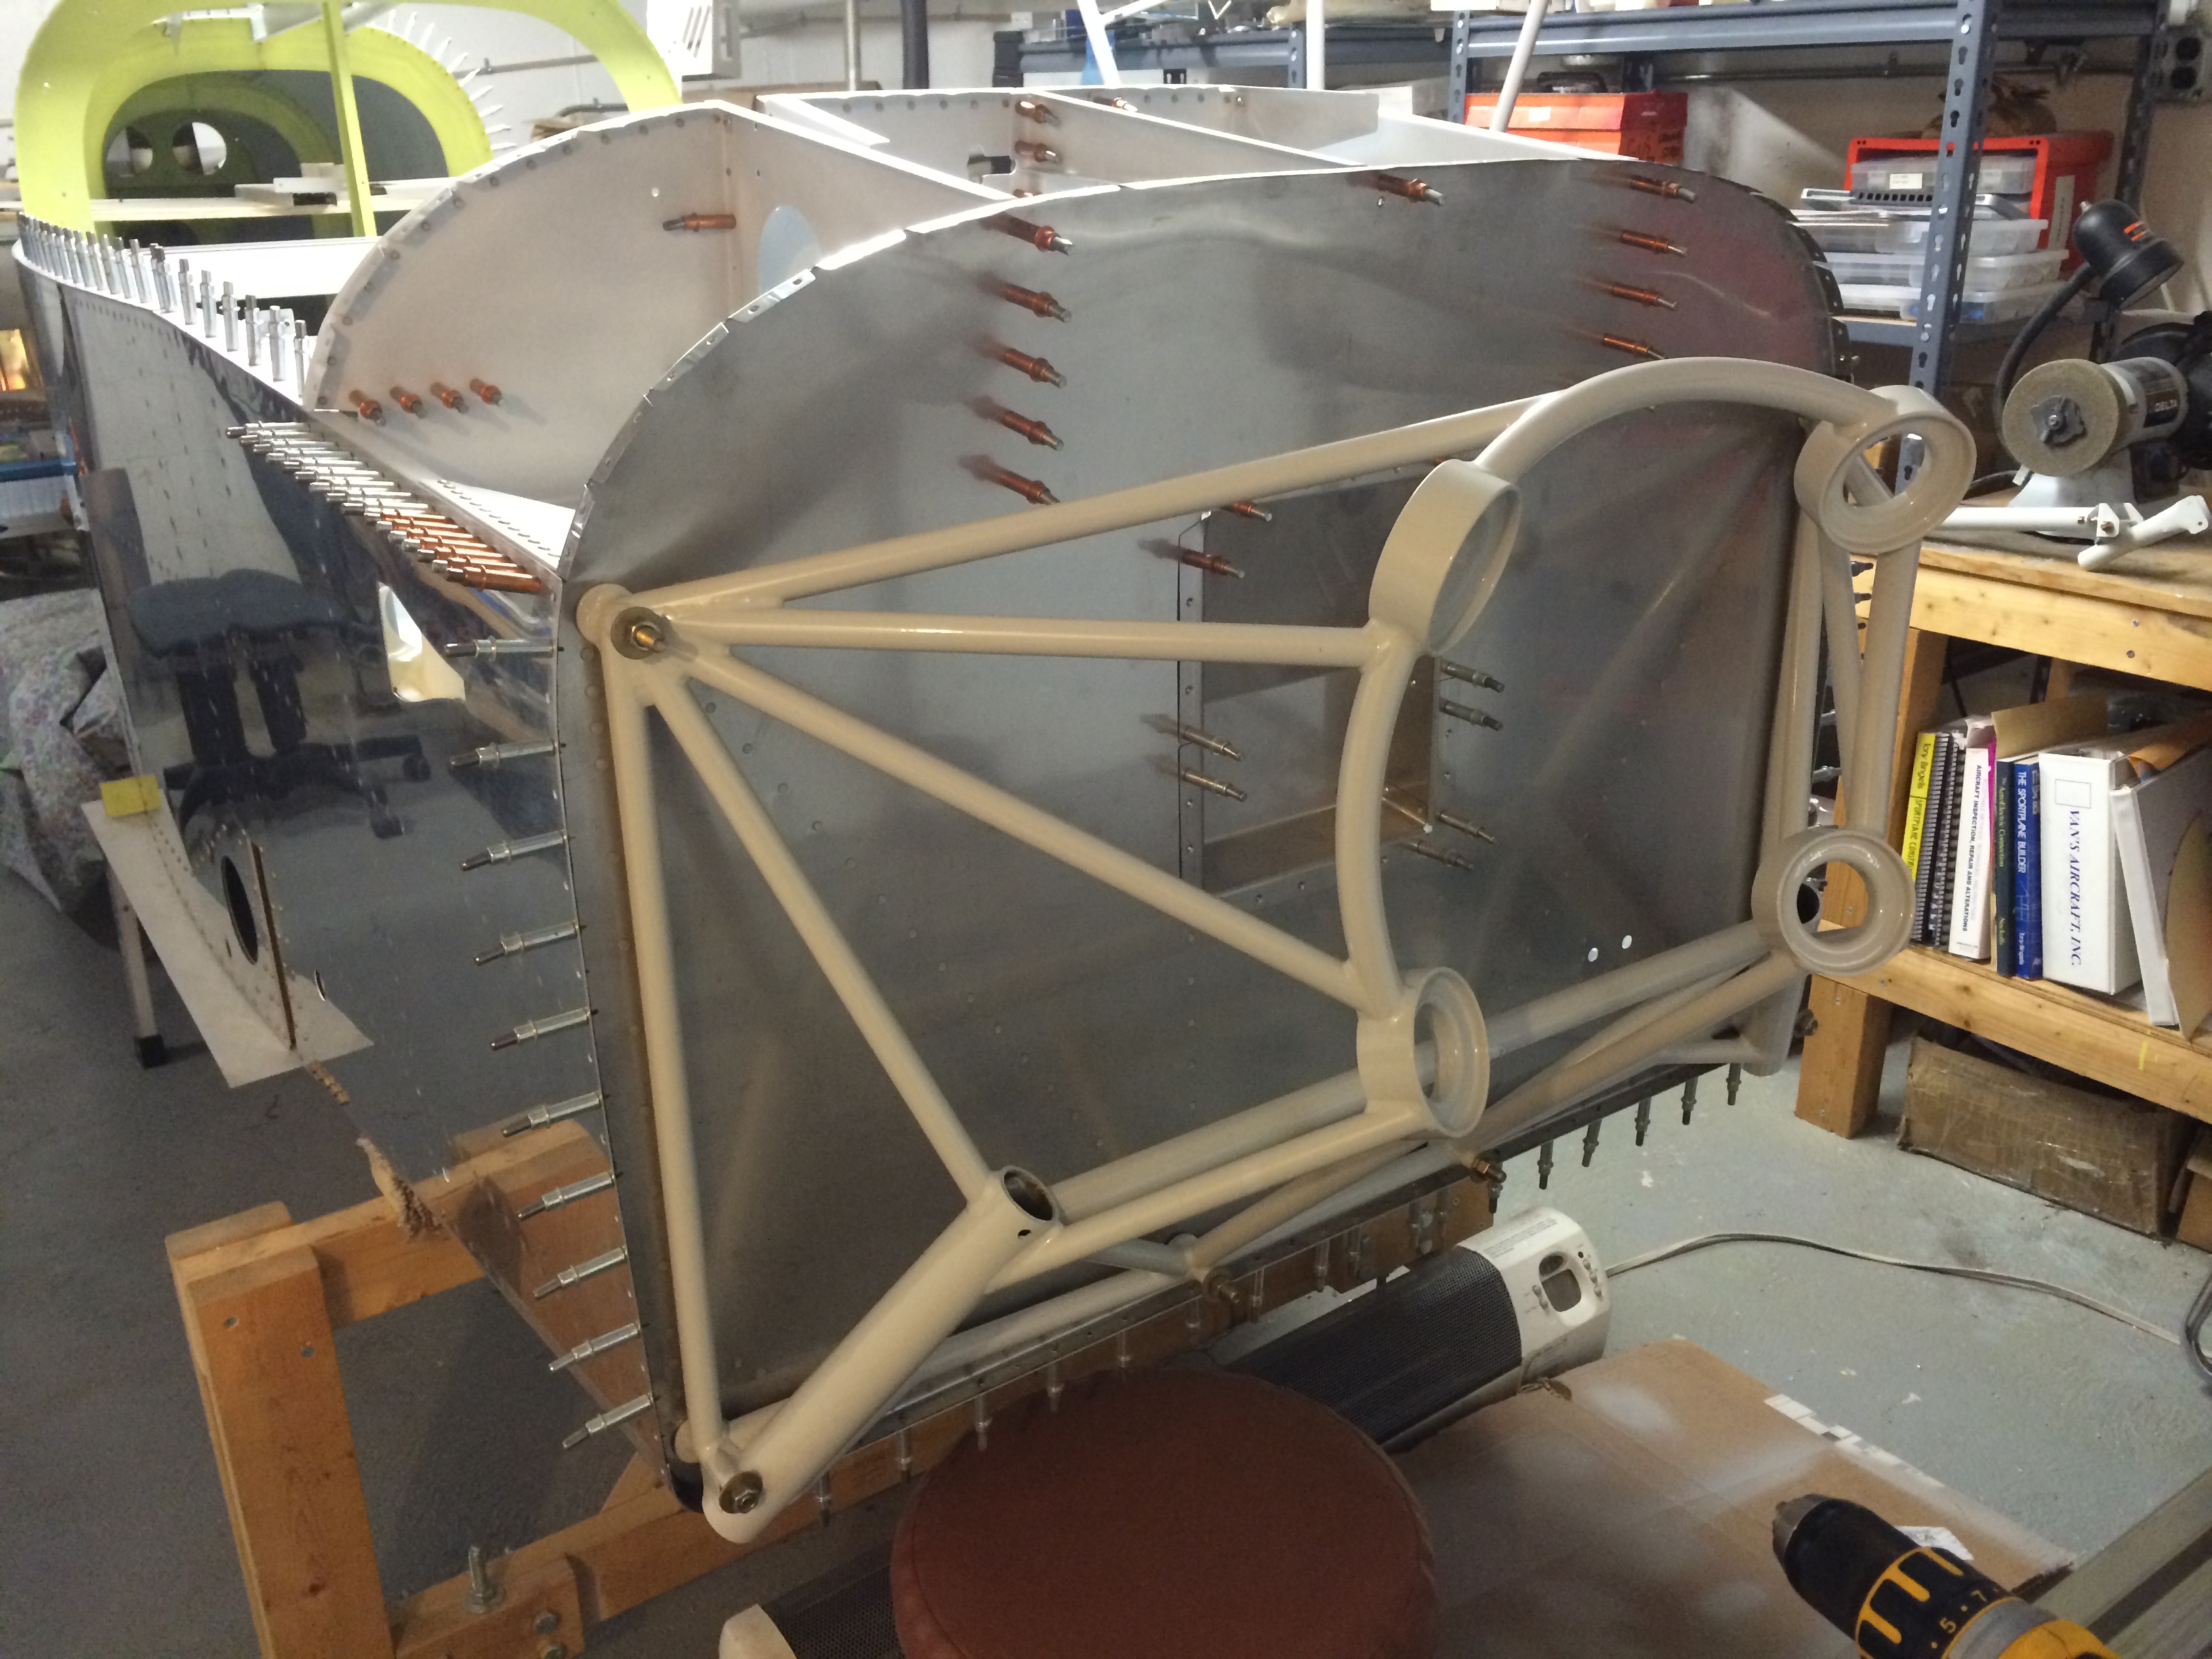
We’ve decided to sell our house, and that means moving everything out of the shop. I’d rather not transport the fuselage on its rolling cradle, so it’s time to install the engine mount and landing gear.
Captain John came up this weekend and we made quick work of drilling the mount to the firewall. The only tricky part is holding the mount in place while enlarging the bolt holes to final size. John had some great tricks to help with that, and we were able to get the mount on the airplane with minimum fuss. Thanks, John!
I also want to get as much cockpit interior painting done as I can before The Move, so I started in on all the removable bits from the cockpit. I mentioned several posts back that I’m using Sherwin-Williams JetFlex WR. It’s tough stuff and looks good, but it’s a little tricky to apply. “WR” means this paint is water reducible, and it’s very viscous even when thinned for spraying.
Getting the thinning right can be tricky and it took a little experimentation to arrive at the right mixture, which seems to be adding around 20 percent distilled water. Any more and the paint won’t cover correctly, and any less means the paint doesn’t lay down smoothly when sprayed. One redeeming characteristic of this paint, however, is that it does flow nicely after spraying.
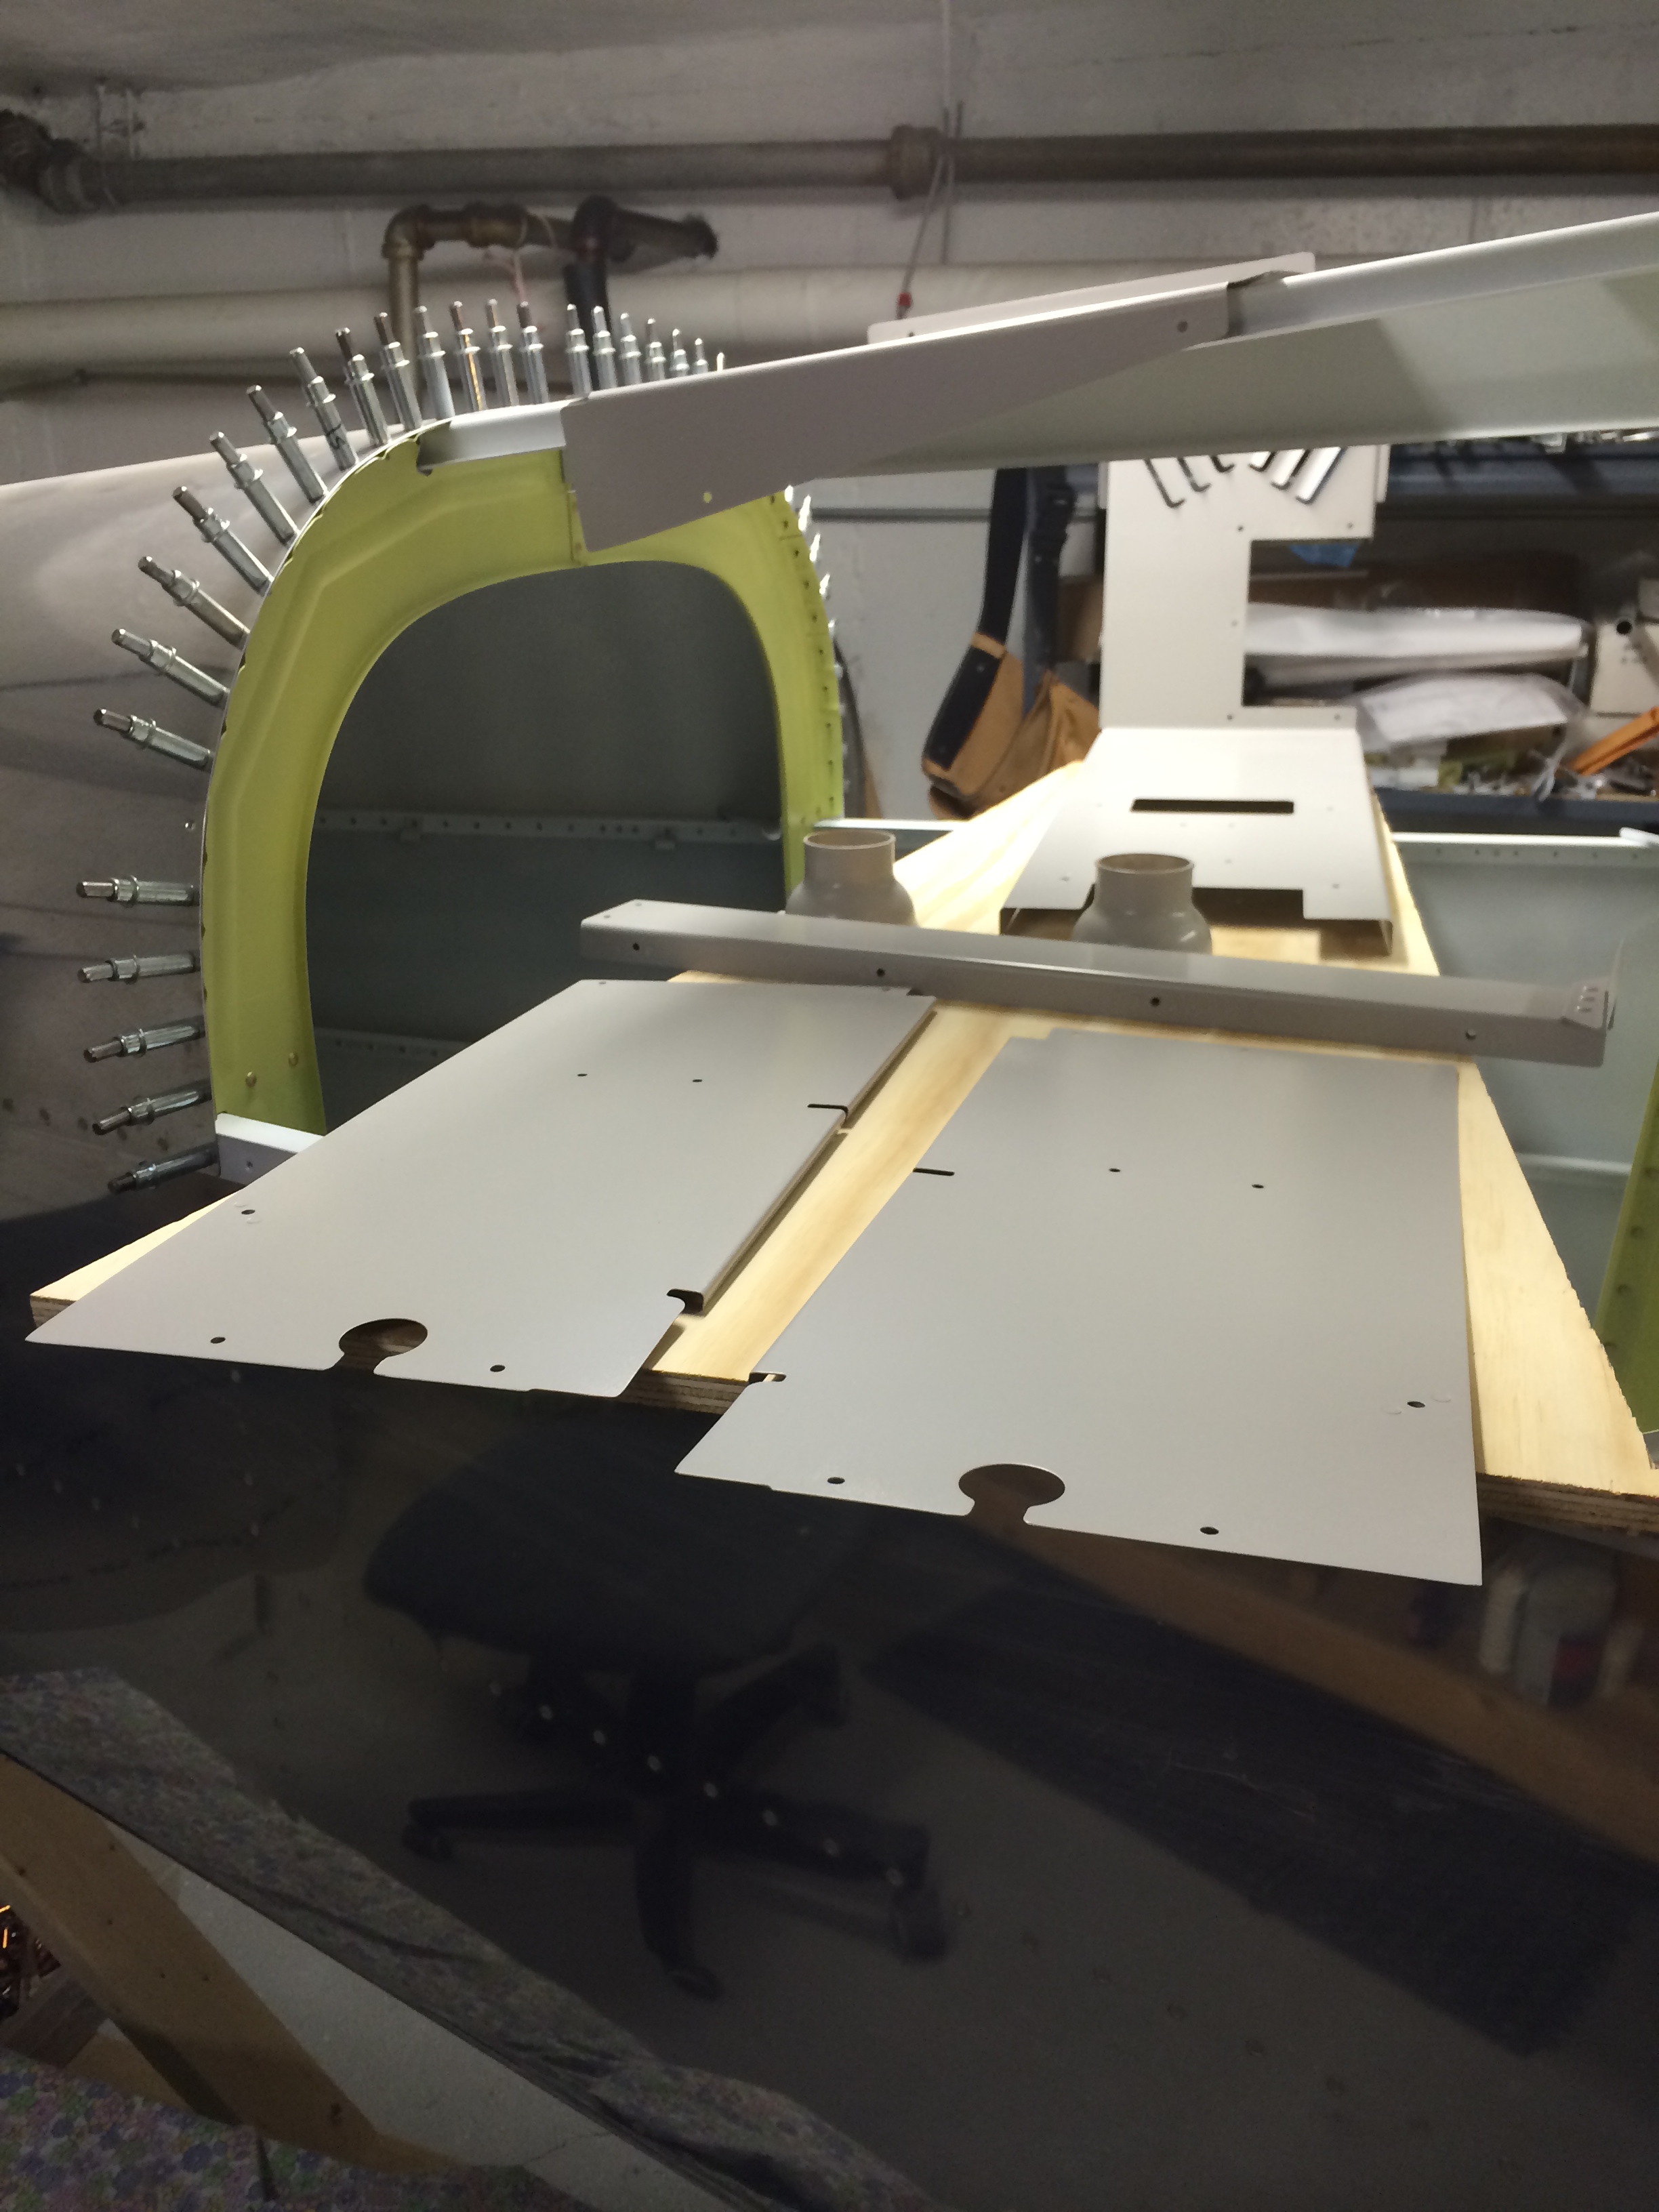
There were a surprising number of removable parts that had to get painted…
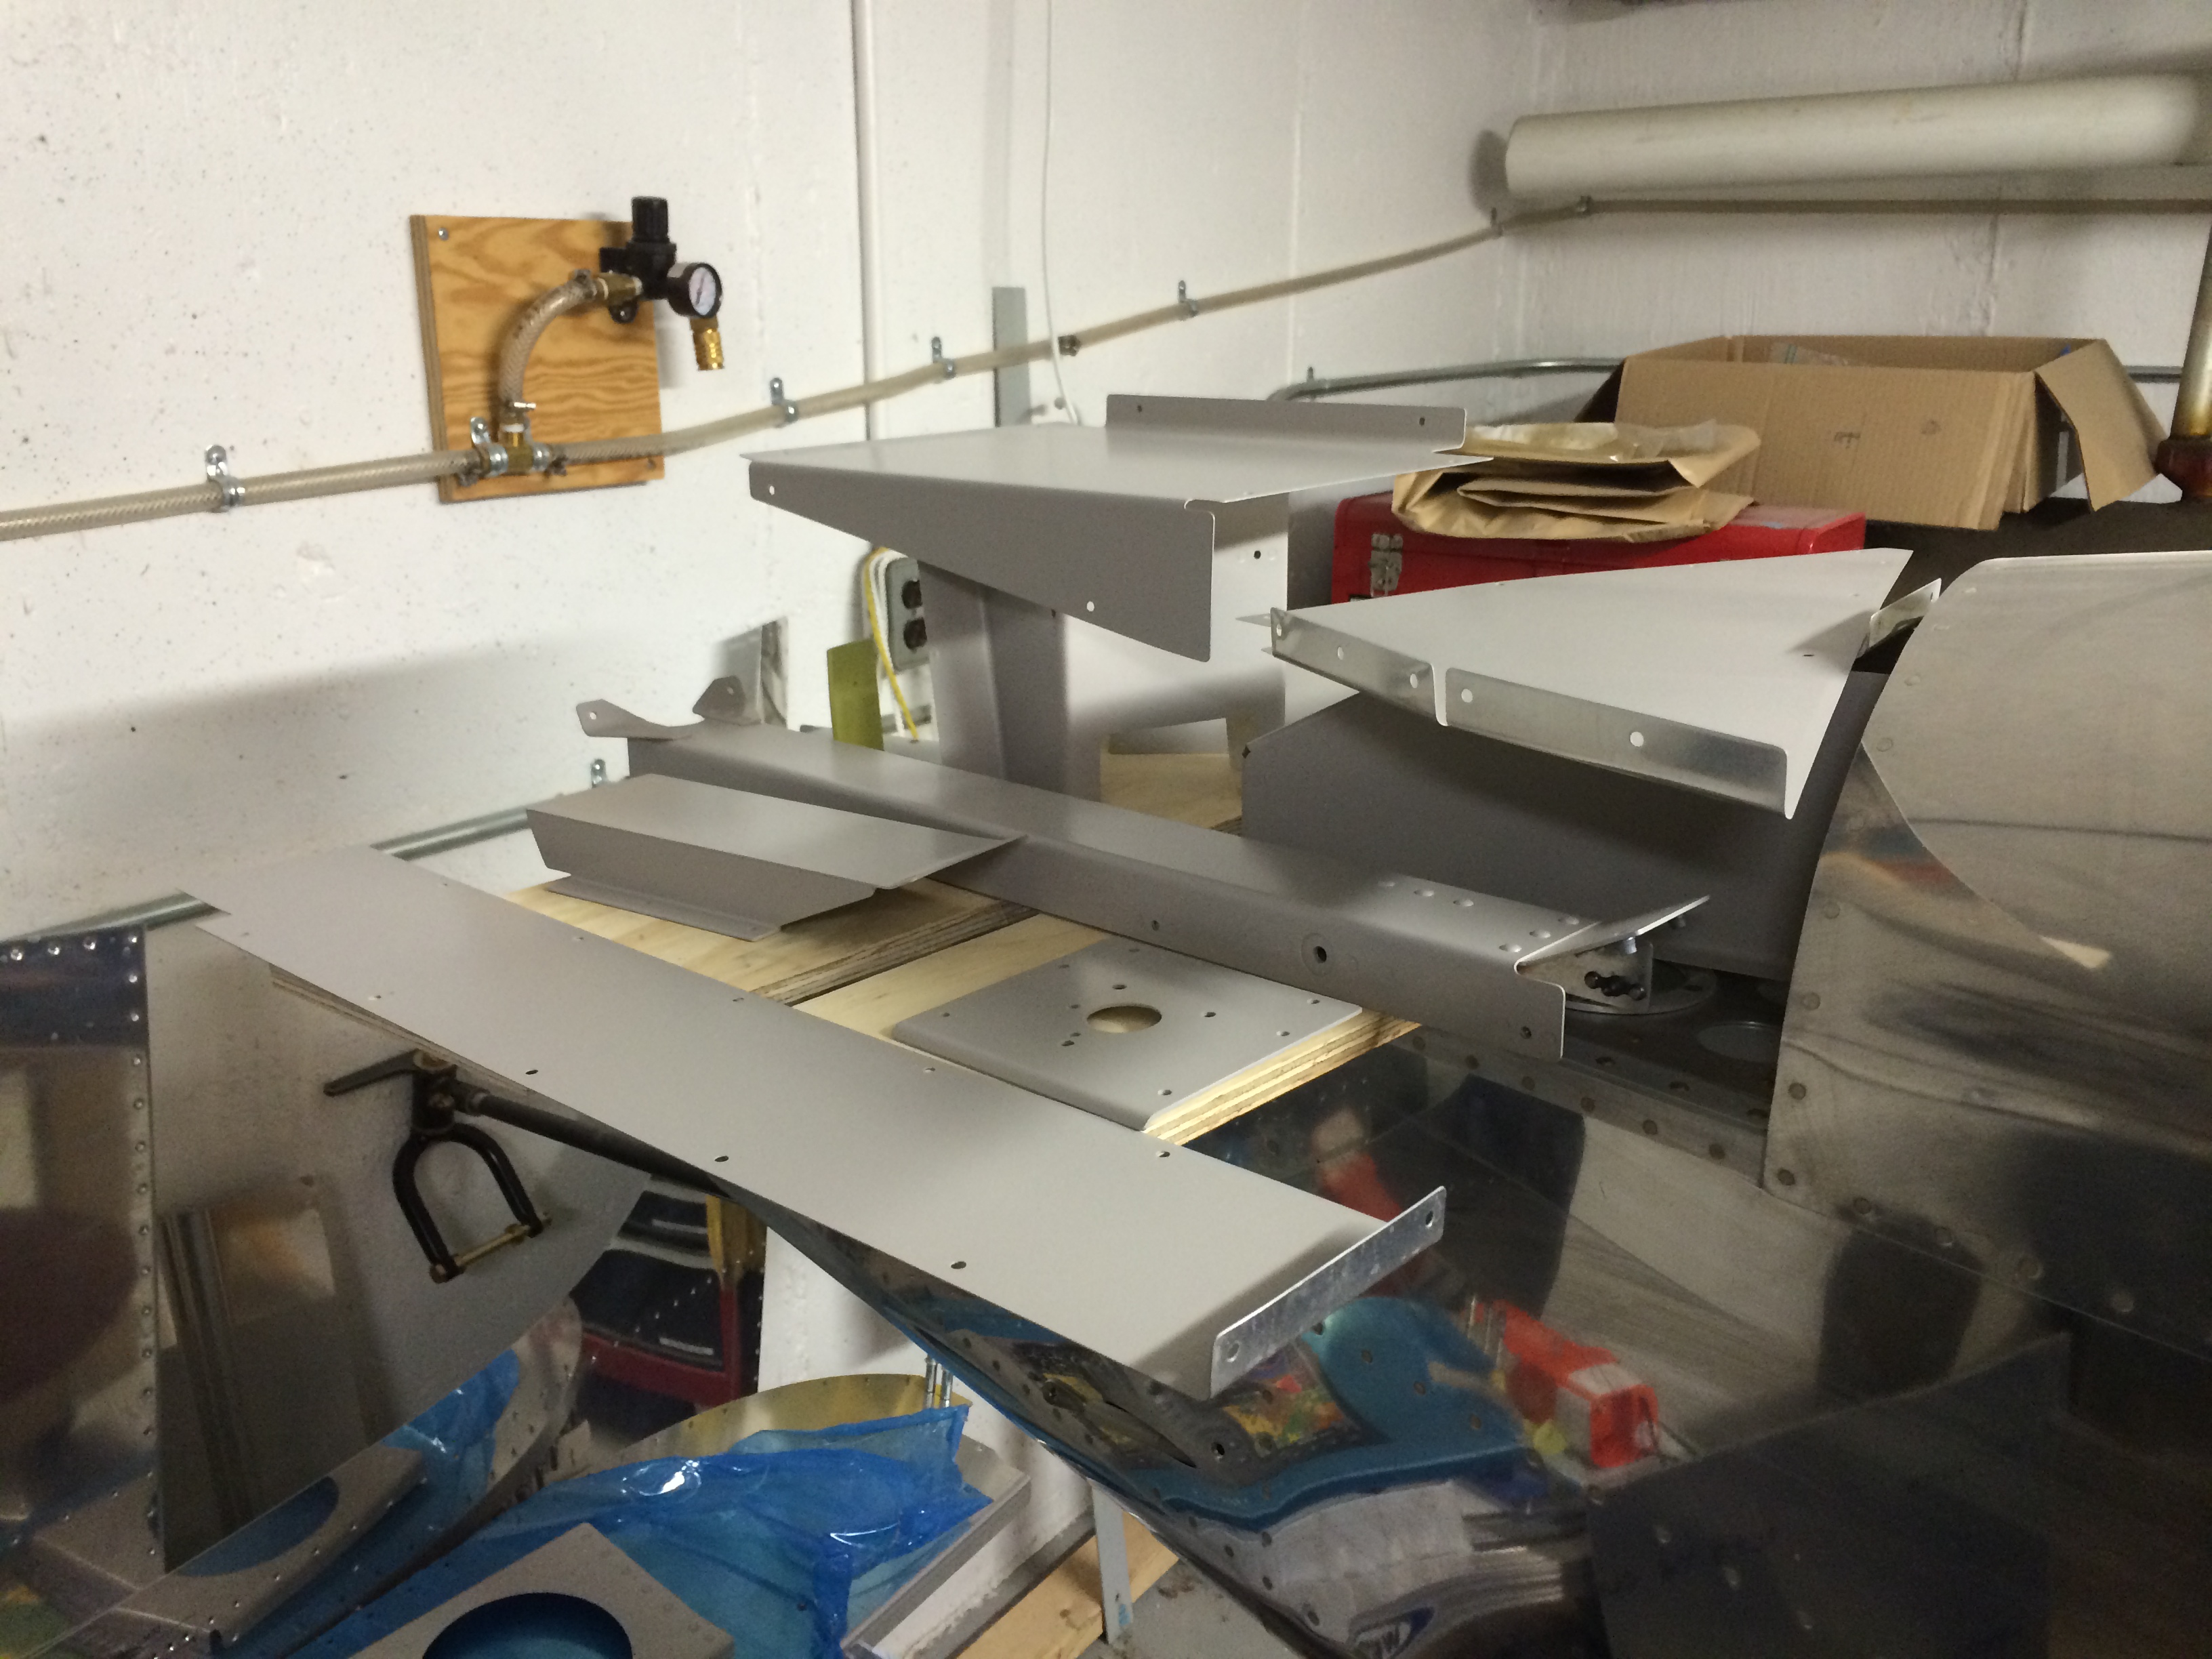
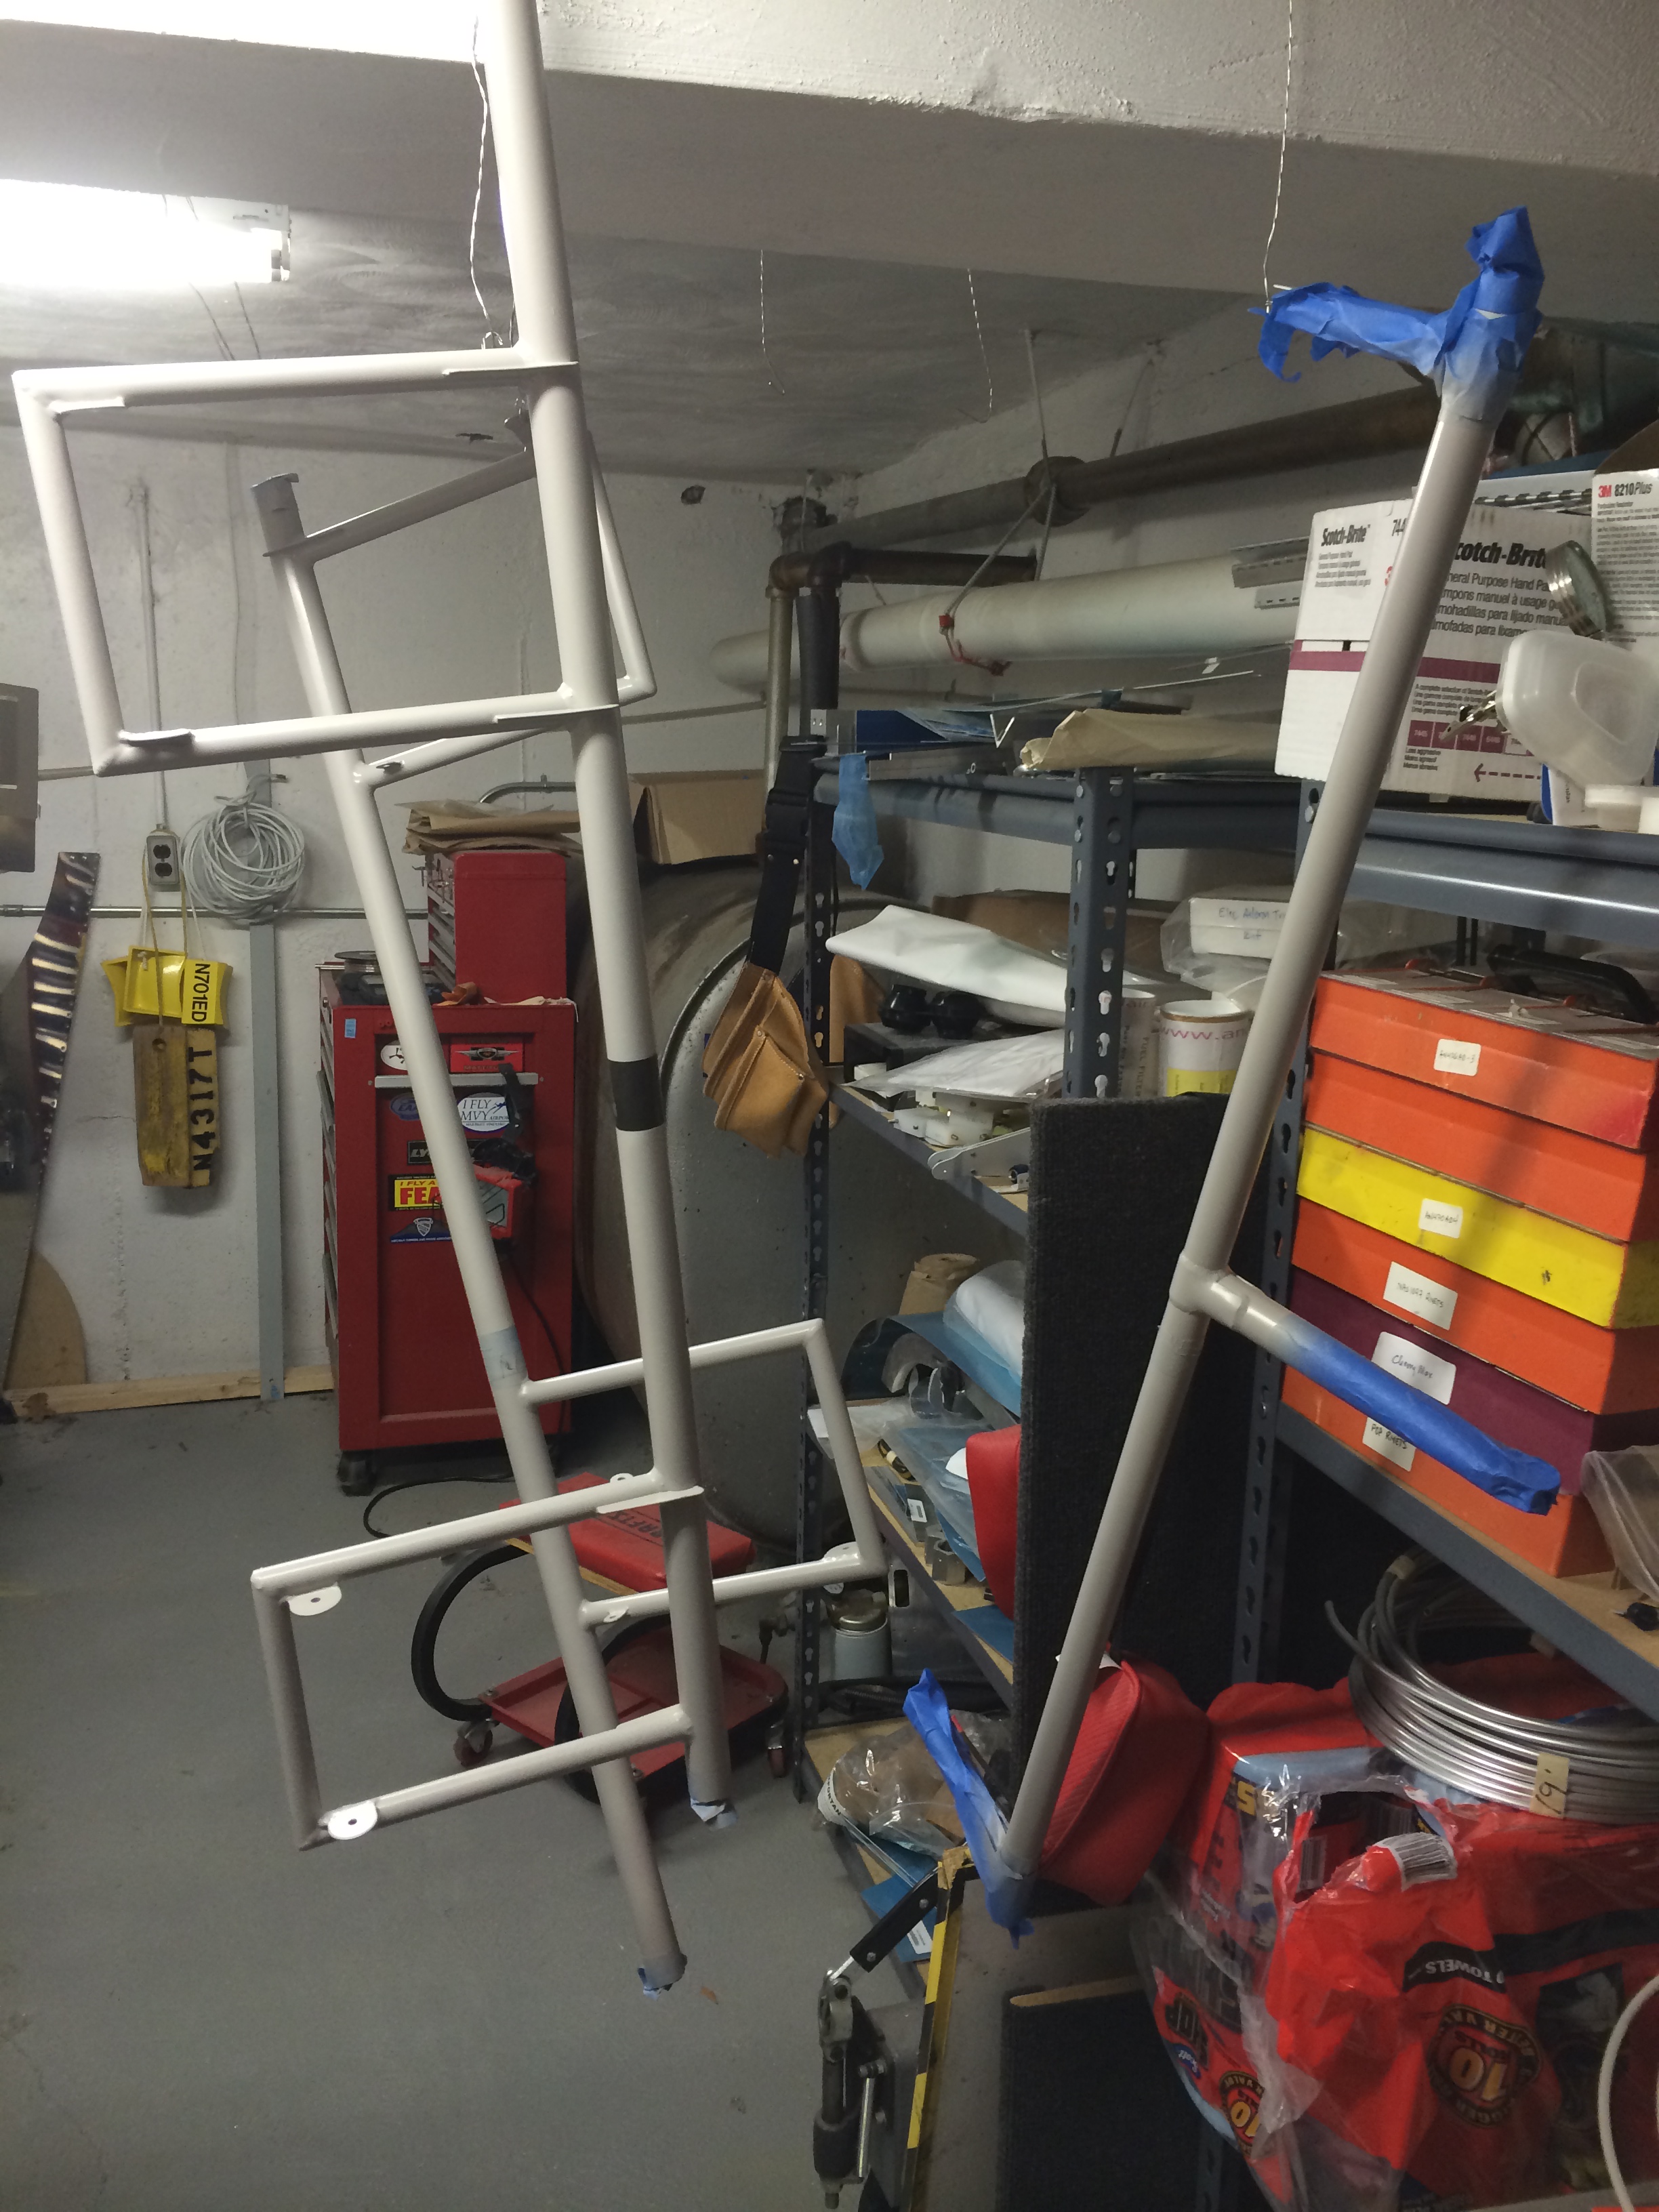
I had originally considered having the rudder pedals, control sticks and flap weldments powder-coated to match the JetFlex “Pepperdust” color, but other JetFlex users tell me that it sticks well to properly-prepared (i.e., scuffed and cleaned) powder coat so that’s what I’m doing.
 This JetFlex color is sufficiently light when it’s sprayed that I had a hard time getting an even coat and there are some spots I’ll need to touch up when we get to the hangar.