
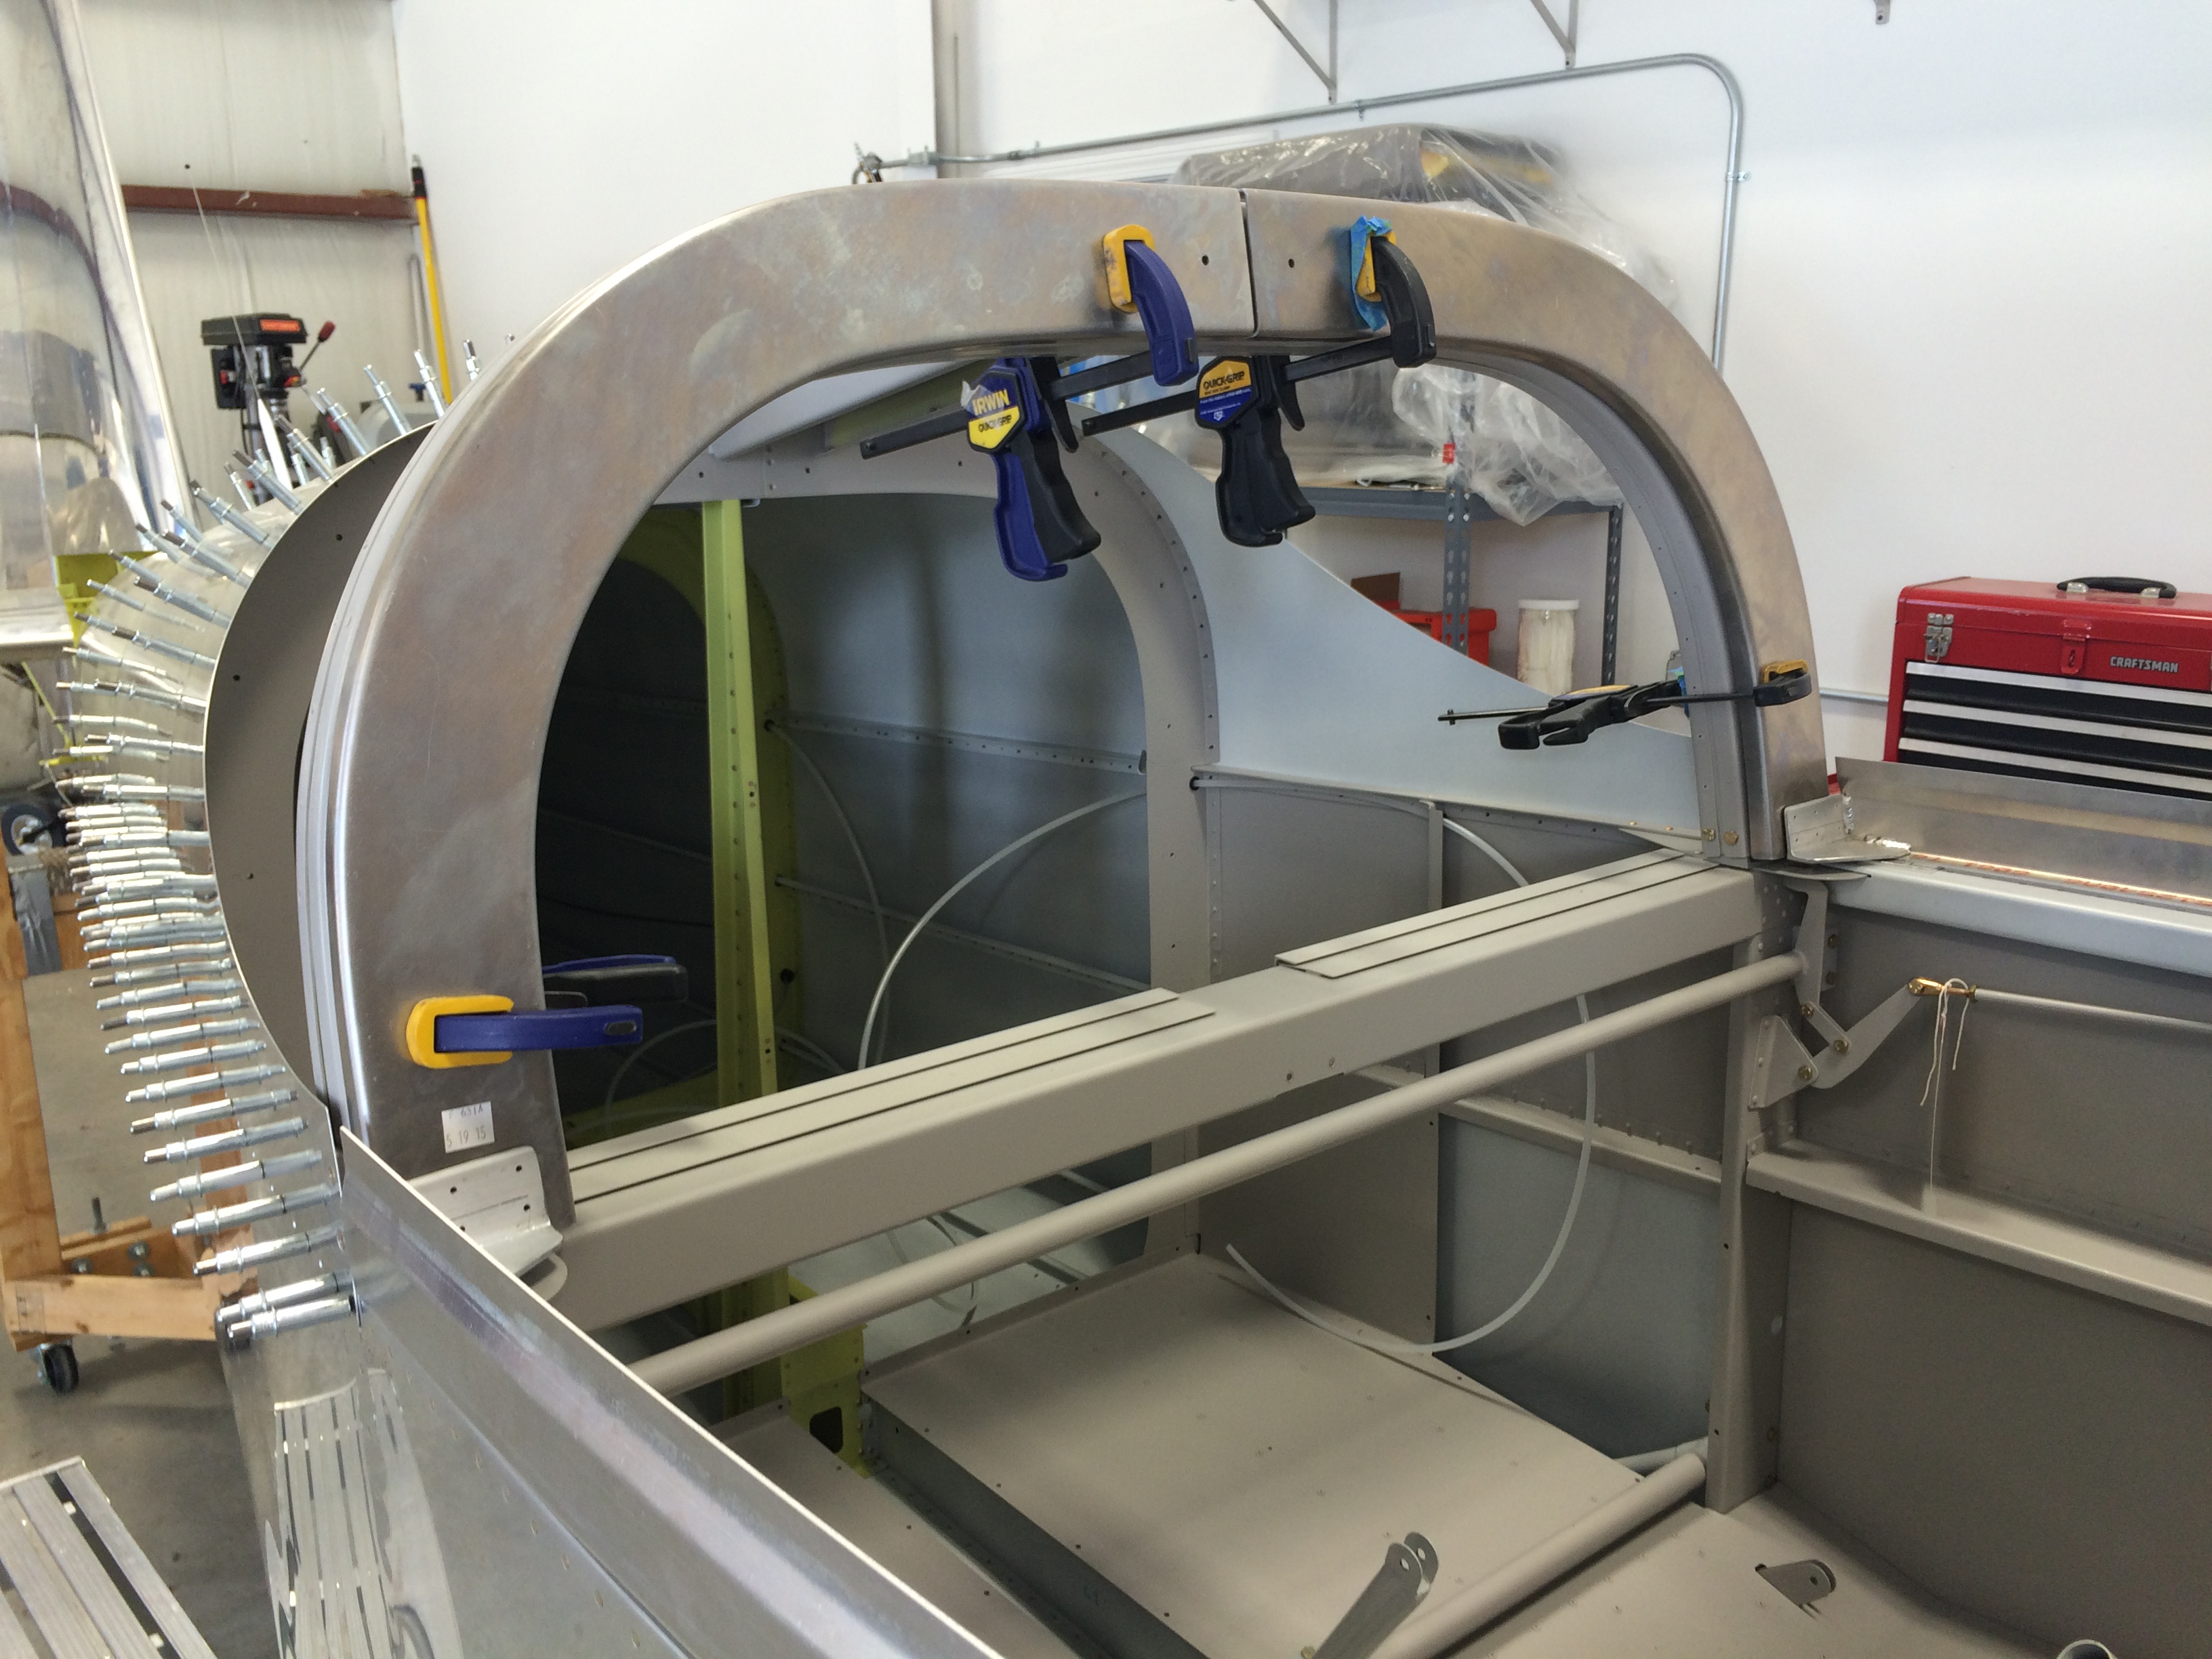
More fun with the canopy this week as I spent several hours adjusting the fit of these parts that form the rear canopy frame.
The distortion caused by both the flanges and L-shaped bend in each frame half takes some work to make them fit adequately. The instructions tell builders to flute these parts to remove the distortion, but at least one of mine was just about right out of the box and really didn’t need fluting. The other one doesn’t fit quite as well, but I’m resisting the urge to flute it because (a) the fit isn’t that bad and (b) I tried fluting a spare frame part I had and it was a PITA.
In this picture the frame halves are not perfect, but they’re getting close to being good enough.
The side rails were an easier fit, because Van’s had already done all the bending and metal shrinking needed to make the side rail curve fit the longeron bends I worked so hard to perfect several years ago.
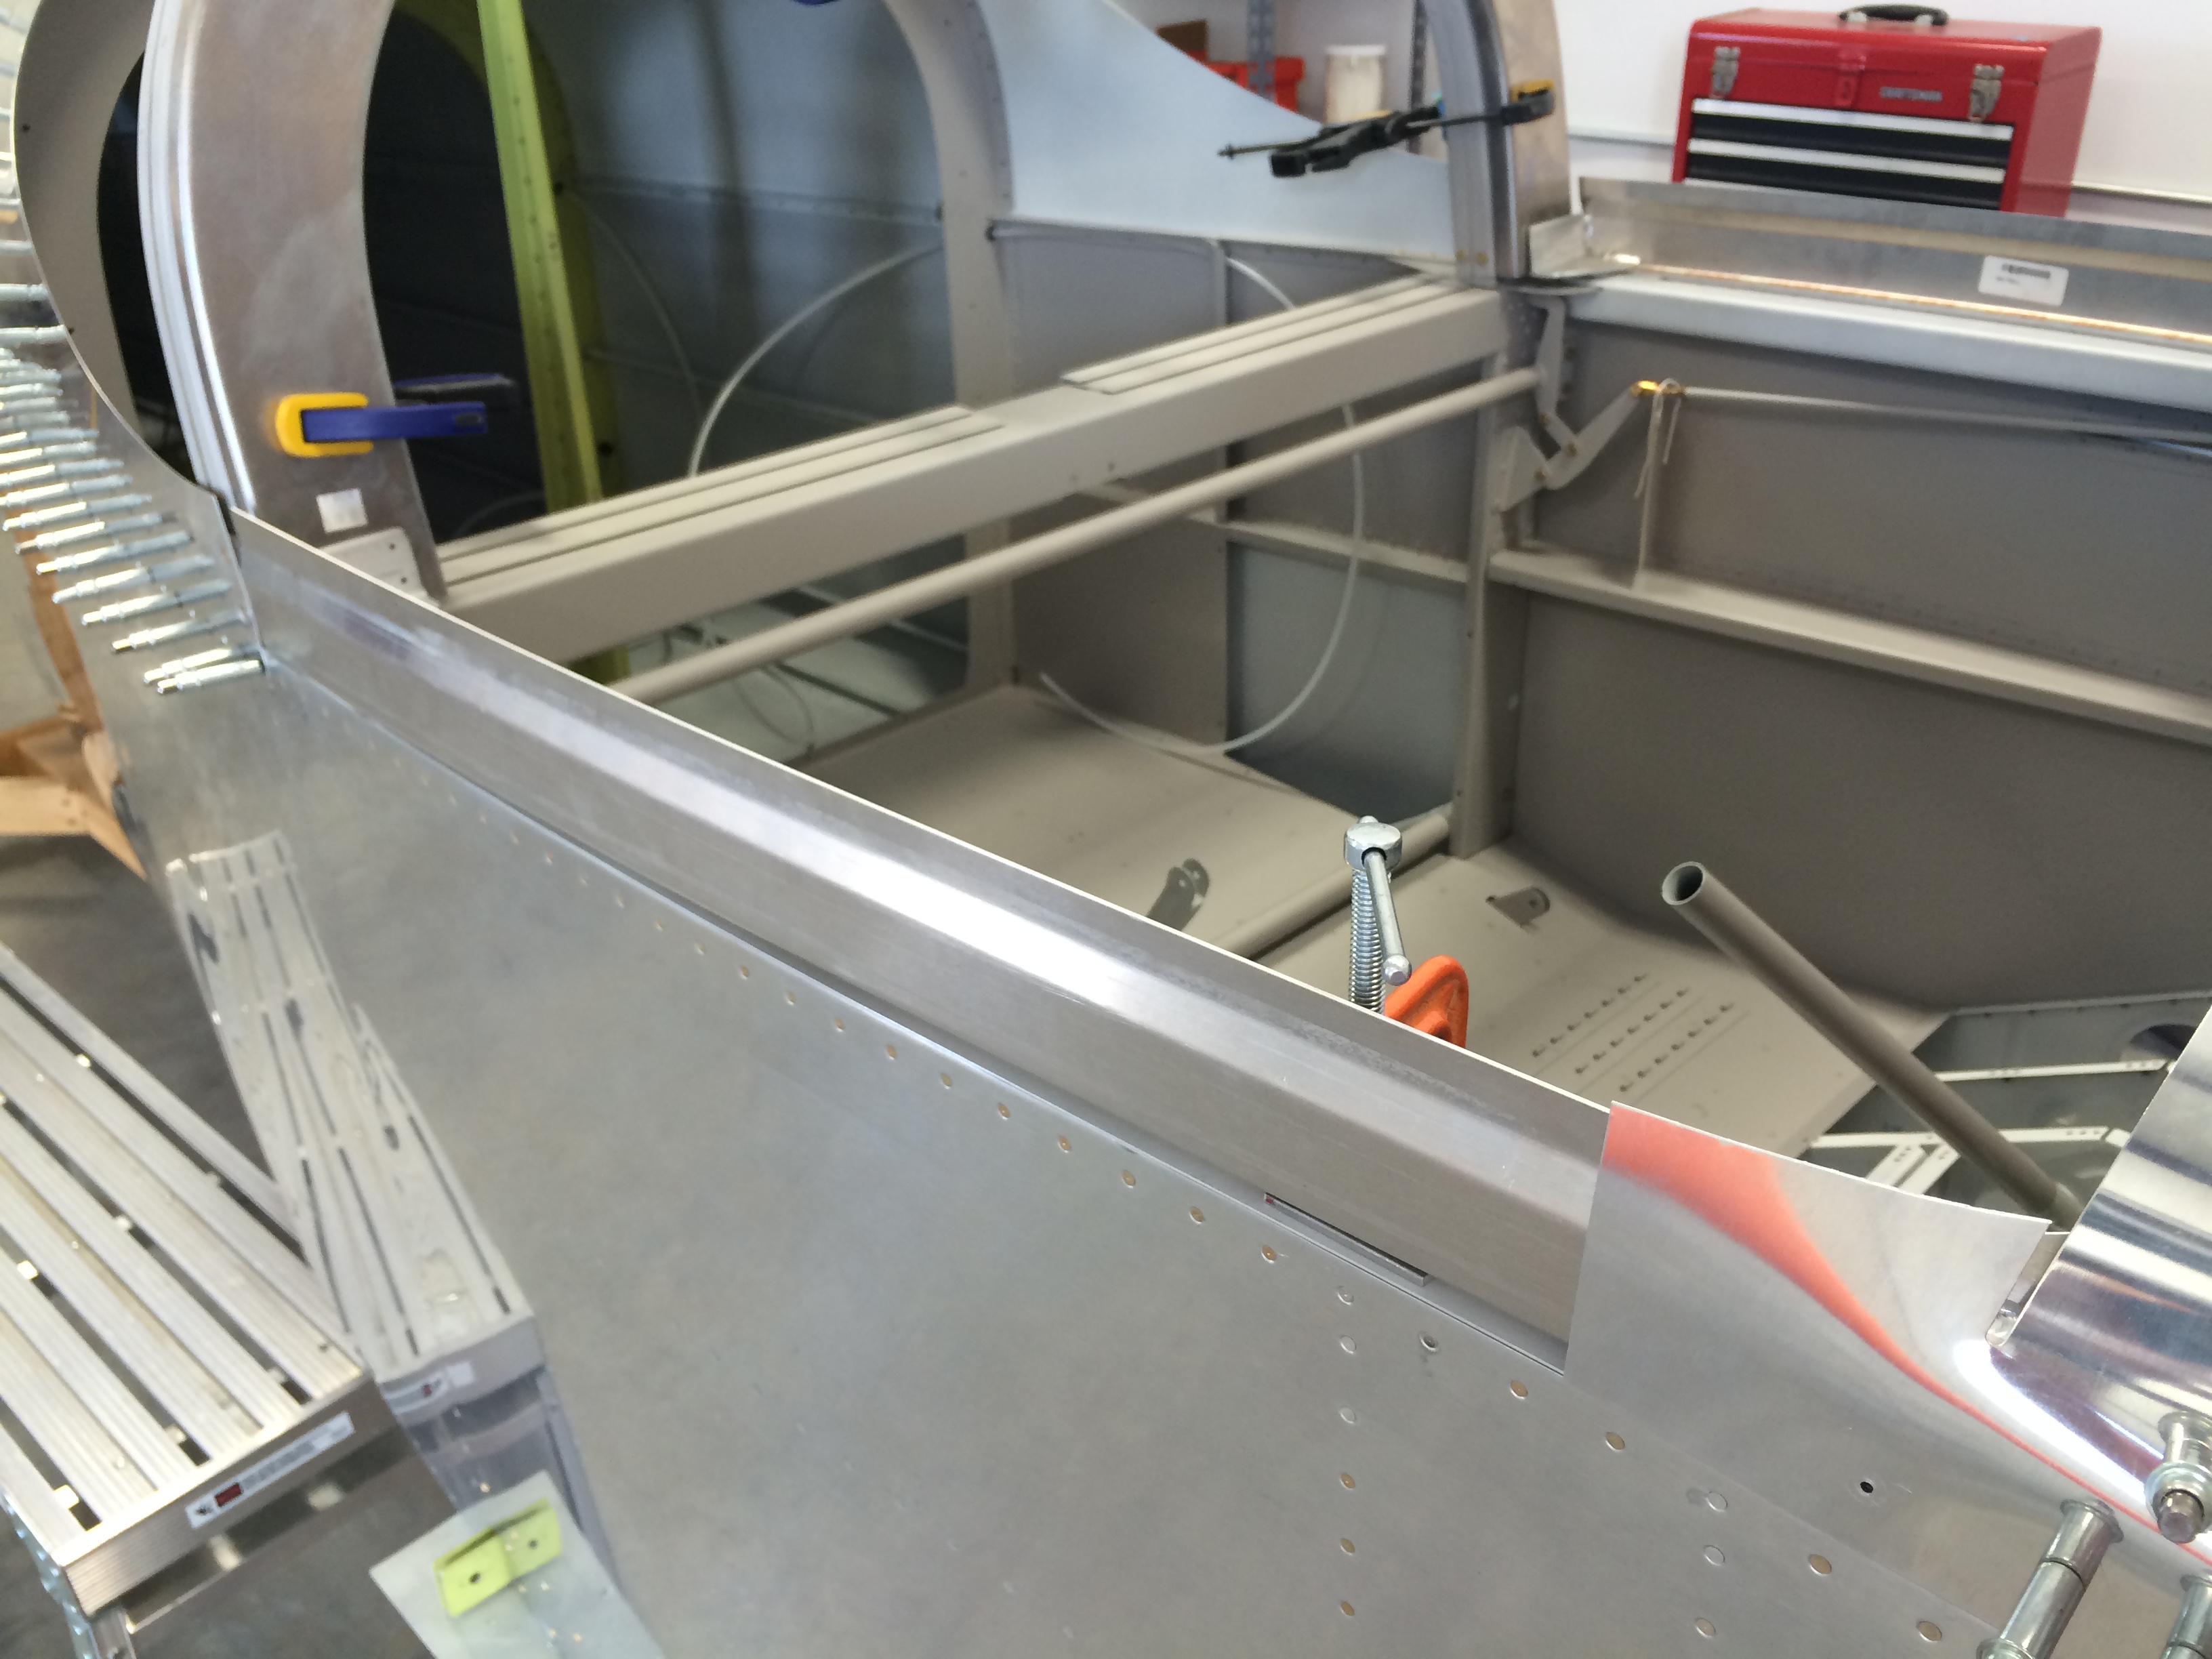
The side rail flanges don’t quite conform to the aft frame parts, but I think they’ll pull into shape pretty well when they’re drilled and clecoed.
 I still have some parts to fit to the frame, so stand by for more words and pictures.
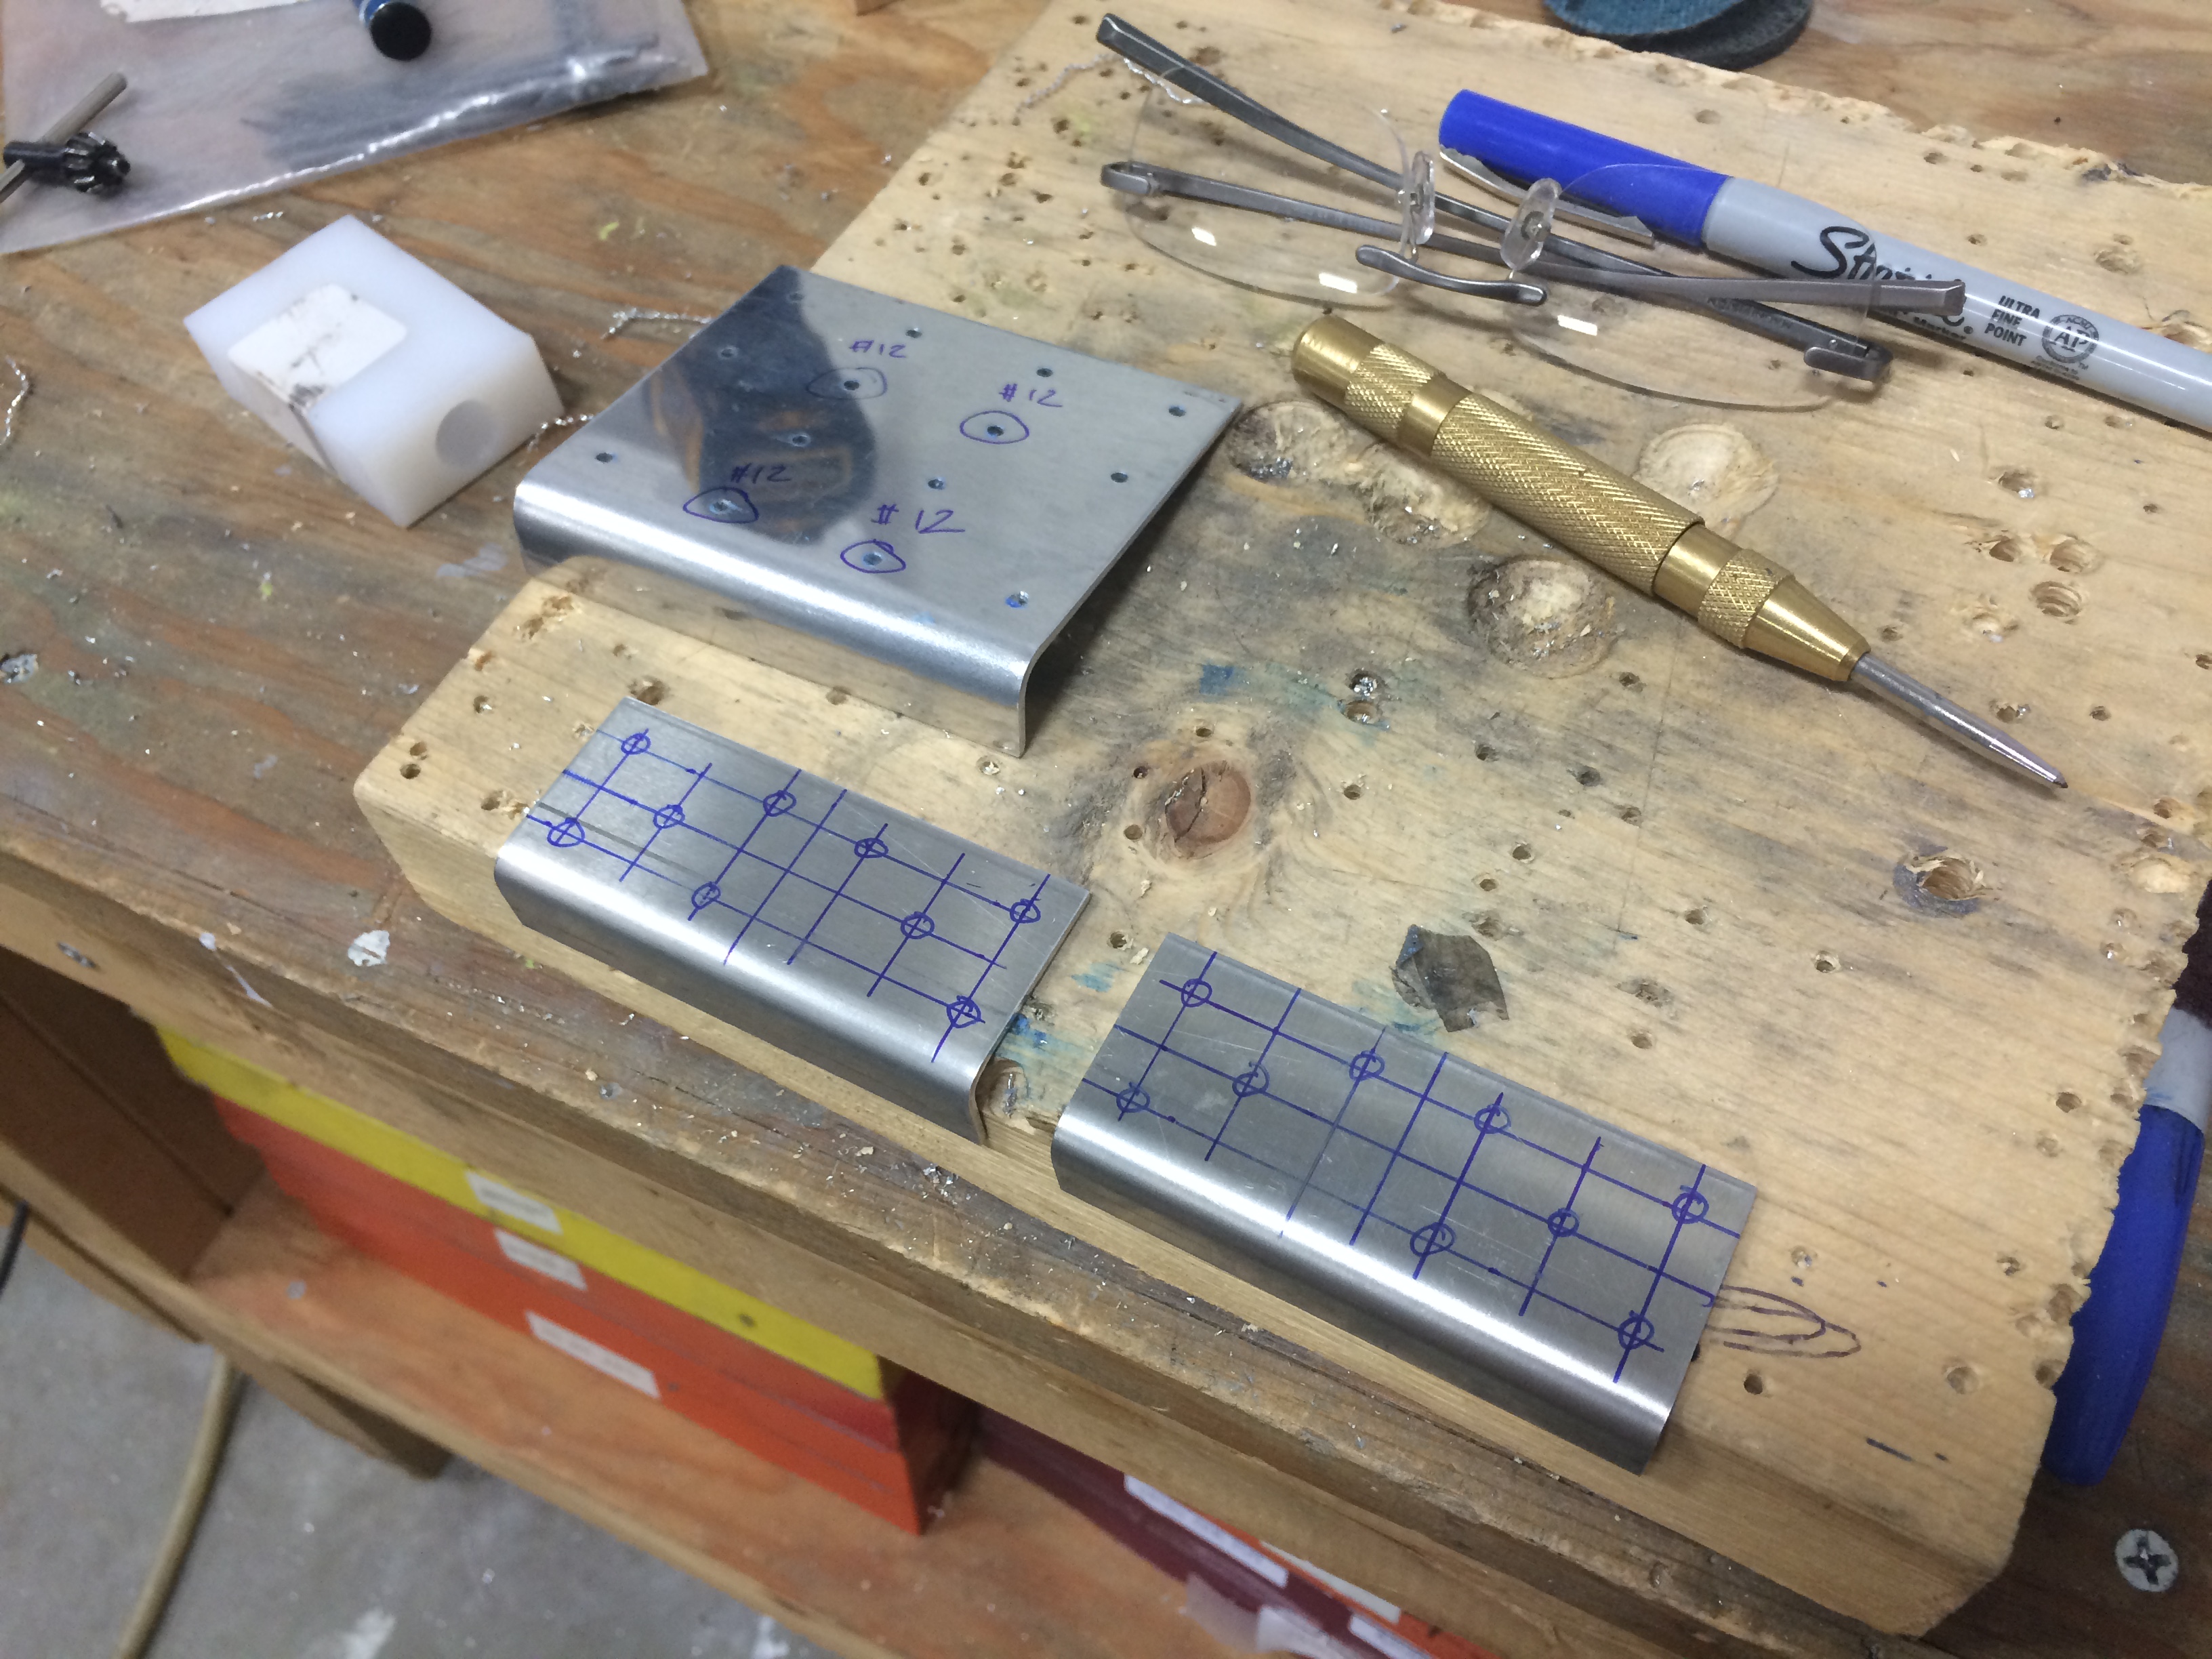 Laying out the side rail and rear canopy bow splice plates. Note that the side rail doublers at the bottom have one hole that isn’t marked to be drilled – that’s because Van’s conveniently forgot to mention in their plans that there’s already a hole through the canopy frame in this area, and if you drill the hole in the splice plate it won’t line up with the frame hole.

Ok, so I said I wasn’t going to flute the rear frame – but I did, and it actually came out pretty well. Here’s the side rails and rear frame clamped into position.
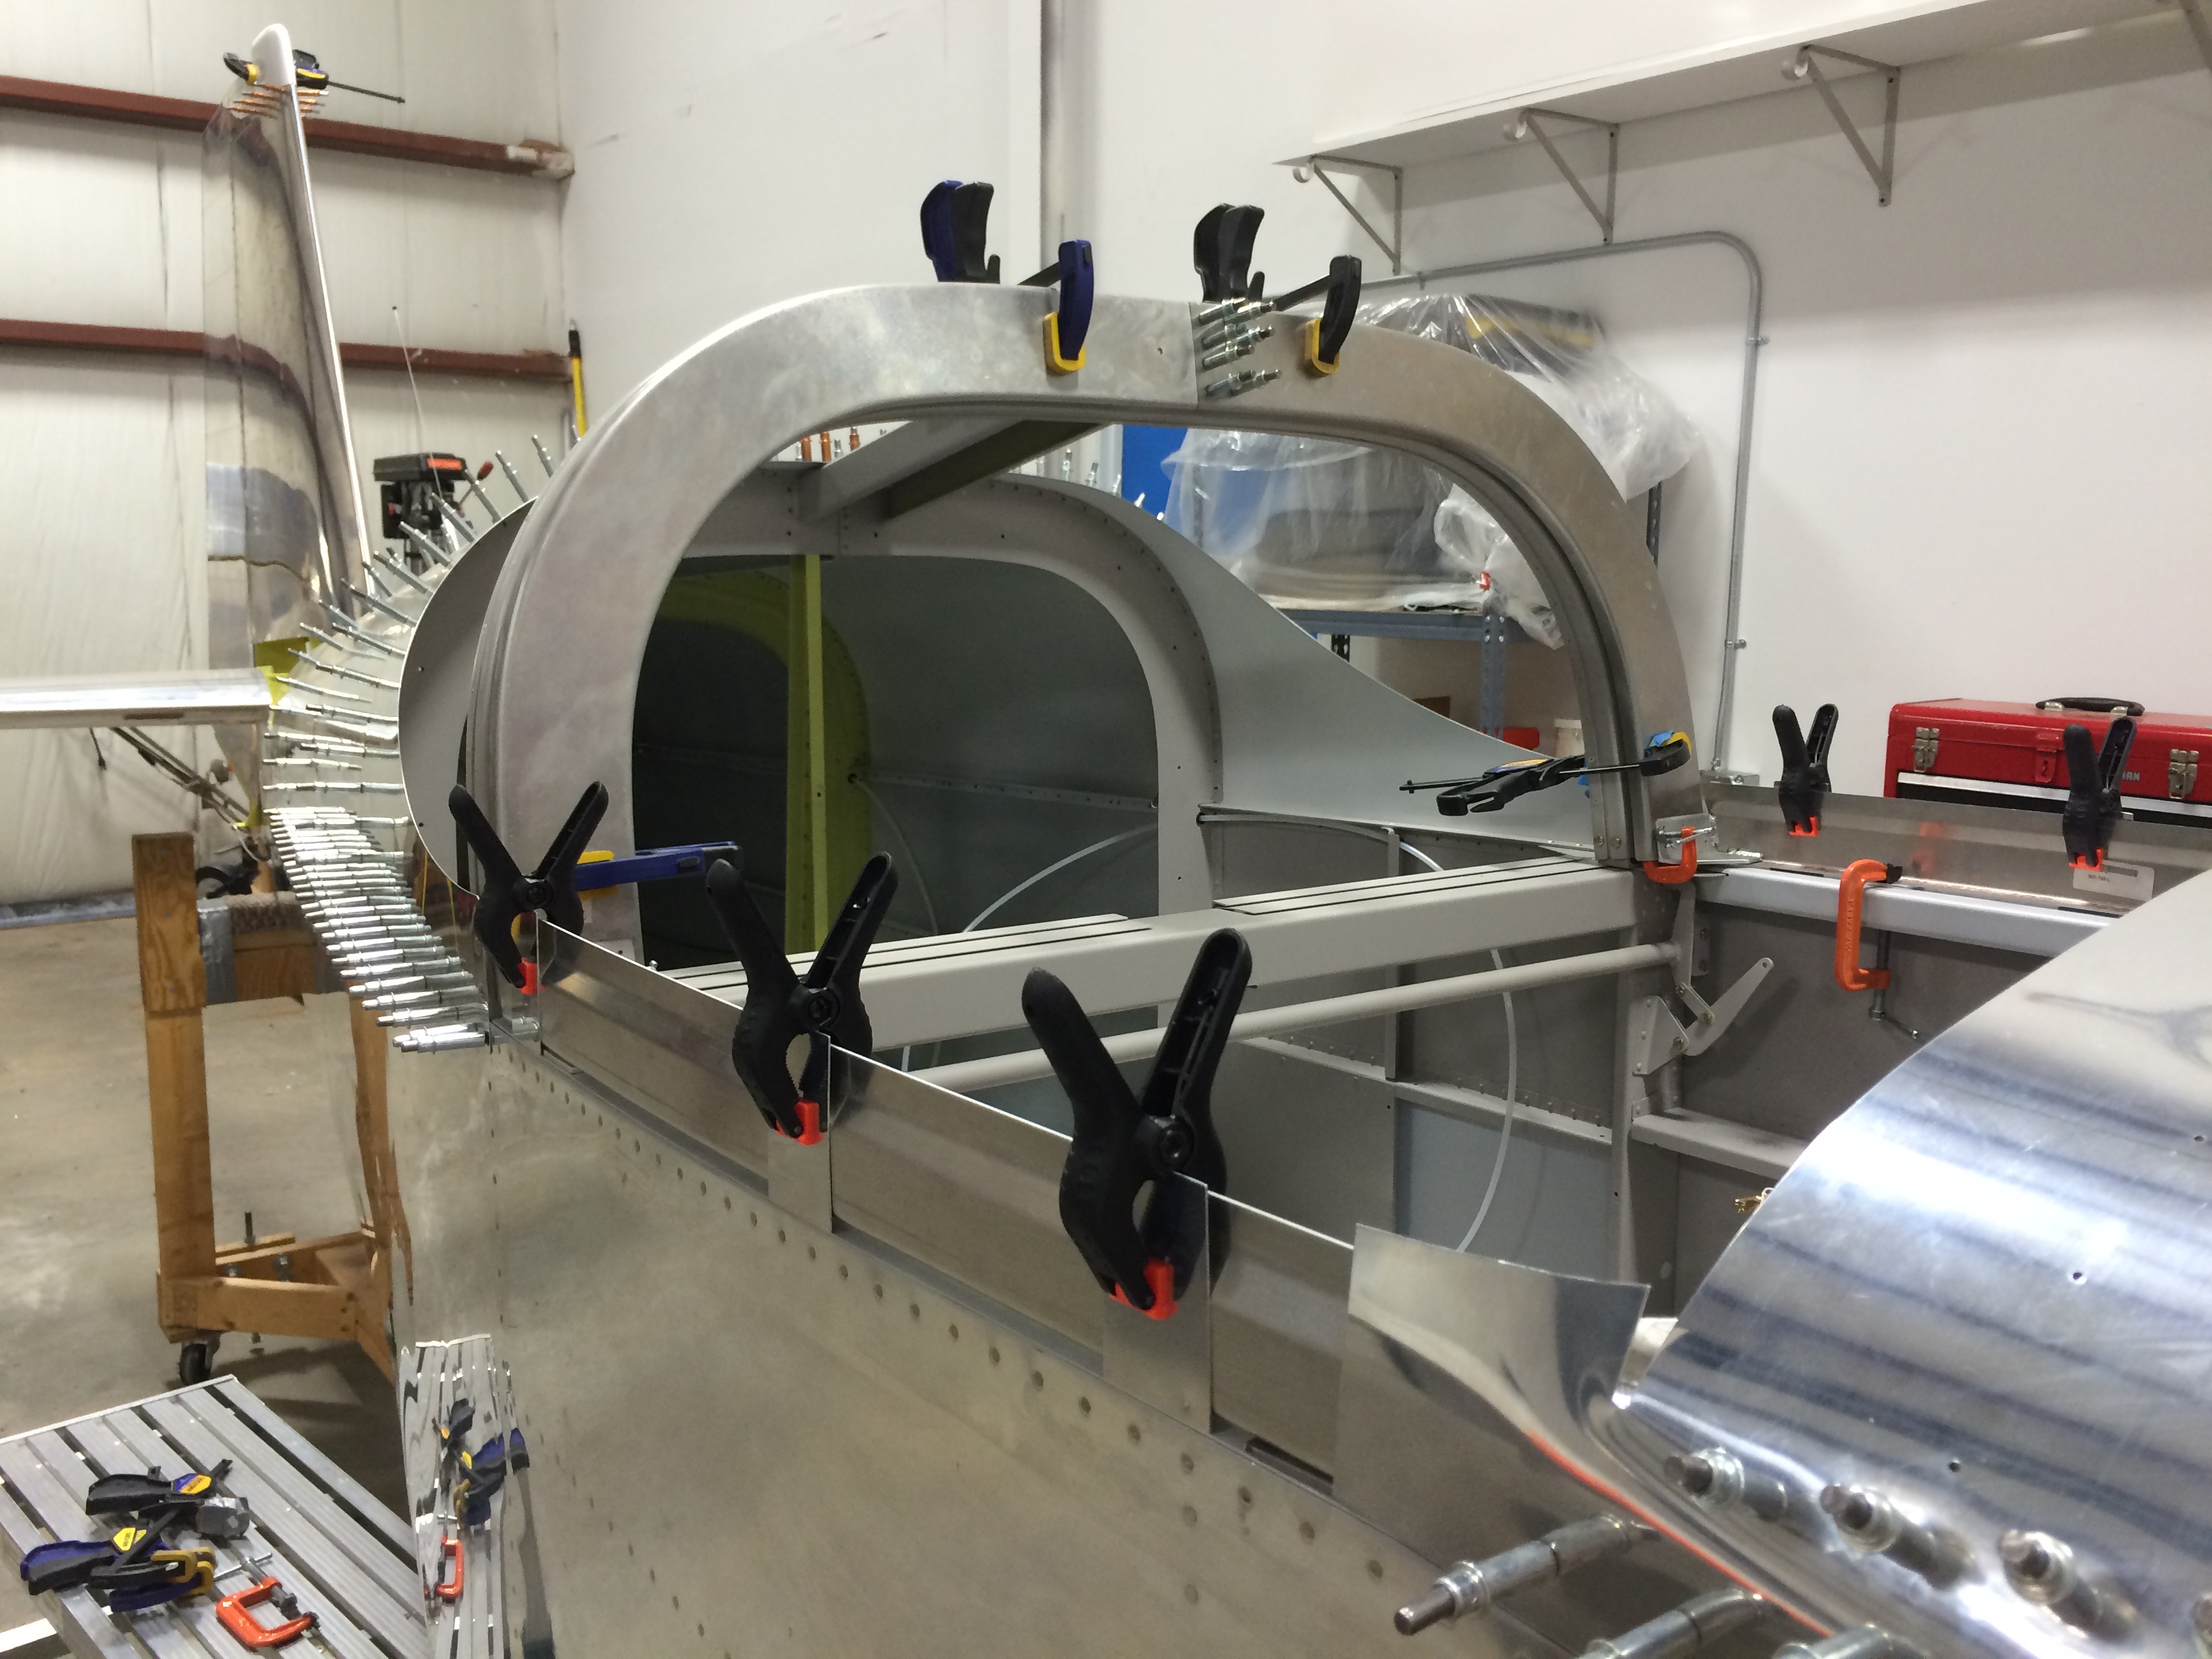
The little cheapo Harbor Freight clamps are holding on some strips of 0.032″ scrap that simulate the canopy side skins. The side rail is correctly placed when the bits of scrap lie flush with the side of the fuselage.
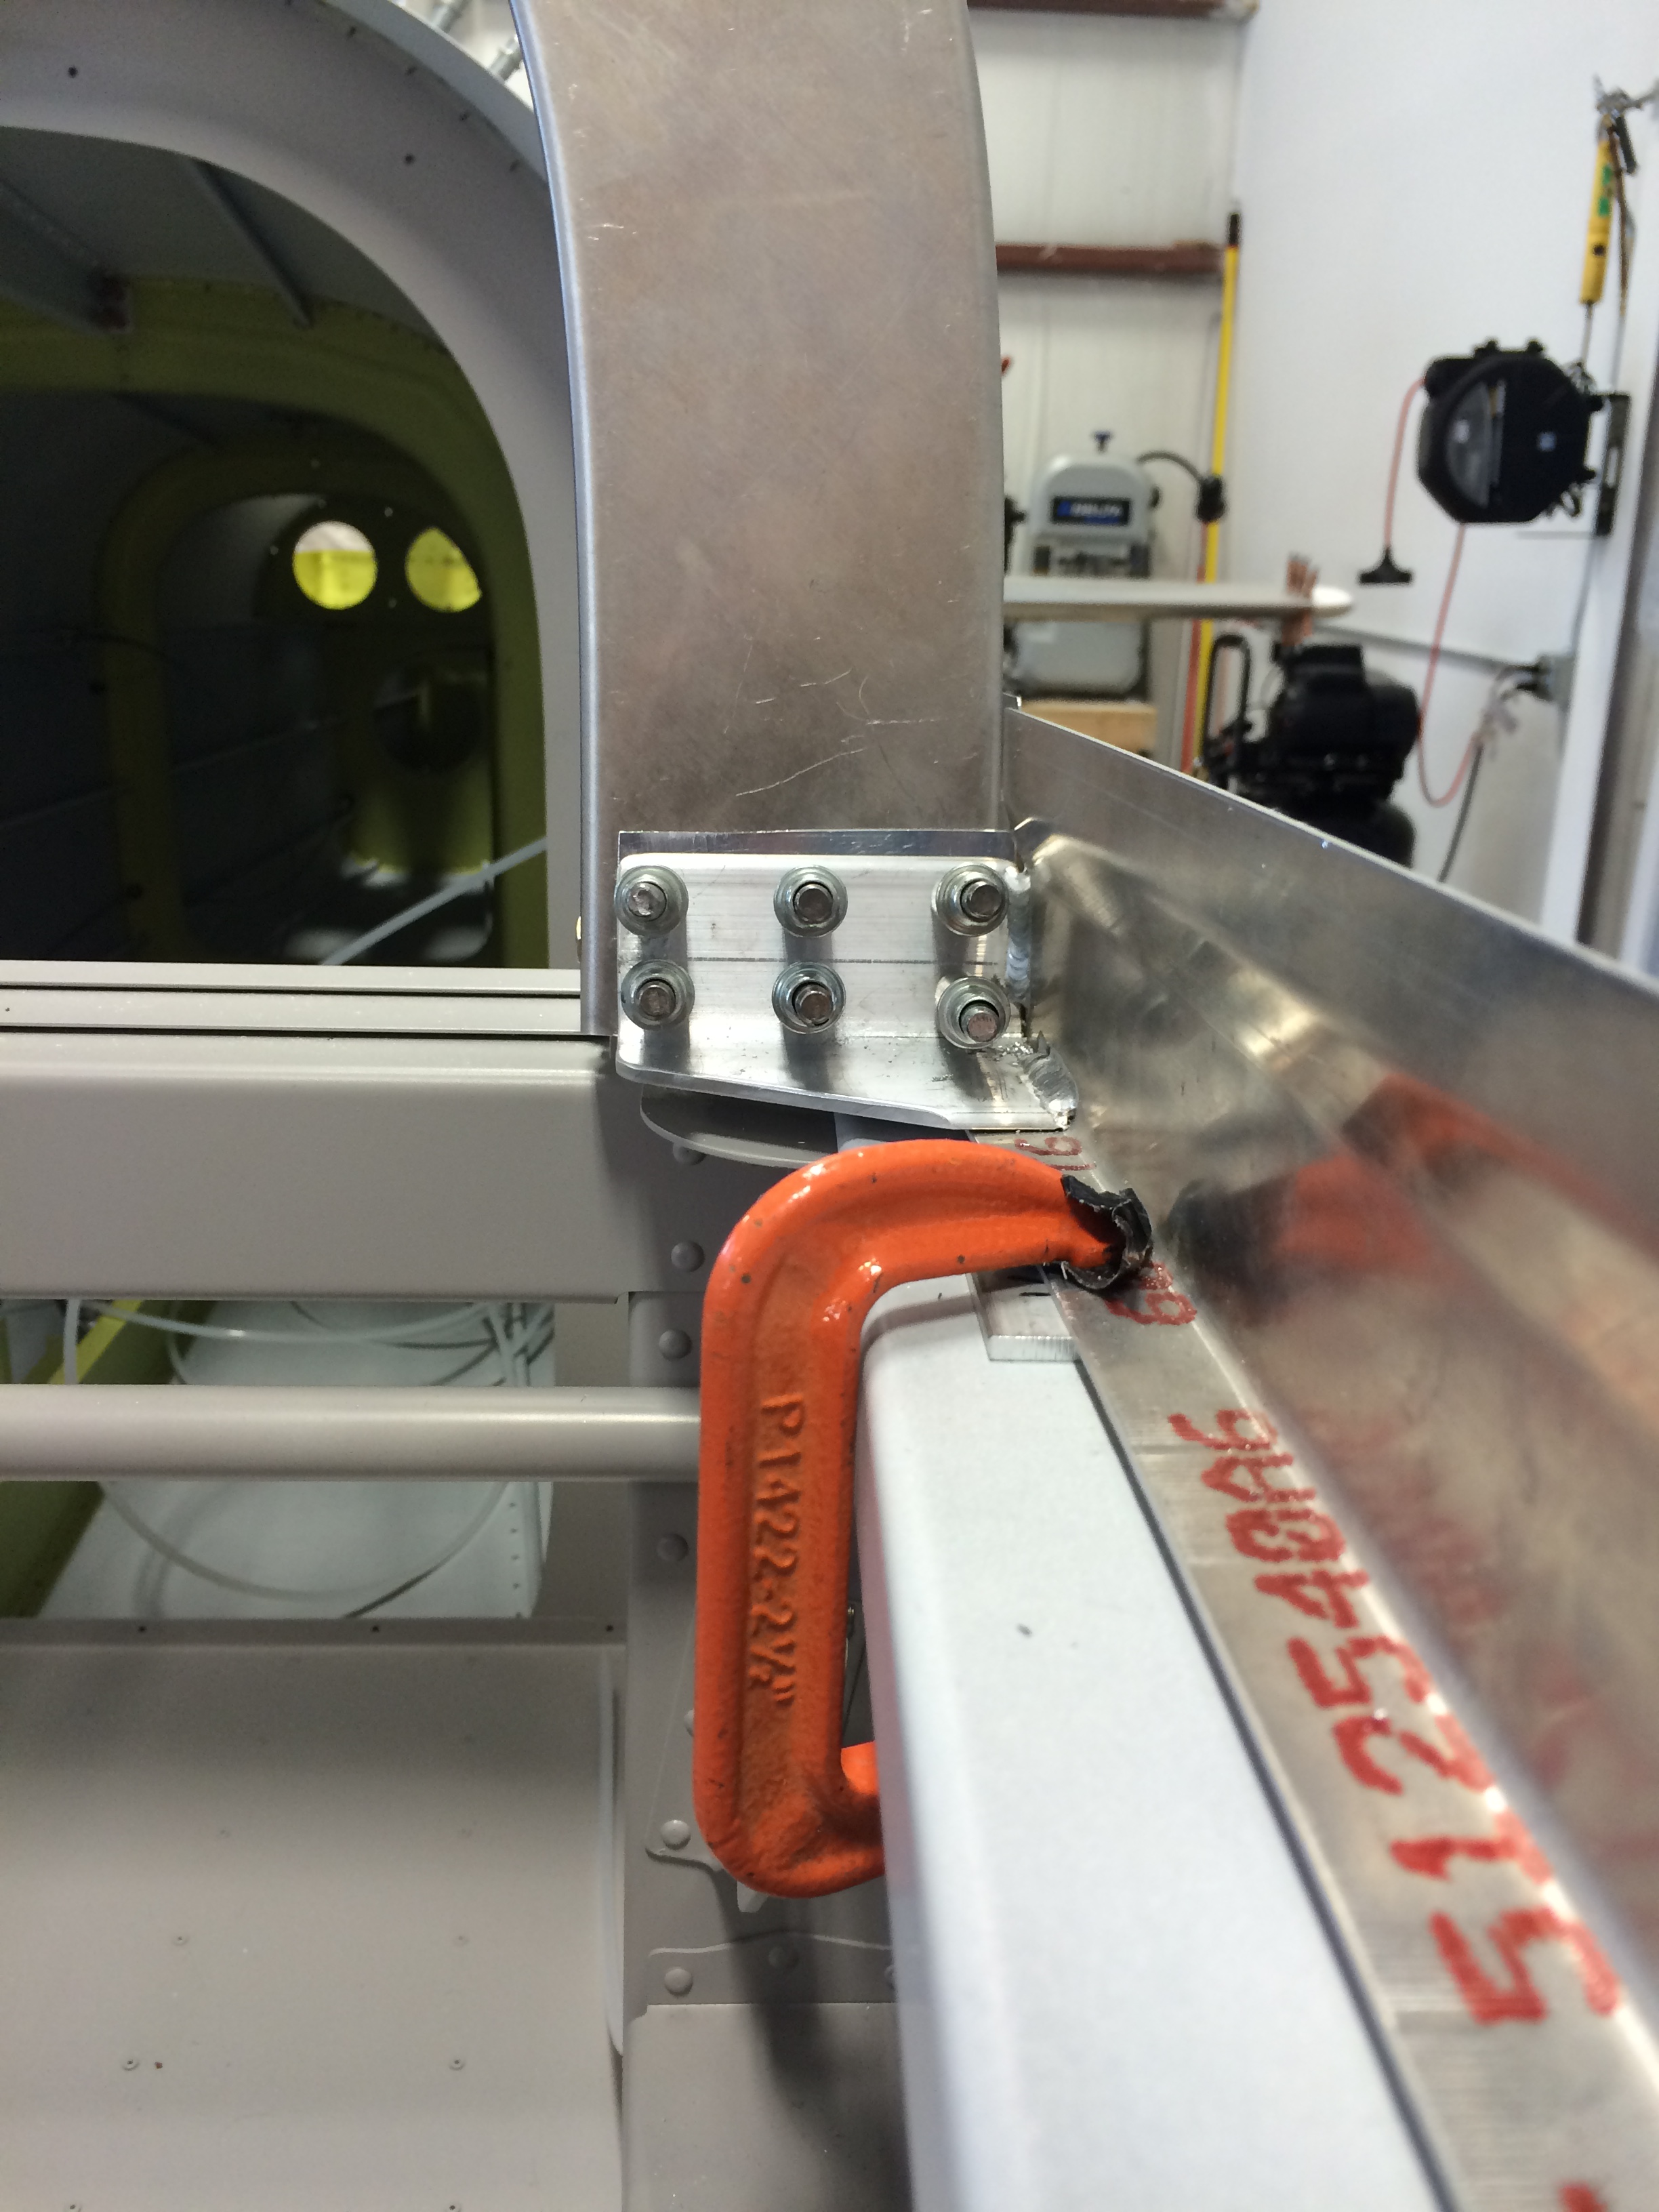
Sharp-eyed RV builders will see that I’ve inserted a shim between the side rail welded angle and the F-631 rear frame half. The fit wasn’t quite what I wanted, so when in doubt – shim it out. After that I couldn’t think of a good reason not to drill everything, so I did.

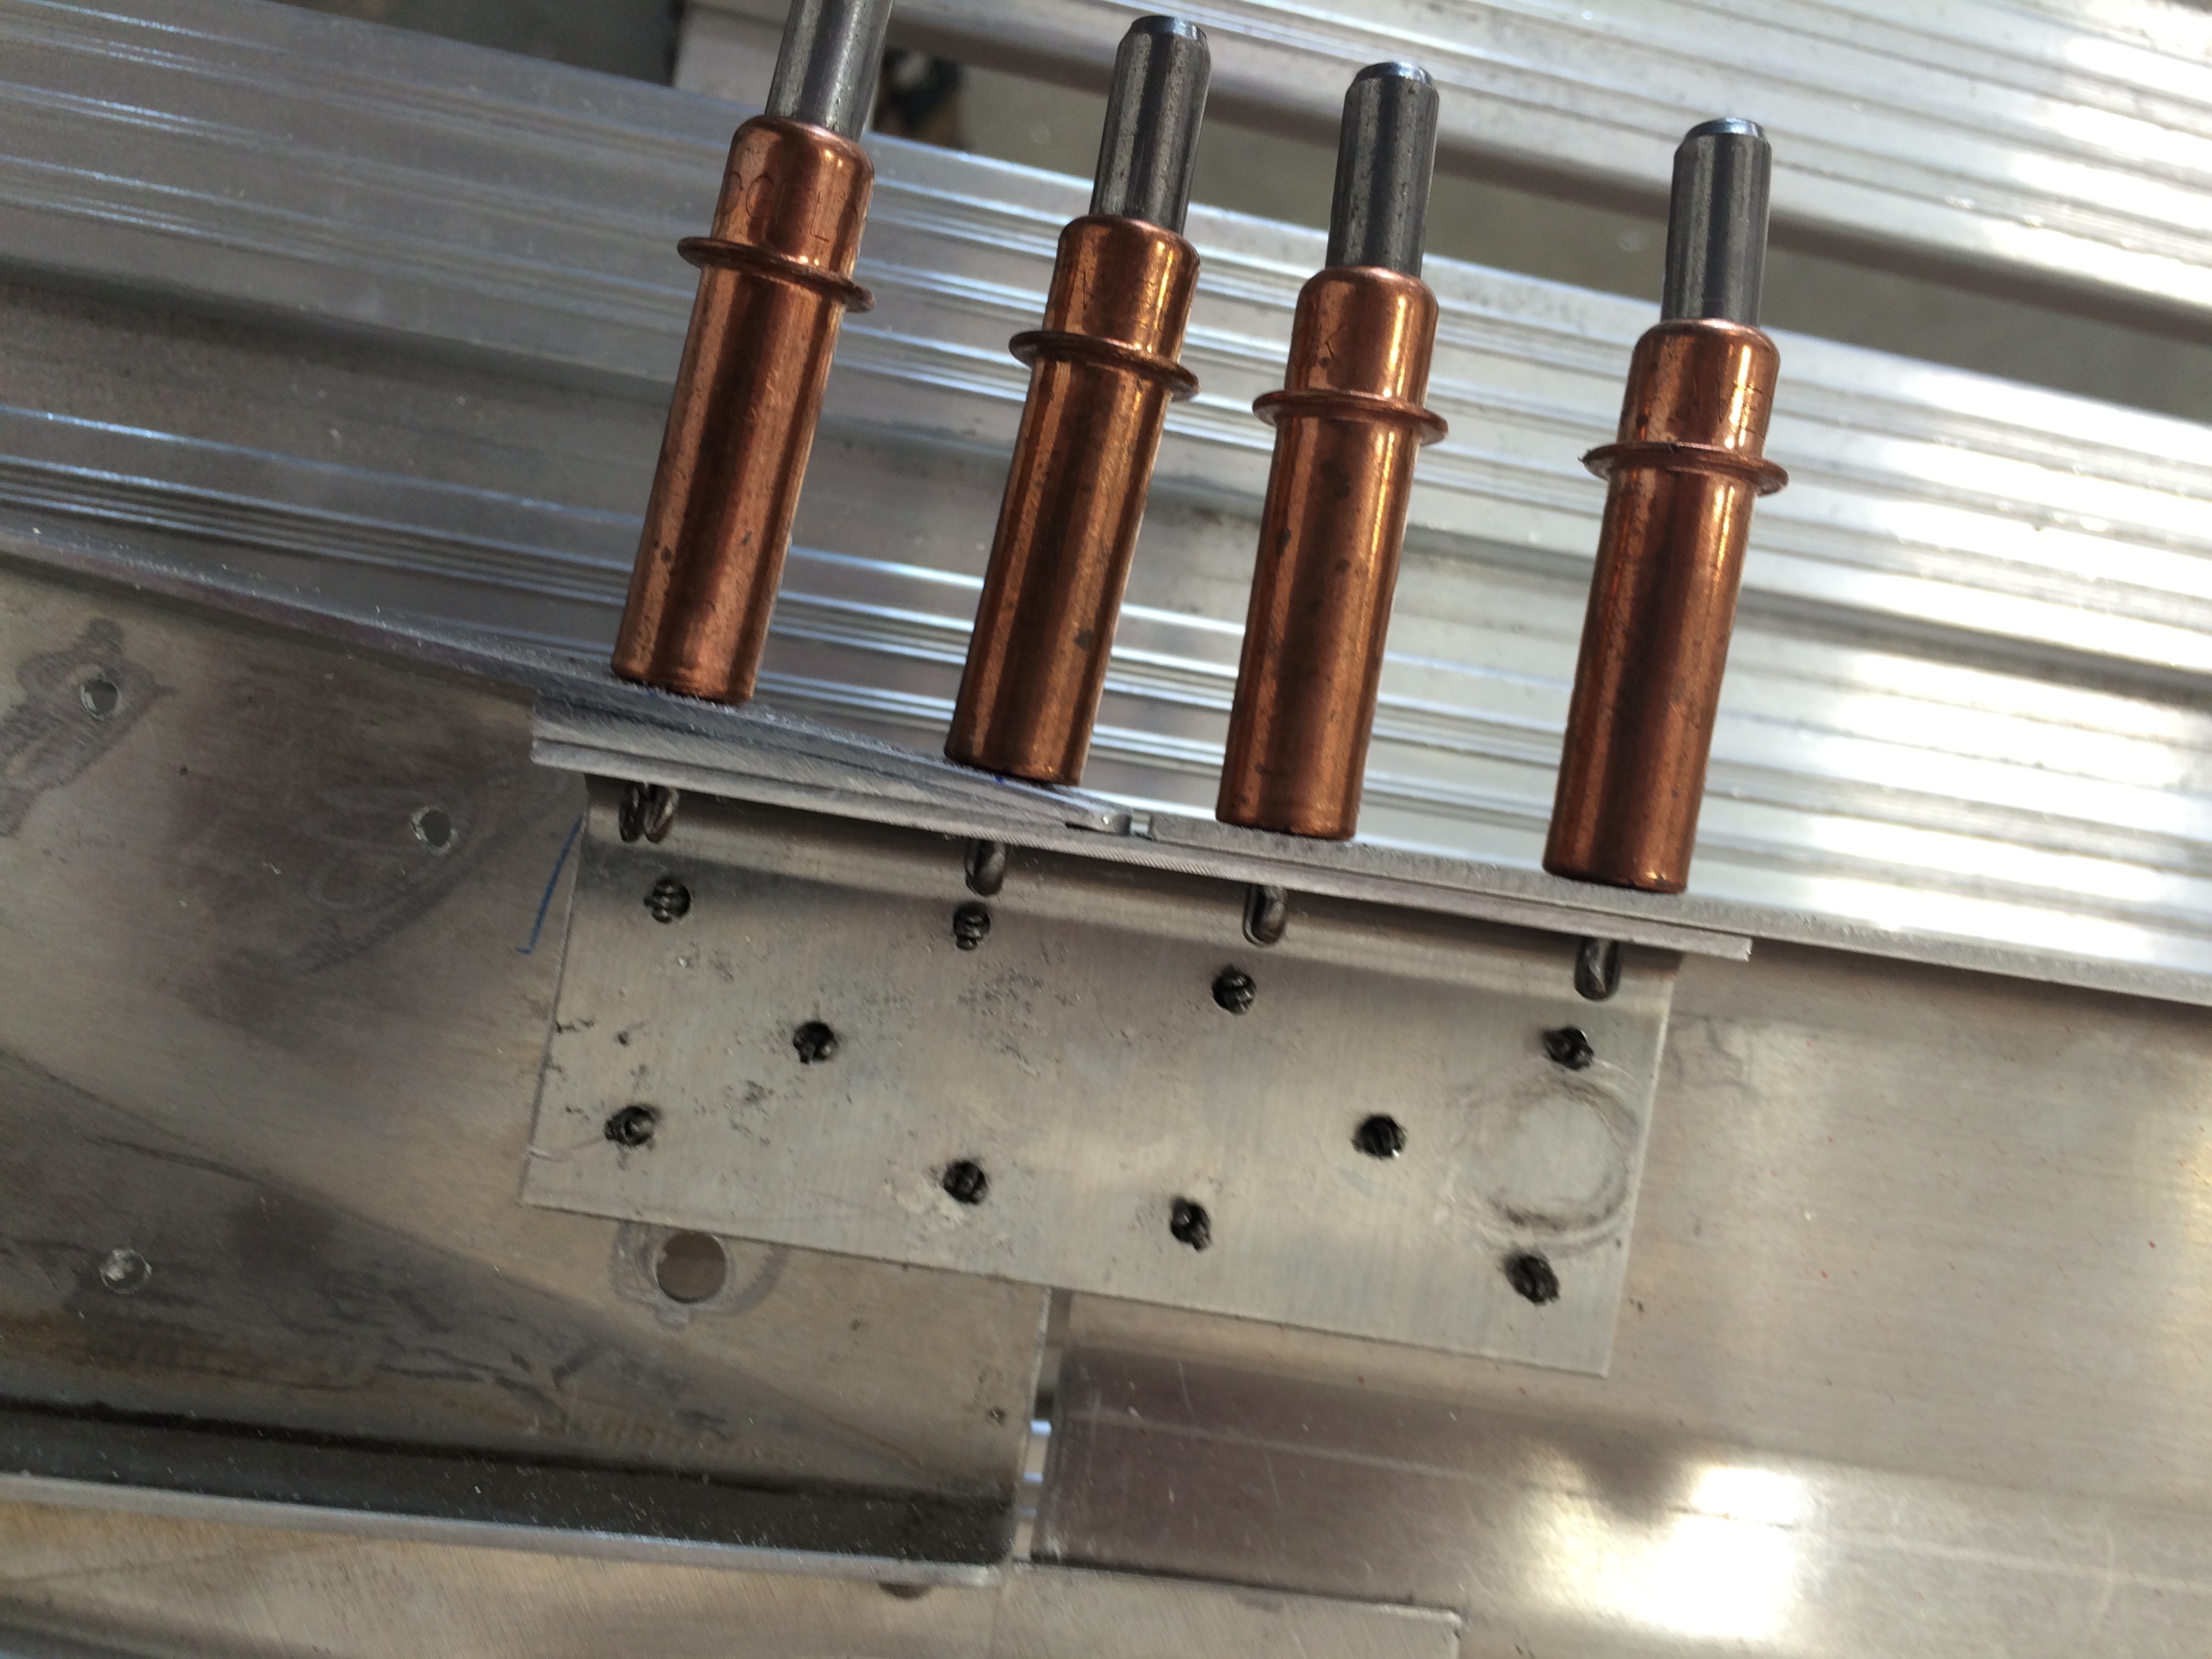
These plates splice the side rails to the forward canopy frame, and drilling them was a bit of a pain. It’s vital to uncleco and peel back the forward canopy skin, as nine of the ten holes in this part don’t go through that skin and drilling through it would be uncool. You’ll see one hole (bottom row, second from the right) that doesn’t quite line up. That hole *does* go through the skin and frame, and once the other holes were done I back-drilled this one using the forward frame as a guide.

And here’s everything drilled and clamped to make an almost-complete canopy frame. As my friend Jim would say, this is one of those moments of Big Visual Progress. They kinda sneak up on you after a lot of tedious fitting and drilling, then suddenly everything comes together…et voilà, it looks like a real airplane part.
I hated to take everything apart, but there are a couple of small parts left to fabricate and fit to the frame.
Look carefully in the pic above, just under the two leftmost copper clecoes, and you’ll see a thin aluminum wedge filling the gap between the side rail splice plate and forward canopy frame flange. Scroll back a couple of pictures and you’ll see the unfilled gap.
I had to make two of those – one on each side of the canopy – and each one took about an hour of cutting, sanding, filing and fitting. What fun…but now I can take the frame apart and debur, countersink and prime everything before riveting. And that, in turn, means it’ll soon be time to work on the plexiglass canopy itself.