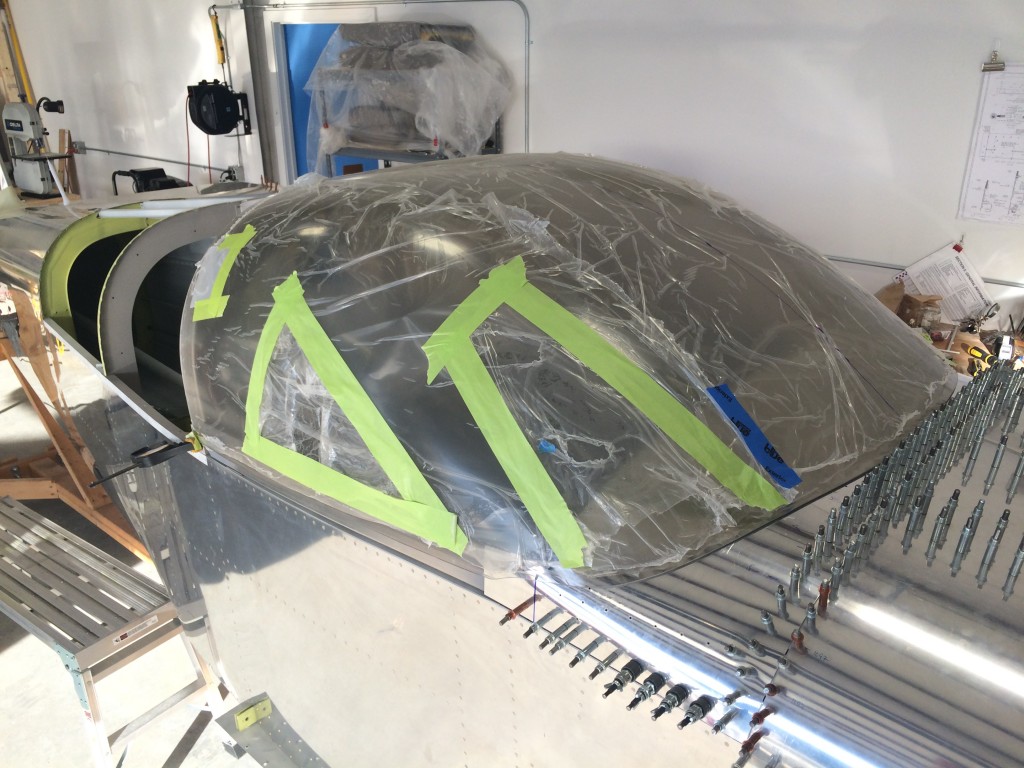
Cutting the canopy isn’t something to rush. I read and re-read Vans’ instructions, and researched other builders’ websites, to get a good idea of how to trim the canopy without damaging it. A replacement canopy is more than $1000, so cracks are something to be avoided.
I started this part of the project a few weeks later than I wanted to…my hope was to get the canopy cut and installed in August while the temperatures are still warm enough to not keep the hangar heat turned up. Fortunately, September has been fairly warm so not too much hangar heating has been required.
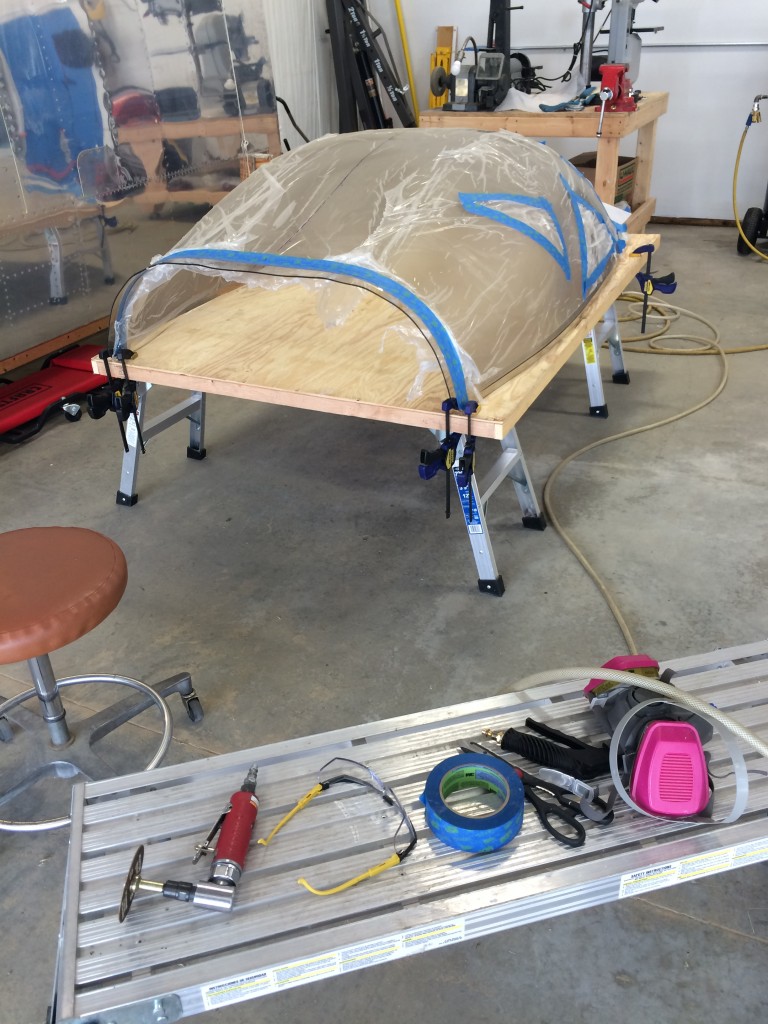
I set up everything needed to start trimming. Per the instructions, I first cut off the portions the canopy where it was clamped in place for molding. The back of the canopy was the first to go…
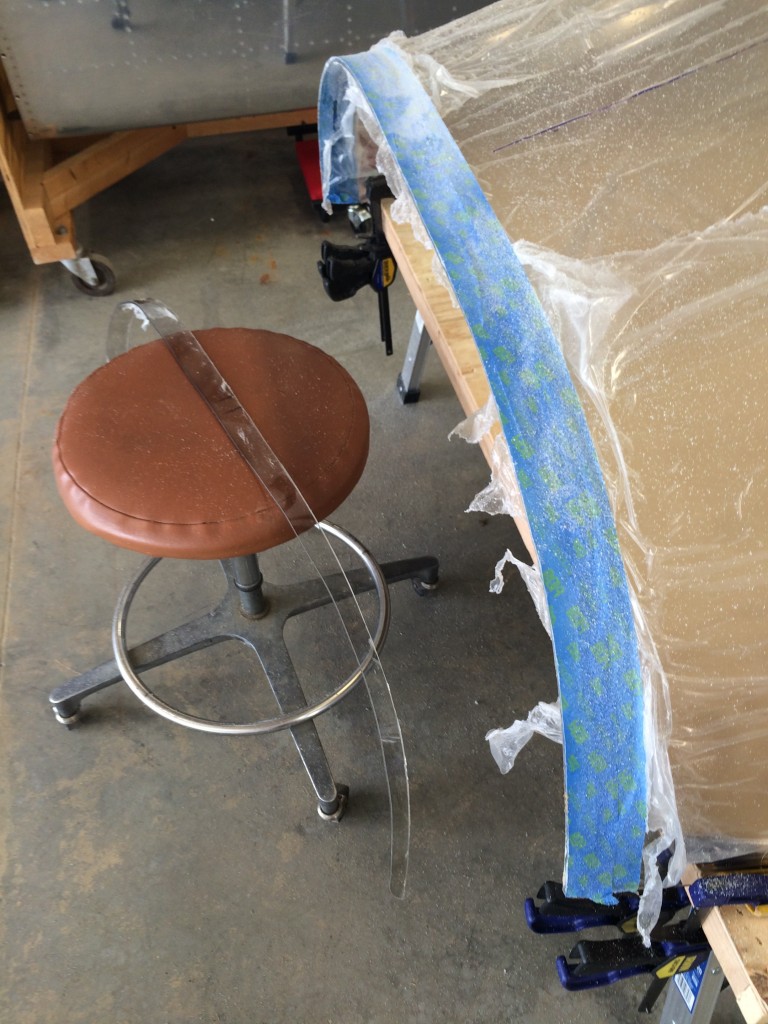
…and trimming turned out to be a little easier than I thought, but some care is required to get close to the cut line marked by the tape.
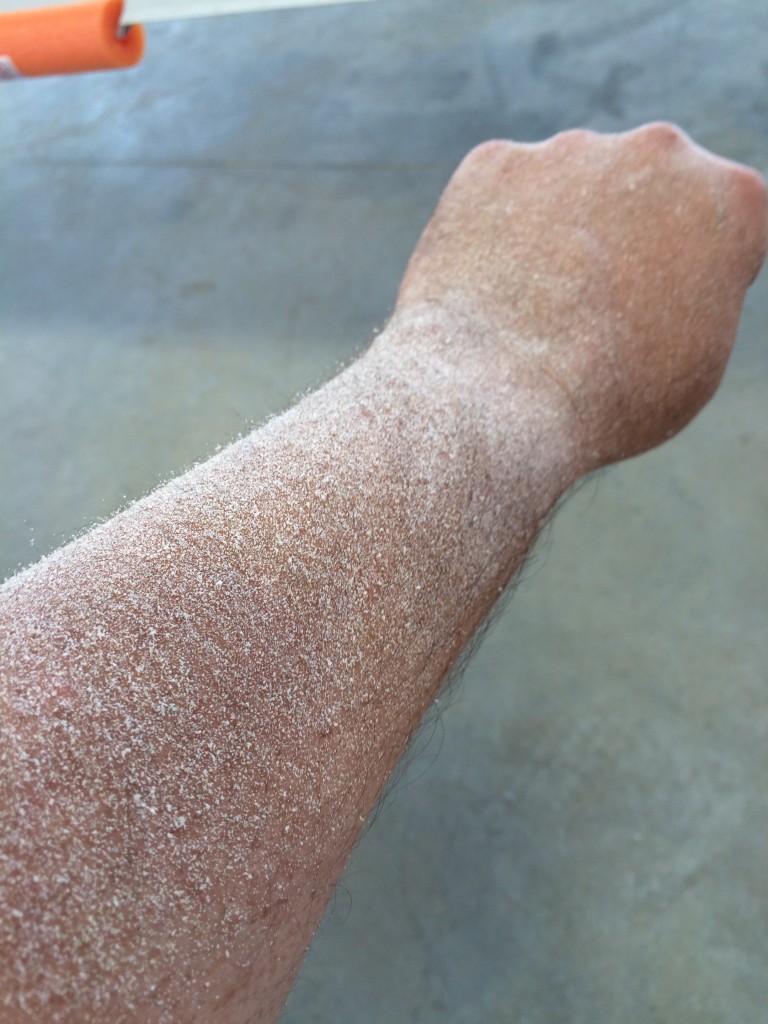
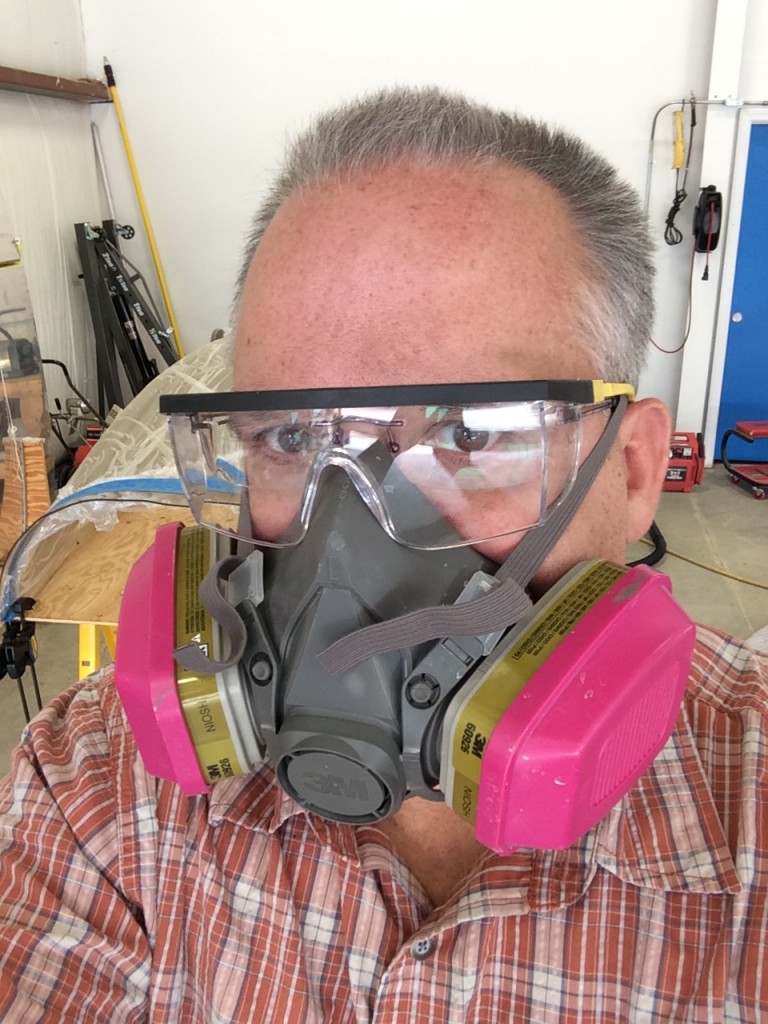
The cutoff wheel creates a lot of plexiglass “snow” particles as it works, except that this snow can be uncomfortably hot when it hits your skin. I didn’t want any of that crap in my eyes or up my nose, so I wore safety glasses and a respirator…
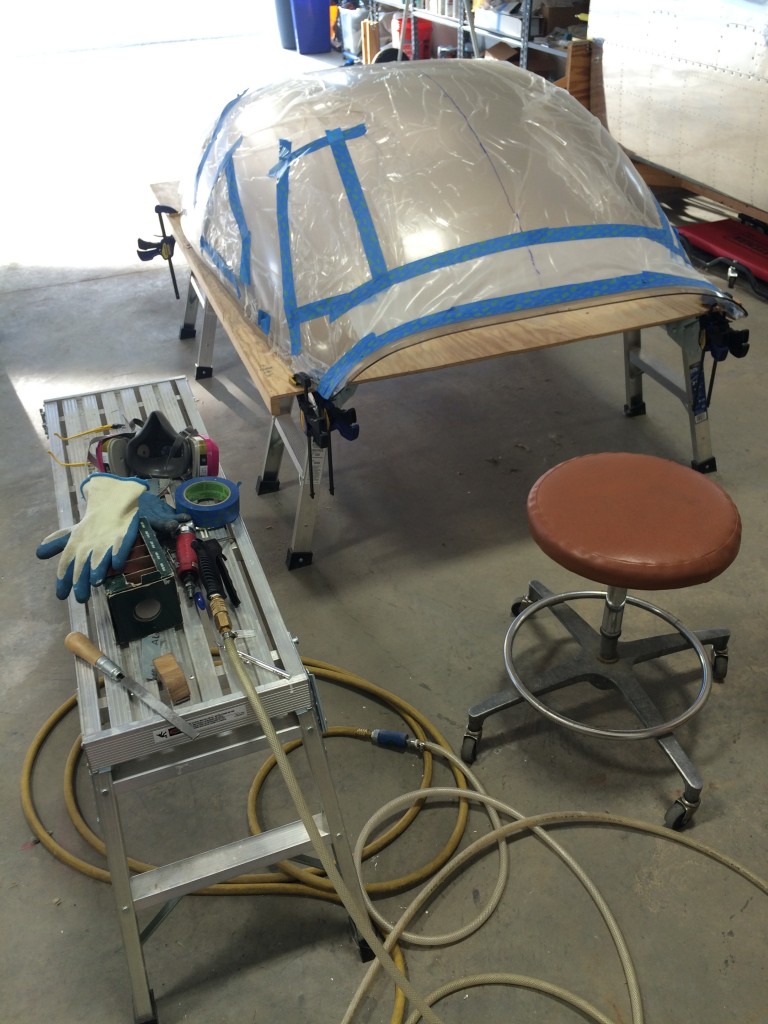
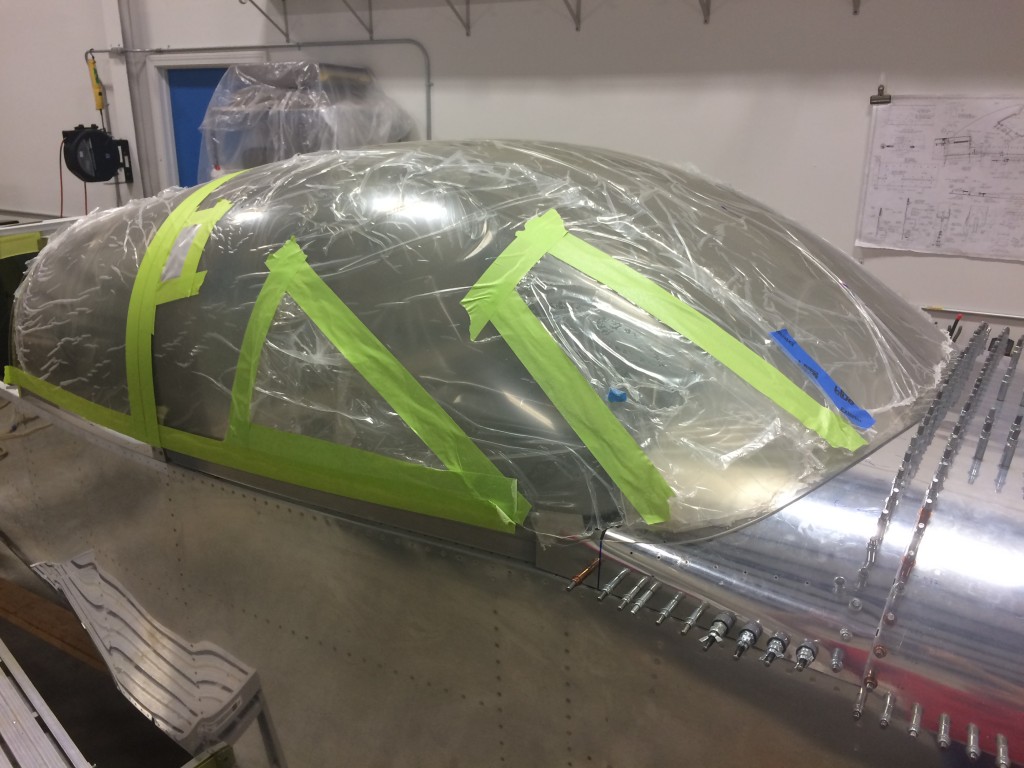
 I continued the process around the sides and front. It was a little difficult to tell where the cut lines should be, especially on the sides.
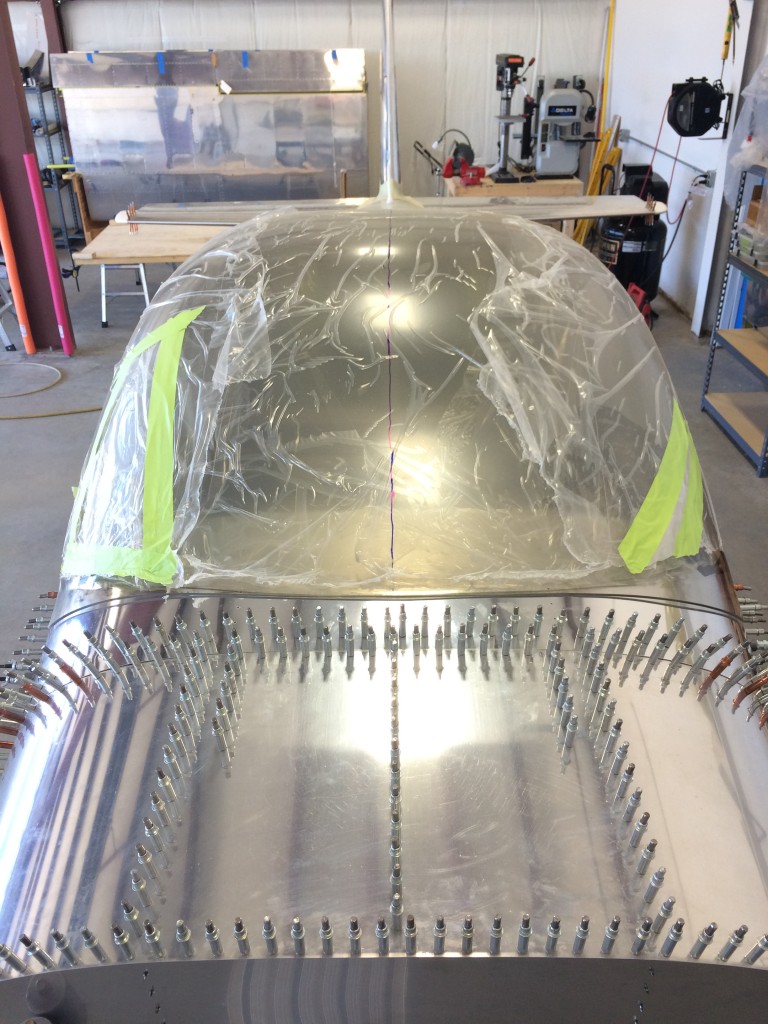
With the clamp marks trimmed off, I marked a centerline on the canopy per Vans’ instructions. This is a little tough to do as it’s hard to accurately place a tape measure around the canopy. I wound up using a piece of string pulled tight from side to side…mark the string where it lies on the edges, then double it back on itself and you have the centerline – sort of. I don’t think it was very precise, but it also seems to be close enough.
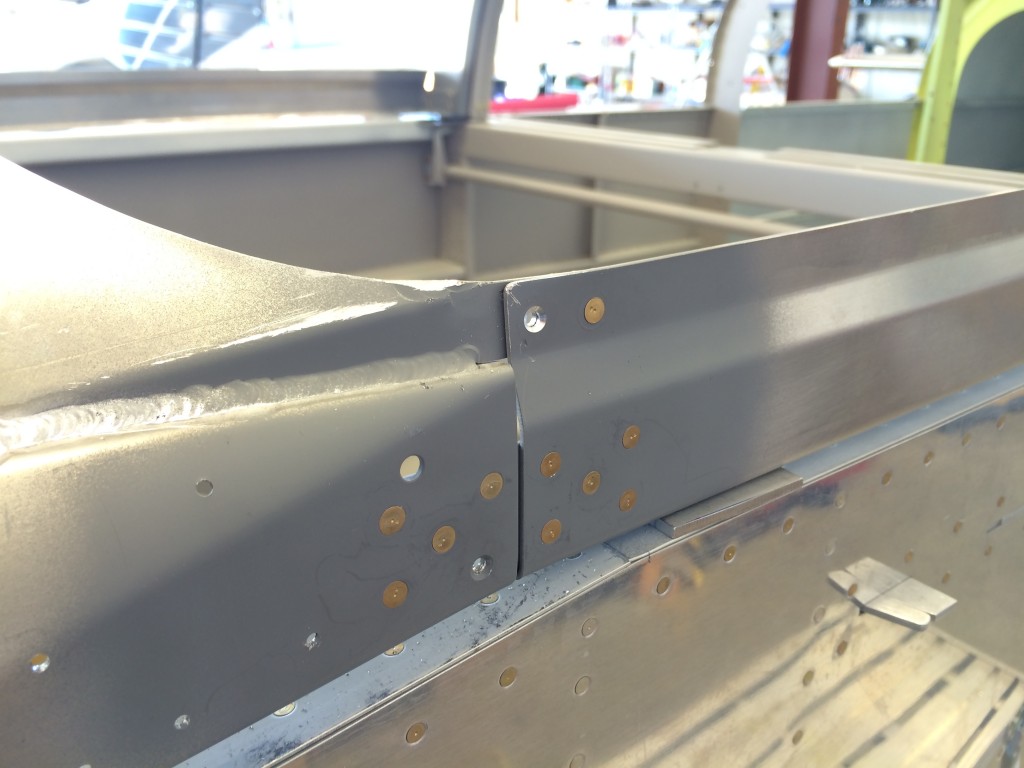
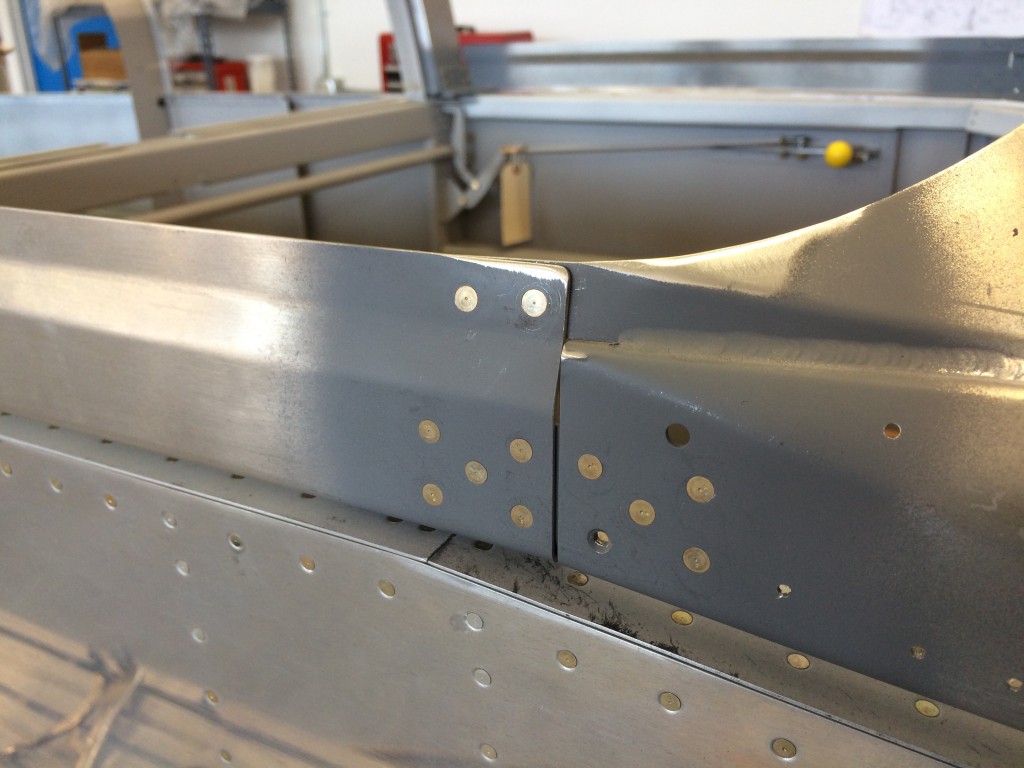
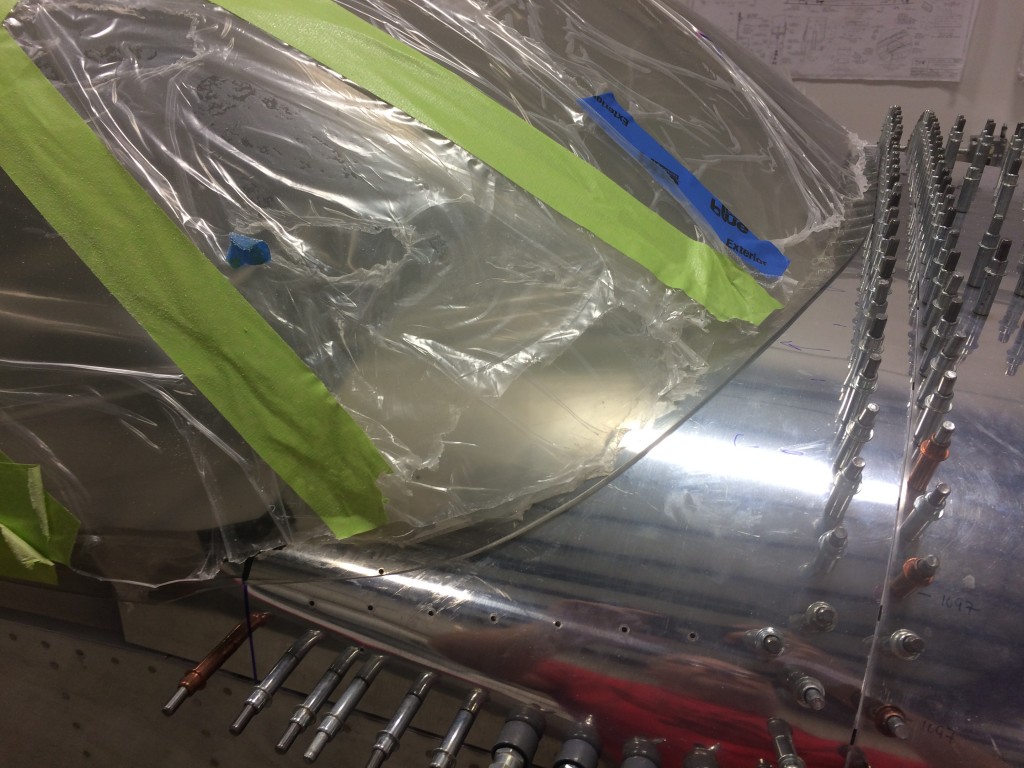
There are a couple of tabs on the front canopy frame that overlap the side rails. The instructions require that the tabs and side rails be adjusted to match the curve of the canopy’s front edge, then drilled and riveted. There’s not a lot of guidance here, and it’s hard to see through the protective plastic sheeting on the canopy to tell how the curve should lie. So…I took my best shot.
…and everything looks good for now.
I’m reasonably happy with the canopy fit, so I started marking the line across the rollbar where the canopy will be cut into forward and rear sections. This process is not-really-affectionately known to builders as making The Big Cut.
I worked on the front edges a bit to get them to lay down a little more accurately on the front canopy skin, but from what I’ve seen on other builders’ websites, you can do all the work on this area you want but once the canopy is drilled in place, some gaps will open up. So I’m going to get it close and not worry about it.
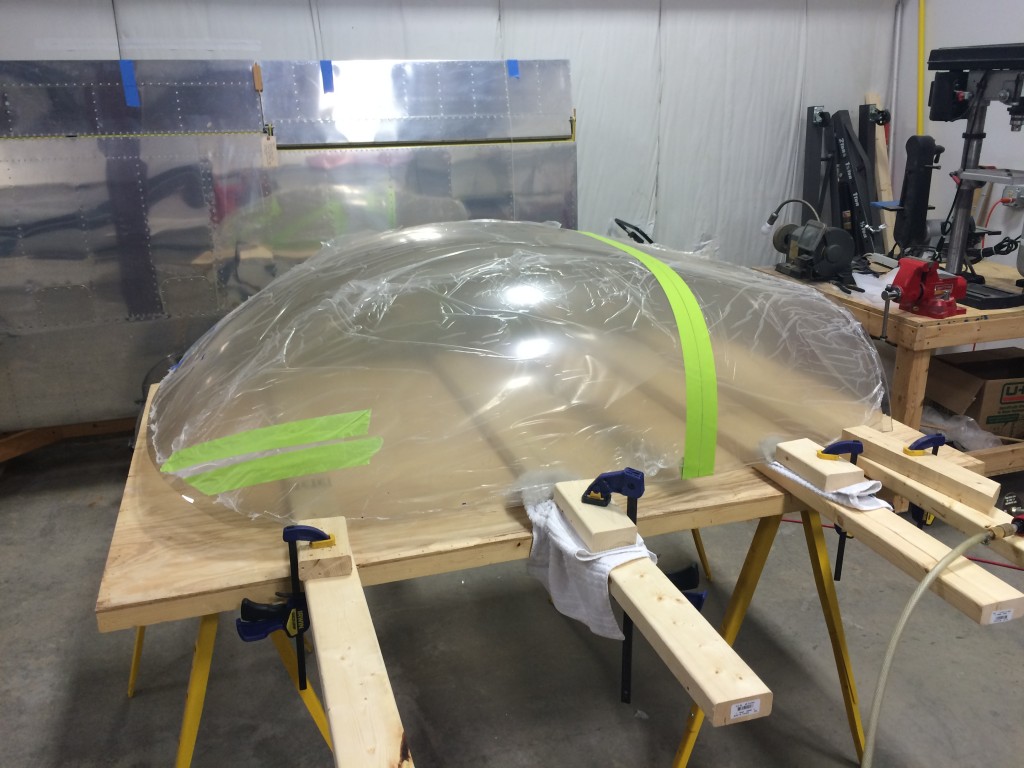
I hoisted the canopy onto the sawhorses and plywood, and used some long 2x4s to move it off the work surface They also gave me something to clamp some smaller pieces of 2x4s as side supports that keep the canopy from spreading as I cut it.
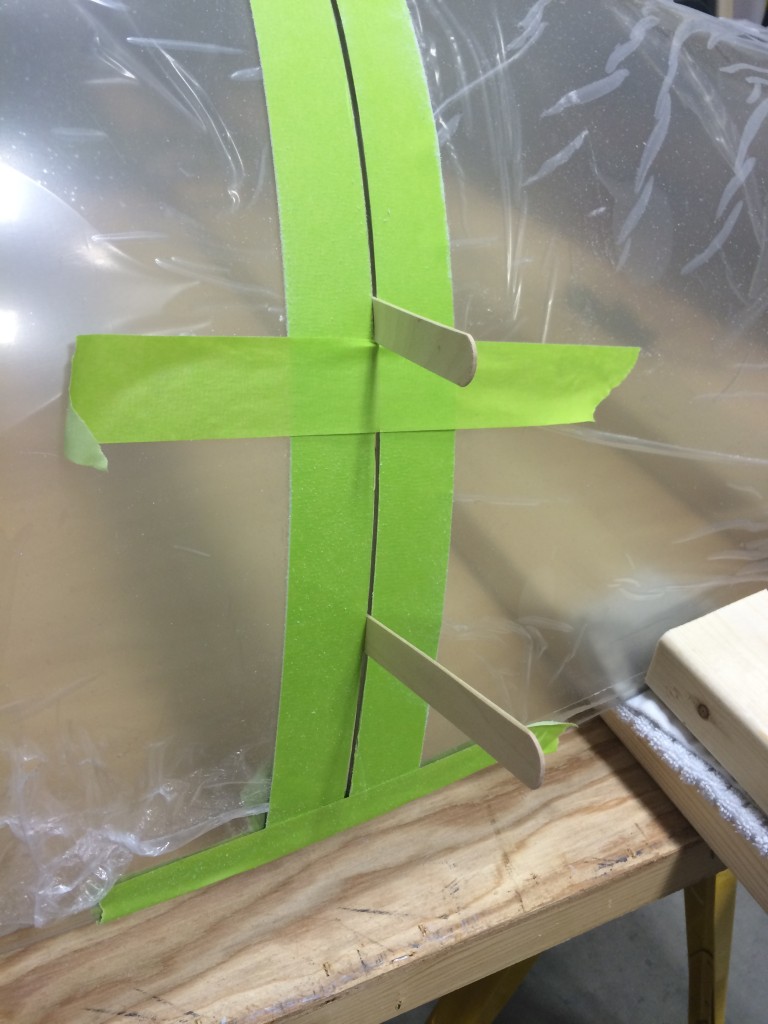
As other builders have also done, I laid several pieces of masking tape along each side of the cut line to help guide the cutoff wheel. I was skeptical that this would work, but it did and very well too.
I took a few deep breaths, and started cutting…
…and the process went very well. I used tongue depressors to keep the canopy separated as I worked my way along the cut line.
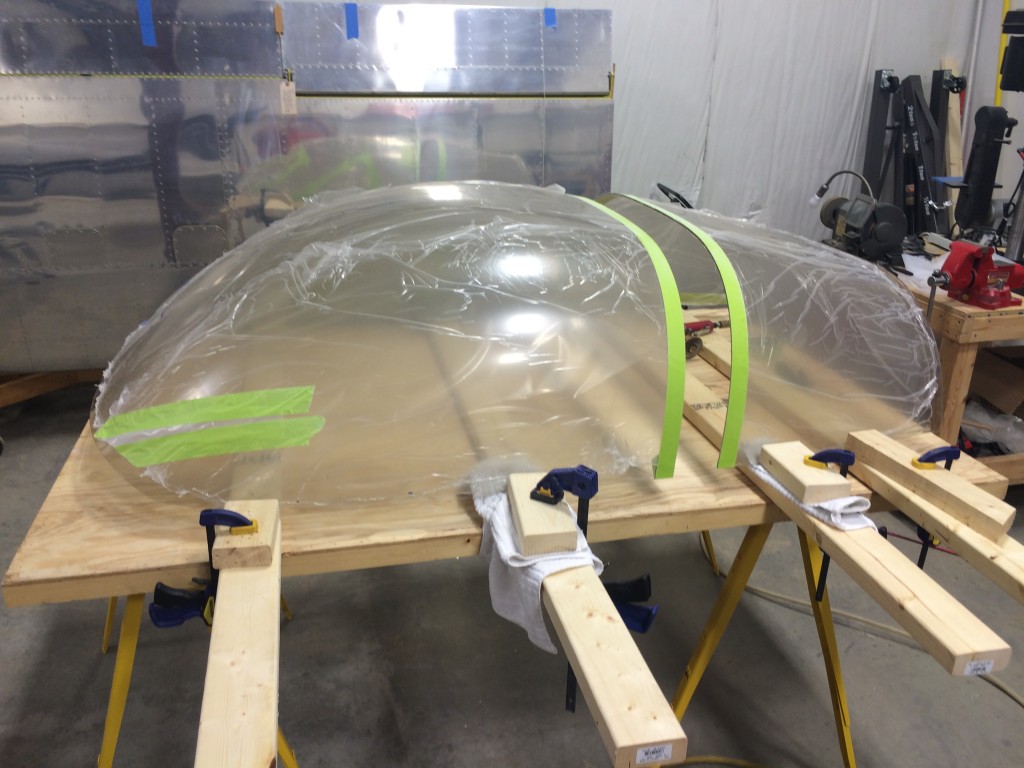
And here’s the completed cut…what a relief to have this done.
It’s a lot easier to move the canopy on and off the fuselage. I’ll be doing a lot of that as I finish fitting it to the frame and then drilling the attach holes.

