It’s December 29 and I’m finally getting a chance to complete this post on finishing the rear window. So for all you Mighty RV fans out there (I think we’re now up to three), here’s a narrative on trimming, fitting, marking and drilling the final part of the canopy.
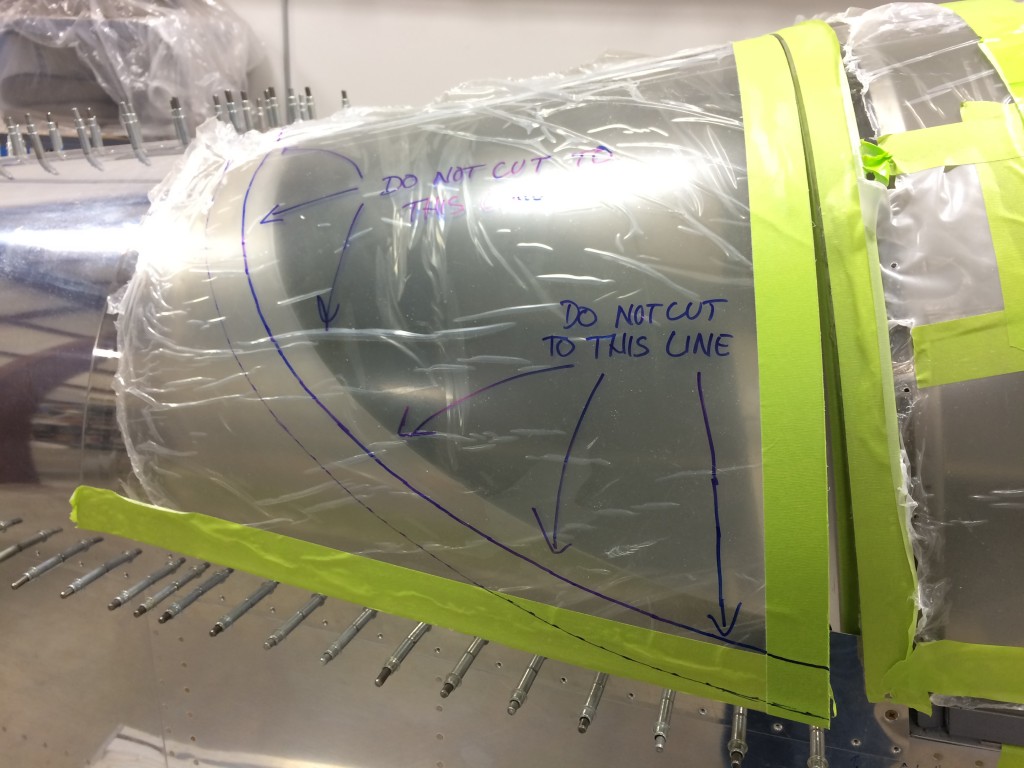
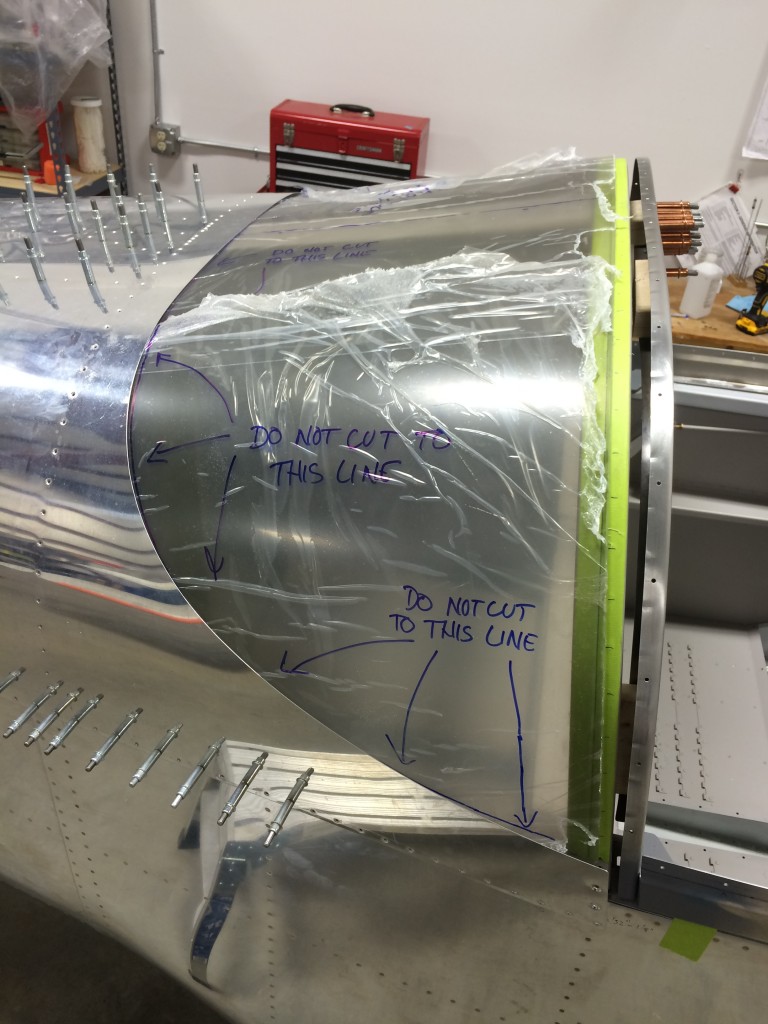
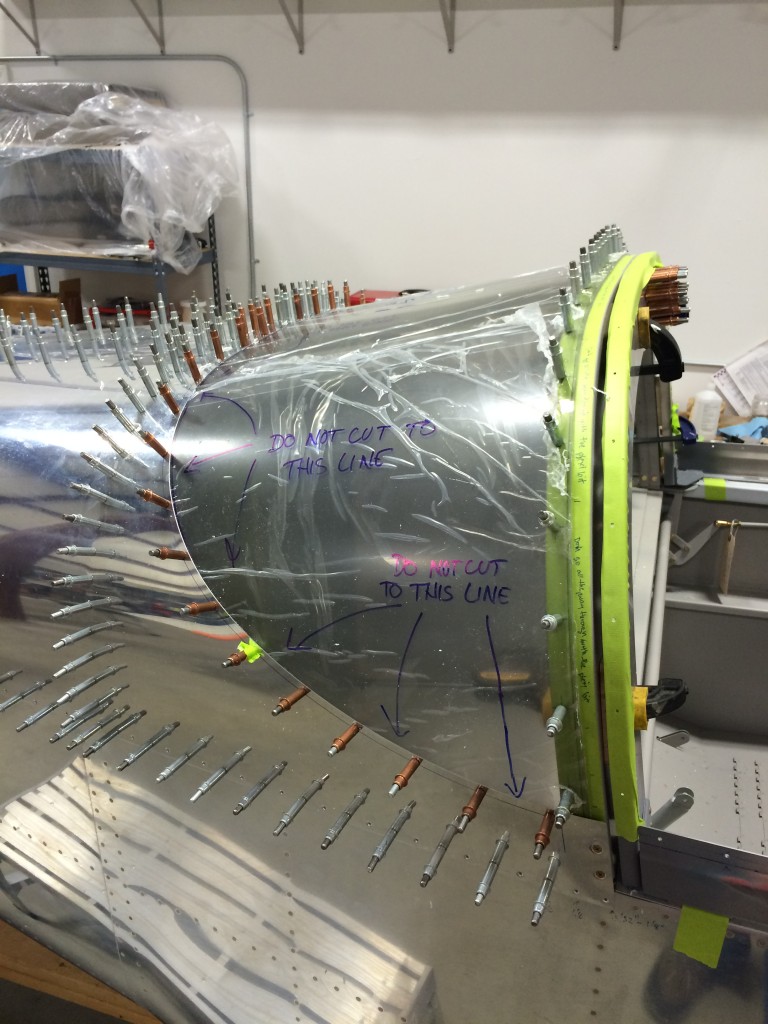
Vans’ instructions call for rough-marking the rear canopy trim line before cutting the canopy into forward and rear sections. For some reason I didn’t do that, so with the forward canopy separated and placed in approximately the right position, I laid the rear canopy over the fuse and marked a “do not cut” line around the fuselage skin edge. Yeah, I went over the top with reminders about where not to cut…
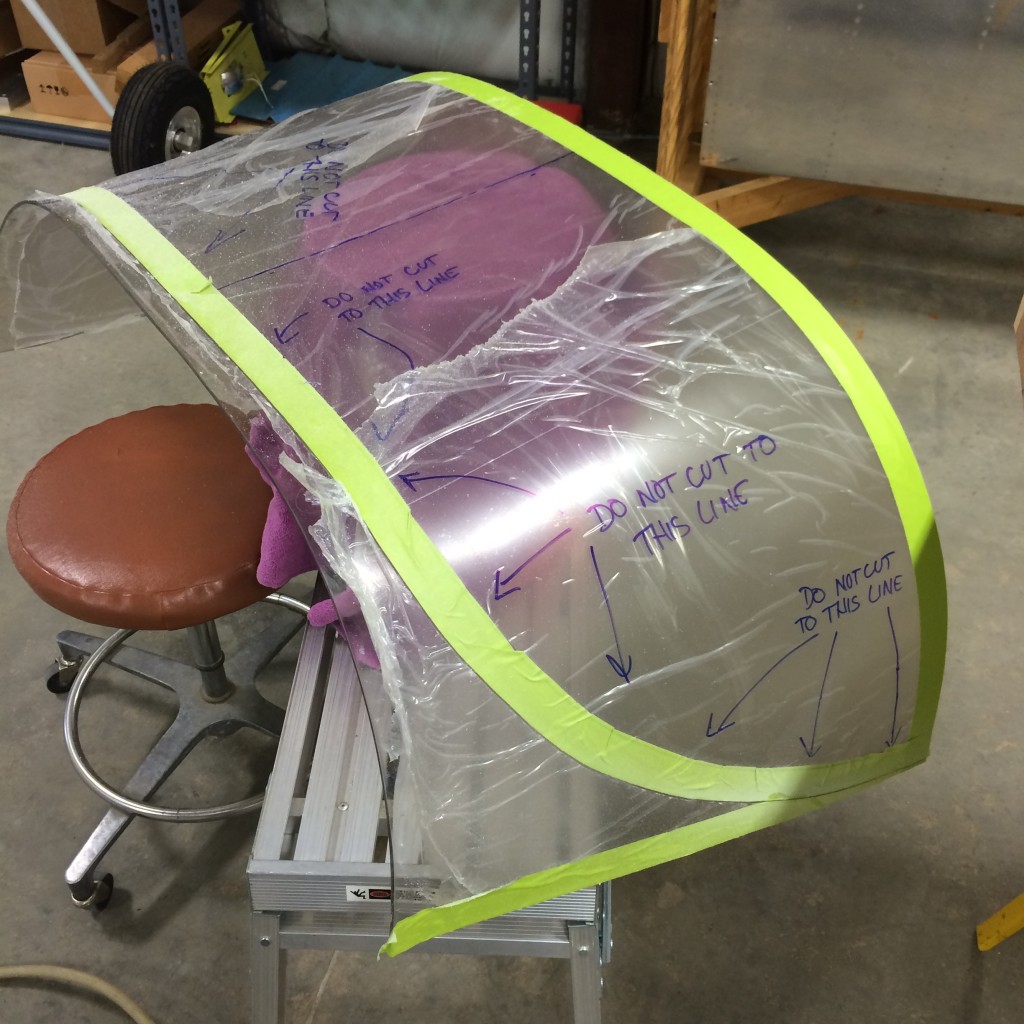
I then did a rough estimate of a “cut here” line based on the no-cut line. I don’t recall the distance, but it was generous – I took off just enough so that the canopy would fit under the skin.
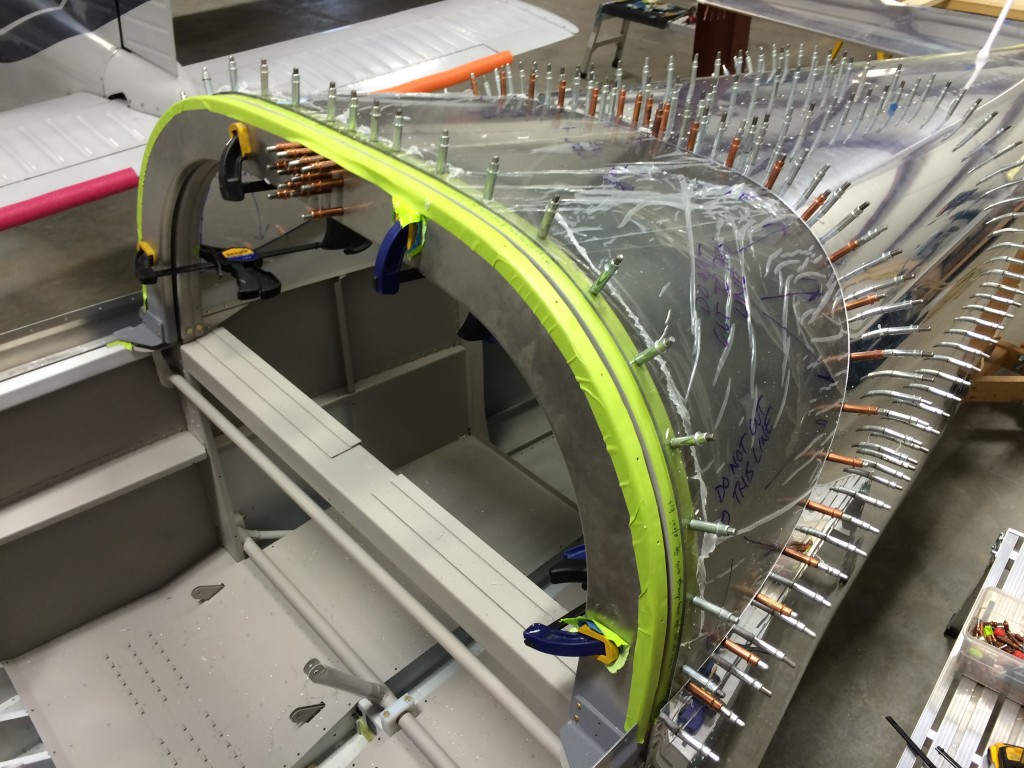
Here’s the first cut line marked with masking tape. I like that Scotch yellow-green masking tape…it just looks more “aerospace-y.”
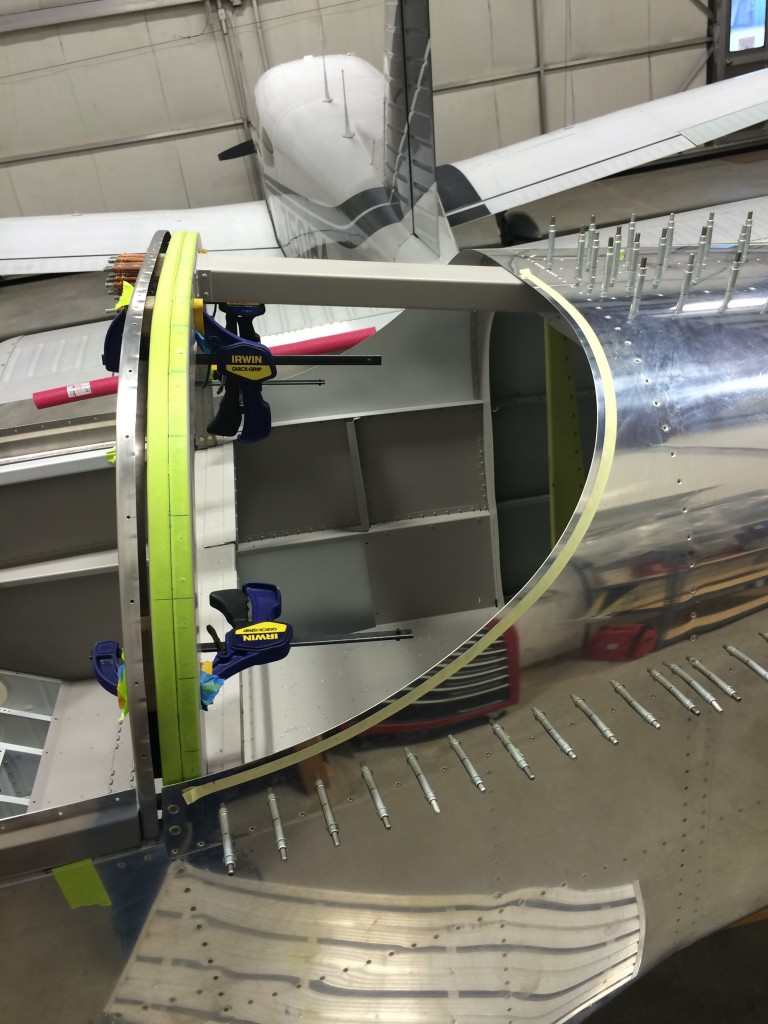
I got the first trim cut just about right; the rear canopy seats nicely around the skin edge, and there’s enough overlap of the roll-bar to make it easy to final-trim the forward cut line that abuts the front canopy.
The only thing you can’t see in the above picture are the bits I had to cut out of the forward lower corners of the rear canopy so they’d fit around the roll-bar attach fittings.
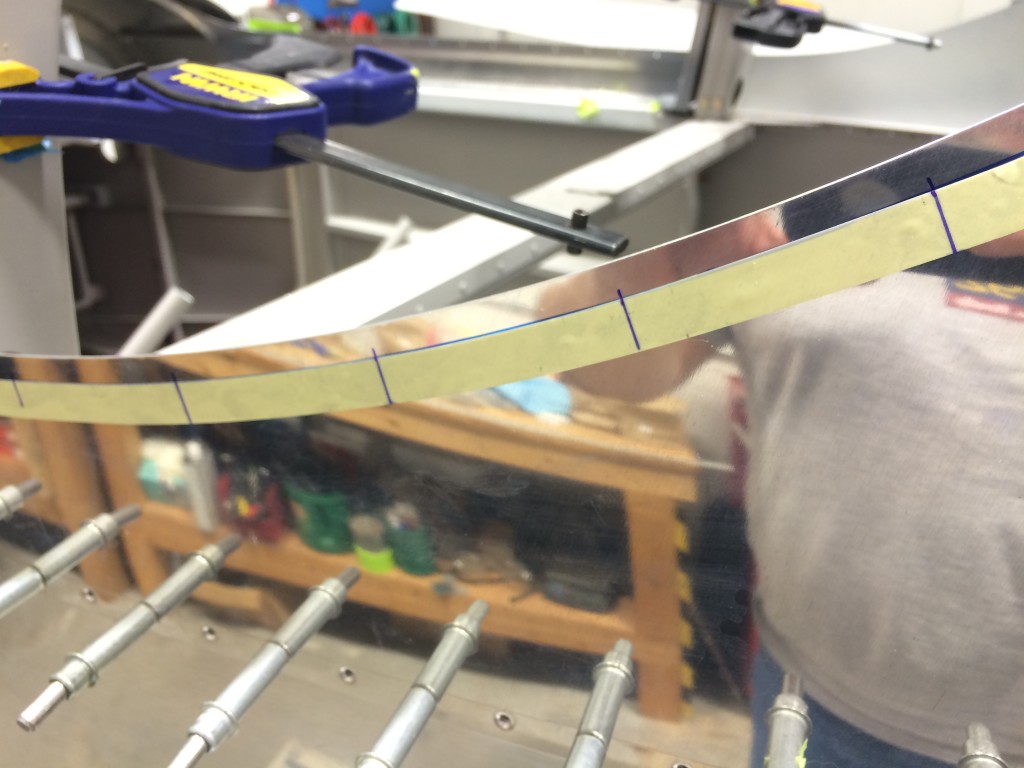
One final task before drilling to the skin and rollbar – marking hole locations for the screws that attach the fuse skins to the canopy. I borrowed a trick from Mike Bullock and used a piece of masking tape to lay out hole spacing. I laid a piece tape parallel to the skin edge at the correct edge distance and marked the location of the first and last screw holes.
Read the plans carefully here, because Vans doesn’t explicitly call out the edge distance – it’s inferred from one of the cross-sections depicted in the plans.
With the first and last hole marked, I pulled the tape off, measured the distance between the first and last holes, and did a little airplane builder math to mark the rest of the screw hole locations. After that it was an easy matter to put the tape back on the fuse and mark the holes for drilling.
One side note – regular masking tape is kinda stretchy for laying out hole spacing, so I used some 3M plastic fine-line auto painters tape I had laying around from a previous project. This stuff worked great – it was easy to get the holes spaced perfectly because the plastic tape didn’t stretch much at all.
Laying out screw holes on the roll bar was easy – all I had to do was match the locations of the holes I’d already drilled for the front canopy.
I bribed Ellen with the promise of a nice dinner at our favorite Mexican restaurant if she’d come up to the hangar and help drill the rear canopy, which she graciously agreed to do.
This was a piece of cake compared to the front canopy but there are a couple of tips that help improve the drilling process. First, it’s a good idea to pre-drill the fuselage skin holes with a small drill bit without the rear canopy in place; the small holes help center the tip of the 1/8″ plexiglass drill bit when match-drilling through the canopy.
And second, be careful to not drill through the rollbar with the plexi bit – this would enlarge the holes past the size necessary for a #6 tap. Use the pre-drilled holes on the rollbar to locate the holes, then drill them with the plexi bit just deep enough to break through the opposite side of the canopy, then enlarge later to full size when the canopy is off the frame.
And here’s the final product after match-drilling. I still have to trim the forward edge to match the “big cut” line, polish the canopy edges, countersink the screw holes and drill them to final size, but everything looks good for now.
I won’t trim the forward edge until I get the front canopy back on the frame with the lift struts installed S.me builders say that the struts push the whole frame aft, so I don’t want to do any edge trimming until the canopy is sitting in it’s worst-case position with respect to the gap between halves.
P.S. – If I haven’t mentioned it recently, I think I’m one of the luckiest builders – and really, one of the luckiest men – I know to have a wife and partner like Ellen. She’s learned to be an ace riveter, encouraged me to keep going when I’ve wanted to quit, and helped me keep perspective on the truly important stuff – and I don’t mean the airplane.
Thanks, sweetie…

