Back before we moved the project to KASH, I temporarily installed the engine mount and landing gear so we could move the fuselage more easily. Because it’s almost time to permanently reinstall both items, the brakes need to be installed before the airplane is on the landing gear for good.
This is probably the most poorly documented part of the project so far in Van’s instructions, in part because they reference Cleveland wheels and brakes – and Van’s delivered MATCO wheels and brakes with my kit. I don’t know why and I don’t think I asked for them, but whatever.
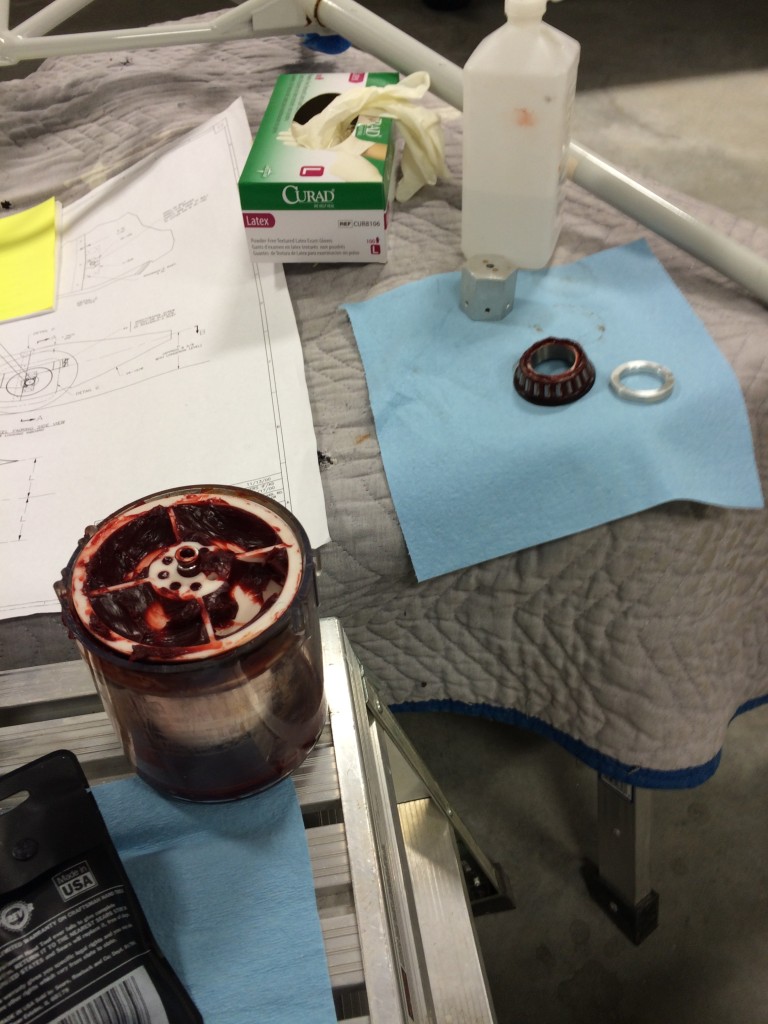
One of the big differences between Cleveland and MATCO wheels is MATCO’s use of sealed wheel bearings rather than Cleveland’s unsealed versions. Bearings with an integrated dust seal last longer, but they’re harder to pack with grease – I couldn’t use my spiffy Lisle bearing packer device which pushes grease through the bearings. Instead, I had to put on rubber gloves and pack them by hand by shoving grease into every available nook and cranny.
Yes, it’s a messy job.
One other thing to note about MATCO wheels is that the bearing races are milled into the wheels themselves, and the bearings don’t rotate around the axle. Therefore, it’s important to torque the wheel nuts sufficiently to provide enough friction to keep the bearings from rotating.
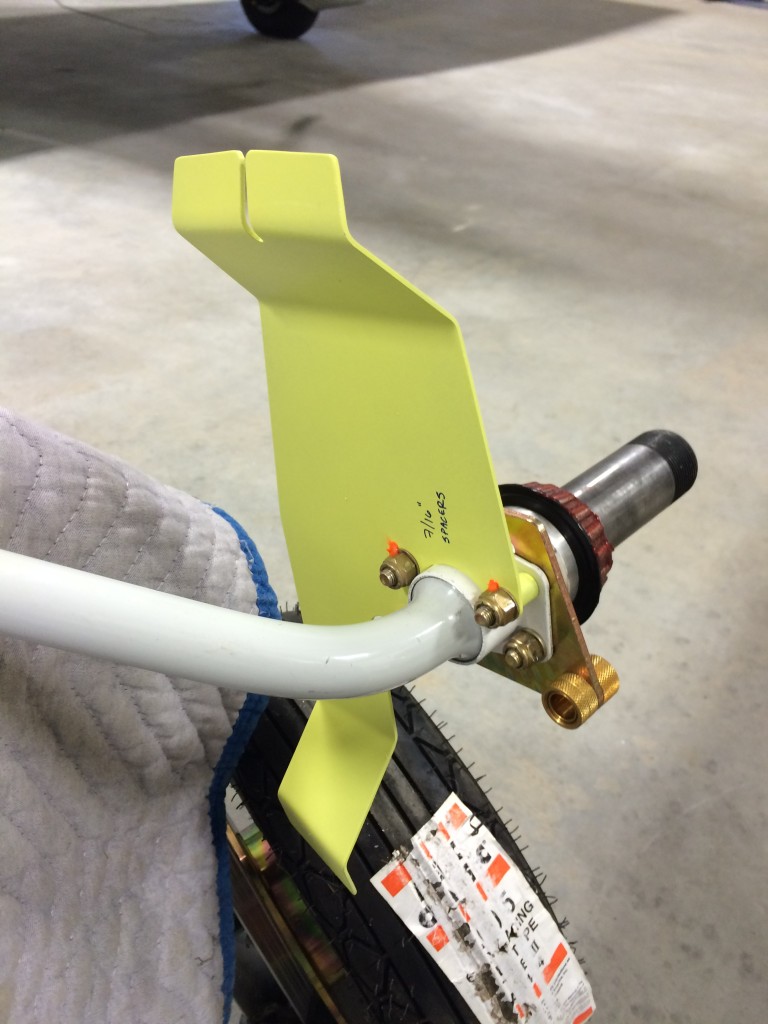
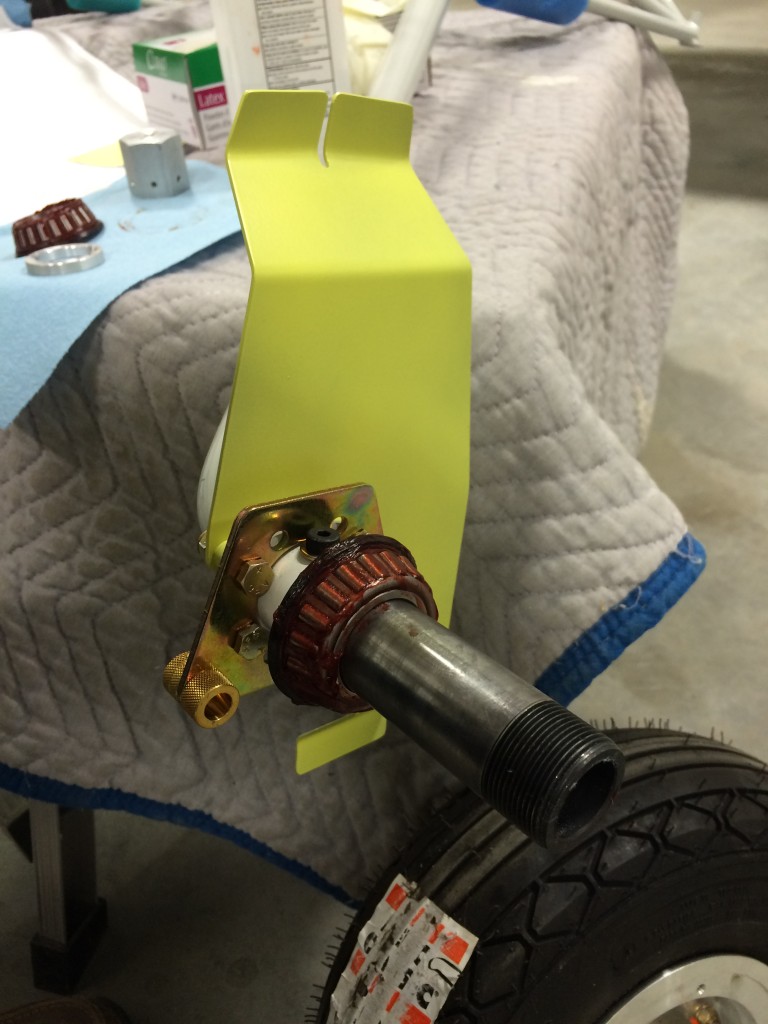
The drawings are also unclear about how the brake caliper and wheel pant support brackets are arranged on the axle. So for those of you who are scratching your heads over this as I did, here are a couple of pictures that show how the assembly goes together. In both pictures the large portion of the wheel pant bracket pointing up, is oriented forward with respect to the airplane.
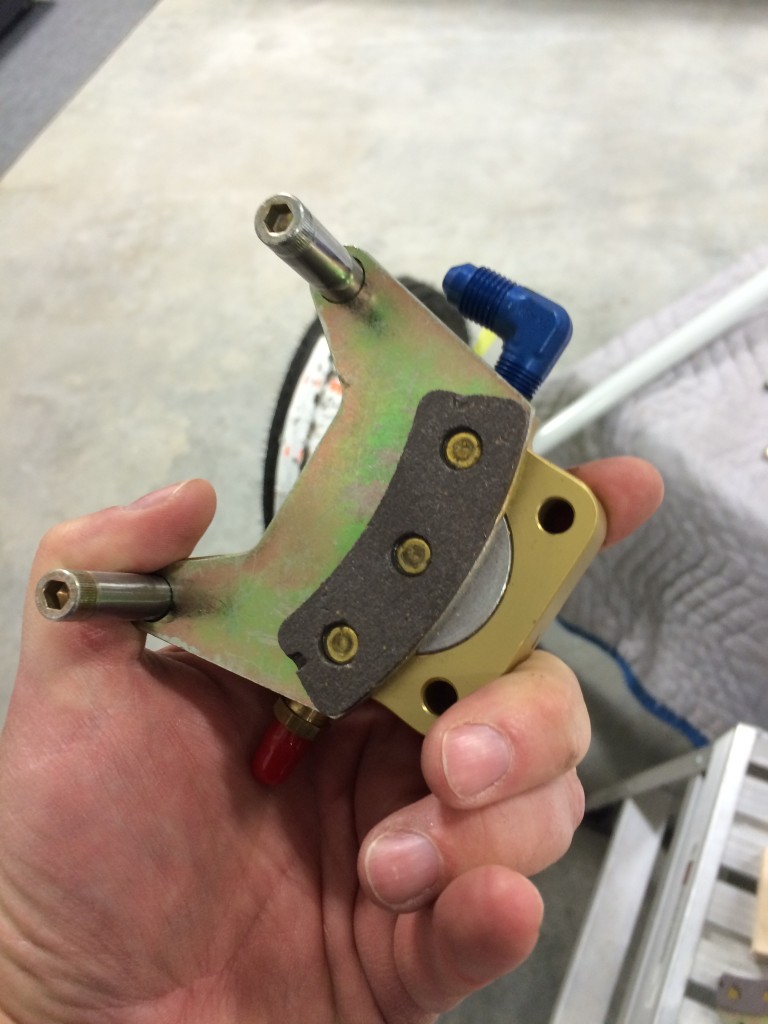
Another thing that wasn’t clear was how to get the brake caliper apart to fit it over the brake disc. It’s actually easy, there are two bolts on the back of the caliper that are removed, then it’s an easy matter to install the wheel, torque the wheel nut, then slip the caliper back in place and reinstall/torque the caliper bolts.


