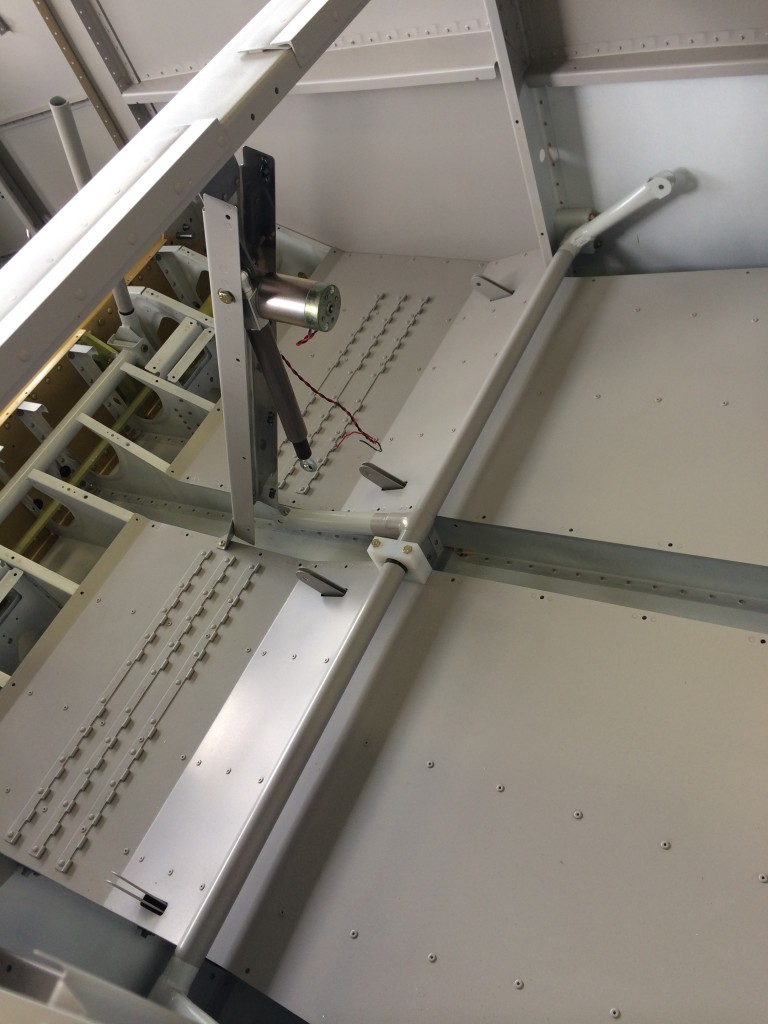
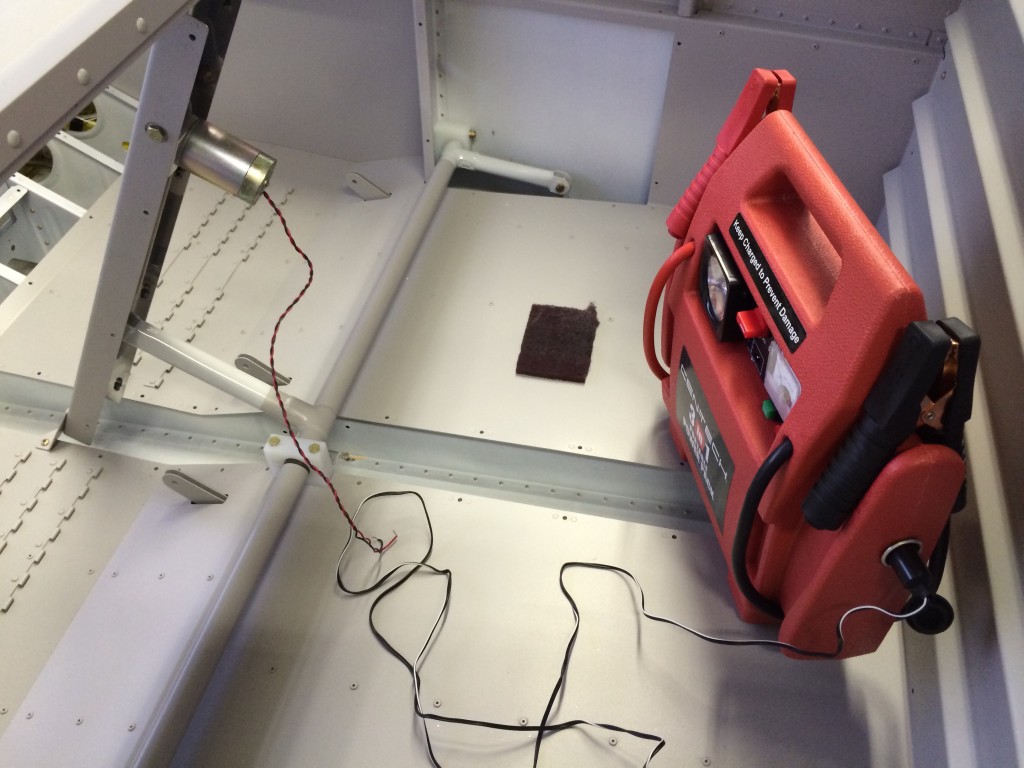
The last major task I had to take care of with the wings installed was rigging the flaps. To do that, I temporarily installed the flap motor and flap actuator arm.
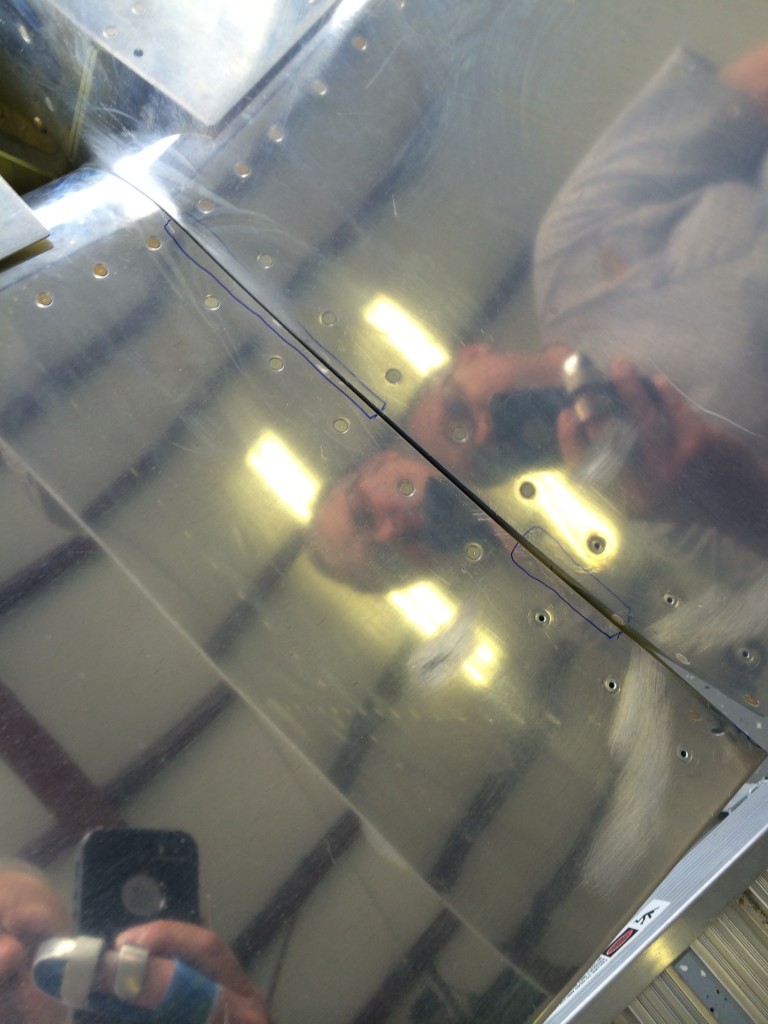
I installed the flaps, and found that the left flap rubbed against the fuselage side skin. The areas outlined in blue are where I had to file off some of the flap skin to eliminate the interference.
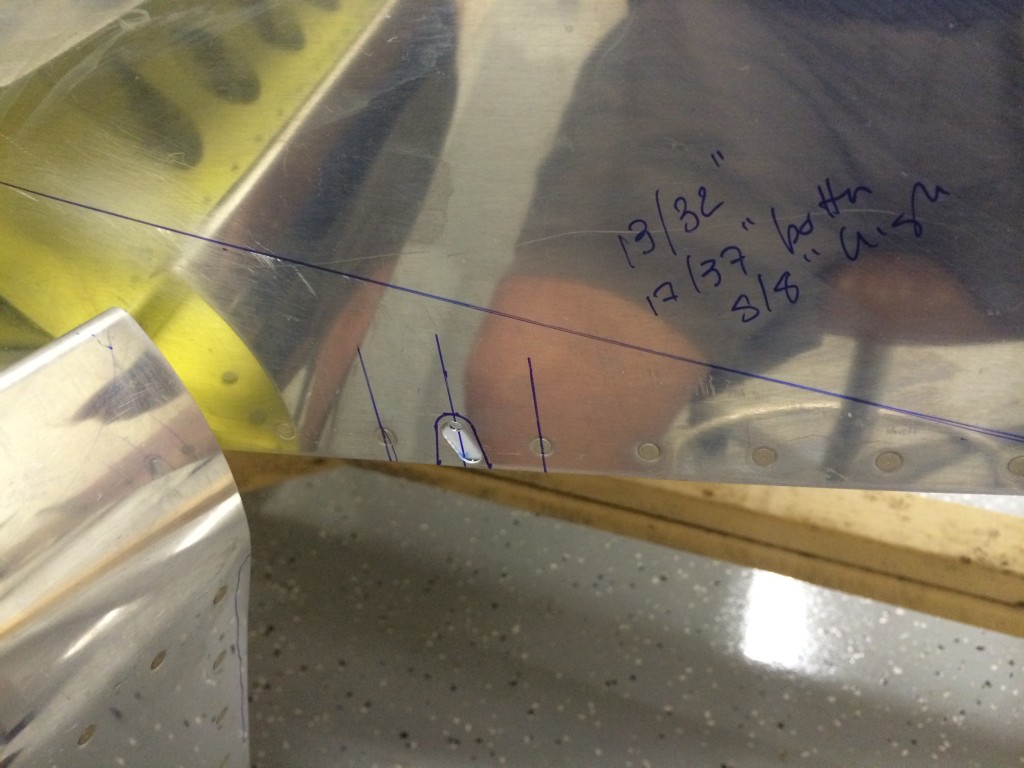
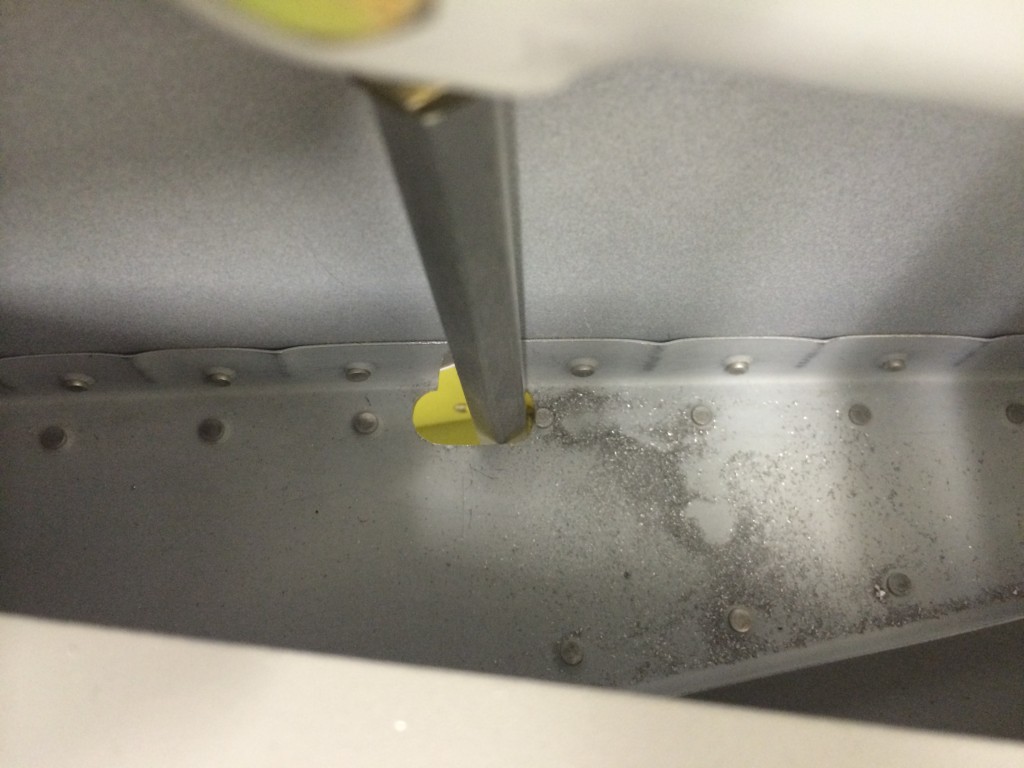
The most tricky part was figuring out exactly how much to enlarge the fuselage side skin openings to accommodate the movement of the flap actuator arms as they move the flaps up and down. Here’s my first guess with some rough measurements roughed out from a friend’s RV-7.
I also laid out holes on the belly skins and started trimming…
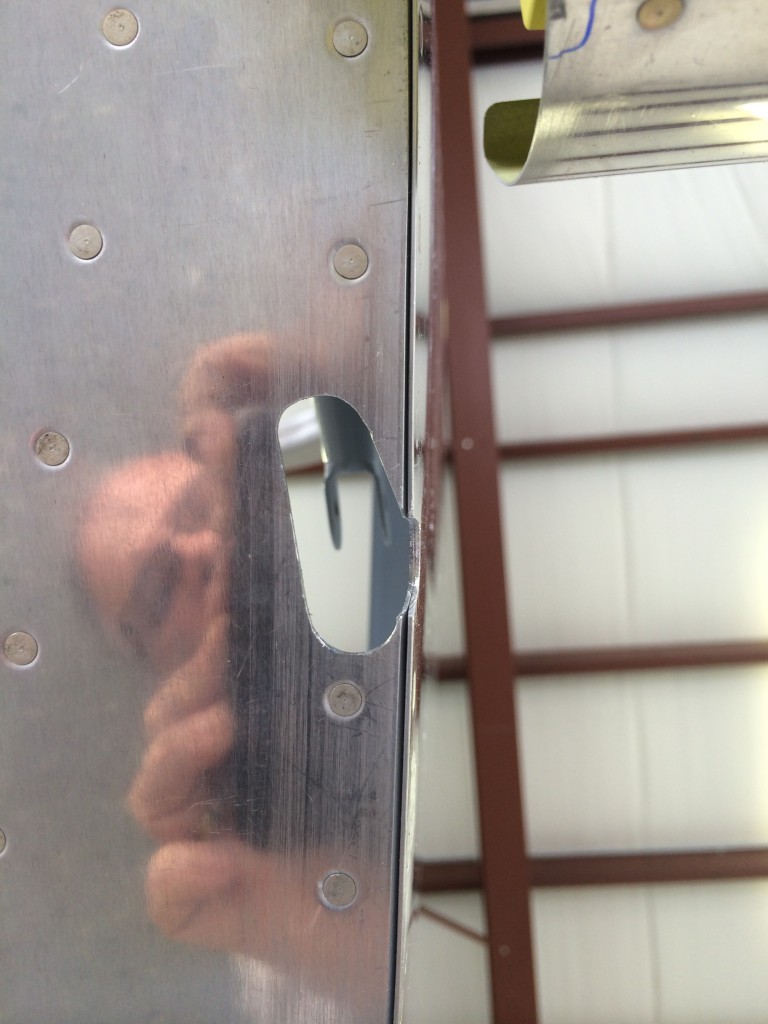
This was a very iterative process…move the flaps, check for interference, and trim the holes as appropriate. It took several hours to get the holes for both actuator arms to move freely.
I used my handy Harbor Freight battery booster to run the flap motor…
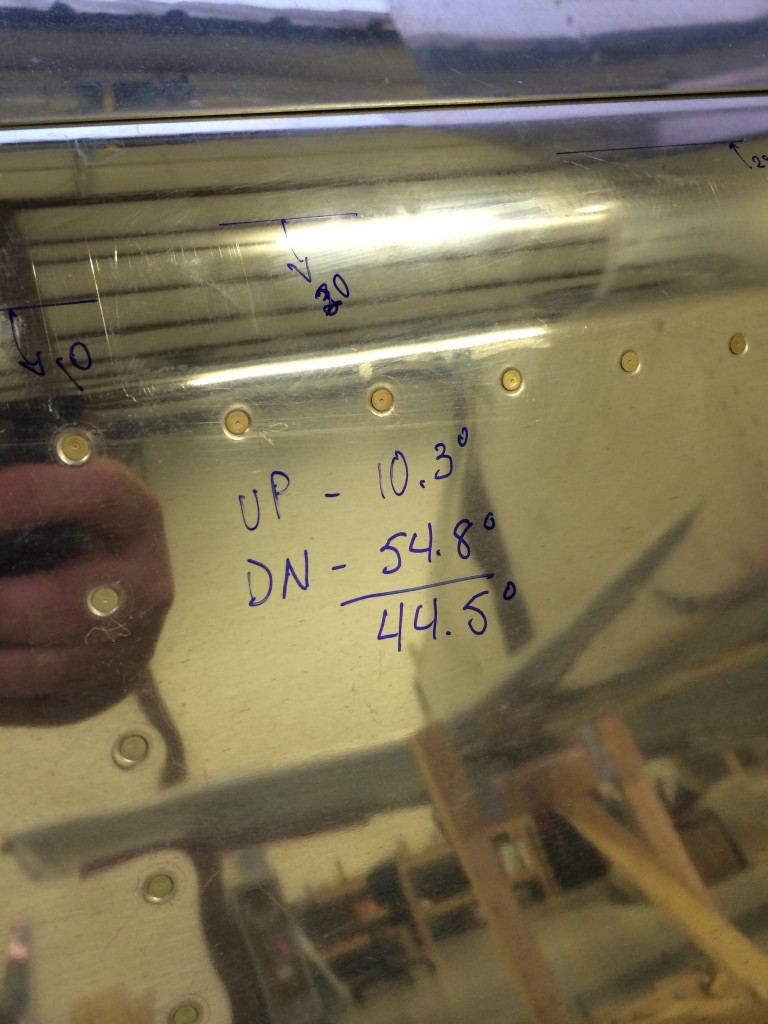
As I was checking the holes for interference, I was also checking for the proper range of flap motion. Vans says the flaps should go down no more than 45 degrees, so used my digital level to measure the flap angle both at full up and full down – subtracting full up from full down shows slightly less than 45 degrees on both sides – perfect!
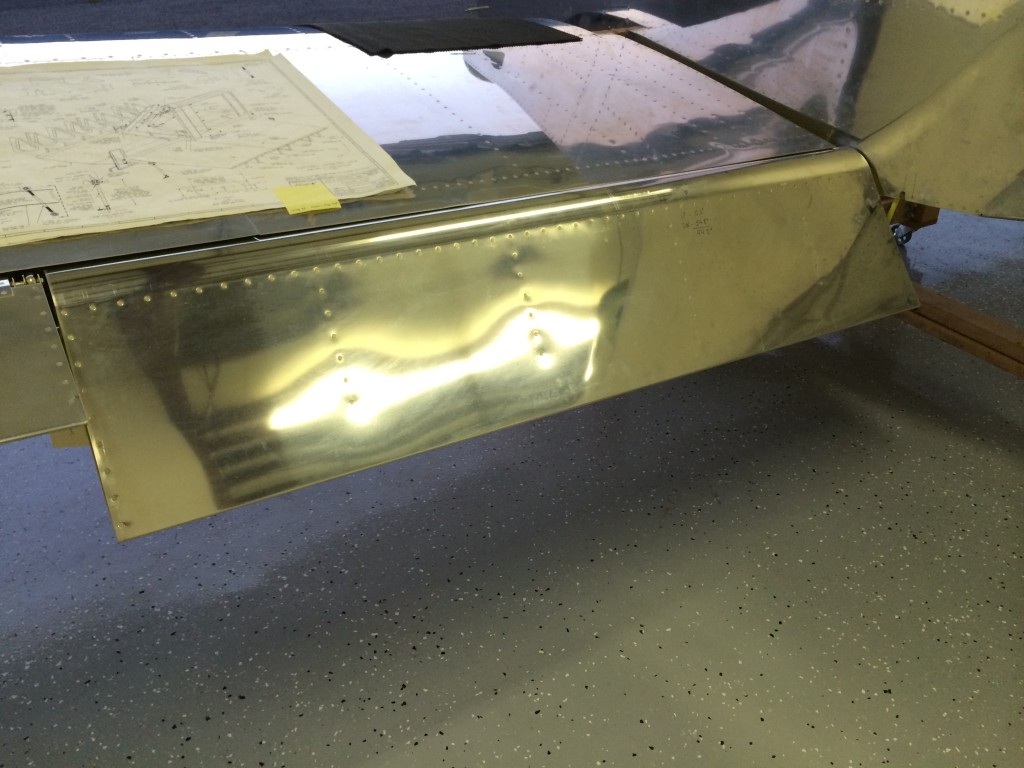
And here’s the end result on the right flap…looks great!

