Next up on the list of things to be done is rigging the ailerons and aileron pushrods to the control sticks. There’s nothing too difficult here, but like a lot of other tasks at this stage, there’s a lot of tweaking and adjusting involved.
There are two pushrods for each aileron, one from the control stick to a bellcrank in the wing, and another from the bellcrank to the aileron itself. I had already adjusted both bellcrank-to-aileron pushrods when I built the wings, but I wanted to recheck them anyway. So I dug out the bellcrank jig and the fixtures I made to hold the ailerons in trail.
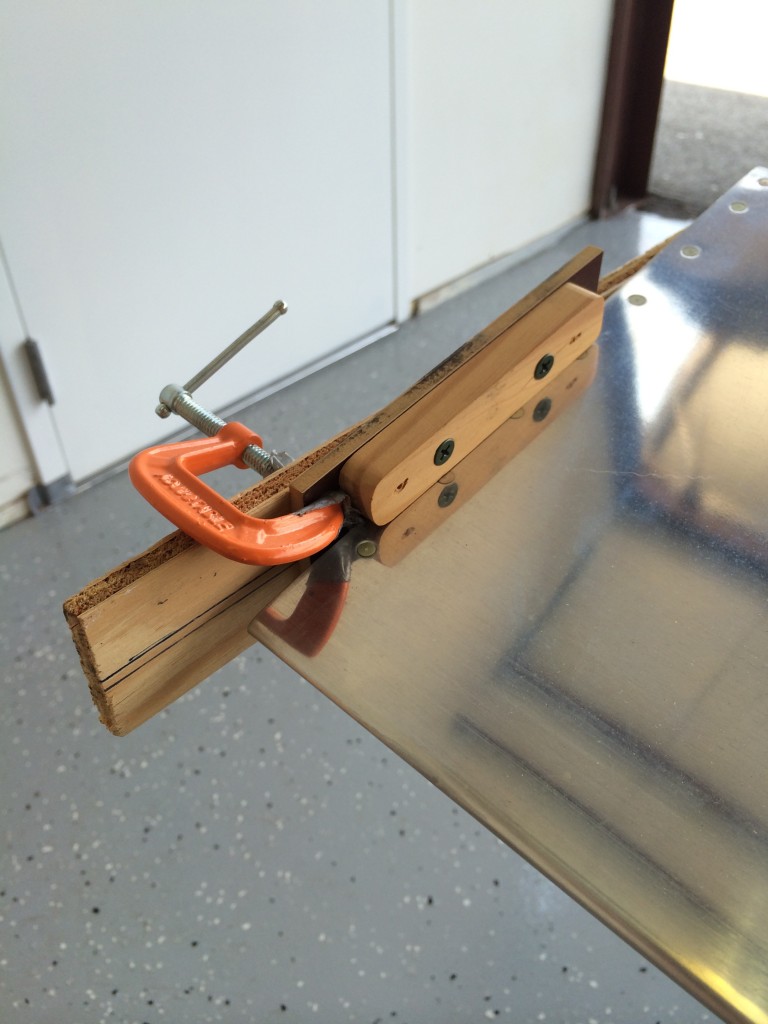
Here’s the fixture that establishes where the trailing edge of the aileron should be…it’s bolted to two tooling holes in the outboard wing rib –
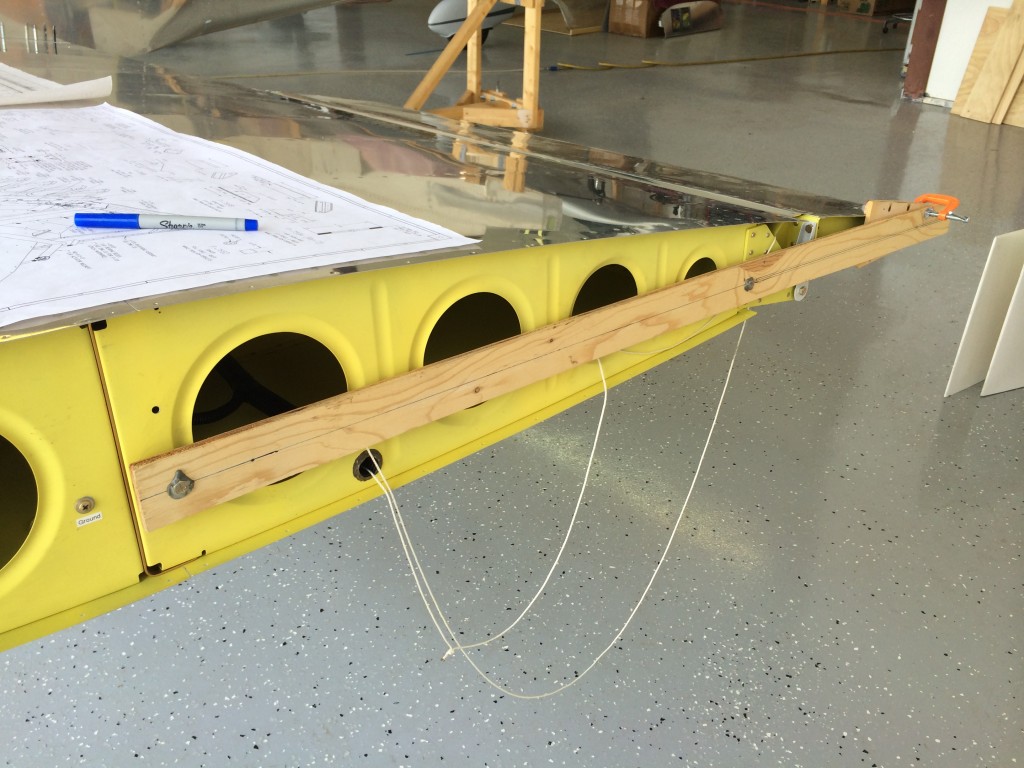
And here’s a couple of pieces of wood I screwed together to hold the aileron itself in place on the fixture. You can see the two lines that define where the trailing edge should be…
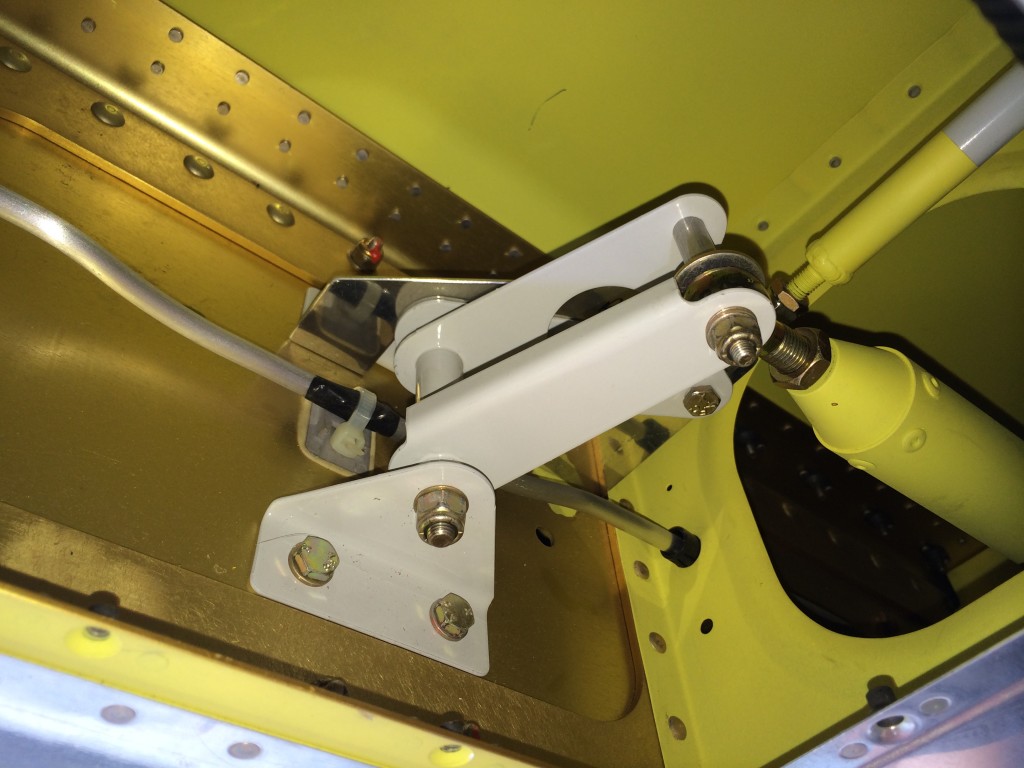
 Since I already had a pretty good idea that the outboard pushrods were correctly set, I just slipped the bellcrank alignment jig into place and verified that everything was still ok.
 You can’t see the bellcrank jig very well, but it’s the silver piece of metal above the bellcrank itself. It’s placed over a pushrod bolt, and if the jig’s forward edge rests flush against the spar *and* the aileron is aligned in trail, everything is set – which it is here and in the opposite wing.
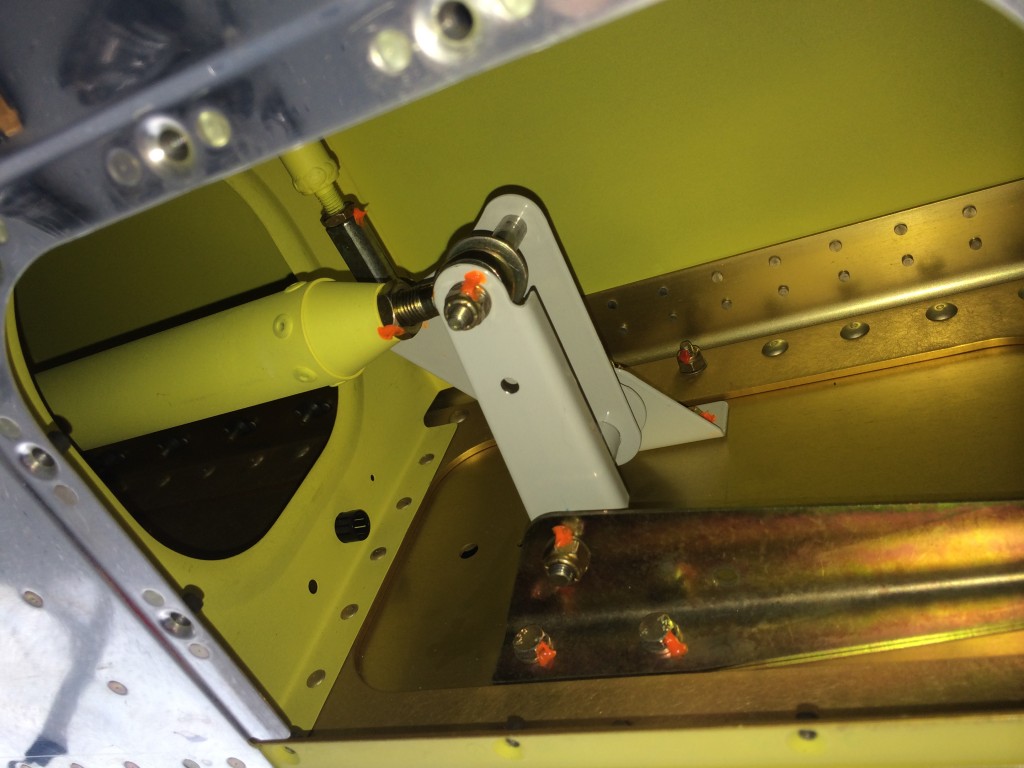
 With the ailerons properly in trail, I clamped the control sticks in place so they were vertical (sorry, no pictures) and adjusted the long bellcrank-to-stick pushrods to the proper length. I then went back and torqued all the bellcrank bolts and nuts, as you can see from all the Torque-Seal in the picture.
It was kinda neat to move the control sticks and see the ailerons move…before the wings come off again I may have to throw a seat in the cockpit and play pilot for a little while!

