Fuel vent lines

Ok, I was wrong – there were a couple of other things to do before the wings come off, and fitting the fuel tank vent lines was one of them. Fortunately, these are some of the easiest lines to fabricate. Sorry, only one picture…so not much to report here.

Fuel tank vent lines

Finishing the tank support brackets

One more task on the tank support brackets – drilling holes that accommodate the bolts that attach the tank support brackets to the tank flanges. I copied an idea from fellow builder Mike Bullock and used a 1/4″ OD drill bushing to drill a #40 pilot hole in the tank angle. The bushing fits snugly in the 1/4″ cutout on the tank support bracket, ensuring that the hole is nicely centered.

Tank support drill bushing

Here’s the bushing clamped in place on the aft side of one tank bracket…

Drill bushing clamped

I then used the #40 hole to center a 1/4″ drill bushing on the front to the bracket, held in place by a piece of 0.25″ aluminum bar.

Larger drill bushing

Here’s the final result…both sides came out pretty nicely.  A 1/4″ bolt slips neatly into place.

Final hole drilledI screwed up a little and didn’t lay out the orientation of the platenut that gets riveted to the tank angle – I’ll have to take care of that when the wings go on for final assembly.


Fitting the tank support brackets

I was a little nervous about fitting these two steel brackets that support the forward inboard end of each fuel tank, because I slipped up and had already fitted them to the fuselage before installing the wings.  The brackets are supposed to be clamped to the tank angles – the big D-shaped piece of aluminum on the end of the tank – then match-drilled to the fuse.  I was concerned that they might end up being misaligned, but fortunately that turned out to not be the case.

2014-08-23 17.39.55The right bracket fit almost perfectly after being bent according to plans.  A little adjustment with the vise and hand seamers got it just right…

Left tank support bracket

The left bracket wasn’t quite so easy to fit…I had to tweak it a bit to get it flush with the tank angle, but in the end it came out fine.

Ok, so the tanks aren’t completely done

Ok, so the tanks aren’t completely done – in particular, the left one. I was never really happy with the flop tube installation and the ability to properly torque the AN924 bulkhead nut that holds the flop tube in place. So to address this, I pulled the access plate off and drilled out the rivets holding the anti-hangup guide in place.

Using some spare 1/8″ angle I fabricated an anti-rotation bracket similar to that installed in the right tank, eyeballed a location that would allow the flop tube to position correctly in the tank, drilled it to the inboard rib, and riveted it into place.
After that, I reinstalled and safety-wired the flop tube with a new AN elbow fitting and then re-riveted the anti-rotation bracket. A little proseal, a fresh cork gasket and some screws…and the job was complete.

Left tank resealed

Dave, John and Antony

Another rib riveting session, with special guest builder Antony Parchment in attendance. John has been helping both me and Antony do our fuel tanks, and Antony trekked down from Maine to help out. With this session we finished the first two ribs in the left tank.

Dave, John and Antony

The tanks are really done

This time, the tanks are really done and it’s time for the dreaded leak check. Van’s lists a couple of different options for pressurizing the tanks just enough to spot leaks with soapy water, while not rupturing the tanks in the process. I chose to build manometers for each tank and pressurize them together; if the water level in the manometers tracks together as temperature and air pressure changed, I’m assuming that the tanks probably aren’t leaking. That, plus the usual spraying of soapy water should be sufficient. Here’s the setup…

So how did it work? Pretty well, actually, once I sealed up all the expected leaks around filler caps, sump valves and vent lines. The temperature in our garage goes up and down quite a bit when the furnace/hot water heater comes on, and the manometer levels for both tanks matched over a full day’s worth of monitoring. So I cleaned off the soap scum and declared success….again.

Or at least I thought they were done.

Or at least I thought they were done.

I thought I had torqued the left tank’s bulkhead fitting down sufficiently when I installed the flop tube. But while preparing the tanks for leak checks, I torqued a sealing cap onto the bulkhead fitting and the fitting shifted despite being torqued and prosealed in place. So…I pulled off the access plate, cleaned off the cured proseal, torqued down the bulkhead fitting a bit more, and replaced the access plate. What fun. Really. Can’t you tell by the expression on my face?

This sucks

To get my hand inside the tank far enough to get a wrench on the bulkhead fitting, I had to cut the anti-hangup guide away and rivet a new piece of aluminum after the bracket was finished.

New crosspiece on anti-hangup guide

The right tank is complete!

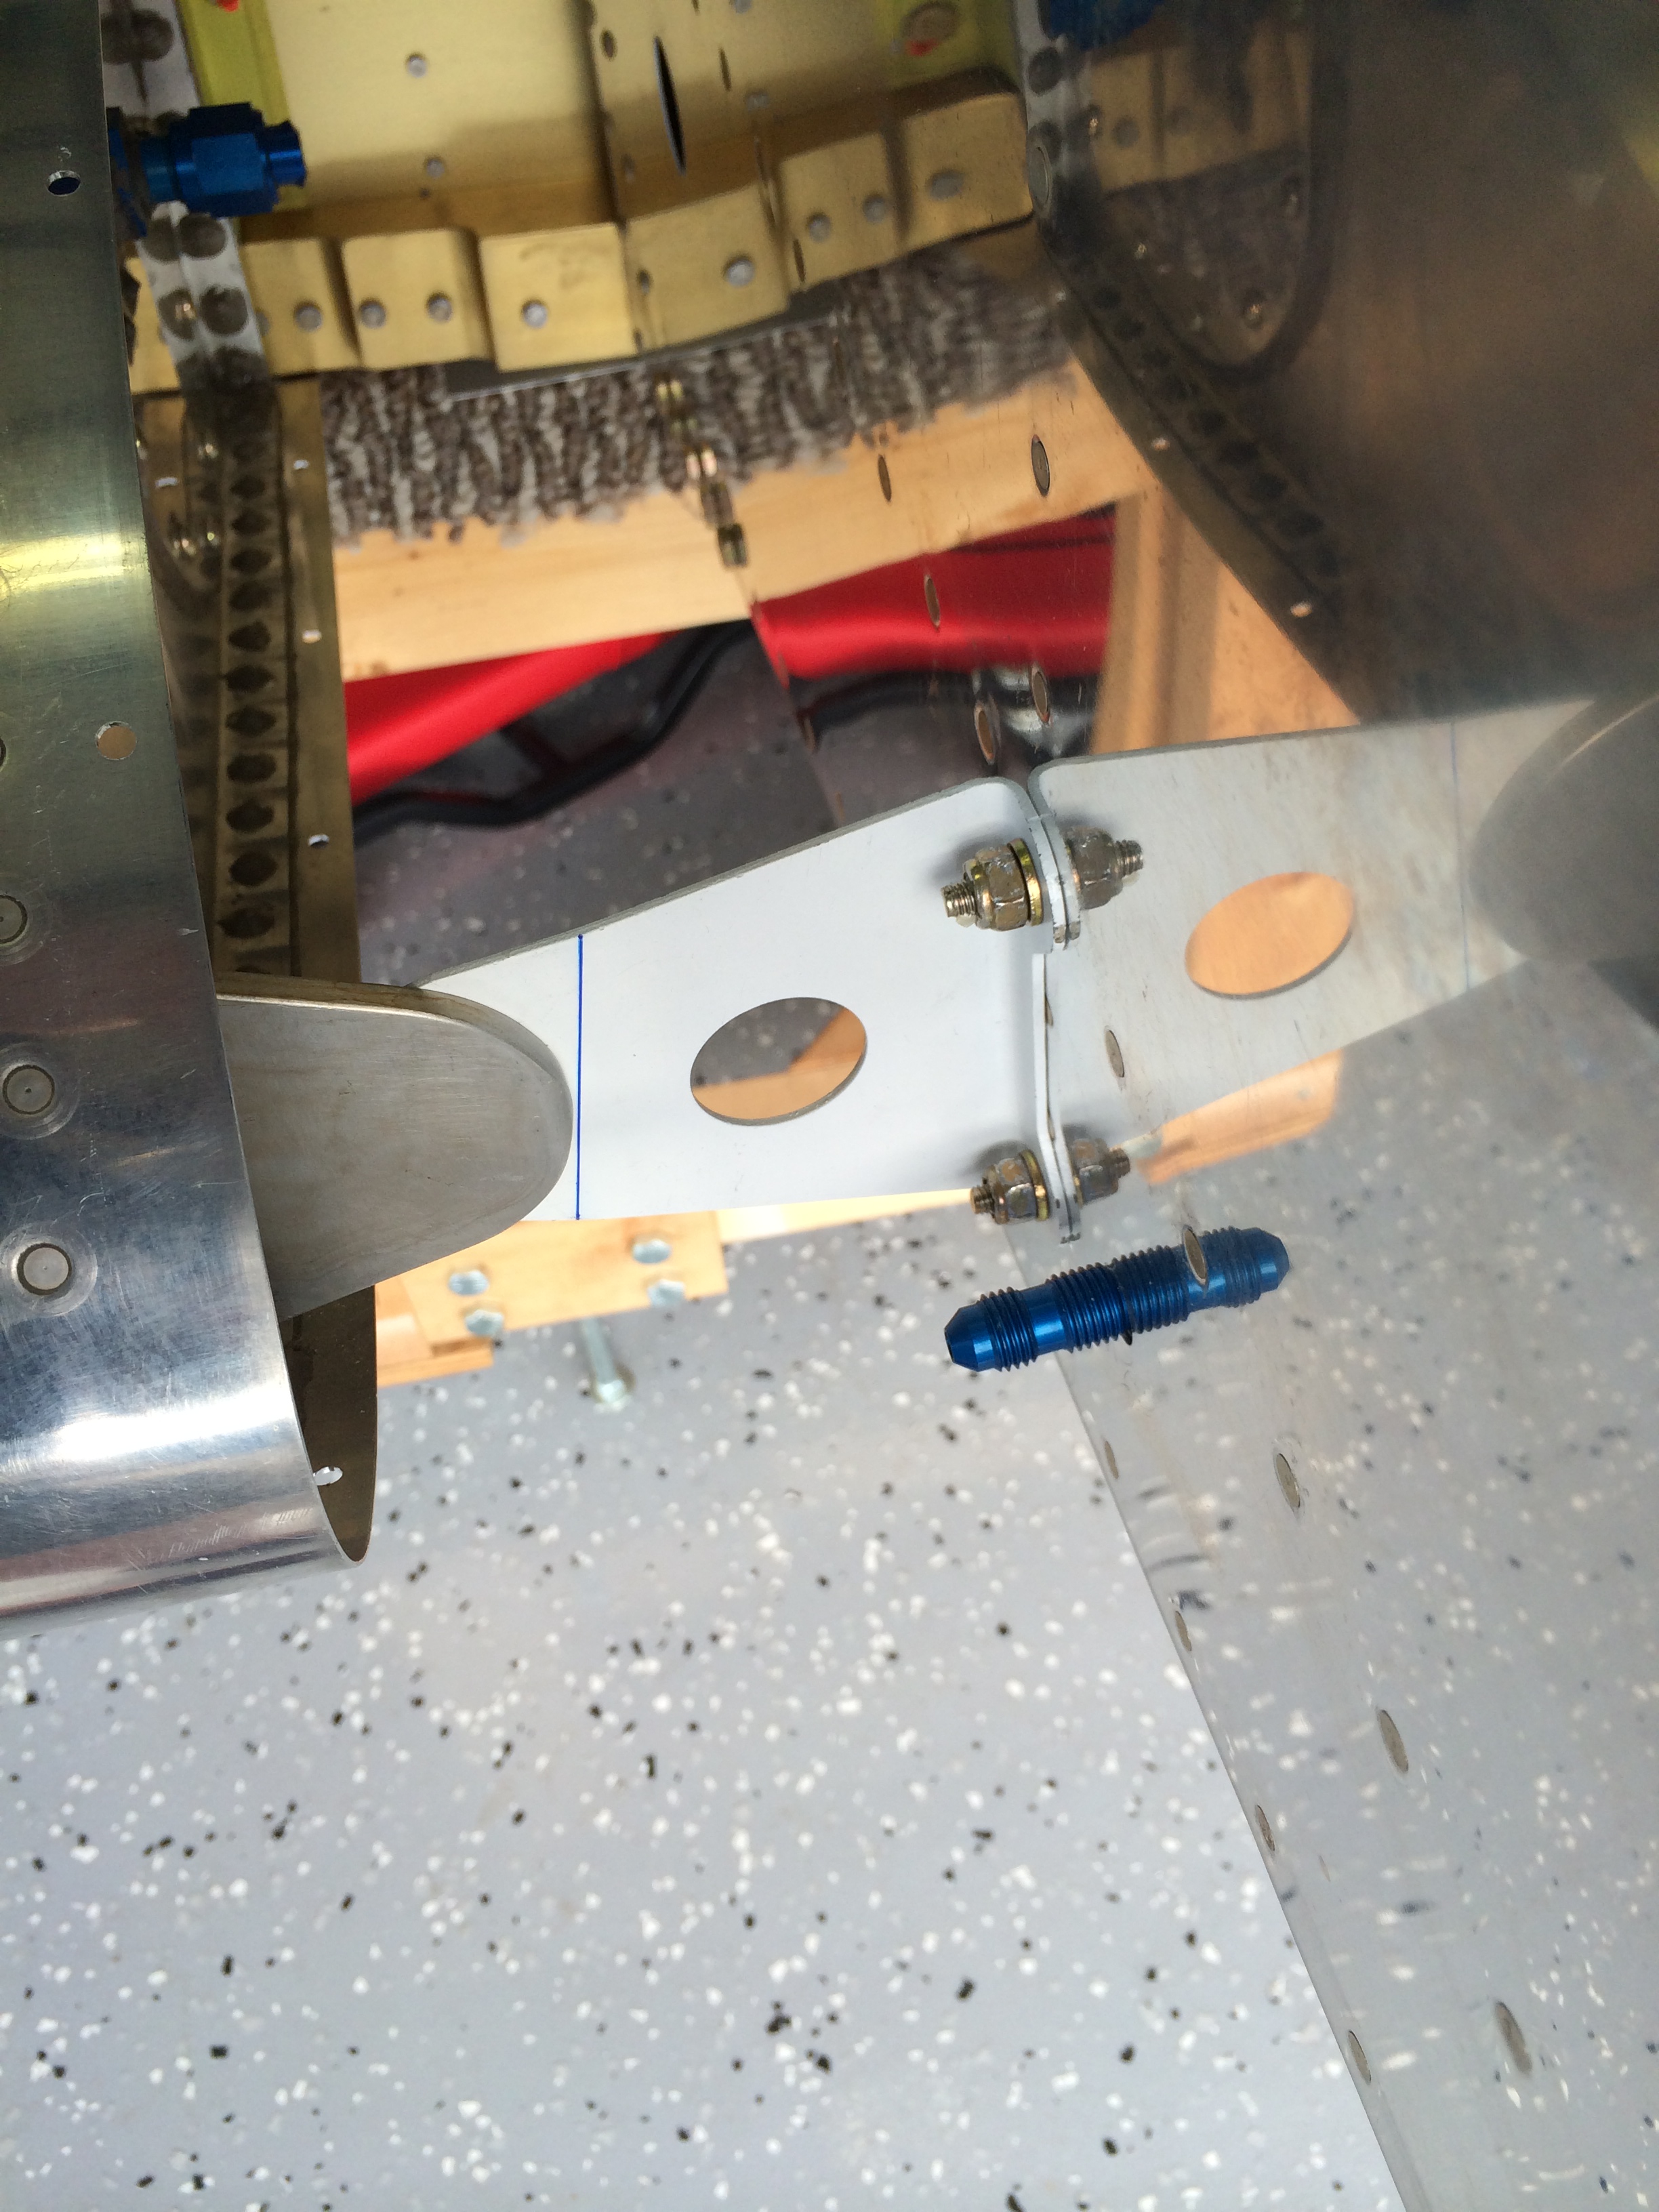
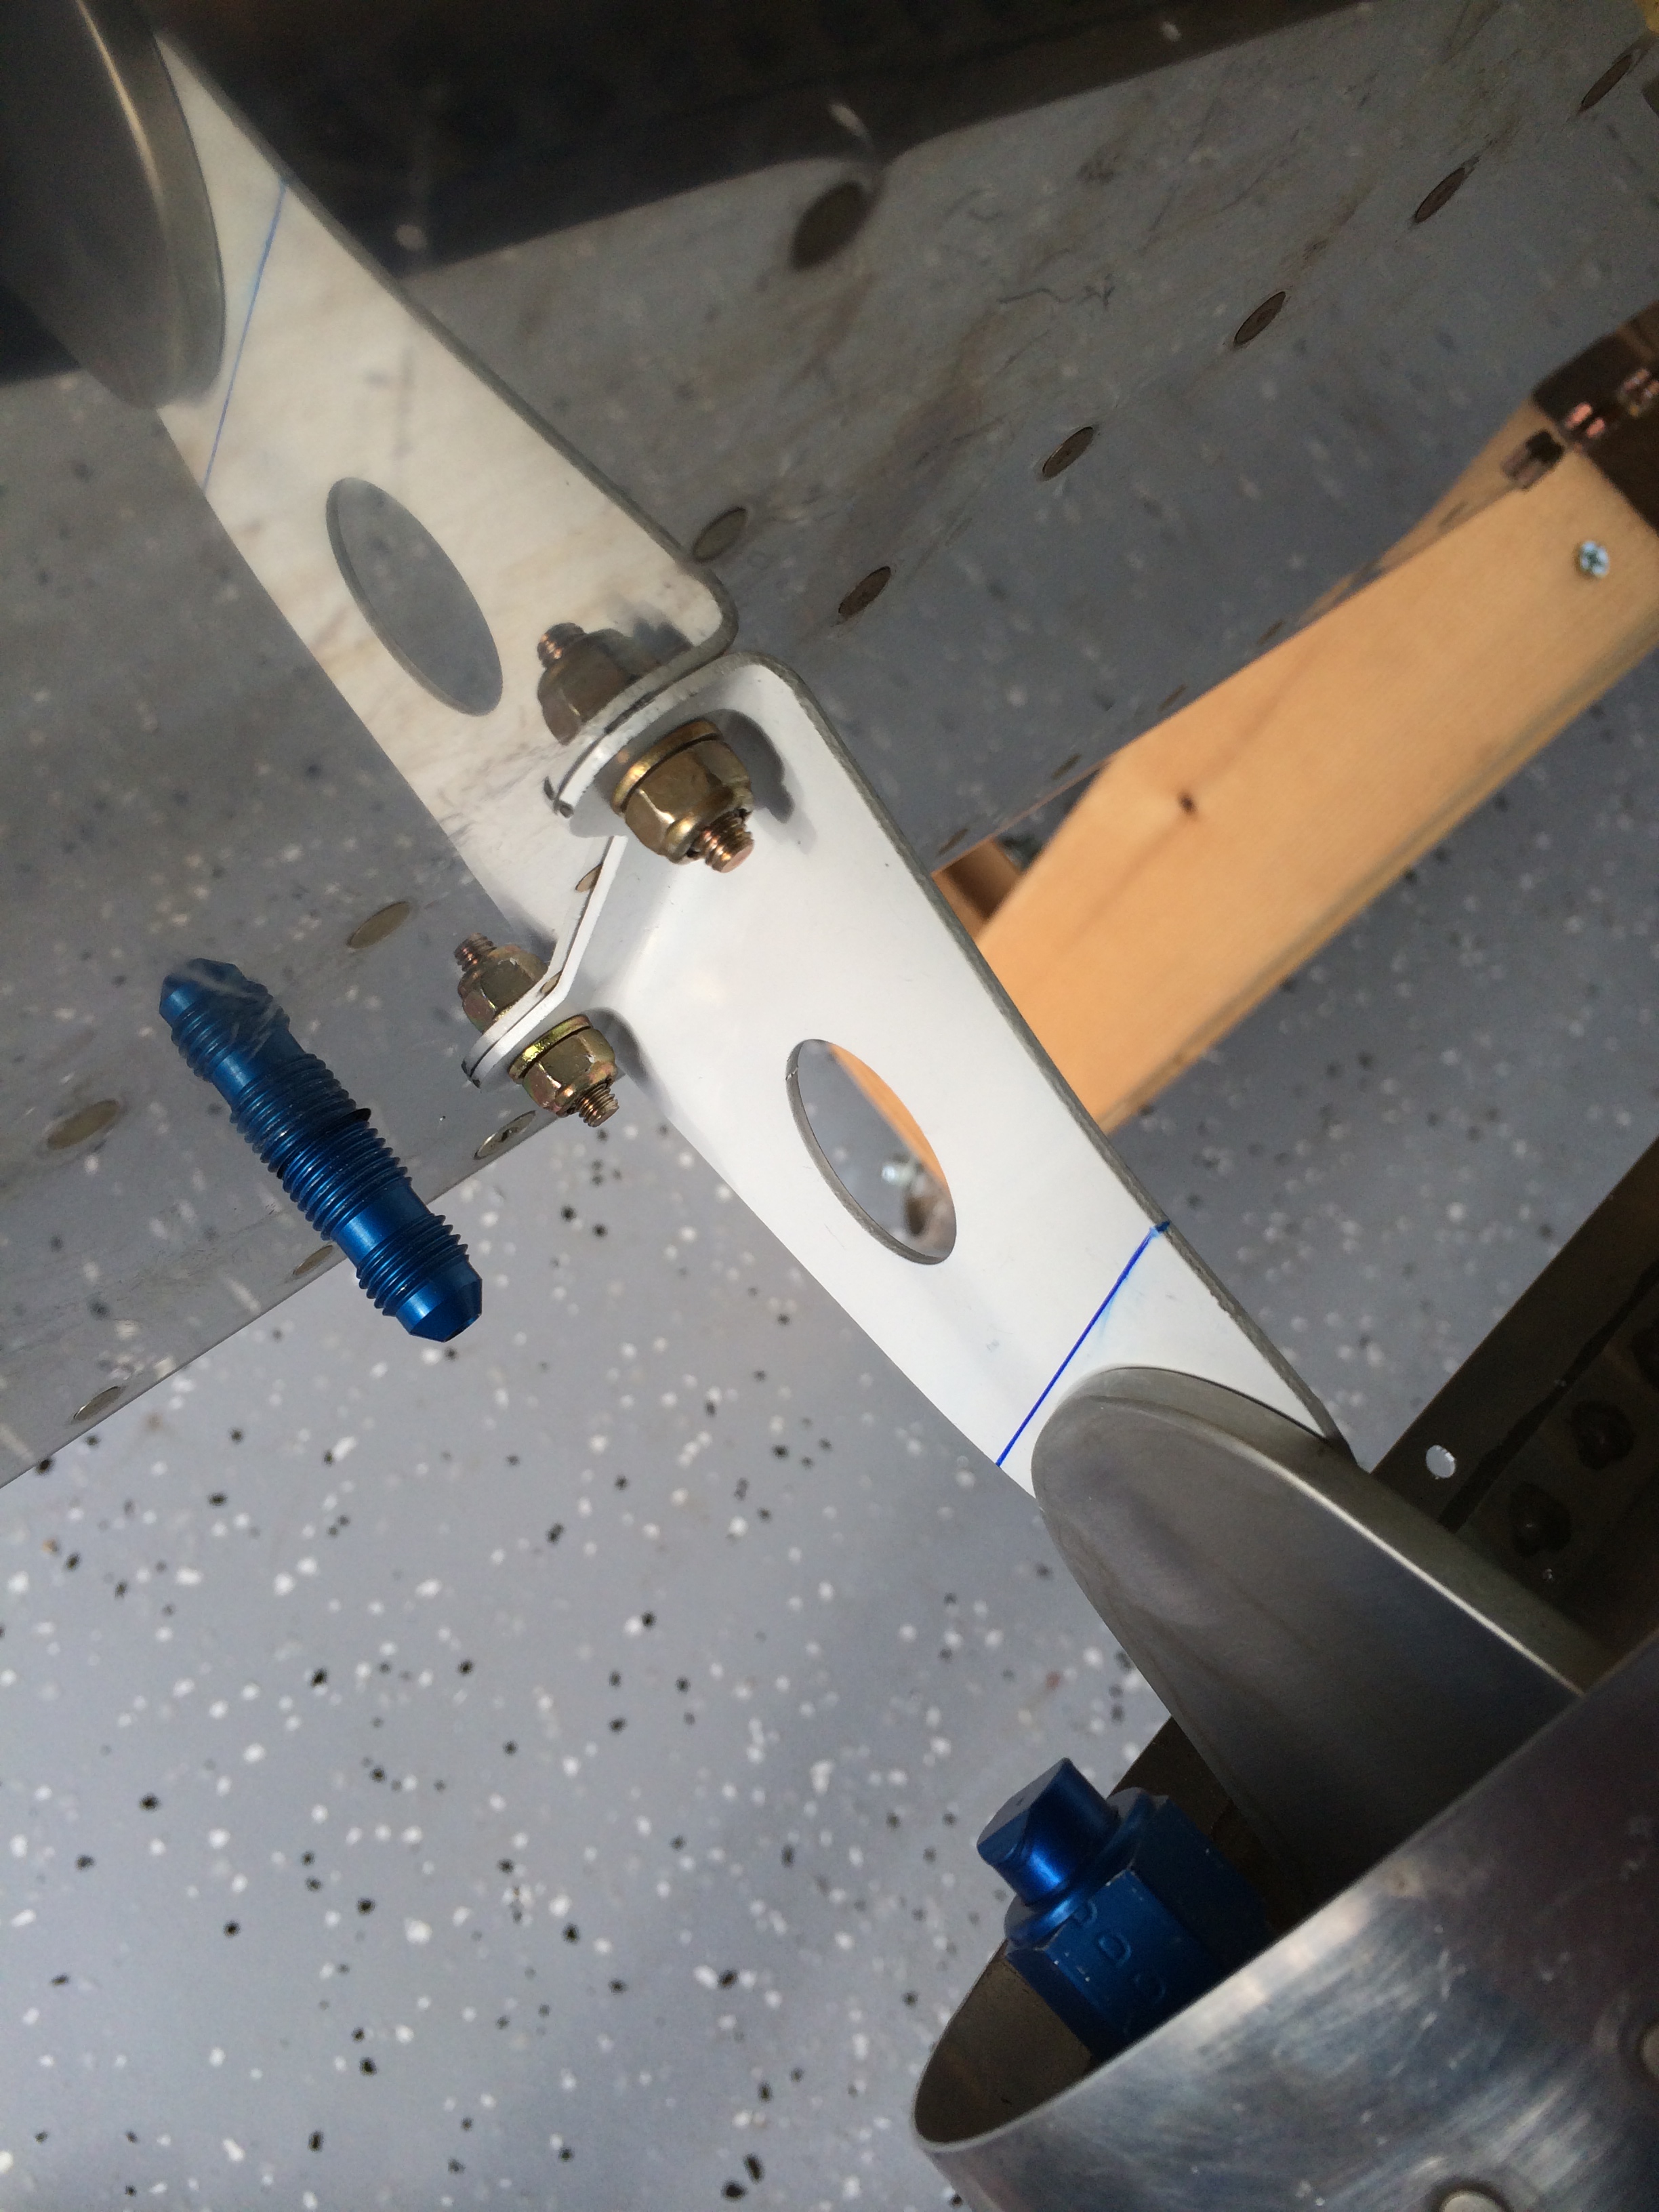
Oshkosh is looming on the horizon, we’re headed out in a few days with Mr. and Mrs. Captain John. I wanted to get the right tank closed out, so John and I took a Saturday to seal and rivet the baffle and Z-brackets. This one went smoothly as well, but took us a couple of hours longer because we didn’t have the services of master prosealer Antony Parchment. As before, we used a 60cc syringe with the tip cut to provide the 5/16″ diameter sealant bead recommended by Van’s.

Happy to be almost done, I’m applying proseal with the syringe.

The doctor is in!

Almost as happy to be almost done – or maybe it’s because he know’s we’re headed for margaritas – John inspects my work with the obligatory magnifying glass.

John spots a microscopic flaw

The only real problem we encountered was setting the solid rivets that attach the inboard and outboard Z-brackets. We were on the verge of using blind rivets after a couple of the solids took a couple of tries to get right. It worked out in the end, but I definitely need to work on my bucking/shooting technique for #30 solids.

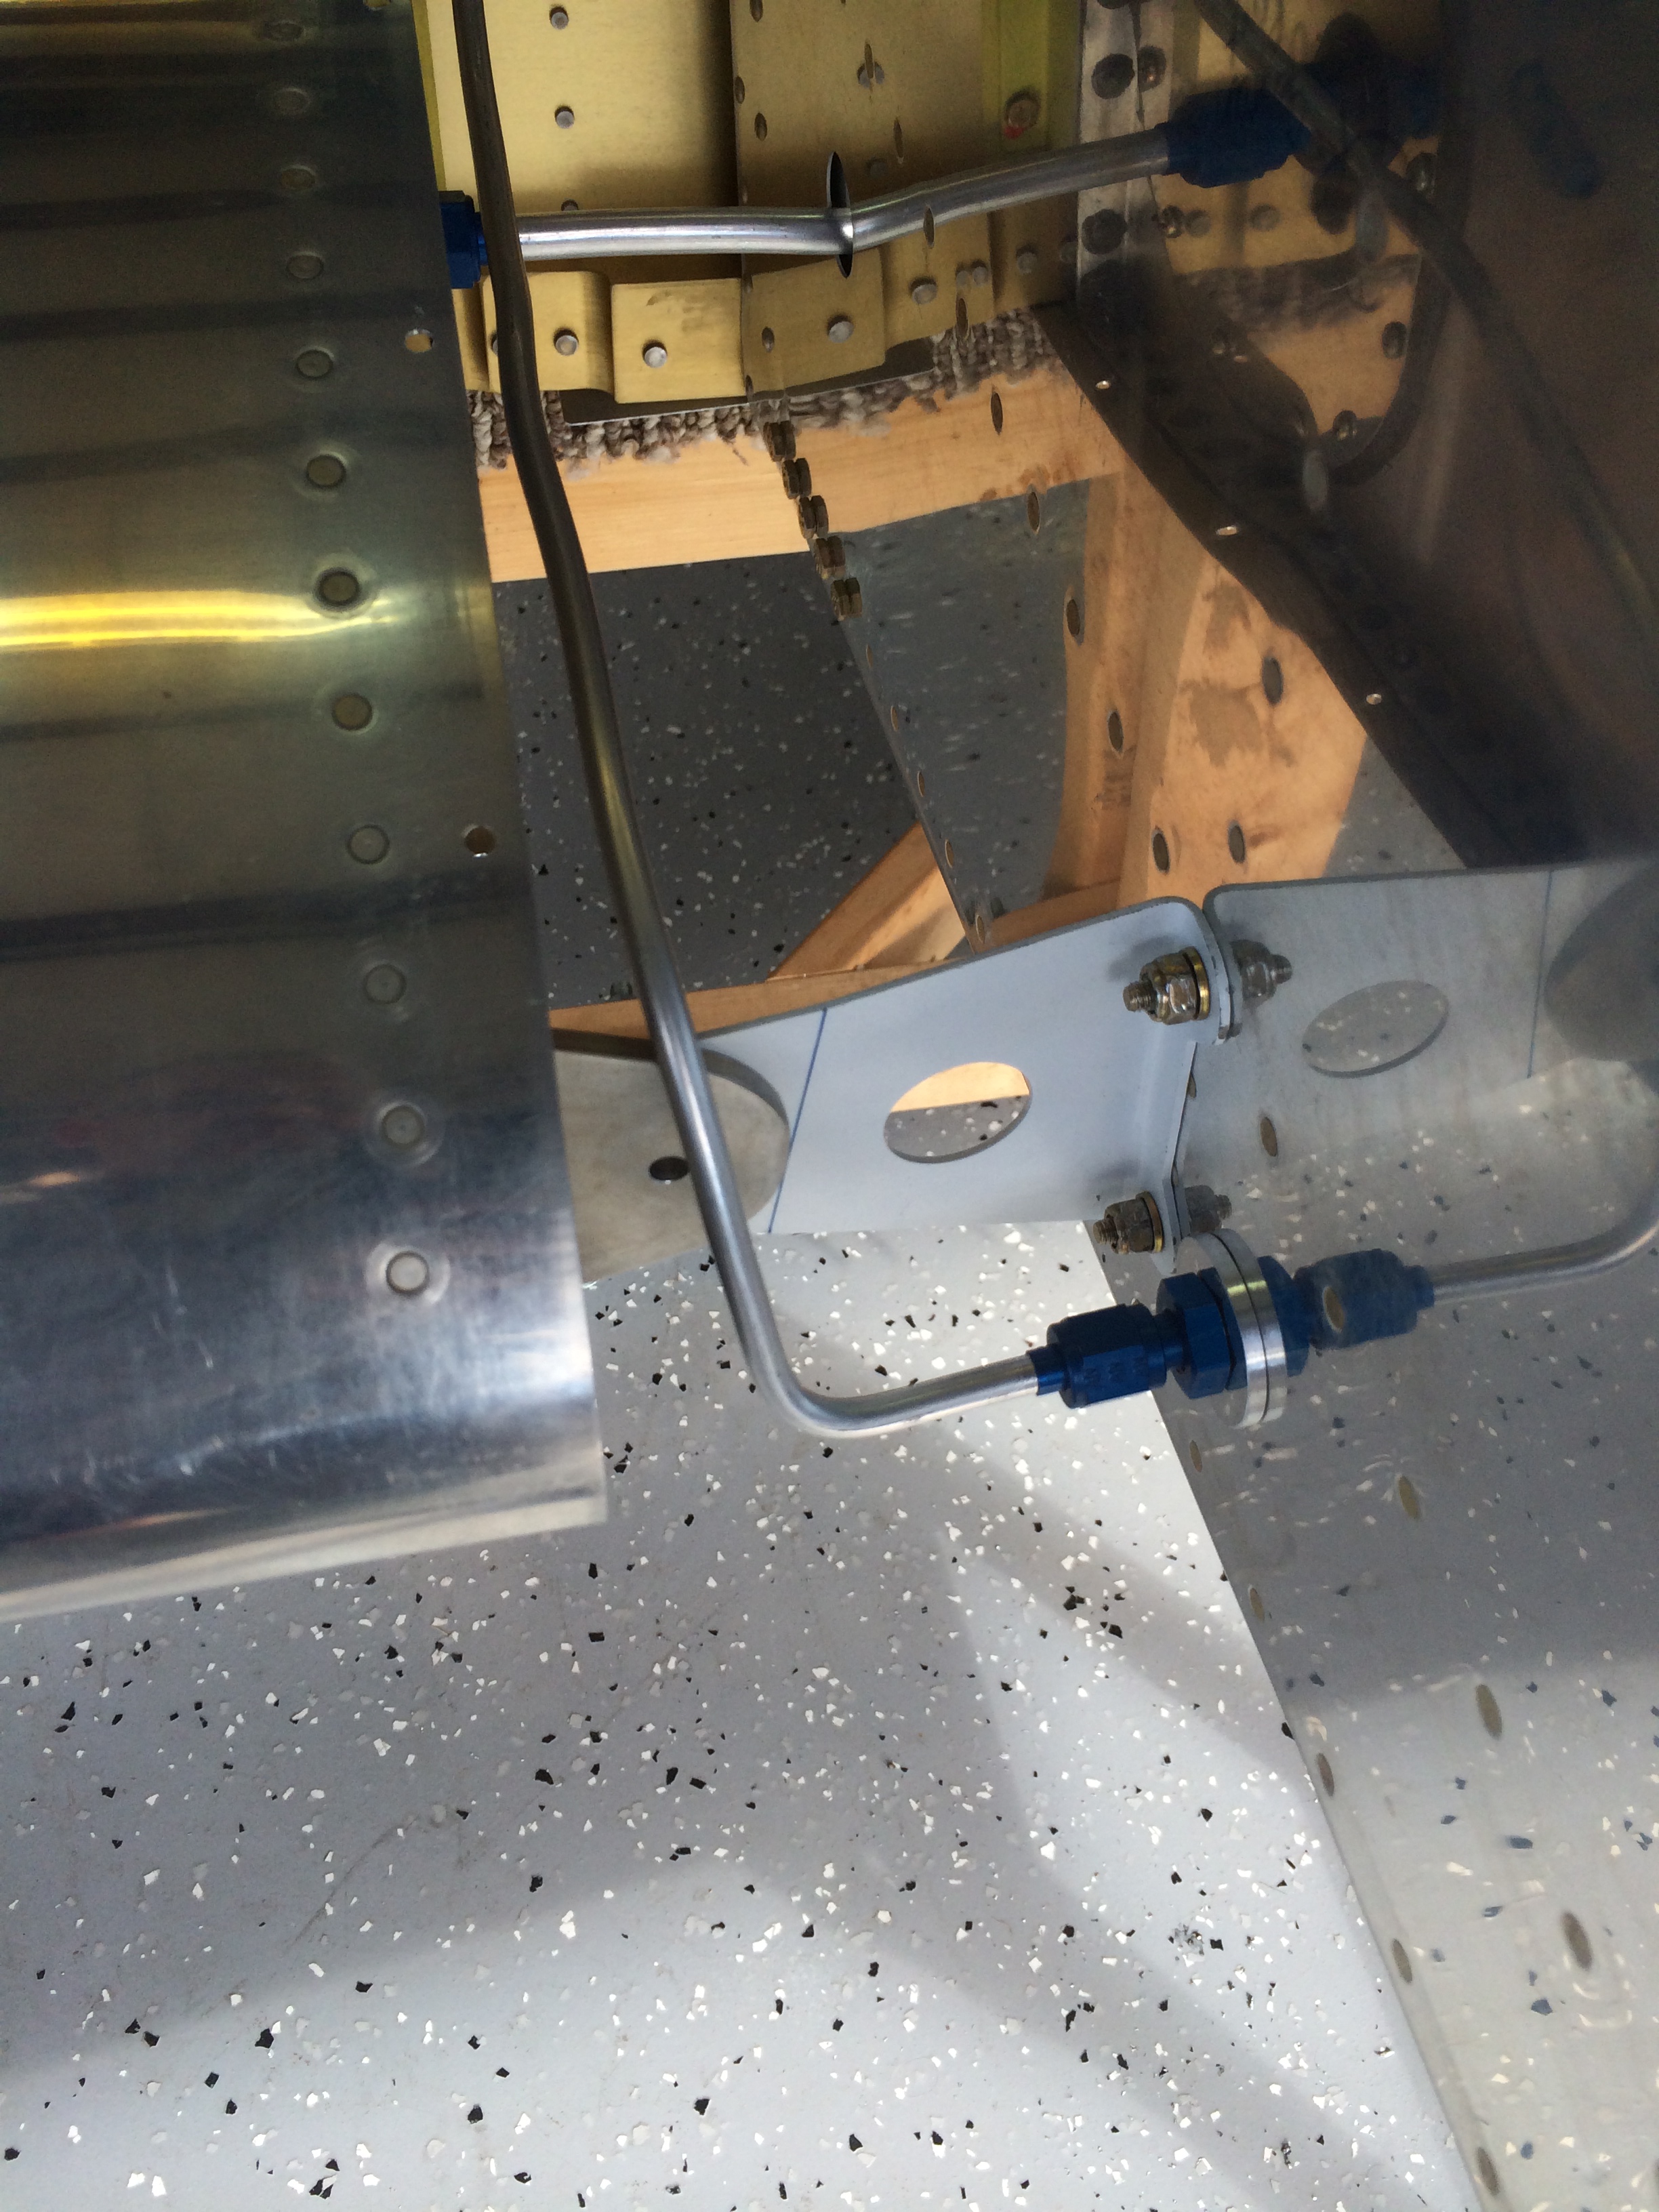
The next day, I buttered up the access plate (this one with a fixed pickup) and sealed/screwed it in place. With that, the tanks are done – except for leak checks. I’m keeping my fingers crossed…

The right tank is complete!

Nutplates on the stiffener ring was either stripped, or too big

I had great plans last weekend to close out the left tank by attaching the access plate. I mixed up a batch of proseal, butttered up the cork gasket and plate, and had everything almost completely done when I found out that one of the nutplates on the stiffener ring was either stripped, or too big. What a freakin’ mess – two hours wasted on putting the plate in place, then removing it and cleaning off the proseal.

Today, I drilled out the offending nutplate. Looks like I accidentally installed one that was too large. – d’oh! I installed the correct one this time – and checked all the nutplates in the yet-to-be completed right tank to make sure I didn’t make the same mistake there.

Tank nutplate removed

Did a bit more cleaning up to make sure no rivet residue was left in the tank, then mixed up a batch of sealant and attached the access plate. Had to do some on-the-fly research to find the right torque for those screws, looks like it’s 15-20 in/lbs. And with that, the left tank is complete.

Left tank completed

Critical mass of builders

Got a critical mass of builders together today to seal and rivet the left tank baffle and z-brackets. Captain John came up from Plymouth, and Antony Parchment came down from Maine to help out. Attaching the baffle is more complex than it appears, it was certainly handy to have two extra brains and two extra pairs of hands and eyes.

Antony is a whiz at proseal. I copied his process and have wasted a lot less material. Here he’s mixing up the first batch and loading up the large 60cc syringe we used to apply sealant to the skin and rib flanges. We followed Vans’ instructions here and everything seemed to work fine.

The Proseal wizard in action

Here’s the tank with sealant applied, just before the baffle was dropped in place. We followed Vans’ instructions, I really don’t have anything to add to the process except the syringe worked out really well. The local medical supply store probably wonders why I’m always there buying latex gloves and syringes…

Sealant applied to the tank

One word of caution, when you’re attaching the Z-brackets, check to make sure that they’re oriented correctly – it would be very painful to find out that one Z-bracket was on backwards after the tank was complete! Just to be sure, all three of us checked the brackets with the plans before we pop-riveted them in place.