Current progress

One of the cool things about this stage of the project is that after a few hours of wiring I can turn on some part of the RV’s avionics and see it work.

For instance, I’ve had these Oplite 6 LED lights for several years now and finally got them wired up to the Garmin GAD-27 as instrument panel lights, so they’re controllable by a dimmer on the panel. These lights are really rugged and when driven by one of the GAD-27’s PWM lighting controllers, they’re dead quiet too – no hash on the radio like I’ve encountered with some other dimmers. Very cool.
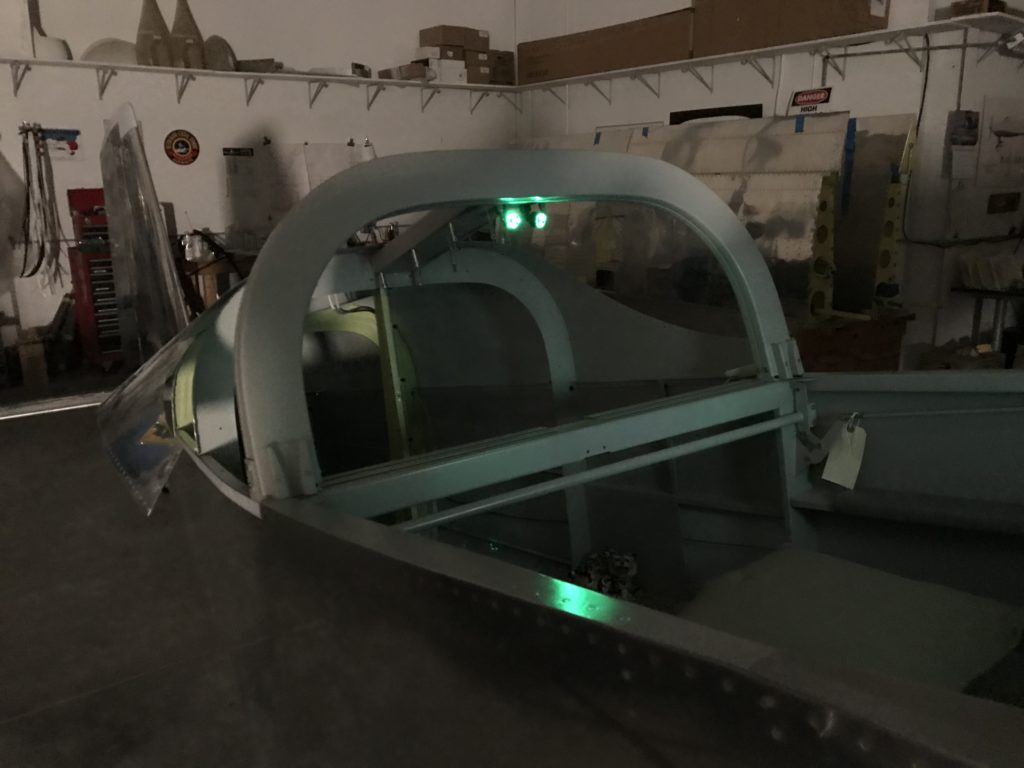
Panel lights

I’ve also had Whelen LED nav/strobe lights sitting around for a few years, waiting for installation. The tail nav/strobe is finally wired through to the cockpit, and here’s some video to show how damn bright they are…low current draw too, and no need for a heavy strobe pack like older nav/strobe lighting systems.

Next on the list was wiring the flap motor, but I need some hardware to fabricate a mounting bracket. So, I jumped ahead to wiring the Advanced Flight Systems Angle-of-Attack (AoA) system. This is the only “legacy” avionics system on the airplane, as Advanced doesn’t sell it anymore. I hope it doesn’t fail.

For those of you who aren’t into aerodynamics, AoA is the angle at which the wing meets oncoming air, thus generating lift. If AoA exceeds a certain value, the wing stalls and lift is drastically reduced – so you can see why knowing AoA might be important for staying in the air. If you’re really into the concept, watch this video.
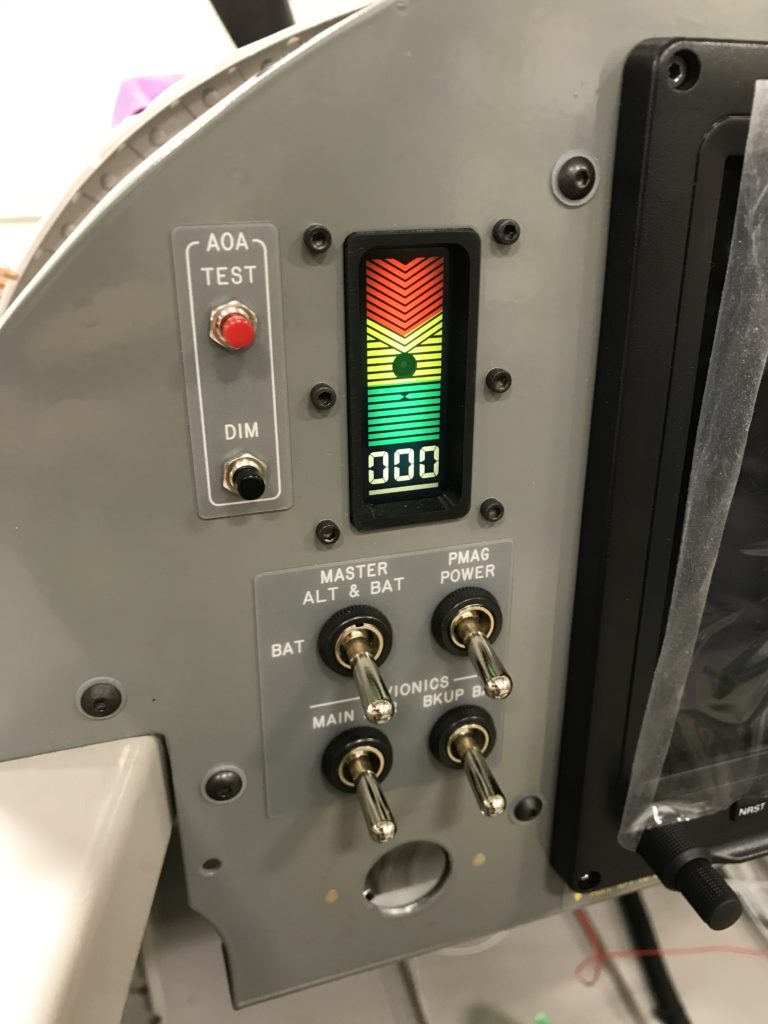
AoA is alive!

Everything lights up, and the self-test lady says the system is working…

Of course with all the gee-whiz stuff lit up, I had to take a picture. Enjoy!
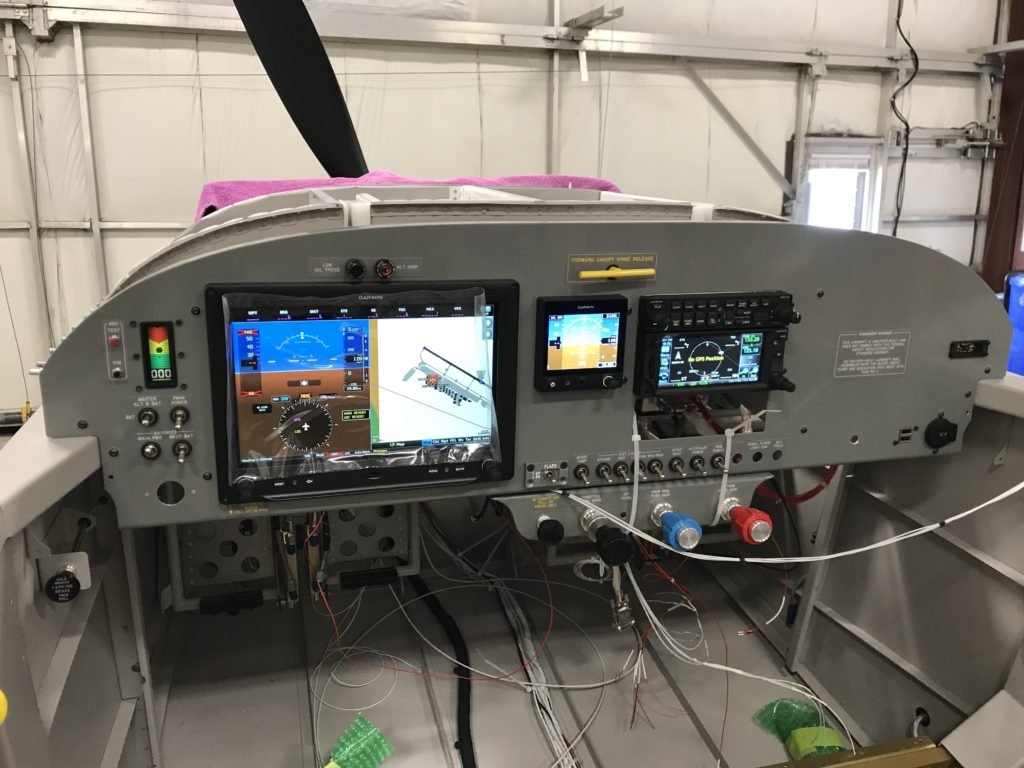
A thing of beauty

Locating audio system interfaces

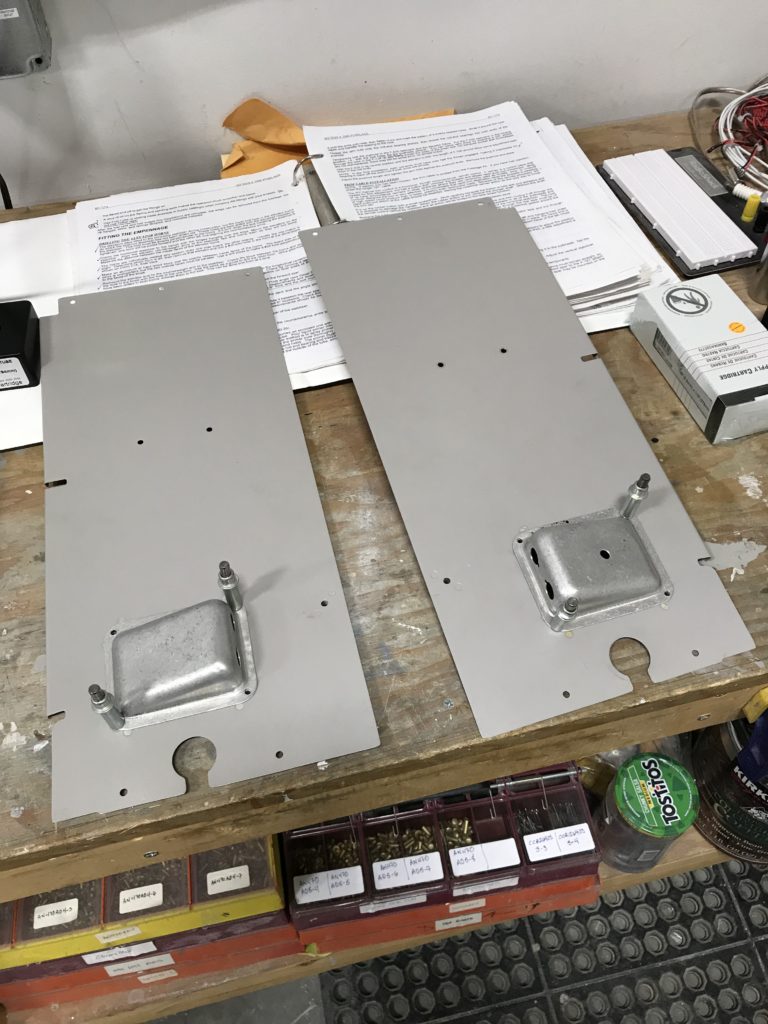
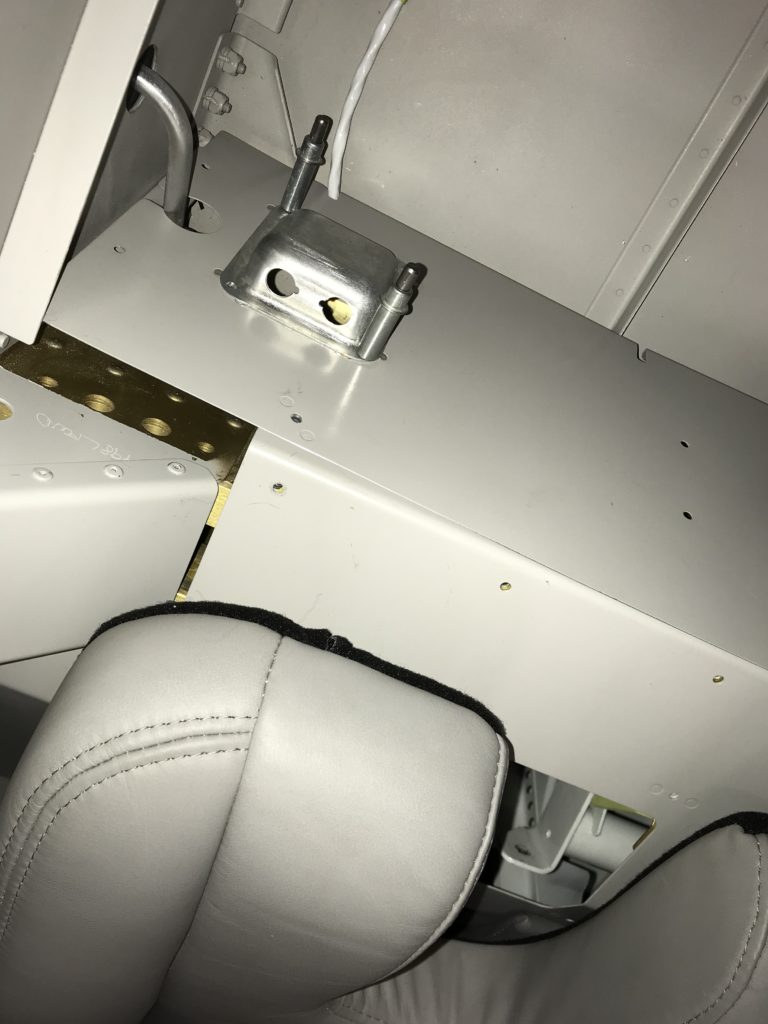
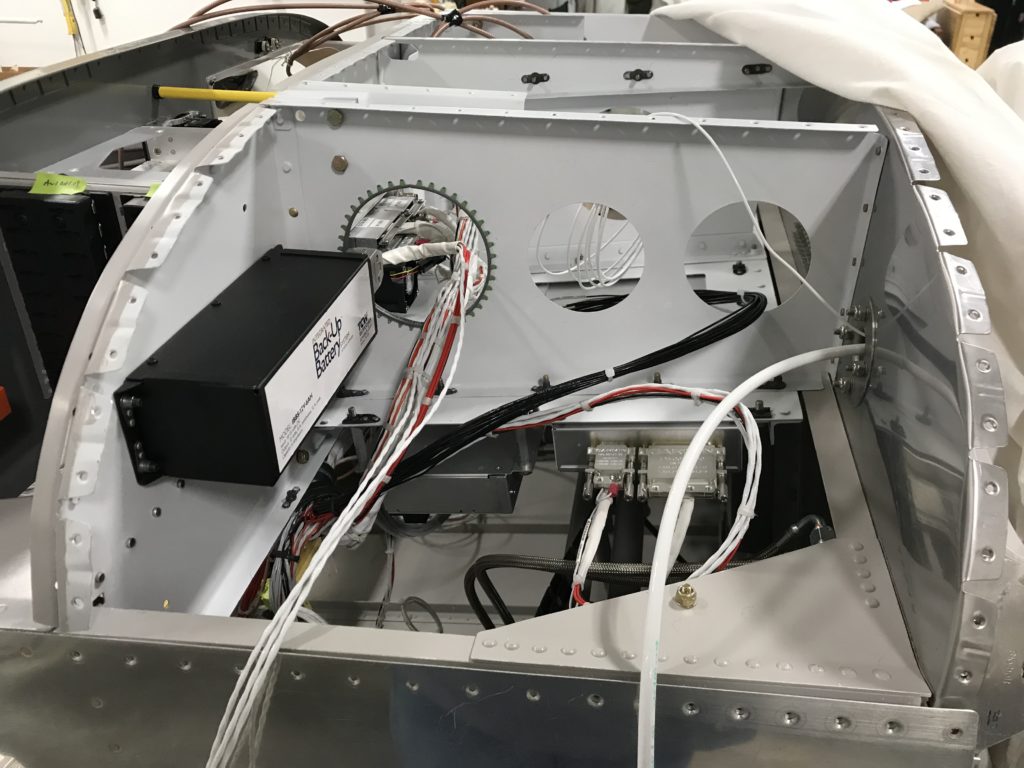
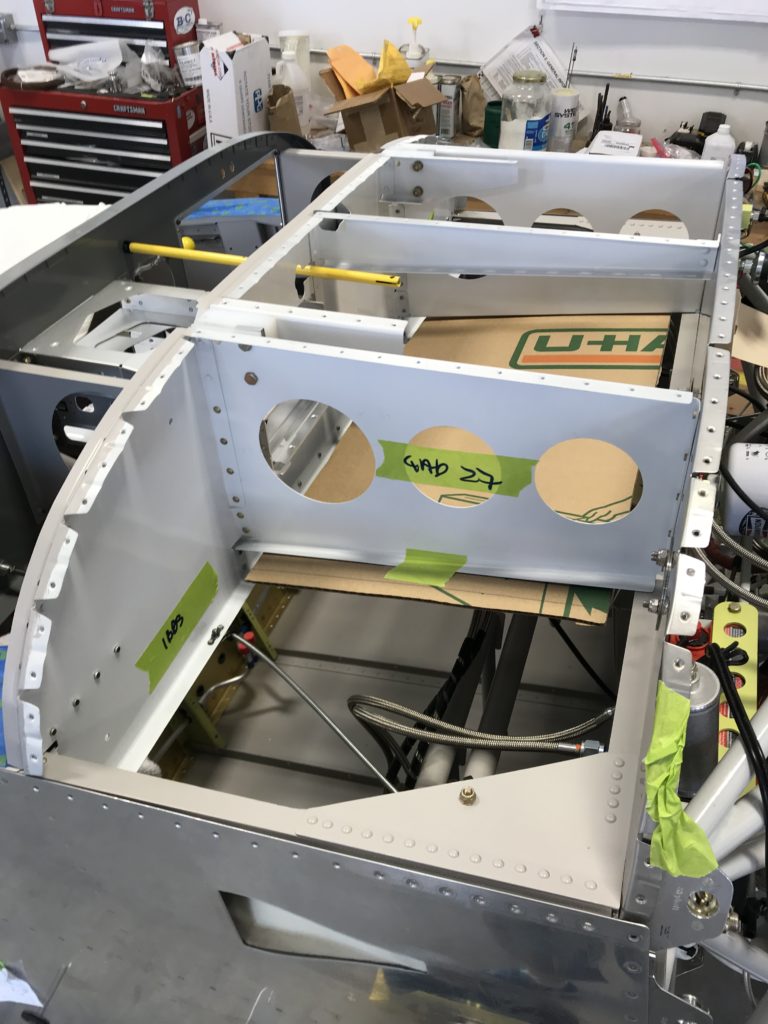
I’ve been checking off some smaller tasks from my to-do list, one of which is figuring out where to mount the Pilot and Co-Pilot headset jacks. I didn’t want them hanging from the panel, so I put them on the cover plates in front of the wing spar bulkhead.

Mounting headset jack holders

These covers are sold by Aircraft Spruce, and they worked really well.

Pilot's headset jack

More wiring in the tail

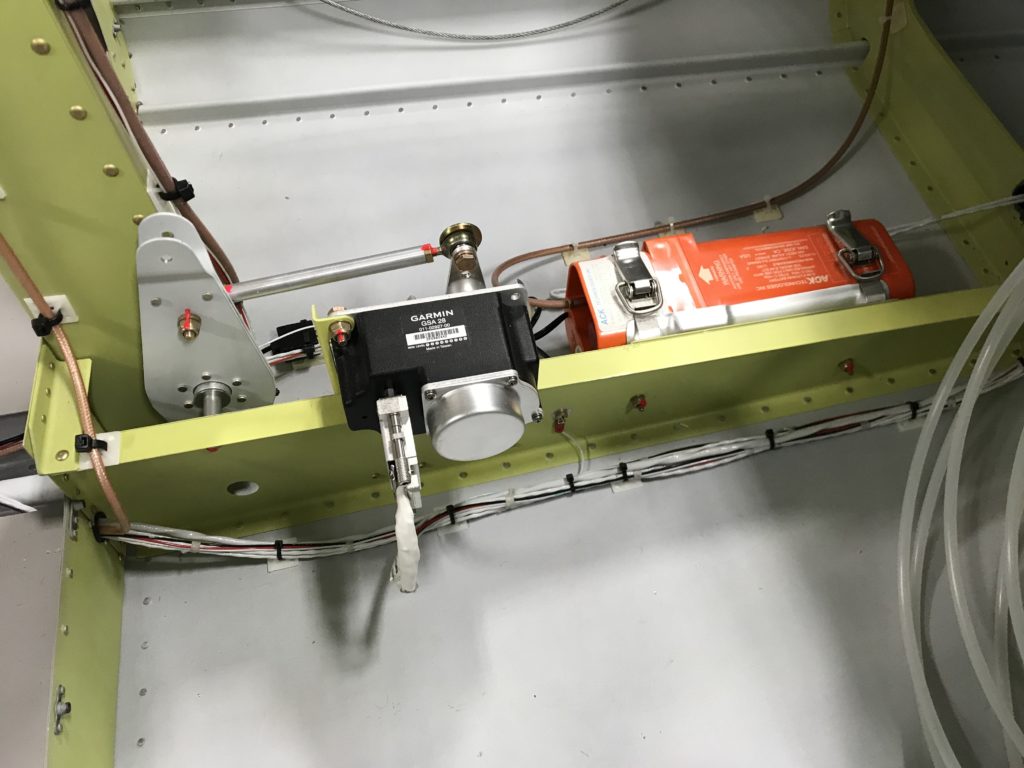
Even more fun with wiring…working my way forward from the tail I routed serial data and power wires to the ELT and assembled the autopilot pitch servo DSub connector.

AP pitch servo and ELT wiring

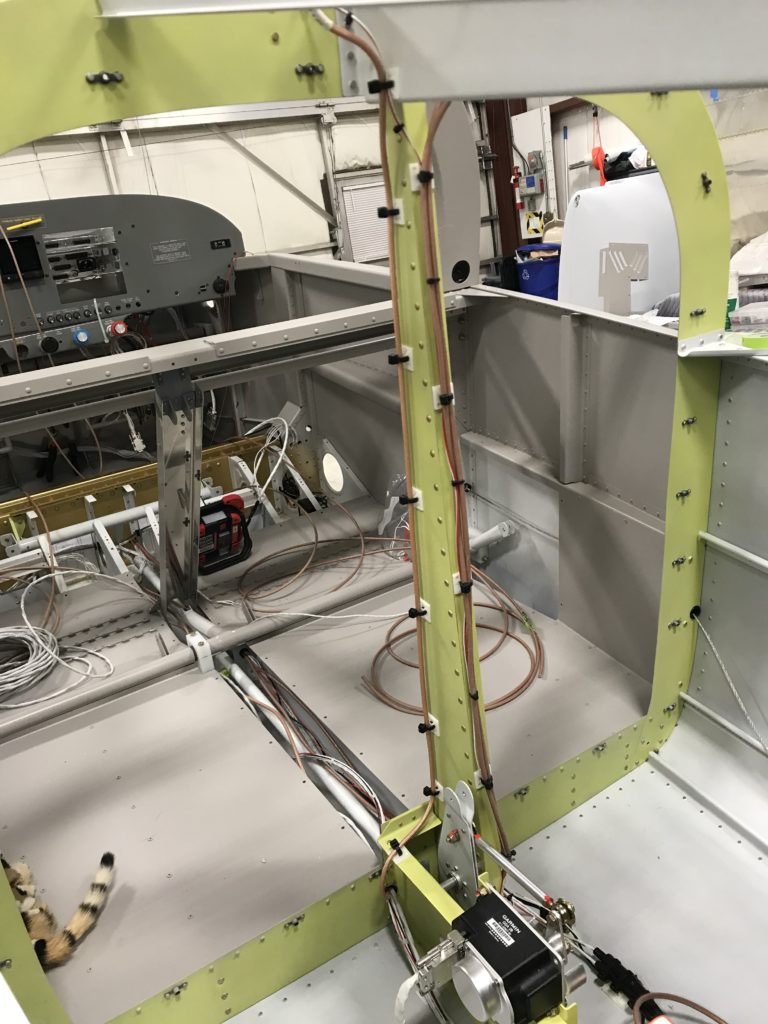
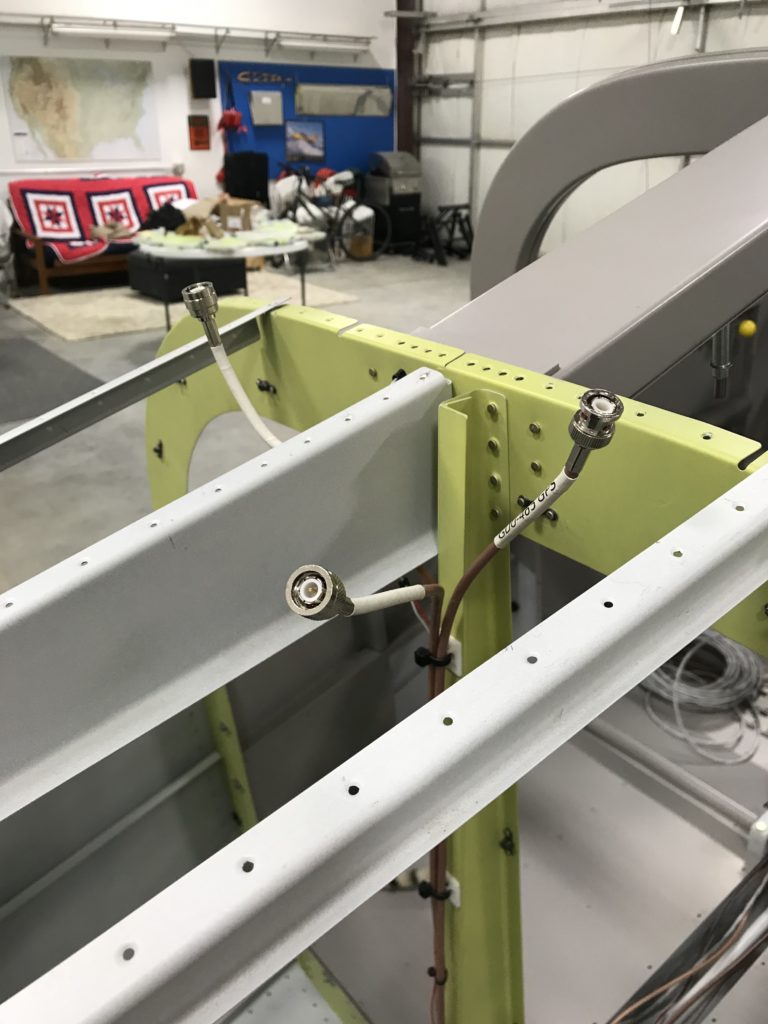
I also ran coax to the GTN-650 GPS and G3x GPS/XM antennae.

GPS/XM and light wiring

Assembling coax connectors is fun, at least for me…

GPS/XM antenna connectors

More to follow as I work my way forward to the cockpit.

The nervous system arrives

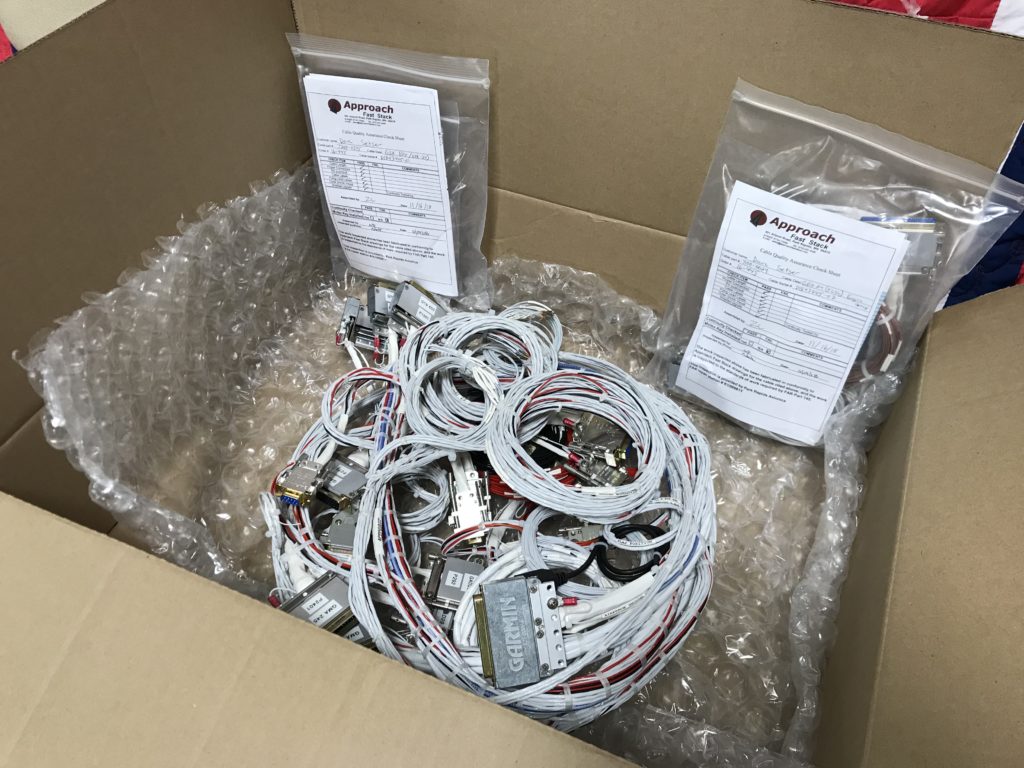
Back from Thanksgiving with family at Bear Ass Cove on Newfound Lake, New Hampshire and guess what UPS delivered? That’s right – the avionics harness!

Unboxing the avionics harness

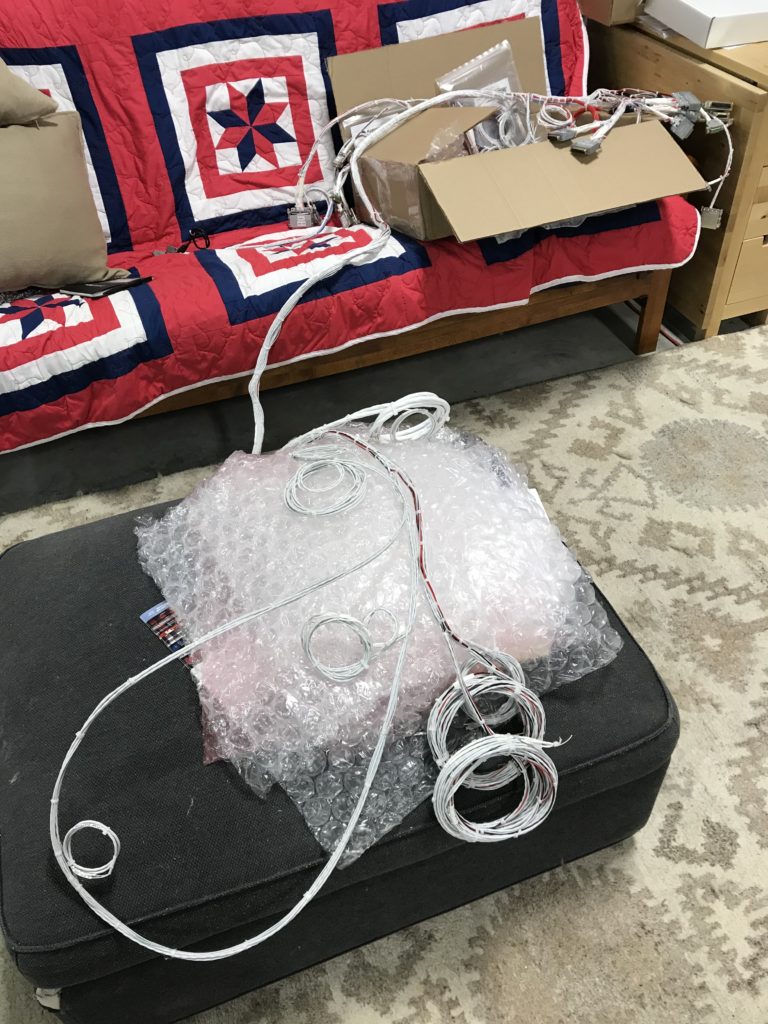
I’m almost ready to install the harness – just a couple of empennage things left to finish – but I couldn’t resist stretching it out. This is, essentially, the Mighty RV’s nervous system and having it fabricated by the neurosurgeons at Approach Fast Stack is saving me a *ton* of build time. Cool!

The whole nervous system

The light at the end of the tunnel…

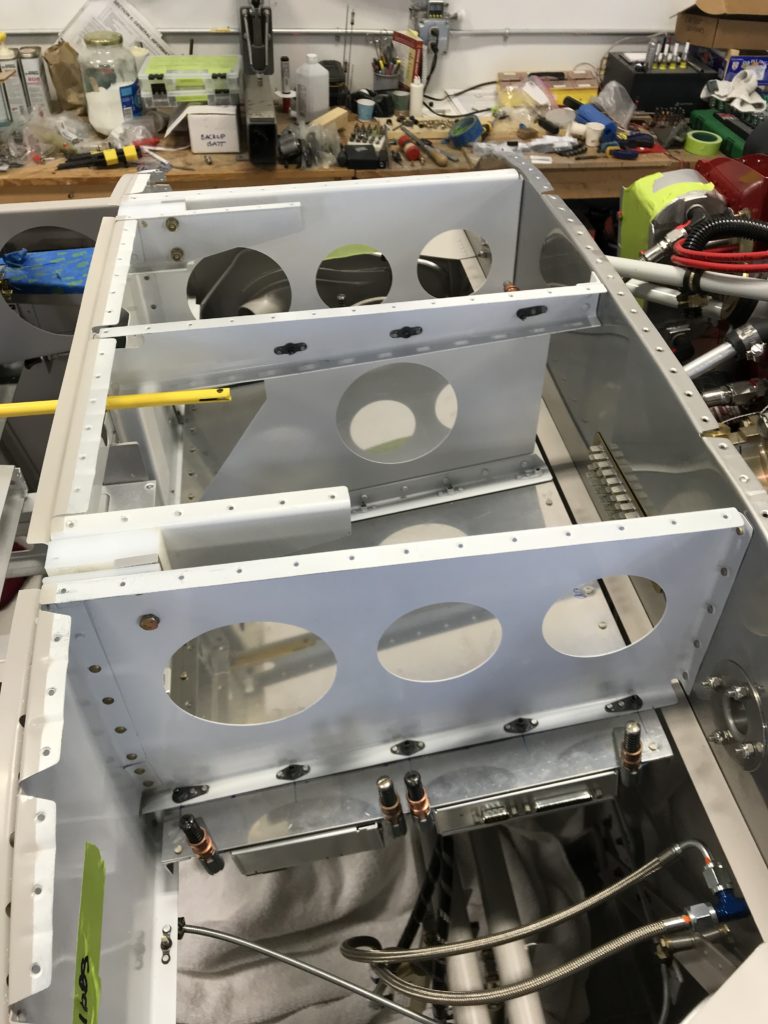
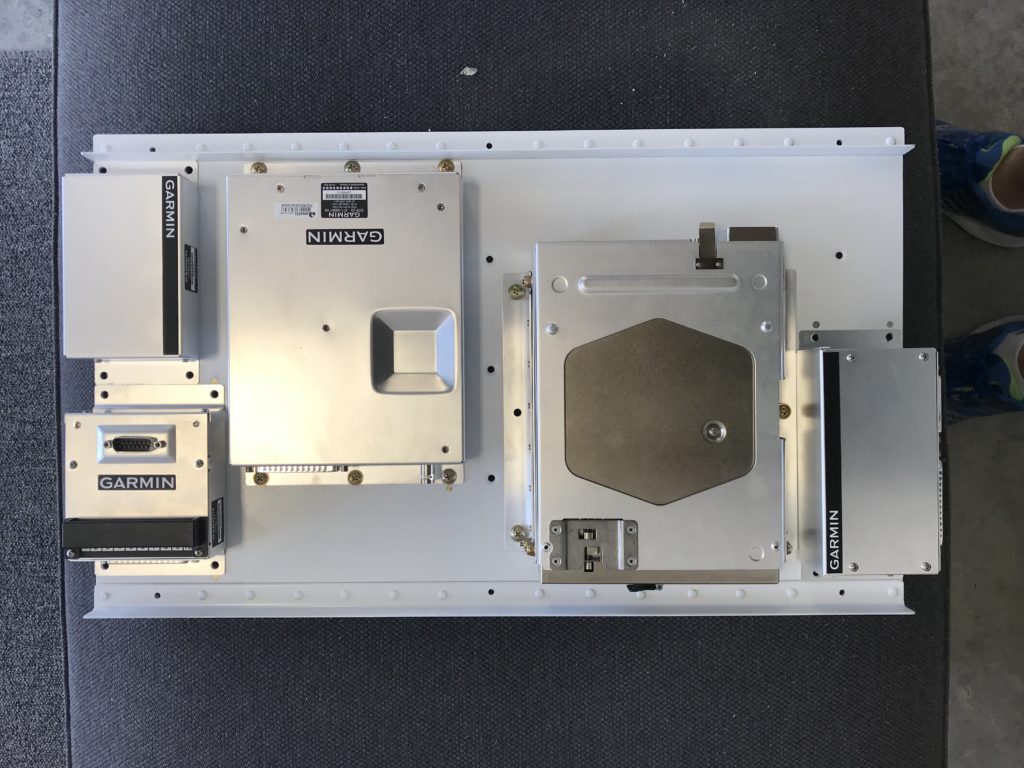
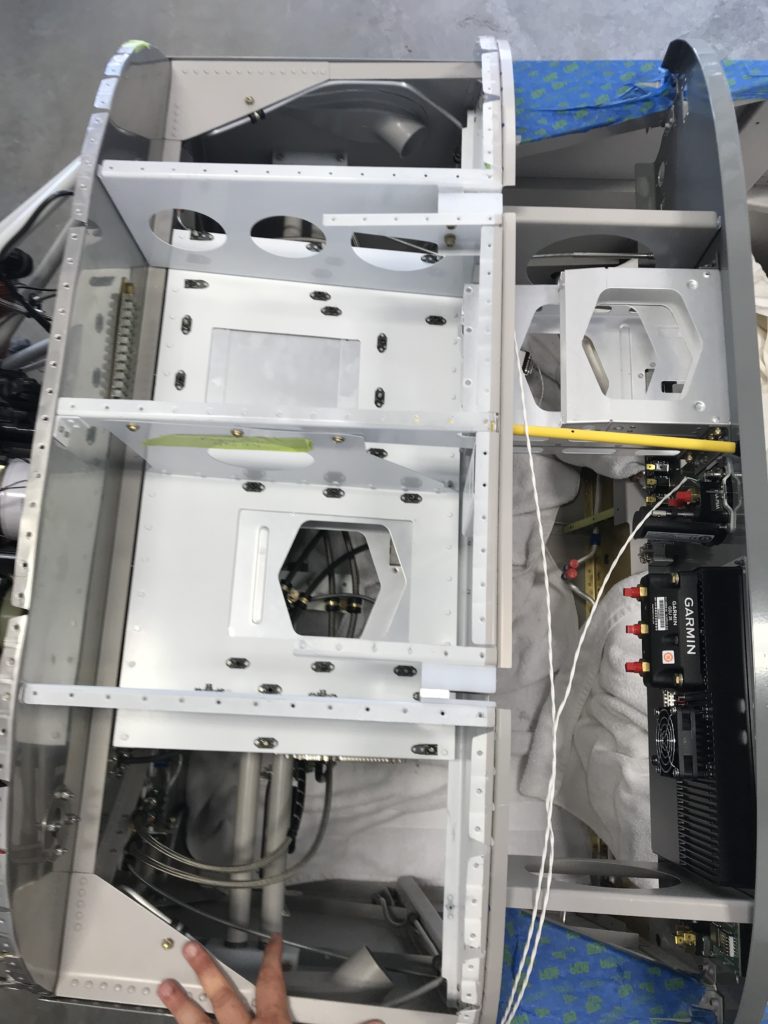
…is getting brighter – it’s time to start installing and wiring avionics. I’ve been plotting and planning how to mount the Garmin G3x Touch system, radios and transponders and I’ve settled on building a tray which will hold all the remote-mounted LRUs, Comm 2 and transponder.

Here’s a cardboard mockup.

Avionics tray mockup…and the tray with avionics temporarily attached.

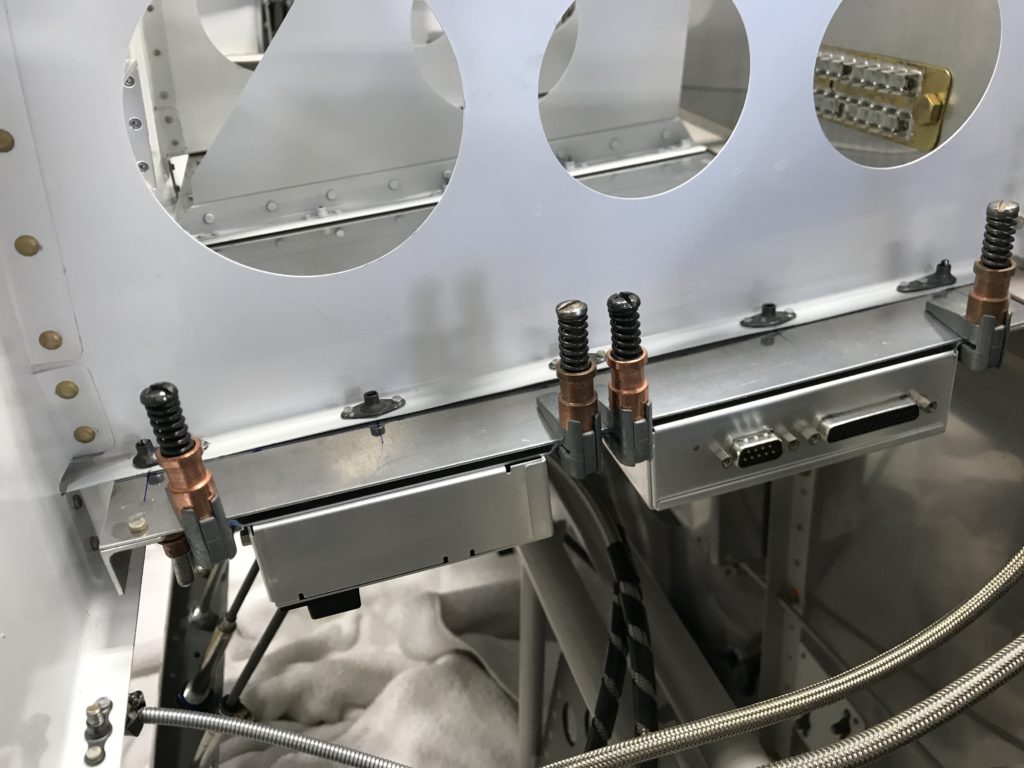
Avionics tray fitting 1The GAD 27 and GAD 29 are on the right side. Most of the airframe power interfaces will be through the right firewall passthrough so having these boxes on the right should make wiring a little more straightforward.

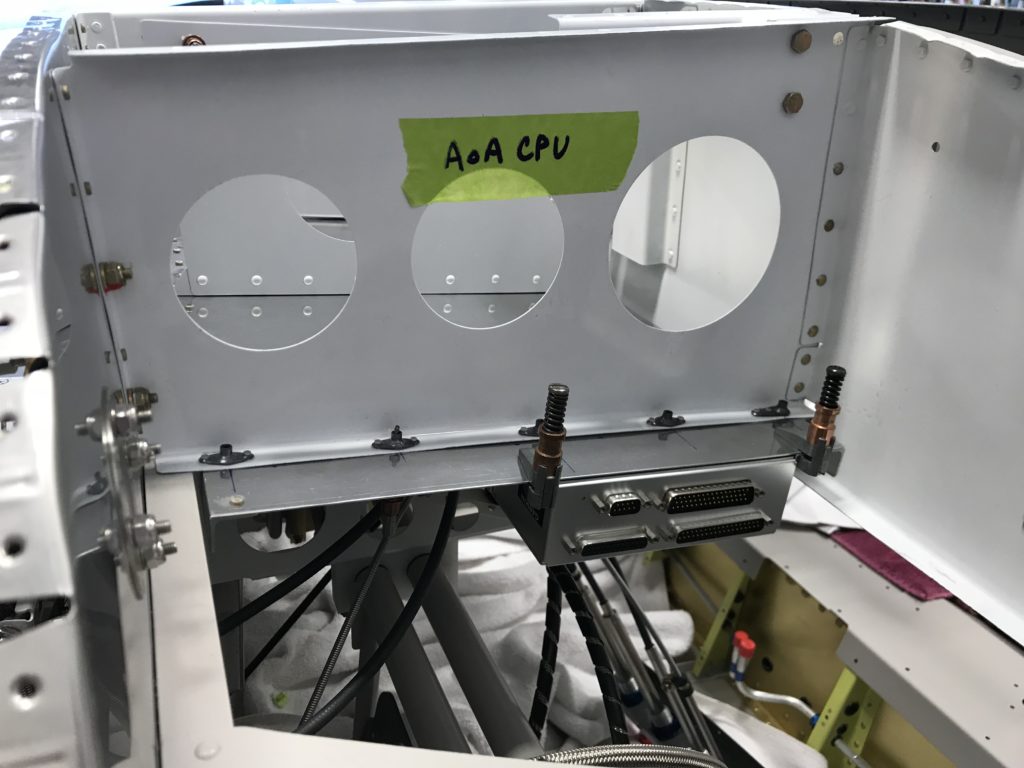
GAD 27 and GAD 29The GEA 24 engine interface is on the left side as most of the engine sensor wires will come through the left firewall passthrough. Guess where the AoA CPU is going?

GEA 24More pics? Sure, I’m glad you asked.

The avionics tray from overhead

The tool that got away

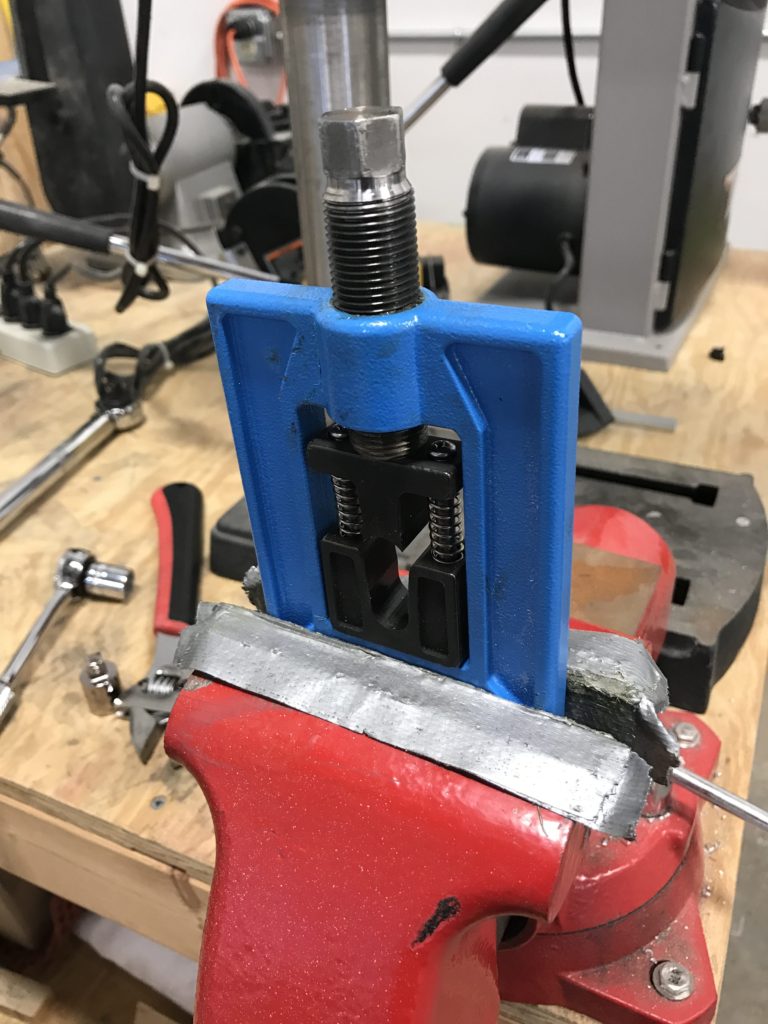
Sometimes you see a really cool tool that you think about buying, but you don’t need it at the time – and when you do need it, it’s no longer available. Such is the case with the Terminal Tool.

The Terminal Tool

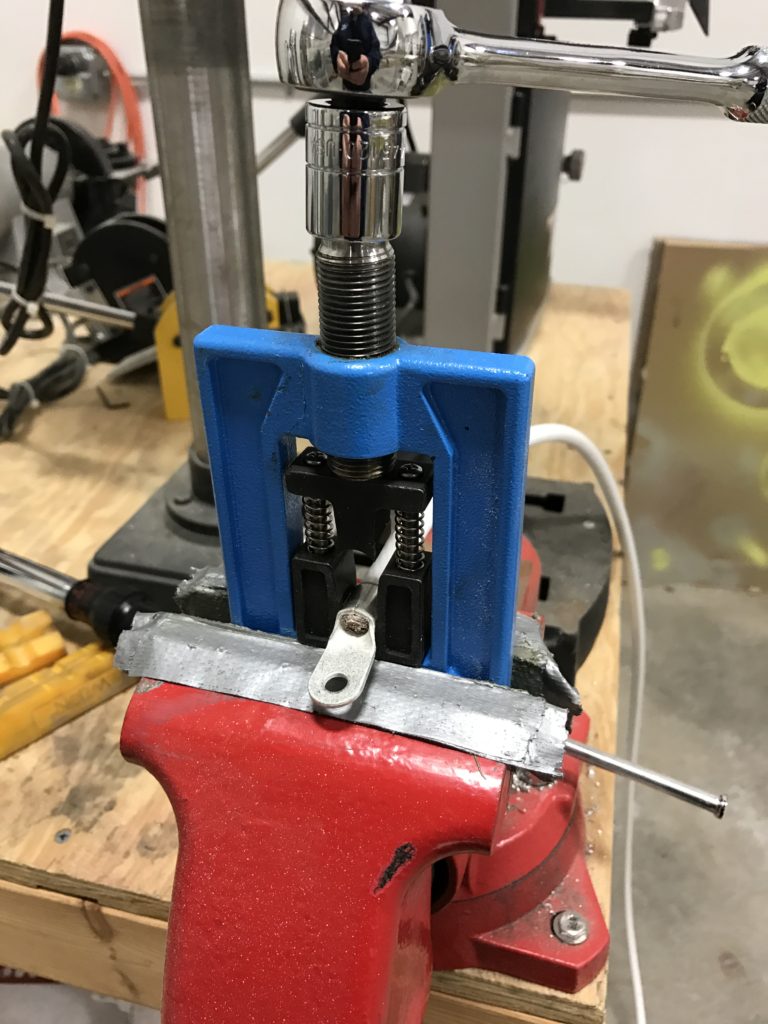
I had originally bought a hydraulic crimping tool from Harbor Freight, but the dies that came with it weren’t compatible with quality Amp terminals.

HF crimper result

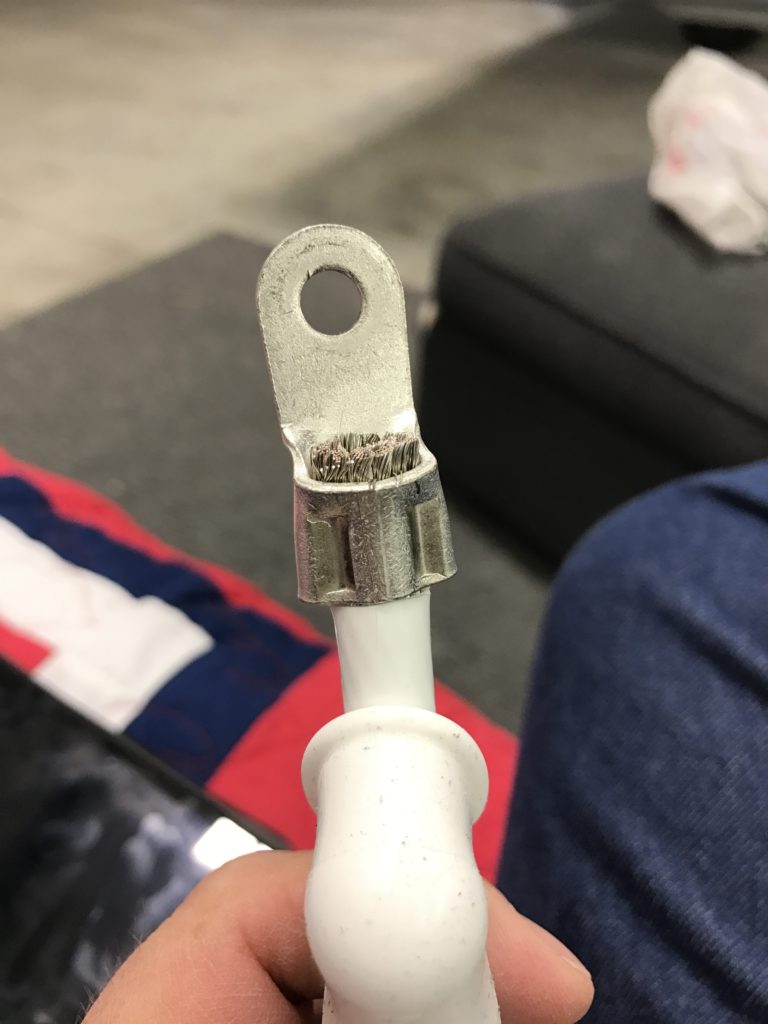
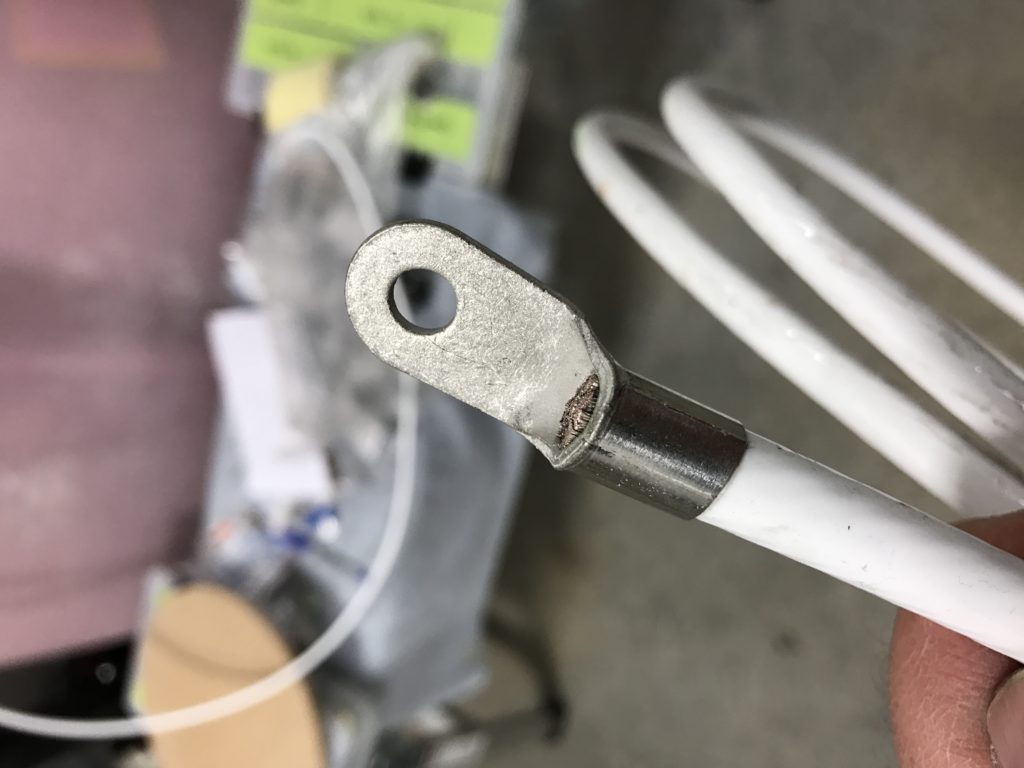
Fortunately, a friend and fellow RV builder at KASH had a Terminal Tool. It’s easy to use, and makes first-rate crimps on large cables.

Terminal Tool

Terminal Tool crimp