Calling for a taxi

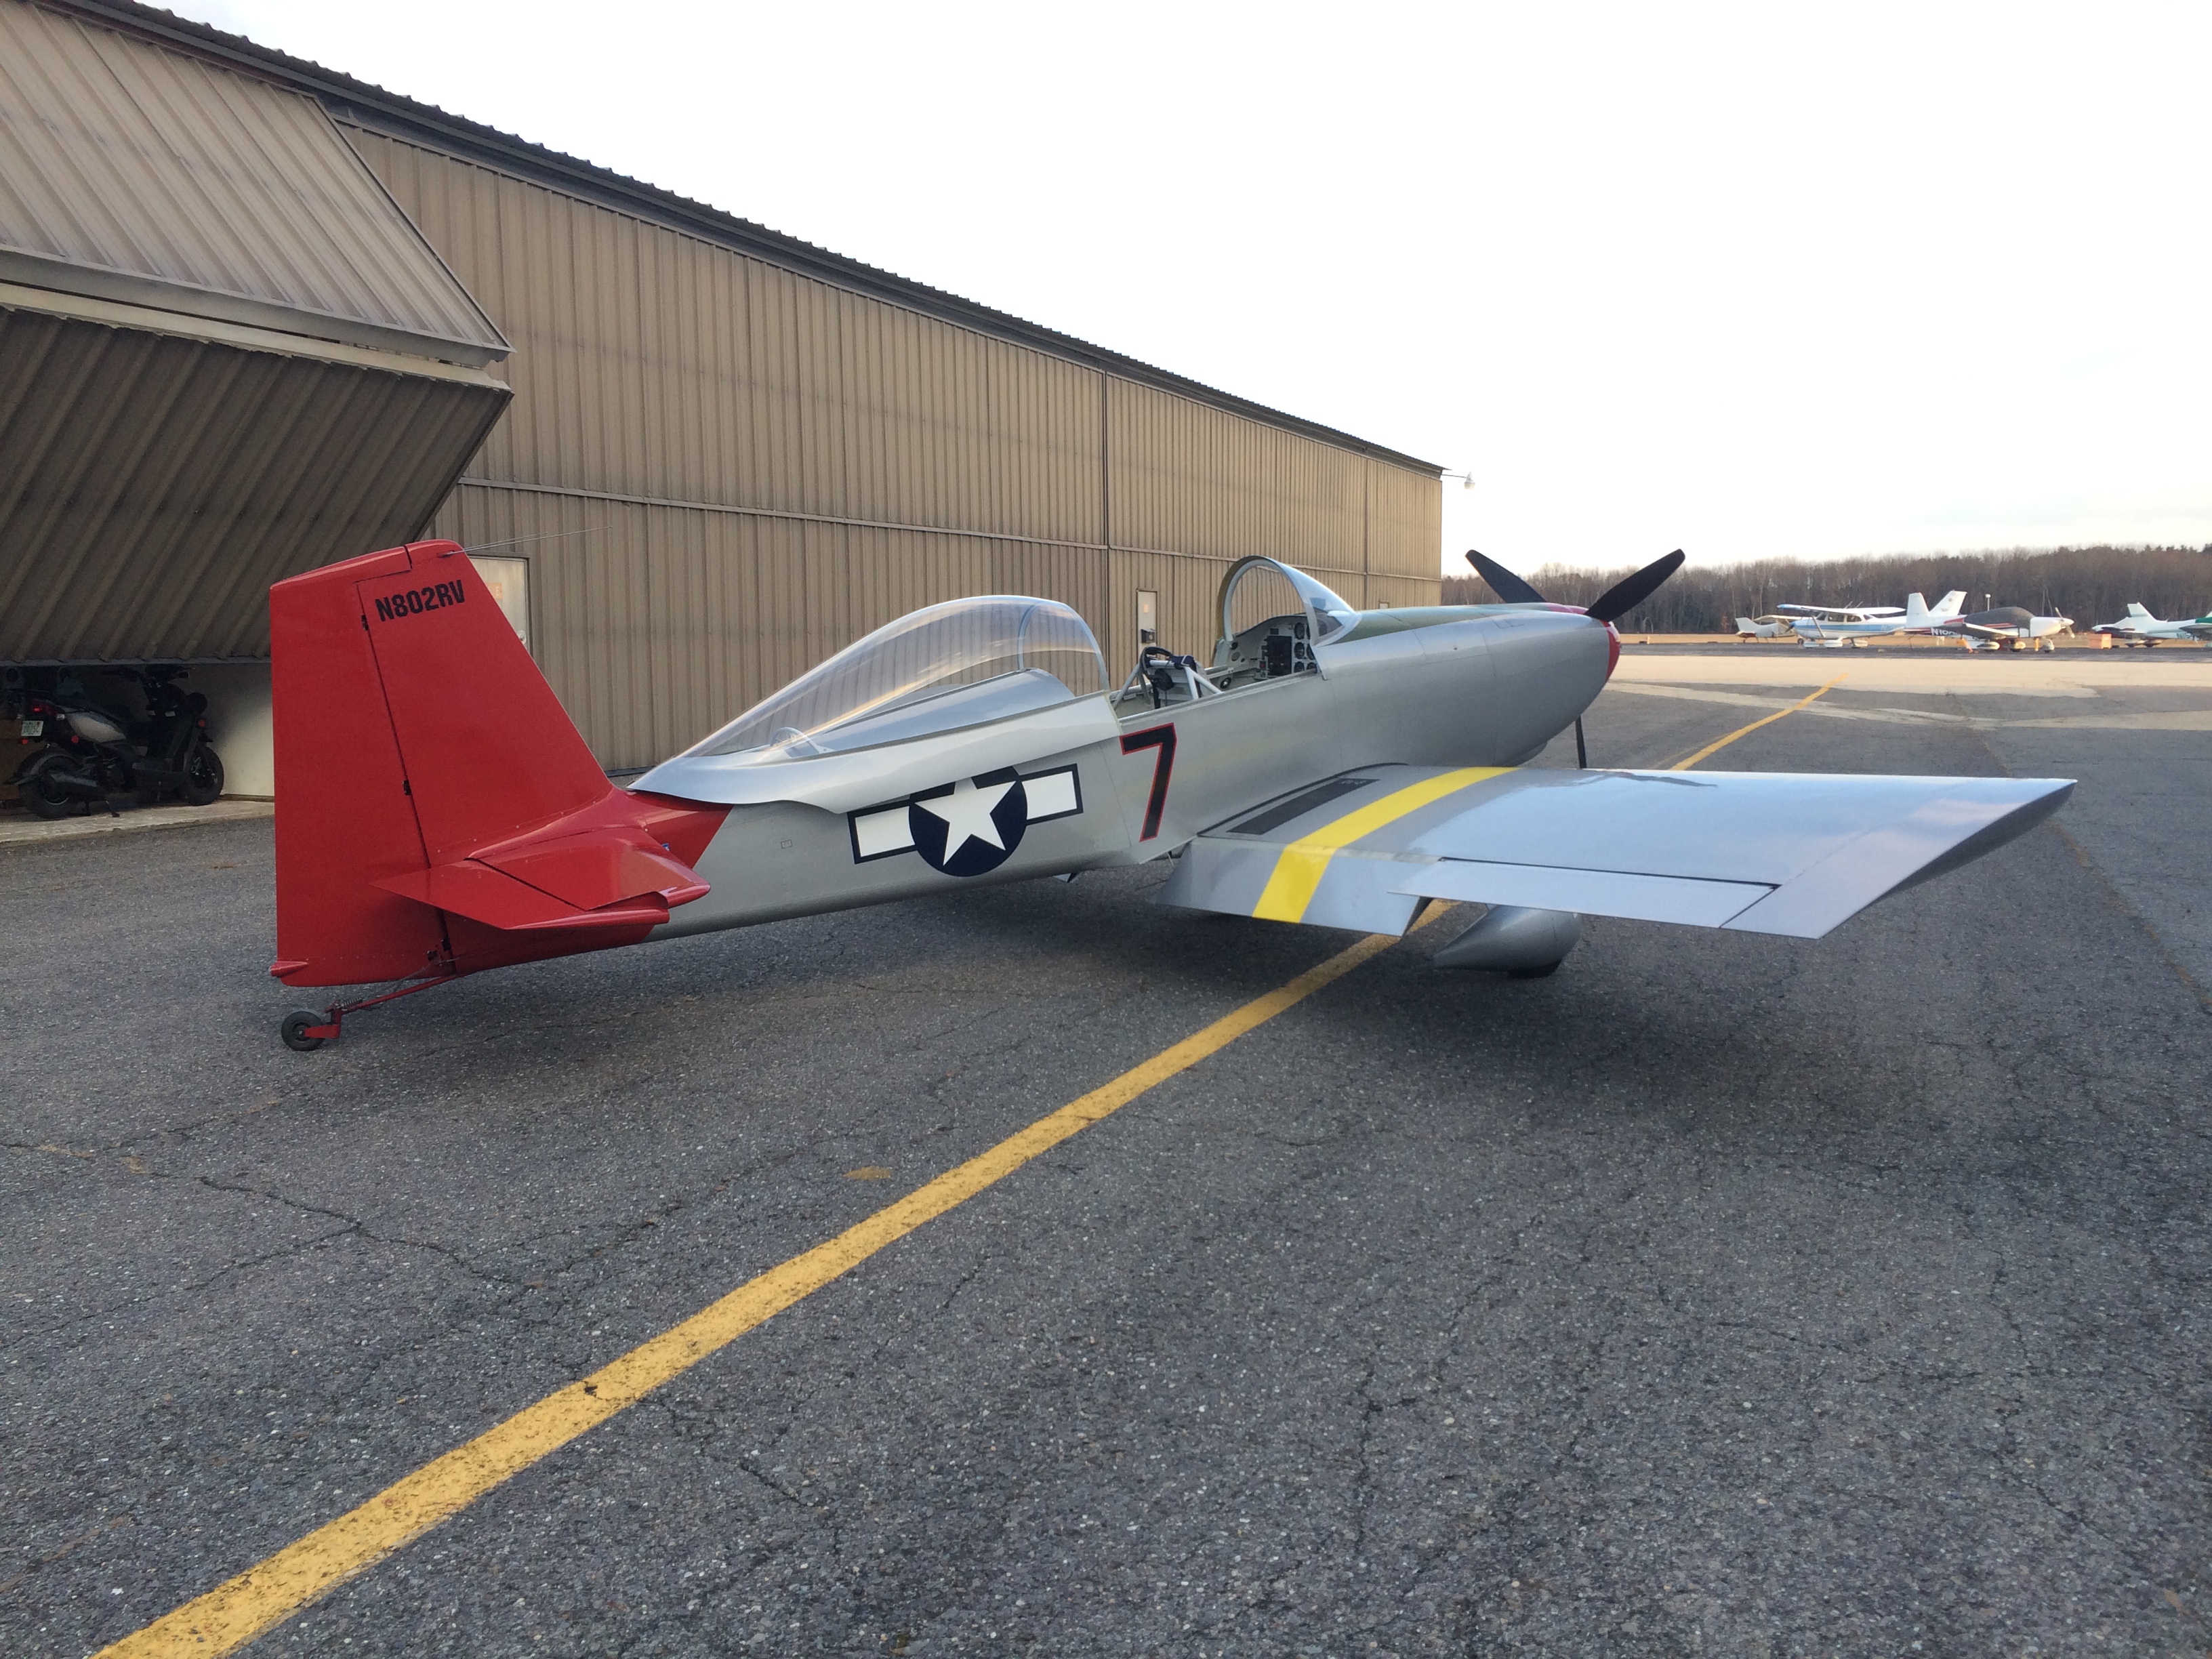
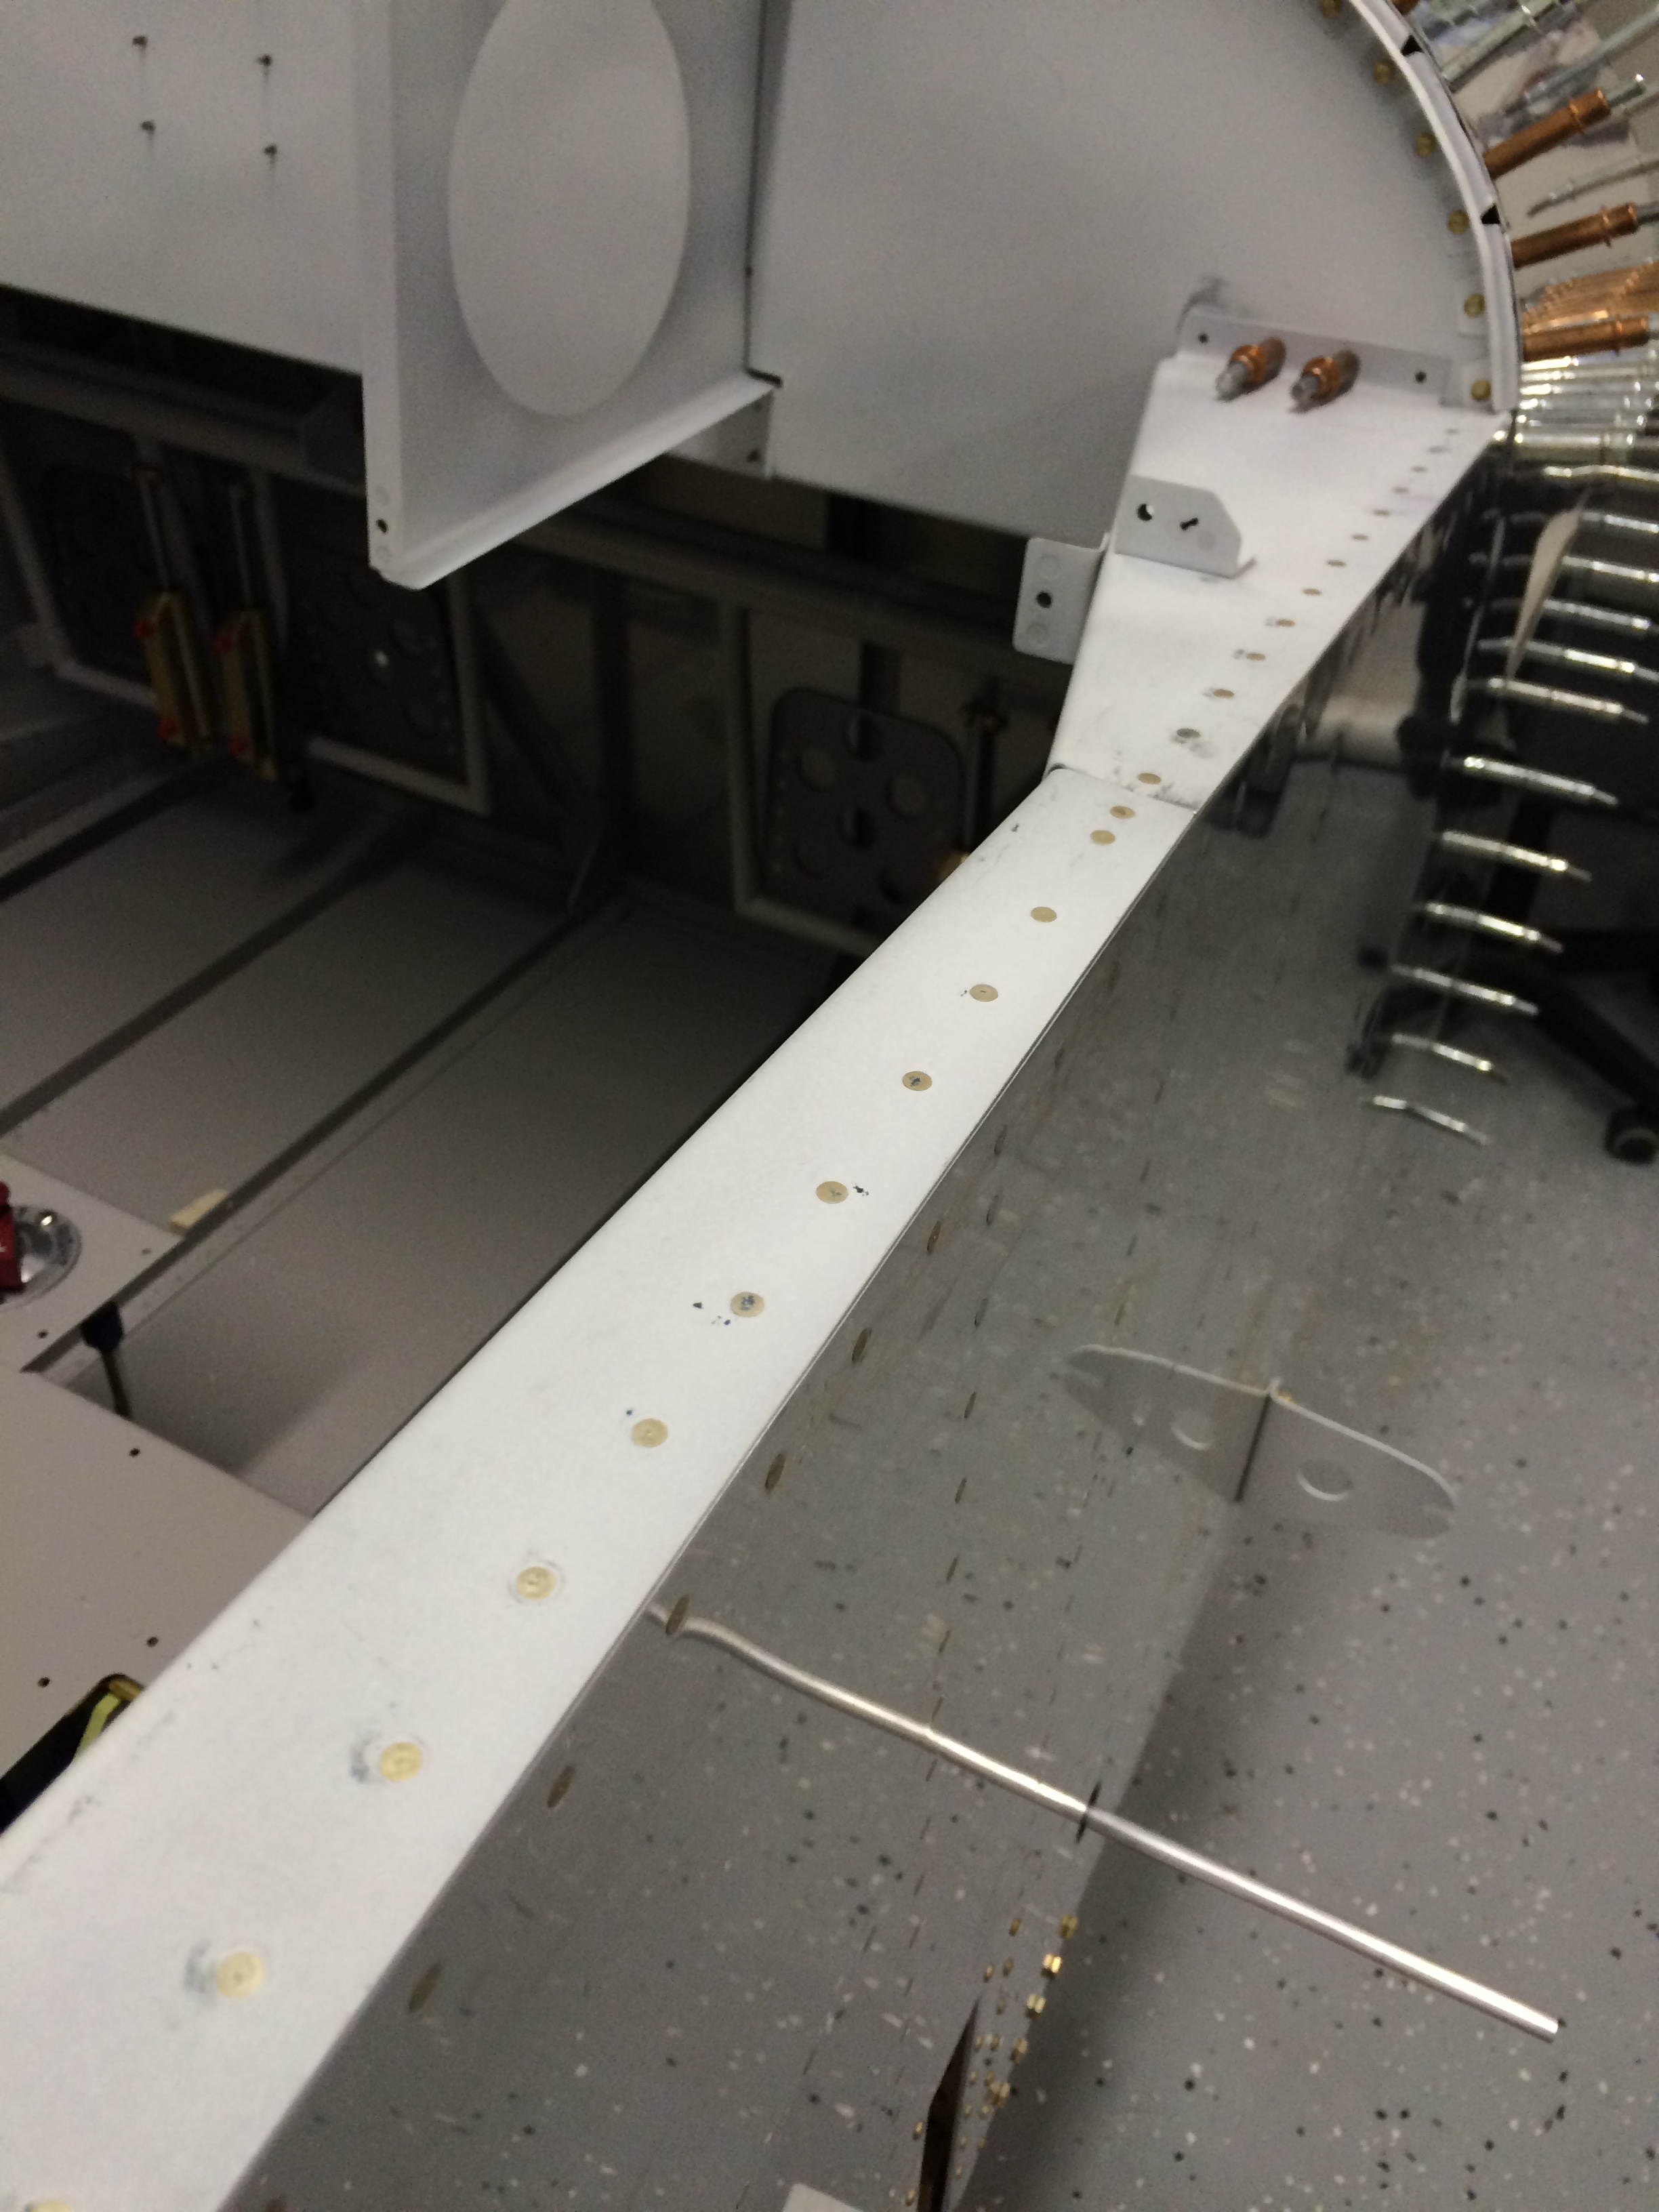
I’m following the EAA Flight Test Manual and Test Cards and the last test required before first flight is taxi and brake burn-in. Landing gear and tailwheel setup on the RV-7 are straightforward so I didn’t anticipate any steering problems on the ground, but like any aircraft test it’s the things you don’t expect that can really bite you. And since brake burn-in requires 25-30 knots groundspeed, I planned to verify steering in a large, open ramp area before heading out to the runway for higher-speed stuff.

Taxiing under power~
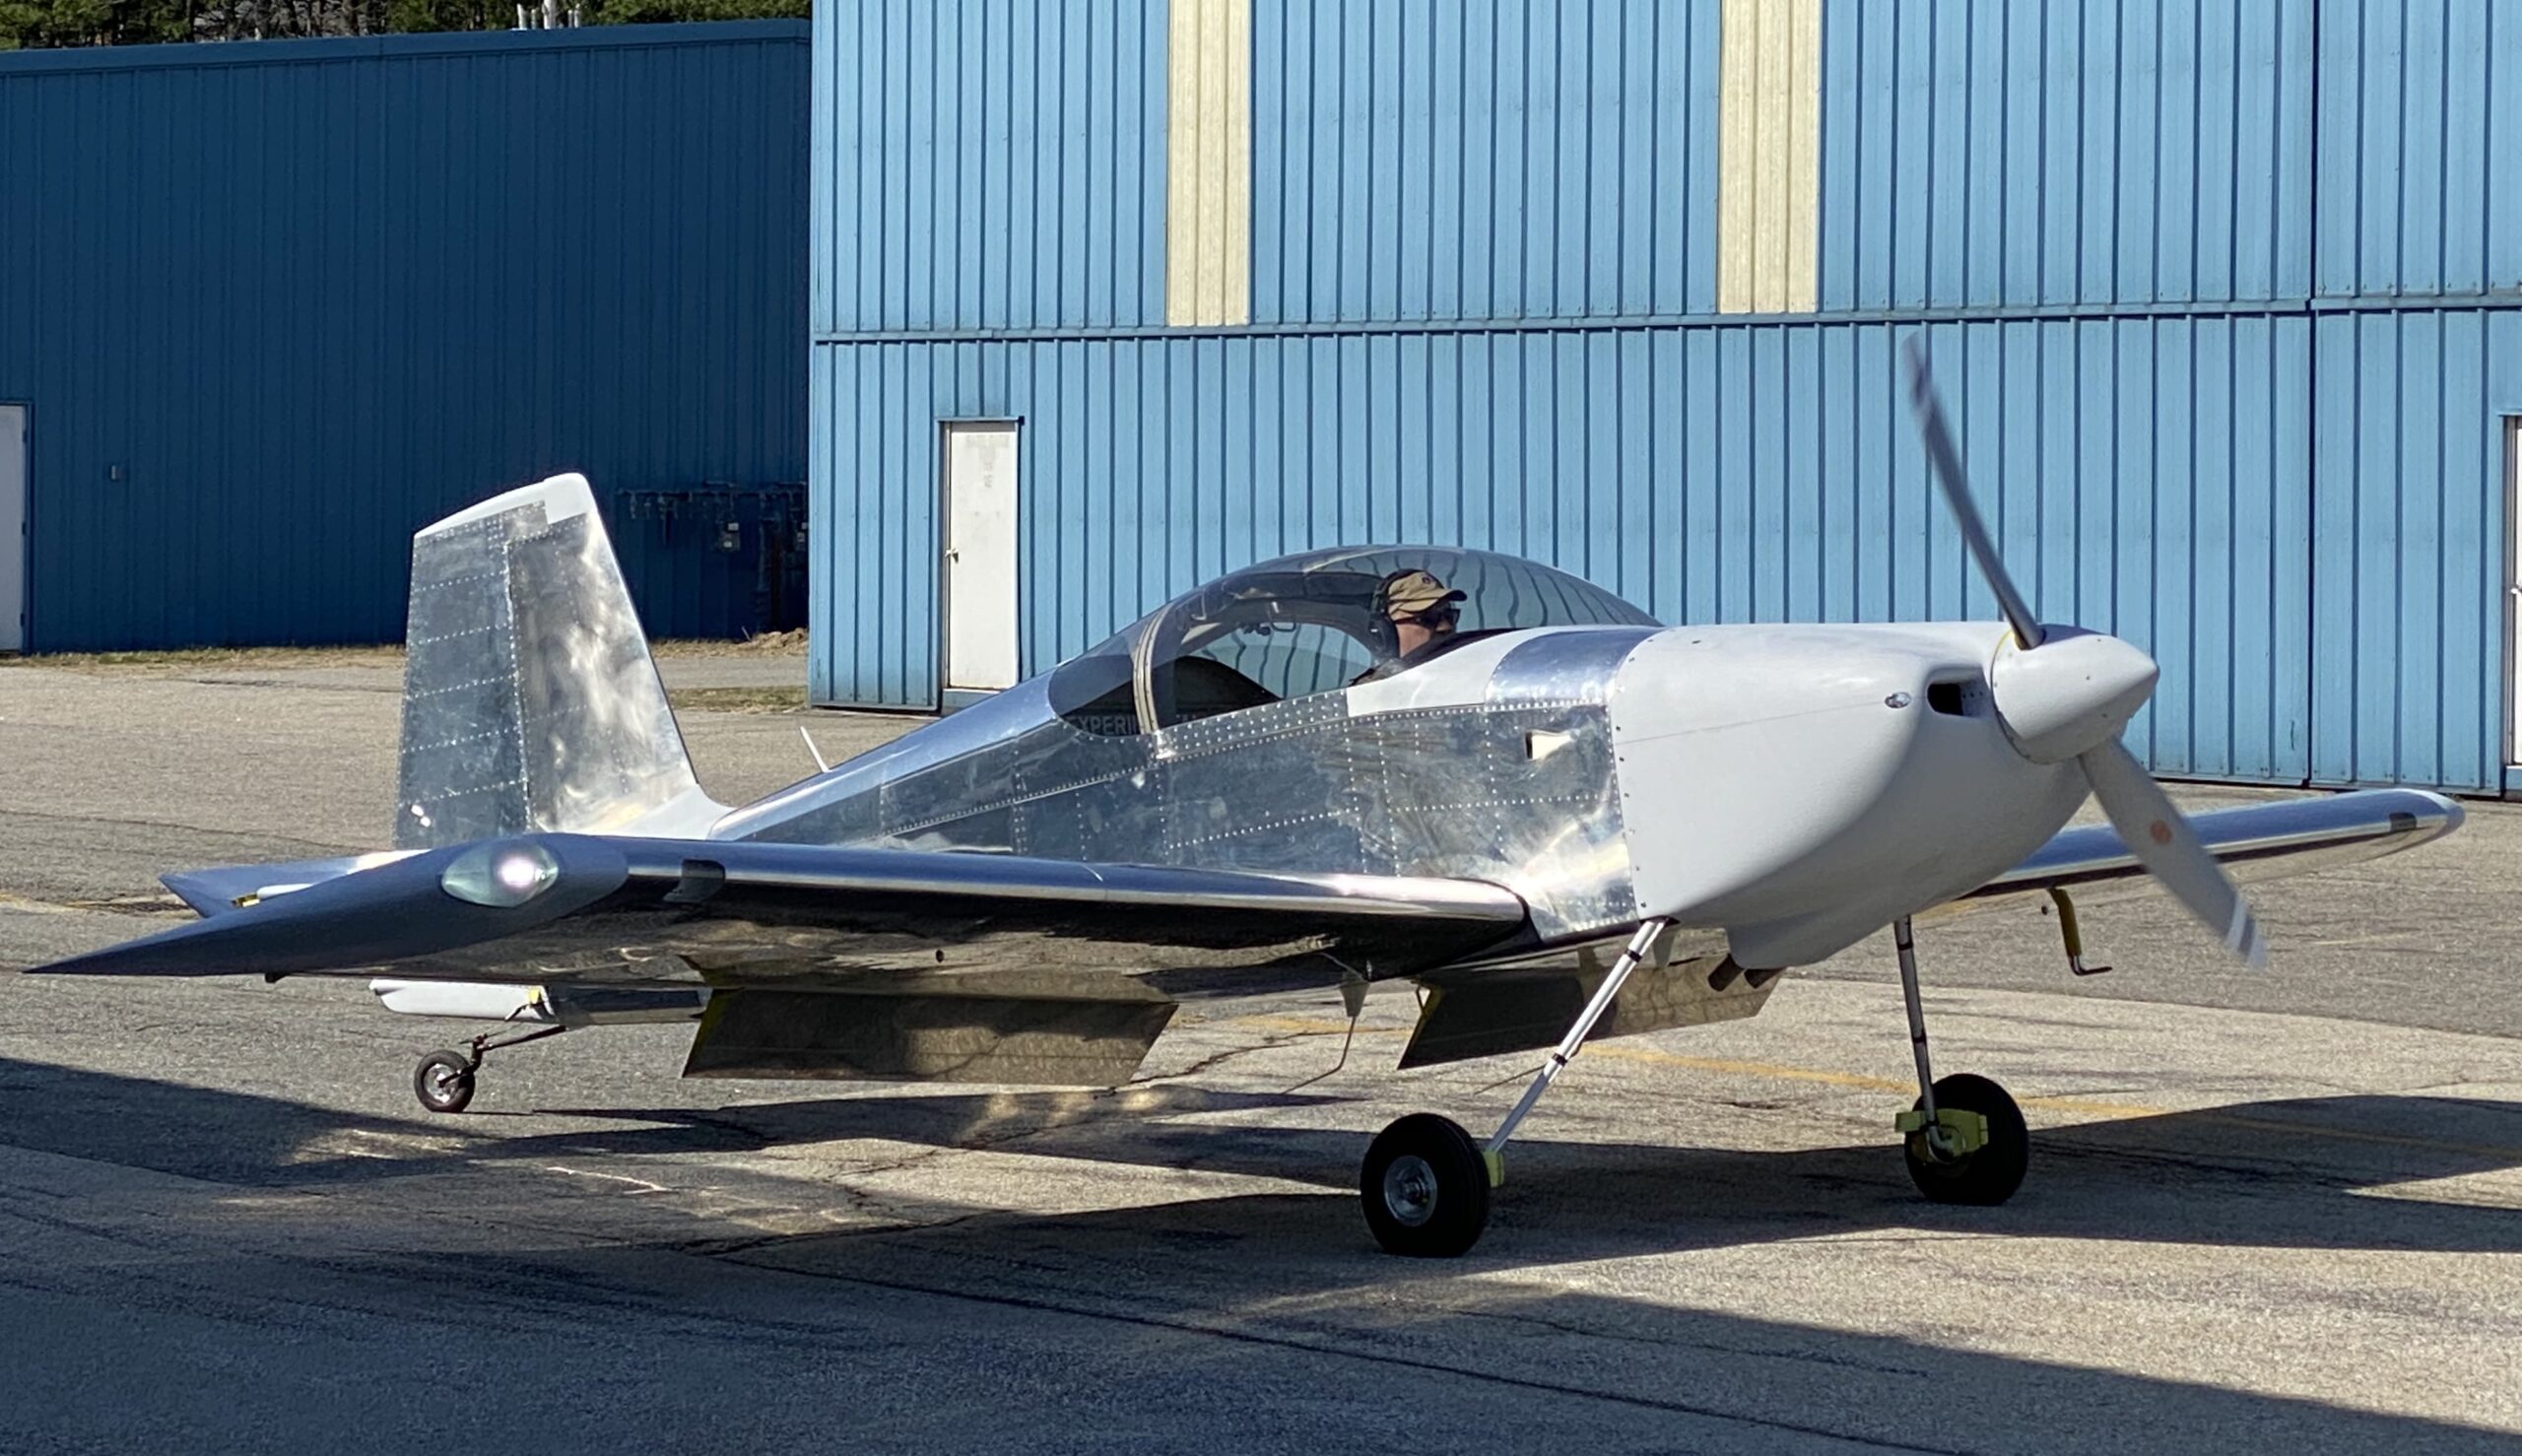
Fortunately, the RV-7 is very well-mannered on the ground and I had no problems with brakes or steering as I taxied to the ramp. A quick check on Comm 1 and 2 was also successful, and engine EGTs/CHTs were stable and within expected ranges.

Here’s a nice video courtesy of Ellen…

The only problem I encountered was minor landing gear shimmy – if you look closely in the video below, you’ll see the main gear tires oscillating just a bit. This is common to RVs and most builders correct it by adjusting tire pressure, adding wood stiffeners to the gear legs, or both.

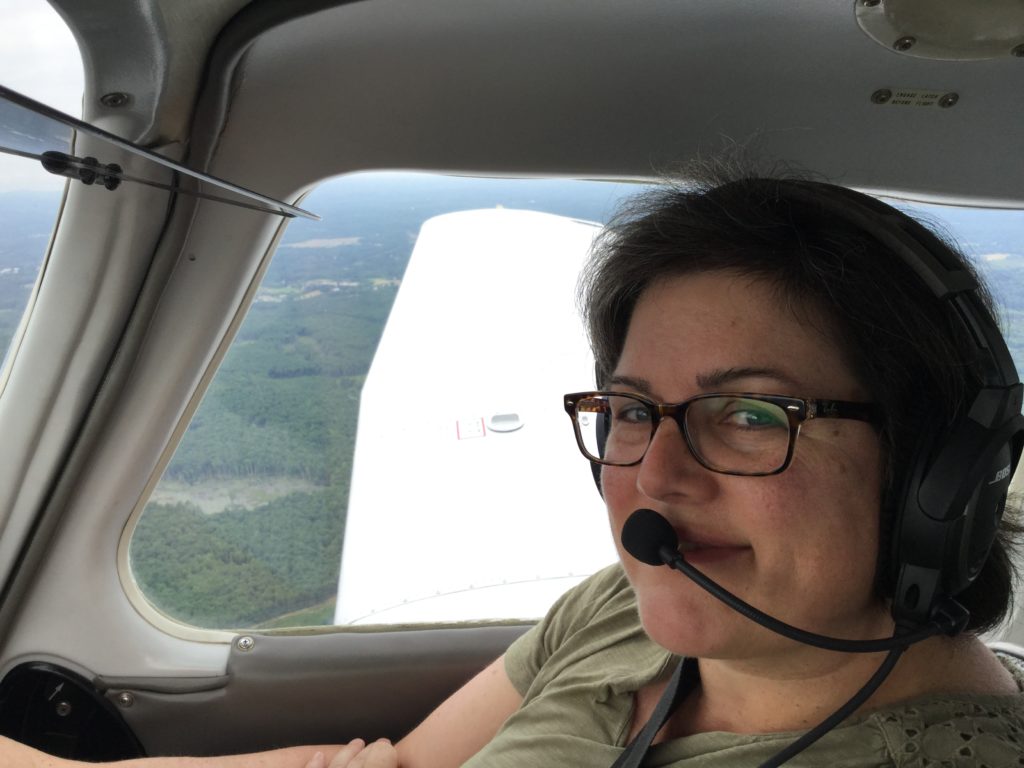
Big props to Ellen…she was my ground crew and called on the radio to ask if I felt vibration, which I did, but wasn’t sure what it was.

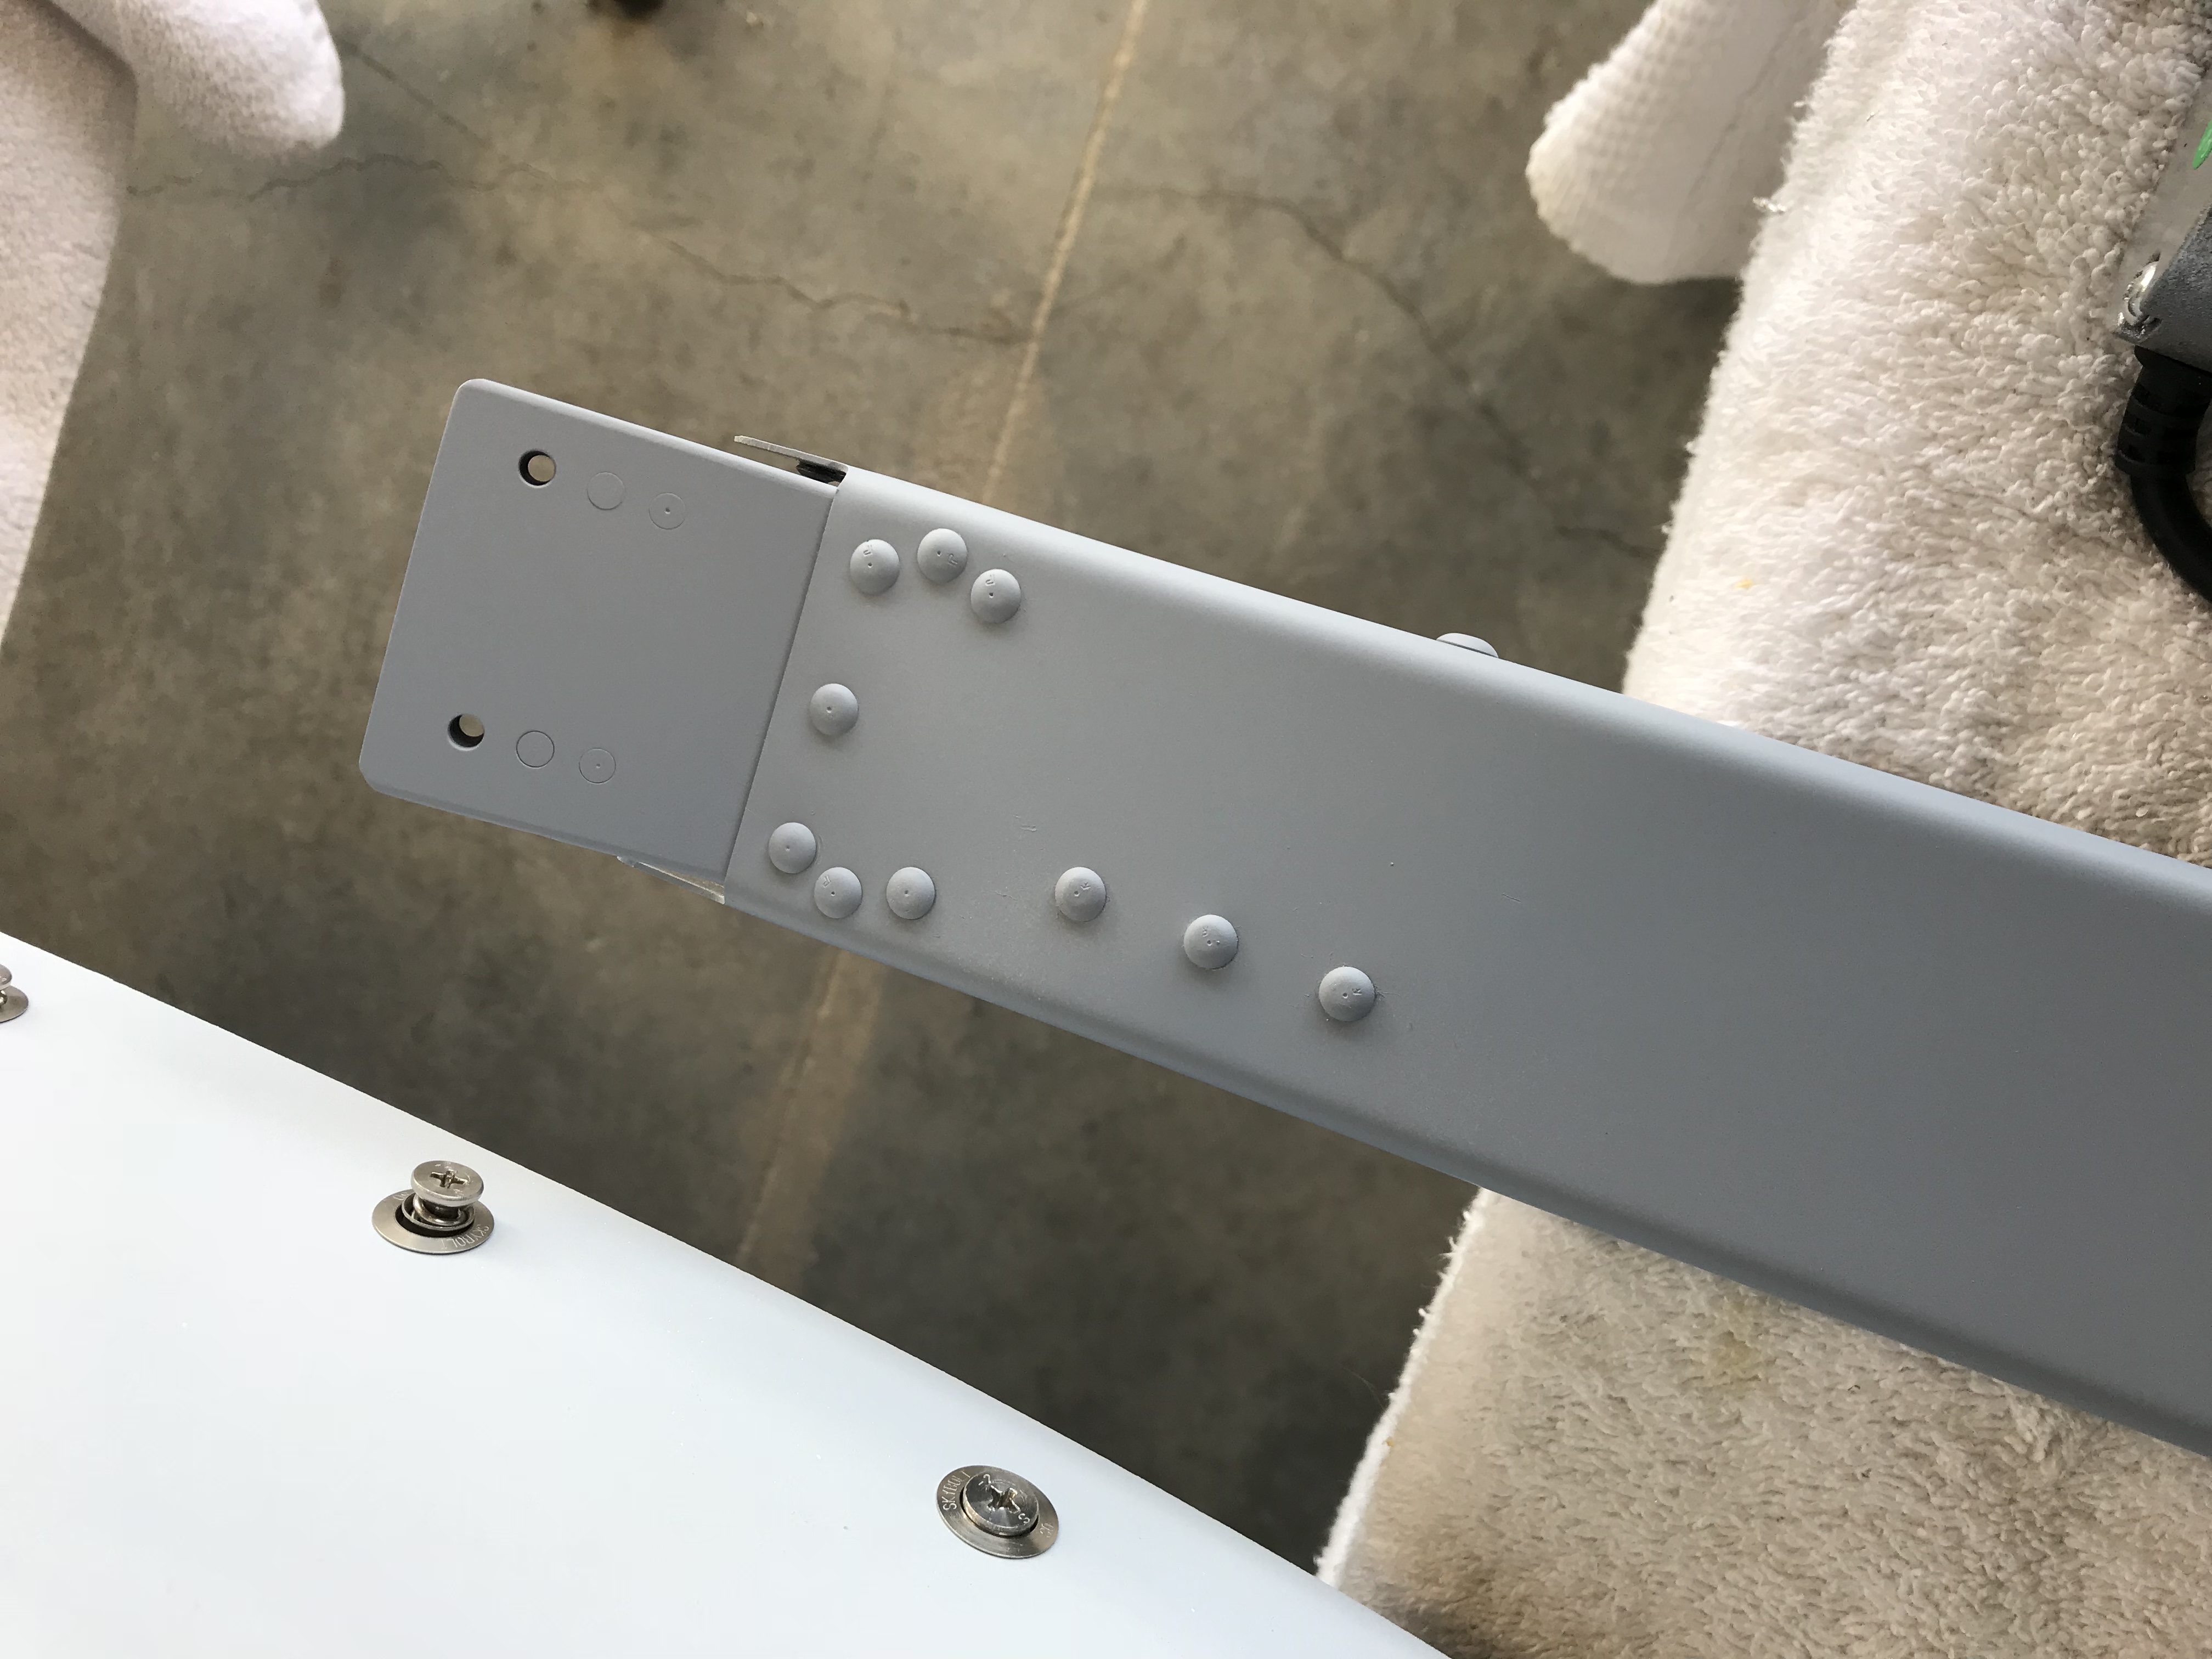
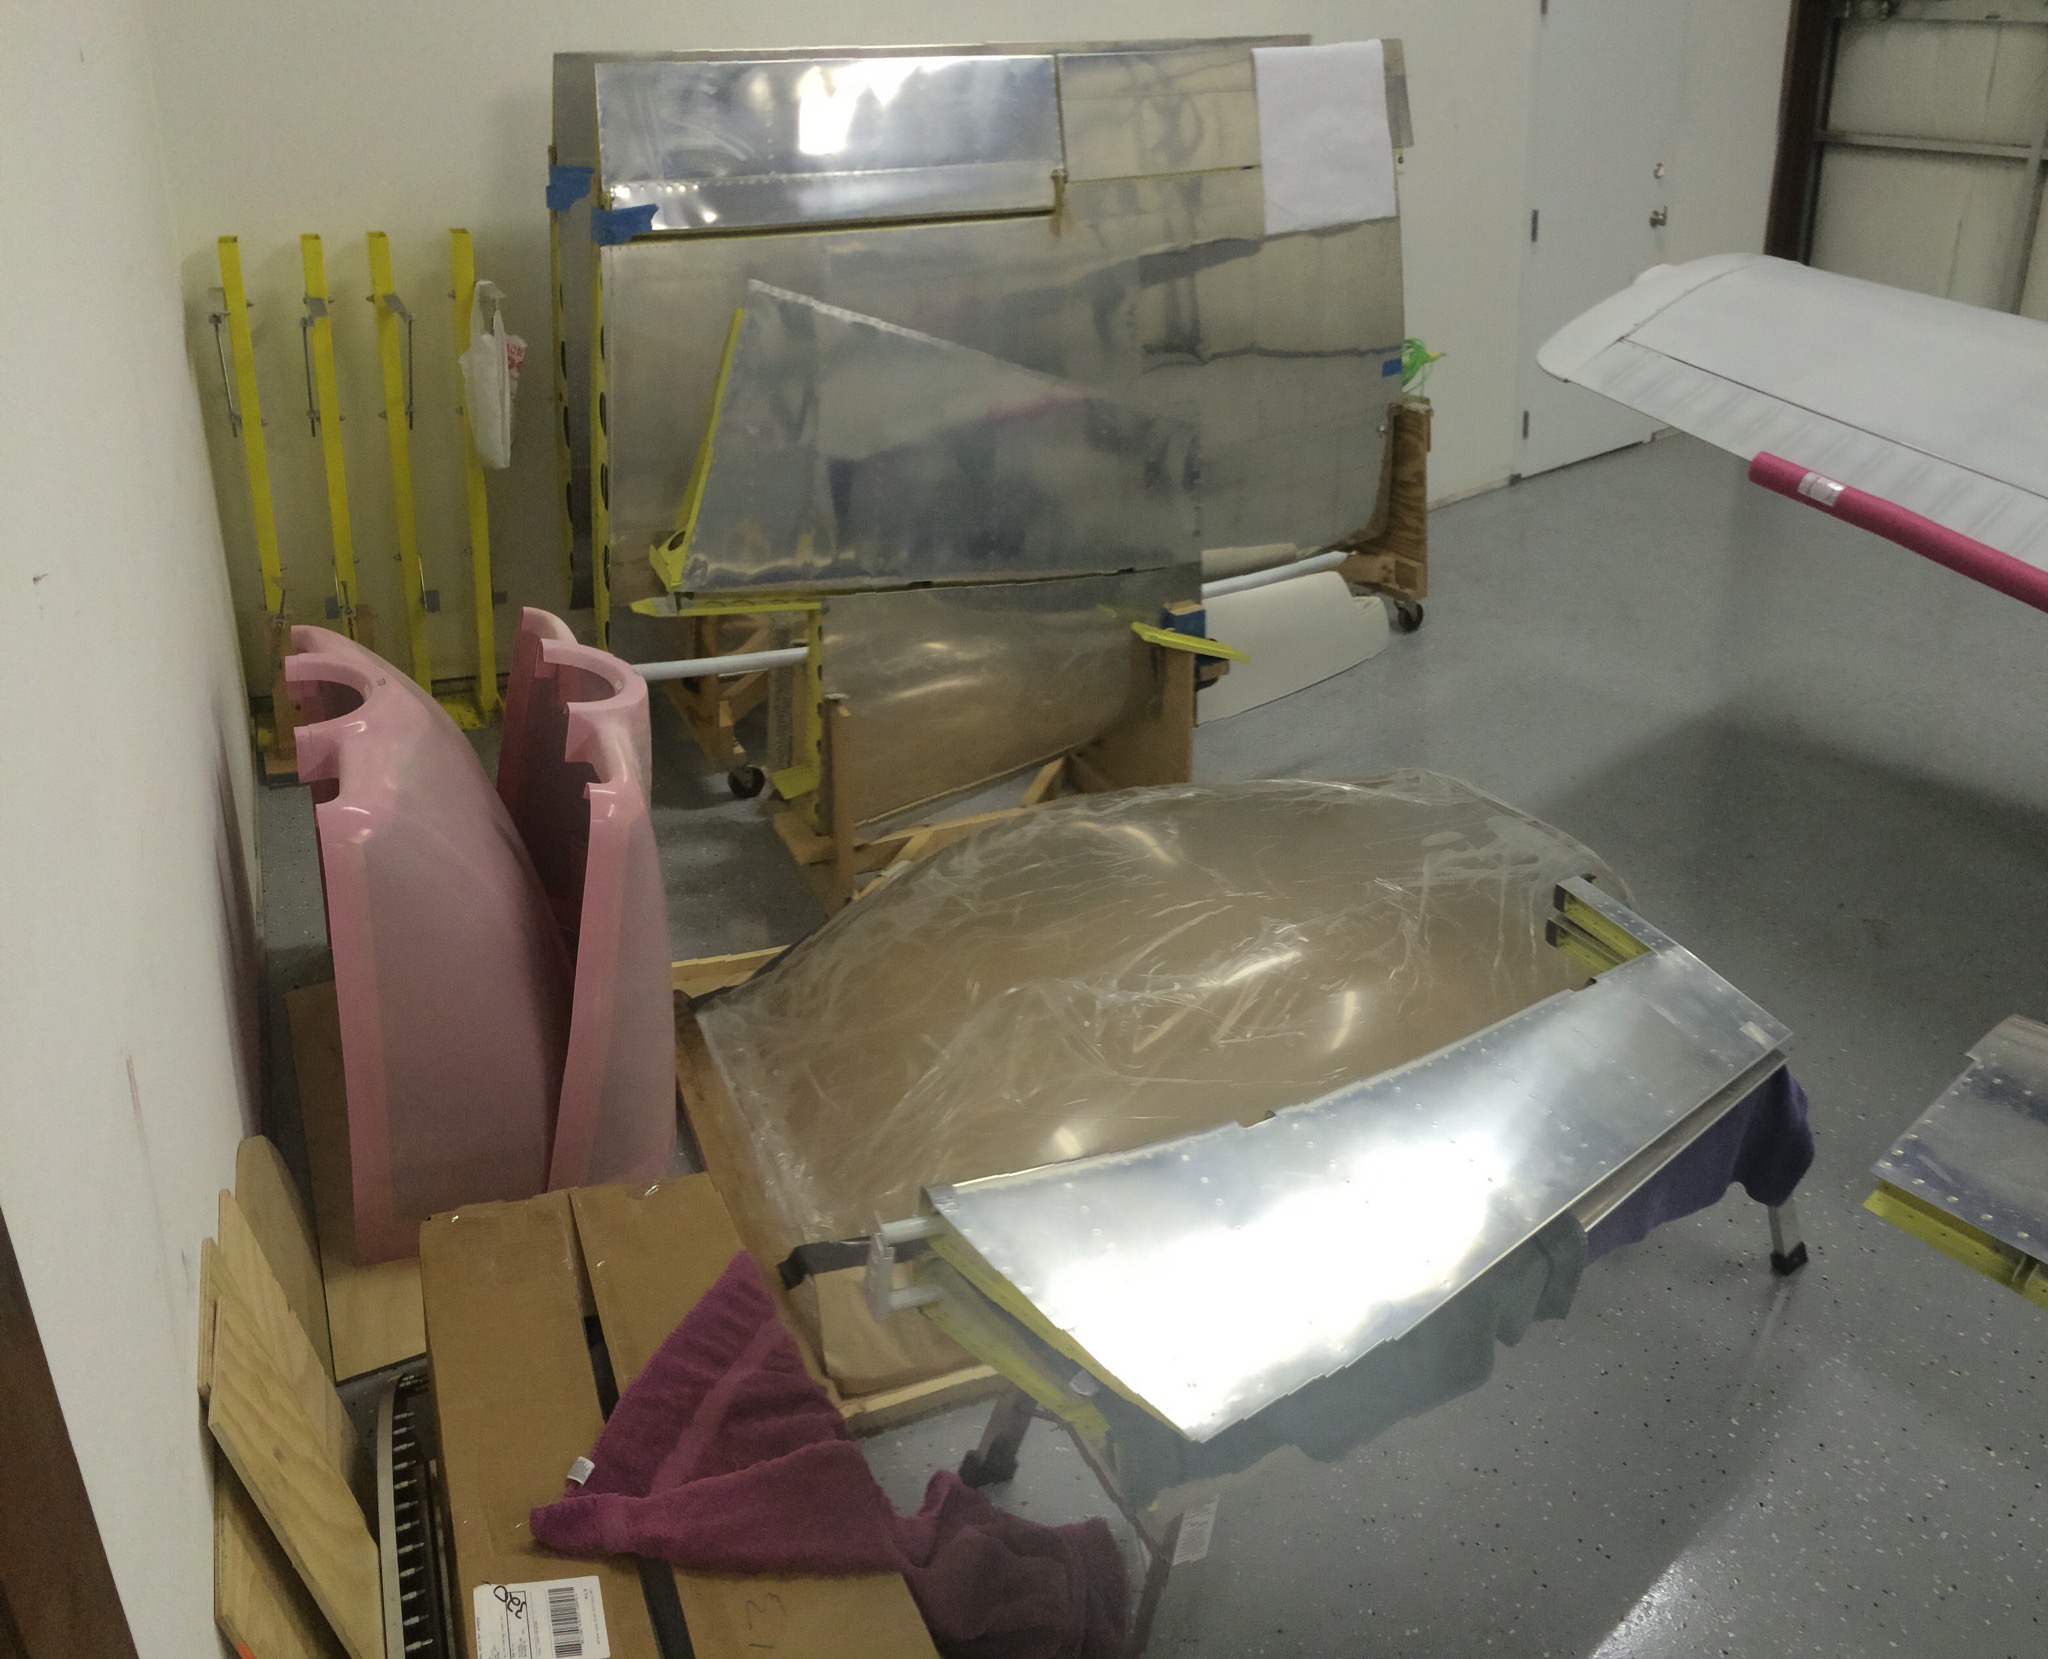
After finishing taxi tests and brake burn-in, I finished the G3x full-power vibration survey and magnetometer calibration. It’s good to have the avionics completely done!

The taxi hero shot
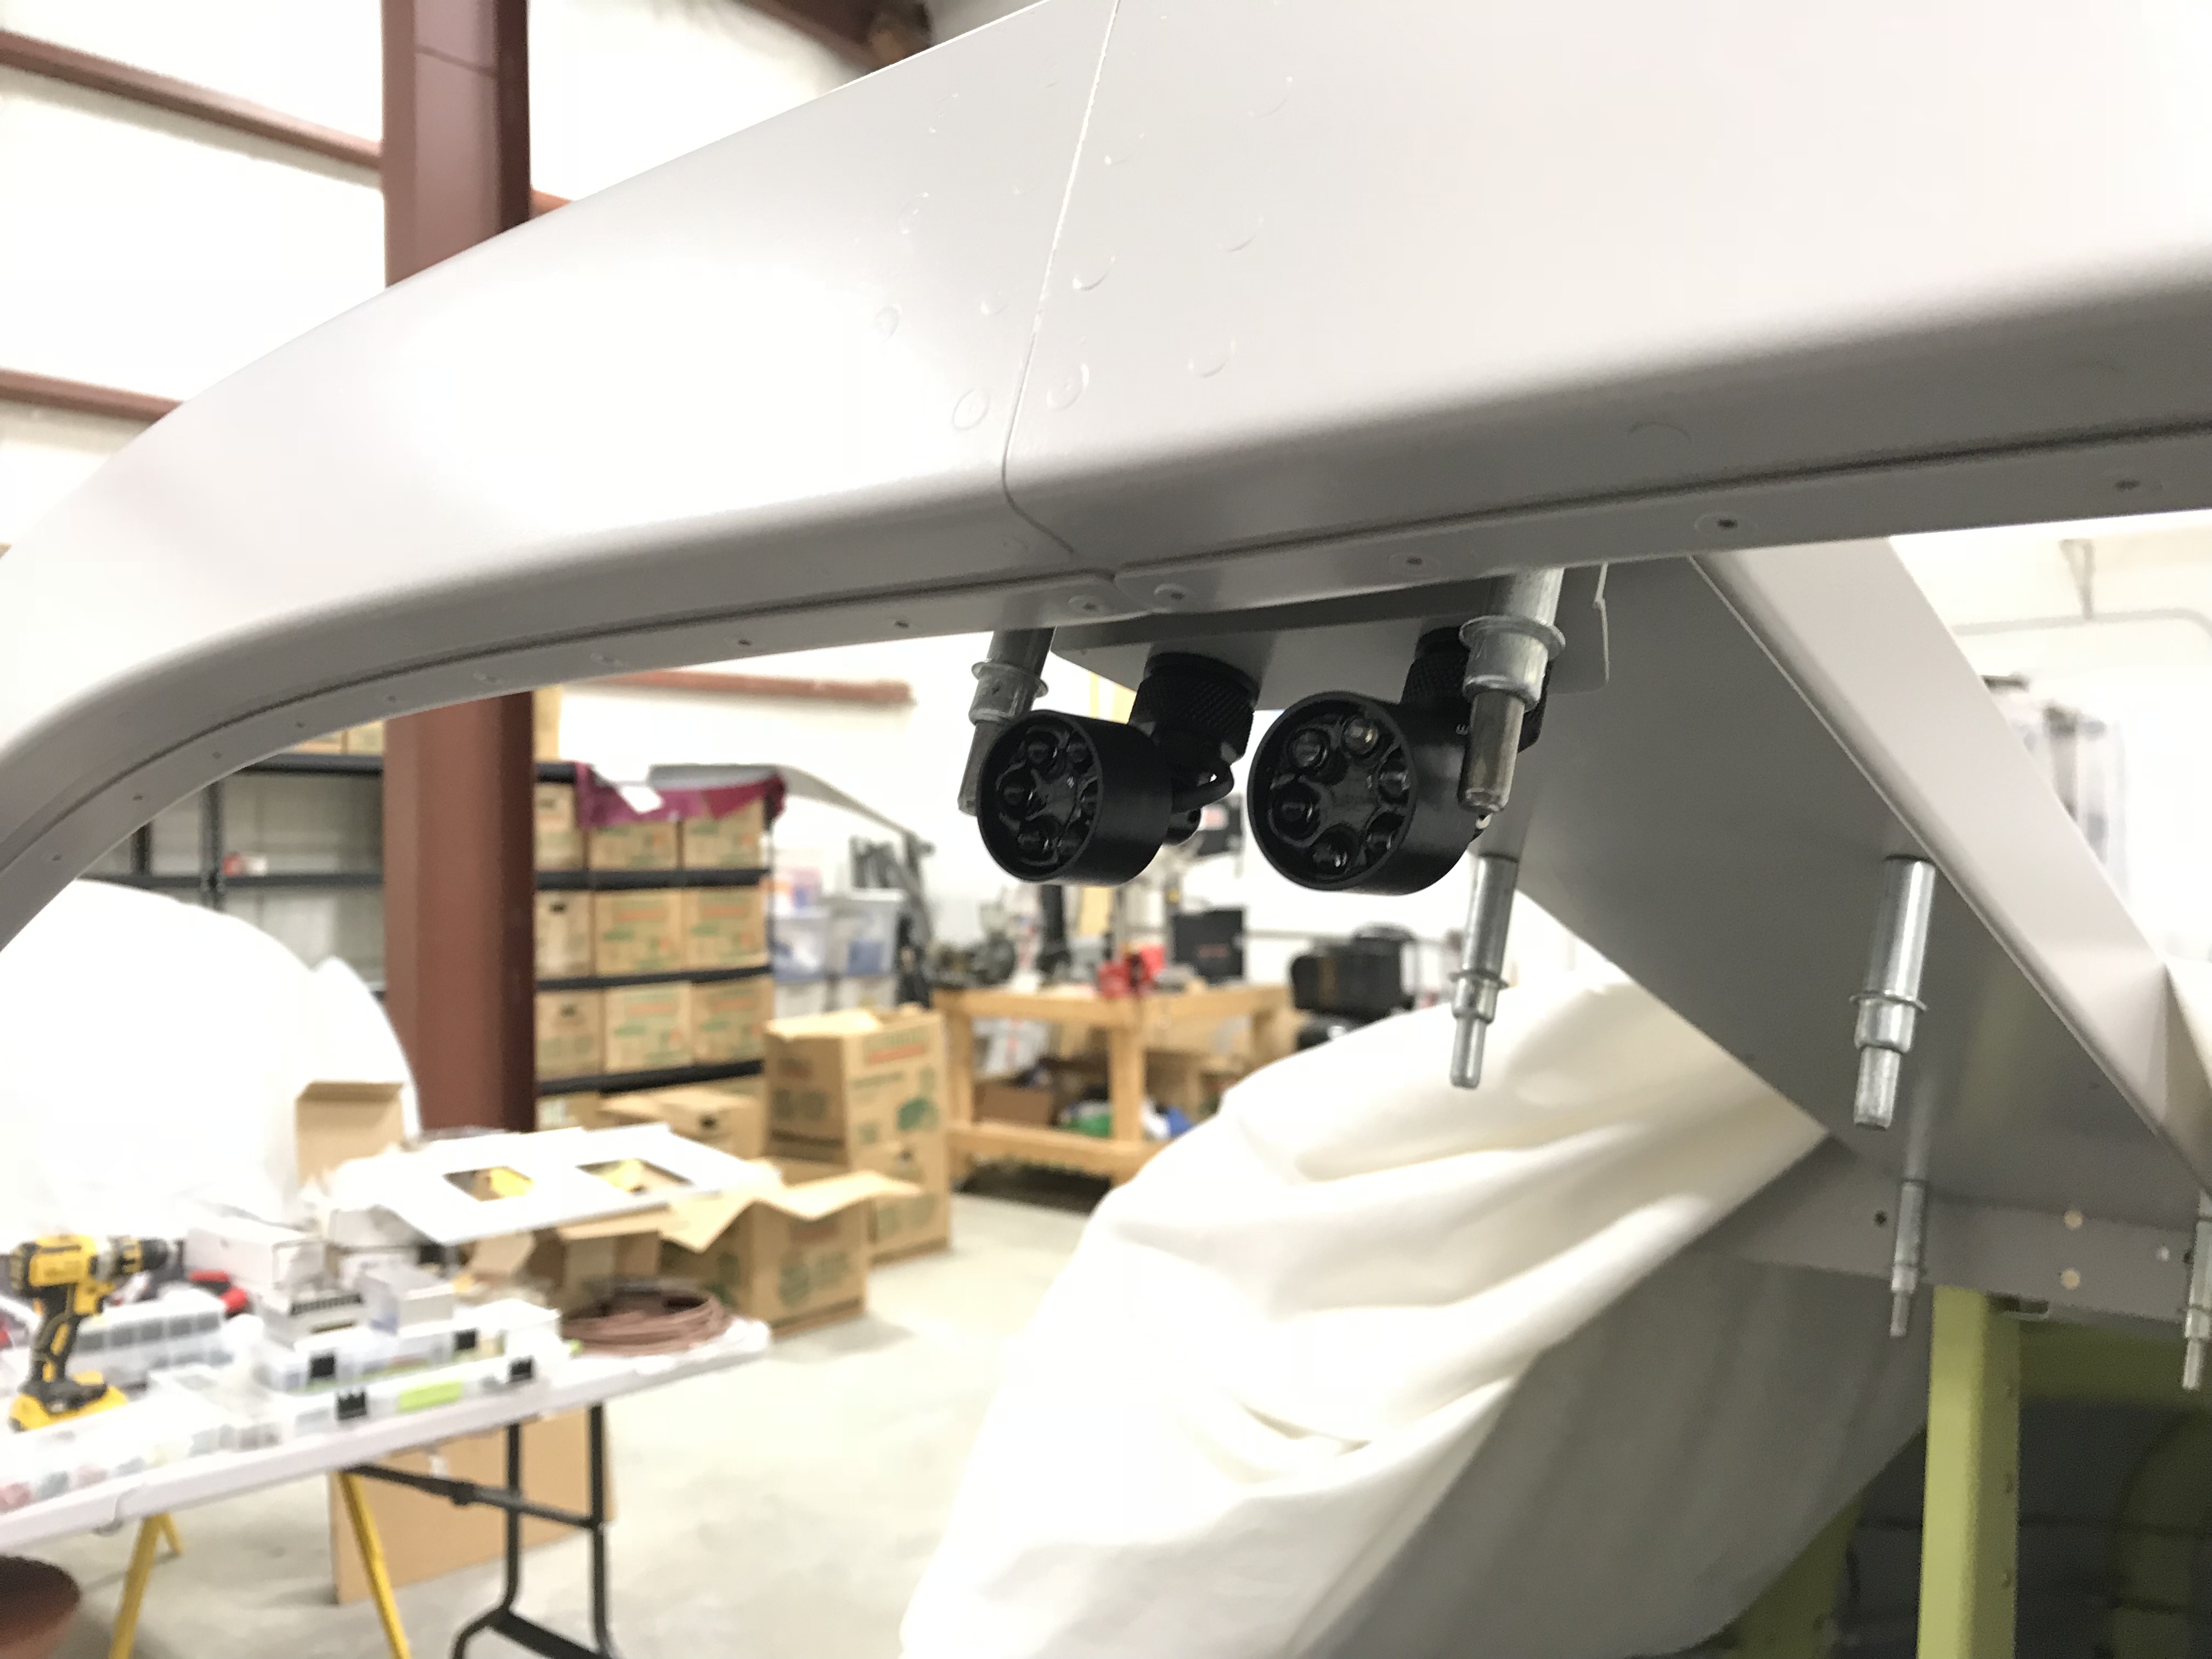
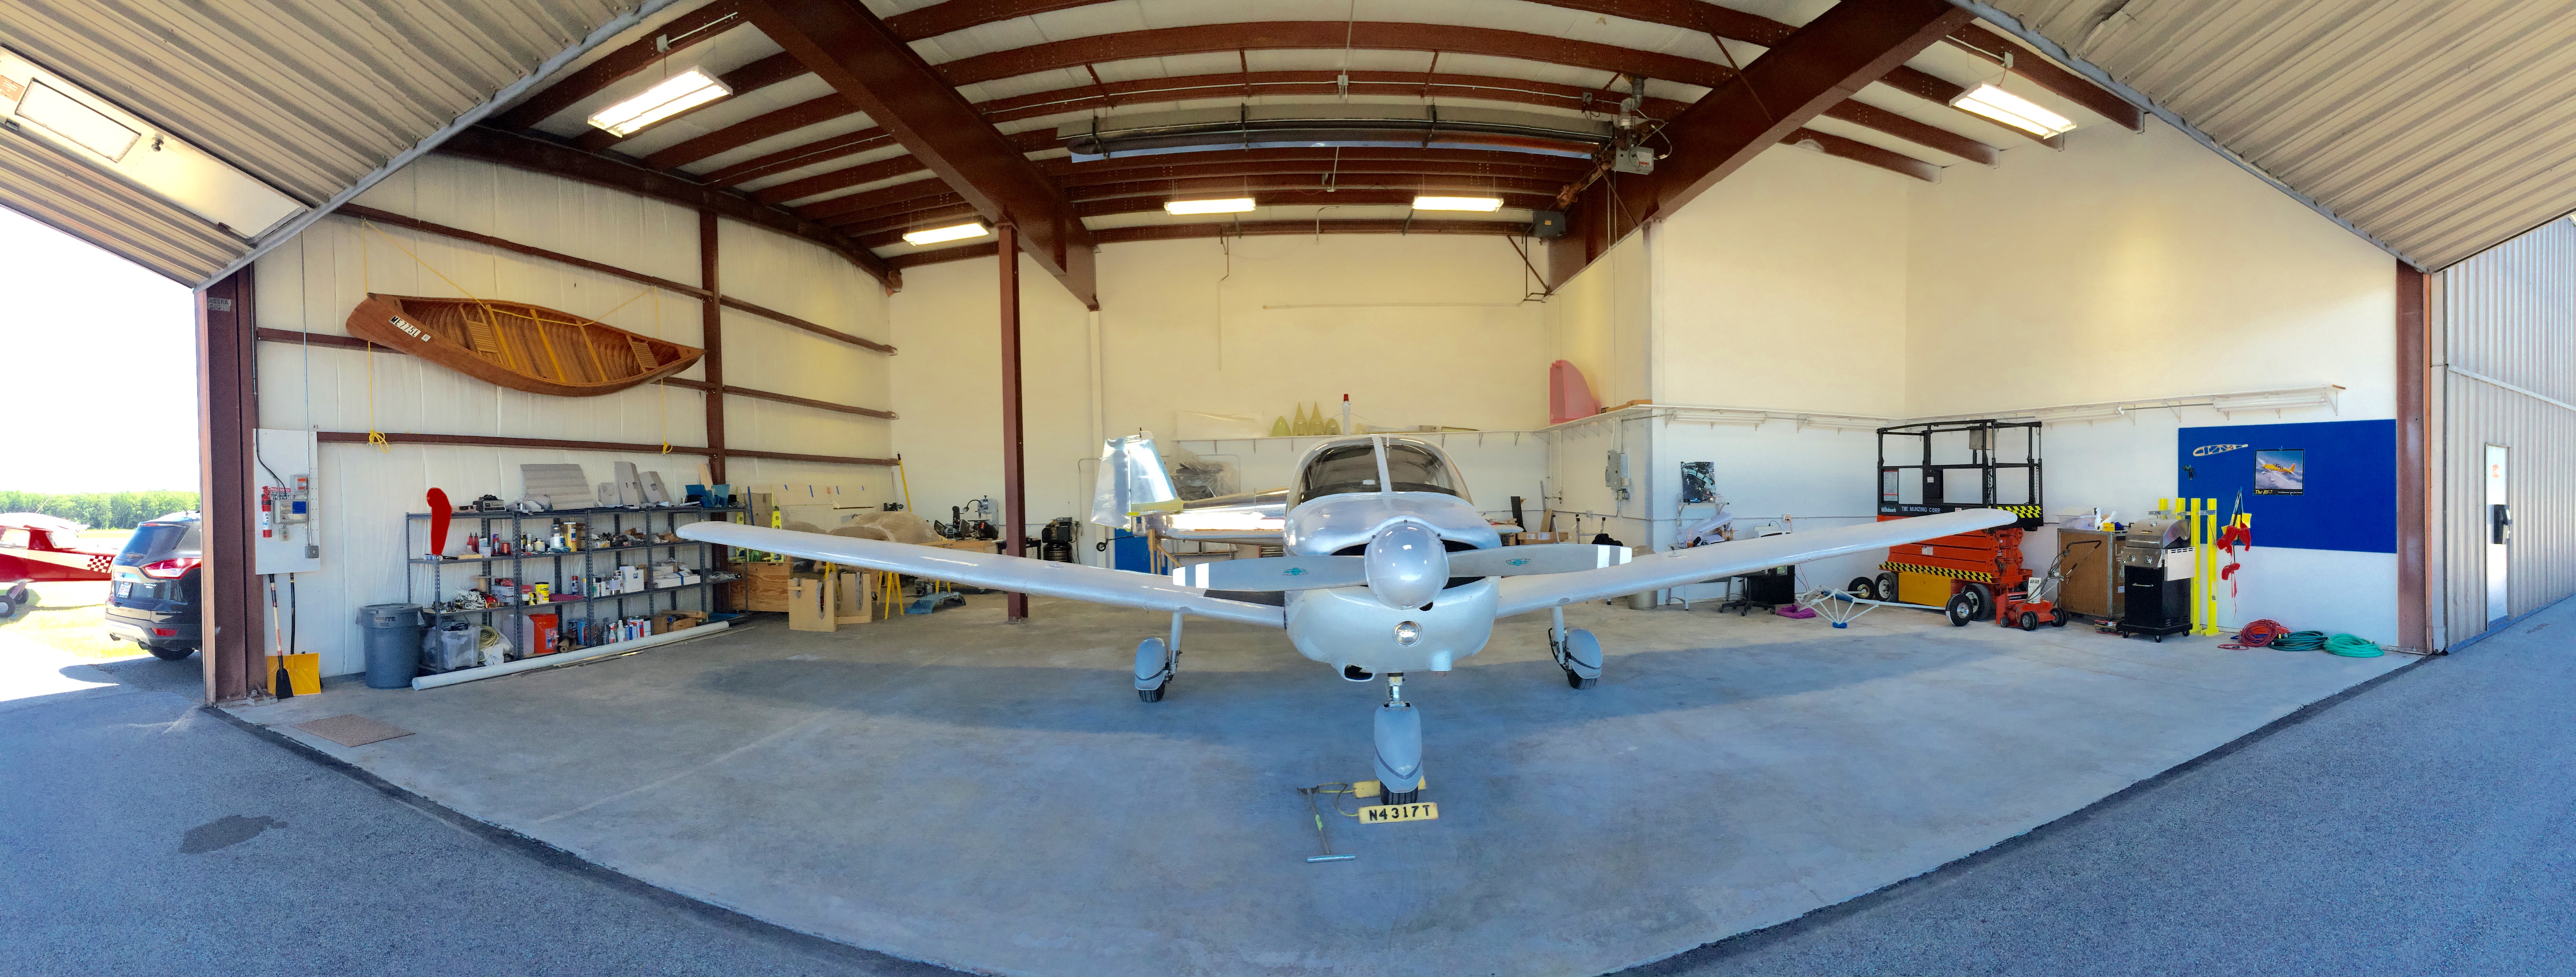
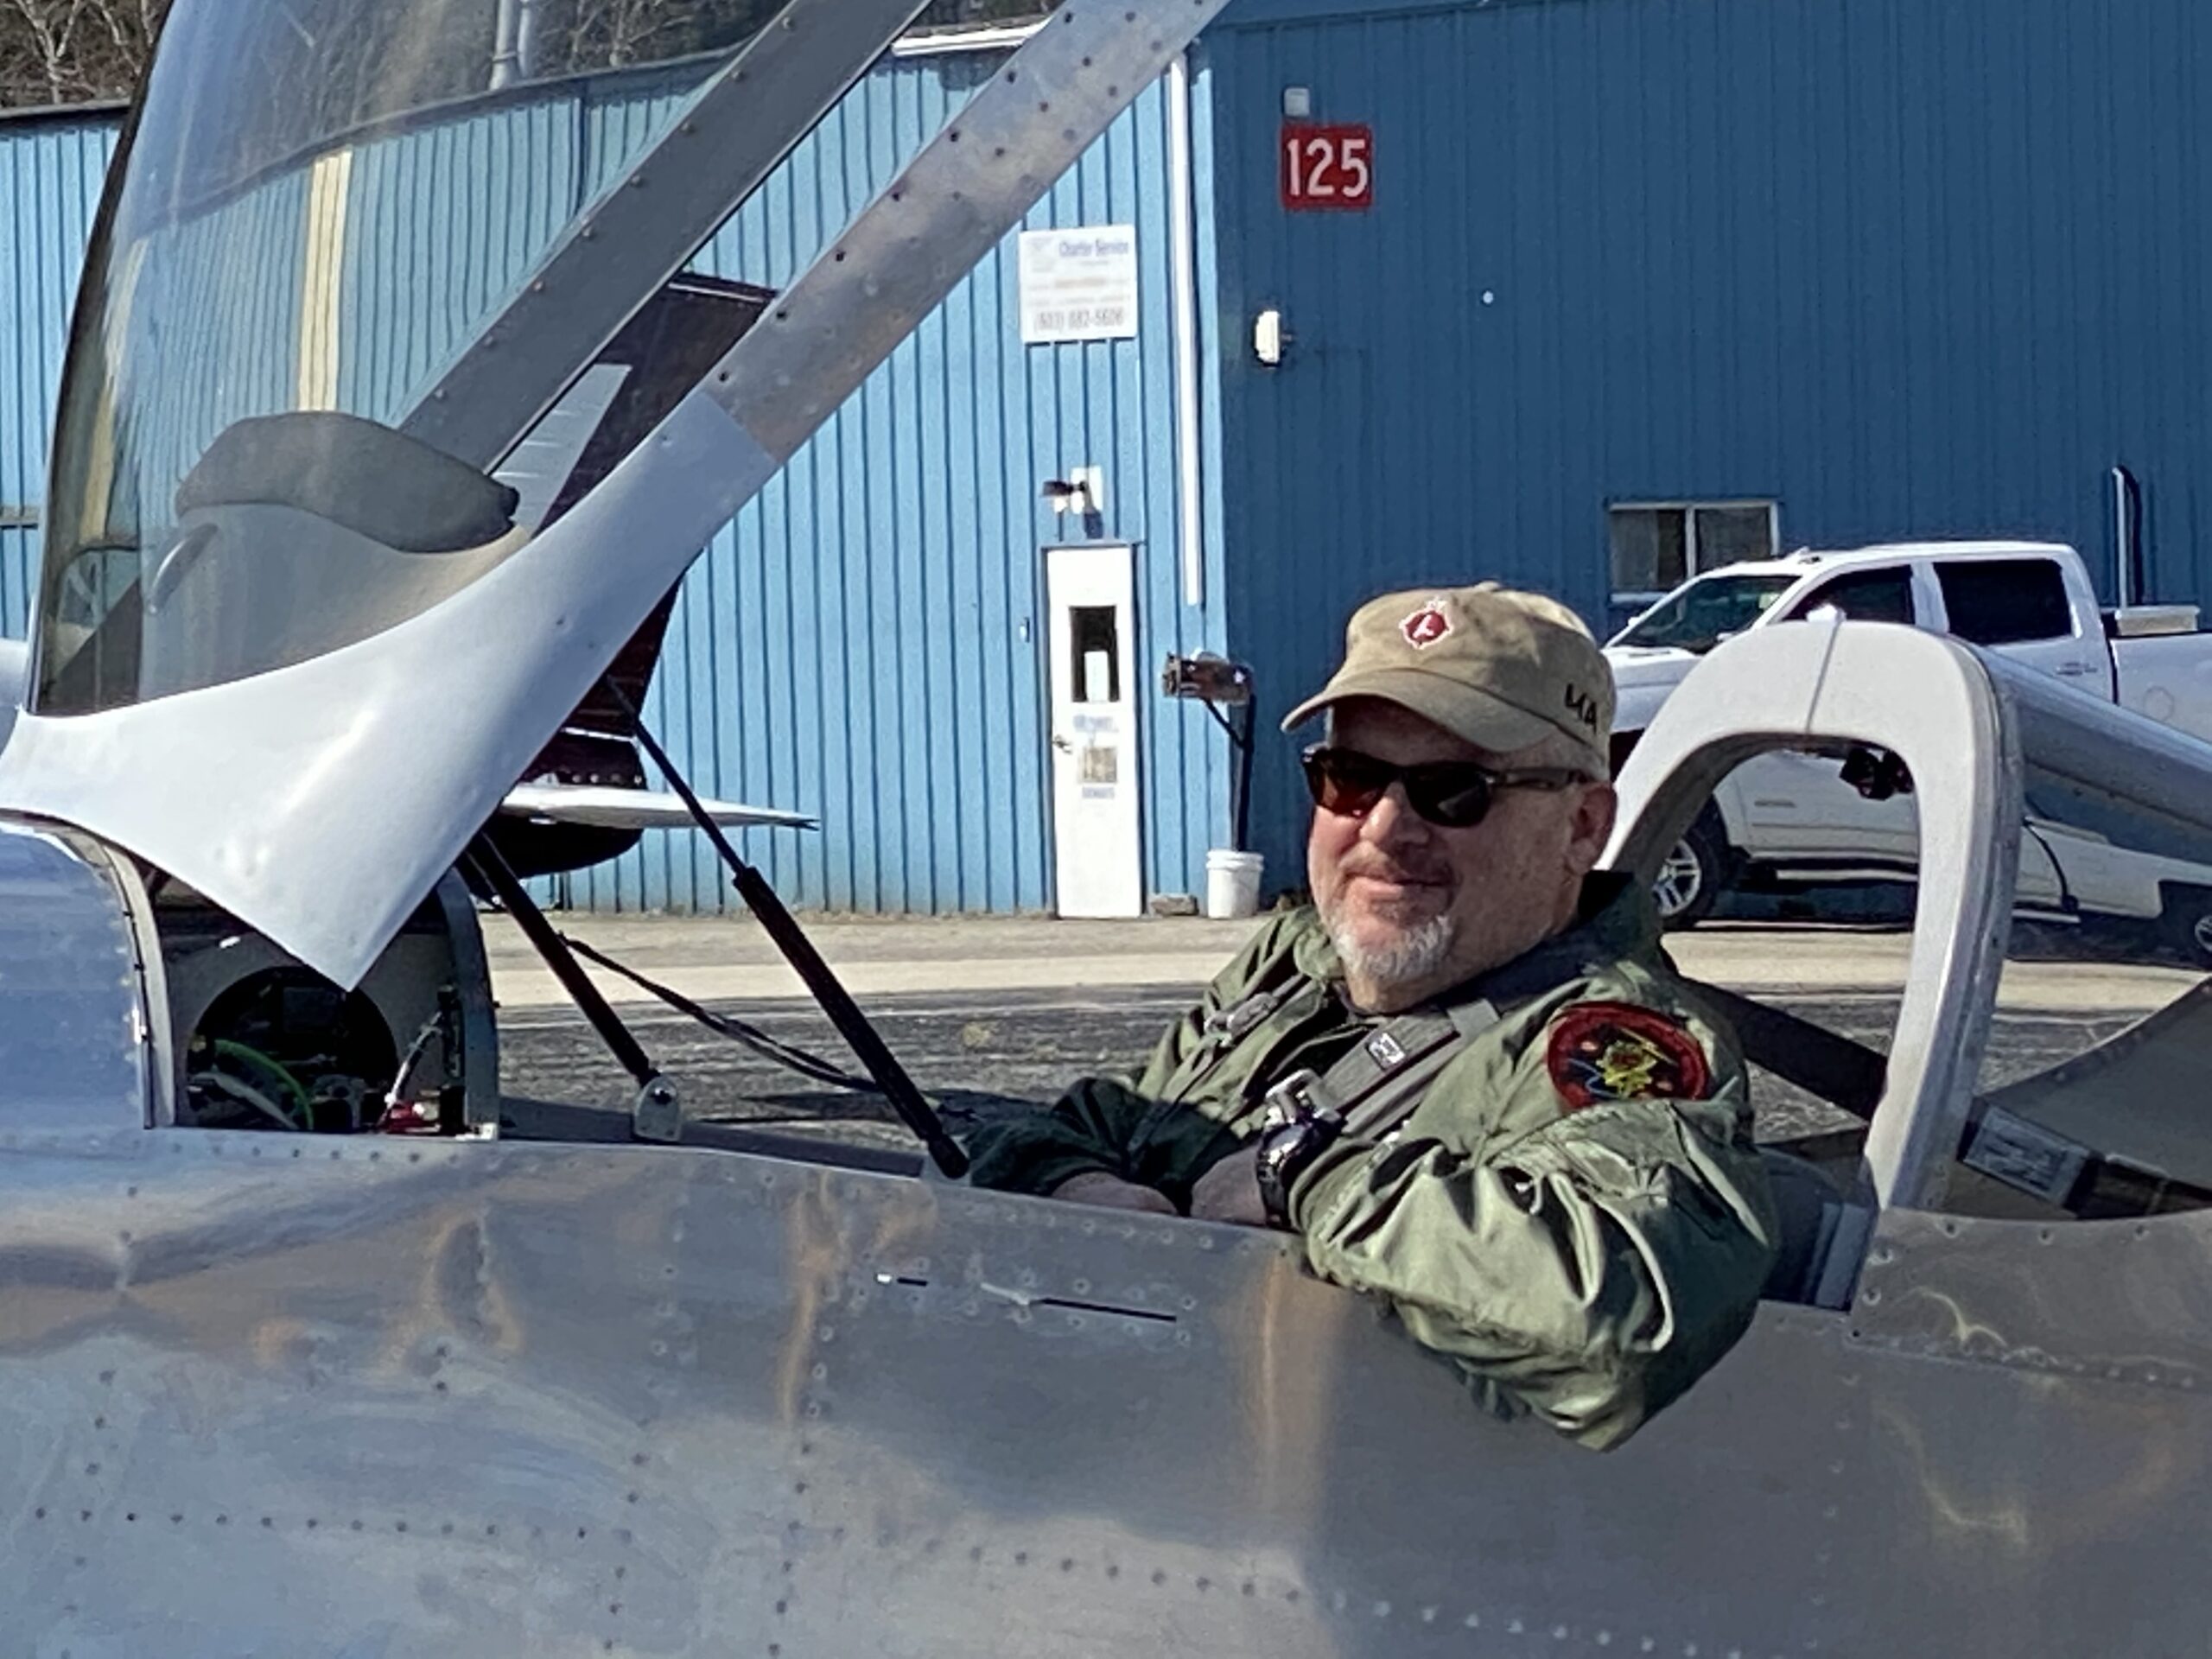
Thanks to Burt Wadas for being my official ground-test photographer!

The end of Act 1

I decided that my time as an Air Force civilian was complete; it’s time to move on to Act 2. Lots of friends and family joined me for the retirement ceremony, including my friends and fellow QBs Don McPherson and Vince Orlando who joined me in a dram of the Blue Label.

Cheers!

My sister and her family flew in from Kentucky and we had a great time at a Sox game. The Sox obviously didn’t know that VIPs were in attendance and had the unmitigated gall to lose the game.

Jacob, Whits, Joshua and Elizabeth

Random tasks…

Finally getting a lot of little cleanup tasks done while the avionics harness is percolating at Approach FastStack.

First, I installed this…

Mystery device

First person to guess what it is gets a ThermosWorks sticker or a free beer at Oshkosh 2019.

Second, I dug out the cockpit lights from Oplite and fabricated a small bracket to mount them on the roll bar support.

Oplite 6sOplite wires

These lights are extremely well-made by my friend and fellow RV builder Rich Mileika. In addition to Oplite, Rich owns and operates Machine, Inc, a precision machining company in the greater Boston area. If you need quality cockpit lighting, try Oplite…you’ll like ’em.

And lastly, I replaced the stock Van’s flap motor with an upgraded version made by Pat Hatch at PH Aviation Services.

This motor has several advantages over the stock unit. The motor and jackscrew are separate so grease can’t migrate into the motor windings, a common problem with the Vans motor. It also has limit switches to stop the motor at full extension on either end, and also has a position sensor to report flap position to whatever device needs it.

The only downside is that the flap support bracket must be modified to accommodate the new motor. Rather than trying to rework the existing bracket, I bought new parts from Vans and started from scratch…only took a couple of hours, and Pat’s motor will save some wiring work later on.

I’m not dead yet

For anyone who’s following this website, I’m still alive and very much focused on the RV.  It’s just that any spare time I have (which isn’t much) is going toward working on the airplane and not toward website updates.  But just so I have something to prove to the FAA that I really am building this airplane, I’m diverting some precious building time to some updates.

Stay tuned…

Free to a good home…

Back when we put all the small fuselage pieces together into one big pice, I built a spiffy rolling stand to hold the fuselage so I could be moved easily around our small garage. It was adapted from plans provided by Lars Pedersen on VAF.

It served its purpose well, and we’ve used it as we attached wings and tail, fitted the canopy, and prepped the interior and firewall.

Wings on...

But now that the landing gear is on the fuselage (hopefully) for good, it’s time to pass the stand to someone else who can put it to good use.

Wing stand 2

It’ll definitely fit an RV-6, -7, -8 or -9 fuselage, and maybe a -10 as well but I haven’t measured it to be sure.

Wing stand 1

I’ve added some little jackscrew thingies on each corner to make it easier to level the fuselage when/if needed.

It’s free to anyone who will come to the Nashua NH airport and pick it up. All I ask is your promise that you’ll put it to good use on your RV project, and that you’ll pass it on to another builder when you’re done. If you’re interested, use the “leave a reply” link on this post to send me a message and I’ll get in touch with you.

A great RV day

Today was a great day, for many reasons. First, I was invited on a dawn patrol breakfast flight with Bob DiMeo, my EAA Technical Counselor, and a group of pilots from eastern/central Massachusetts and New Hampshire. The Dawn Patrol was heading to Keene, NH (KEEN) to a little diner right outside the airport. Bob has a beautiful RV-8 painted in Tuskeegee Airmen colors.

Bob's RV-8

We departed Nashua with a Bonanza.  You’ll see it in the panorama below, just above and in front of the right wingtip…

En route

Mount Monadnock was in the way…

Mount Monadnock

…but fortunately the RV-8 is pretty maneuverable.

KEEN

The weather at KEEN was good but deteriorating…there were snow showers moving in from the southwest. The ceiling had come down a bit by the time we left, but we had no problems getting some. All in all, a great flight and I got to log some back-seat stick time in Bob’s RV-8.

Once back at Nashua, we started on more RV fun. Once again I wedged my not-petite frame into the tailcone to back-rivet the ELT antenna doubler…

ELT antenna mount

…while Bob managed the back-rivet set on the outside. Then we moved onto riveting two heavy angles to the rear cockpit bulkhead. I didn’t get any pictures of those parts, so you’ll just have to imagine us working on them.

We then clecoed the canopy side rails in place and riveted them to the fuselage longerons. Here’s Bob expertly clecoing the rails…

Bob clecoing

These rivets weren’t particularly hard to set, but there were a few that took a little extra time and the use of a very narrow bucking bar.

Riveting complete!But in the end, the side rails look good on the fuselage.

Forward canopy railsThe seam between the forward and center rails came out well, which means that all the work I did bending the longerons really paid off.

So…between flying, breakfast and good progress on the fuselage, it was a great RV day!

Santa knocks it out of the park

Santa, a.k.a. my wonderful wife Ellen, really surprised me with this awesome gift…it’s a custom-built model of our RV7-to-be with the paint scheme we designed with Jonathan McCormick of Plane Schemers.

Dave's present!Turns out that Ellen has been conspiring to do this since July, and even went back to Jonathan to get the exact colors he used in the paint scheme!

Another picture?  Sure, I knew you’d want one…

Another model pic