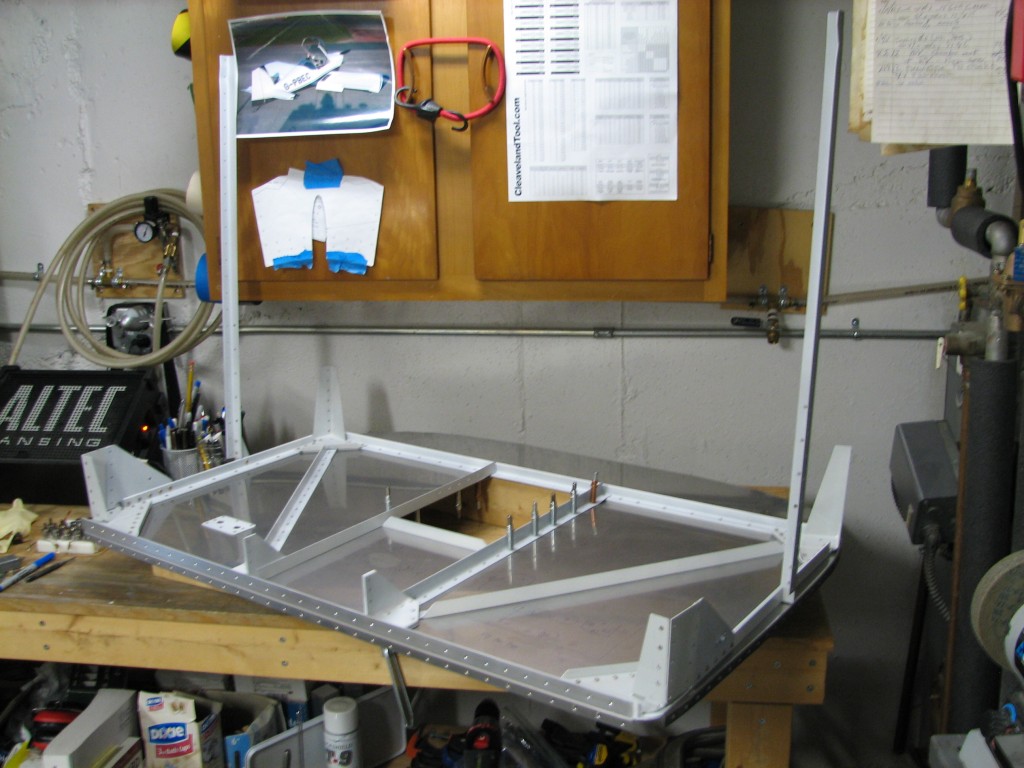
You know the old adage – “How do you eat an elephant? One bite at a time!” During my assignment to the Air Force Flight Test Center at Edwards AFB, an airplane building colleague in EAA Chapter 1000 had that statement posted in his workshop and it’s absolutely true. How do we tackle a huge project like building an airplane? One step at a time.
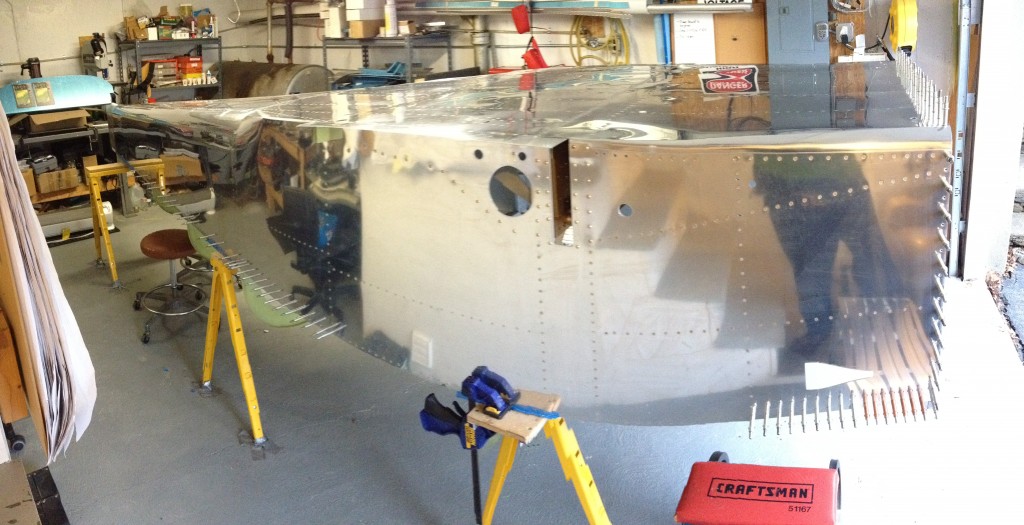
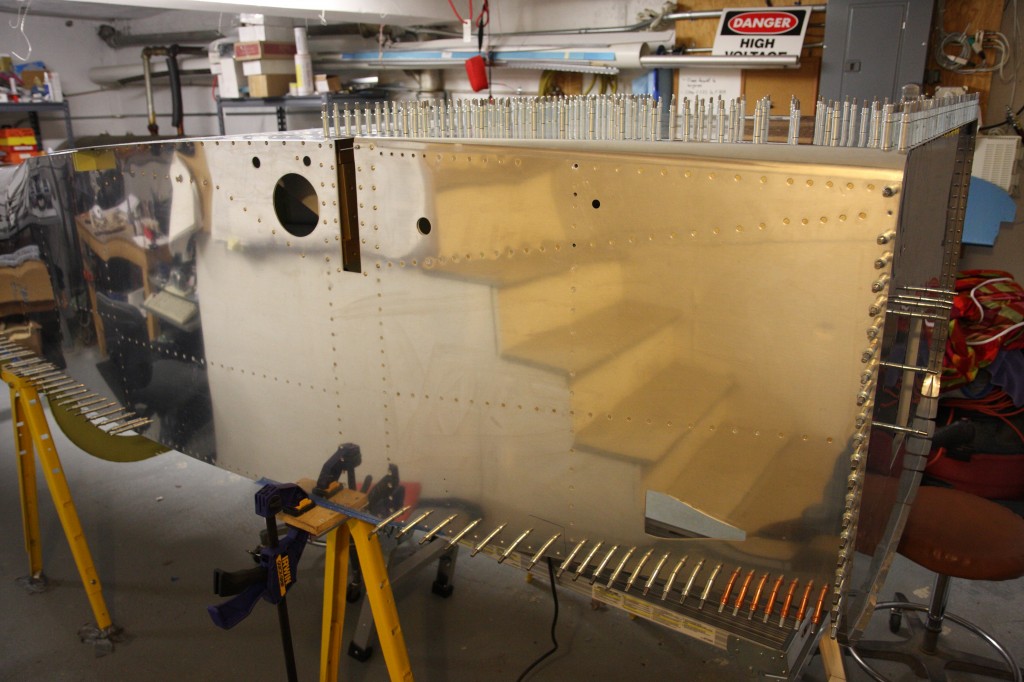
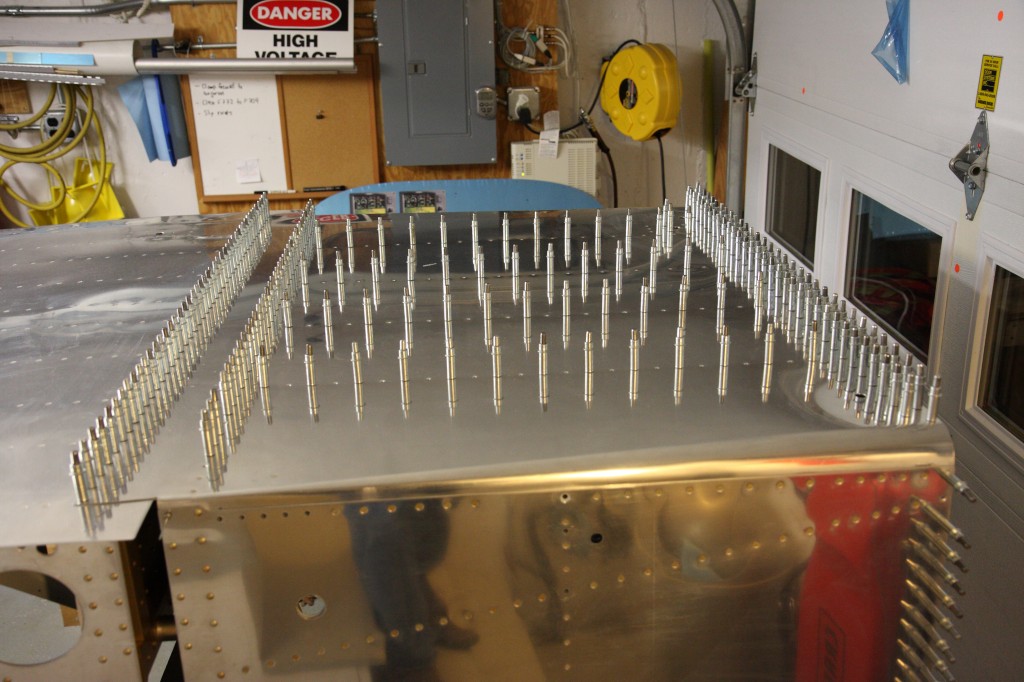
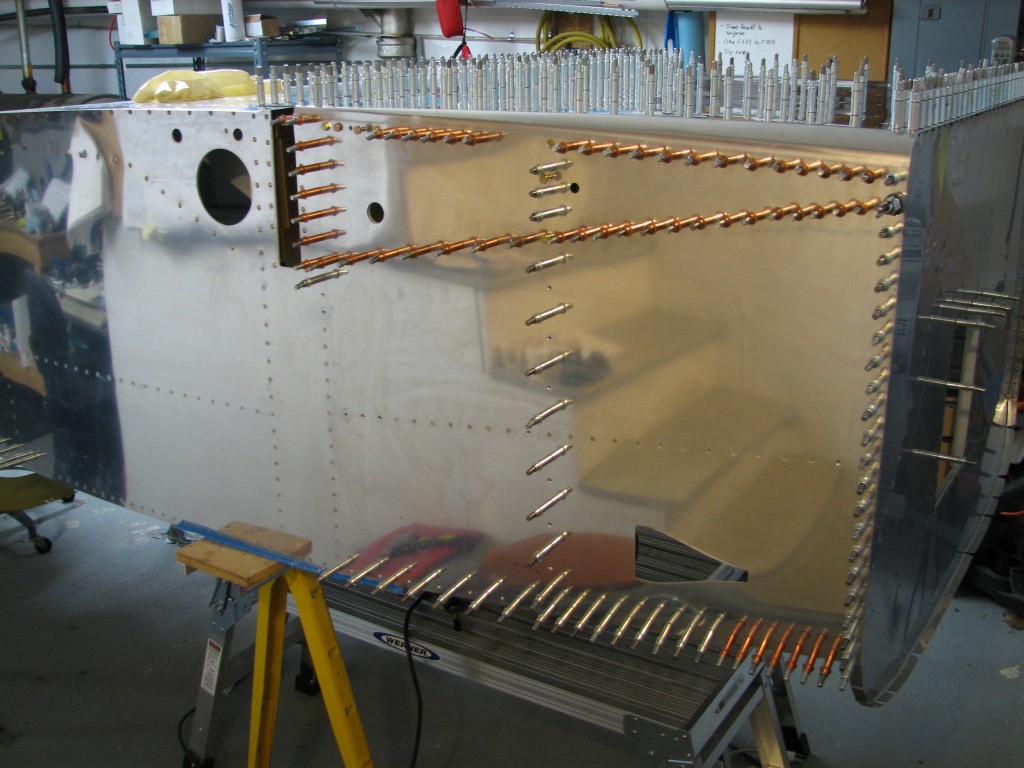
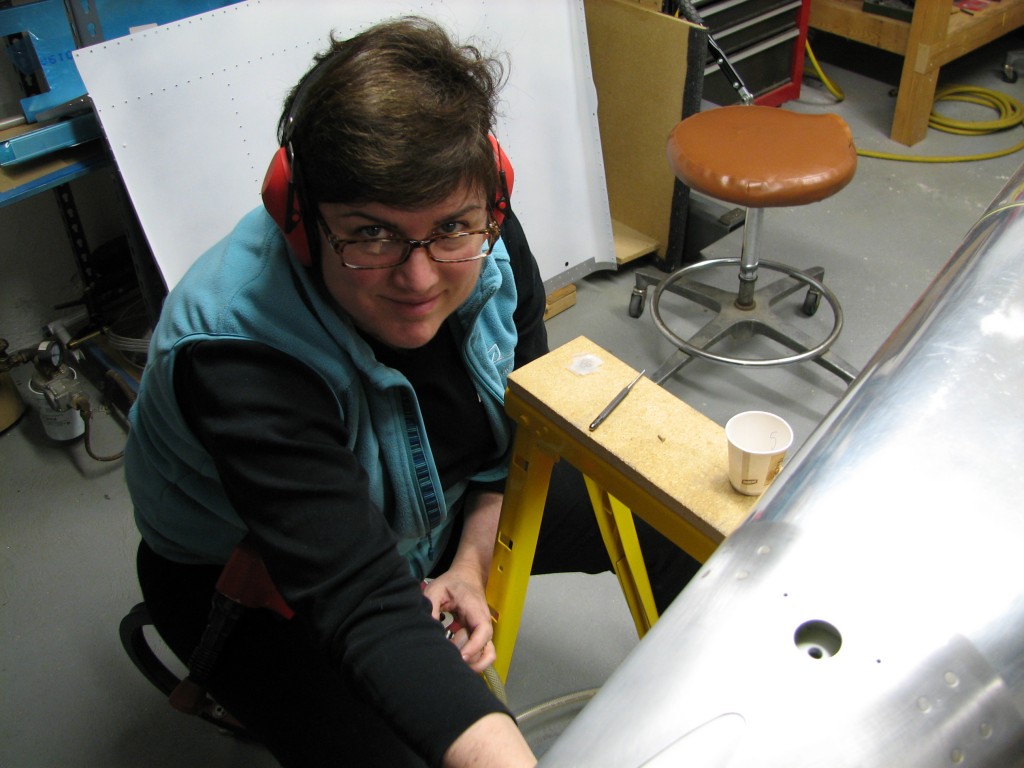
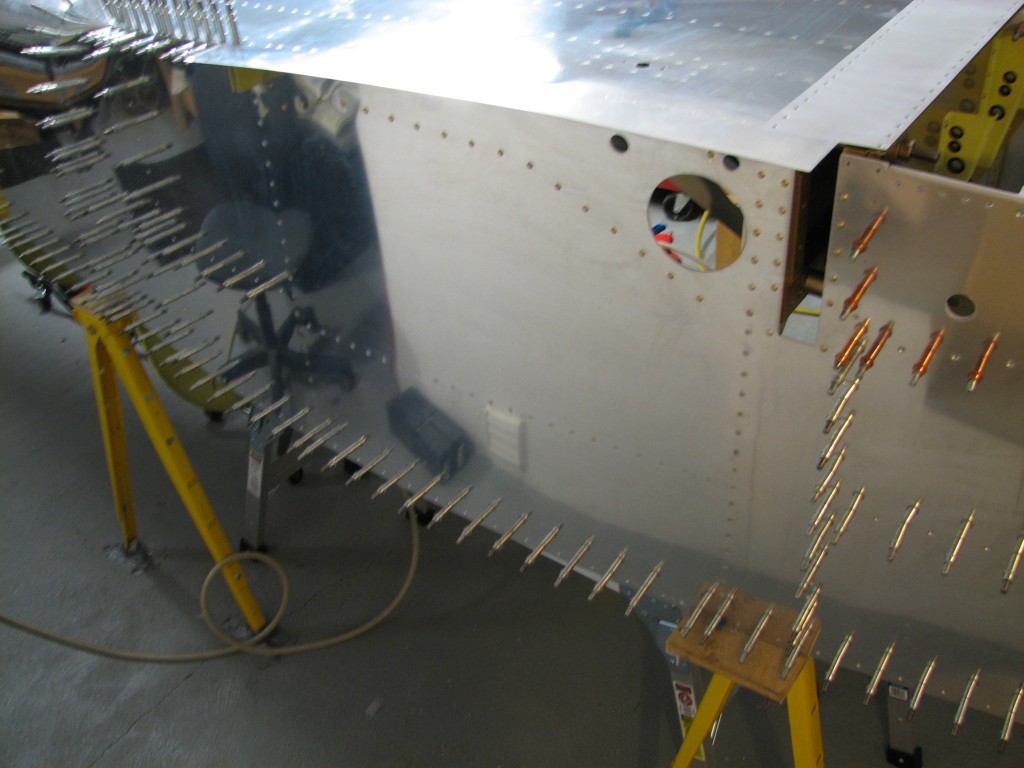
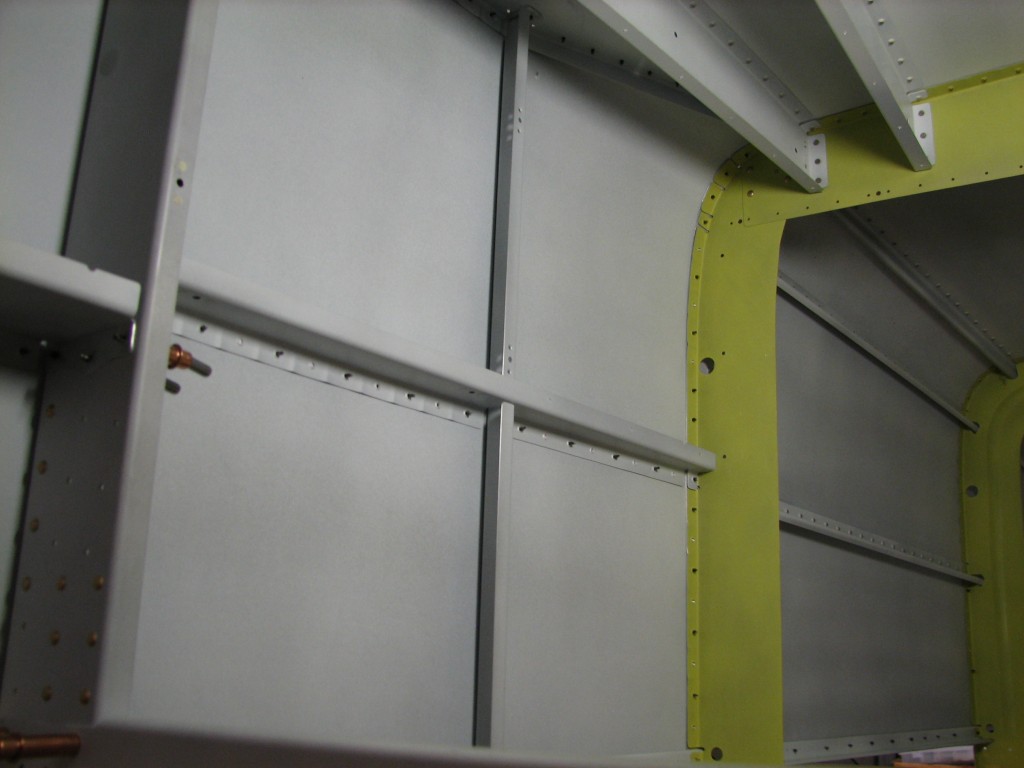
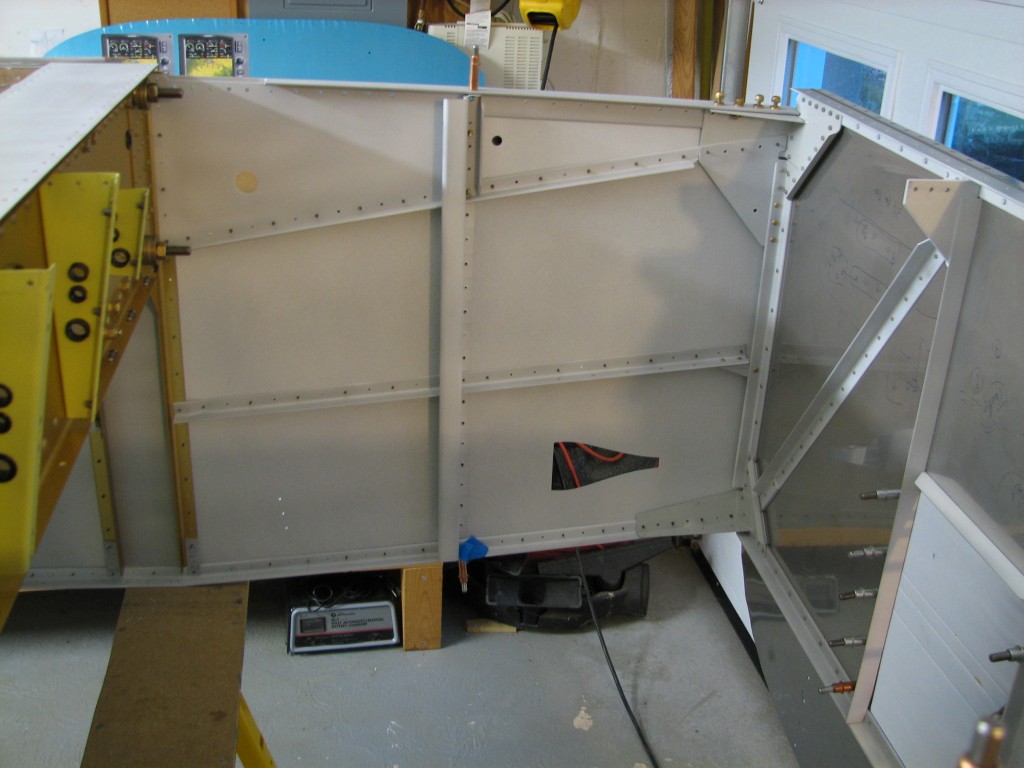
Today we took a big bite out of the elephant and finished riveting the fuselage “canoe.” If you’re joining this program in progress, in RV-speak a “canoe” is the stage of fuselage assembly when the major components – tailcone, center section and firewall – are riveted together while upside down, looking like a large aluminum canoe. Ellen and I spent practically the whole day finishing up a bunch of fuselage rivets, including the wing spar carrythrough, forward belly skin, and firewall areas.
Here’s an iPhone panorama of our canoe at the end of our session today – click on it for the large version.
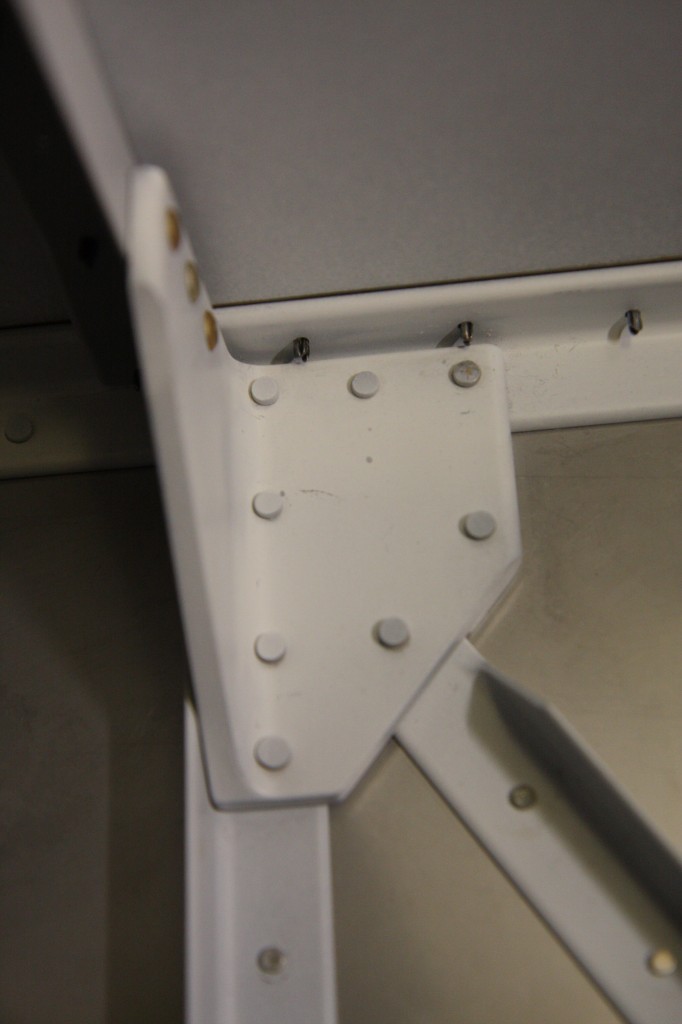
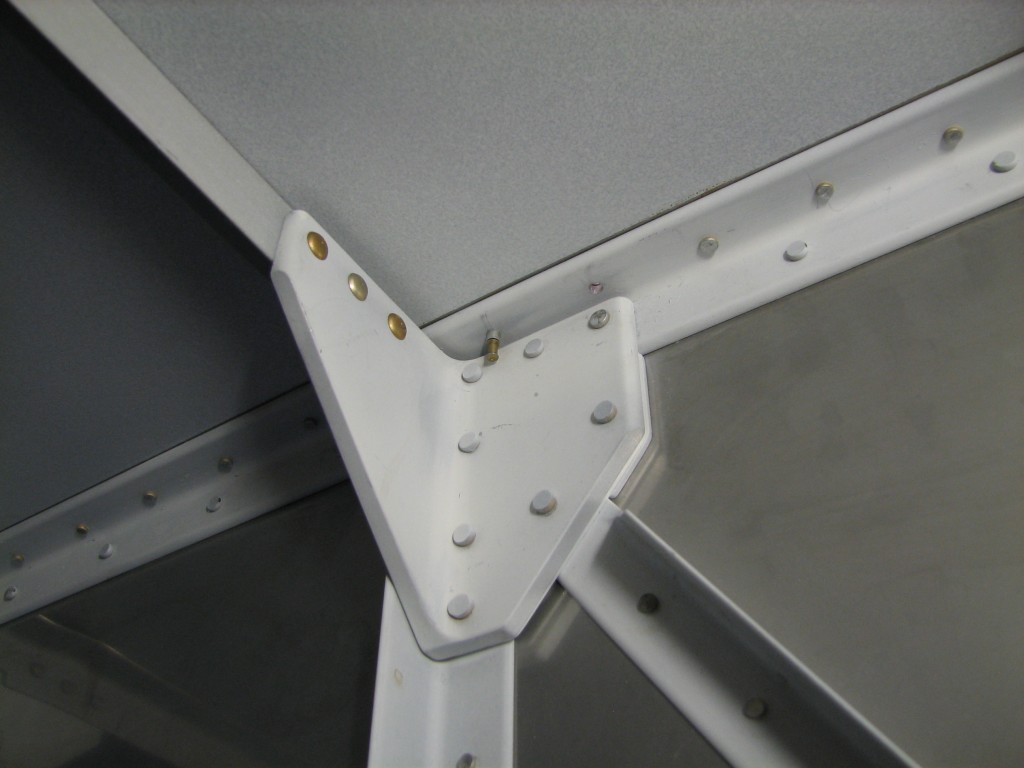
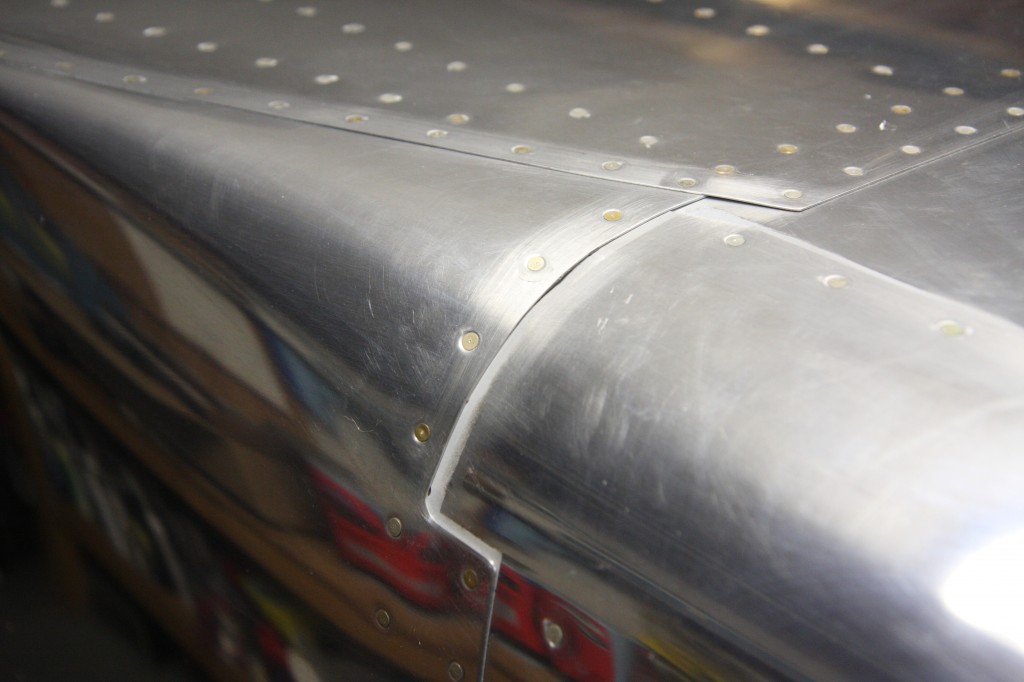
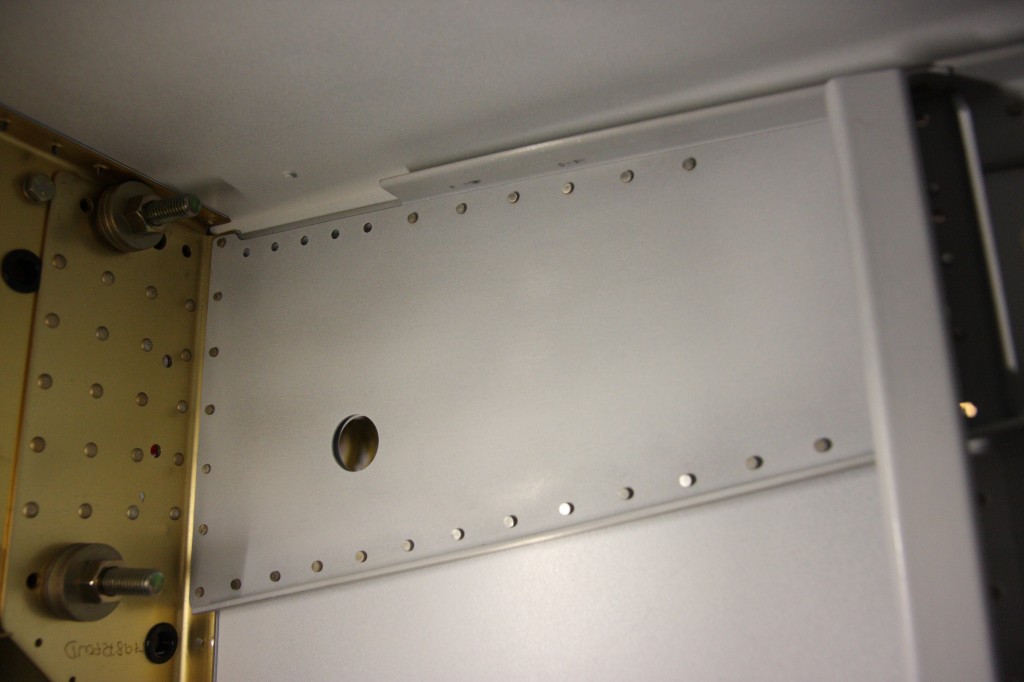
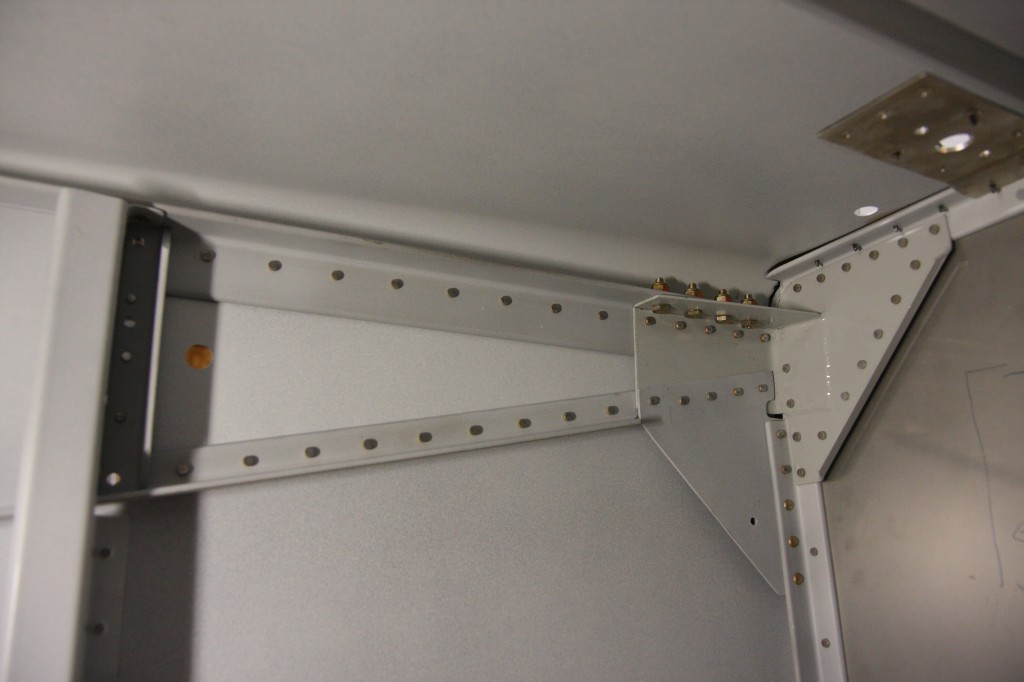
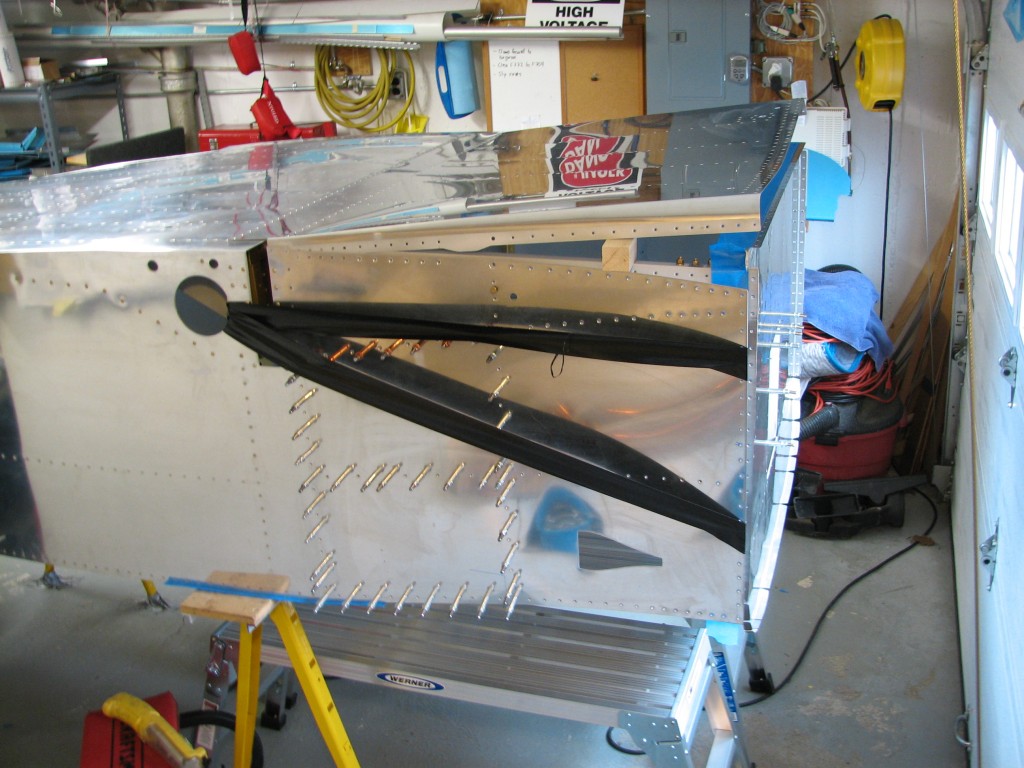
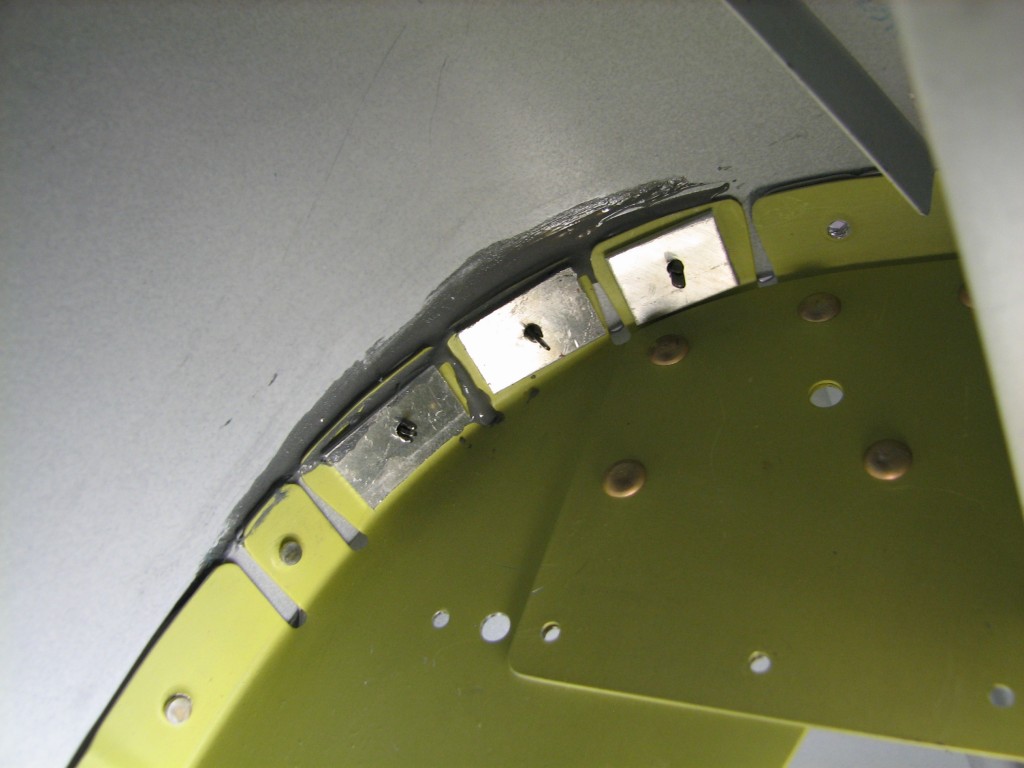
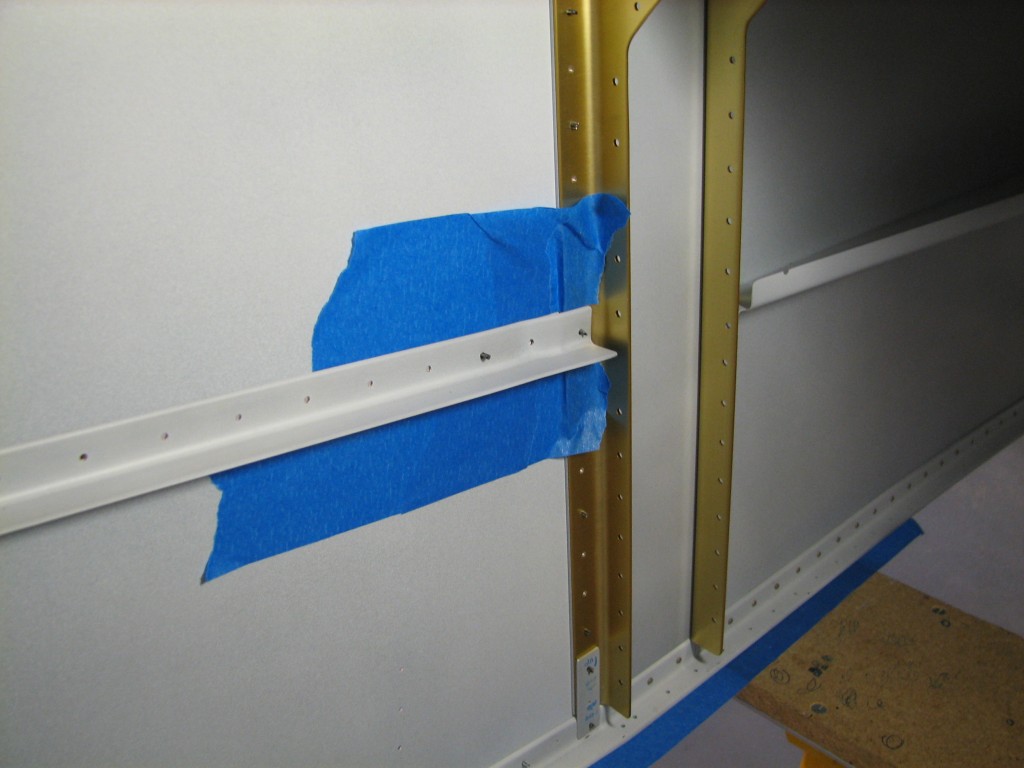
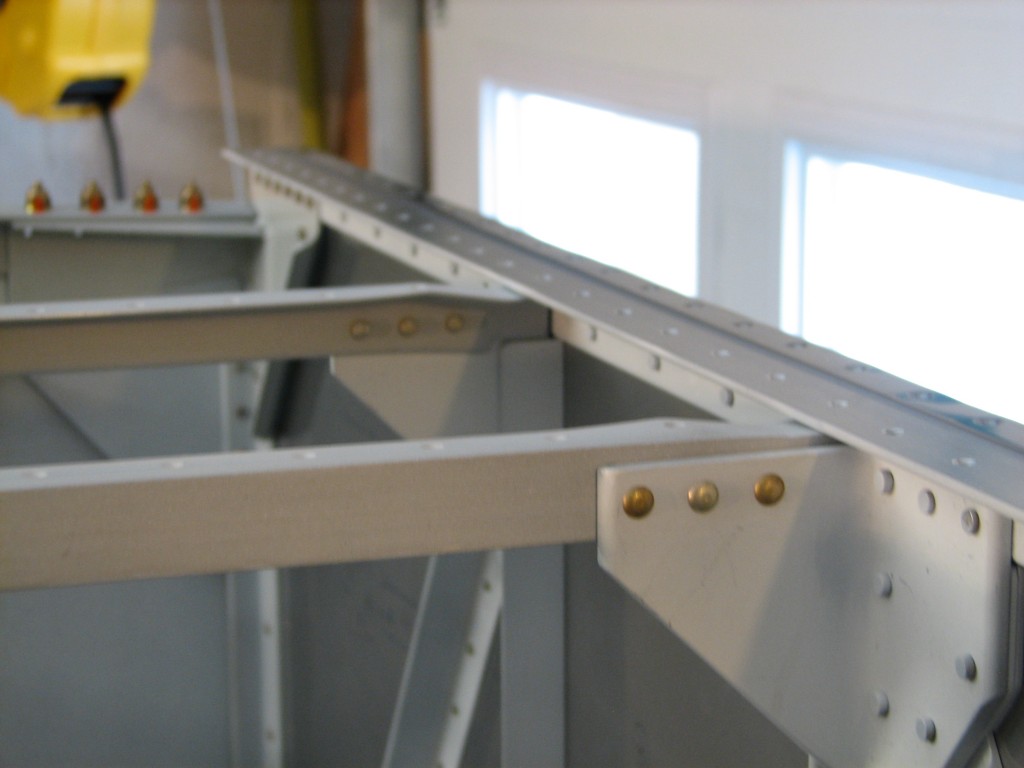
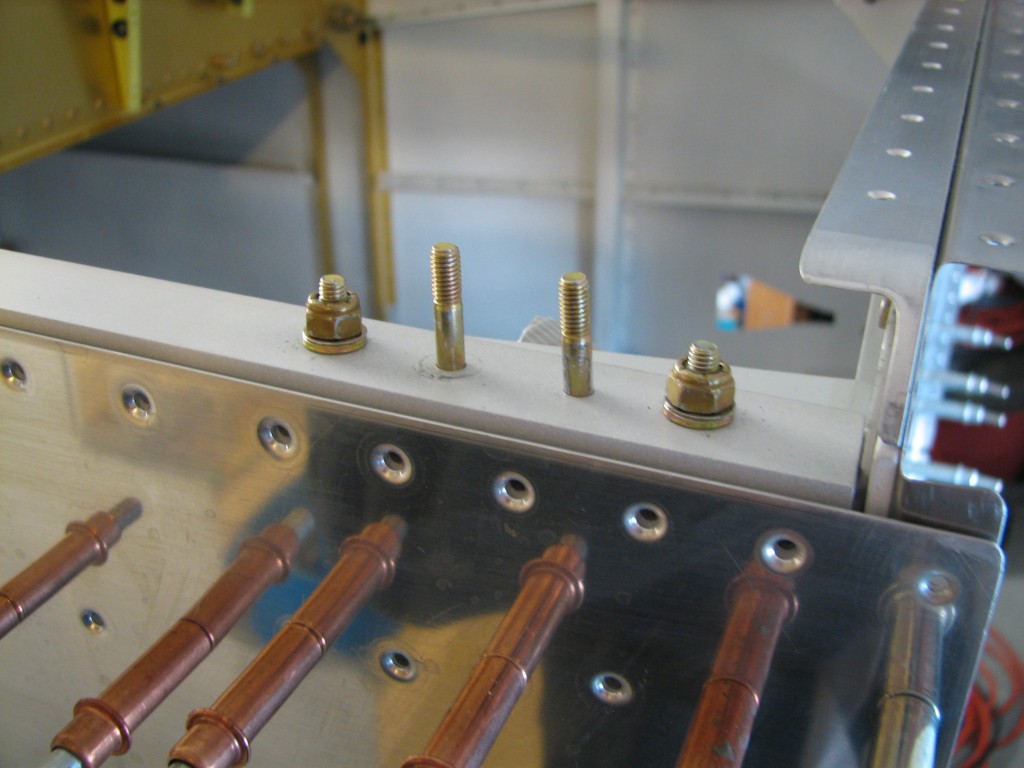
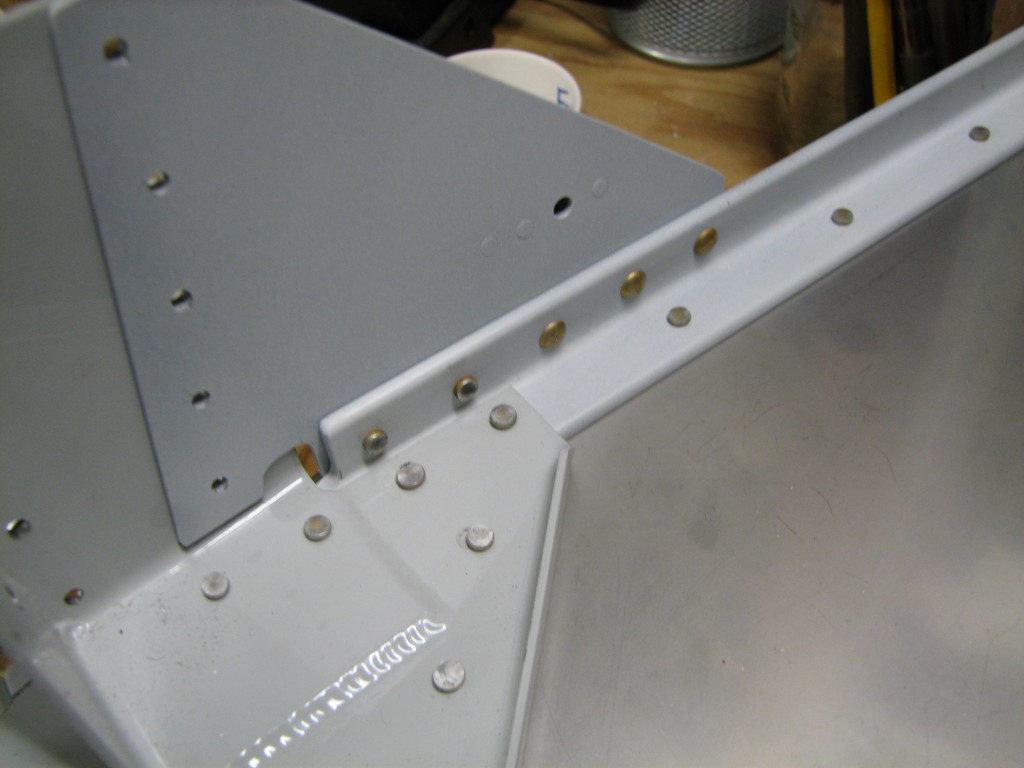
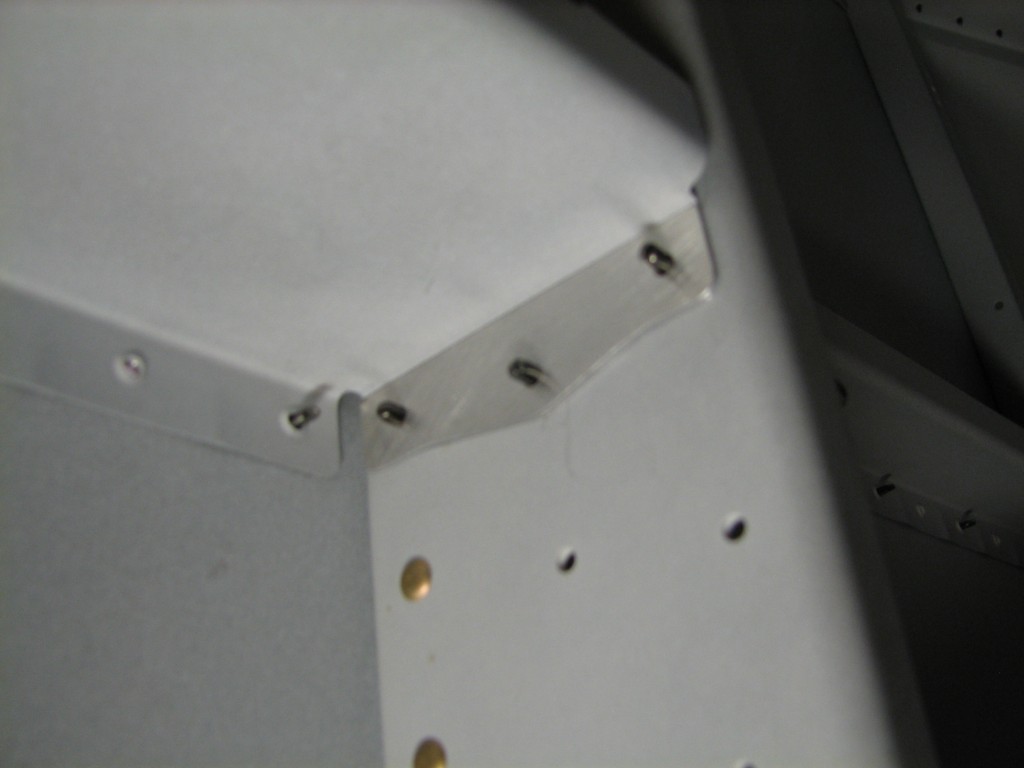
We ran into one problem area. A couple of aluminum angles on the firewall bottom just don’t leave enough room to buck a few of the rivets on the lower firewall stiffener. Van’s offsets these rivet holes a little aft to provide more room, but the extra space isn’t enough to get a bucking bar in there without beating up the angle.
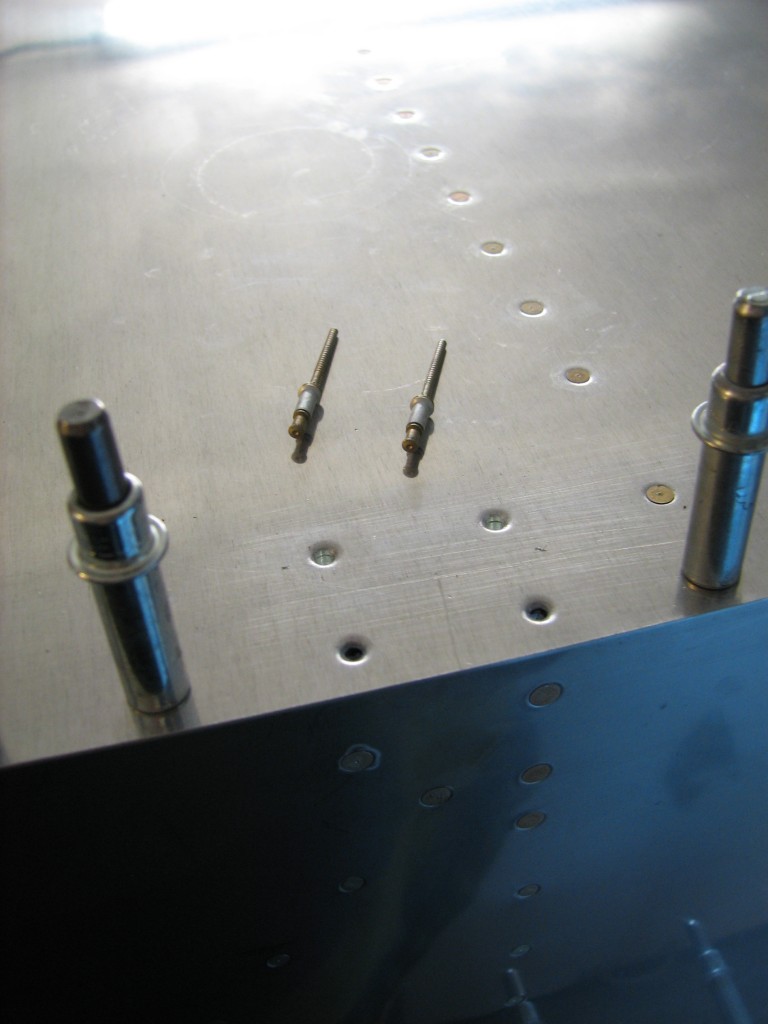
Some folks remove a little material from the angle to allow those rivets to be bucked, but I elected to use blind rivets. Fortunately, I had some Cherrymax CR3214 structural blind rivets on hand – they’re the Cherry equivalent of NAS1097 “oops” solid rivets – they have 1/8″ shanks, but also have a flush head that fits dimples or countersinks for 3/32″ flush rivets. So all I had to do was drill the problematic holes out to #30 and use the Cherrys. Problem solved…
To paraphrase an old Tom Cruise movie, “Cherrymax…there is no substitute.”
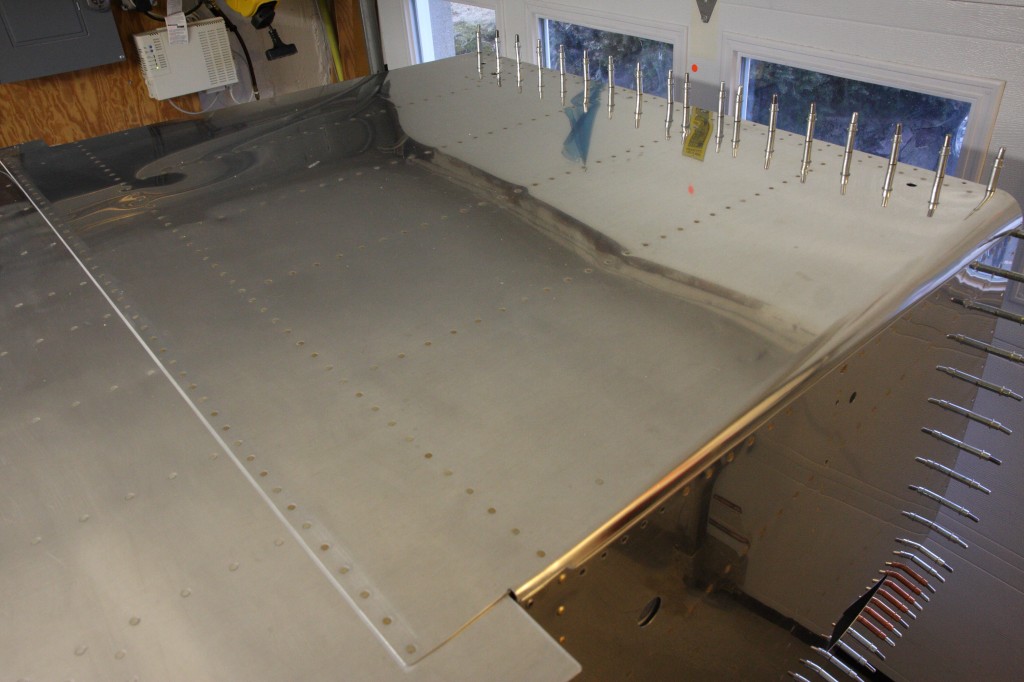
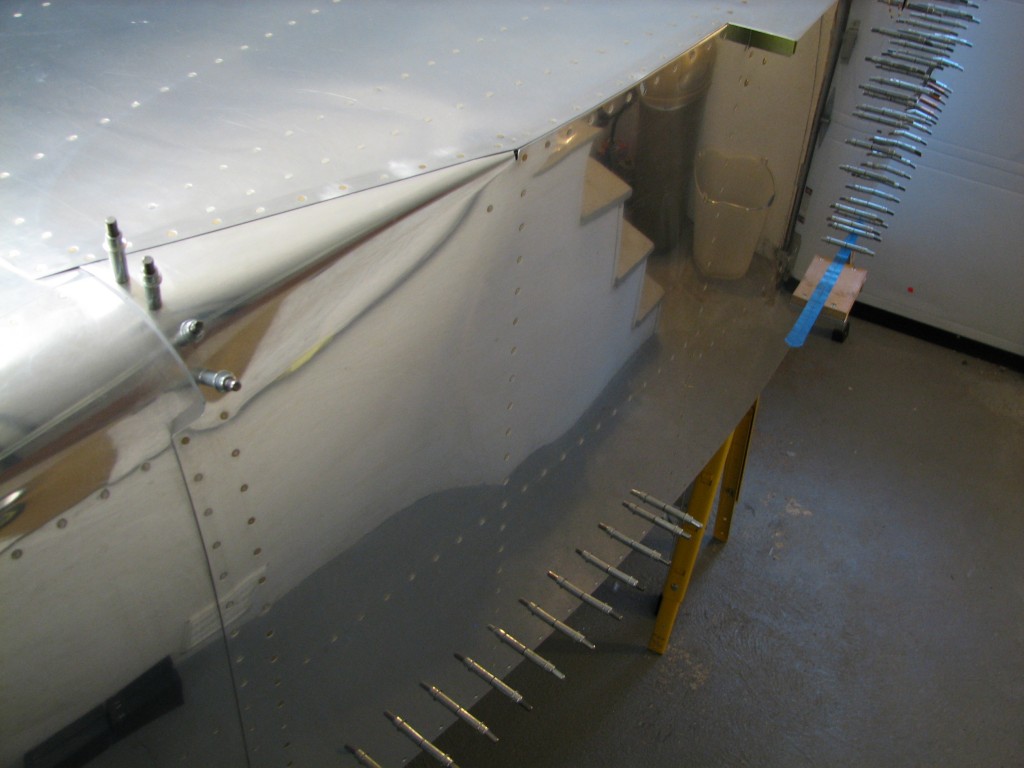
The result of all that work? A nice, smooth belly skin.
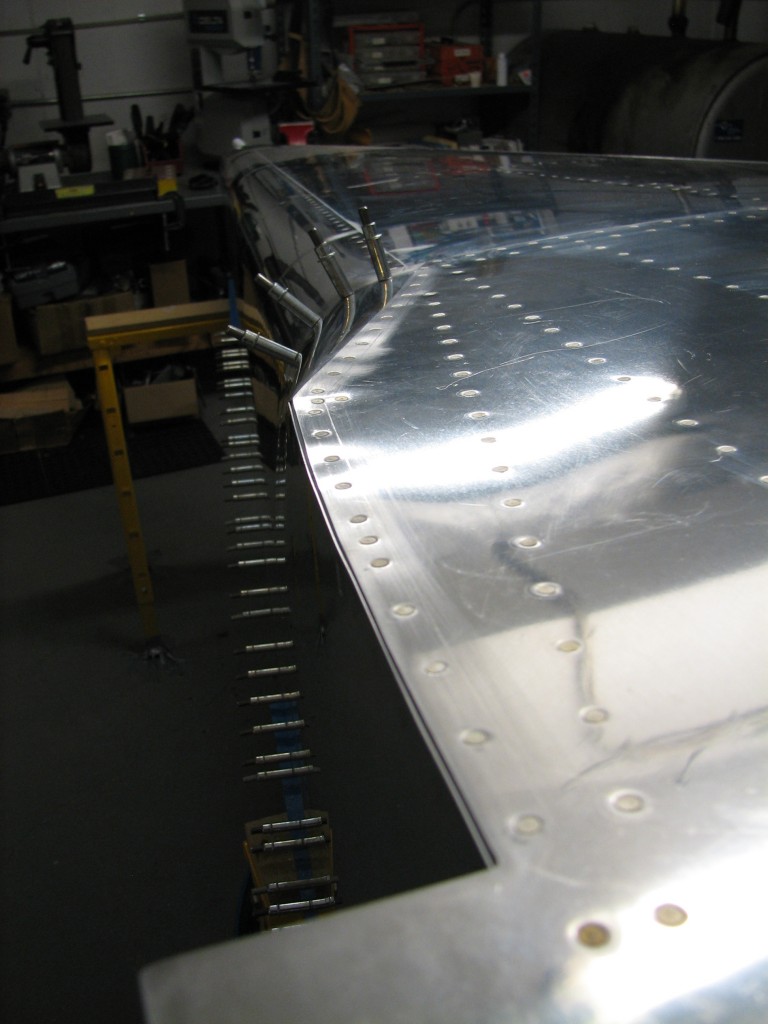
Another picture of the final product…I knew you’d want one.
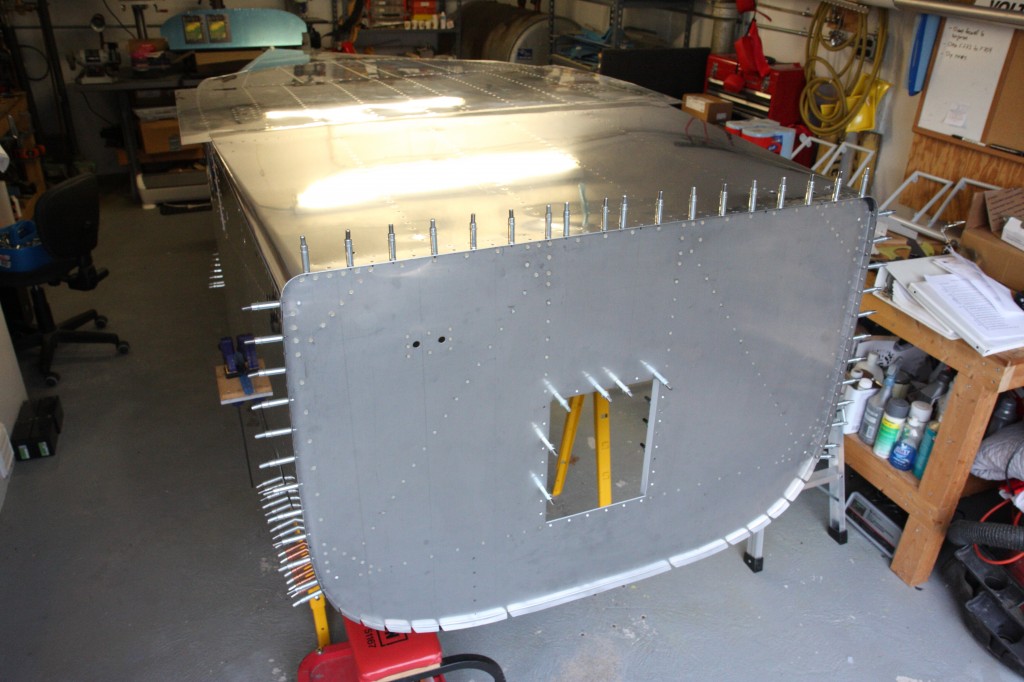 We need something to hold the fuselage at a convenient height, so one of my tasks for the week is to fabricate a rolling cradle that will let us make the most of our limited shop space. We’re also rearranging the shop to free up enough maneuvering room for future work, like installing the canopy and hanging the engine.

