Random spam

For the first time since migrating the site to WordPress, I checked the WP dashboard’s comment spam logs. Found some pretty good ones…

  • “Your writing style is unquestionably impressive. Like Jd Sallinger.”
  • “The next time I read a blog, I hope that it doesnt disappoint me as much as this 1. I mean, I know it was my selection to read, but I in fact thought youd have some thing interesting to say. All I hear is often a bunch of whining about something that you simply could fix for those who werent too busy seeking for attention.”

More fun with chemistry

The last major task on the fuselage canoe was getting the forward belly skin in place. That, in turn, meant mixing up some nasty, gloppy Flamemaster CS1900 firewall sealant to seal the firewall-to-skin joints.

This stuff is a pain to work with…it has a consistency something like taffy, and it doesn’t adhere very well to stainless steel. Its only redeeming characteristic is that it’s one of the few sealants capable of withstanding the 1000 deg F temperatures the firewall is supposed to protect us against in the (hopefully extremely) unlikely event of an engine compartment fire.

Mixing CS1900

Before troweling this stuff on, I un-clecoed the side skins and pulled them back to expose the firewall side flanges.  I also pre-positioned the belly skin just above the firewall (big thanks to Mike Bullock for posting his sealing process, I copied it verbatim).  The blue painter’s tape is there to keep me from making a complete mess of everything else behind the firewall.

Prepping for firewall sealantThis stuff doesn’t spread well…if you don’t apply a lot of pressure to smooth it out, it stays “lumpy”, for lack of a better word.  Here’s what it looks like when applied…it’s actually smoother than it looks.

IMG_8407

Here’s the final result, with a few side rivets set for good measure.

Skins sealed and clecoedMore riveting tomorrow…

An experiment

So I was reading some posts on Van Air Force about shims and using a flexible epoxy called Hysol as a “liquid shim” in areas where the skin-to-structure fit isn’t so good.  So as an experiment I bought some Hysol EA9394 from SkyGeek and tried it out, first on the conical bends at the rear baggage compartment floor.

The stuff comes in a two-part pack.  After I mixed it up, I troweled it into a syringe…

Hysol processing…and injected it into the areas around the conical bend where the aft skin tabs don’t nest so well into the center skins.  The Hysol should fill any gap between the tab and skin, hopefully preventing big dimples when the rivets are set.

Hysol on the aft tabsI had a little Hysol left over, so I shot some into the gaps left by poorly-fitting aux longerons in the forward fuse.  Vans makes these parts by joggling the ends, which means that some areas don’t fit so well.

Hysol in the aux longeronsThe proof will be in how the skins look when we rivet them…I hope this wasn’t a waste of a day.


Snowbound? Time to rivet!

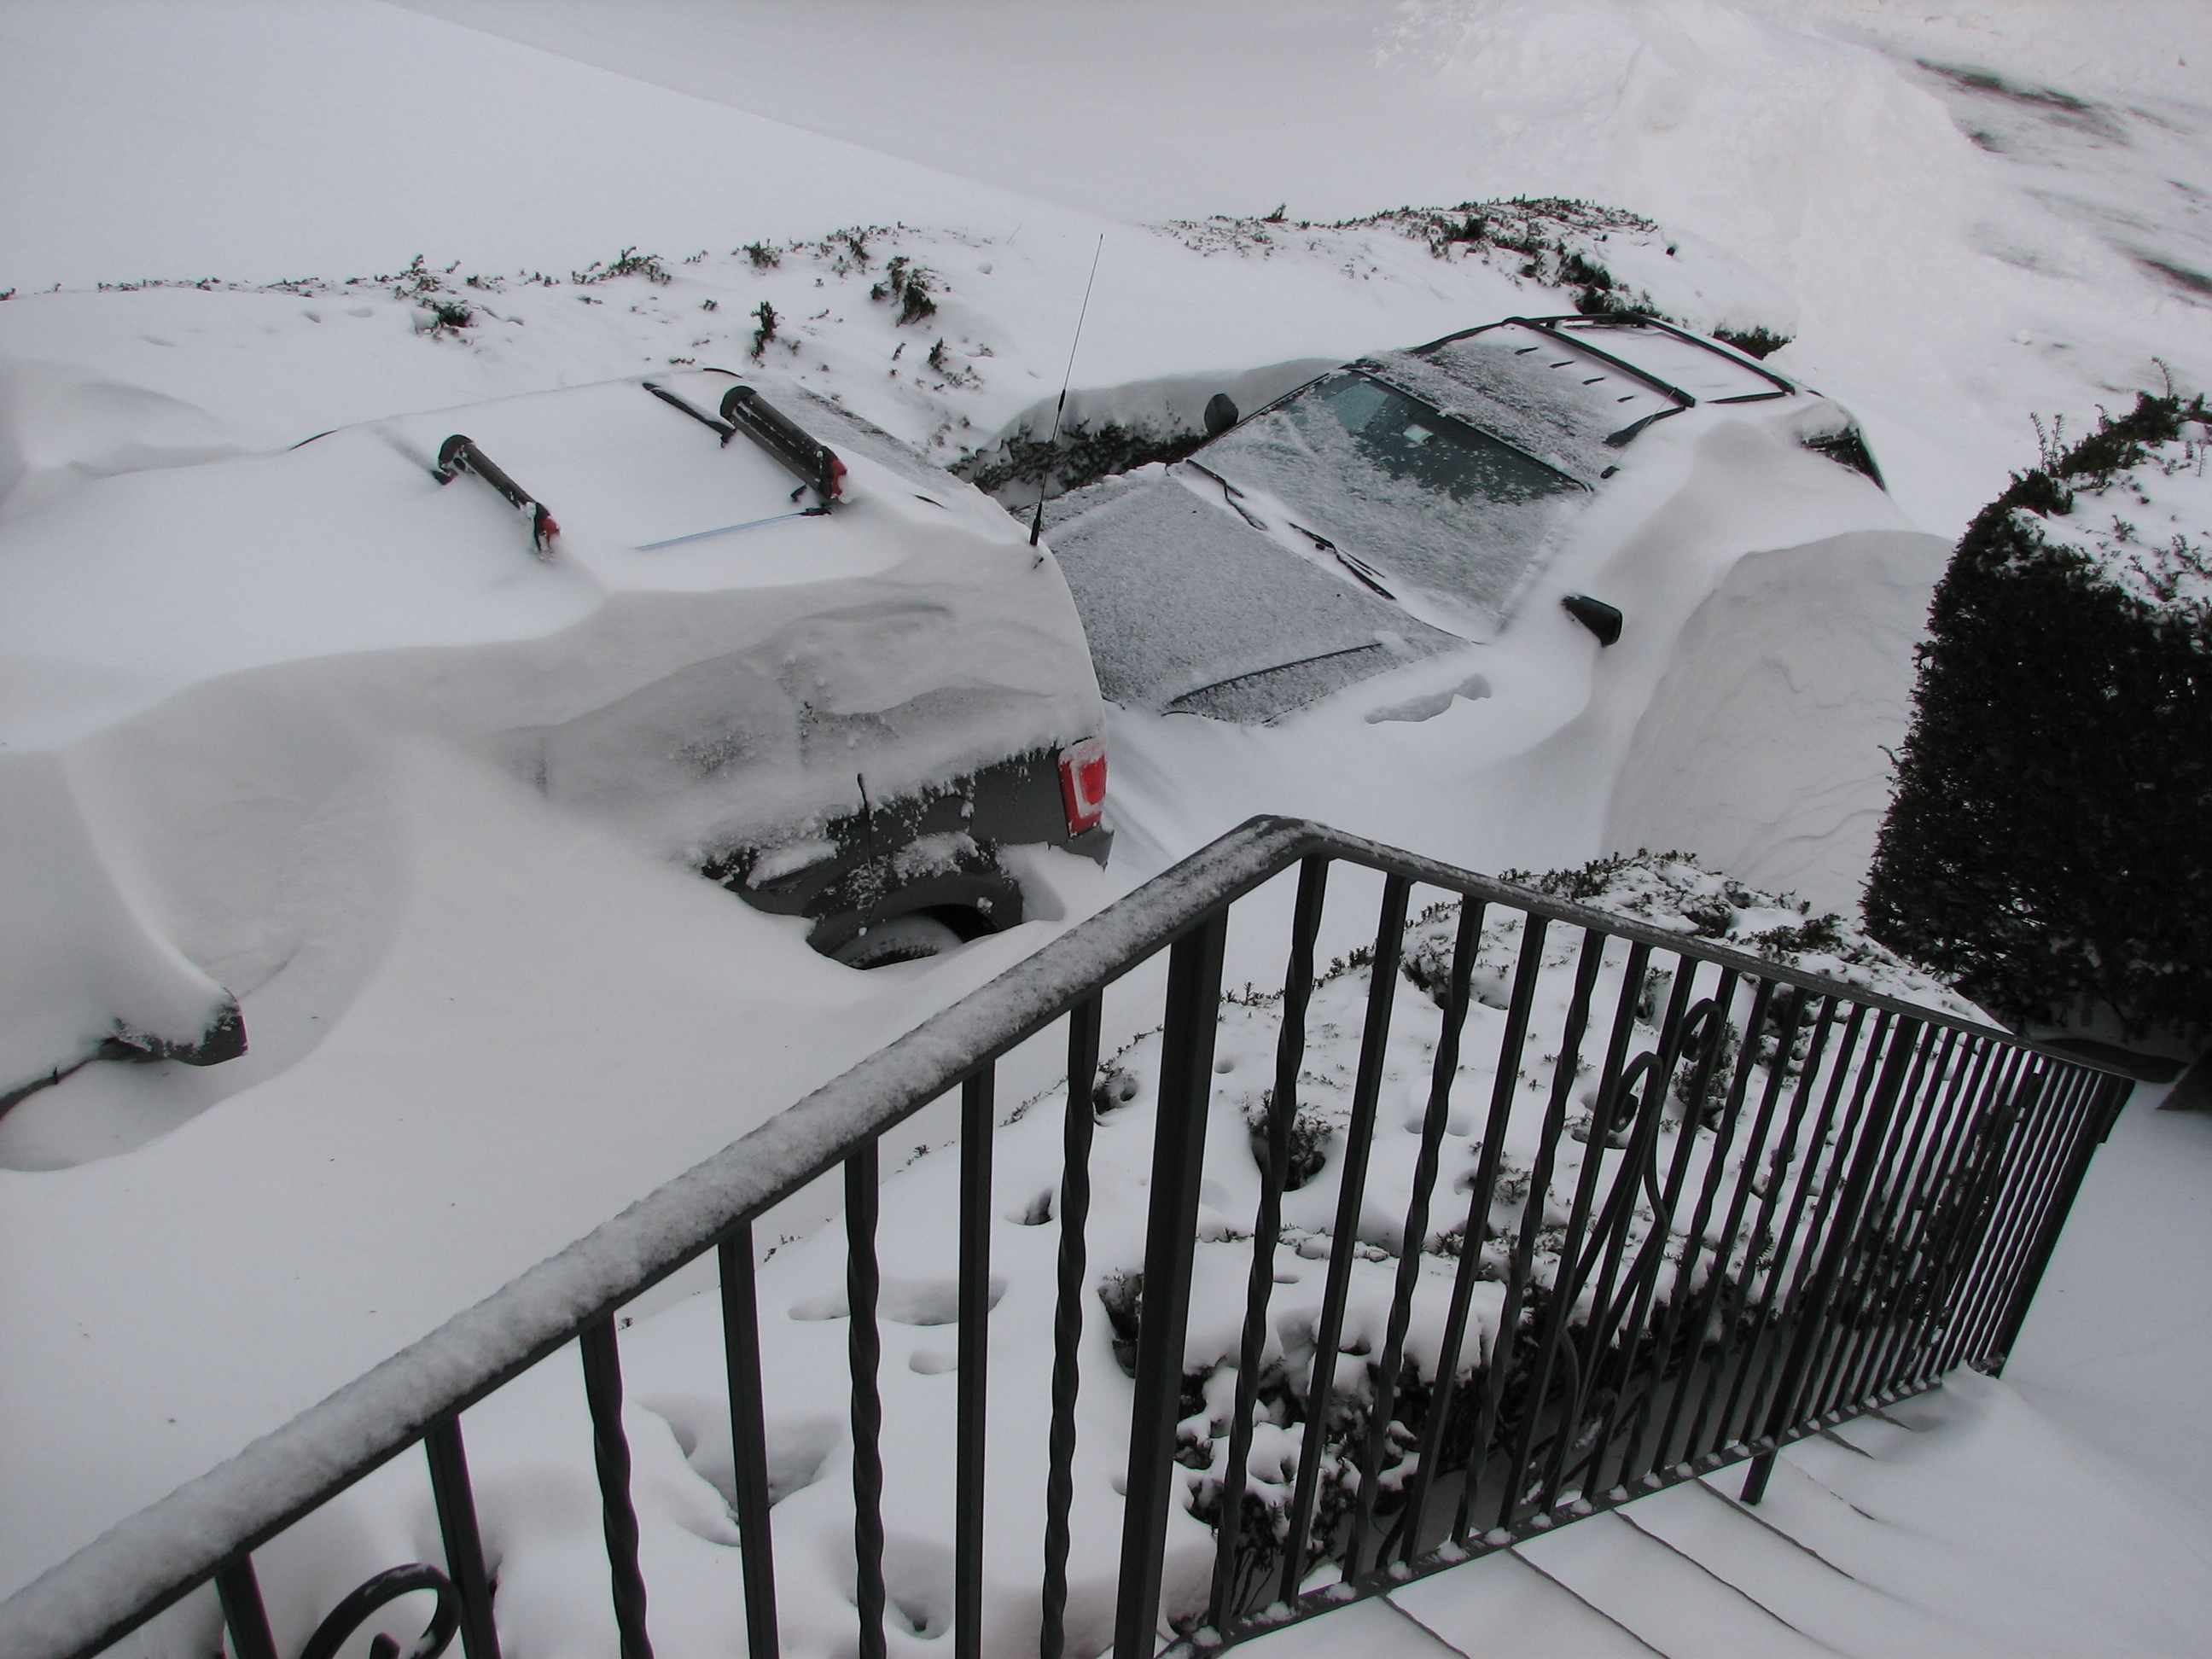
It’s Saturday and after the blizzard it’s 20 degrees outside and we have two feet of snow in the driveway.After the blizzardSo do we bundle up and dig out the cars, or do we stay warm and dry and work on the RV? That’s an easy question to answer.

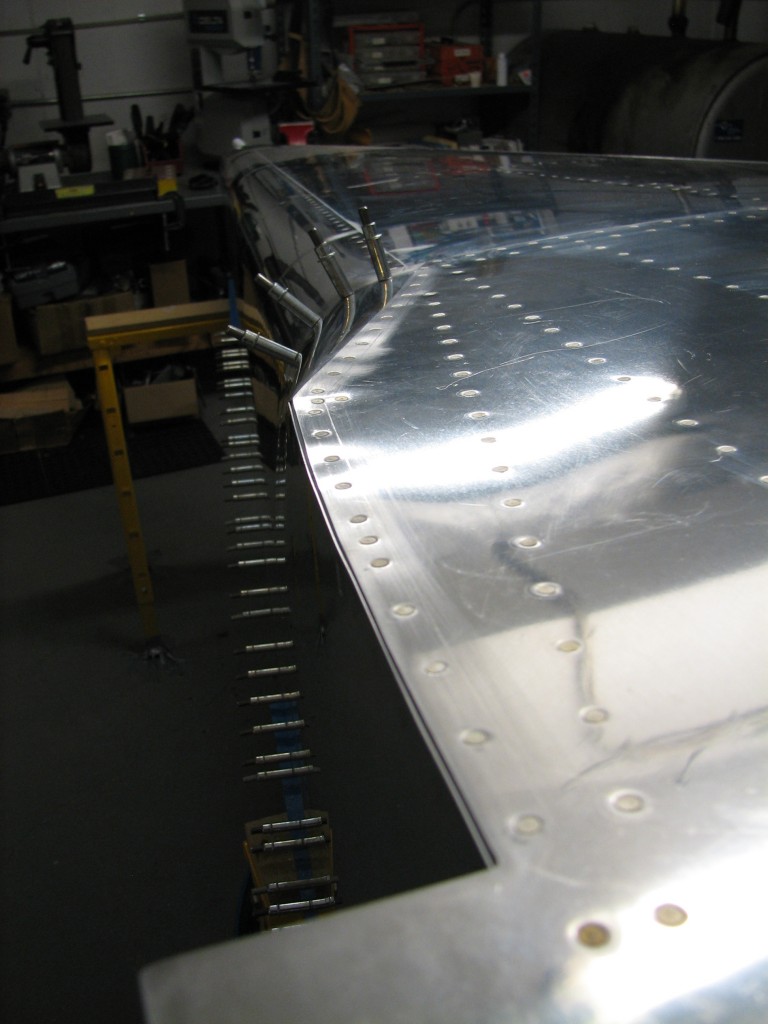
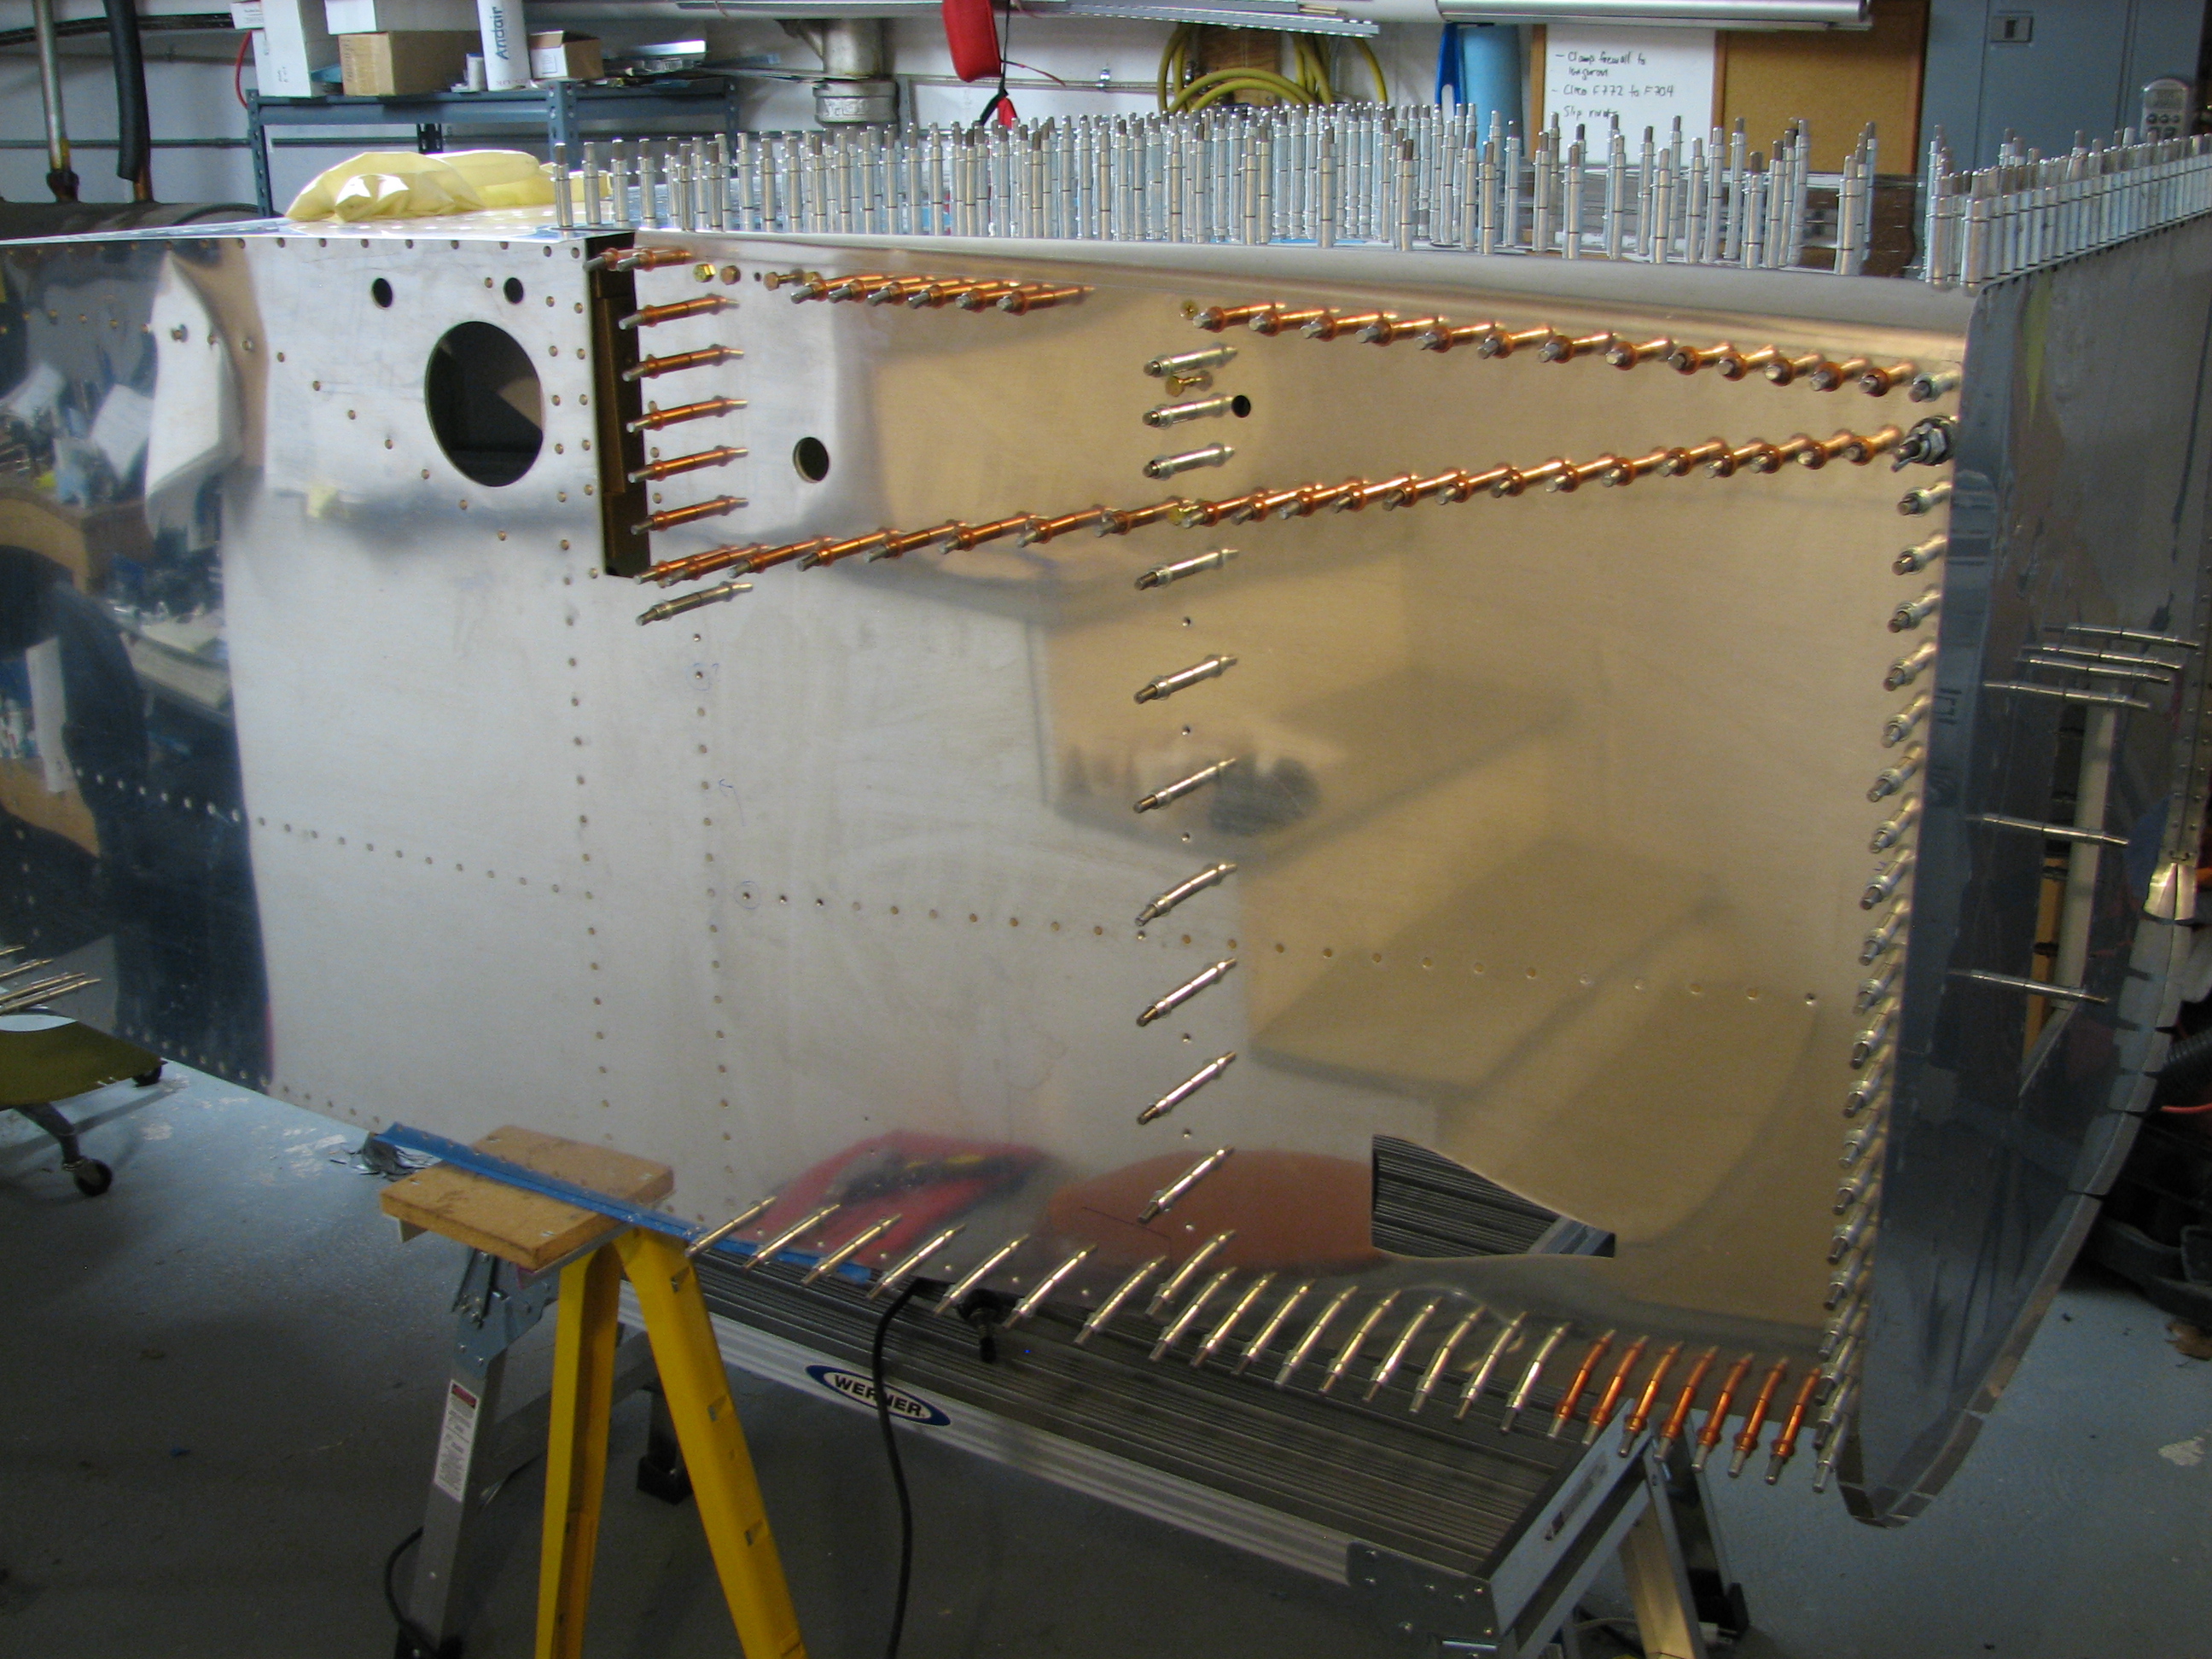
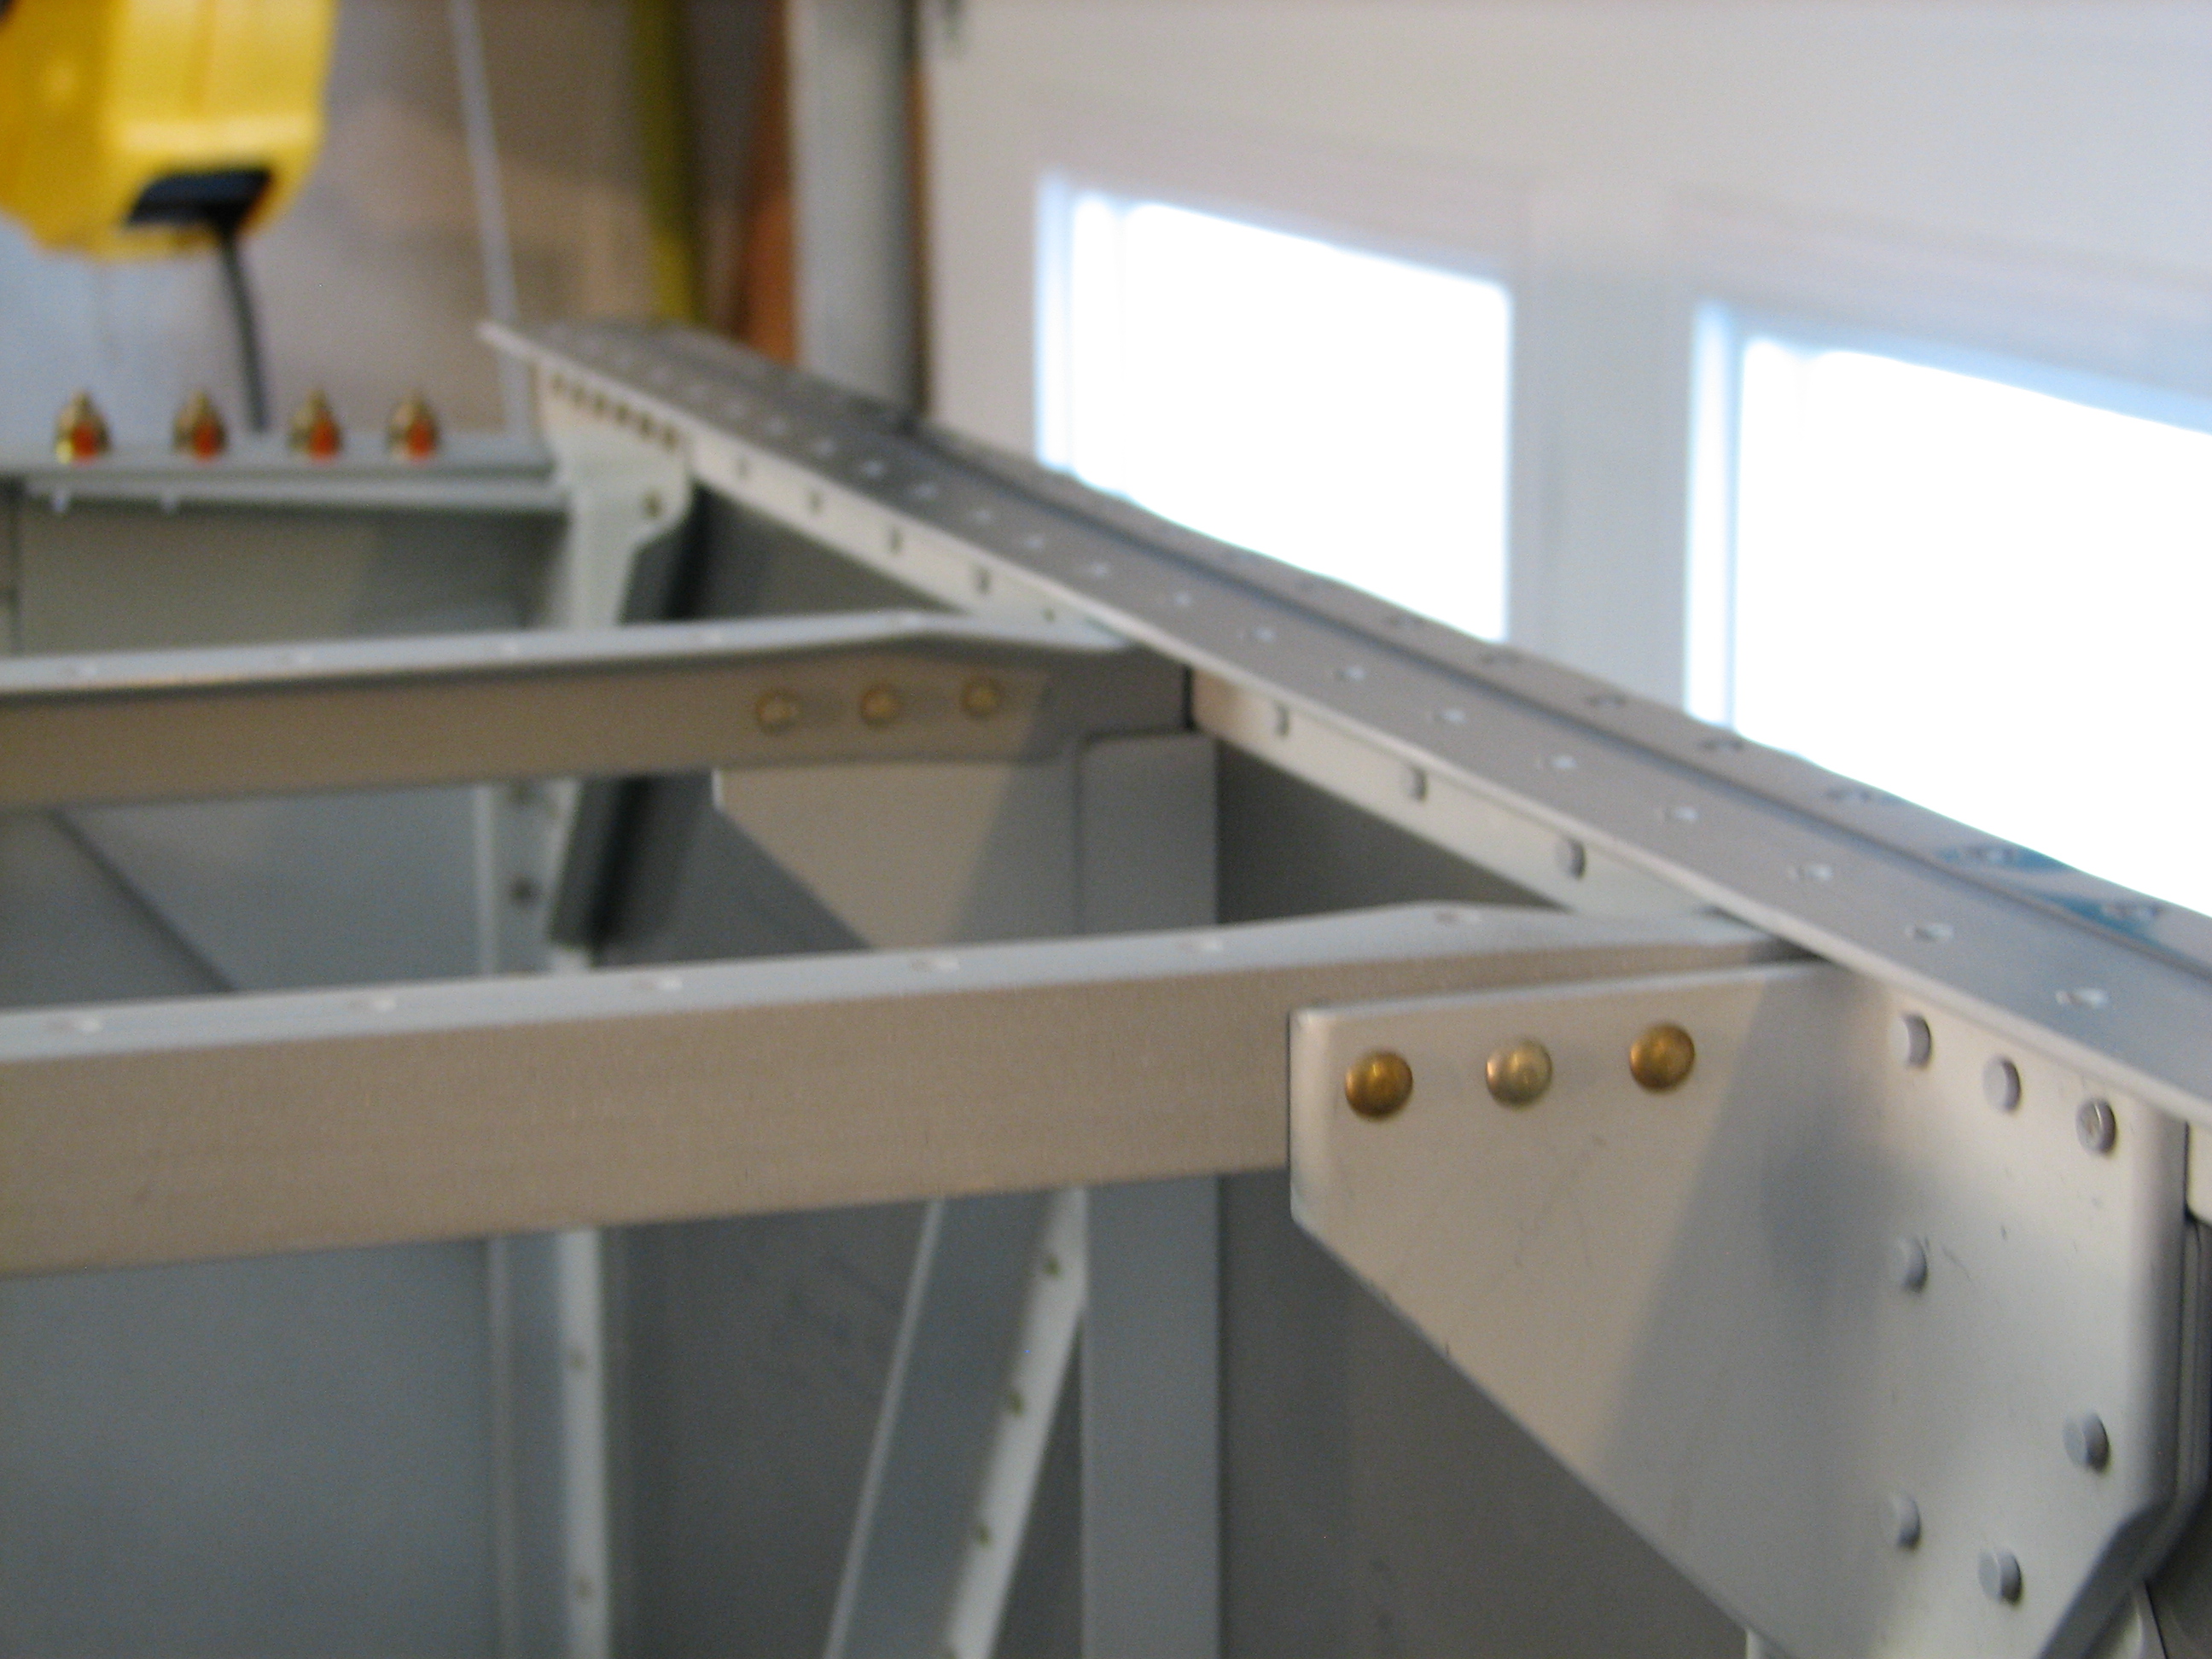
First thing we did was finish riveting two of four of the front floor stiffeners.  I was able to squeeze most of the rivets, but a couple required the classic buck/shoot method – no problems.

Front floor stiffeners

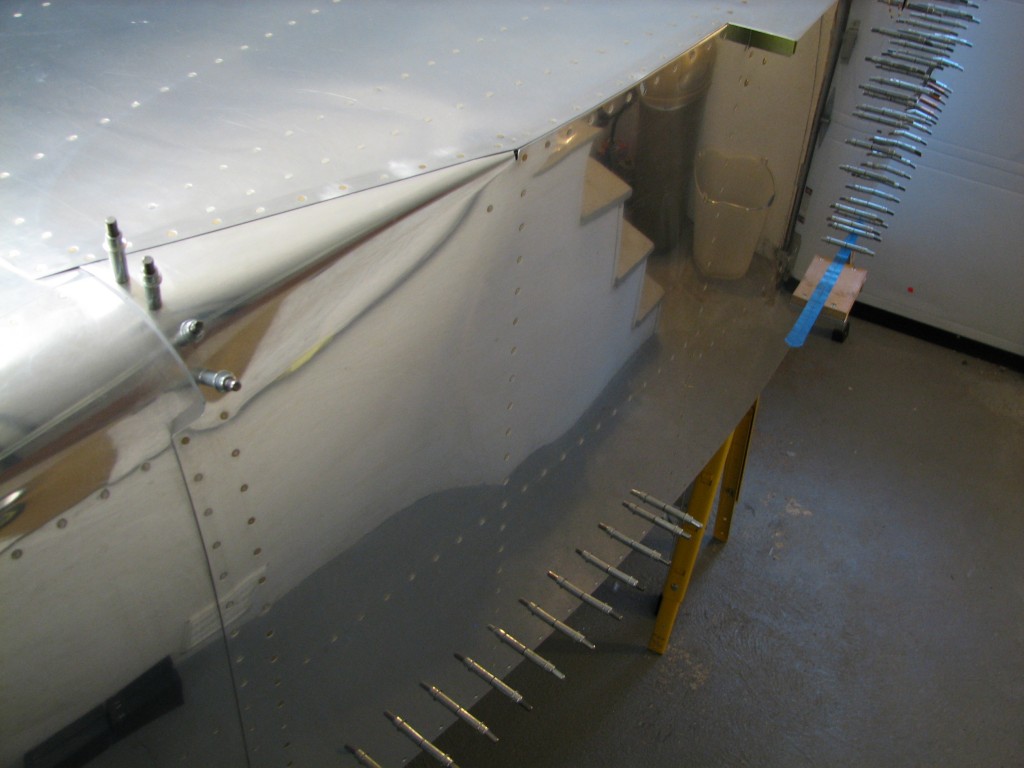
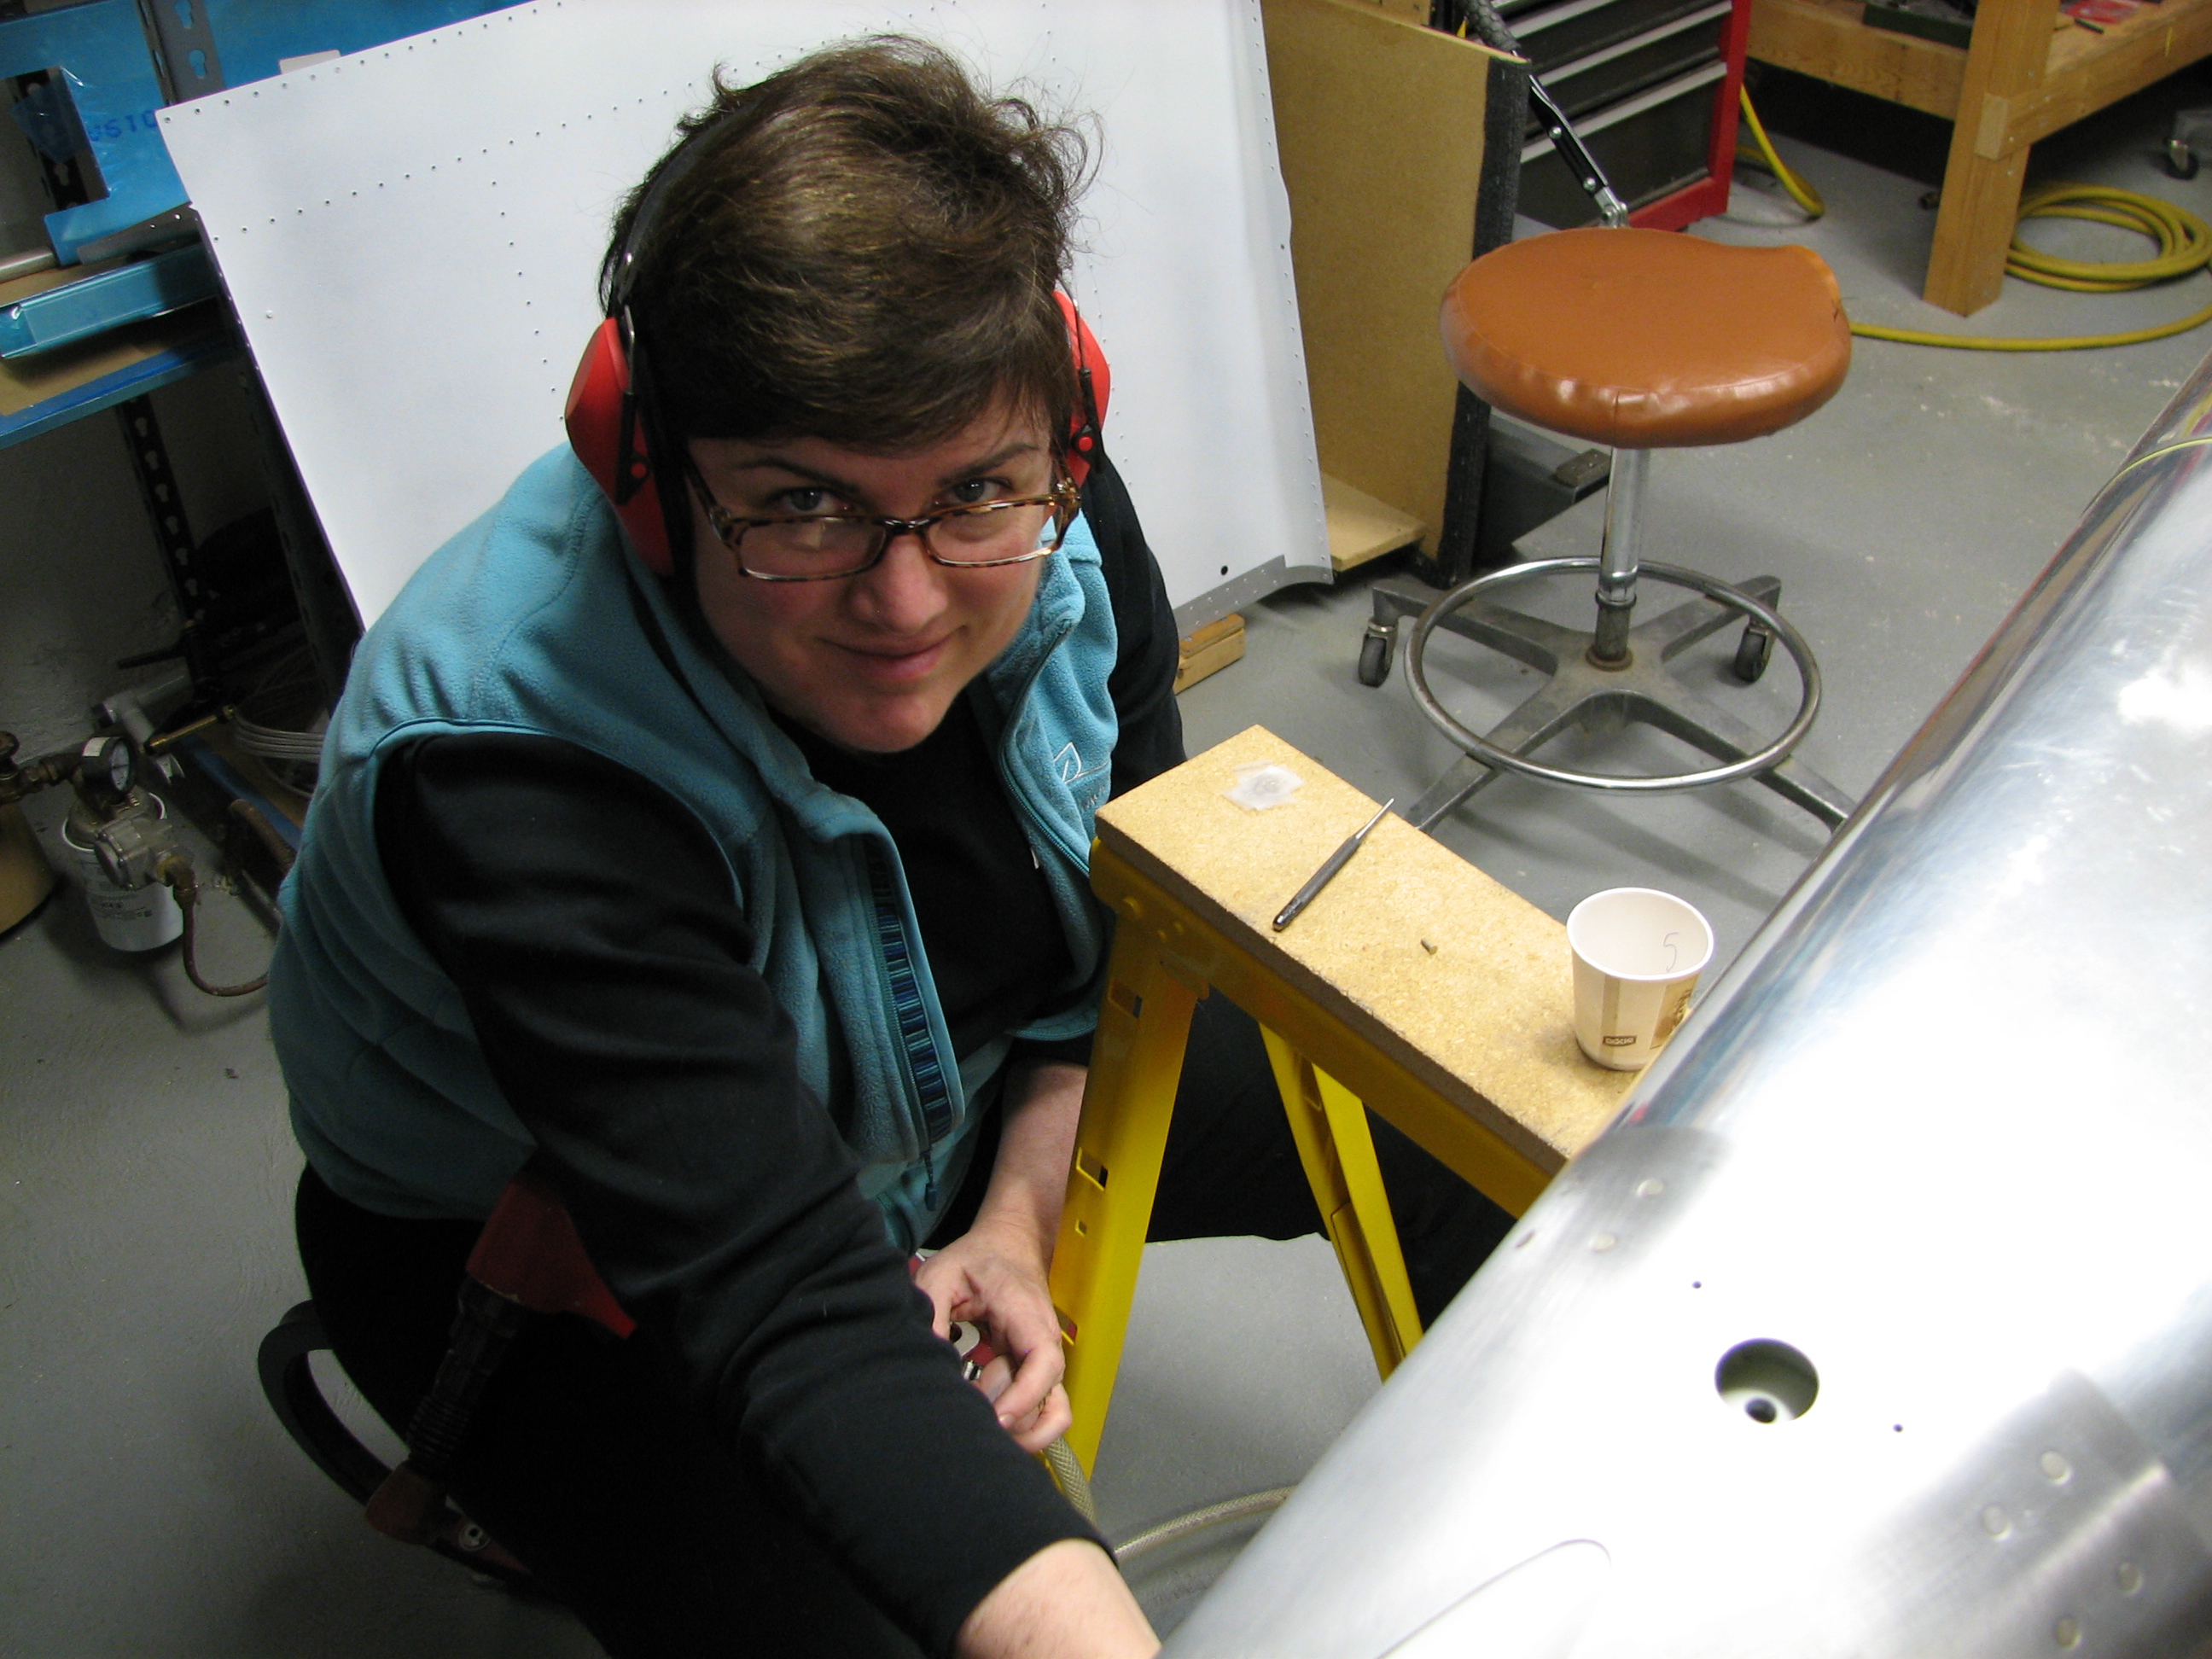
After finishing the stiffeners we moved on to fuselage side and belly skin rivets.  Some we were able to back-shoot, for others Ellen ran the rivet gun and I bucked.  We had a few rivets to drill out, but we made good progress.  The tungsten bucking bar is worth every penny I paid for it…made short work of some difficult-to-reach rivets.

IMG_8388
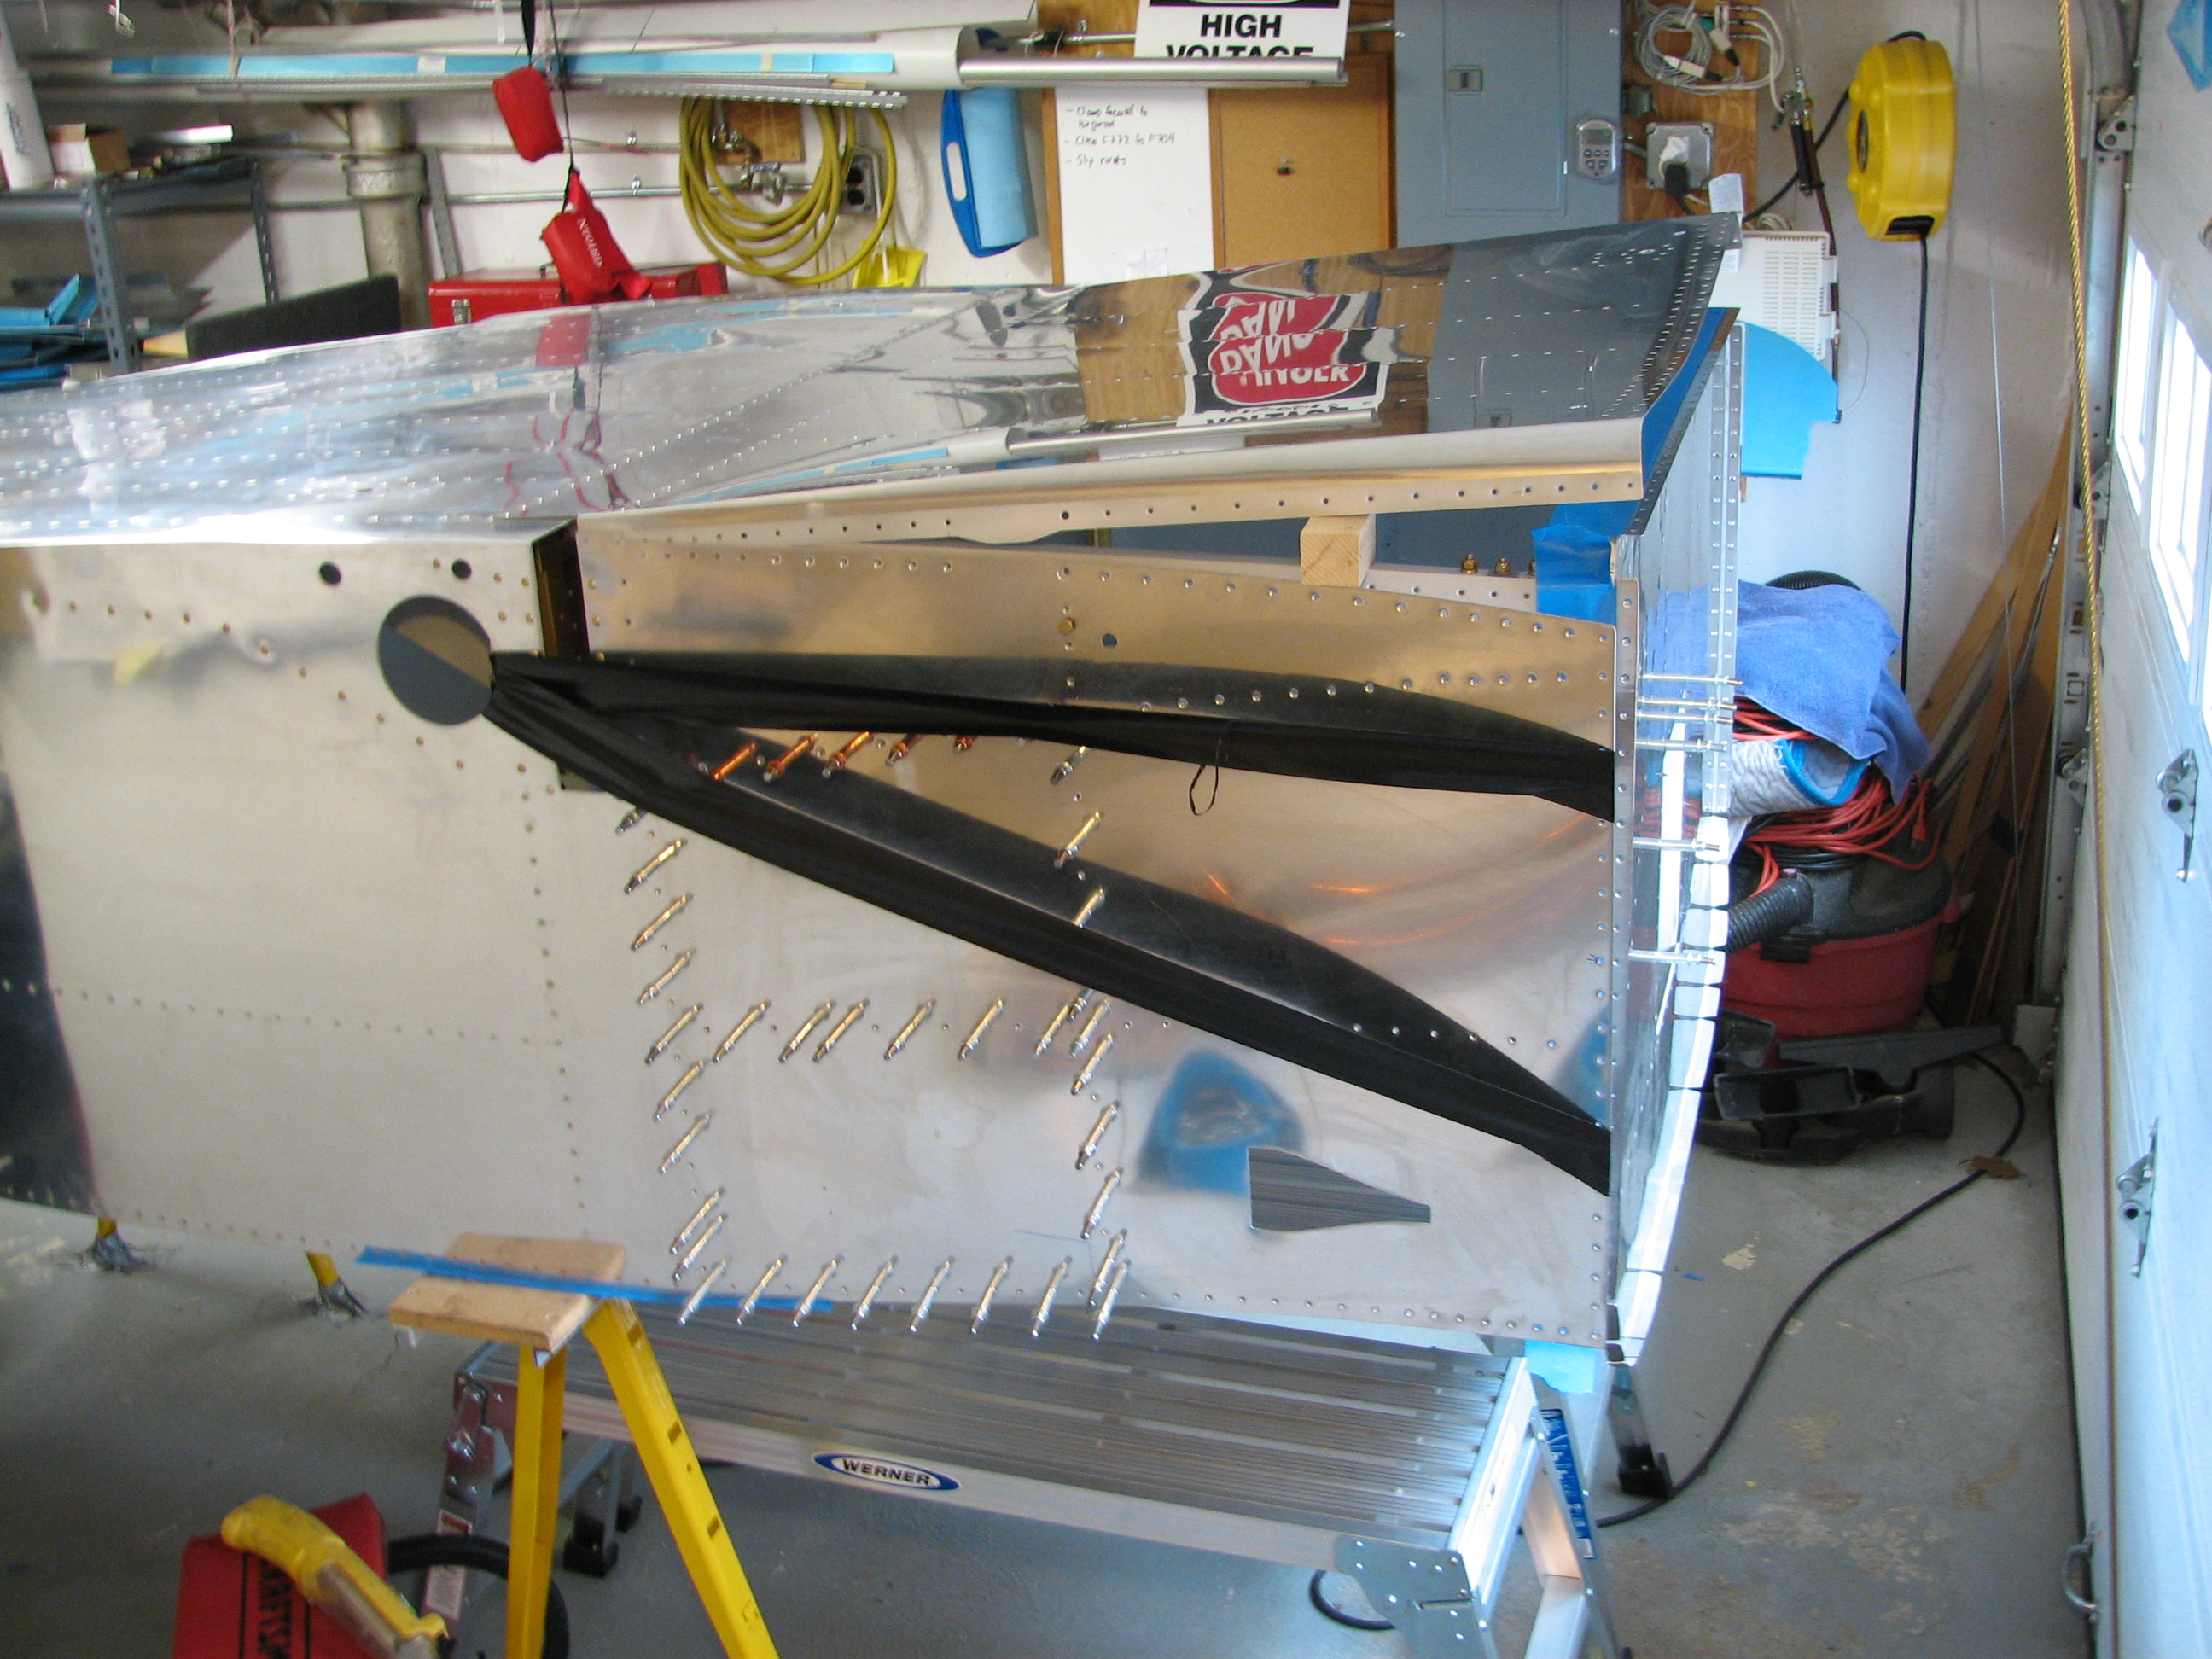
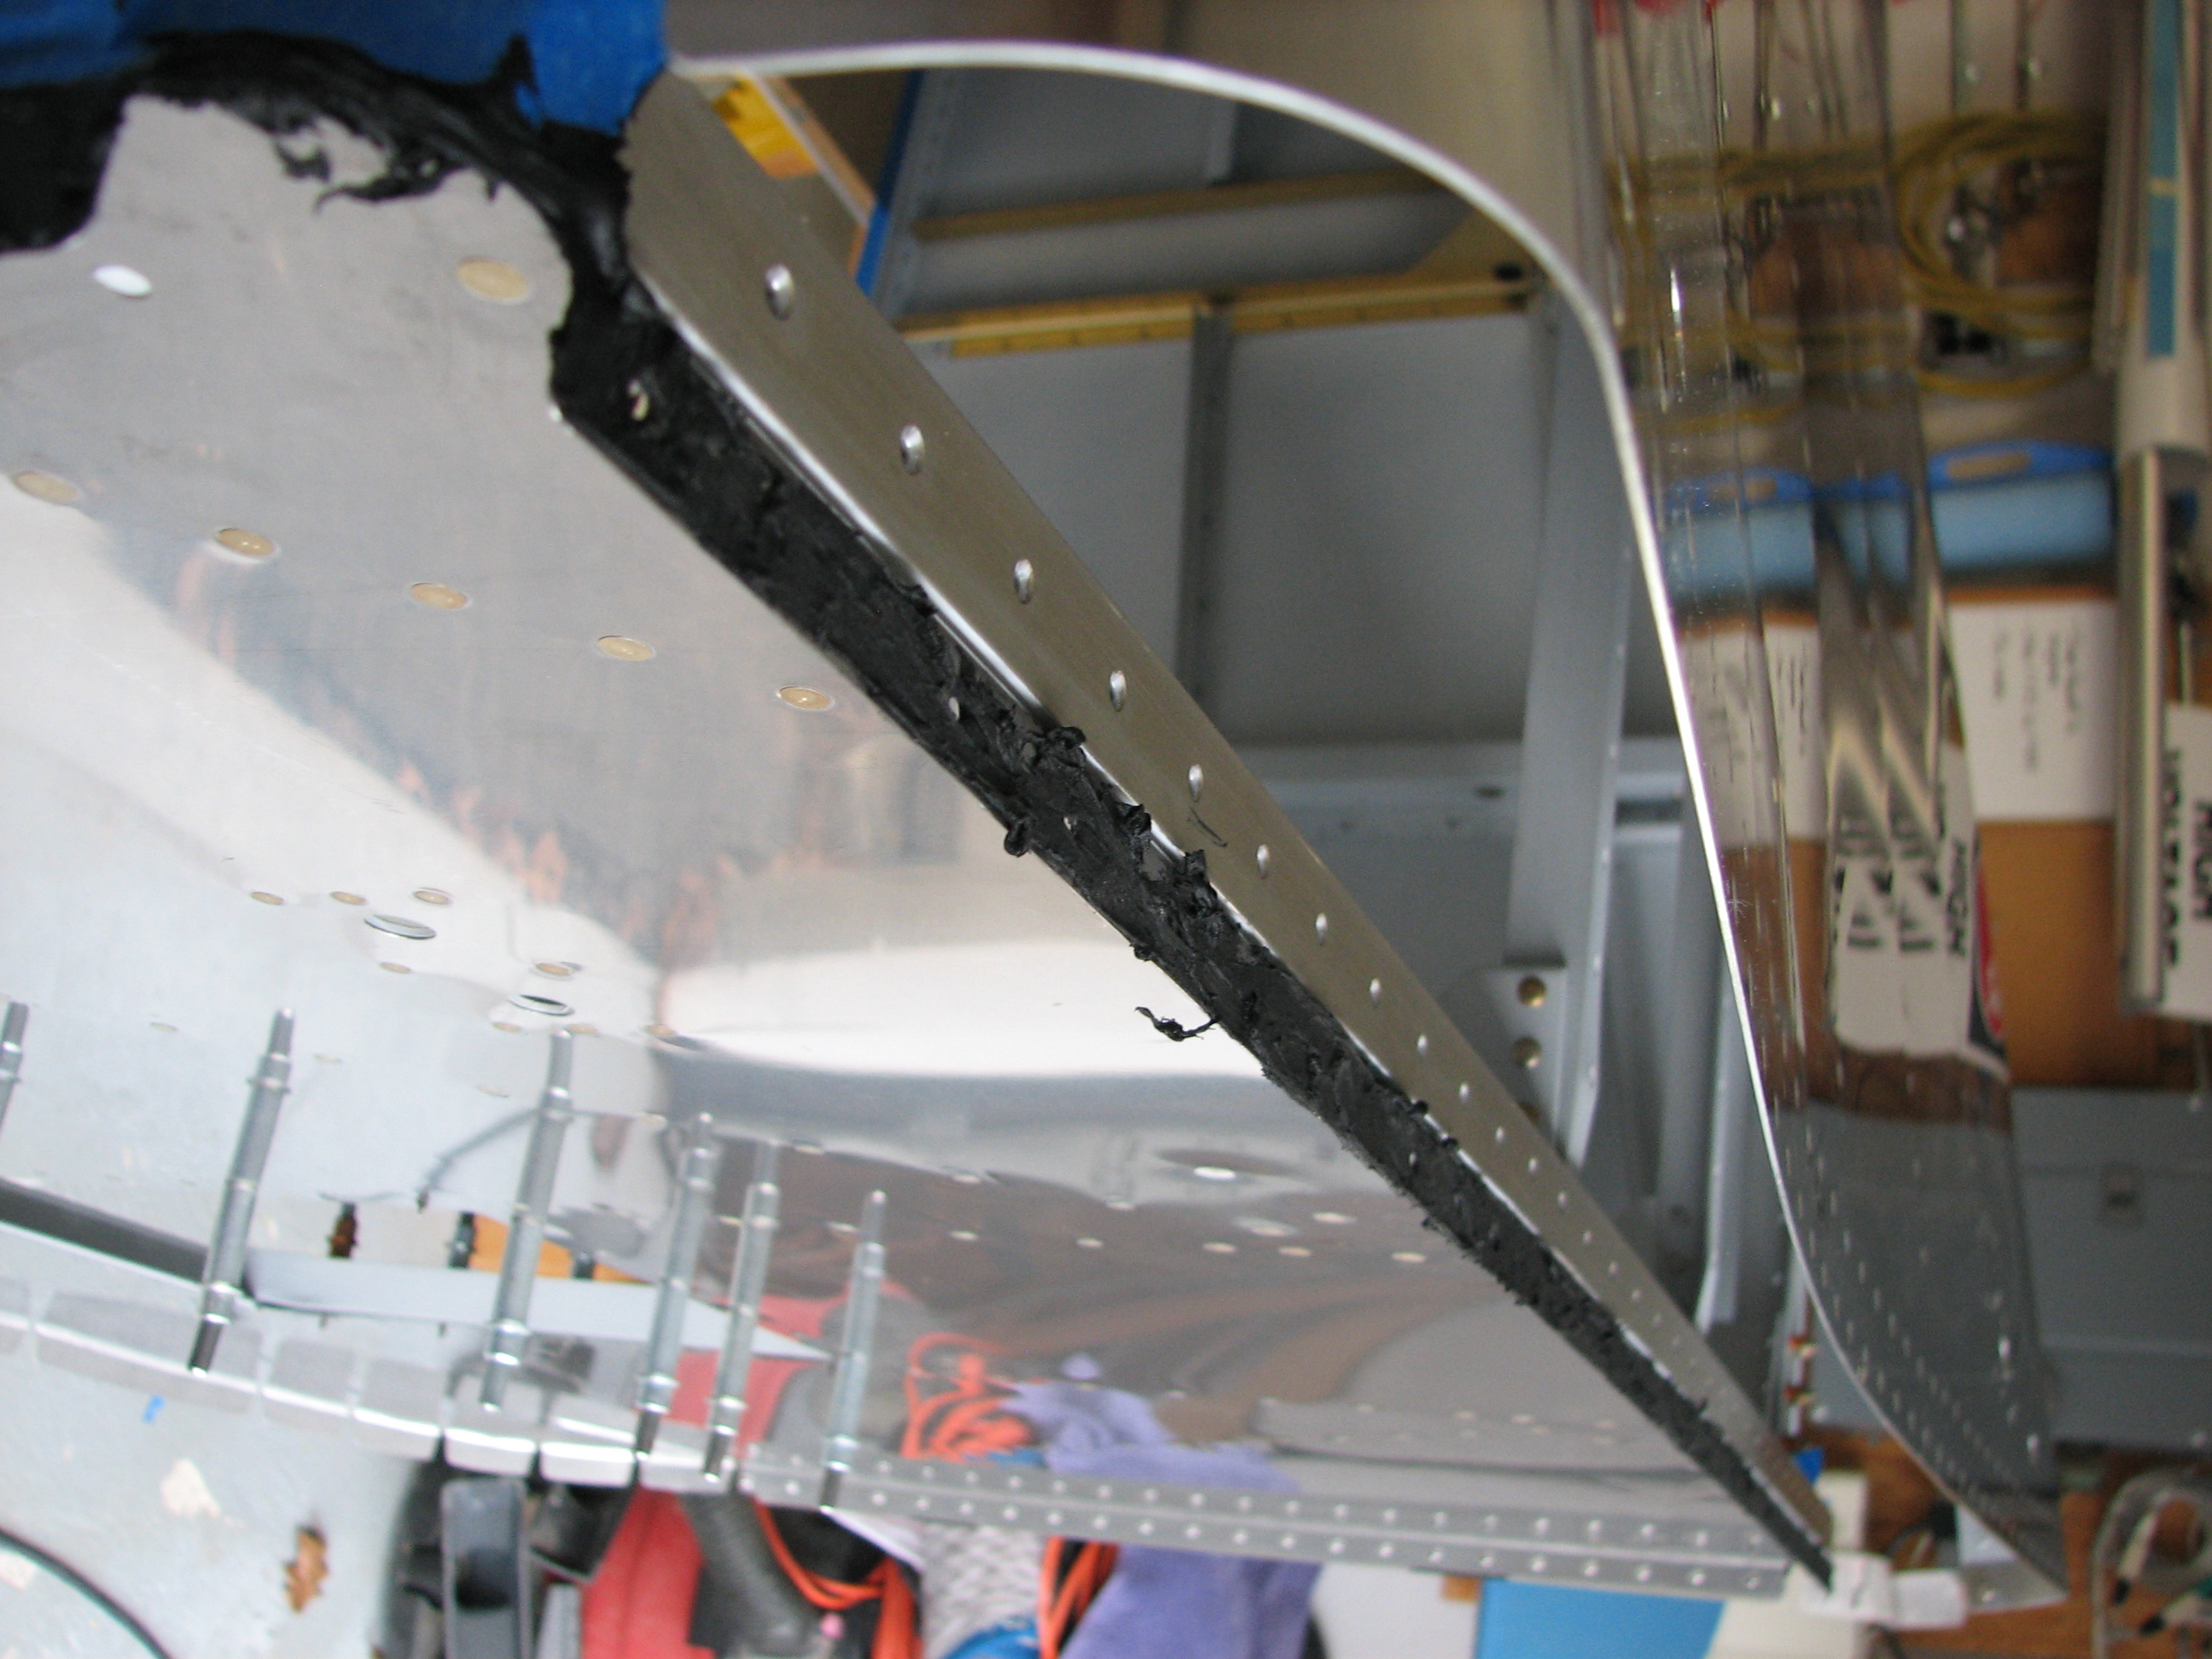
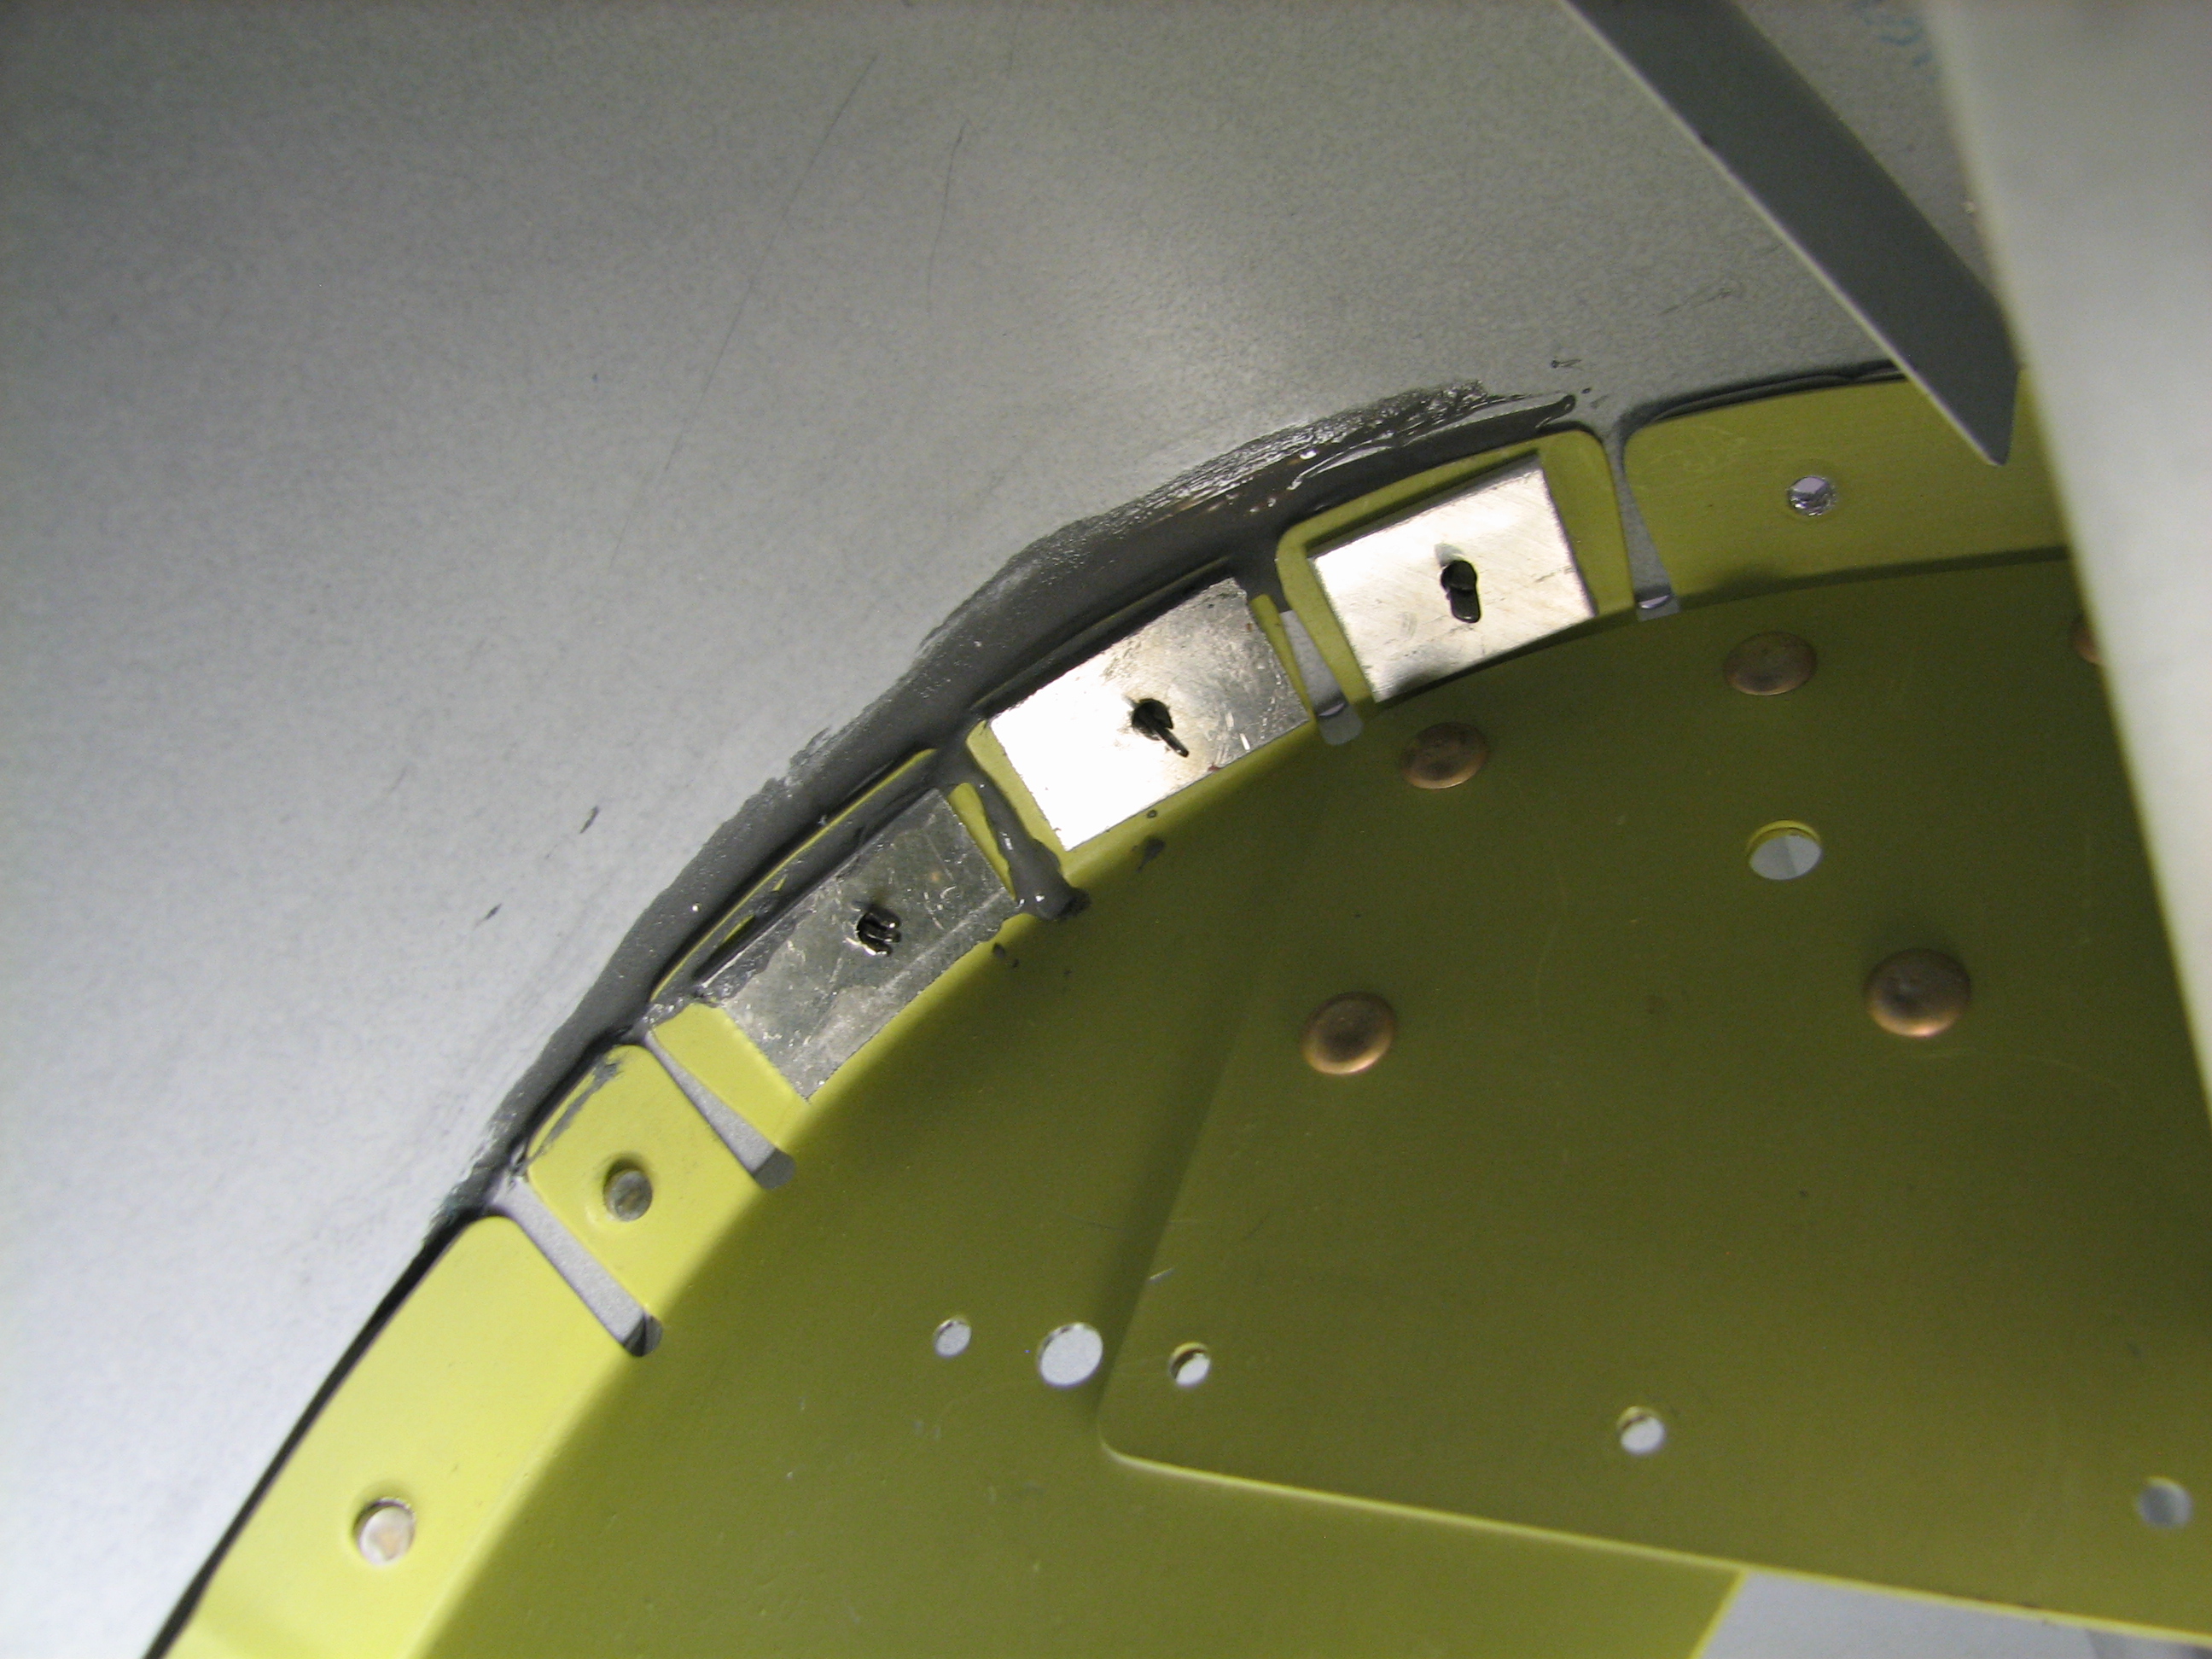
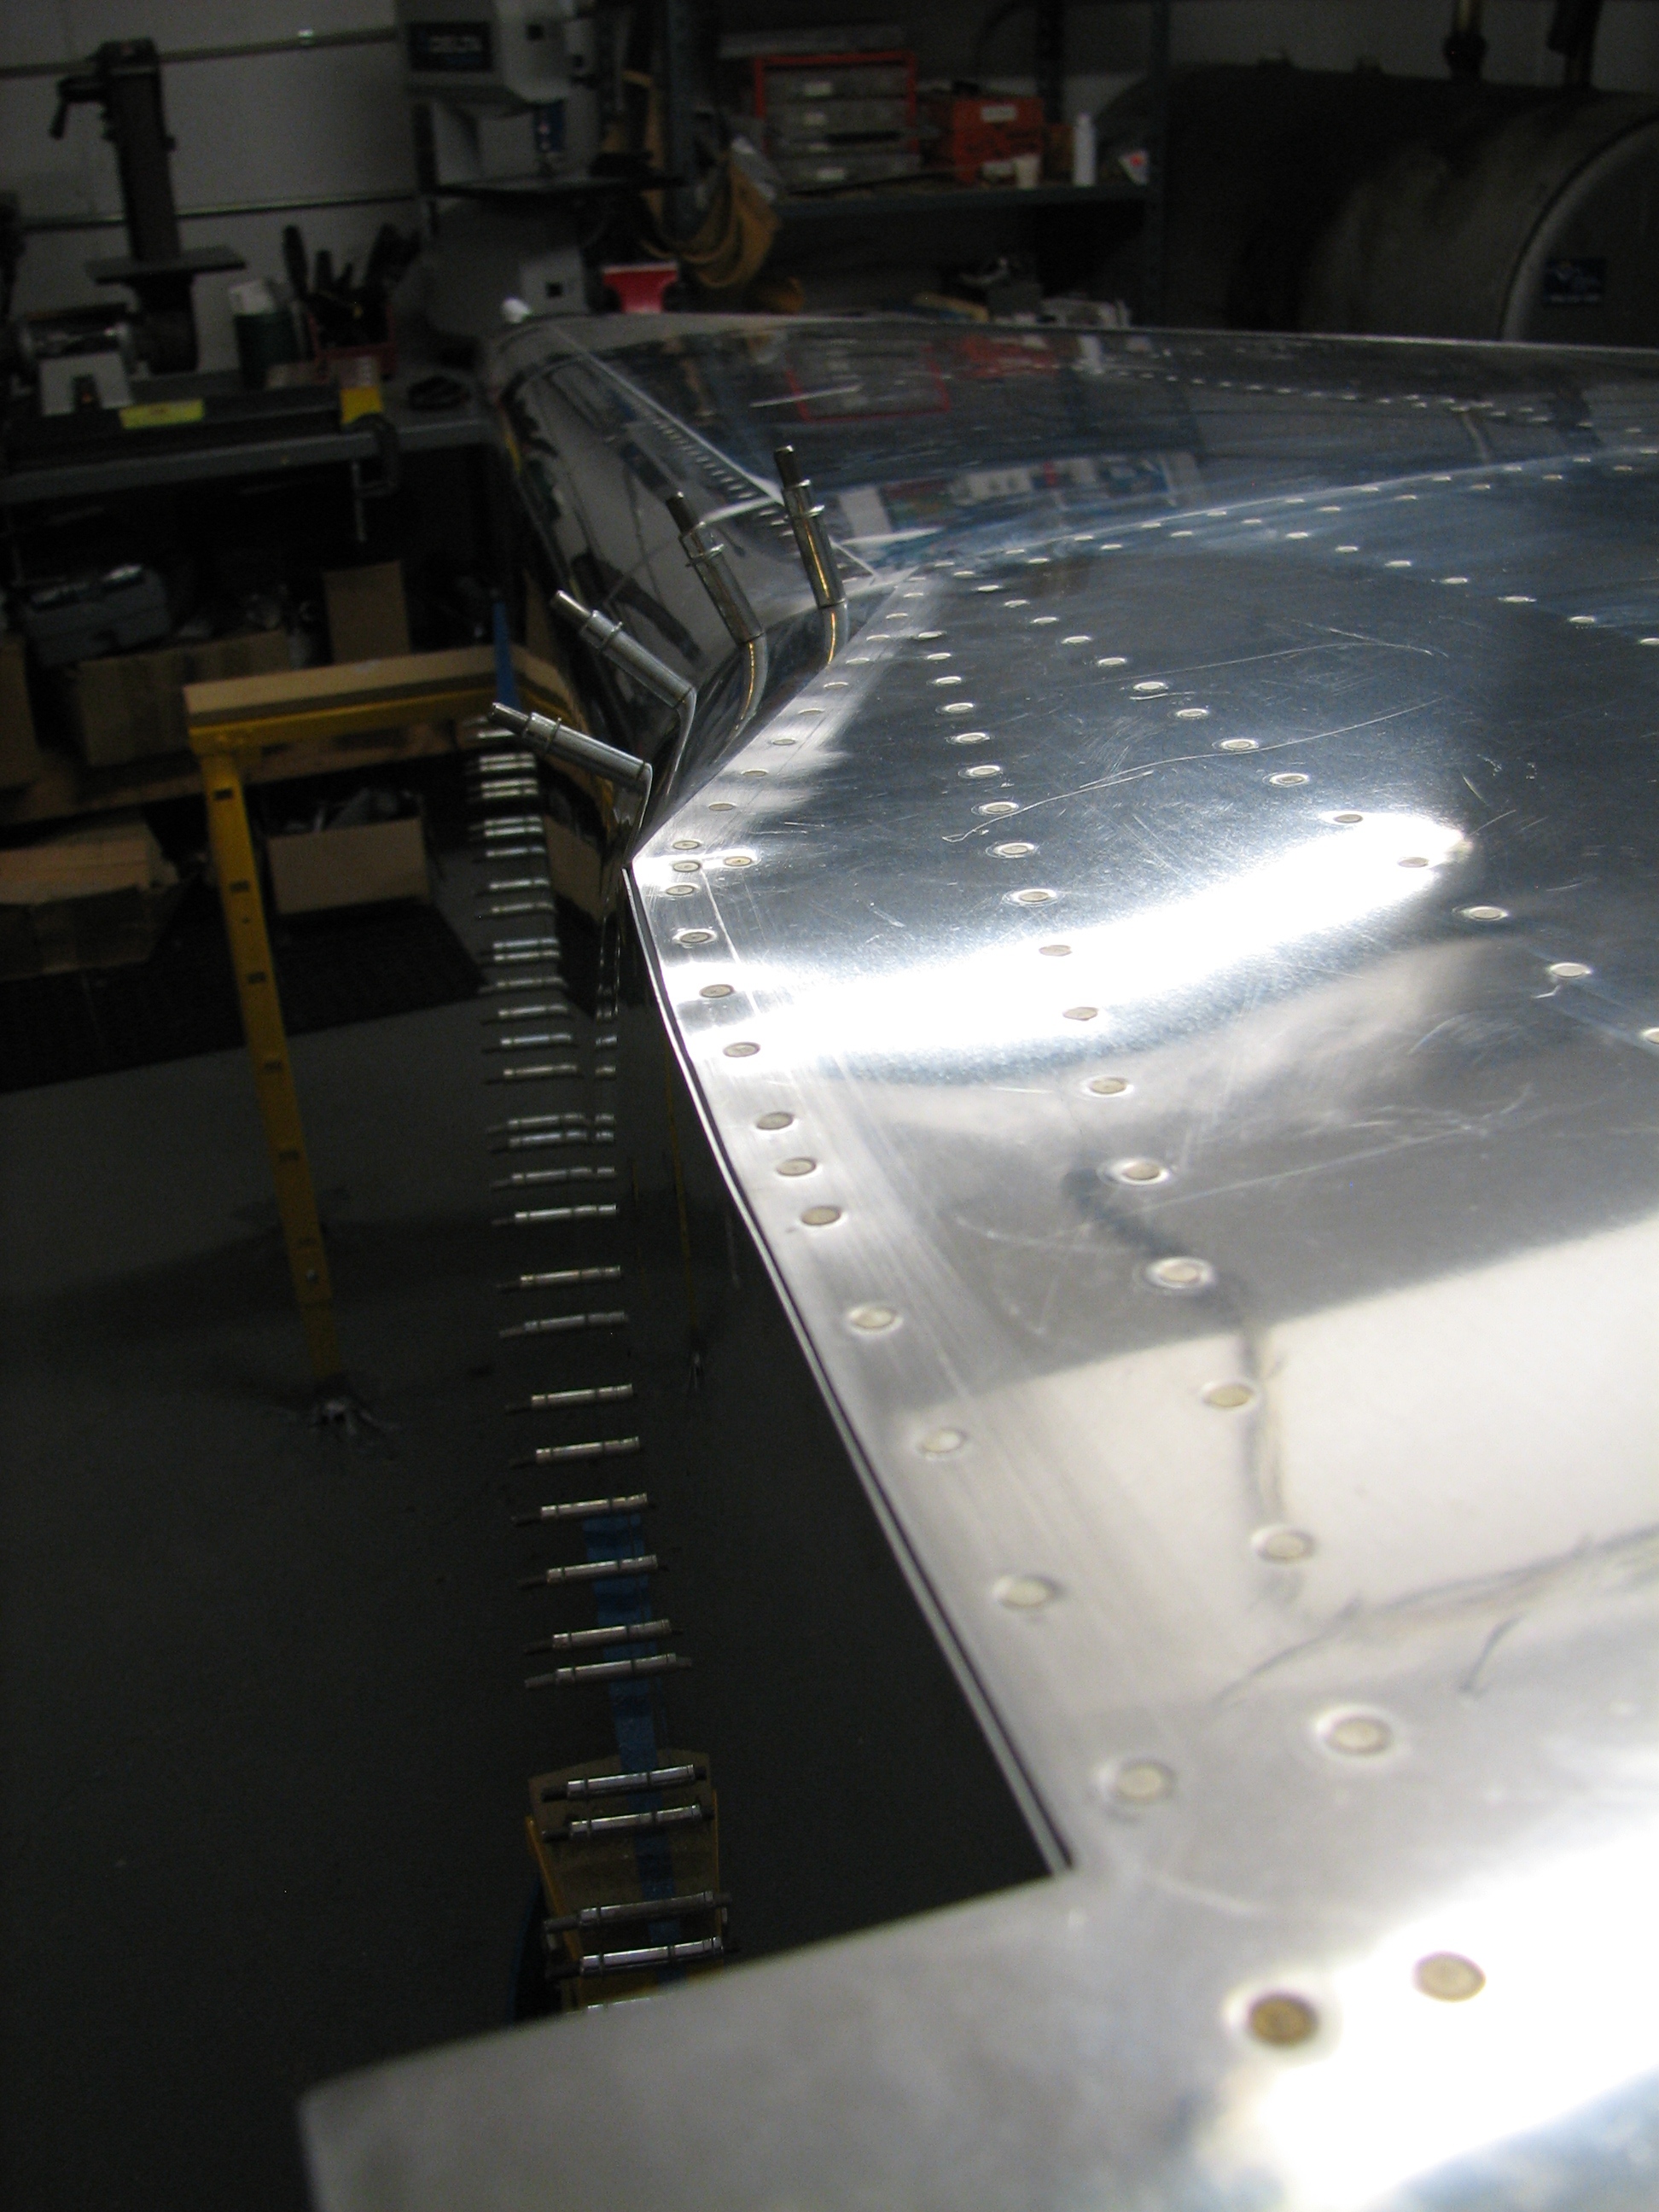
I’m especially happy that we got most of the rivets done in the baggage floor where the side skin curves into the belly. Considering how much of a pain it was to get the side skins bent to the proper curve and fitted to the belly skin, this area came out really well.  Once again, Ellen did a wonderful job with the rivet gun!

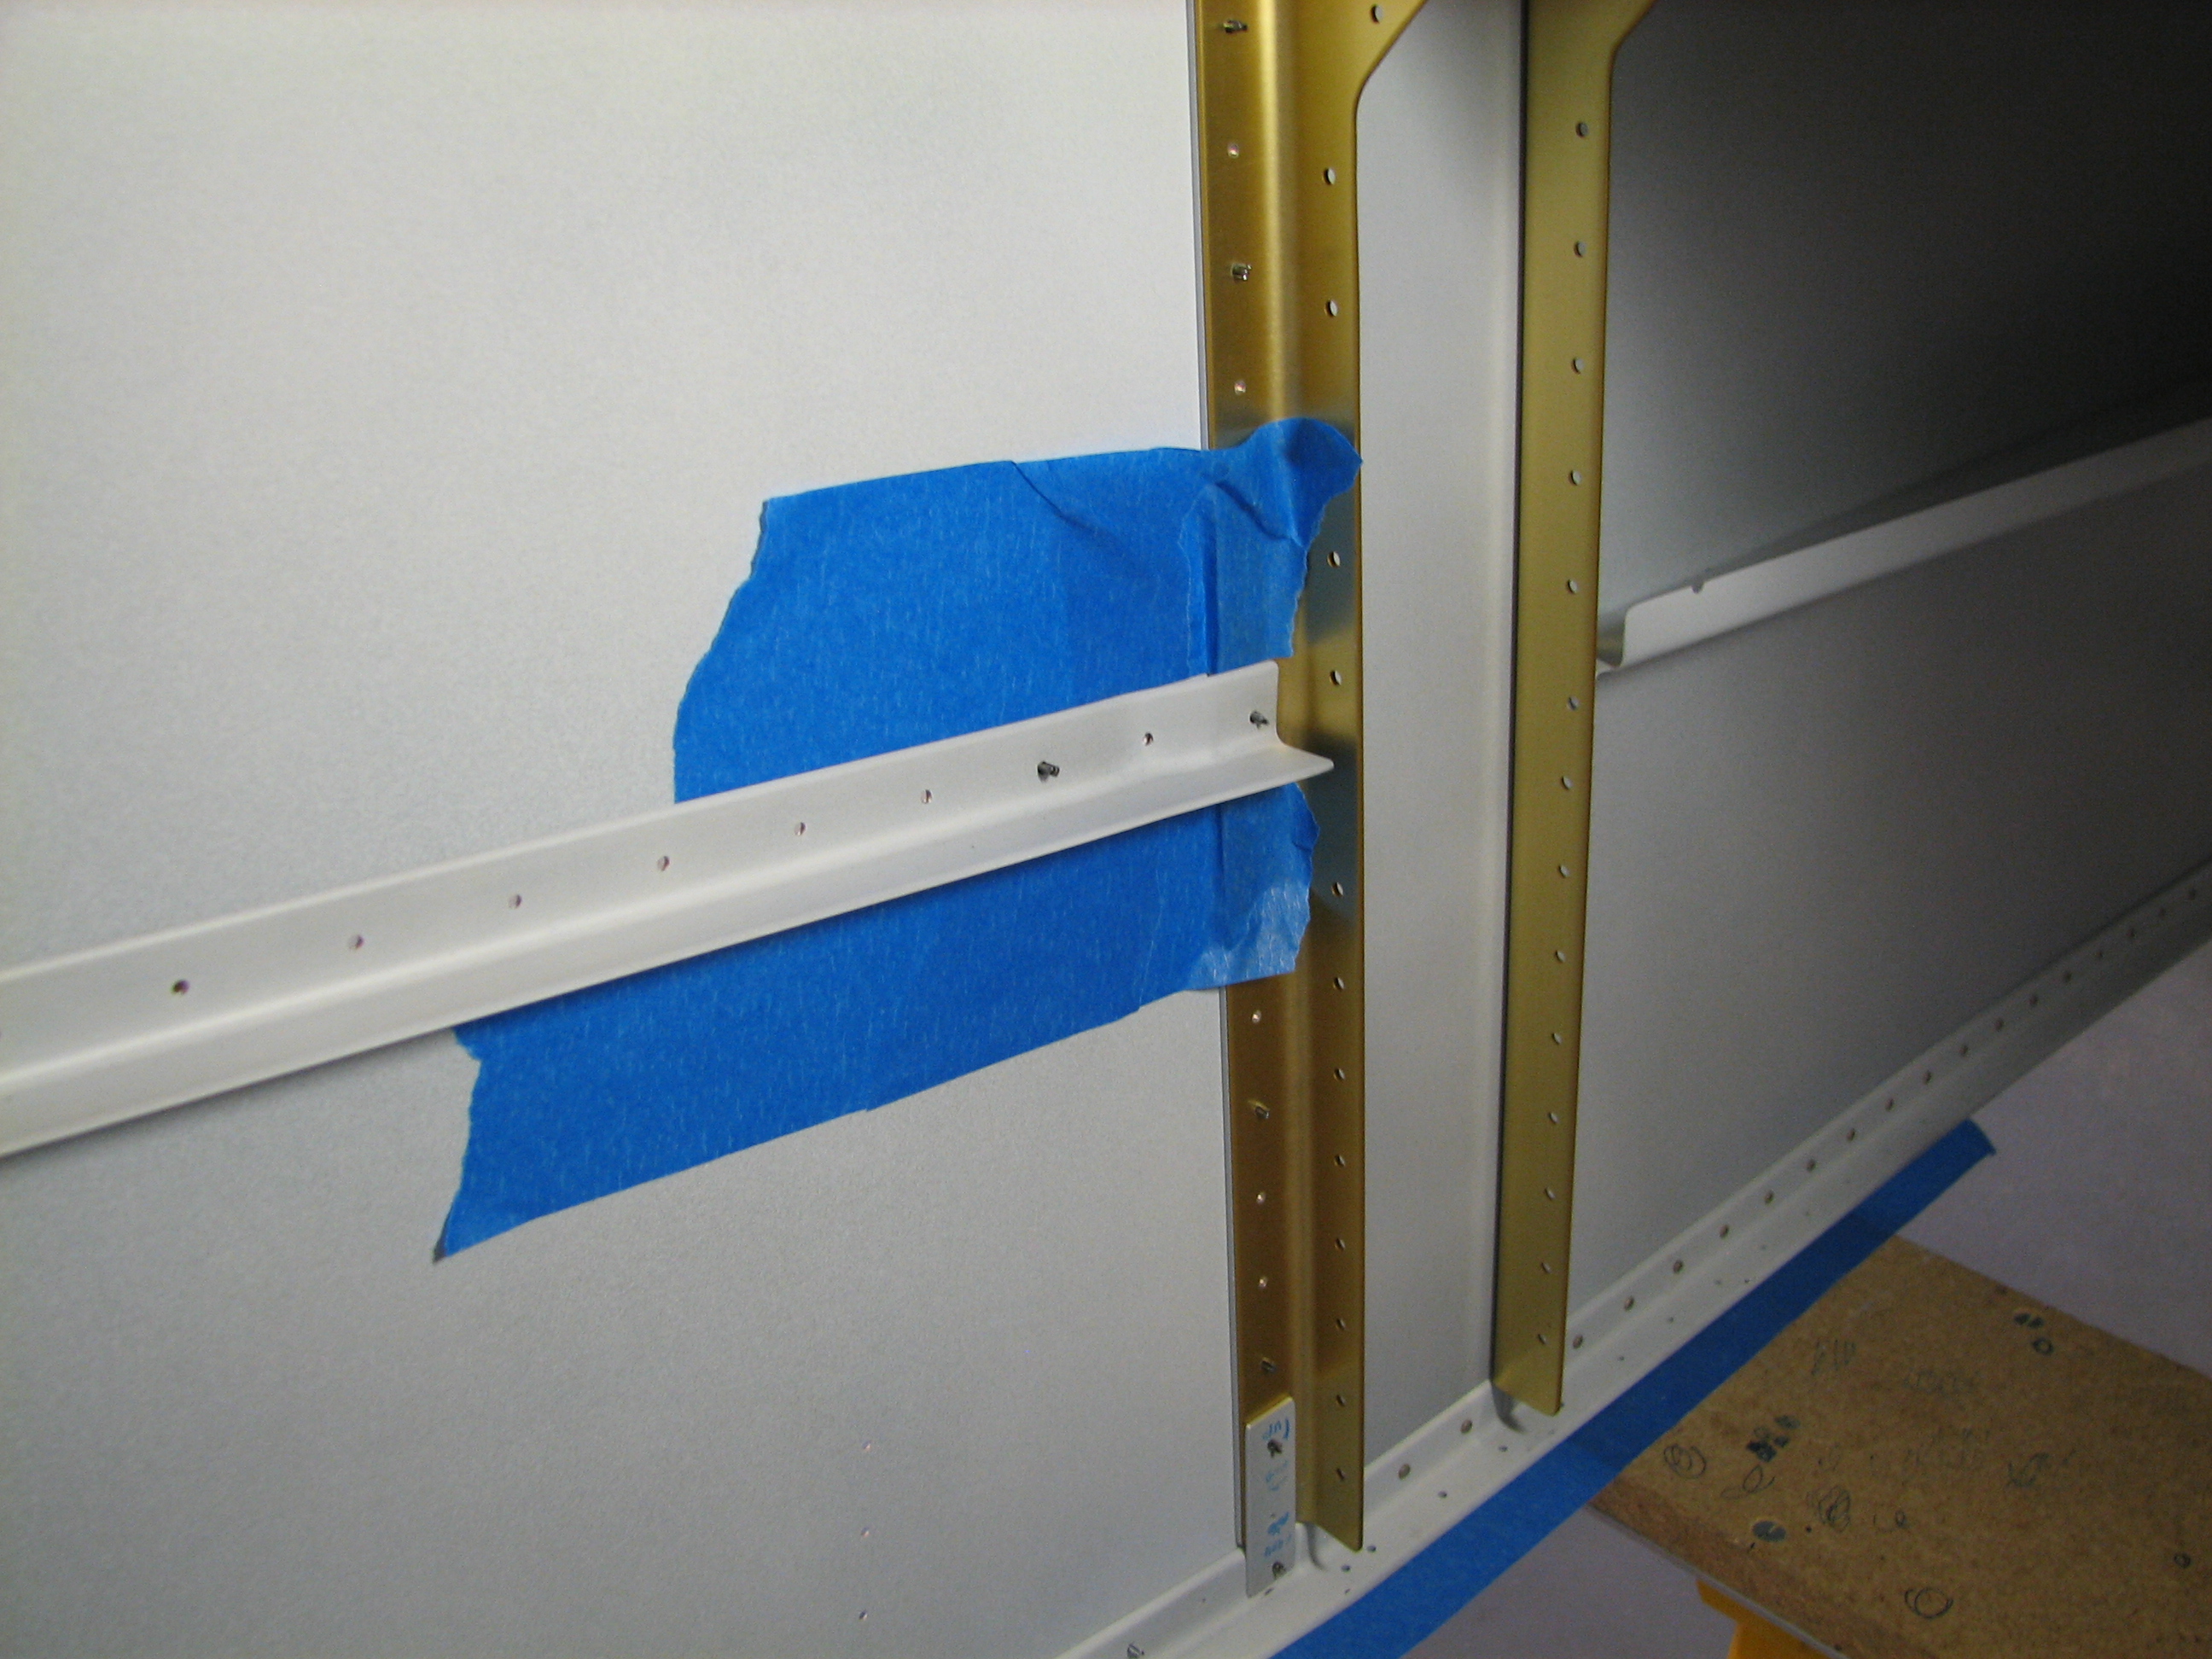
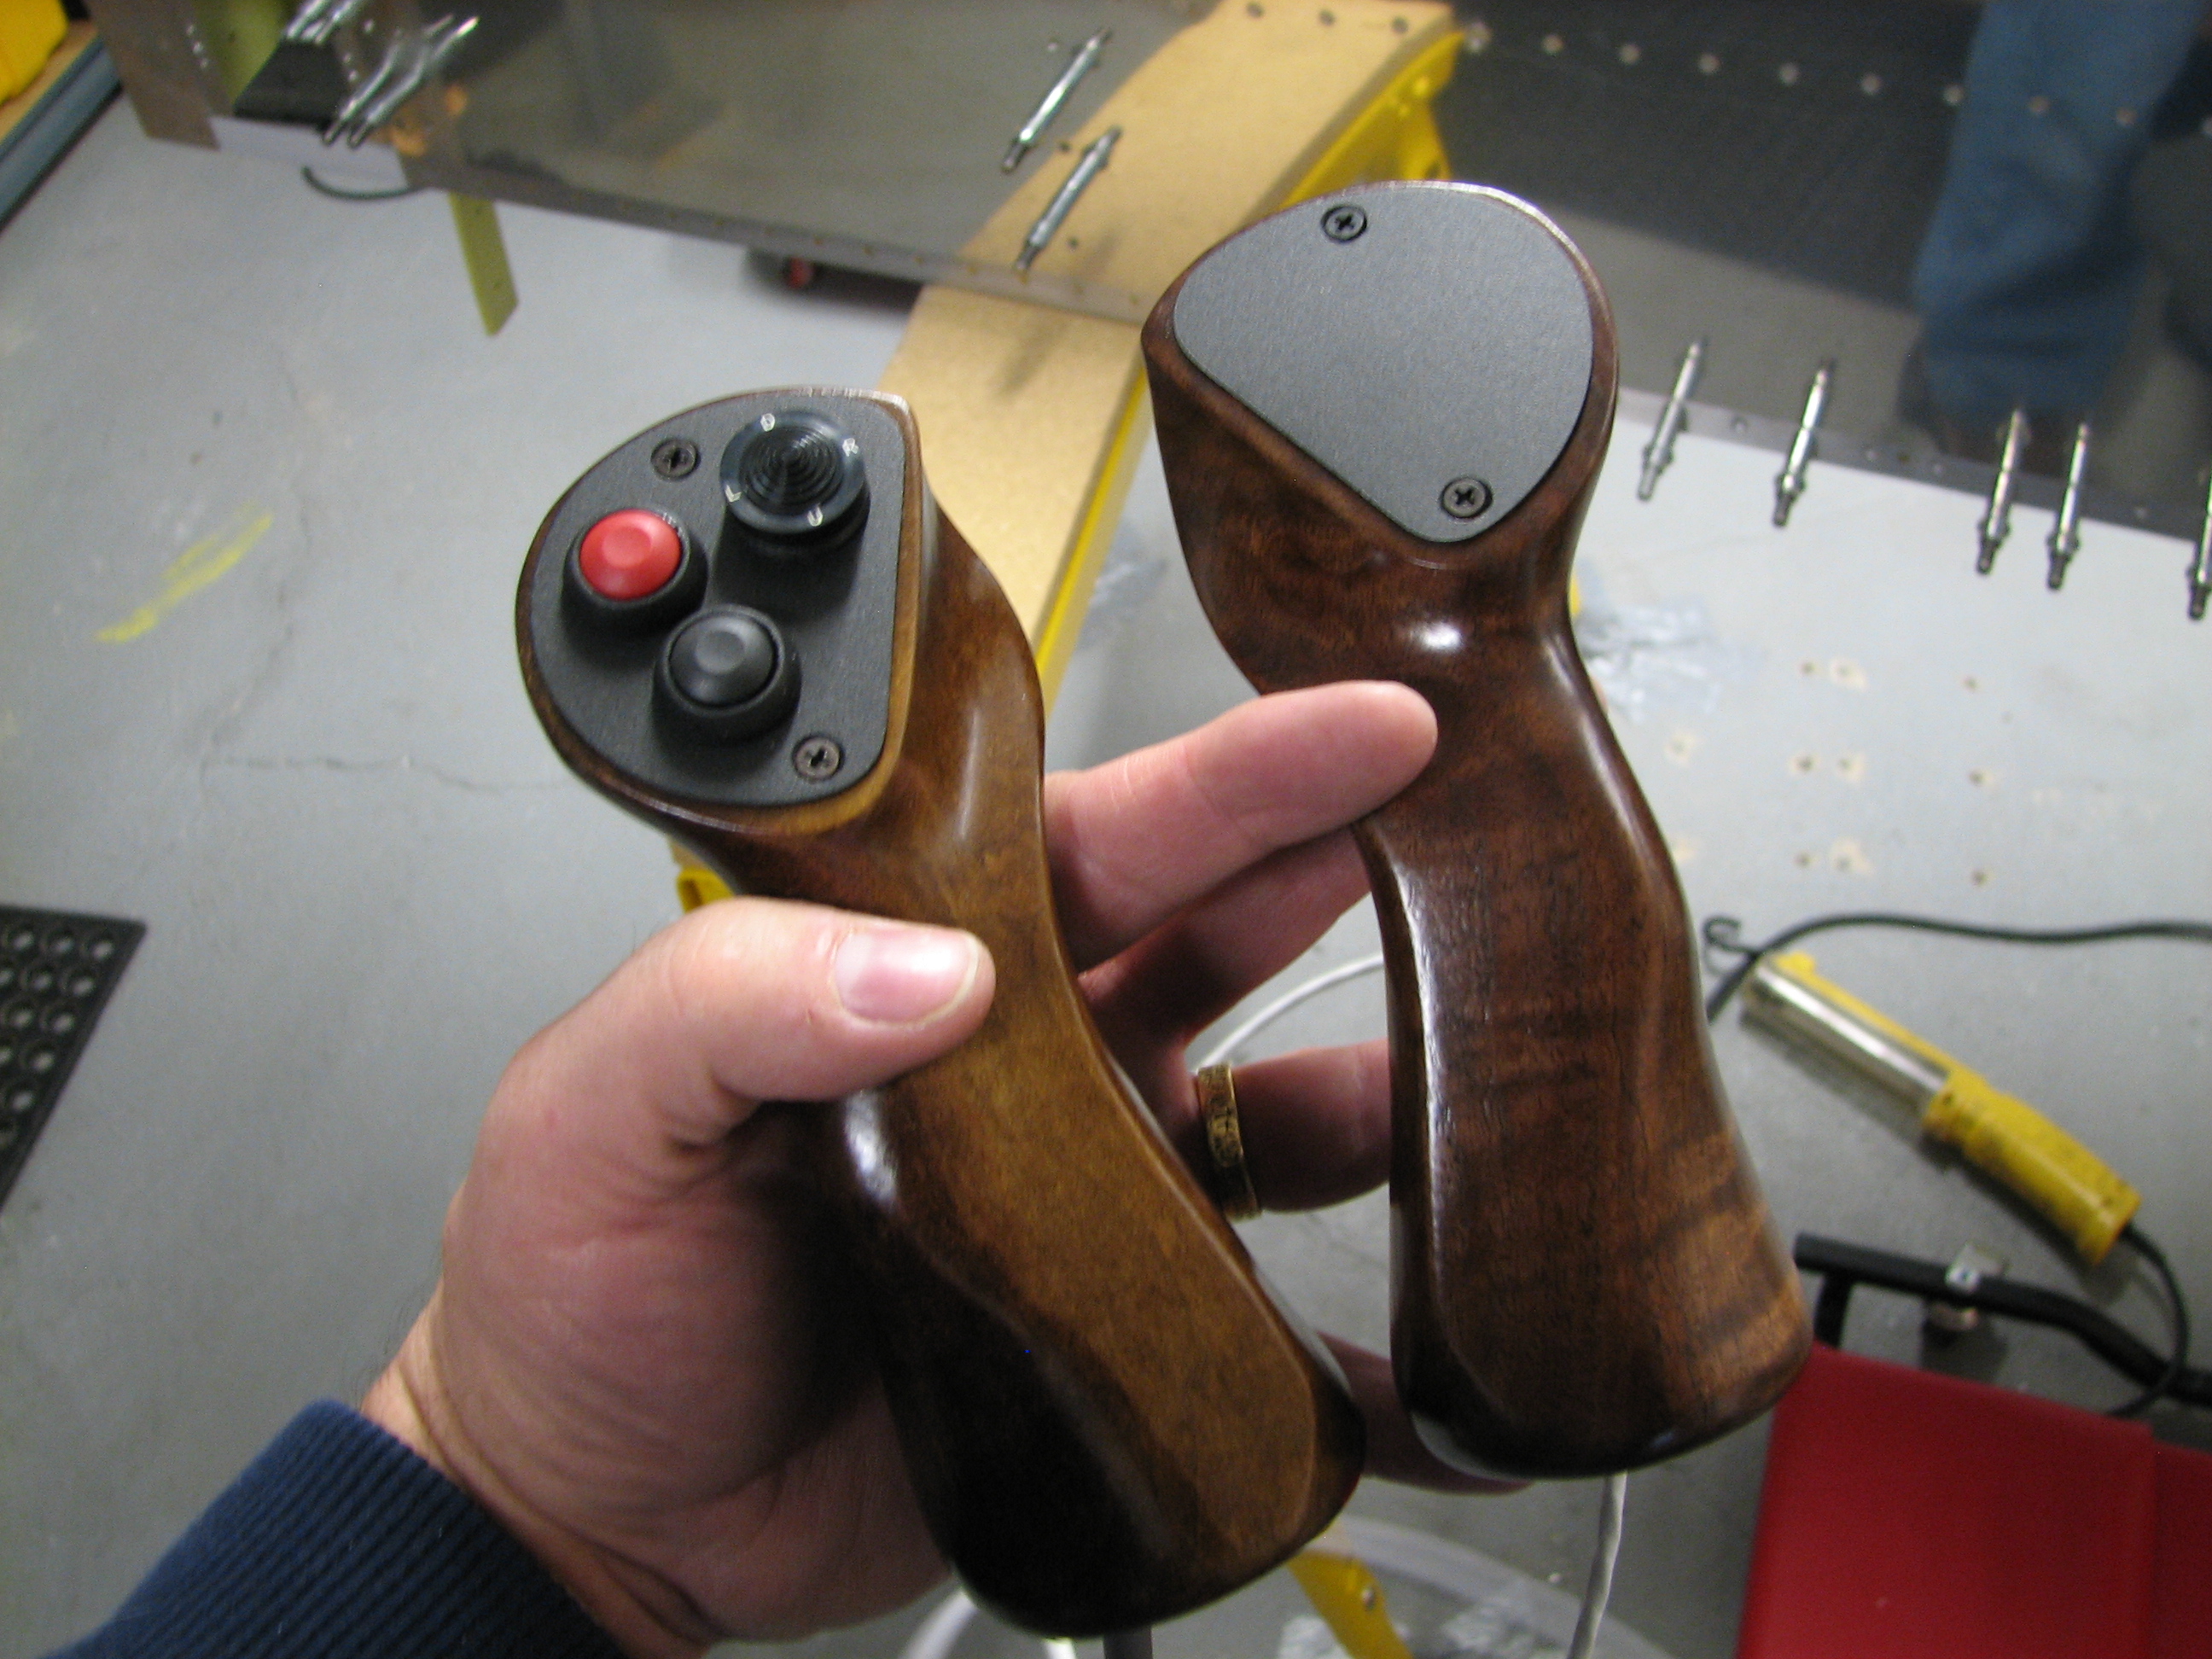
Another picture?  Sure, why not…

Baggage area corner rib

We probably can’t avoid shoveling snow tomorrow morning, but after we do we’ll be back at work on the fuse right side.  We’re getting really close to flipping the fuse “canoe.”

A quick evening’s work

After a quick round-robin trip to Delaware to deliver our daughter back to college, Ellen and I got in a short riveting session this afternoon before the Super Bowl.  We did all the aft tailcone longeron rivets, including the “keeper” rivets that secure the longerons until the aft upper skins are installed.  As usual, Ellen did a great job running the rivet gun.

Ellen the riveter

One more thing…the walnut stick grips from Pioneer Aircraft arrived.  I really like the look and feel of these grips, and the switches have a nice, solid feel.

New stick grips

Guy at Pioneer was a pleasure to work with, and I’m looking forward to using the grips.