Riveting with Bob

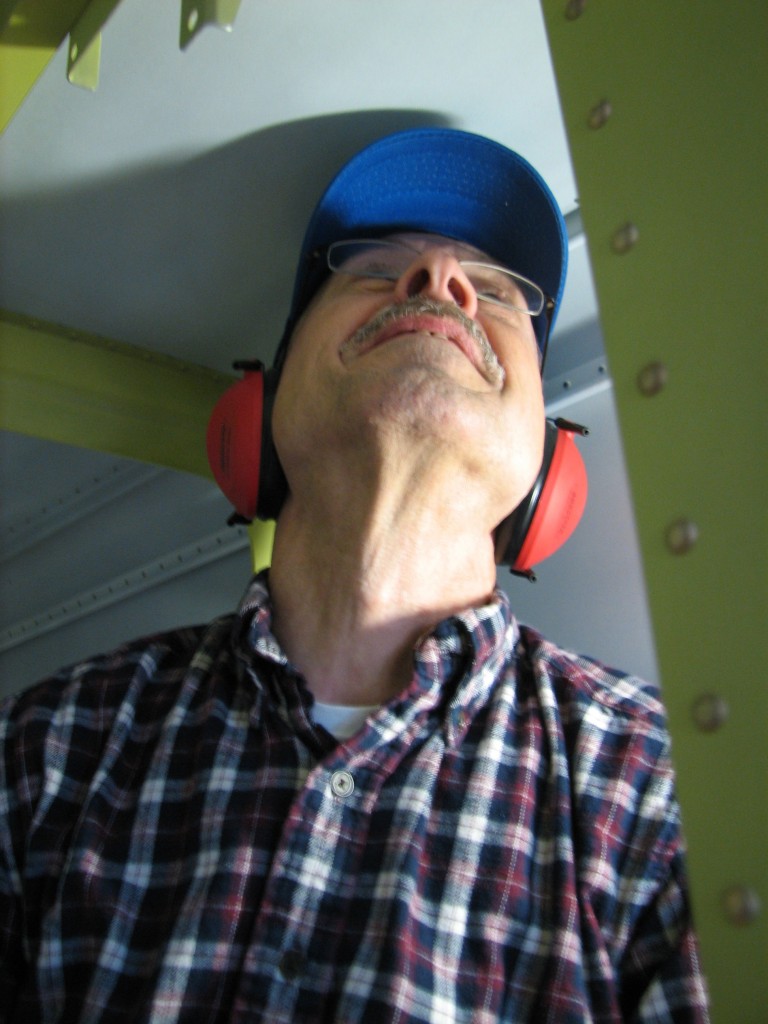
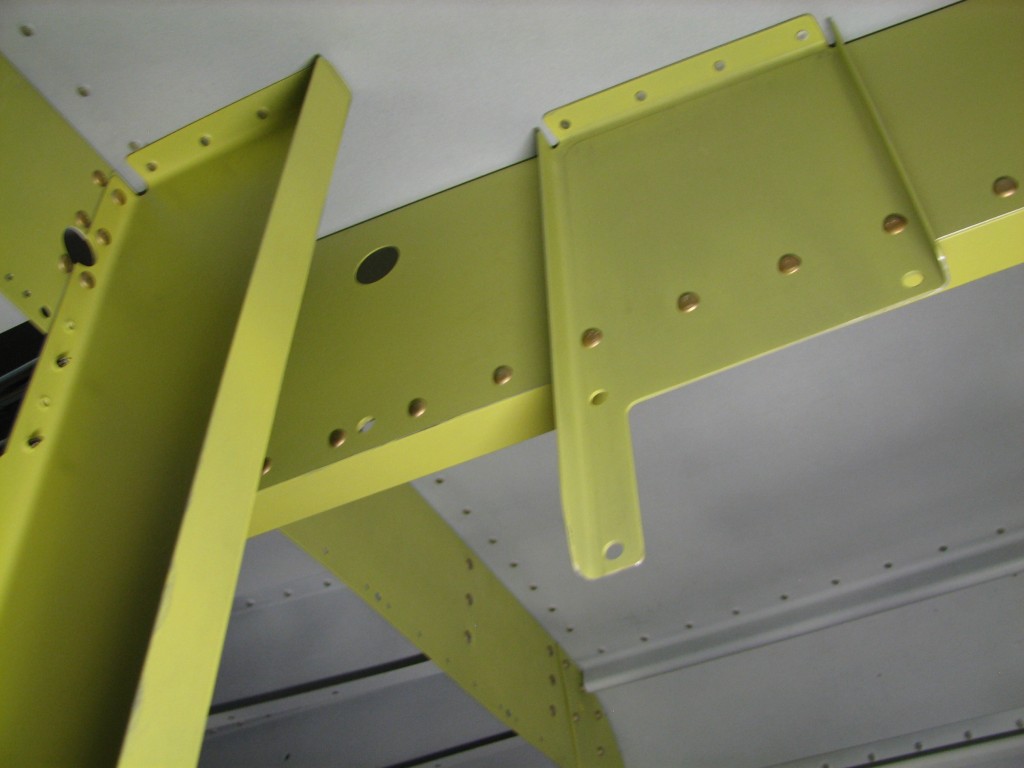
I had a really good visit today from Bob DiMeo, my new EAA Tech Counselor.  Bob took a good look at my work on the fuselage, and also helped with some riveting in a difficult area.  Using an extended offset universal-head rivet set (yes, I’m geeking out on riveting-speak) we were able to drive some hard-to-get rivets on the baggage compartment bulkhead.  Bob seems to be satisfied…

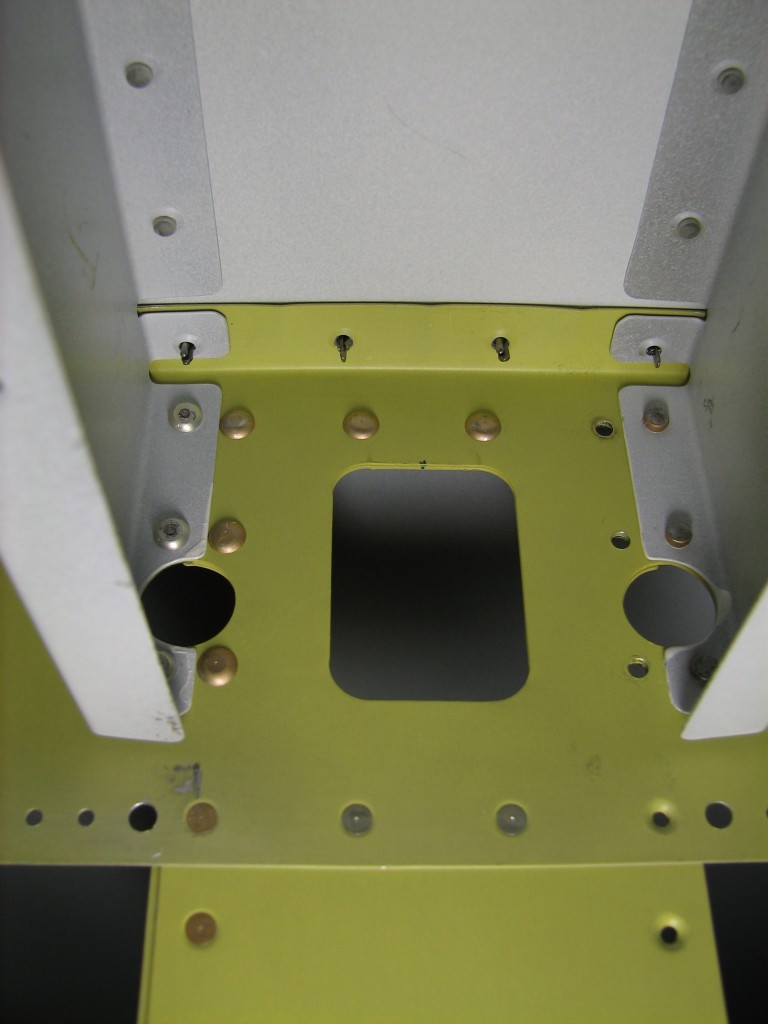
…and here’s the part we riveted – the green vertical post on the right.

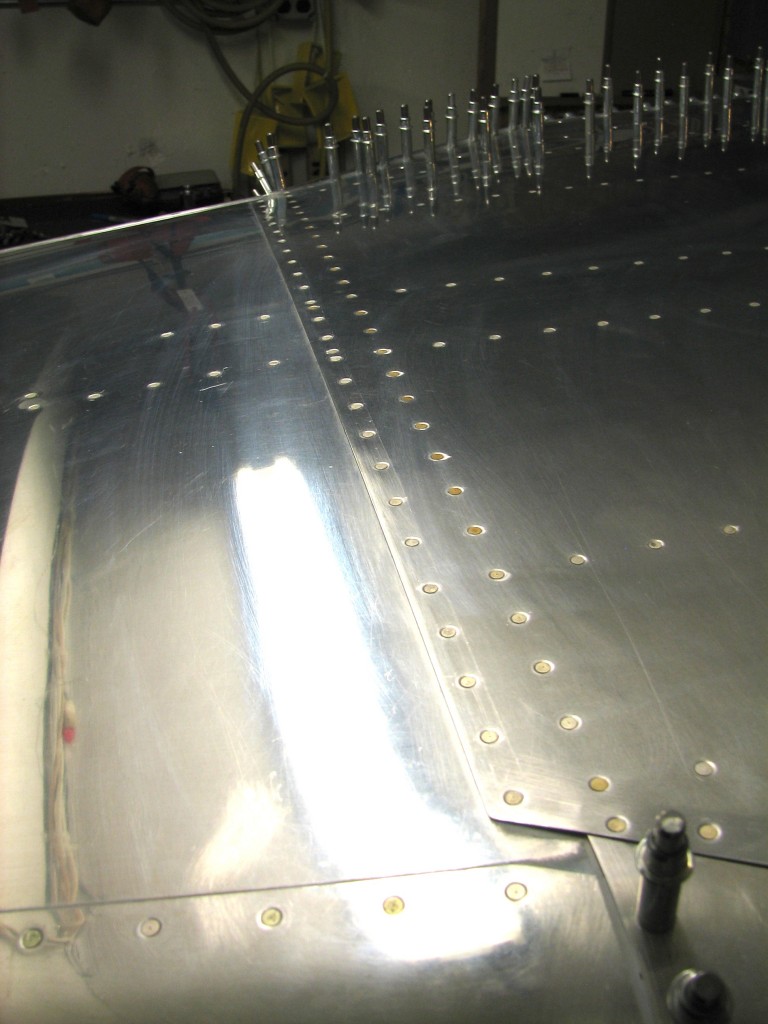
We also knocked out the rest of the aft belly skin rivets.  Got a lot more rivets to go, but definitely making some good forward progress.

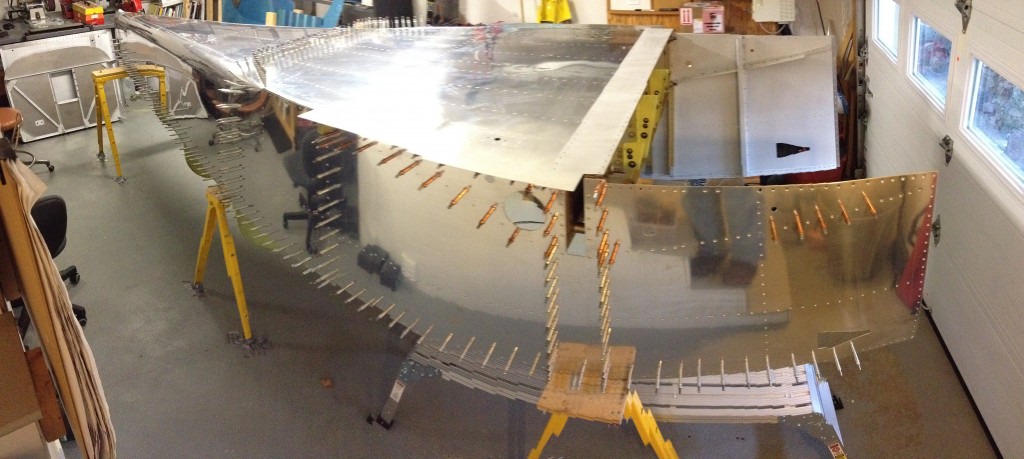
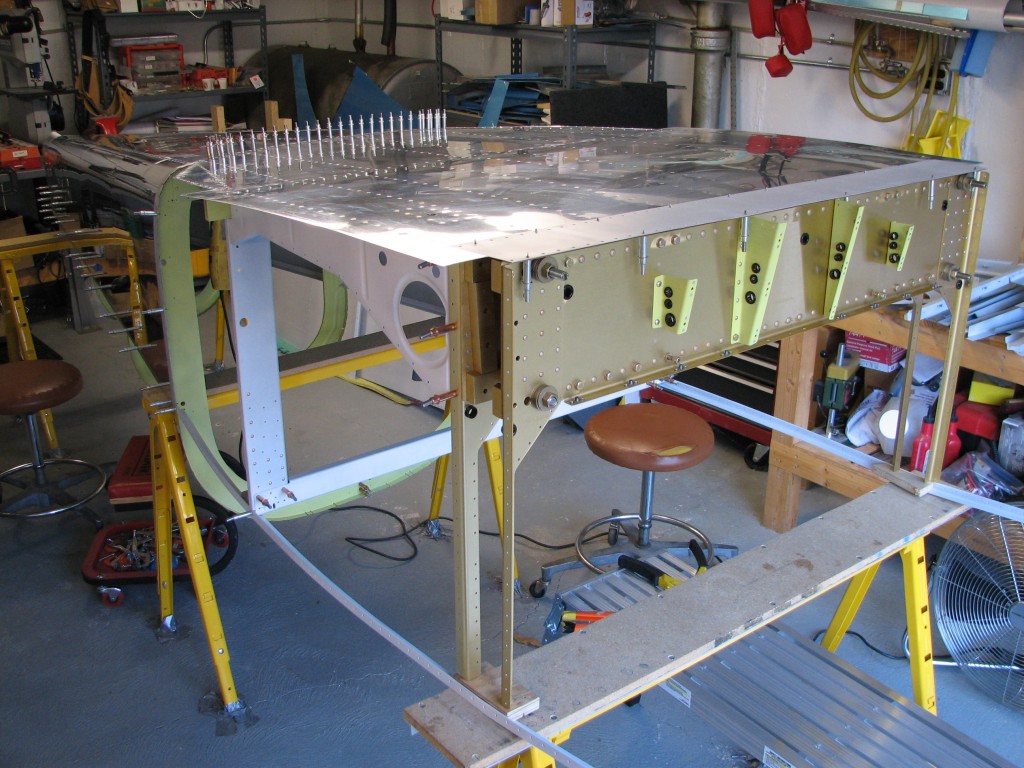
A panorama of bits and pieces

So I’m getting ready to head out again tomorrow on another work trip, and today was my one day of the Veterans Day weekend devoted to airplane building.  I finished up a lot of little bits-and-pieces tasks that needed doing before we can start riveting the fuse – cleaning primer off the skins where they’ll be gooped up with firewall sealant, clecoing on the side skins, etc.

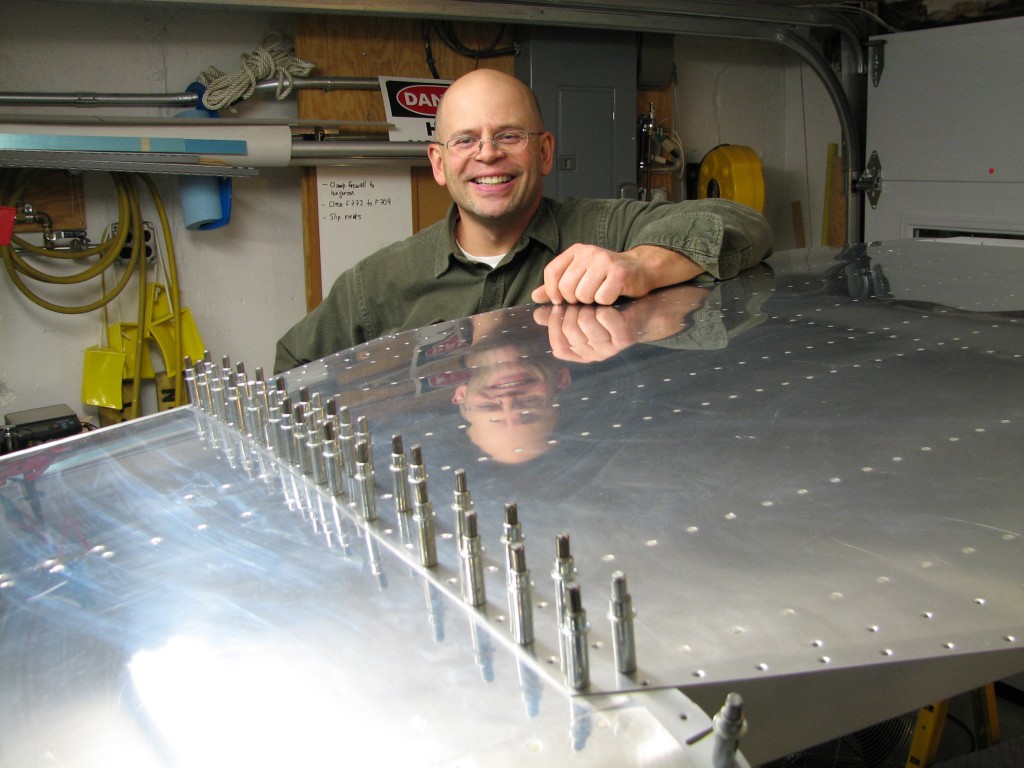
Getting the side skins on for the (hopefully) last time was a nice bit of visual progress, so before I finished for the day I used the panorama function on my iPhone camera and grabbed a wide-screen shot of the fuse in its current state.  Click on the pic to get the full-size image.

And to my fellow veterans, a happy Veterans Day to you all.

Nothing much doing

I was on travel this week for work, so there was nothing much doing on the airplane the last few days.  Lots of catch-up stuff to do around the house today, so I took care of some small, random tasks before clecoing on the side skins for riveting.

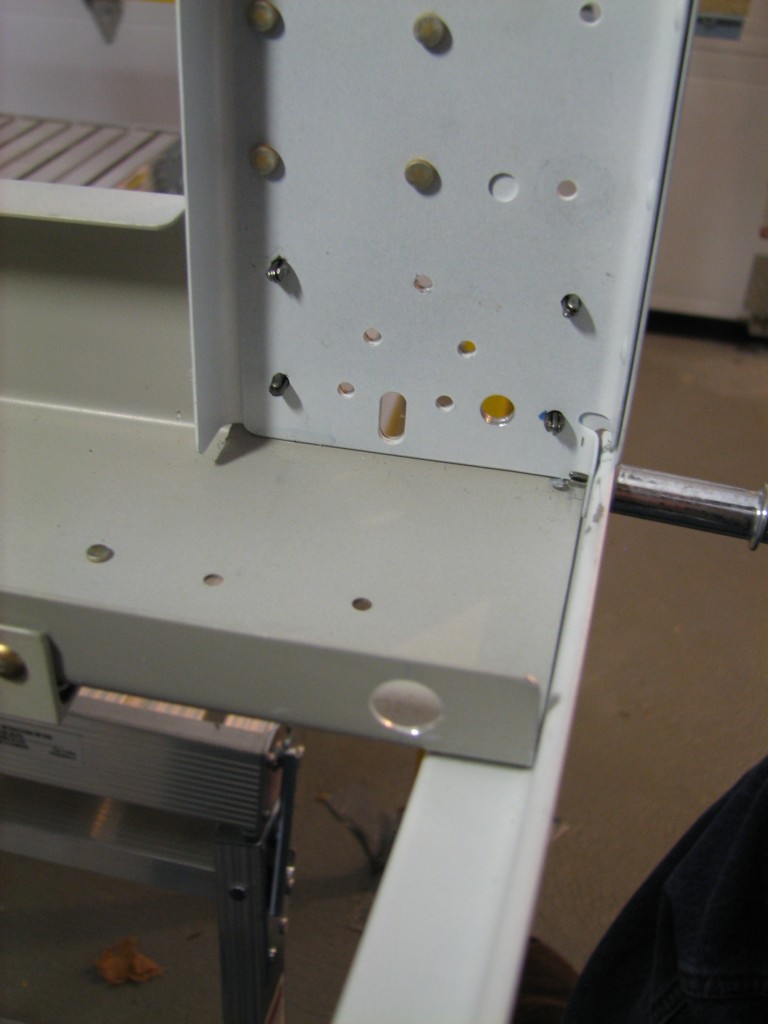
The static source line will have to pass through the seat back bulkhead, so while I still had good access, I drilled a 1/4″ hole through the channels and heavy angle at one corner of the bulkhead.  There’s another hole in the bulkhead rear (closer to you in the picture) that will accomodate a snap bushing.

Building a canoe

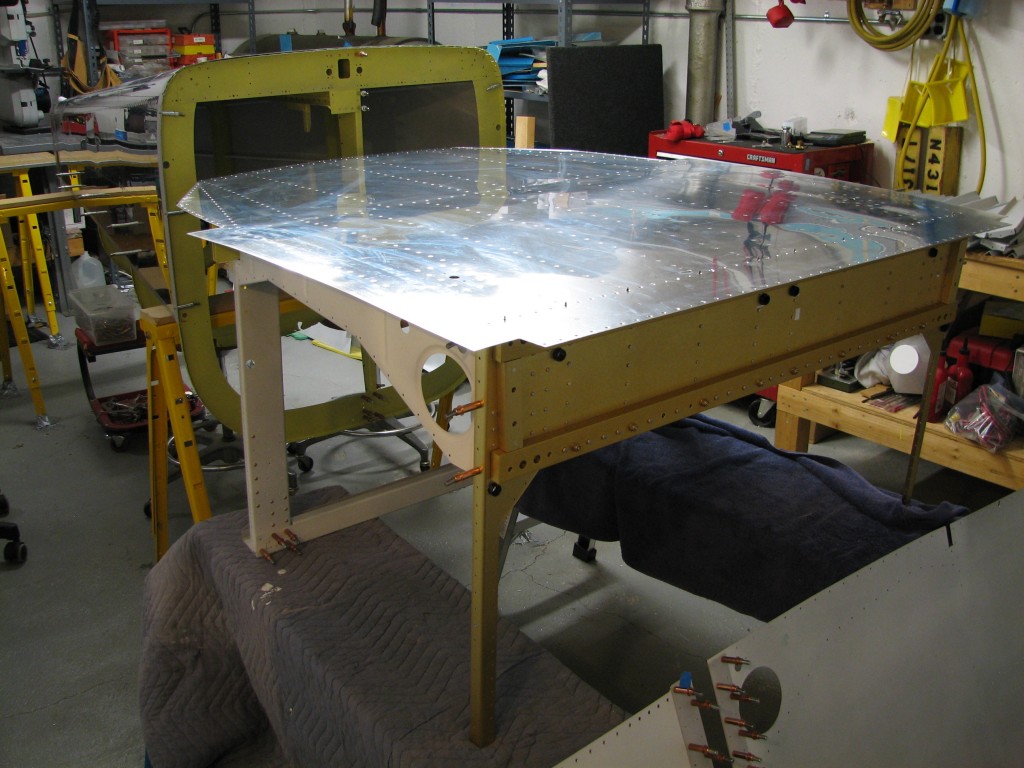
Got a whole mess of parts that make a fuselage…or part of one.  Tempted by the promise of hamburgers at Bartley’s and a big bottle of Bundaberg Over-Proof rum, Captain John slugged through rain and traffic to help me assemble and begin riveting the fuselage “canoe”.

We did some of the more difficult riveting on the fuselage, specifically the AD4 universal-head rivets that attach the seat ribs to the F-706 aft baggage bulkhead.  A single-offset rivet set was really handy, and it was good to have John there – he’s much better at shooting those rivets than I am.  There were a few places on the center ribs where we couldn’t get solid rivets in place, so I fell back to using Cherrymax blind rivets. To paraphrase an old Tom Cruise movie…”Cherrymax…there is no substitute.”

We’re now well on our way to having another real airplane part.

Parts prepped, ribs riveted

I  prepped and primed the remaining fuselage structural parts over the weekend, and only an hour or so before Hurricane Sandy really hit in force on Monday we brought the center section from the den, through the yard, and back into the garage to prepare for riveting.

I’ve worked through most of a three-page list of things that need to be done before the fuselage “canoe” can come back together for riveting.  The Air Force closed my office during the storm, so in between checking for storm damage and checking on our daughter in Delaware – right in the course of the storm – I had a little extra time to whittle away items on the list.

Today we flipped the center section and riveted on the two remaining seat ribs.

Ribs riveted...

We rode through the storm with virtually no problems, and more importantly our daughter is safe and sound.

Only a few things left to do on the fuse before riveting…

A whole lotta parts prep

Welcome to the new look of The Mighty RV!  Transferring the site to WordPress should make it a whole lot easier to keep the site updated.  Thanks, Barbara!

Despite gettling decked by a head cold, I managed to spend a fair amount of time prepping the last remaining fuselage parts in the hope that this weekend will be warm enough to prime.

A big mess

Even with the longerons countersinked (countersunk?) and primed, there’s still a lot of parts left to get through…and I finished ’em this afternoon.

Lots 'o parts deburred

Fun with countersinking

The last couple of days have been warm enough to prime parts outside, so I started in on the longerons.  It was a bit of a challenge to find enough space in the shop to work.

Positioning a longeron for countersinking

Then it was fun, fun, fun with the air drill, countersink cage and Boelube…

Fun with countersinking

Then there was more fun with deburring, alodine and priming, but the longerons are done.

Longerons primed


Back from travel

I’m back from travel, and (hopefully) over a very busy time at work.

With the F-793C/D spacers fitted and drilled, I fabricated the heavy F-793B angles per plans – with the exception that I didn’t pre-drill the holes that Vans calls out in the plans. The pre-drilled hole in the top of the -793B won’t line up with the hole in the skin and aux longeron (see the pics below), so once again it’s much better simply to clamp in place and match-drill. Sorry, I don’t have any pics of the clamping procedure. Here’s the end product…

F-793 angles drilled

So here’s where I might have screwed up a little…I went ahead and drilled the assembly for both holes which attach the F-793A tank support angle. I made the mistake of looking at other builders’ websites, both of whom did this, and didn’t notice in the plans where Vans recommends that the -793As not be drilled until the wings are fitted. That’s a shame, because I came up with a neat little drill jig which let me drill the holes much more easily…

F-793 angles drilled

Anyway, it’s done…and based on what I’ve seen from other projects, I expect that the fit of the tank attach brackets will be fine once the wings are installed. If not, I have a few tricks up my sleeve if I need to fix things.

F-793A clecoed

F-793 spacers drilled

I’ll be traveling again next week, and I wanted to get as much of the fiddly little fit/finish stuff done as I could on the forward fuse. So…I started fabricating the F-793 B/C/D spacers and angle that form the attachment structure for metal brackets which support the forward end of each fuel tank. To start, I fabbed two sets of the flat spacers which rest against the F-902 bulkhead and fill the gap between the fuse and the F-793B angle. As seems to be the case with everything in the forward fuse area, the fit isn’t quite as depicted on the plans (thanks, Vans). I ended up having to round the edges of the spacers so that they nested nicely against the -902s.

Once they nested nicely, I stuck them together with some two-sided tape (thanks, Brad Oliver!) and stuck them to the -902 as well, then clamped and drilled the whole assembly. Vans has you pre-drill one of these holes, which I did on the first set of spacers I made (hmph) but the fit isn’t as good as clamping and drilling.

F-793 spacers drilled

F-7101 gusset drilled

Things have been very busy and stressful at work the last couple of weeks, so I haven’t gotten as much done on the RV as I would like. I’ve managed to put in 30 minutes or so a day, but that hasn’t translated into a lot of forward progress. Nevertheless, I managed to get the F-7101 gear attach webs fitted and drilled.

These took a fair amount of work to get fitted correctly, more than I assumed in my last post…I spent awhile filing/scotchbriting the upper and lower edges of the gusset so it would nest nicely into the aux longerons. I also ended up having to insert a small (0.025″) shim between the left -7101 and its associated F-902 bulkhead. I probably could’ve made do with the fit as it was, but a shim made it just about right. Here’s the right -7101 fitted and drilled.

F-7101 gusset drilled