Field of Dreams

Oshkosh HBC

Is this heaven? No, it’s Oshkosh…

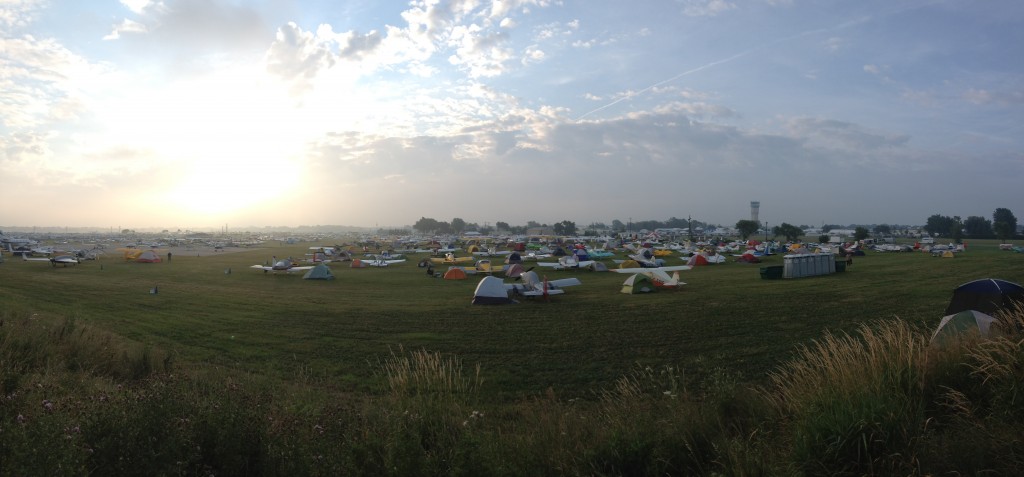
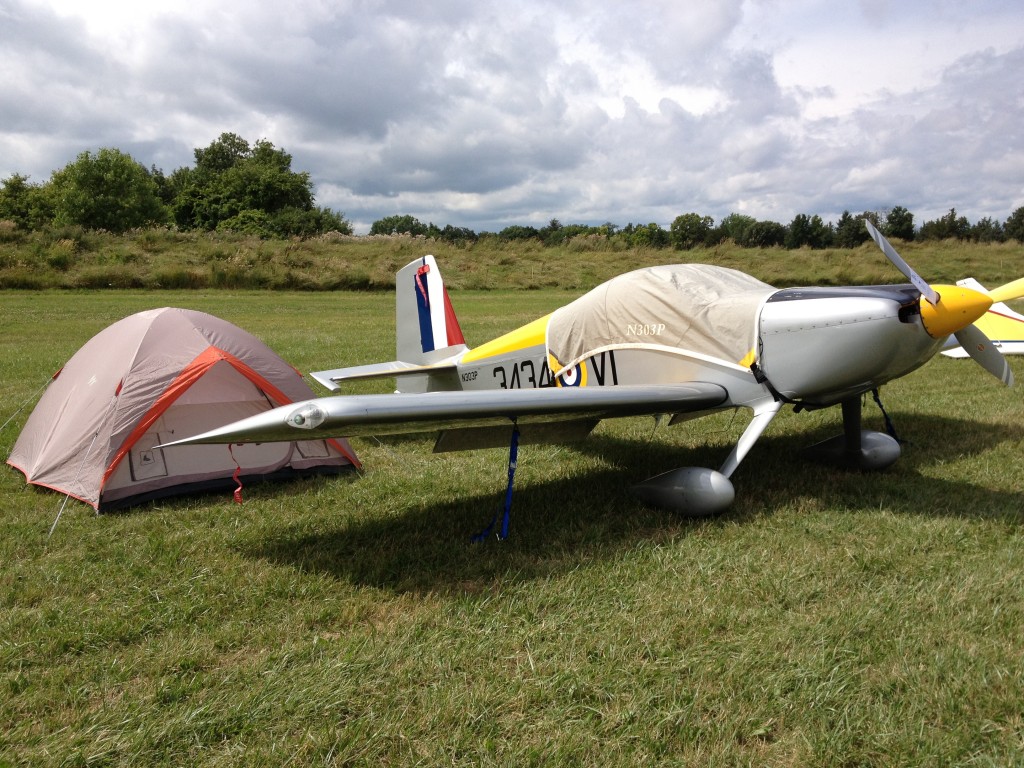
Camping with JimMy tent fits nicely behind the wing of my friend Jim’s RV-7.  Jim’s airplane has been a model for what we’re doing on the Mighty RV.

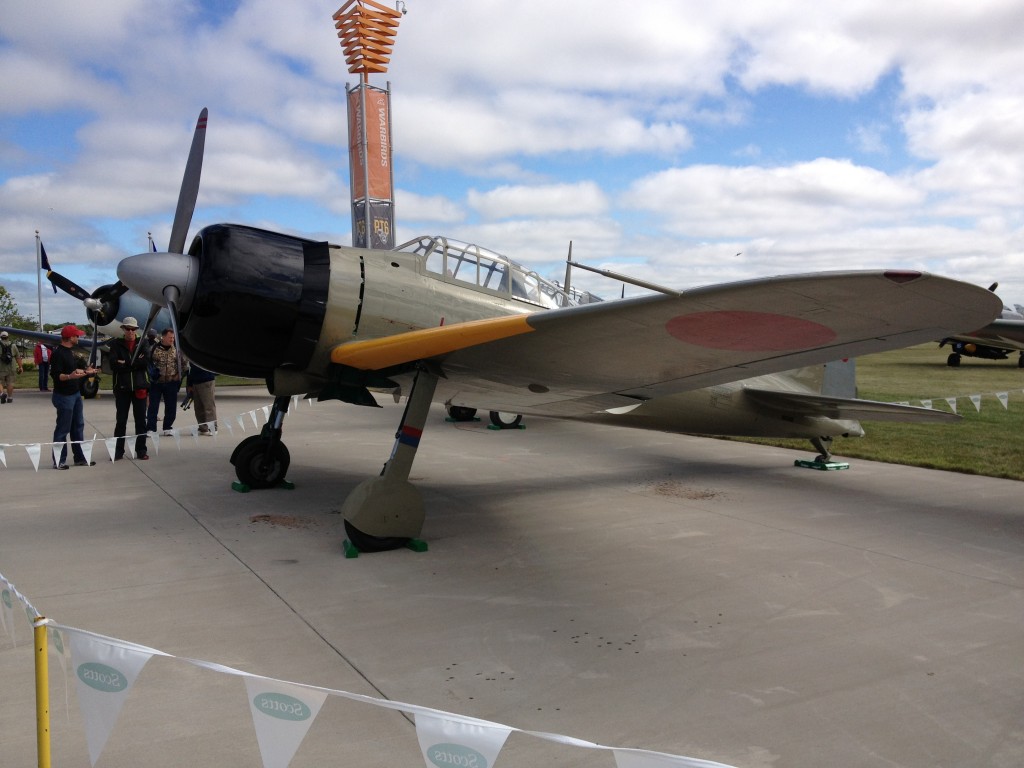
A6M5 ZeroAn original Mitsubishi A6M5 “Zero”…

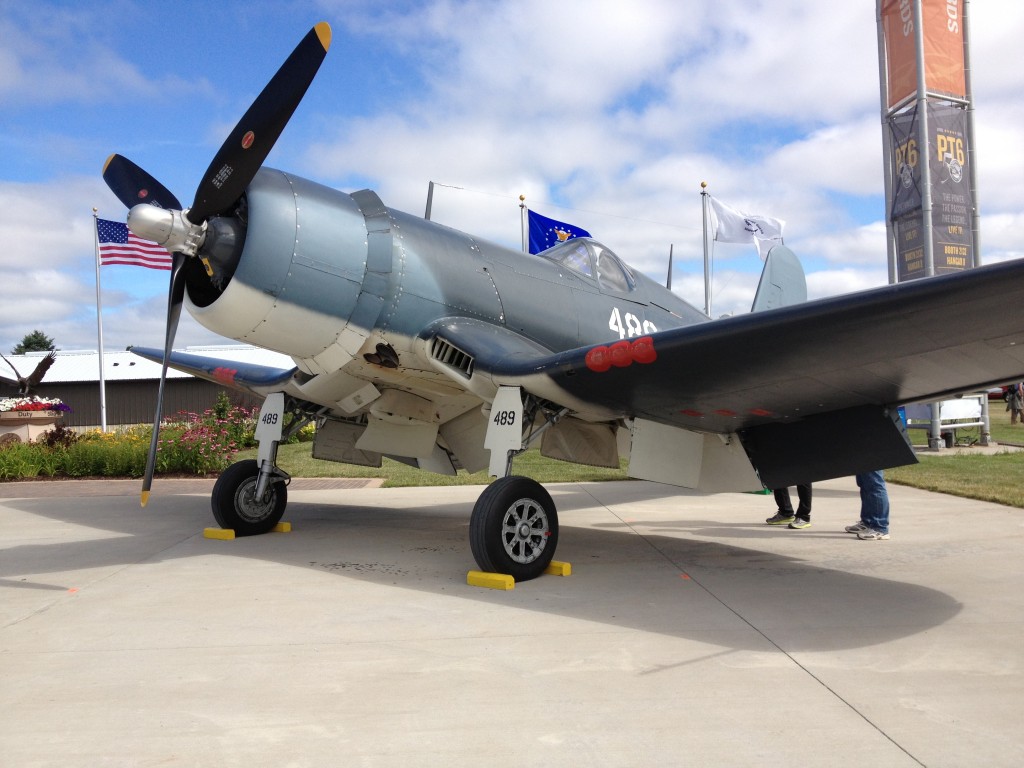
FG-1D…and its Allied opposite, an early Corsair.

Chicago's light show on MondaySeveral balloons lit their burners while Chicago performed on Monday night.

More balloons

Fun with seats

This was a busy week around the house but I still managed to keep some momentum on the airplane. The next task on the list was fabricating and installing the hinges that attach both seat backs to the cabin floor.
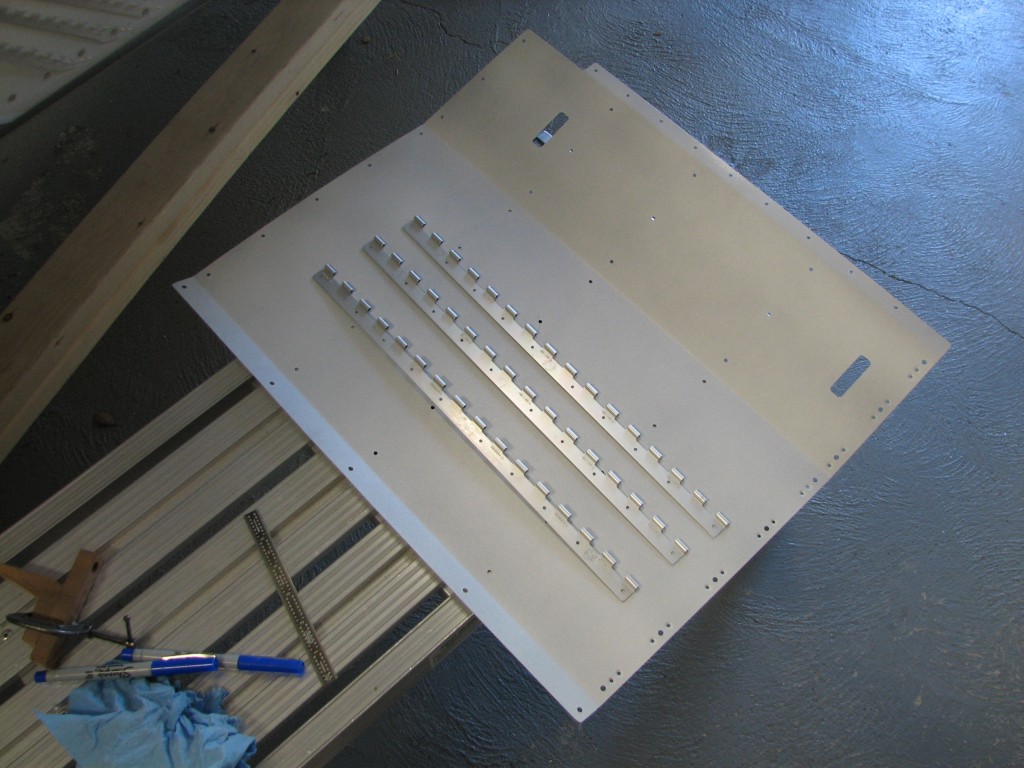
Hinges trimmed

There’s not much to installing these hinges. Trimming the hinge material is trivial, and the only gotcha is to make sure the hinge spacing from the inboard seat floor edge is actually measured from the edge, and not from the center of the nutplate holes as the plans trick you into believing if you’re not careful.
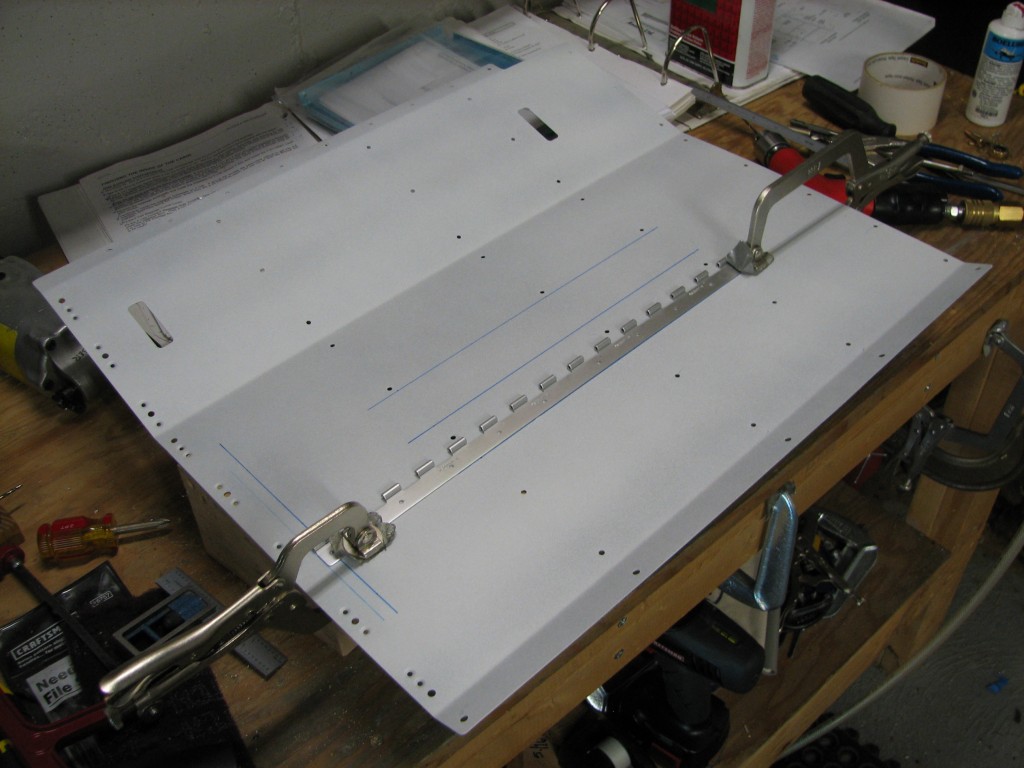
Drilling the hinges

Although I didn’t take any pictures of the process, I laid out and drilled rivet holes on one hinge plate and used it as a template to match-drill the other hinges. It was easy then to clamp the hinges onto the floor and match-drill first to #40, and then final-drill to #30 for the rivets.

Only one or two of the rivets can be squeezed, and I don’t have a C-frame dimpler/riveter, so I just laid out my backrivet plate on the workbench and used it as a bucking bar as I drove the rivets from the top. Worked pretty good. The hinge material is a little on the soft side, which causes them to distort a little when riveted but I can still get a hinge pin in.
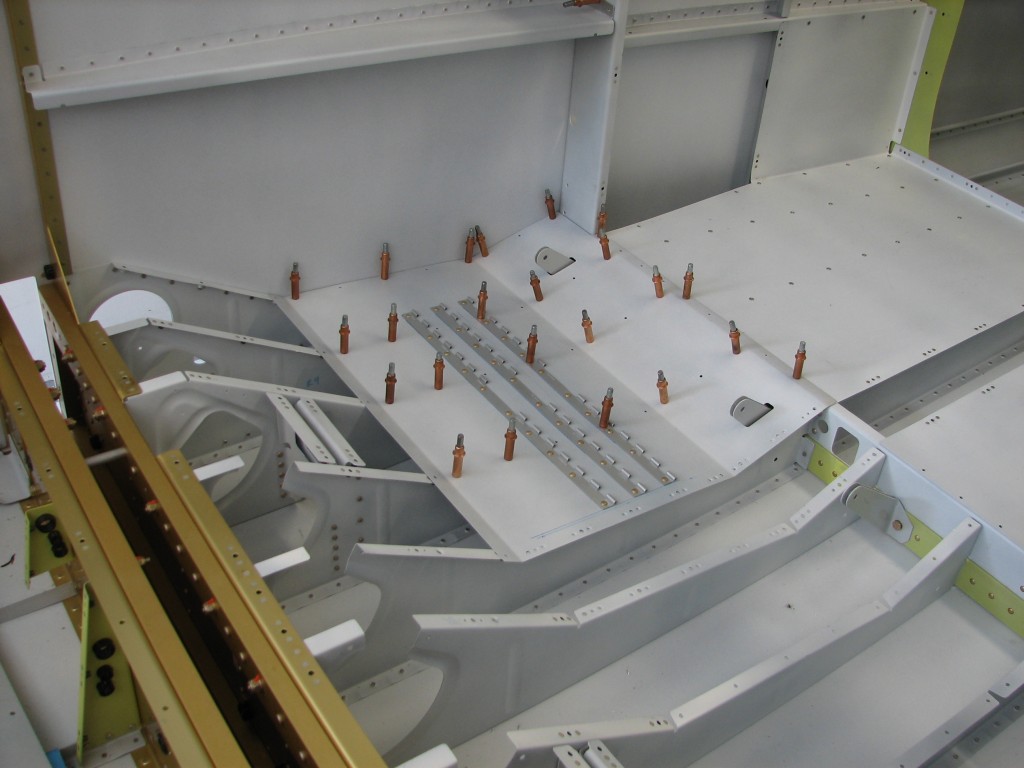
CP hinges rivetedHere’s the copilot side ready to be blind-riveted to the seat ribs. The other side looks pretty much the same, except for one problem.
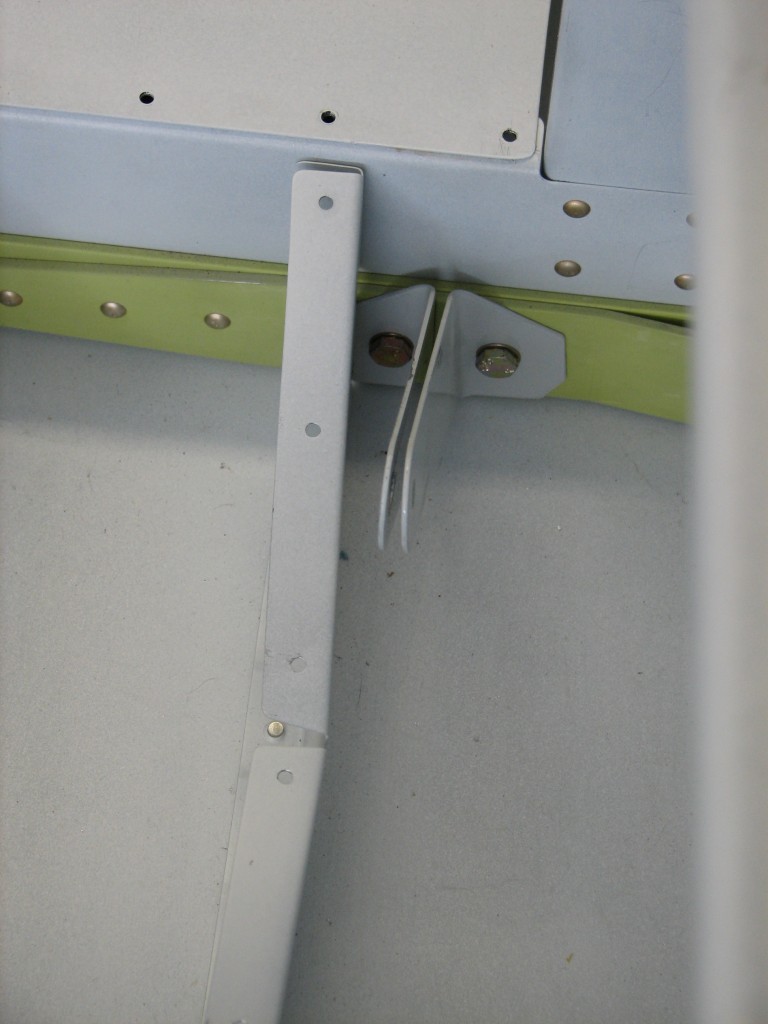
Damn hinge bracket!Turns out that one of the pilot’s seatbelt anchors somehow got tweaked out of alignment, and I wasn’t too keen on bashing it back into alignment with a hammer or pliers. This had to be fixed before I can blind-rivet the seat floor, which means drilling out a lot of blind rivets and hard-to-reach solid rivets…merde!

So, I spent my entire shop time on Sunday drilling out all the rivets that attach the left baggage floor, so I could yank it out for access to the anchor bolt. It took a lot of time to *very* carefully remove all the solid-riveted nutplates, because many of them were in corners or in hard-to-reach areas.

With the solid rivets and nutplates removed, I used an ATS Blind Rivet Removal Tool to drill out all the blind rivets – this gadget worked like a champ, unlike other ATS-made tools I’ve owned. The tool’s drill bit is surrounded by a spring-loaded serrated collar that applies pressure to the rivet head when the tool is pressed onto it, keeping the rivet from spinning in the hole as the drill bit does its thing. Driving out the steel mandrel from the blind rivet is essential, since it can cause the drill bit to wander as it punches through the rivet.

After cleaning up all the rivet carcasses, mandrels and shavings, I reinstalled and retorqued the offending seat belt bracket and declared success for the day. It was a lot of work, but worth it to get the job done right.
Lemonade from lemons

Thanks to the leadership of Our Elected Officials™, I won’t be working Fridays for the rest of the fiscal year (that’s the end of September for all you non-government folks) and today was the first day off. They call it a furlough, but I like to think of it as an unpaid holiday – helps me to not focus on the money we’re diverting from Whitney’s tuition to pay our bills.

But an extra day off every week will be great for progress on the RV, so there is a bit of a bright side to government incompetence.

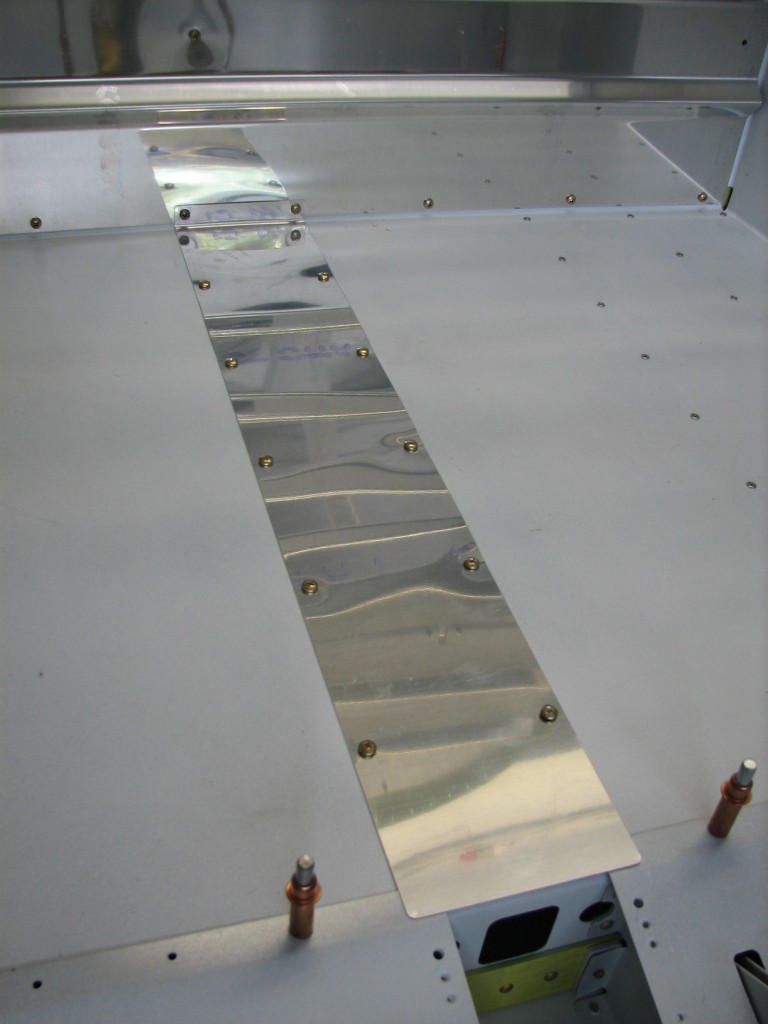
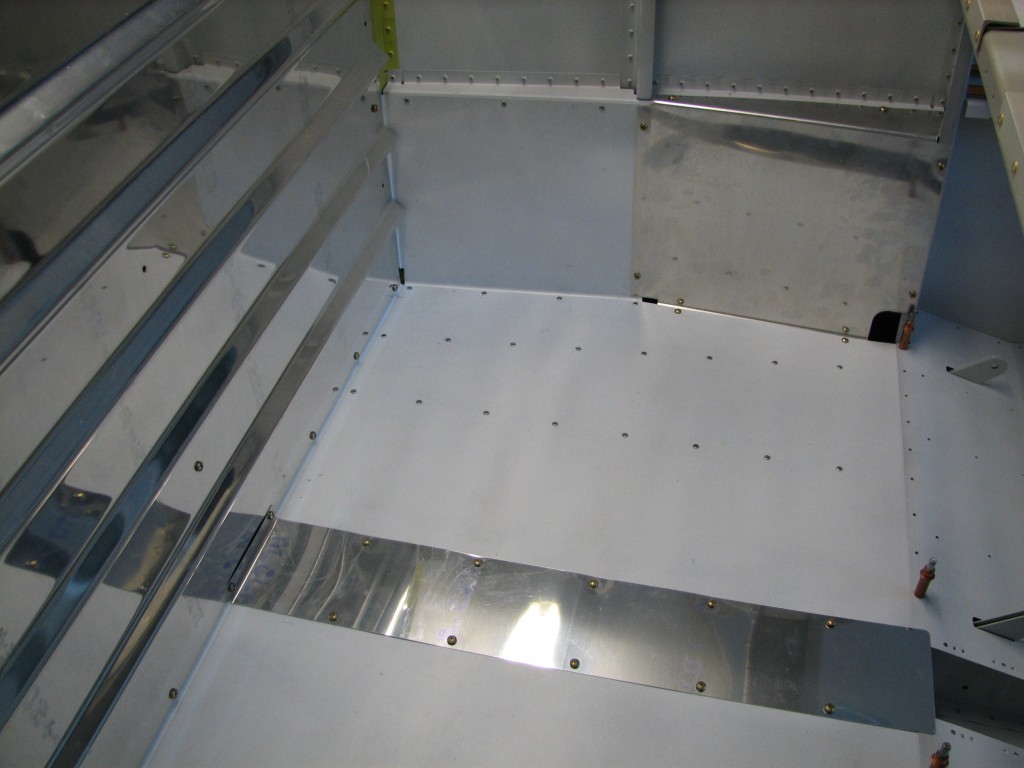
First up today was fitting the baggage compartment tunnel cover.  The fit on this part was, shall we say, crappy…I had to apply some kinetic manipulation (i.e., a block of wood and a hammer) to get the rear flange to fit correctly.

A crappy-fitting tunnel coverThe fit still isn’t great, but I was able to get screws in all the mounting holes without enlarging them.  Good enough for government work…if I had been working for the government yesterday.

With the baggage tunnel cover in place, I moved on to the baggage area flap covers which isolate the flap actuator arms from the rest of the baggage compartment.  These were a piece of cake…drill holes to final size, debur, dimple the nutplate rivet holes, and attach the nutplates.

F-749s mounted

That’s the end of the baggage compartment work, it’s on to the seats.

Baggage compartment fun

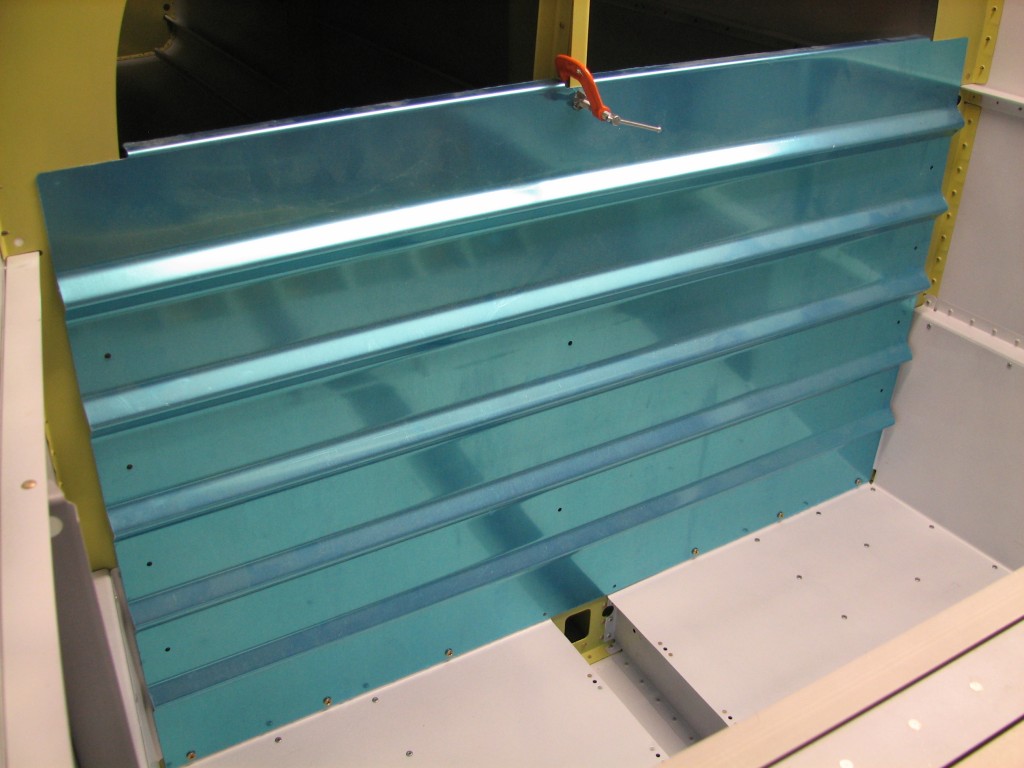
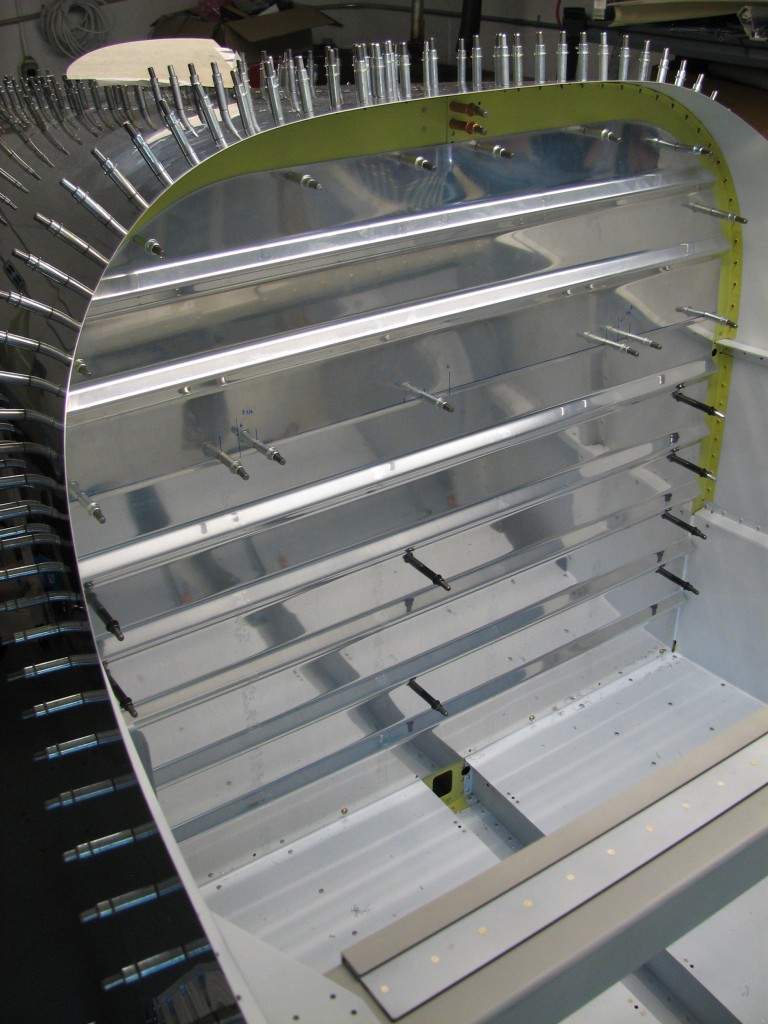
I’ve had the baggage compartment bulkhead walls sitting around for several years, it was nice to finally break them out for installation.  Fitting the bottom bulkhead wall is easy, there are prepunched holes that match the platenuts previously installed on the baggage floor.

Lower baggage bulkheadOnce the wall bottom was attached with screws, I worked my way up from the bottom, match-drilling the bulkheads through prepunched holes on the sides.

Upper baggage bulkhead

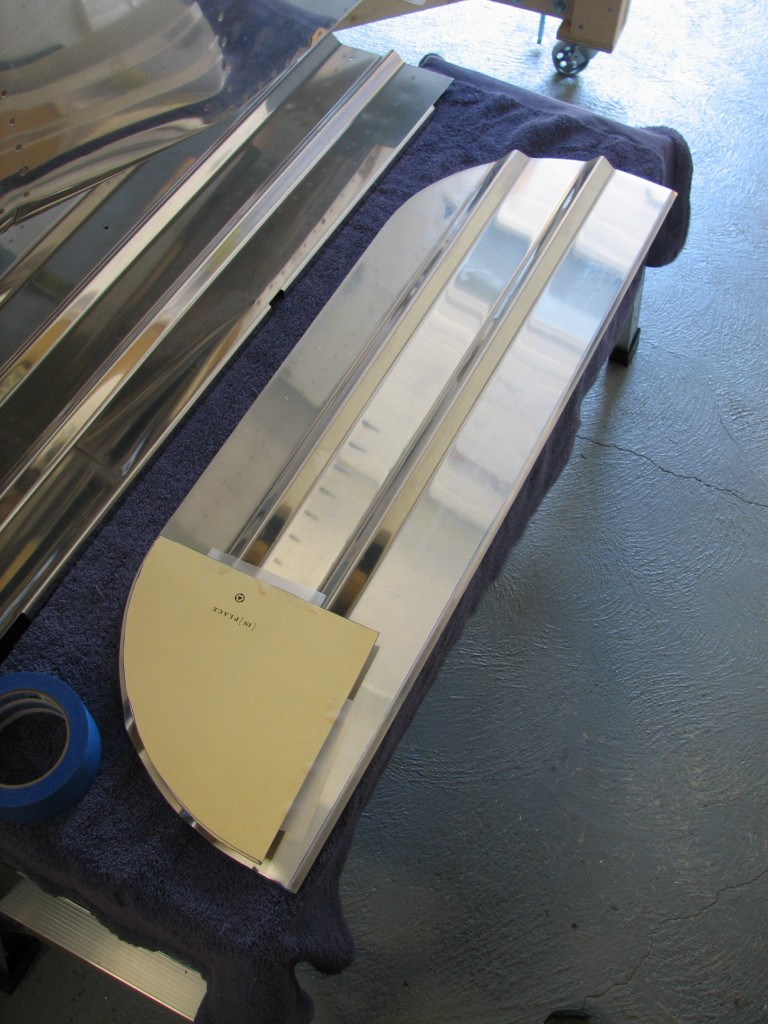
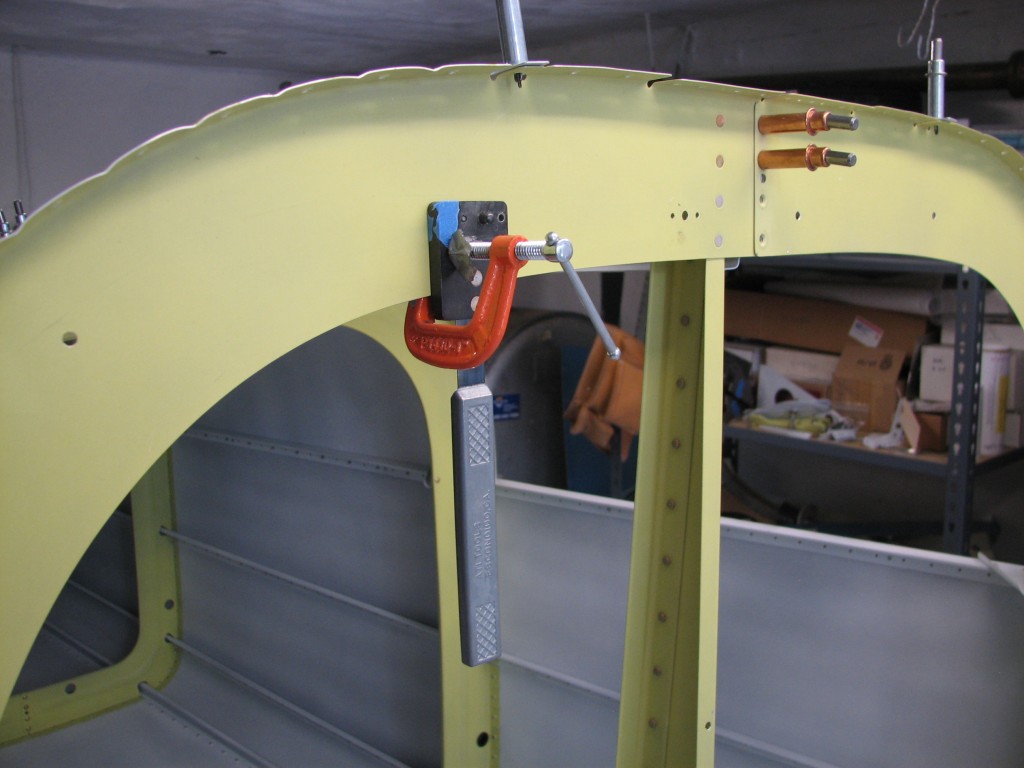
The top of the wall requires a little more work.  The upper corners must be trimmed on an 8.5 inch radius, so I borrowed a tip from Mike Bullock and cut a template from stiff paper to lay out the cut line.  It was a little tricky tracing and cutting through the wall’s deep corrugations, but with a little filing and trimming they look fine.

With the corners radiused, I laid out and drilled the remaining wall-to-bulkhead screw holes and match-drilled the wall to the bulkhead.  Nothing too tricky here.

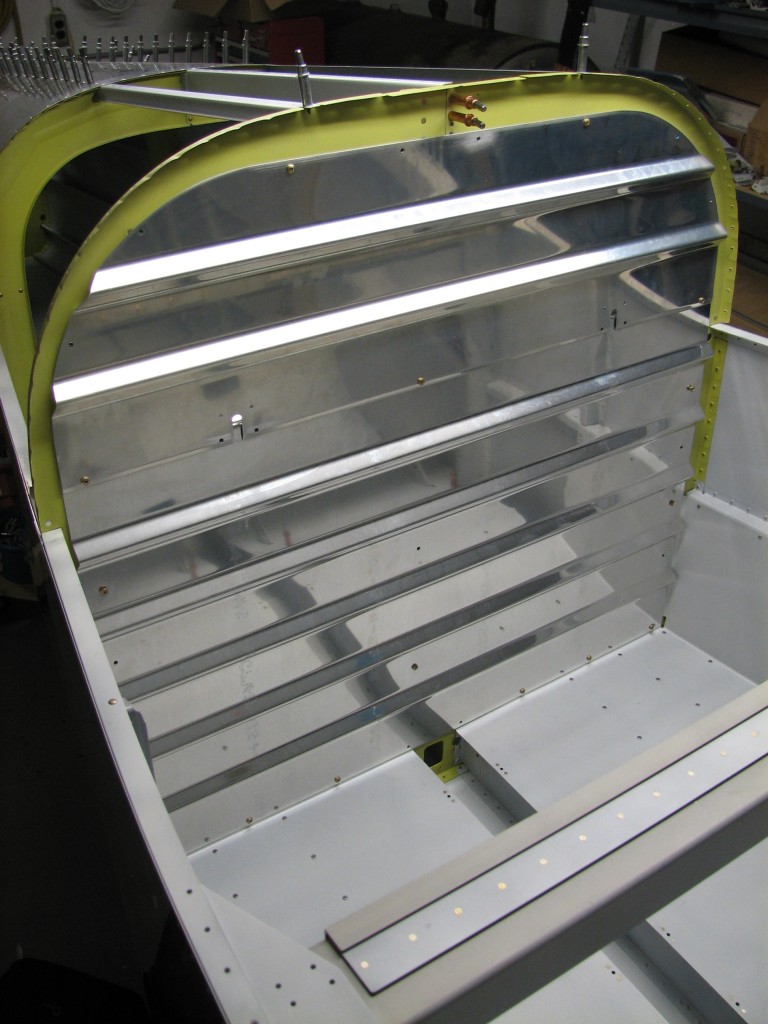
IMG_8527For some reason, it was pretty motivational to see this bulkhead wall in place…makes the fuselage seem more “finished.”

Drilling nutplatesI broke out the #8 nutplate jig, drilled the bulkhead for nutplates, dimpled both the nutplates and mounting holes, and installed the nutplates.

Upper baggage wear blocks

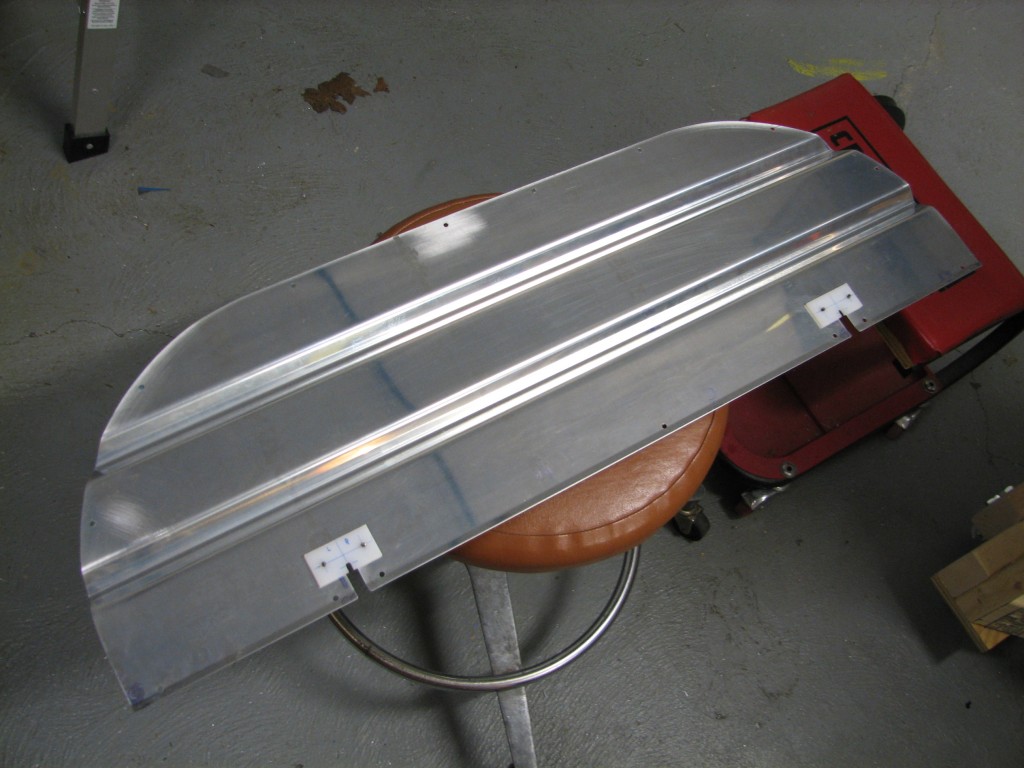
The shoulder harness restraint cables penetrate the bulkhead well, so I laid out and cut slots for the cables.  There are a couple of pieces of UHMW plastic that get fitted around these slots to provide a wear surface, so I trimmed and drilled them to the upper and lower walls.

Baggage bulkhead fittedI’m saving the wear block final installation until the walls are painted.  I’ll probably do that sooner than later, since we want to see how our interior color choice (JetFlex WR “Pepperdust”) looks.  I can paint the wall parts, and if we don’t like the color, I can strip ’em down and find another color.

USS Constitution turn-around cruise

We took a little time off today to celebrate our national independence, and to watch the oldest commissioned warship in the world make one of her periodic turnaround cruises in Boston harbor.

USS Constitution (IX 21) was commissioned in 1797, and has been a museum ship since 1907.  She is periodically towed into the middle harbor where she salutes, and in turn is saluted by, Fort Independence.  She is then re-berthed in the opposite direction to spread the effects of weather evenly over the hull and rigging.

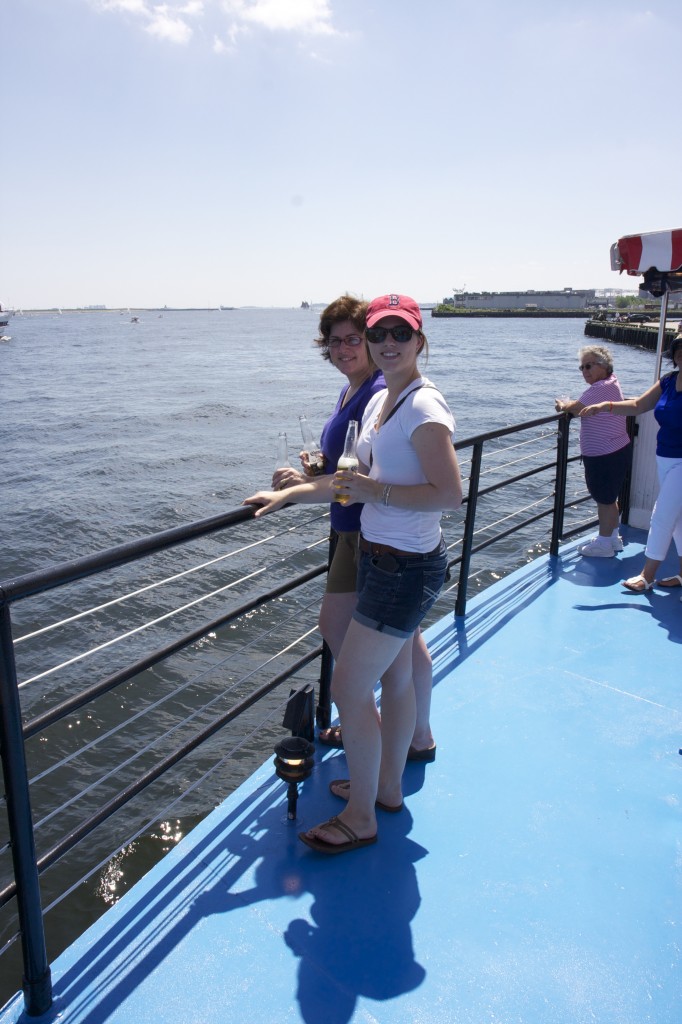
The girls on the paddleboat

We watched the turnaround from a Boston harbor cruise boat.  Fortunately, it isn’t a dry ship…a cold Corona went down well for all three of us.

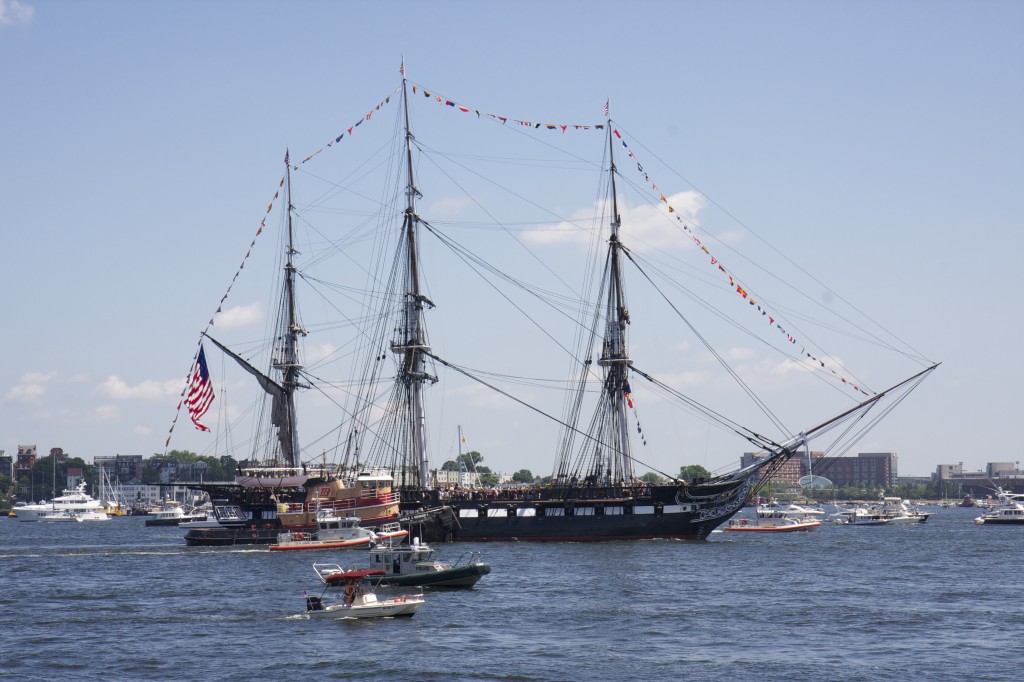
USS Constitution outbound

Constitution hasn’t been under sail since 2012.  Power for the turnaround cruise came from a tugboat.  There were a lot of other vessels escorting her into the harbor.

USS Constitution firing

Even from a half-mile away, the powder charges were very loud!

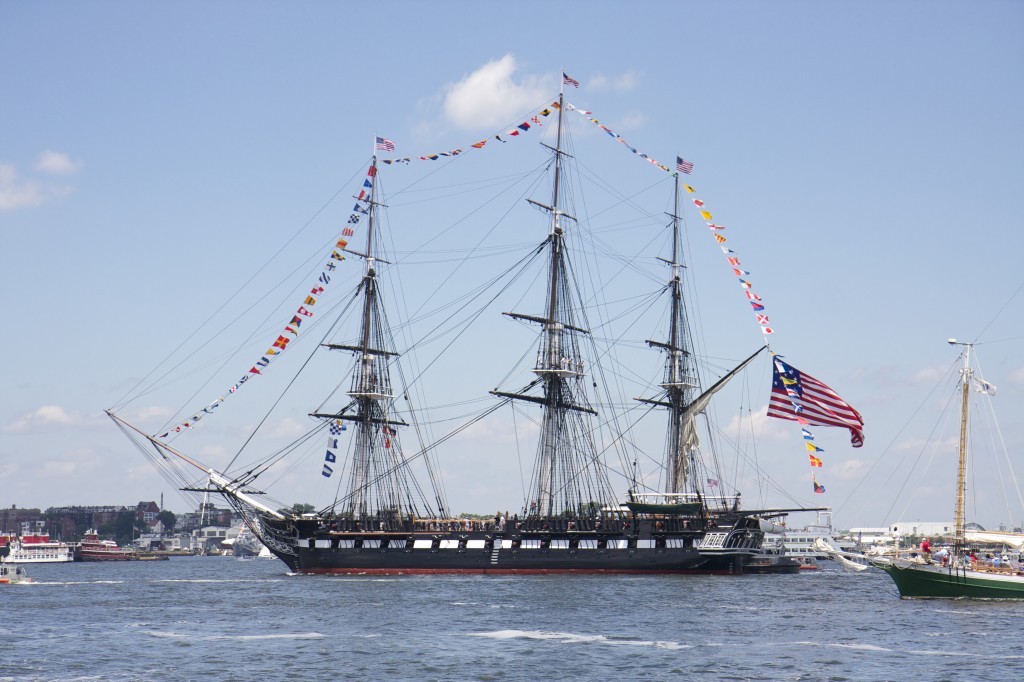
USS Constitution returning

One final picture with the tugboat on the other side…the Constitution is a beautiful ship!