More pictures of work in progress…I’m test-fitting the brake lines fabricated by Tom Swearingen at TS Flightines.

More pictures of work in progress…I’m test-fitting the brake lines fabricated by Tom Swearingen at TS Flightines.
It’s looking likely that I’ll be ready for an engine sometime this summer and over the last year I’ve been working through the various engine options for our RV. Many years ago I decided that the engine would be some variant of the 180 horsepower Lycoming IO-360-M1B with a horizontal sump and set up for a constant-speed propeller. I’ve already purchased a finishing kit from Van’s that includes a cowl for this configuration.
When I first started building the RV, I planned to buy a certified Lycoming engine from Van’s because of the excellent prices they offer to RV builders. But since Van’s now only carries experimental versions of Lycoming engines, and there’s competition in the experimental market to keep prices down, we decided to expand our search and look at ECI Titan and Superior XP-360 experimental engines from other vendors.
An advantage to buying an experimental engine from one of these vendors is that they do some value-added work like flow-matching cylinders and balancing rotating components. I really want a smooth-running engine, and these tweaks apparently help. Had we been buying an engine a few years ago, we might well have worked with Mattituck Services on Long Island. They had an excellent reputation for customer service and sold experimental engines to many local RV builders. But they no longer exist as a custom engine builder, so that option was out. I had also been investigating engines from Aero Sport Power in Kamloops, British Columbia. Many west-coast RV builders, including my good friend Jim Piavis, bought engines from Aero Sport and have been very happy with them because of their great after-the-sale support. I defintely want that kind of support from my engine provider.
One of the factors in my selection process was the choice of fuel injection systems. I’d pretty much settled on a Precision Silverhawk EX system because it’s the experimental version of, and identical to, the proven Bendix RSA system that I’ve flown on Piper Arrows. Until recently, experimental Lycoming engines sold through Van’s came with the Precision system but as of 2014 Lycoming switched to Avstar fuel injection systems – essentially a knockoff of the Precision system. I’ve had several interactions with Alan Jesmer and the folks at Precision, and decided that I wanted my engine to have their FI system. Since Van’s wasn’t willing to customize the Lycoming engines they sell, this wound up being a vote against buying an engine from them.
I had almost decided to buy my engine from Aero Sport this spring, but decided to ask my A&P/IA friends around Boston about local engine providers. They all pointed me to Tim Hess at Unlimited Aero Engines at the Fitchburg, MA airport (KFIT). Tim was formerly the Crew Chief on Mike Goulian‘s Red Bull air race team, he’s built highly customized, high performance engines for Mike and Kirby Chambliss. In addition to continued support to the Red Bull Air Race organization, Tim runs his engine shop at FIT and has done overhauls and repairs for many of my A&P friends. In short, he’s a world-class aircraft engine expert.
At the suggestion of my good friend Captain John, I visited Tim’s shop a couple of weeks ago and asked him for a quote on an experimental IO-360-M1B engine. He came back with a very competitive price on an custom-built Superior XP-360 with a cold-air sump and horizontal induction, roller lifters, Precision fuel injection, one PMag and one Slick mag, with flow matching, balancing, test stand run and documentation. Tim seemed really interested in building an engine for my project.
I really like the idea of working with a local shop on my engine, and it’s not every day you get a chance to work with someone like Tim who just happens to be in my aviation back yard. Plus, there’s the added benefit of having no sales tax in Massachusetts on aircraft parts. So, two days ago I wrote Tim a check for one of these…
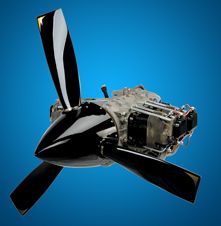
…and sometime later this year our RV will finally have an engine. I’m looking forward to working with Tim, and I’ll be updating the website as we continue toward delivery of the engine.
For the last few months I’ve been chipping away at Van’s horizontal stabilizer service bulletin. This service bulletin addresses cracks found in some the front spar center section web on some RV horizontal stabs.
My stab obviously hasn’t flown yet, but I decided to go ahead with the SB mod anyway. If I screwed up the mod, I’d still have the option of building a new horizontal stab. But once the stab is drilled to the fuselage, I’d be committed to modifying it as it would be very difficult to fit a new stab to mounting holes already drilled in the fuselage.
Drilling out rivets isn’t fun, and drilling out AD4 rivets in a confined space is even less fun. Getting the inboard ribs out wasn’t hard, but drilling out the AN470-AD4 rivets in the front spar was a bitch.
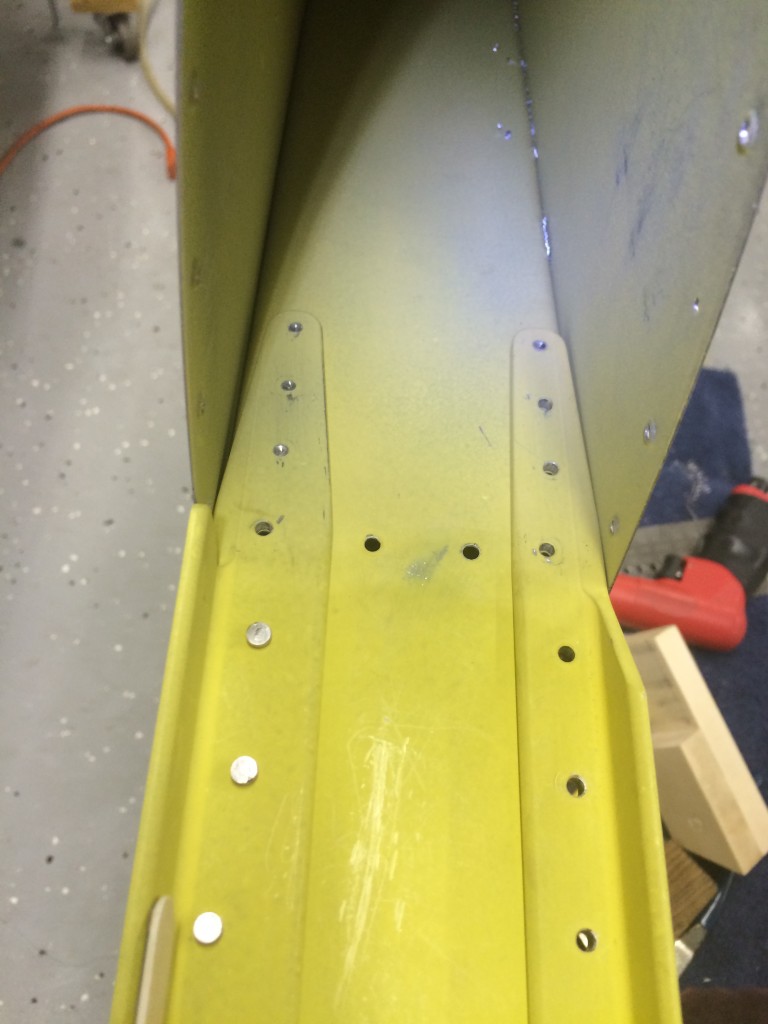 However, with some patience and persistence, and more importantly some help from Bob DiMeo, I was able to get the heads drilled off of all the hard-to-reach front spar rivets. All that’s left is to punch them out, and start fitting the mod kit.
It was tough to punch out the rivets on each end of the angles, but a little patience and persistence won the day.
Seems like years since I riveted this structure together…oh, wait – it was years ago, ten years to be precise.
One angle removed…
Another tedious task…trimming the upper and lower flange on each side of the front spar. The black line marks the cut line, and Van’s thoughtfully includes a small piece of stainless steel to slide beneath the spar flange to protect the skin while cutting. Following the instructions, I used a small cutoff wheel on my Dremel tool to do the trimming. Gotta be careful using a motorized cutter in this area…
The end result, with some additional polishing to remove some scrapes left from rivet removal. I’ve also enlarged the U-shaped relief notches per the instructions.
After all that work, fitting the doublers was relatively easy. I deburred them, adjusted the bend angle slightly to match the front spar, then drilled them in place. Some care is required to make sure the holes are drilled perpendicularly to the spars, angles and doublers.
Here’s another picture of match-drilling in progress…
And the end result – doublers ready for priming…
I had to do some additional cleanup and prep of the doublers and angles before priming.
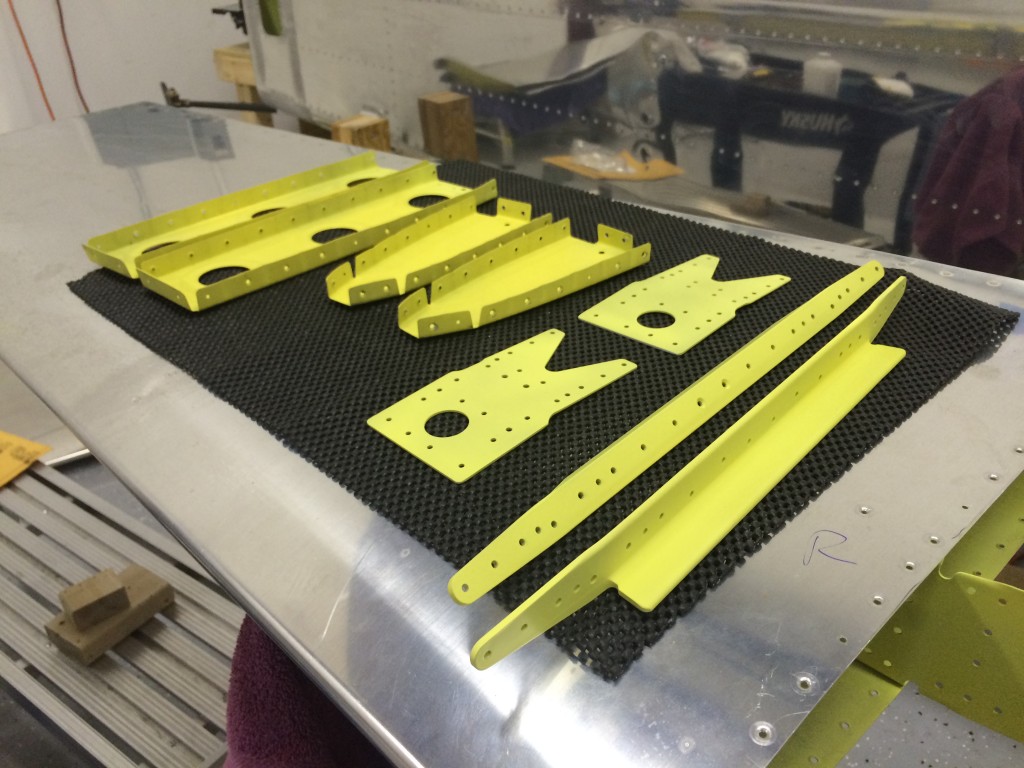 Priming wasn’t a big deal, just had to keep the hangar warm enough to let the primer cure.
I had to upsize a couple of holes to #20 because
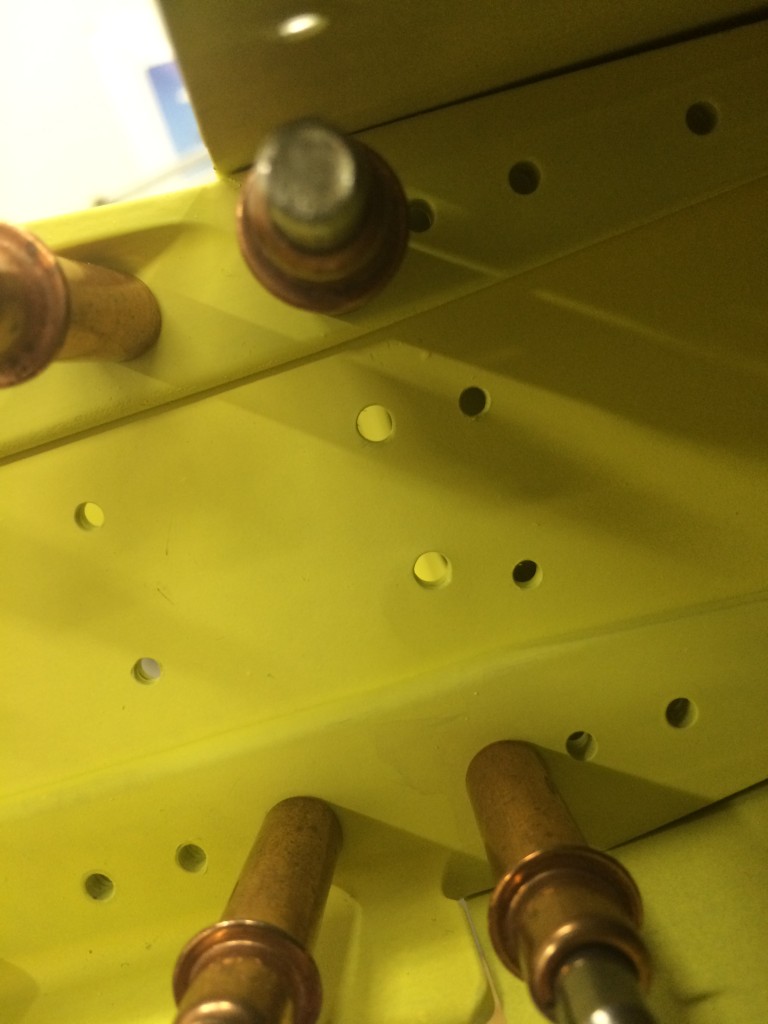 I encountered one other problem…a line of rivets added for the mod interfered with one of the nose rib flanges. After a quick call to Vans, I decided to cut off and replace the offending flange. You can see in the next picture where the rivets lie relative to the nose rib web after I cut the flange off.
And here’s the final result after priming and riveting the new flange, then riveting the ribs to the skins –
One leftover task from fitting the wings was installing the control stops that limit aileron travel. The plans call for riveting aluminum blocks to the inboard aileron hinge brackets on each wing, and these blocks serve as stops hitting against the steel hinge points bolted to each aileron.
But other builders have a more elegant solution. Turns out a small Delrin spacer, fitted where an aluminum spacer normally goes on those steel hinge points, make a perfect control stop. All that’s needed is some Delrin rod stock of the appropriate diameter, cut to the appropriate width, with a 5/16″ hole drilled in the center to accommodate an aluminum bushing to protect the spacer from wear. When the aileron is at its maximum up travel, the Delrin spacer hits against the top of the aileron hinge bracket.
To me this is a much better solution than having the steel hinge point banging against an aluminum block. Some trial and error is required to find the right spacer diameter – the larger the spacer diameter, the smaller the aileron travel – but checking out other builders’ websites who’ve done this, 3/4″ seems to be a common diameter and that size worked for me as well.
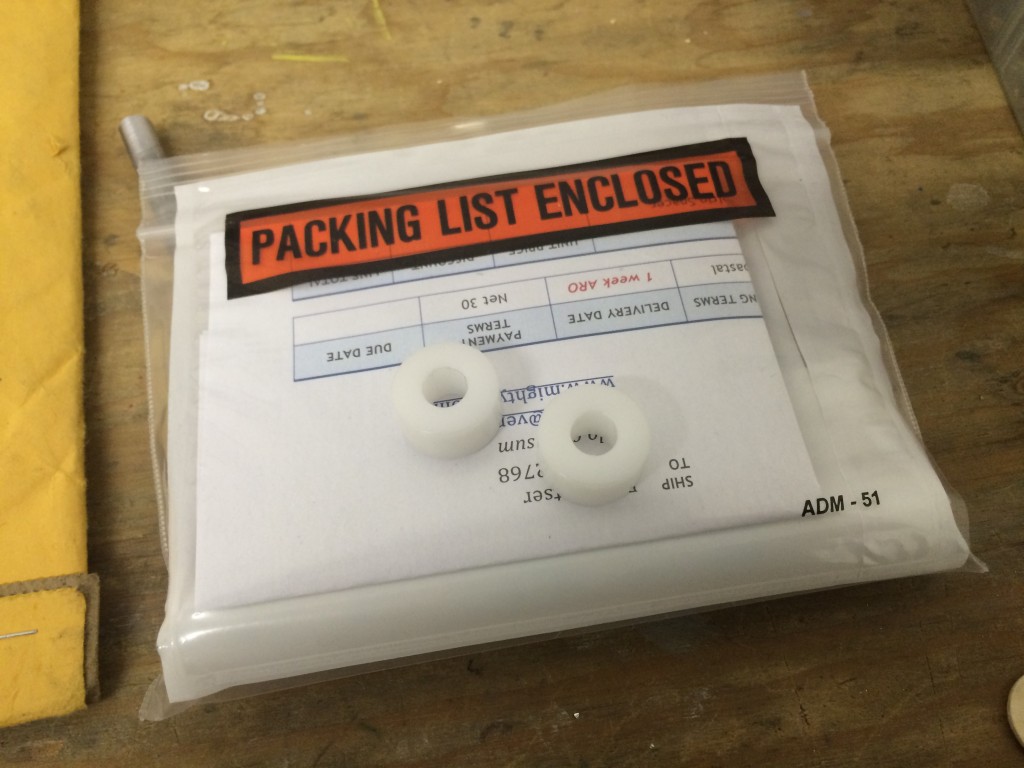 Because I’m an obsessive-compulsive engineer, the spacers had to be precise. As I am wont to do, I threw money at the problem and had a local machine shop bore the holes in the middle of each spacer. Joe at Coastal Milling Works in Medford MA is happy to take on small milling and machining jobs for a very reasonable cost. After spending too much time trying to center-drill some test spacers, I decided to hand the job to Joe and he handed me back ten perfectly-drilled spacers. If you’re in the Boston area and need some small machining work done for your project, go to Coastal – you’ll be glad you did.
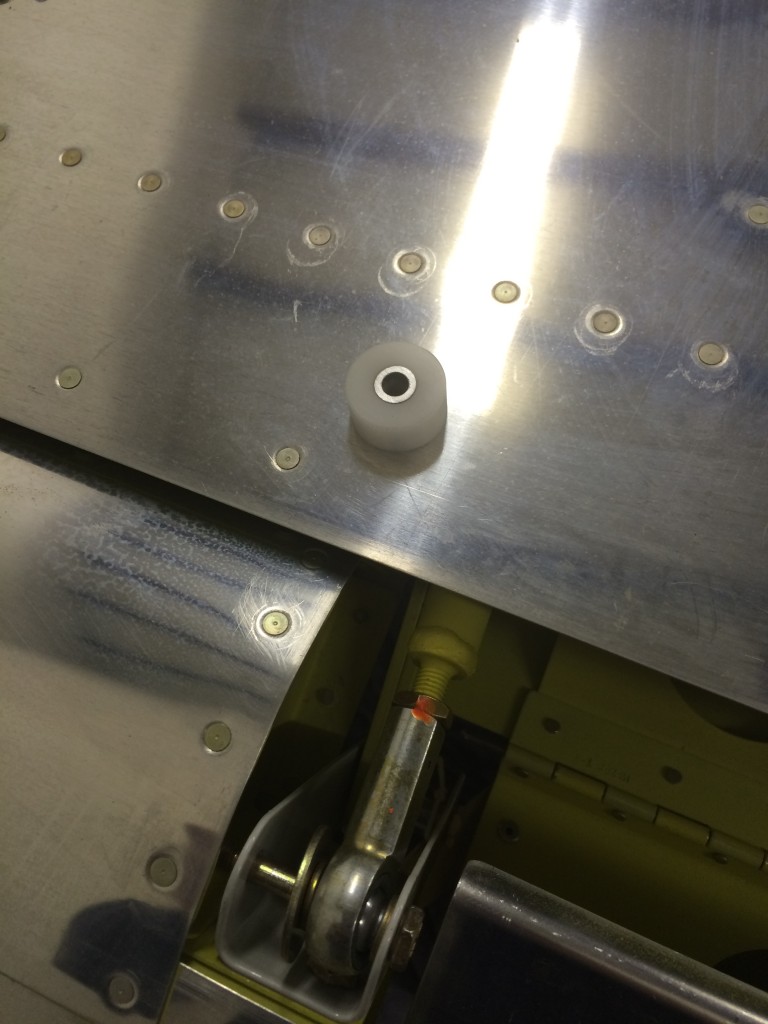 Here’s the finished spacer, and it’ll go just to the left of the rod-end bearing and washer in the picture above. This little diversion came out very well…much better than the plans aileron stops.
I have a few extra spacers…if you’re contemplating this approach and are interested, let me know.
Today was a great day, for many reasons. First, I was invited on a dawn patrol breakfast flight with Bob DiMeo, my EAA Technical Counselor, and a group of pilots from eastern/central Massachusetts and New Hampshire. The Dawn Patrol was heading to Keene, NH (KEEN) to a little diner right outside the airport. Bob has a beautiful RV-8 painted in Tuskeegee Airmen colors.
We departed Nashua with a Bonanza. You’ll see it in the panorama below, just above and in front of the right wingtip…
Mount Monadnock was in the way…
…but fortunately the RV-8 is pretty maneuverable.
The weather at KEEN was good but deteriorating…there were snow showers moving in from the southwest. The ceiling had come down a bit by the time we left, but we had no problems getting some. All in all, a great flight and I got to log some back-seat stick time in Bob’s RV-8.
Once back at Nashua, we started on more RV fun. Once again I wedged my not-petite frame into the tailcone to back-rivet the ELT antenna doubler…
…while Bob managed the back-rivet set on the outside. Then we moved onto riveting two heavy angles to the rear cockpit bulkhead. I didn’t get any pictures of those parts, so you’ll just have to imagine us working on them.
We then clecoed the canopy side rails in place and riveted them to the fuselage longerons. Here’s Bob expertly clecoing the rails…
These rivets weren’t particularly hard to set, but there were a few that took a little extra time and the use of a very narrow bucking bar.
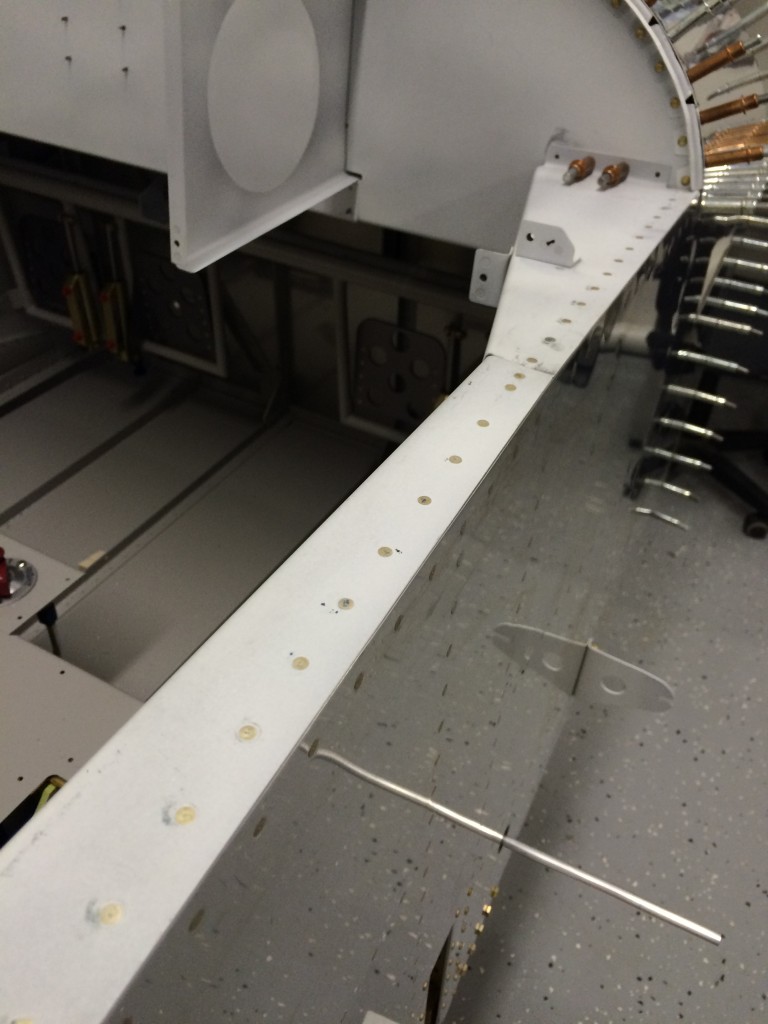 But in the end, the side rails look good on the fuselage.
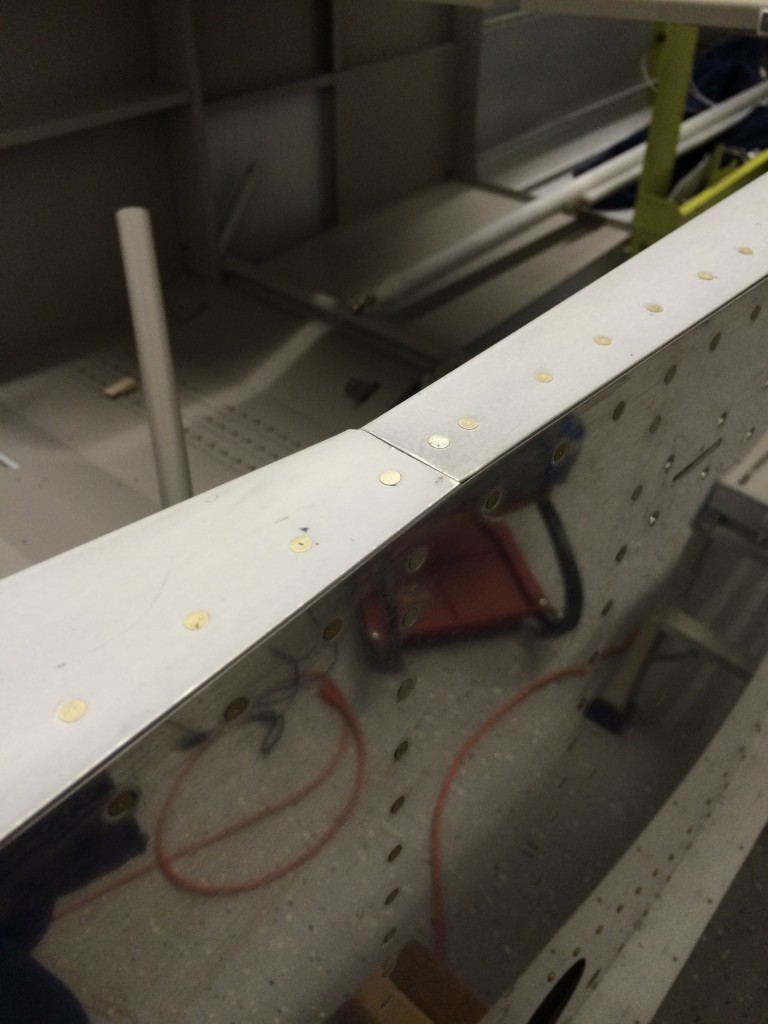 The seam between the forward and center rails came out well, which means that all the work I did bending the longerons really paid off.
So…between flying, breakfast and good progress on the fuselage, it was a great RV day!
I’ve been debating for a long time how to deal with these very heavy angles that support the cockpit’s real roll bar. They’re supposed to be riveted in place after the fuselage skins are completely riveted in place, but access to the them is limited once the canopy rails are riveted. And unfortunately, the canopy rails need to be riveted to fit the canopy.
So I’ve elected to do what a lot of other builders have done, and relieve the outside edges of these angles to accommodate blind rivets in the side skin holes that are blocked by the angles.
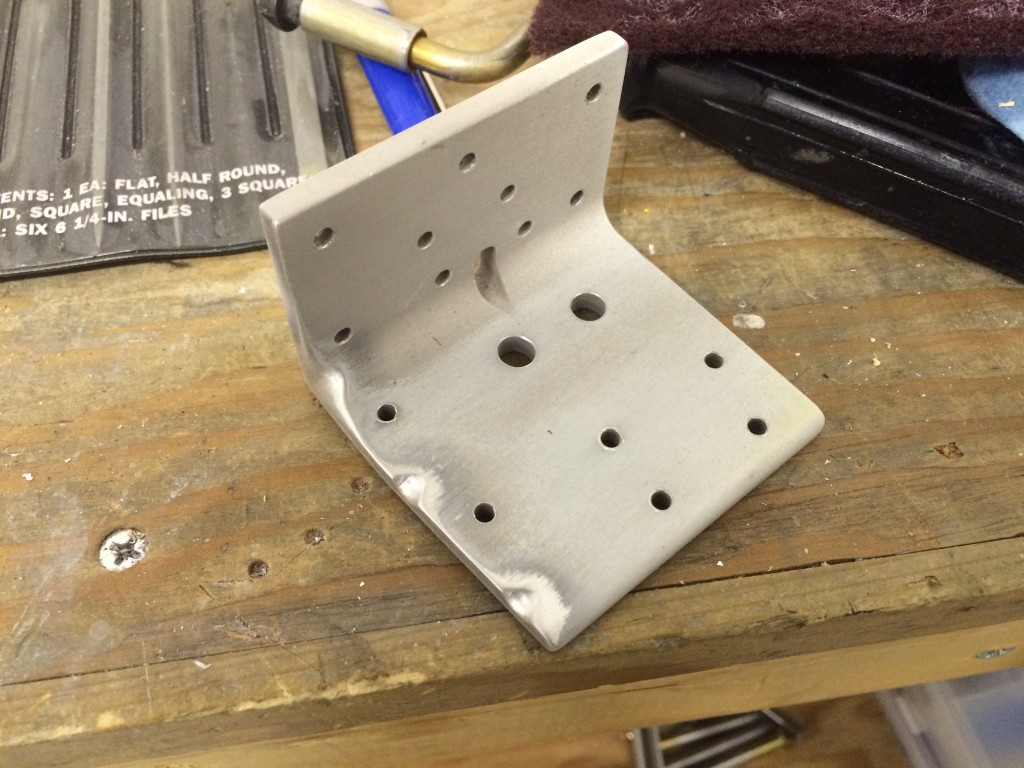 A little work with files, sandpaper and scotchbrite did the trick.
Santa, a.k.a. my wonderful wife Ellen, really surprised me with this awesome gift…it’s a custom-built model of our RV7-to-be with the paint scheme we designed with Jonathan McCormick of Plane Schemers.
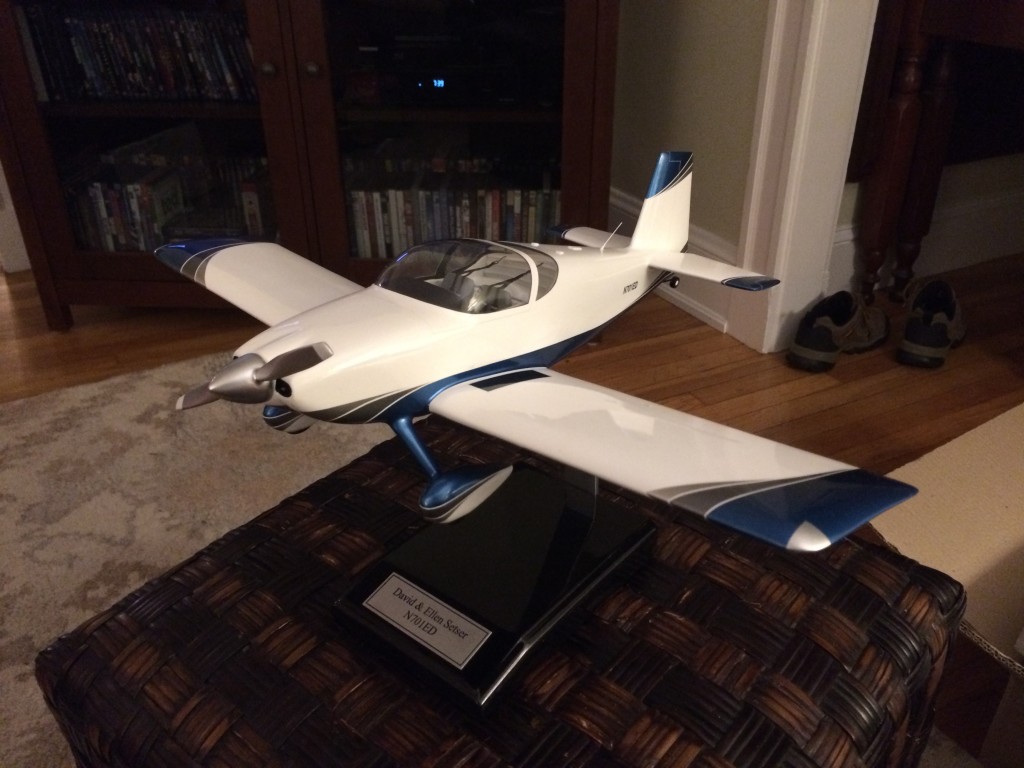 Turns out that Ellen has been conspiring to do this since July, and even went back to Jonathan to get the exact colors he used in the paint scheme!
Another picture? Sure, I knew you’d want one…
I’ve been getting frustrated with the canopy and have also been waiting for some blind rivets and other hardware I need for finishing up the fuse. So, I decided to build the battery box as a small diversion. A quick day’s work except for painting…
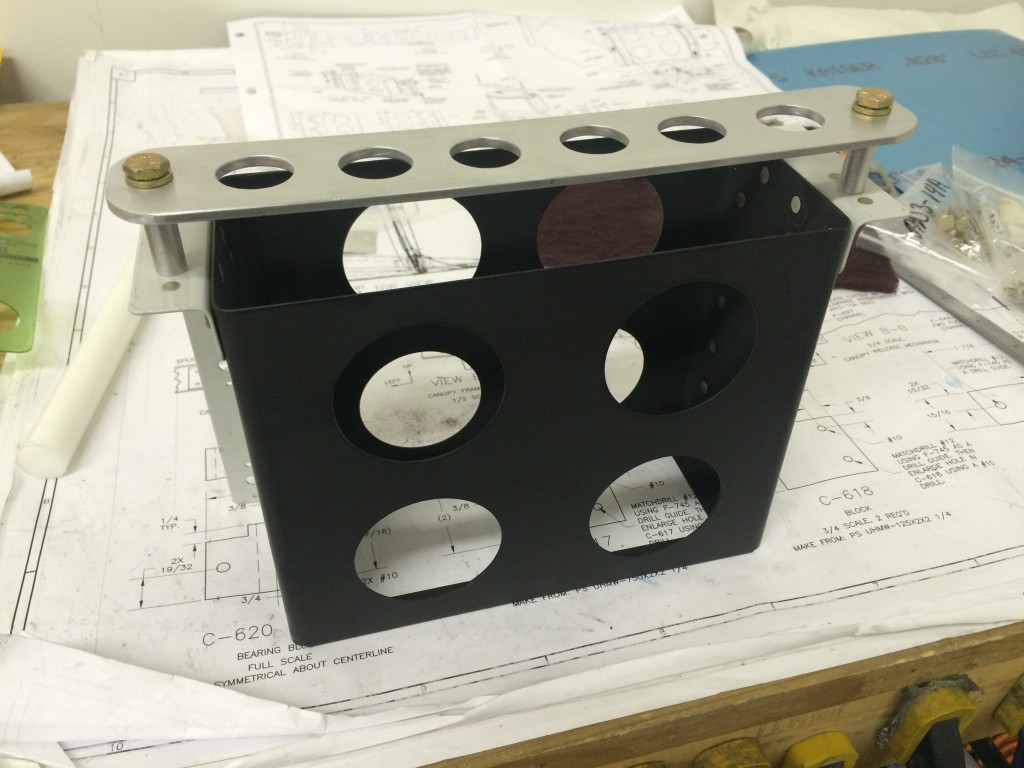 In all likelihood I’ll mount it according to Vans’ firewall forward mounting plans but until I’m ready to do firewall stuff, the battery box will be waiting on the shelf.