An engine is born

I stopped by Tim Hess’s engine shop today to see major parts of the engine coming together as Tim joined the case halves.

Engine case halves

Just getting to this point involves a lot of work – Tim has already balanced the major rotating components, checked tolerances on the bearings (and in some cases replaced ones he wasn’t happy with) and flow-matched the cylinders.

Case halves bolted together

One of the reasons why I didn’t want to do this myself – the first time, at least – was that there are a lot of things that appear to be easy but can easily be done incorrectly, like applying the silk thread that’s used to seal the case halves, or laying down lubricants and sealants on the crank and cam.

Case halves on the stand

I’m very happy with how everything is coming together on this part of the project. Later this Fall or Winter, it’ll be time to hang this thing on the fuselage.

Getting a look at our engine parts

Today I visited Tim Hess to look at the Superior XP-360 parts that Tim will be assembling into the Mighty RV’s engine.

Tim and the engine parts cart

I was really impressed with Superior’s parts kit…everything organized very neatly.

Dave's crankcase

It’s almost a shame to paint this beautiful gold-alodined crankcase, but Ellen and I have agreed that the crankcase will be painted red.

Dave's cold air sump

Here’s the Superior cold-air sump. I was impressed with the casting and milling, and Tim pointed out several areas where the Superior sump is better than the stock Lycoming part which embeds the intake tubes in hot sump oil.

One of Dave's cylindersAnd here’s one of the cylinders.  These aren’t going to be painted…they’re just too nice to cover up. Superior makes very nice parts…

And the engine is…

It’s looking likely that I’ll be ready for an engine sometime this summer and over the last year I’ve been working through the various engine options for our RV. Many years ago I decided that the engine would be some variant of the 180 horsepower Lycoming IO-360-M1B with a horizontal sump and set up for a constant-speed propeller.  I’ve already purchased a finishing kit from Van’s that includes a cowl for this configuration.

When I first started building the RV, I planned to buy a certified Lycoming engine from Van’s because of the excellent prices they offer to RV builders. But since Van’s now only carries experimental versions of Lycoming engines, and there’s competition in the experimental market to keep prices down, we decided to expand our search and look at ECI Titan and Superior XP-360 experimental engines from other vendors.

An advantage to buying an experimental engine from one of these vendors is that they do some value-added work like flow-matching cylinders and balancing rotating components. I really want a smooth-running engine, and these tweaks apparently help. Had we been buying an engine a few years ago, we might well have worked with Mattituck Services on Long Island. They had an excellent reputation for customer service and sold experimental engines to many local RV builders. But they no longer exist as a custom engine builder, so that option was out. I had also been investigating engines from Aero Sport Power in Kamloops, British Columbia. Many west-coast RV builders, including my good friend Jim Piavis, bought engines from Aero Sport and have been very happy with them because of their great after-the-sale support. I defintely want that kind of support from my engine provider.

One of the factors in my selection process was the choice of fuel injection systems. I’d pretty much settled on a Precision Silverhawk EX system because it’s the experimental version of, and identical to, the proven Bendix RSA system that I’ve flown on Piper Arrows. Until recently, experimental Lycoming engines sold through Van’s came with the Precision system but as of 2014 Lycoming switched to Avstar fuel injection systems – essentially a knockoff of the Precision system. I’ve had several interactions with Alan Jesmer and the folks at Precision, and decided that I wanted my engine to have their FI system. Since Van’s wasn’t willing to customize the Lycoming engines they sell, this wound up being a vote against buying an engine from them.

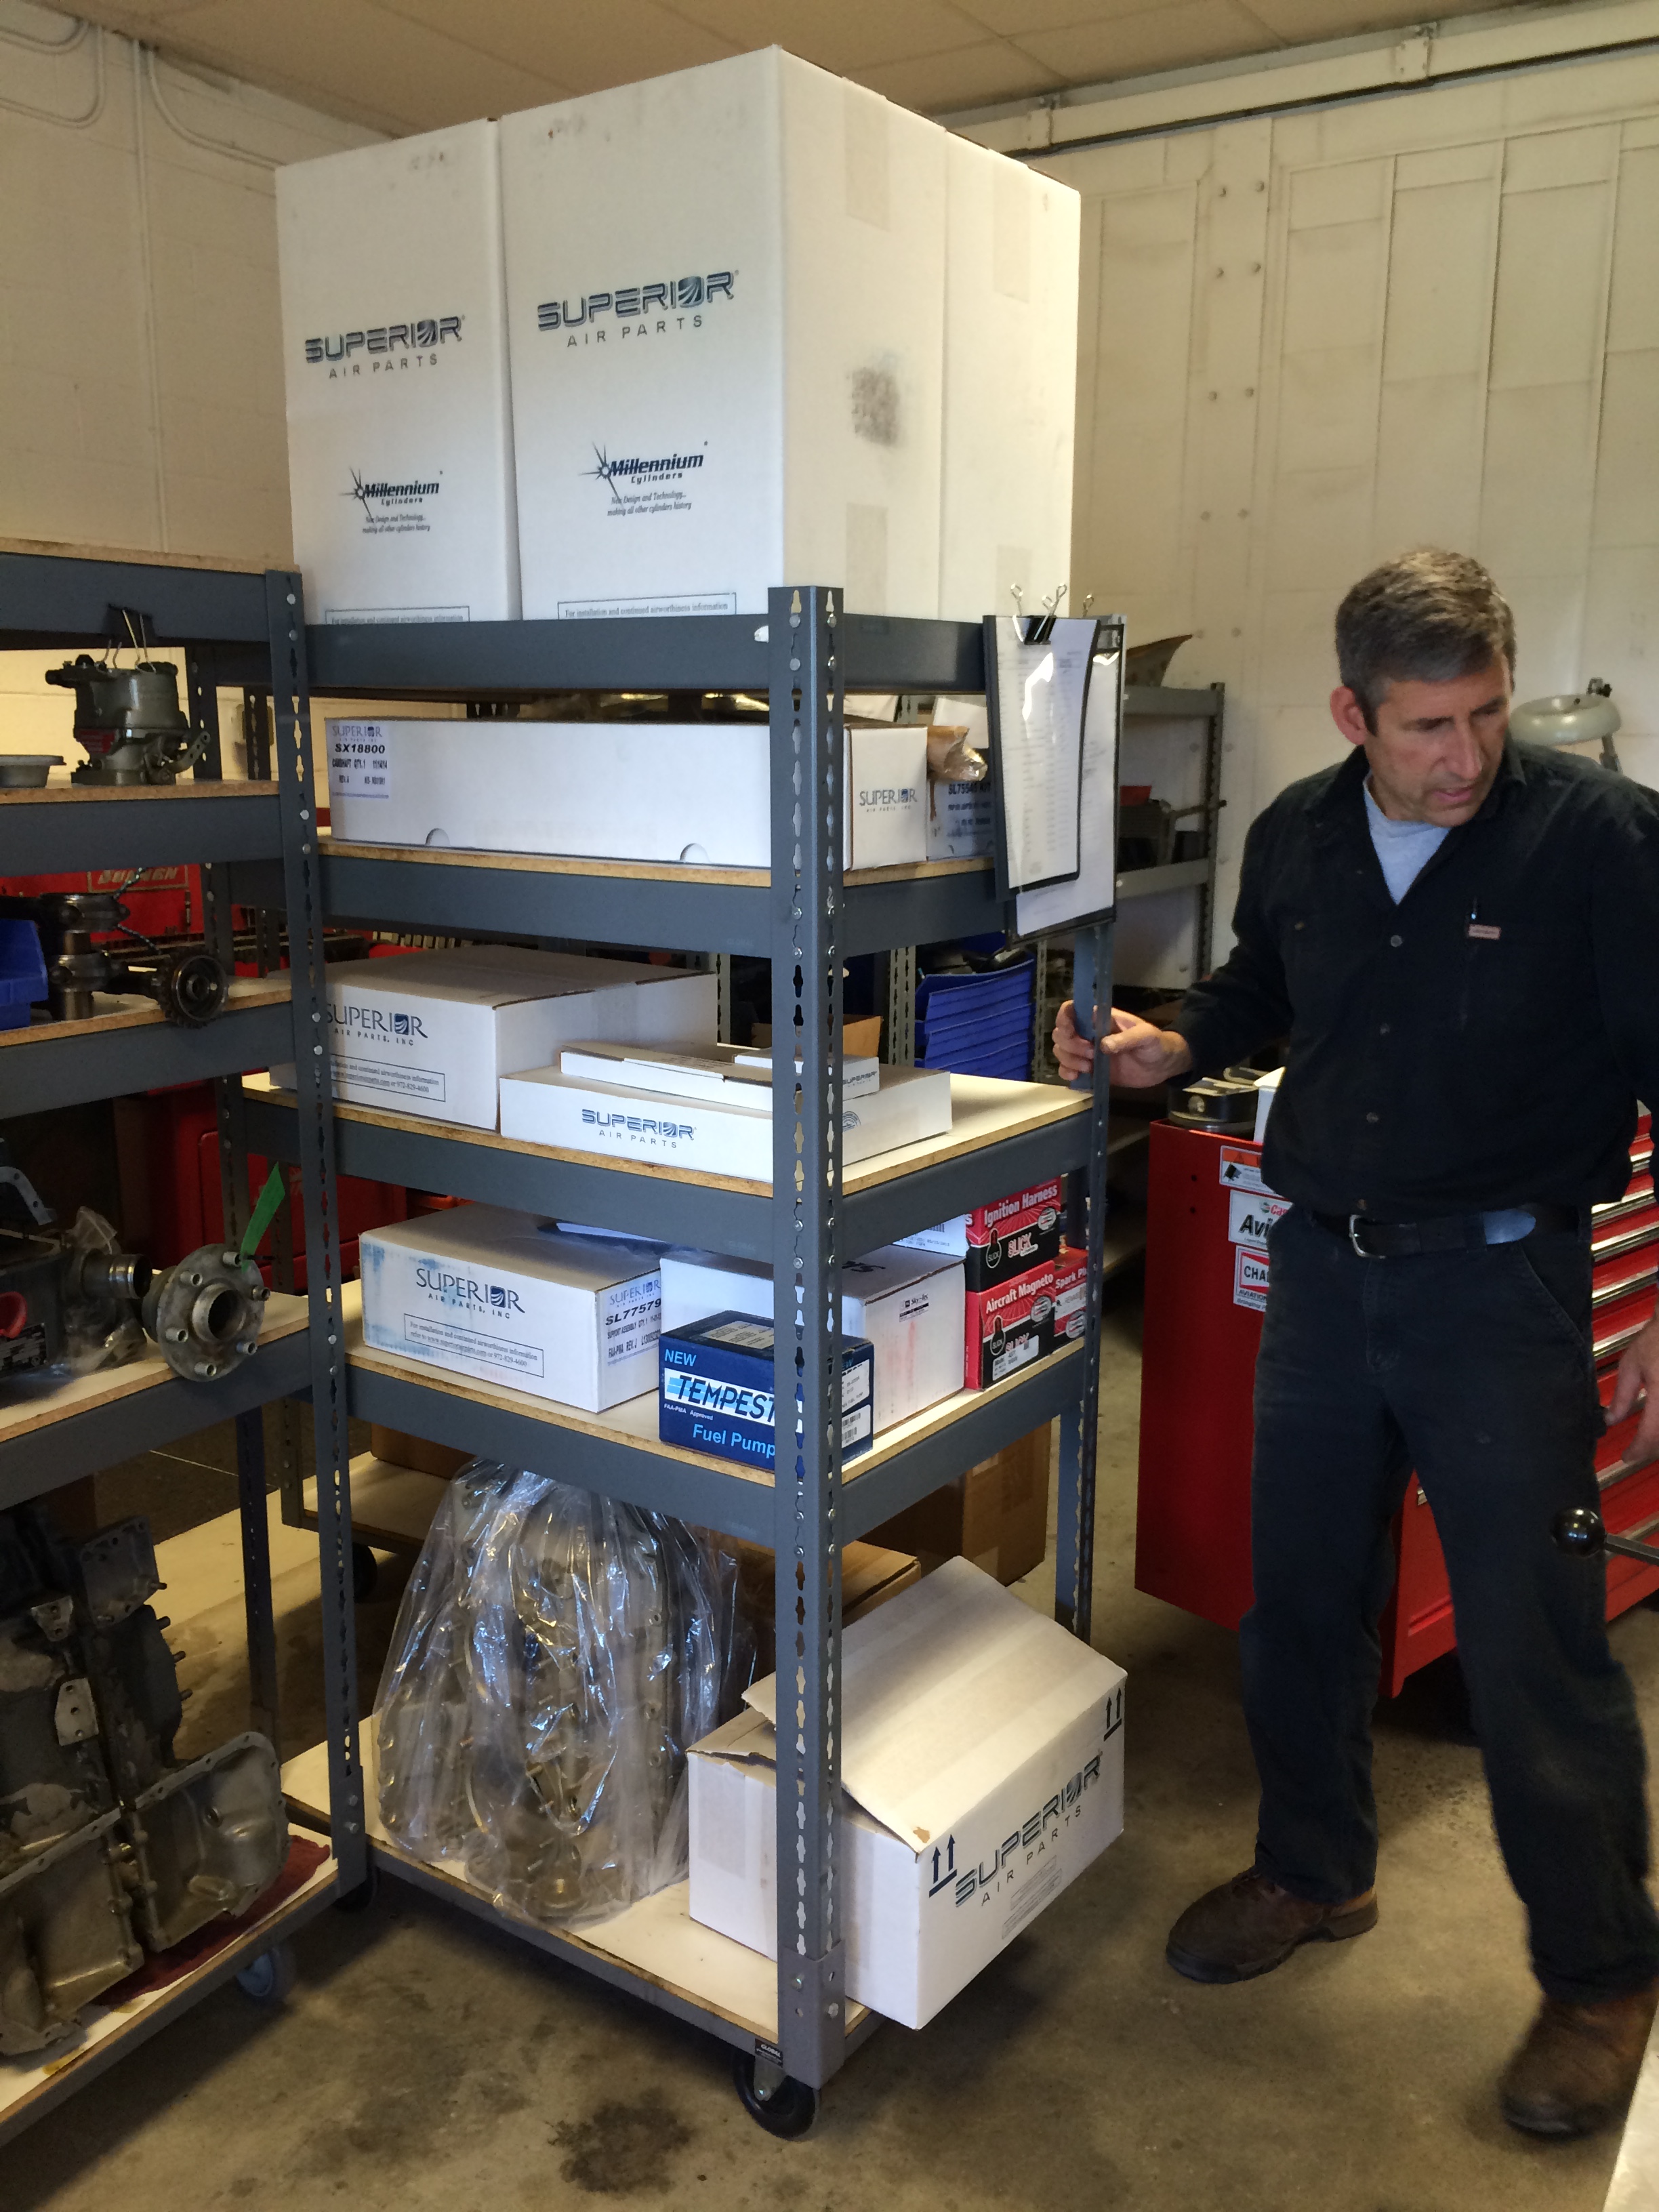
I had almost decided to buy my engine from Aero Sport this spring, but decided to ask my A&P/IA friends around Boston about local engine providers. They all pointed me to Tim Hess at Unlimited Aero Engines at the Fitchburg, MA airport (KFIT). Tim was formerly the Crew Chief on Mike Goulian‘s Red Bull air race team, he’s built highly customized, high performance engines for Mike and Kirby Chambliss. In addition to continued support to the Red Bull Air Race organization, Tim runs his engine shop at FIT and has done overhauls and repairs for many of my A&P friends. In short, he’s a world-class aircraft engine expert.

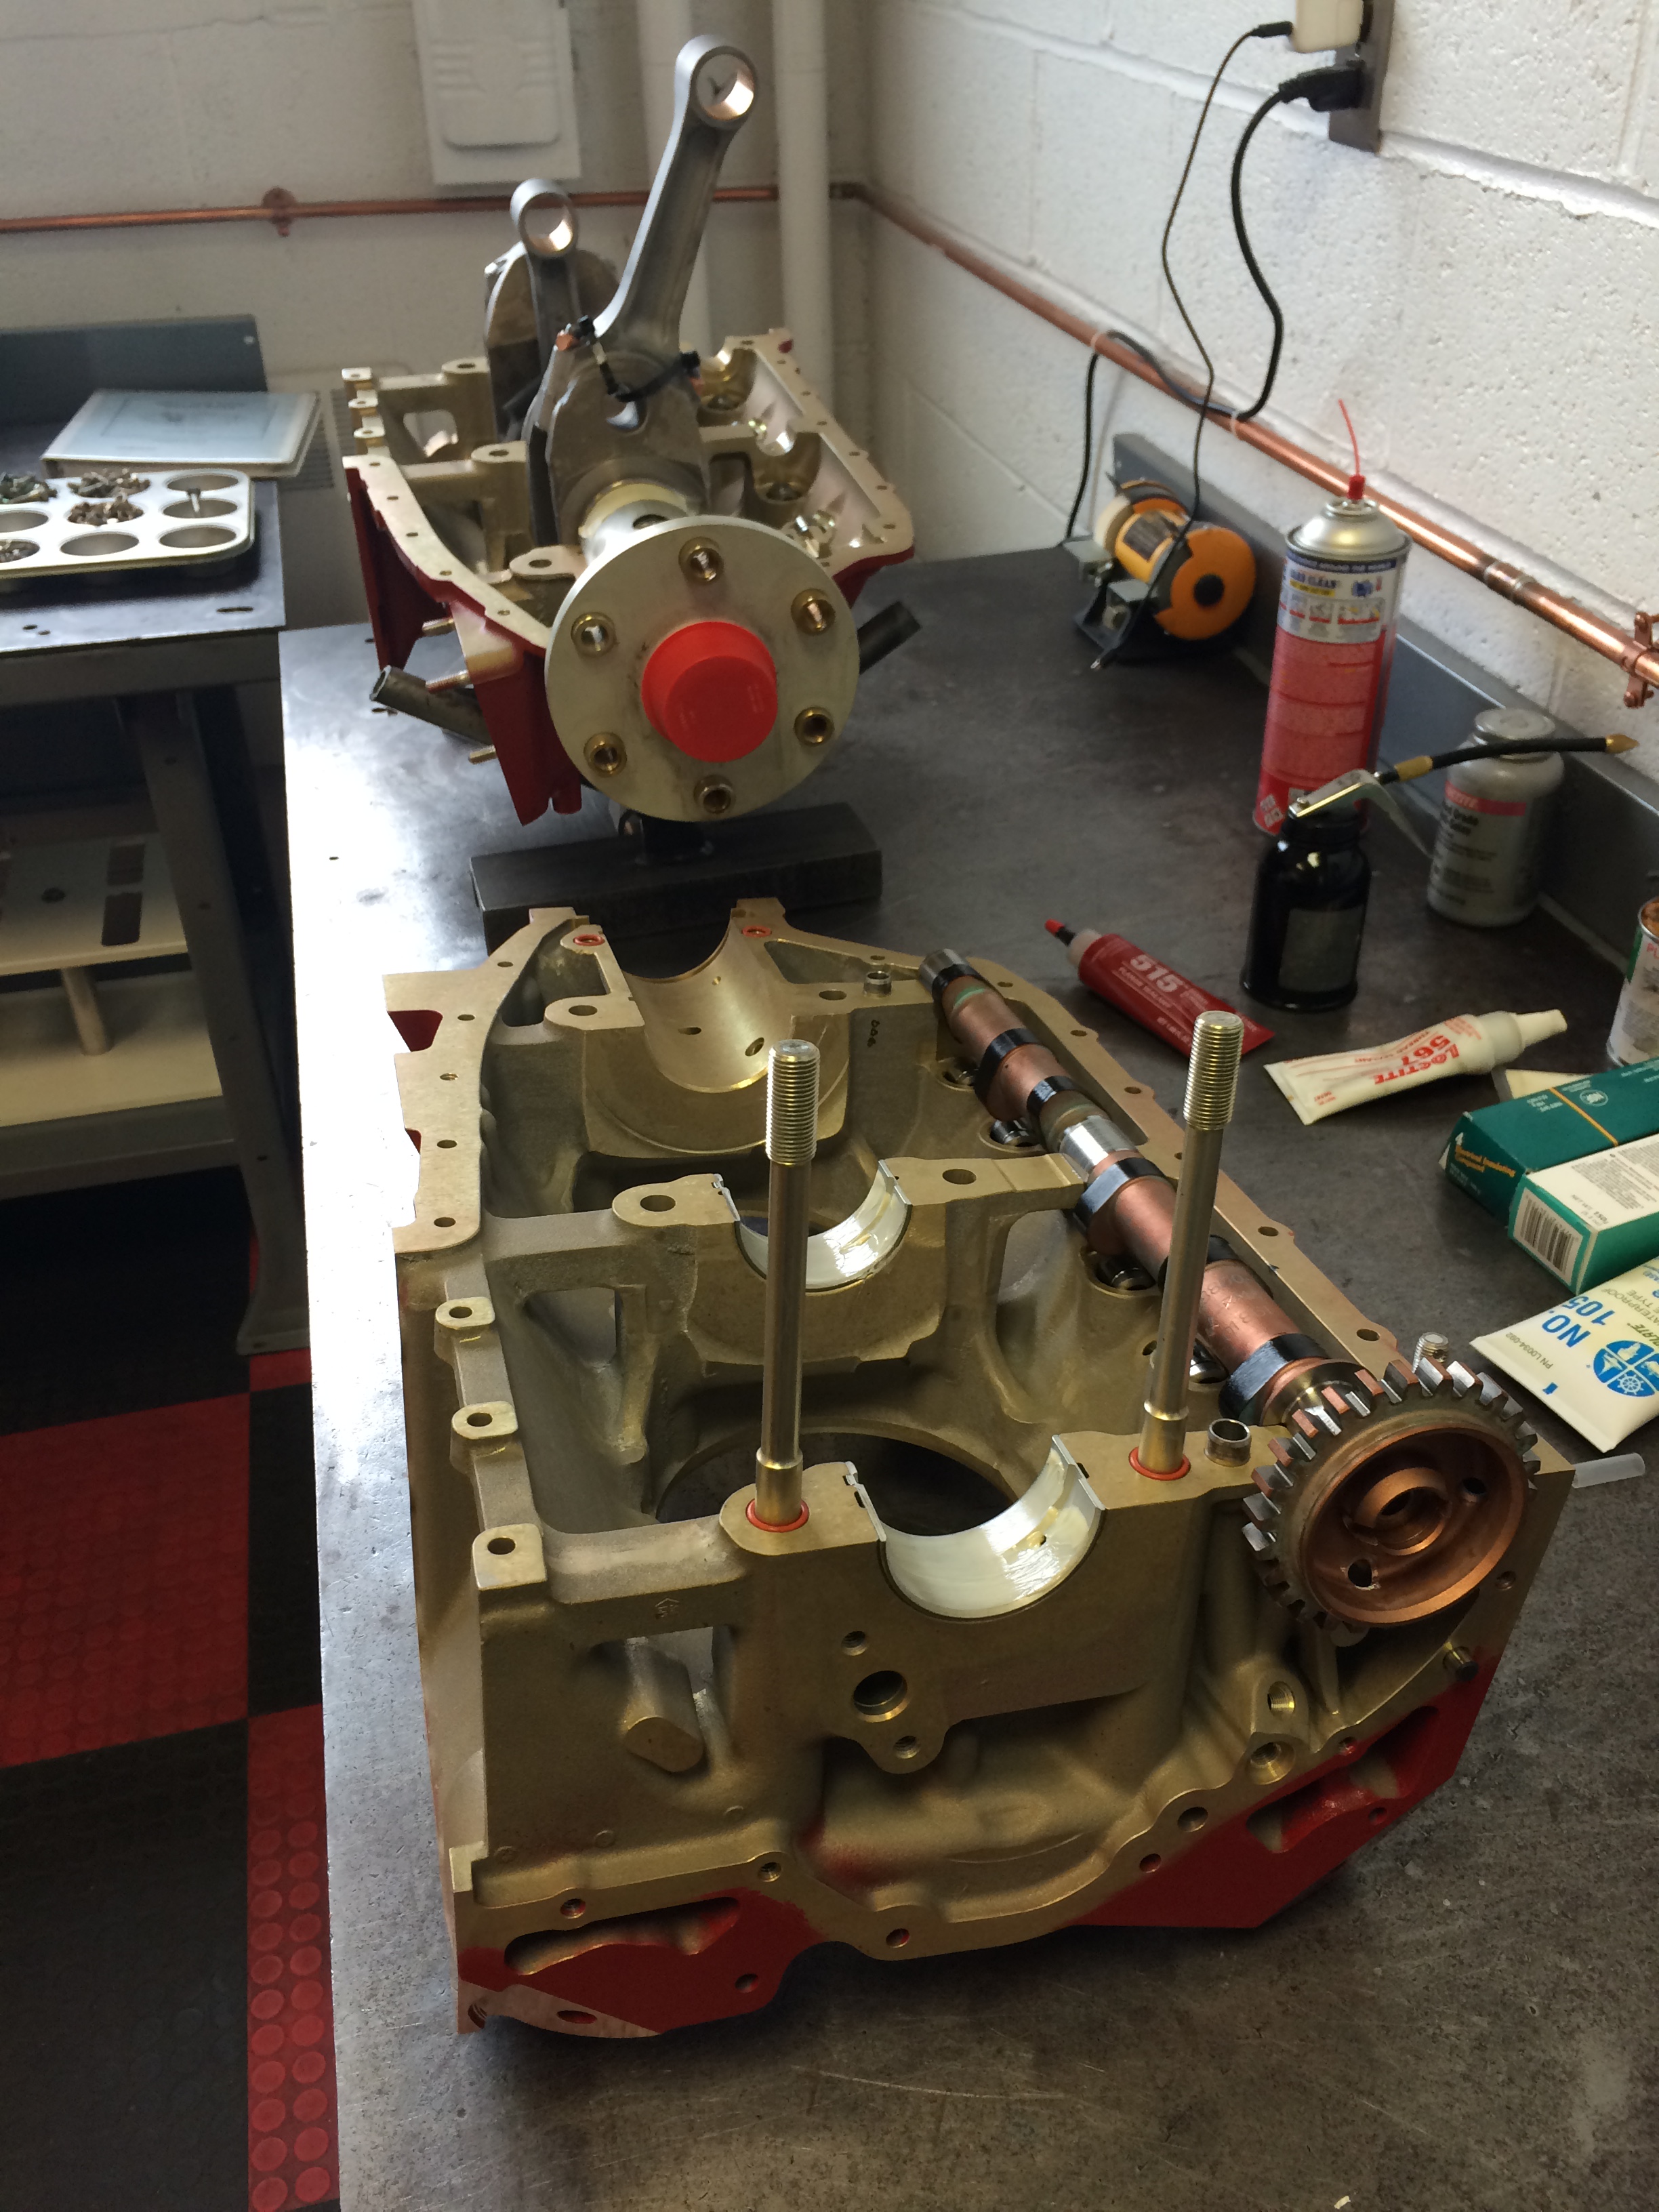
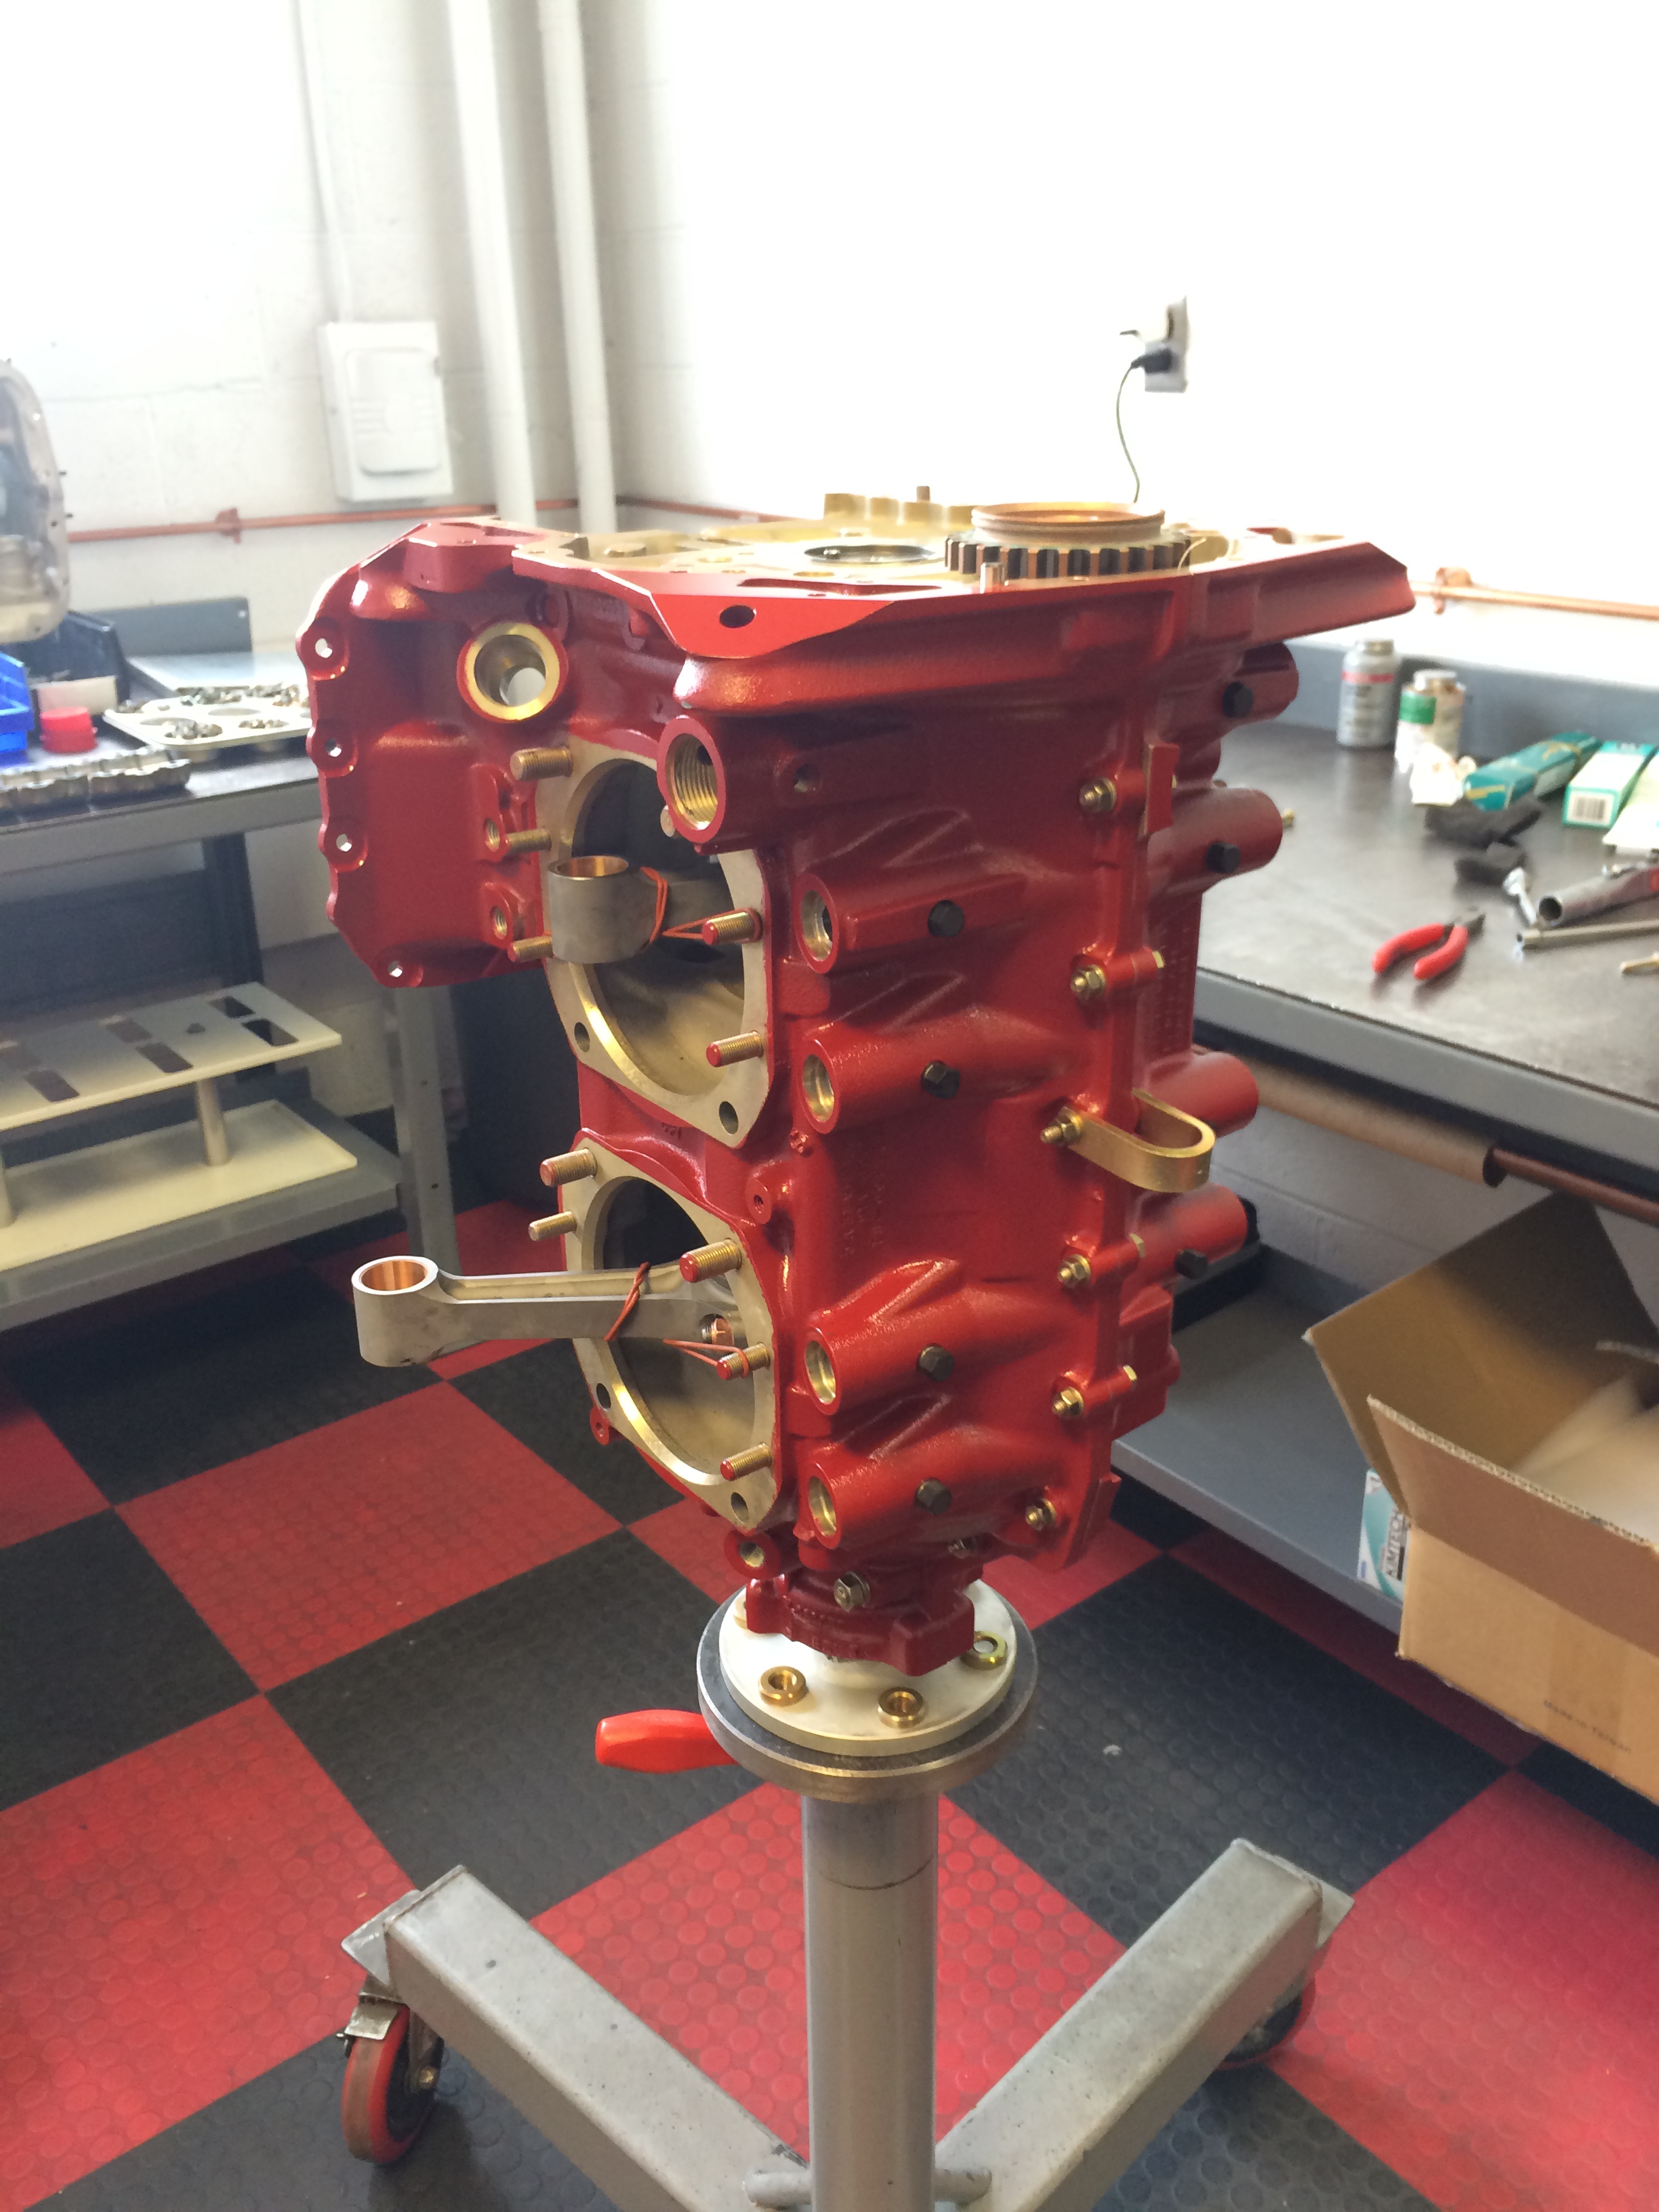
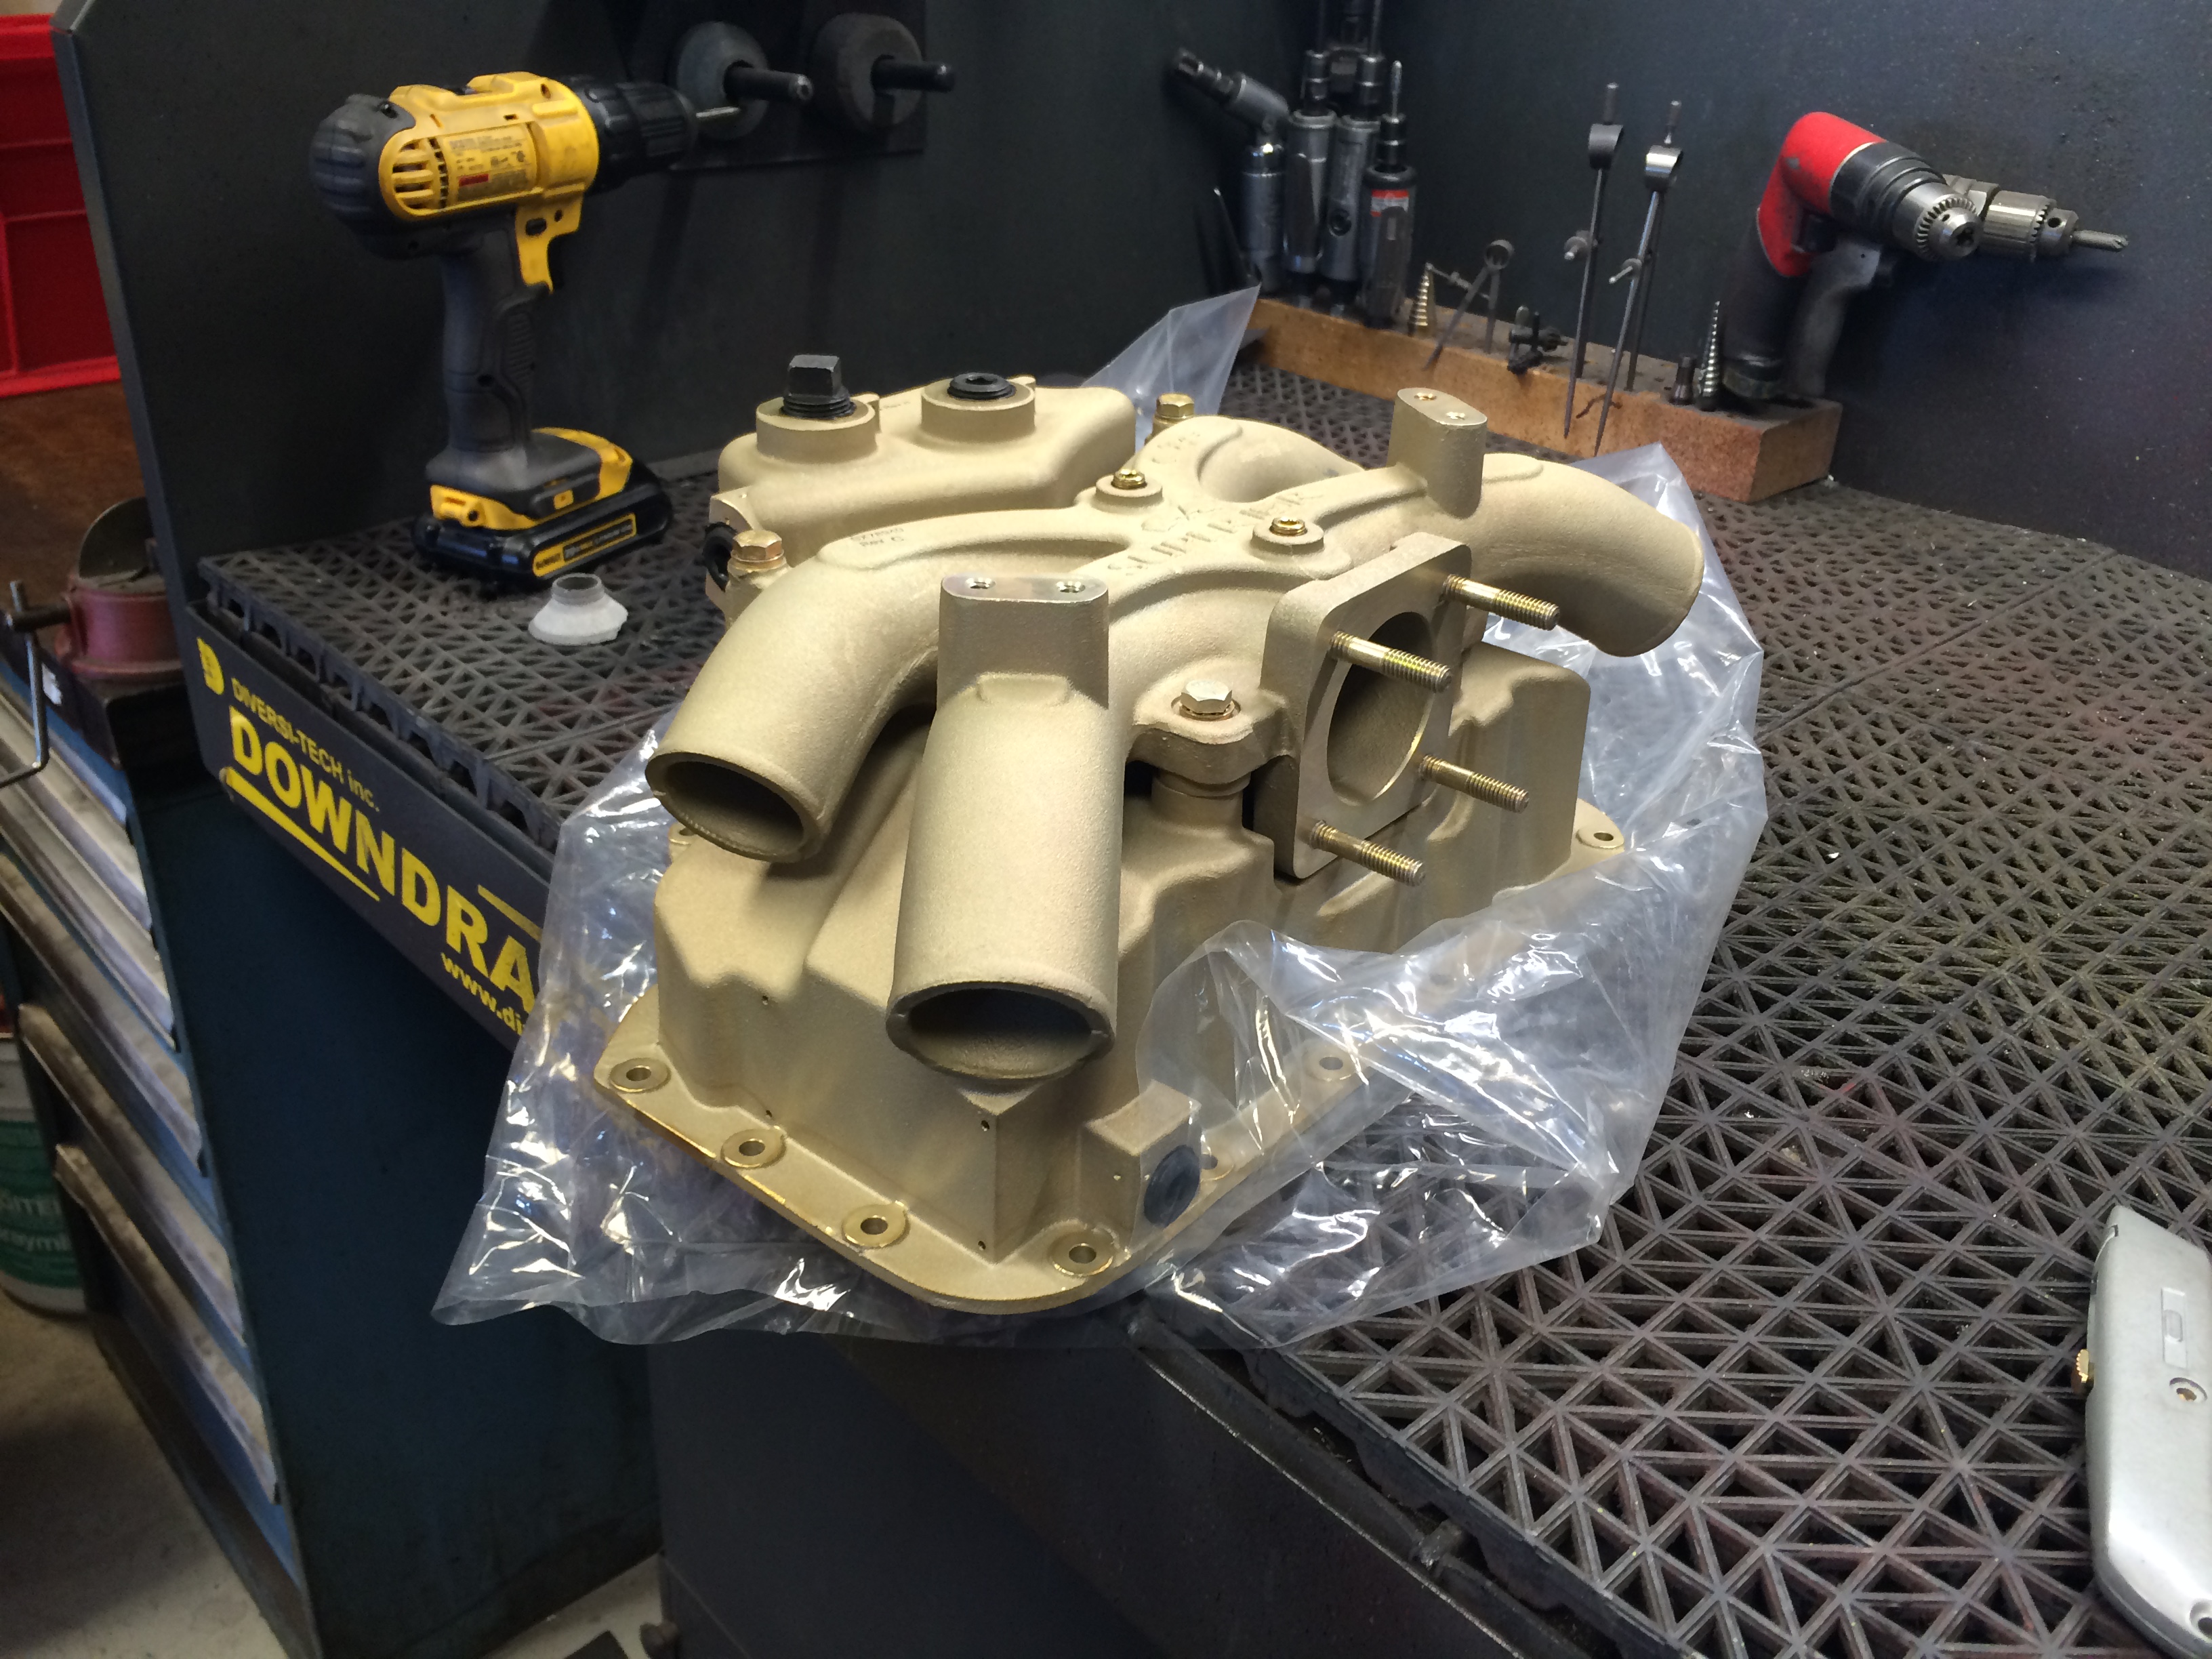
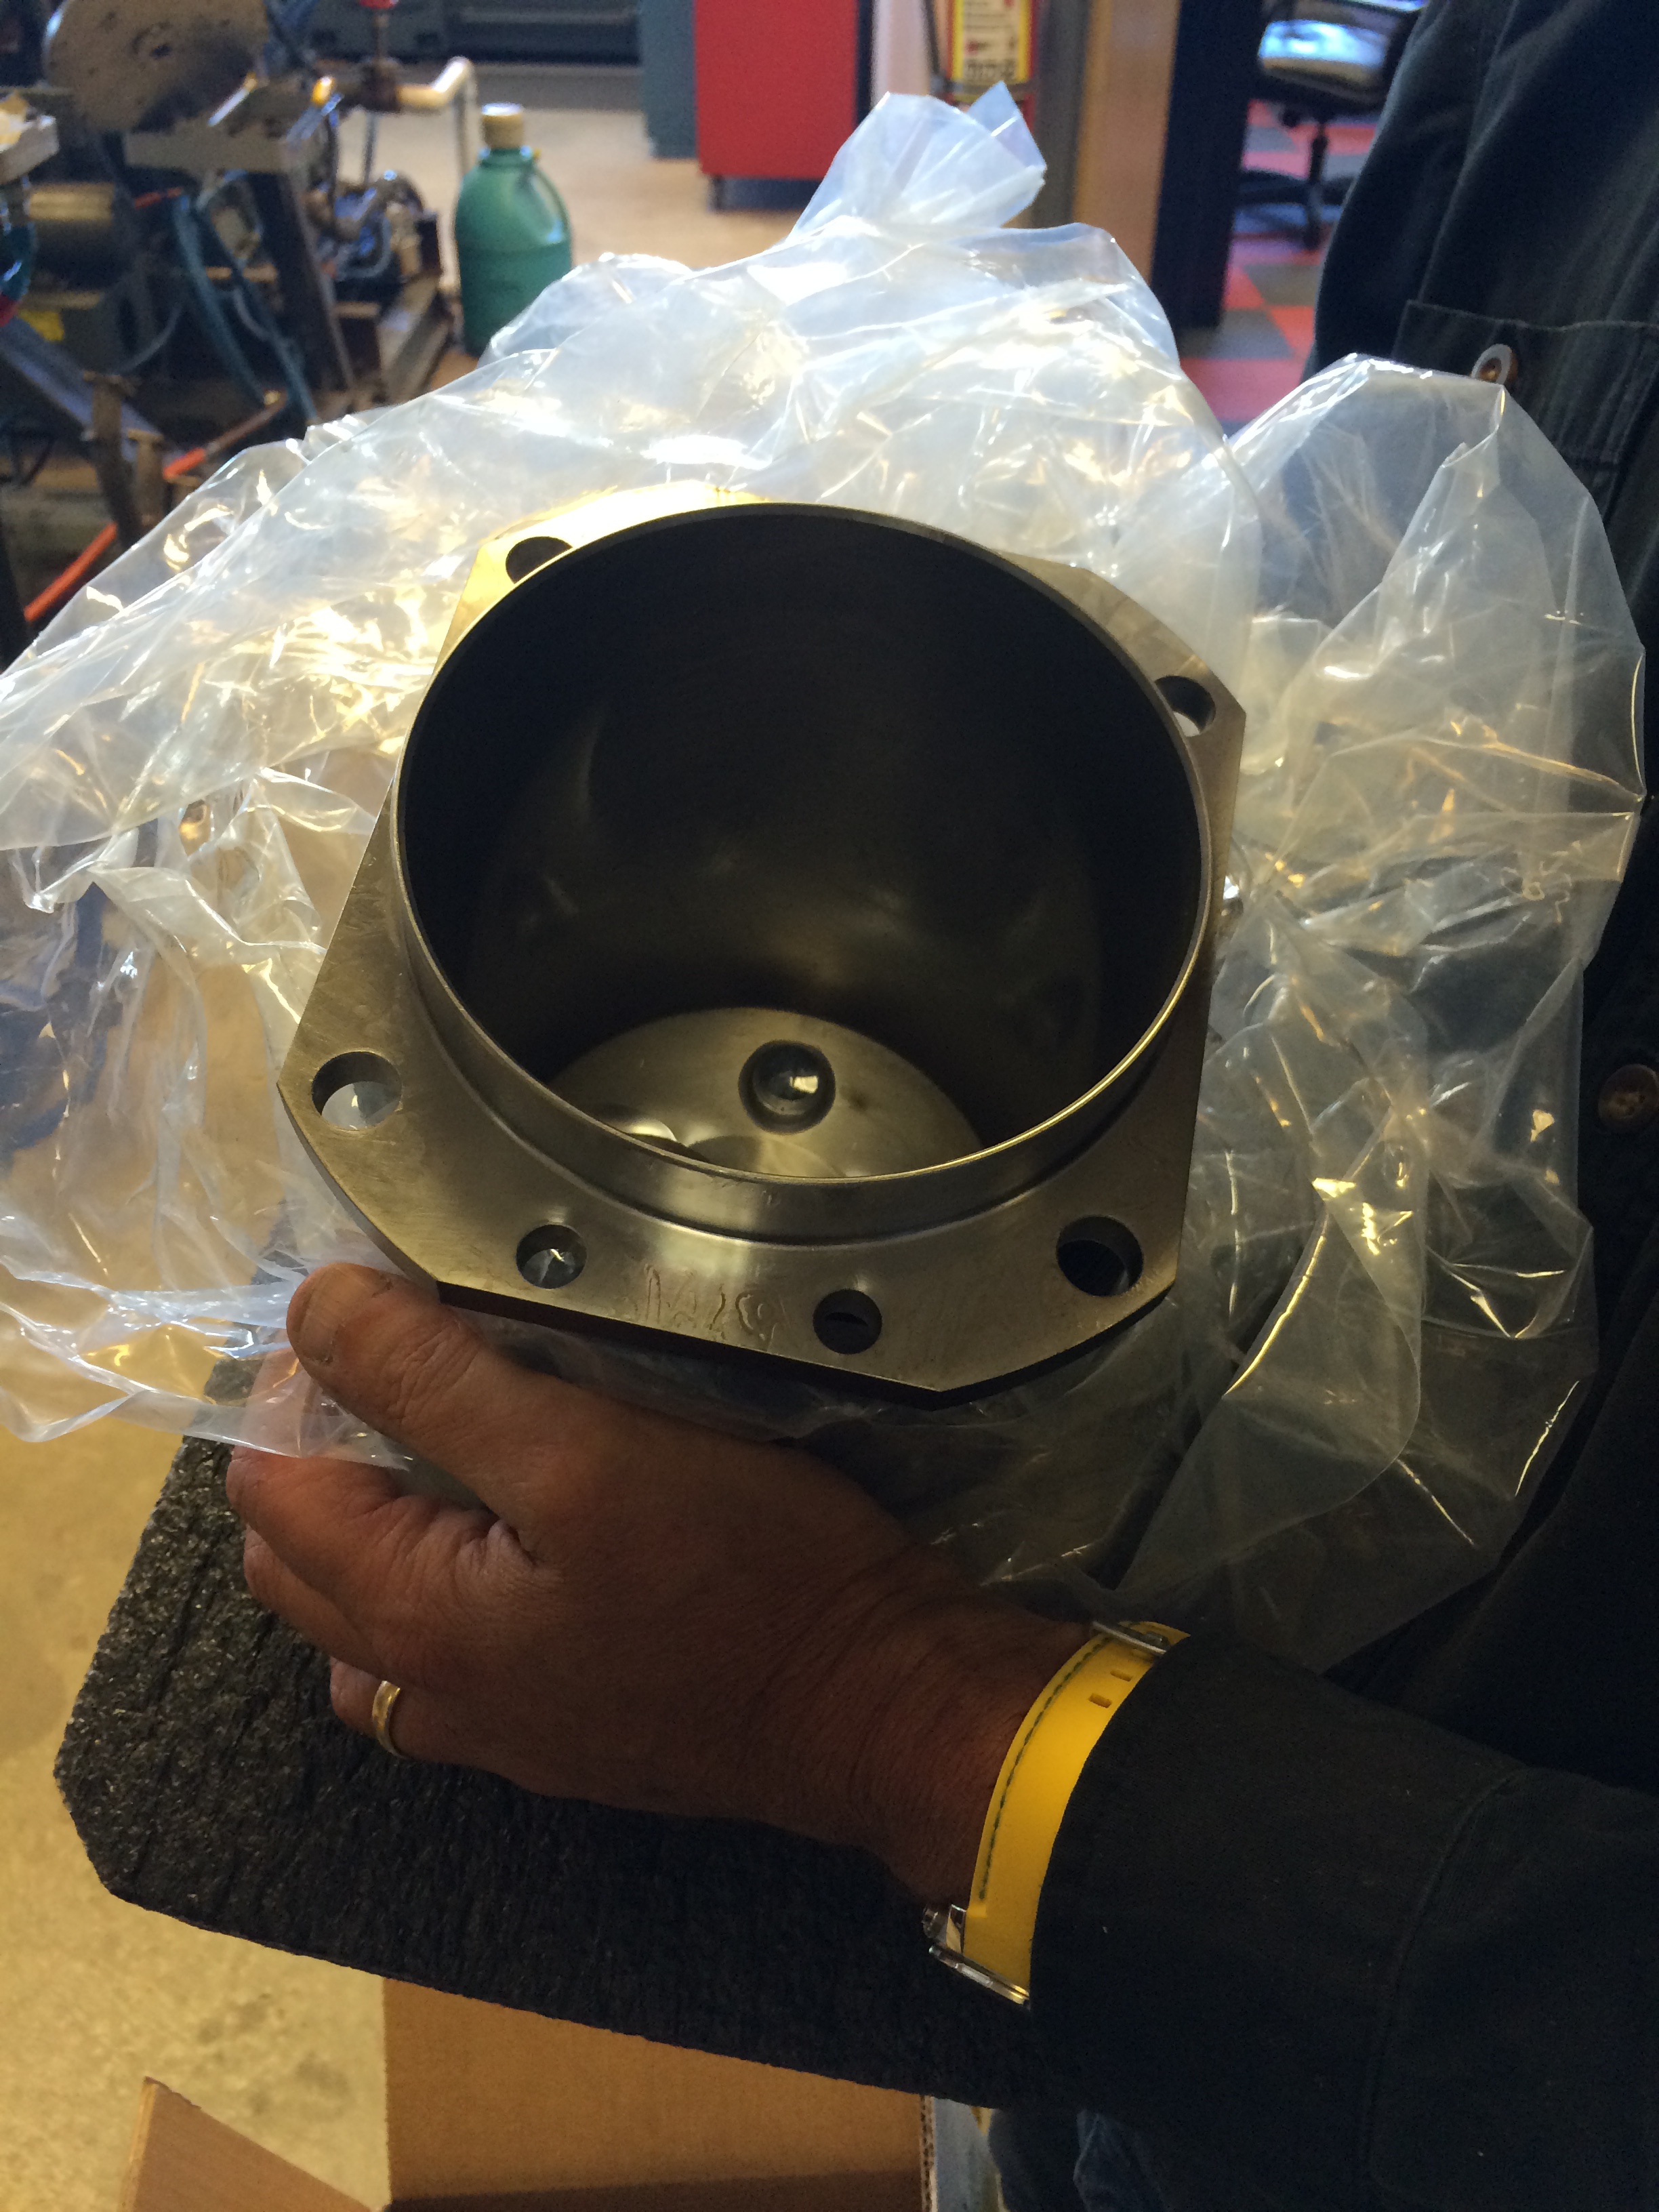
At the suggestion of my good friend Captain John, I visited Tim’s shop a couple of weeks ago and asked him for a quote on an experimental IO-360-M1B engine. He came back with a very competitive price on an custom-built Superior XP-360 with a cold-air sump and horizontal induction, roller lifters, Precision fuel injection, one PMag and one Slick mag, with flow matching, balancing, test stand run and documentation. Tim seemed really interested in building an engine for my project.

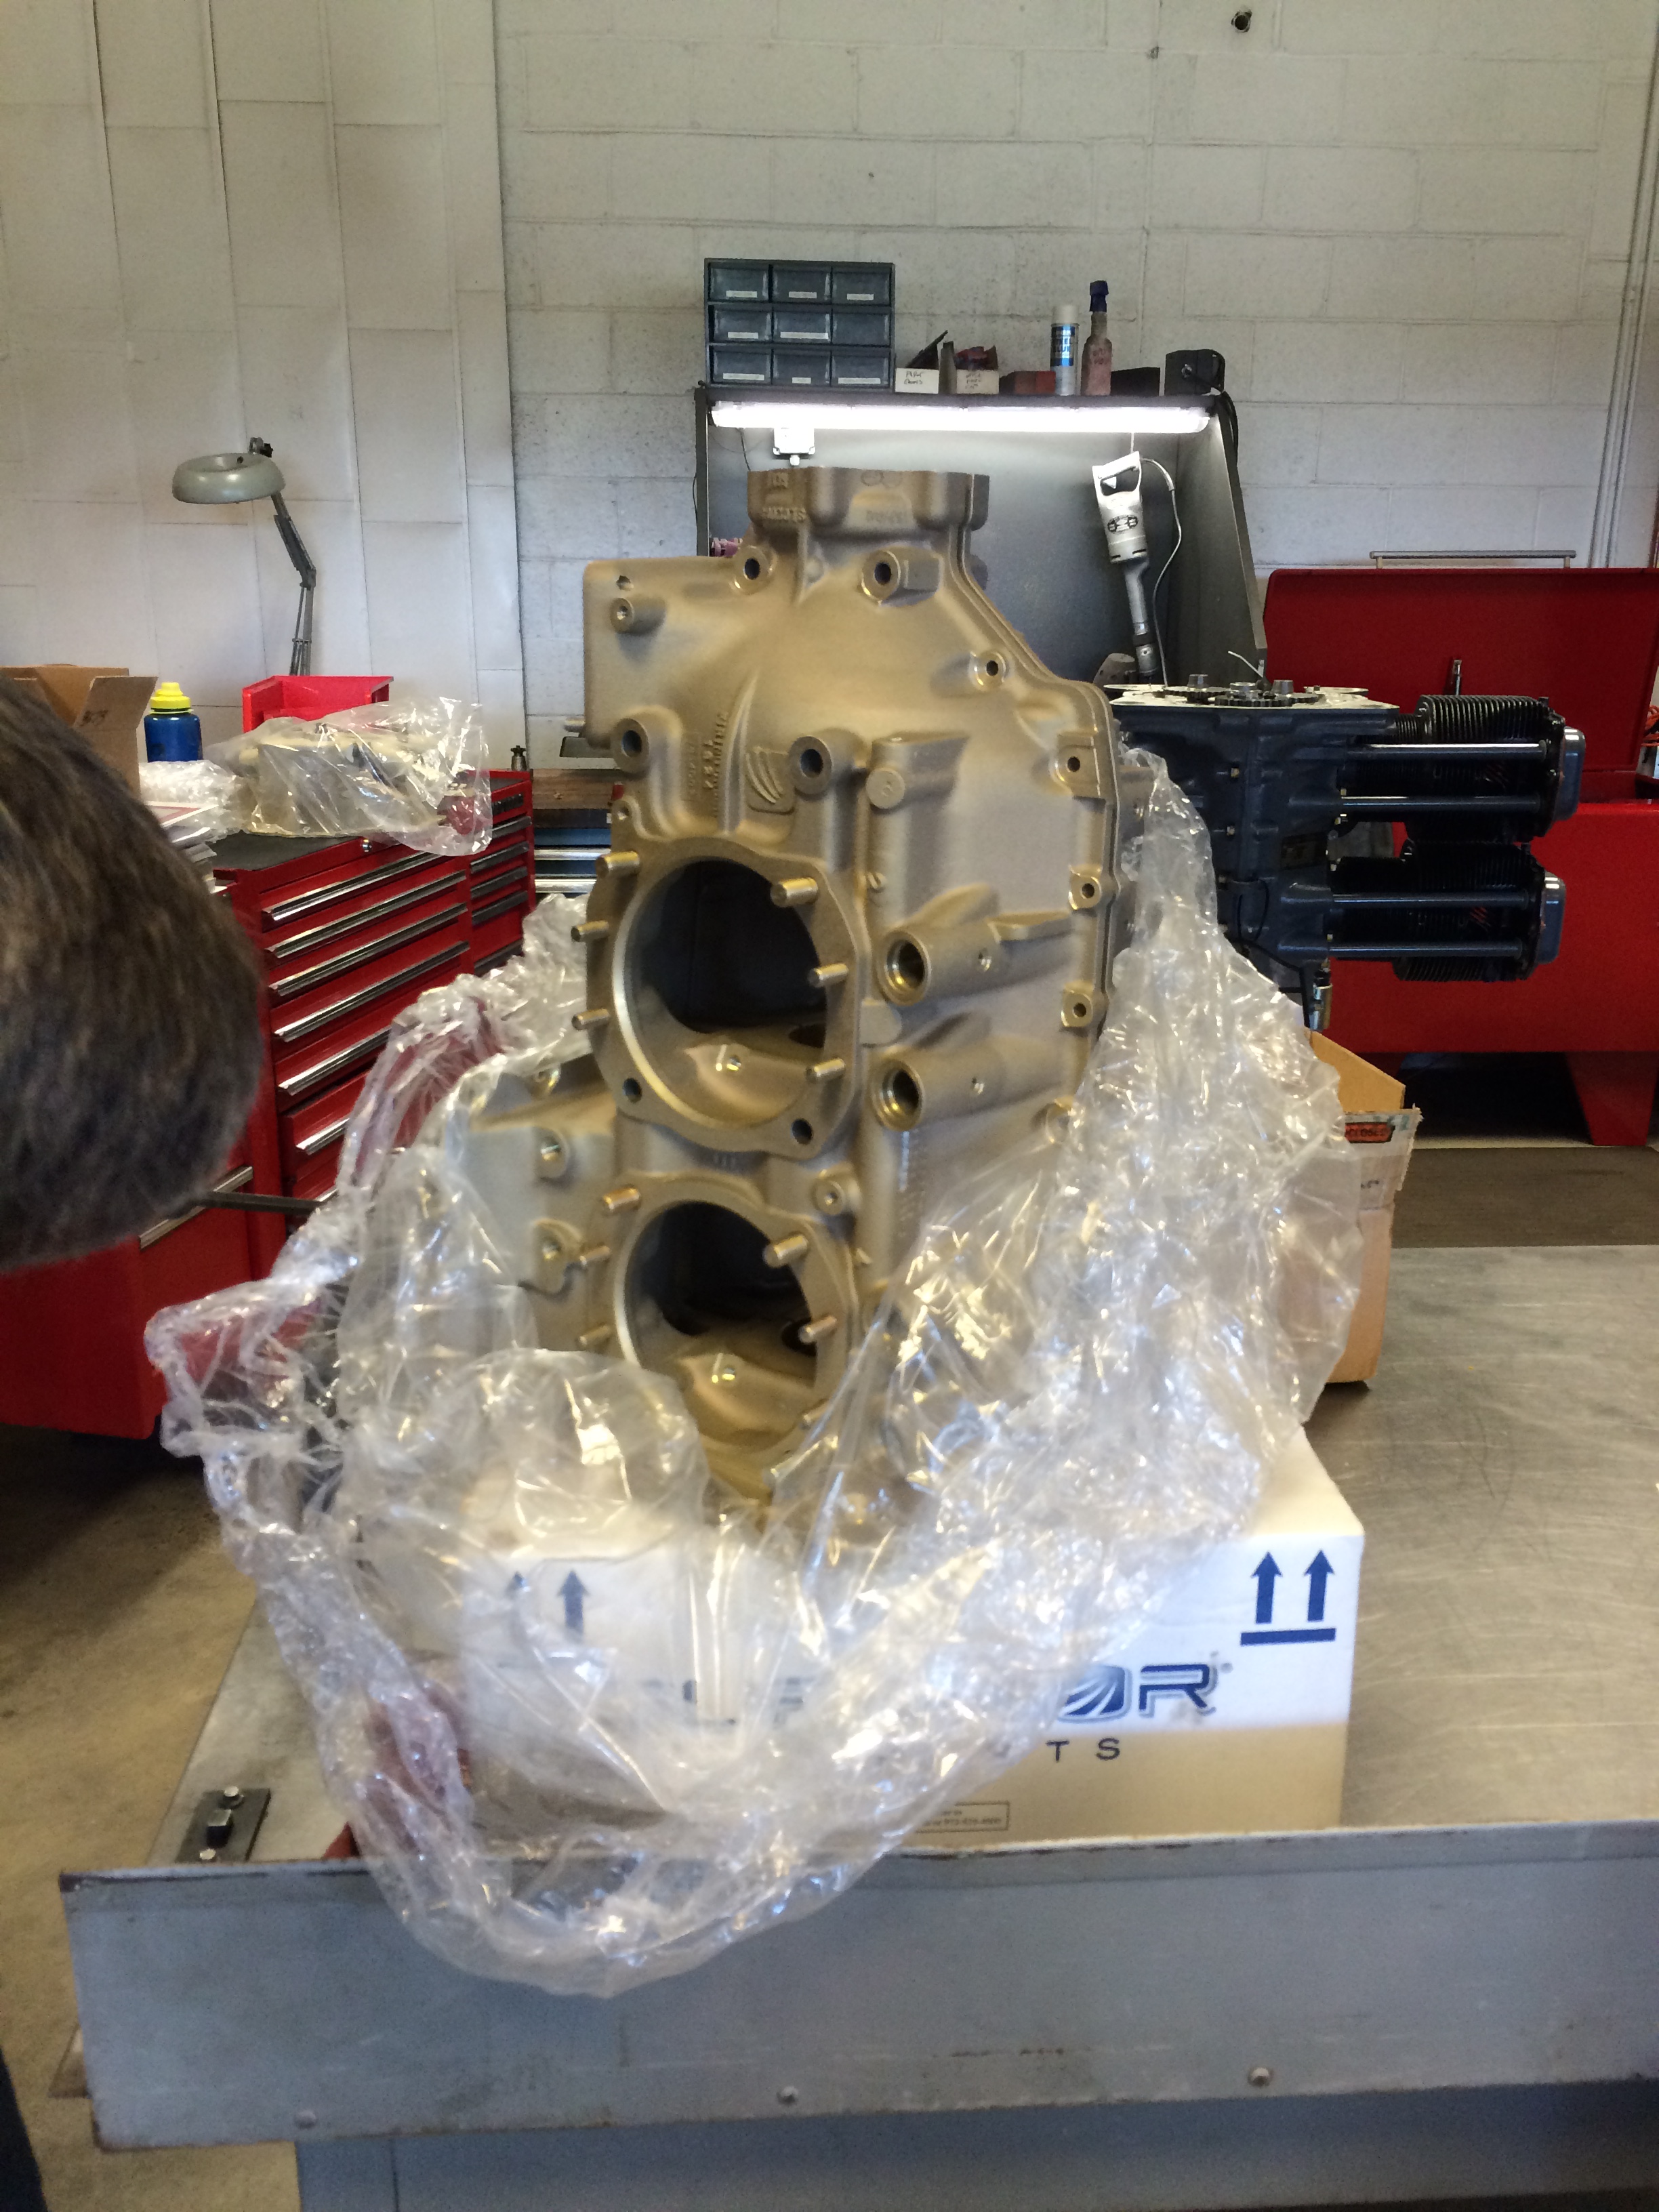
I really like the idea of working with a local shop on my engine, and it’s not every day you get a chance to work with someone like Tim who just happens to be in my aviation back yard.  Plus, there’s the added benefit of having no sales tax in Massachusetts on aircraft parts. So, two days ago I wrote Tim a check for one of these…

Superior XP-360

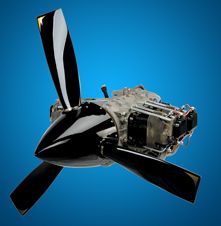
…and sometime later this year our RV will finally have an engine.  I’m looking forward to working with Tim, and I’ll be updating the website as we continue toward delivery of the engine.

A battery diversion

I’ve been getting frustrated with the canopy and have also been waiting for some blind rivets and other hardware I need for finishing up the fuse. So, I decided to build the battery box as a small diversion. A quick day’s work except for painting…

Battery boxIn all likelihood I’ll mount it according to Vans’ firewall forward mounting plans but until I’m ready to do firewall stuff, the battery box will be waiting on the shelf.

Fire, ice and grease

Getting the gear legs attached to the engine mount turned out to be a pain in the posterior. For some of my friends, the legs went easily into the gear sockets but I wasn’t so lucky.

Heat Gunner

I wound up greasing the crap out of the gear legs to make them go in easier, but that only got them in part of the way. I had to get a little creative at that point – I grabbed my trusty heat gun and warmed up the gear sockets just a little to expand them.

Ice bags

I also put some bags of ice on the gear legs themselves to shrink the metal ever so slightly.

Socketed gearMy very good friend Burt also came over to help.  He kept a firm hand on the fuselage to keep it from moving while I pushed, pulled and twisted on the gear. Thanks Burt!

In the end, we got the gear legs in…but it was a lot of work.

Jacked up…

One of my mottoes is “if it’s worth doing, it’s worth over-doing.” When it came time to raise the front of the fuselage up to install the gear legs, I wanted something a little more secure than wedging the fuse front up on boards.  And when the engine arrives later this summer, I’ll need a way to get it out of the crate and onto the engine mount, I decided to spring for a shop crane.

The BF Harbor Freight Shop Crane

This is Harbor Freight’s “deluxe” model 2-ton crane. It was on sale, only $20 more than the base-model crane which didn’t get very good reviews on the HF website. It’s heavy as hell, and is over spec’d for the job by about 200 percent…perfect, since it’s pretty obvious from this particular product that quality welding isn’t a skill widely taught in China.

Tubes and tires

Today is another step in getting the airplane on its gear…installing tubes in the tires, assembling the wheels, and prepping the gear leg axles. It was kinda neat to break open the box from Matco with all that gleaming precision-milled metal…

Tires and tubes

I’ve always paid someone to mount tires on our cars, so I had a small bit of a learning curve to traverse. Fortunately, Matco’s instructions are pretty good in this area. The only downside is that they don’t completely line up with Van’s instructions…you just have to interpolate between them to figure out what to do.

Tubes inserted The tubes are thick and somewhat stiff, but a light coating of baby powder inside the tire makes inserting the tube much easier.

2014-04-04 10.34.47

I neglected to take any pictures as I assembled the wheels. The only tricky part is making sure that the tube isn’t pinched between the wheel halves. Adding a little air to the tube pulls it into the tire a bit, and makes it easy to get the wheel halves to mate.

2014-04-04 16.09.56

Each gear axle requires a brake mounting flange, and the bolt hole that secures the flange had to be opened up to accommodate an AN5 bolt. Fortunately, I had the right reamer for the job. Easy peasy!

2014-04-04 16.32.49

Here’s the first take at mounting the brake flange. One of the hole had to be opened up to AN5, which was easy with the reamer. Yes, I know the brake flange is on backwards – I’ve fixed it!

2014-04-05 09.22.44The finished product…the gear legs are ready to go on the engine mount.

Engine mounts and interior painting

We’ve decided to sell our house, and that means moving everything out of the shop. I’d rather not transport the fuselage on its rolling cradle, so it’s time to install the engine mount and landing gear.

Captain John came up this weekend and we made quick work of drilling the mount to the firewall. The only tricky part is holding the mount in place while enlarging the bolt holes to final size. John had some great tricks to help with that, and we were able to get the mount on the airplane with minimum fuss. Thanks, John!
Engine mount(ed)

I also want to get as much cockpit interior painting done as I can before The Move, so I started in on all the removable bits from the cockpit. I mentioned several posts back that I’m using Sherwin-Williams JetFlex WR.  It’s tough stuff and looks good, but it’s a little tricky to apply.  “WR” means this paint is water reducible, and it’s very viscous even when thinned for spraying.

Getting the thinning right can be tricky and it took a little experimentation to arrive at the right mixture, which seems to be adding around 20 percent distilled water.  Any more and the paint won’t cover correctly, and any less means the paint doesn’t lay down smoothly when sprayed. One redeeming characteristic of this paint, however, is that it does flow nicely after spraying.

There were a surprising number of removable parts that had to get painted…

Interior parts painted

More interior parts painted

I had originally considered having the rudder pedals, control sticks and flap weldments powder-coated to match the JetFlex “Pepperdust” color, but other JetFlex users tell me that it sticks well to properly-prepared (i.e., scuffed and cleaned) powder coat so that’s what I’m doing.

Just when you thought there couldn't  be more interior parts paintedThis JetFlex color is sufficiently light when it’s sprayed that I had a hard time getting an even coat and there are some spots I’ll need to touch up when we get to the hangar.