Parts is parts

There’s not much to report this week.  My wife spent two long sessions in the ER dealing with kidney stones, and everything else took a back seat to helping her.  According to the ER doc, kidney stones cause the worst pain a person can experience and after seeing how much pain Ellen was in, I believe him.

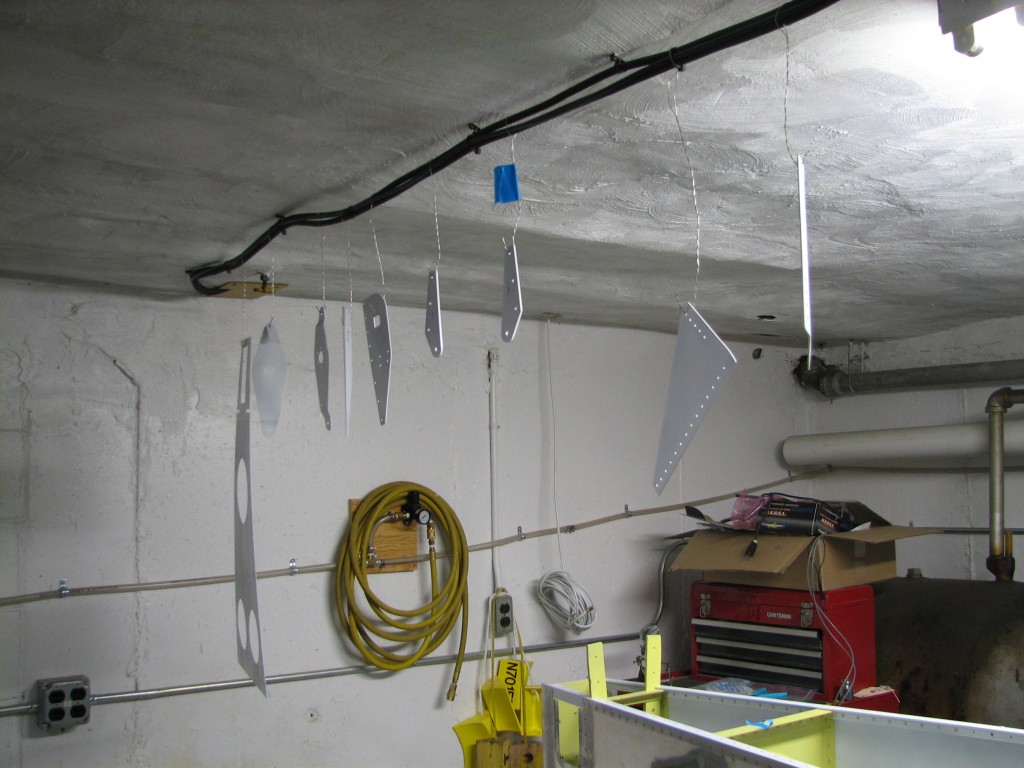
Things were a bit more stable over the weekend.  I had some time yesterday to deburr all the little gussets and parts I had previously drilled, and after a very nice Mother’s Day lunch this morning with Ellen at our favorite airport restaurant – Nancy’s Airfield Cafe at 6B6/Stow MA airport – I primed all the parts that needed it.

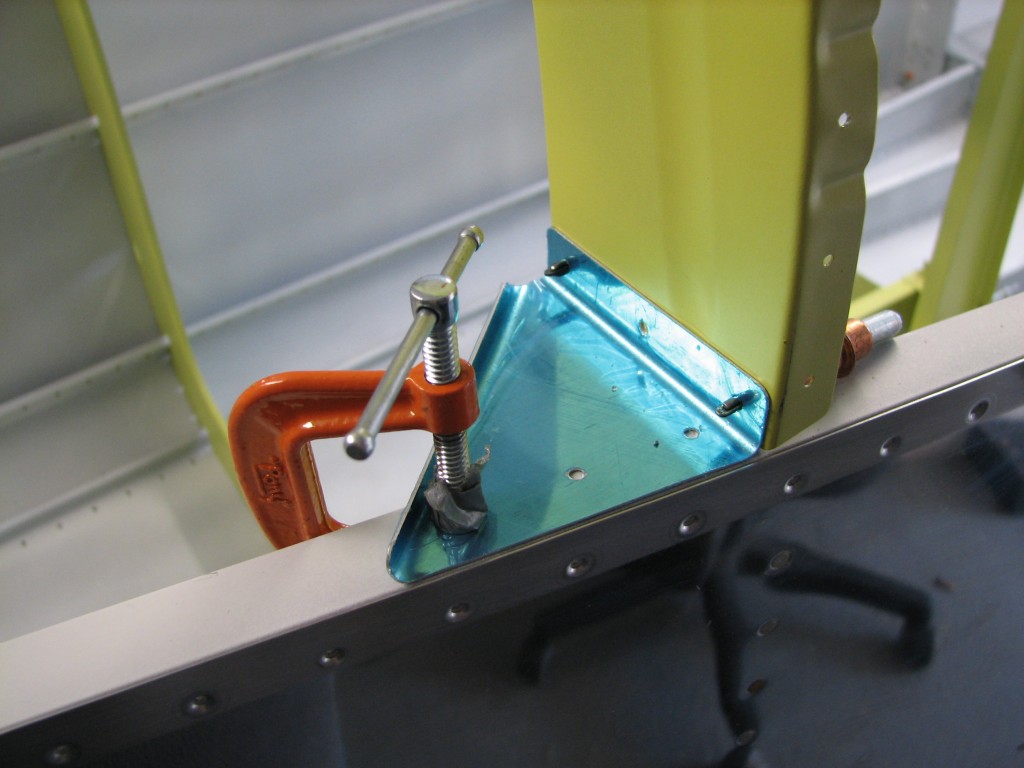
Primed partsThe primer takes a day or so to completely cure, so they’ll be ready for riveting after work tomorrow.  I still have some deburring to do on the longerons, however, and I’ll need a couple of extra hands for riveting some of these parts.

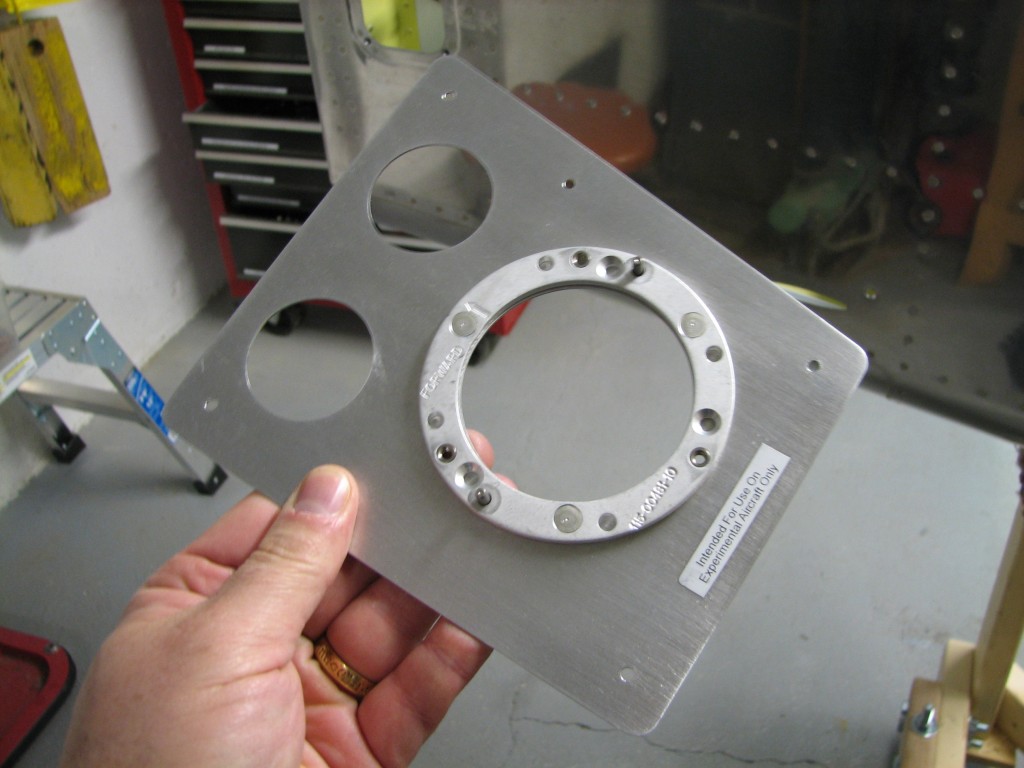
GMU-22 mounting ring

I also riveted a mounting ring on the Garmin magnetometer mounting bracket mentioned in the last post.  The alignment pins and screw holes ensure that the magnetometer is correctly oriented to the fuselage, and it’s a lot easier to rivet this now while the bracket isn’t attached to the rear deck.

Nothing to it but to do it…

“There’s nothing to it but to do it”…that’s what my good friend Captain John says whenever he’s confronted with a seemingly difficult task on his RV-7 project.  I don’t have any really difficult tasks brewing right now, but there are a few things in the last week that required a little braining out and that’s when I tend to overanalyze things and make them more difficult than they really are.  Today’s post is an example.

There are a couple of longeron-to-firewall gussets on the forward fuse that are actually leftover parts from the RV-6.  Because of that, they don’t fit precisely on the RV-7 and require some tweaking to fit.
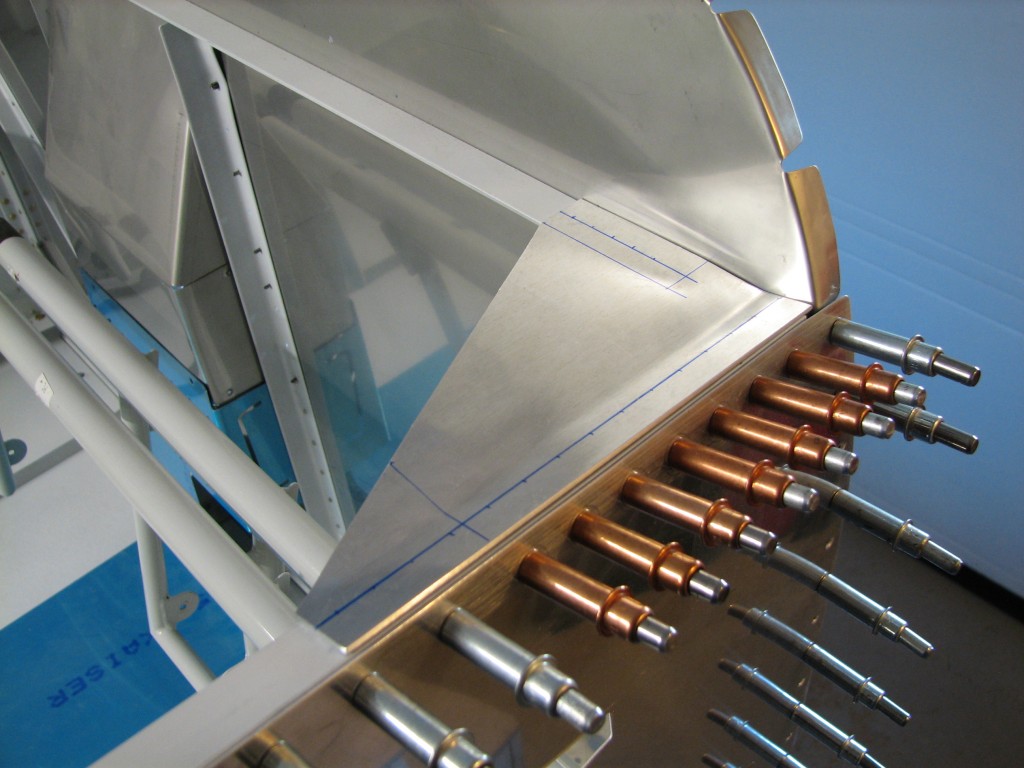
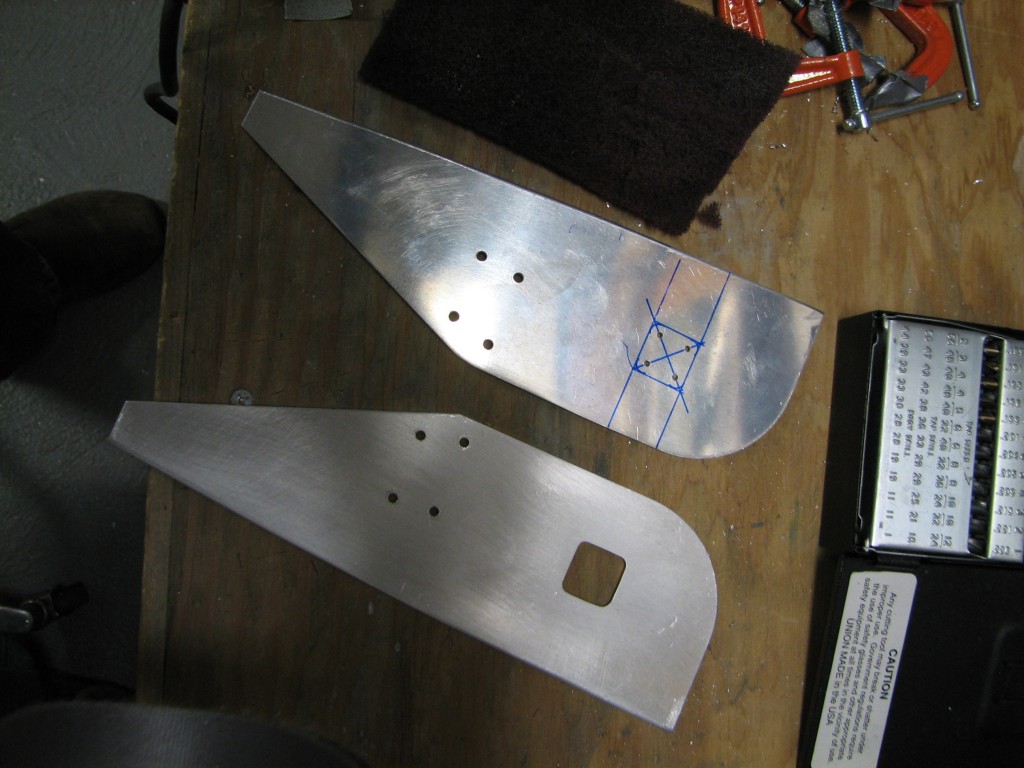
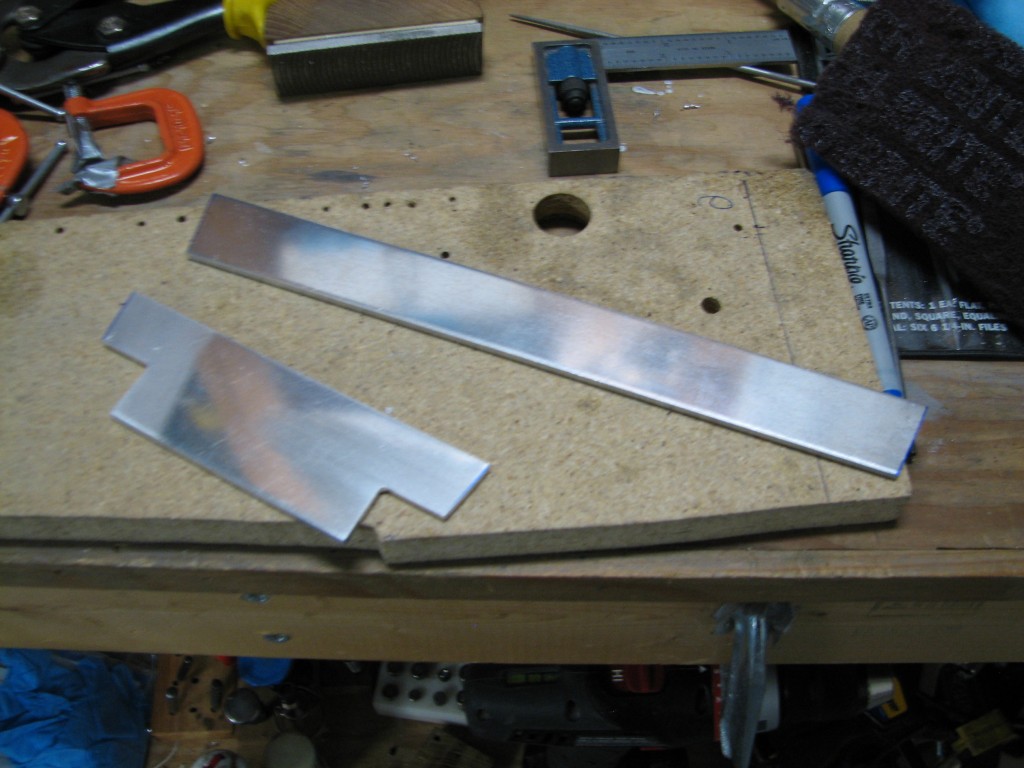
F-696 gussetsThe F-695 gussets tie together the longerons, upper firewall weldments and firewall stiffener, so they have to fit against three surfaces *and* also maintain proper 2D edge distance on the firewall and longeron rivets.  As delivered the gusset doesn’t fit flush against the firewall, which would compromise edge distance on the forward rivets in the firewall stiffener.  So after consulting with Vans I removed a very small amount of the gusset’s forward edge to make it fit flush.
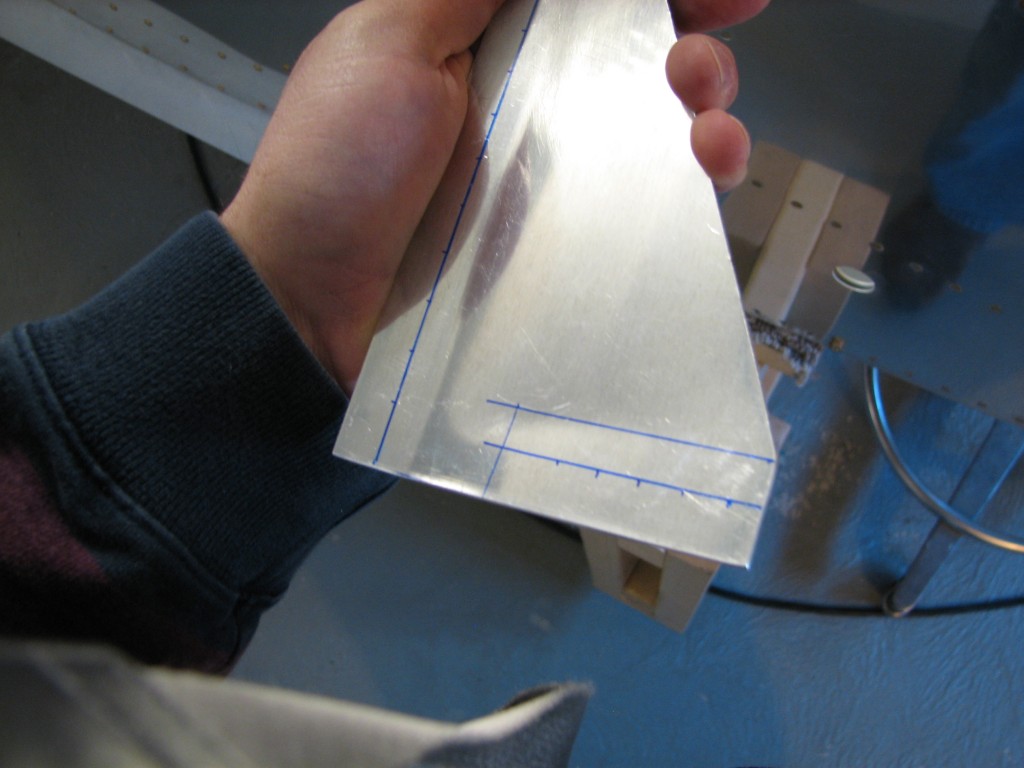
F-695 bendI also had to put a slight upward bend in the forward edge (the bottom edge in this picture) to get it to lay flush on the firewall stiffener.  I also laid out the rivet holes not quite per the plans; because the gusset is a few 32nds shorter, the fore-aft rivet spacing had to be adjusted a little.
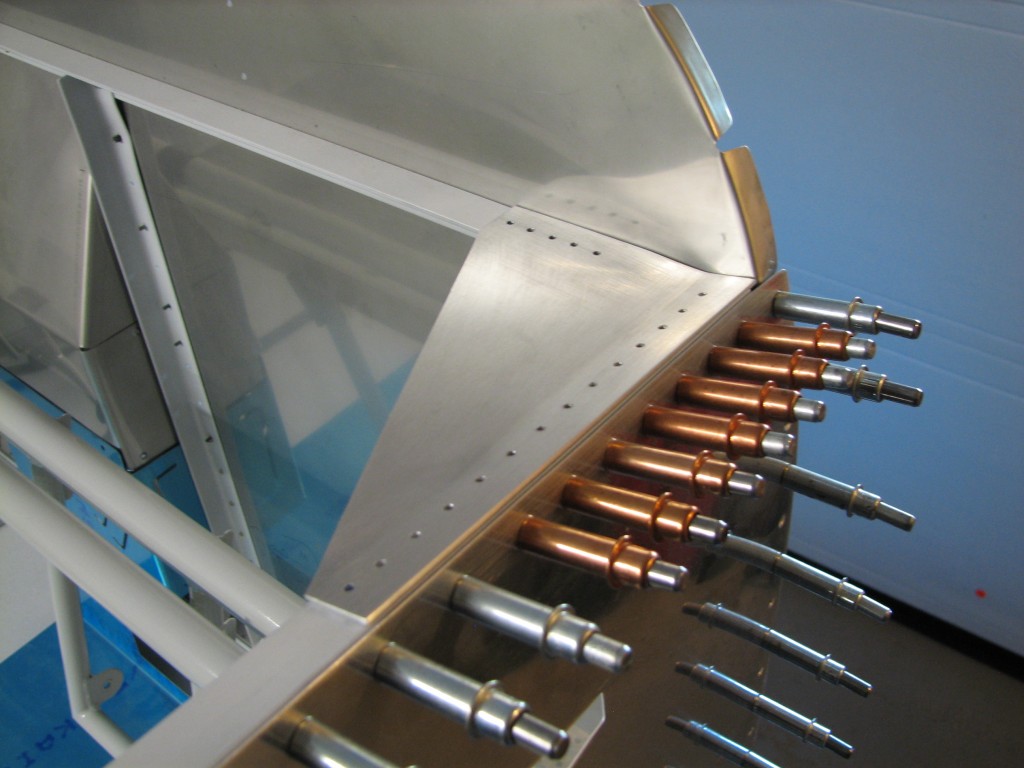
695s pilot-drilled

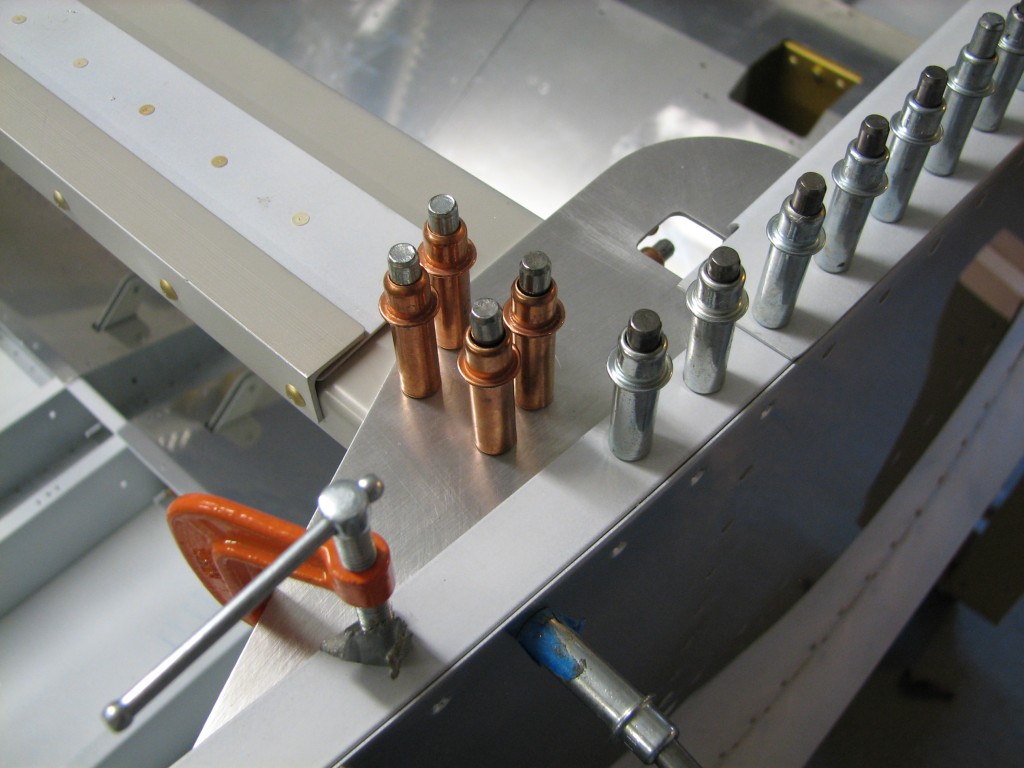
I pilot-drilled the holes to #40, clamped the gussets in place, then enlarged the holes to #30.
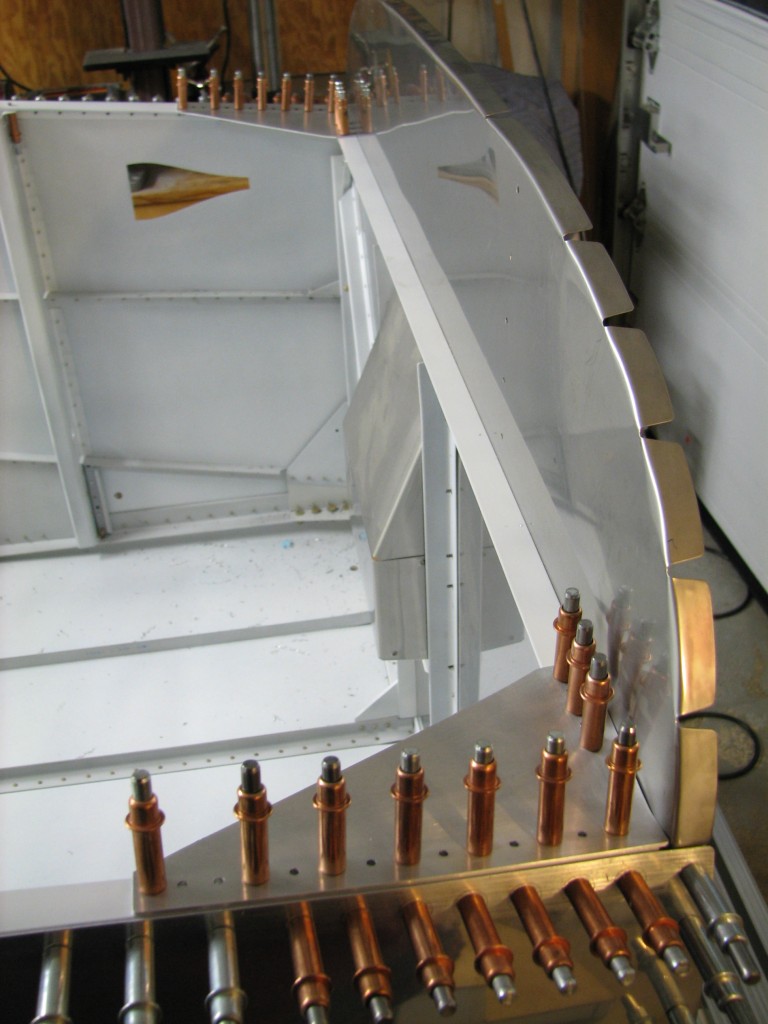
F-695s drilledAnd they’re done, nothing left but to debur, prime and rivet.   See what I mean about the overanalyzing comment?

The only downside to all this effort is that I made a big freakin’ mess in the forward floor…
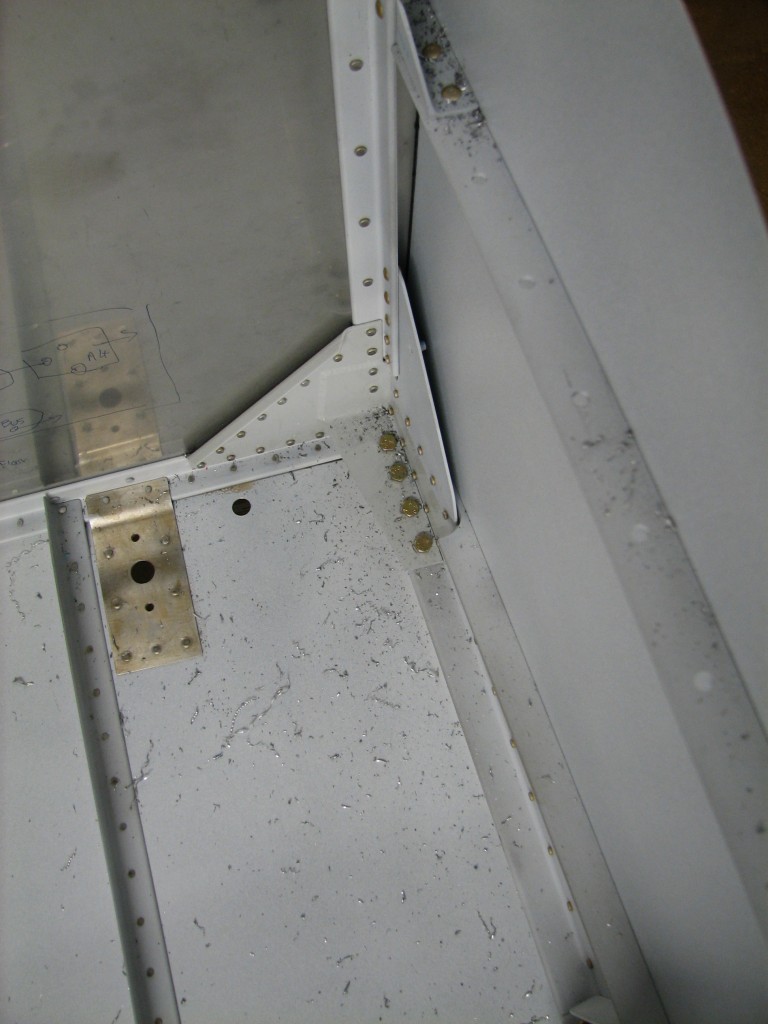
Lots 'o shavings

I’ve pretty much committed to installing Garmin’s G3X EFIS system as my primary flight instrumentation.  Trying to get ahead of the avionics installation game, I bought a mounting bracket for the G3X magnetometer – basically an electronic compass – so I could install the bracket on the aft deck before riveting it in place.  Garmin makes this bracket specifically for the RV-7/9 and has excellent instructions for aligning and installing it.
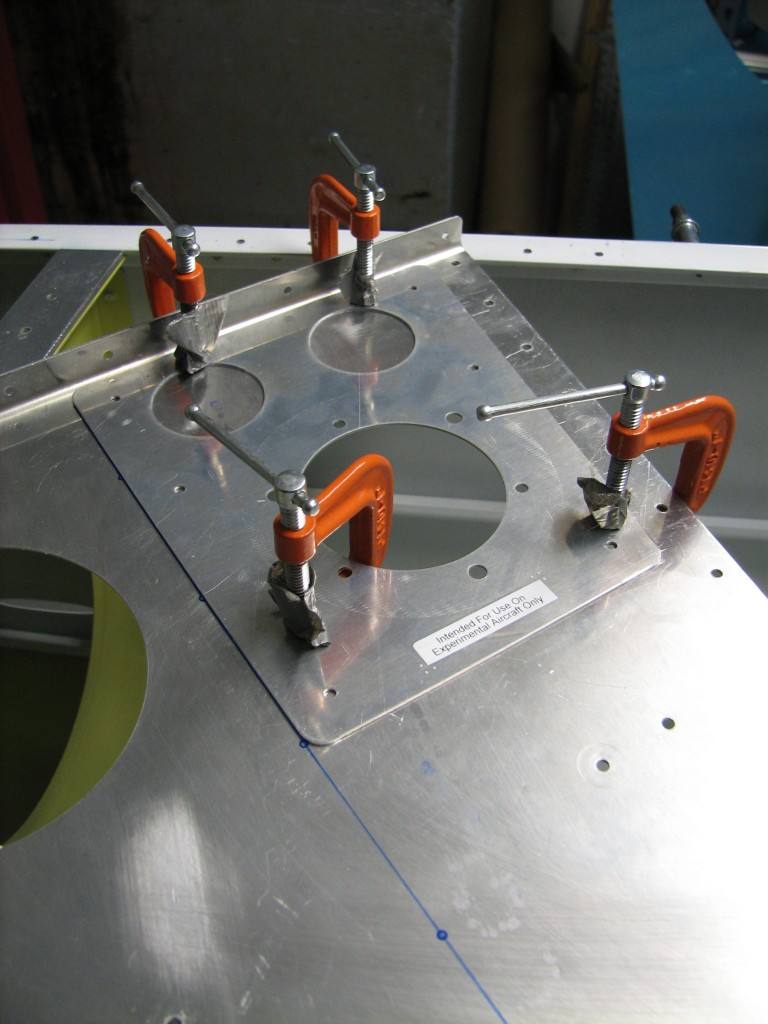
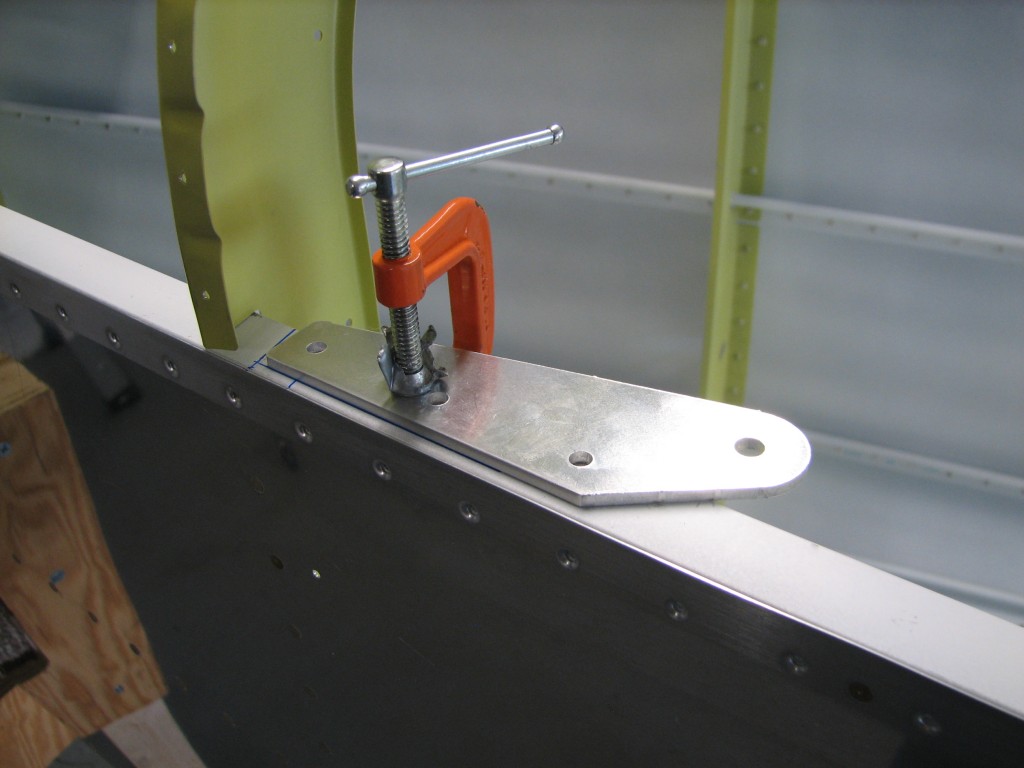
GMU-22 mounting bracketThe bracket is easy to install – only six rivets – but it’s important to get it aligned closely with the aircraft centerline, otherwise the compass will have a built-in heading error.  So I laid out a very precise centerline on the aft deck, clamped the mounting bracket in place against the forward flange, and match-drilled it…very easy.
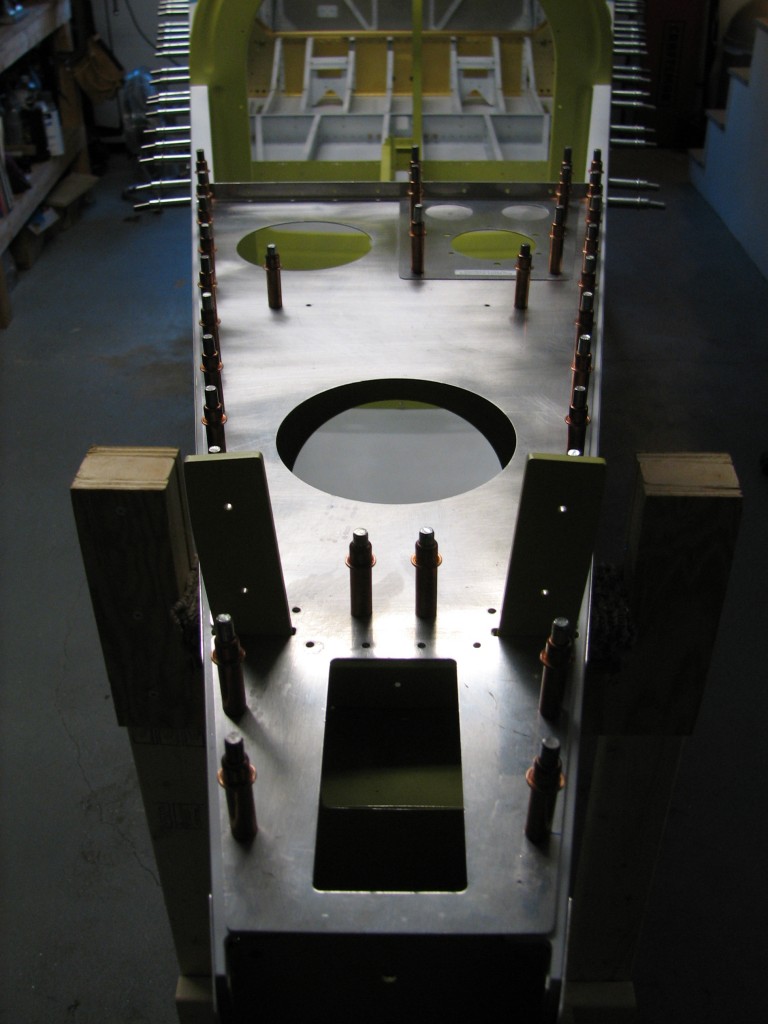
GMU-22 bracket drilledThere’s nothing left to do but debur, prime and rivet all the bits-and-pieces parts I’ve fitted over the last couple of weeks.  I hope the Boston weather cooperates with priming…
Bits and pieces

With the rear deck drilled, I have a lot of little bits and pieces – gussets, anchors and such – to fit and drill to the fuselage.  Nothing particularly difficult, but some of the parts are rather important so they need to done correctly.

First up are the gussets that anchor the F-705 bulkheads to the fuse longerons.  These have to be trimmed a bit depending on whether you’re installing a tip-up or sliding canopy.

Canopy gussets

We’re definitely building a tip-up so I laid out and cut a square hole in each gusset which accommodates the canopy latch eyes.  After that I clecoed them in place on the fuse and F-705 bulkhead, and match-drilled them to the longerons – pretty straightforward.

F-705 gusset

Next up – four gussets that anchor the F-706 and F-707 bulkheads to the longerons.  I clamped them in place, but the bulkheads are pretty wiggly at this point and it was hard to tell if the gussets were aligned properly in the forward-aft direction.

Bulkhead gussetsJust to make sure these pieces were in the right place, I clecoed the upper skins onto the fuse and adjusted the gusset positions.  This had the added benefit of providing a little visual motivation – it was nice to see another major fuse skin in place, even if only temporarily.

Upper skinWith all that clecoing and clamping done, I drilled the gussets in place…

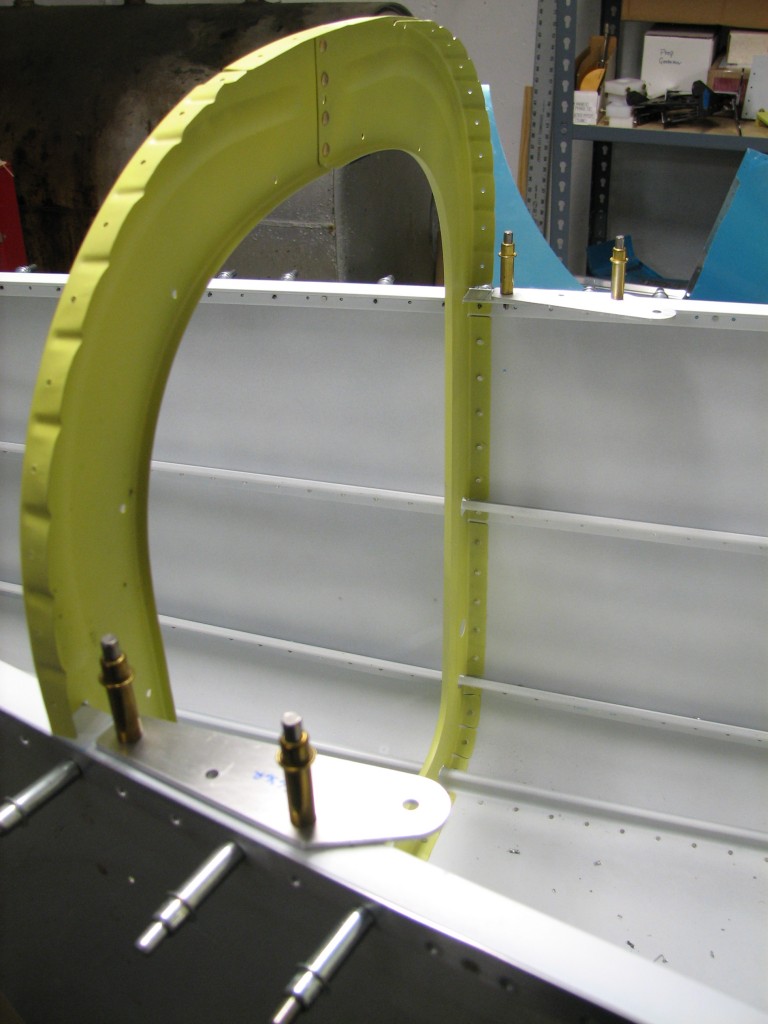
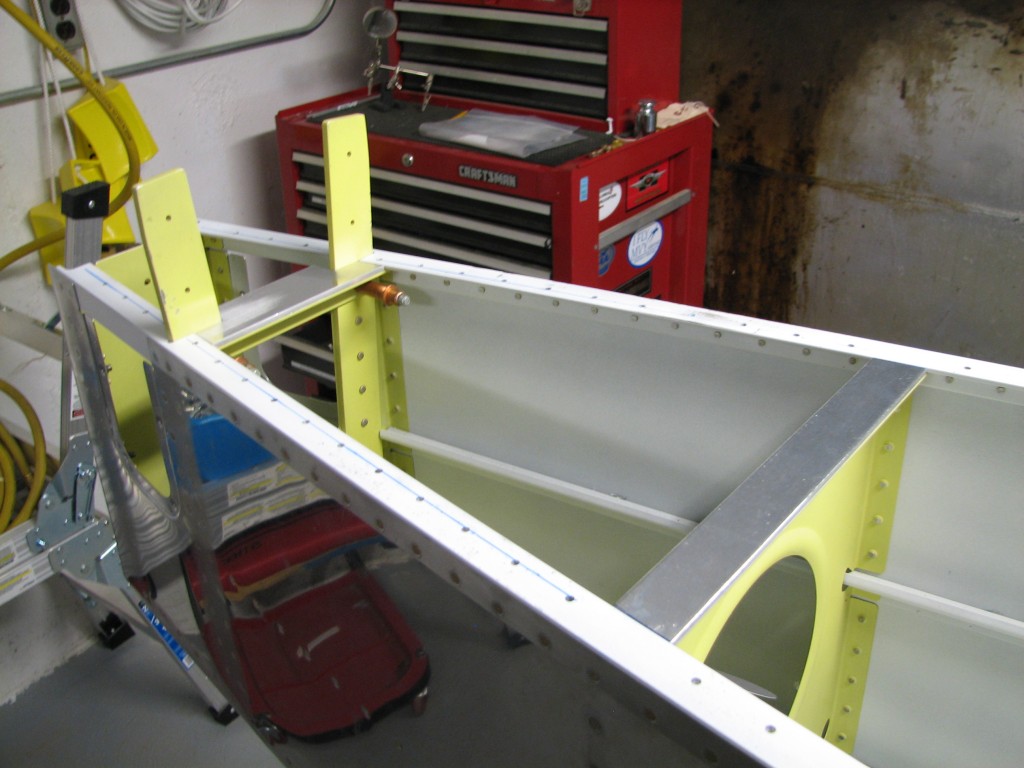
Gussets drilled …and then moved onto the shoulder harness anchors.  These are kinda important, so I took my time placing them…

Shoulder harness gusset…and drilling them in place.

Harnesses drilled

Only a couple of more gussets to go, and it’s time for priming and riveting.

Moving day…again

For the last few years we’ve been storing the wings and tail at the Hanscom Aero Club hangar, as we had intended to do final assembly and first flight there.  But after some discussions with local DARs and consideration of other first-flight airports in the local area, we decided that Hanscom just isn’t the best place for us to finish the RV.

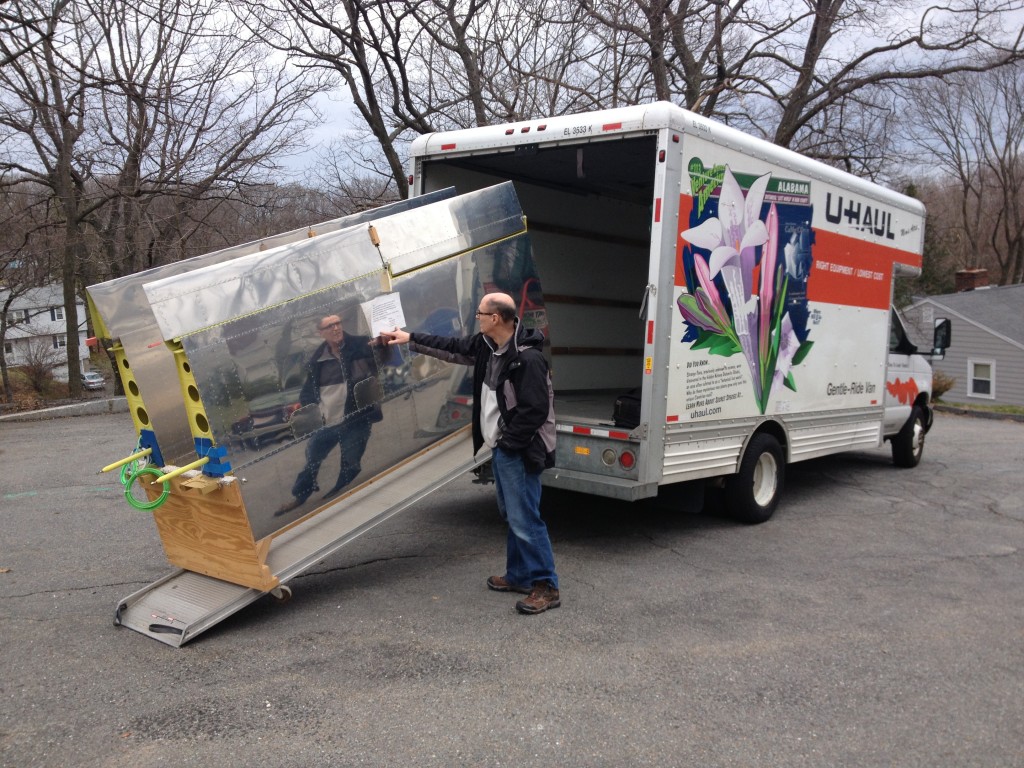
So last Sunday we rented a U-Haul truck to move our parts back home.  My good friend Burt flew down to meet us at Hanscom and help us load and unload.  Loading was easy, but the ride back was a little bumpy – one of the supports on the wing cradle splintered and we wound up supporting one end of the wings while bracing ourselves in the front corners of the truck.  And yes, I know it’s illegal to ride in the back of a U-Haul truck…don’t tell anybody we did it.

Burt, wings and truck

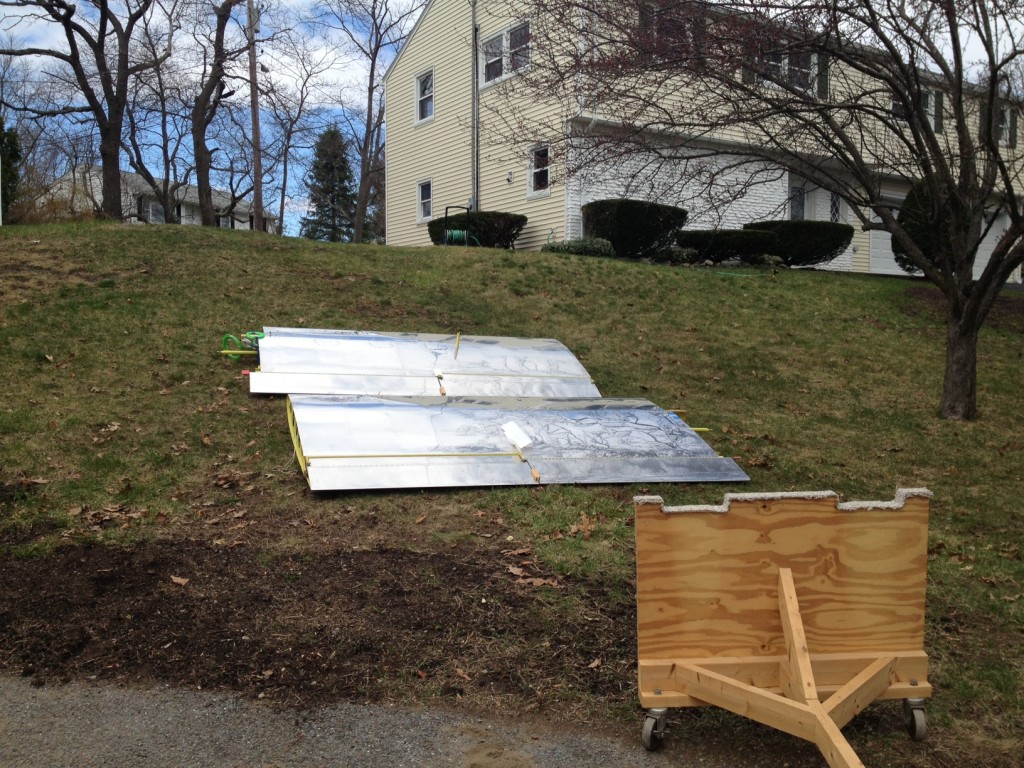
We had to unload the wings from the cradle so I repair it, and also so we could get everything across the lawn and into the den.  Fortunately, the snow is gone and the lawn is soft enough to lay the wings down.

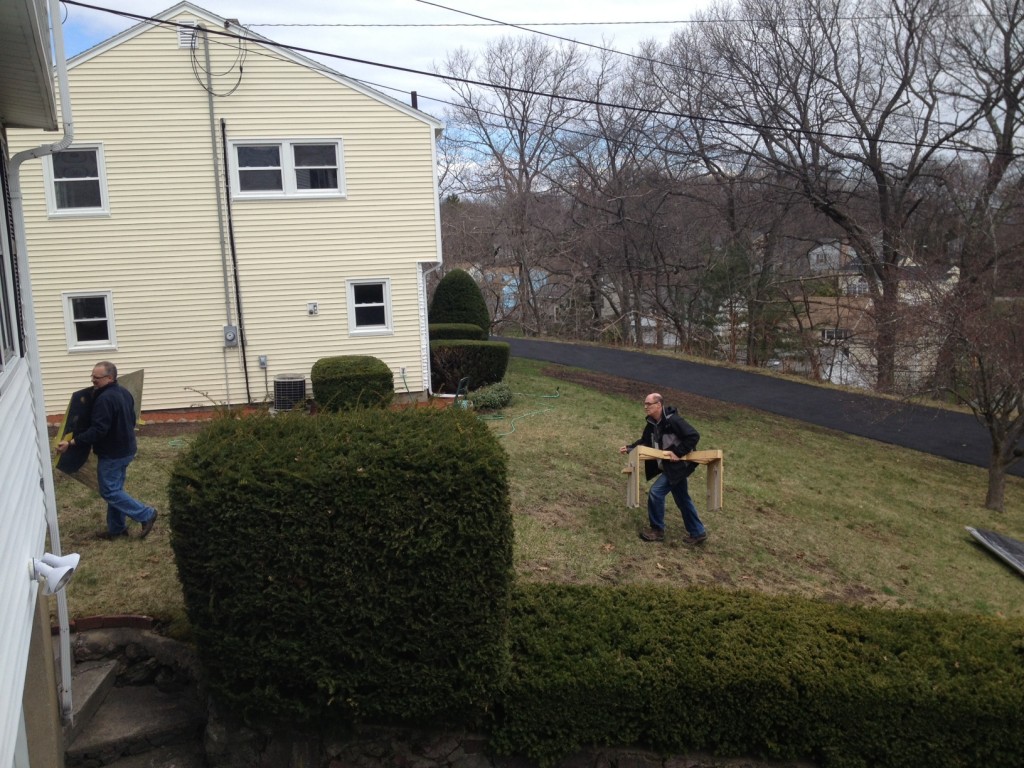
Don't they look pretty?It was nice to see the wings out in the sunshine…pretty motivating, actually.  Once the wing cradle was repaired and the wings were in the den, Burt and I moved the tail and its cradle.

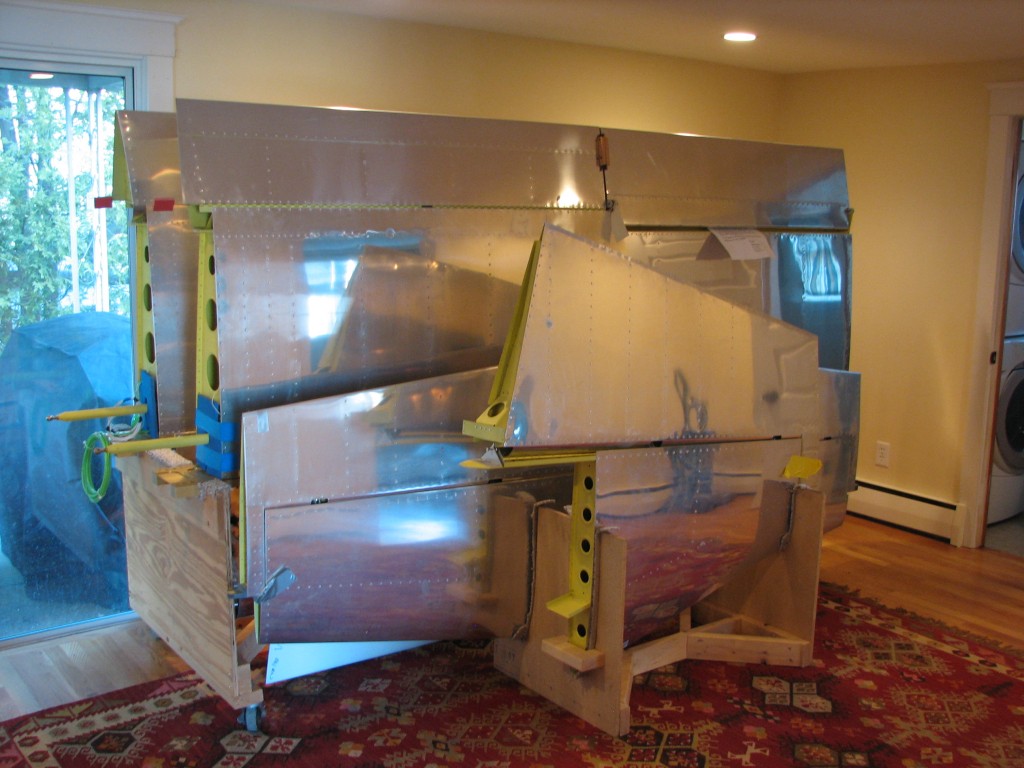
MovingEt voila, we have all our airplane parts in the den, with some space left over for the soon-to-arrive finish kit.

Parts at home

A tech inspection, and drilling the aft deck

My EAA volunteer Tech Counselor came over this weekend.  With the fuse upright, I wanted another set of expert eyes to look at our work.  We ended up fixing a handful of rivets that needed a few more hits with the gun, and also drilled out and replaced a couple that I wasn’t happy with.  All in all, it was a successful inspection and Bob thinks we’re building a fine ship.  Thanks again, Bob!

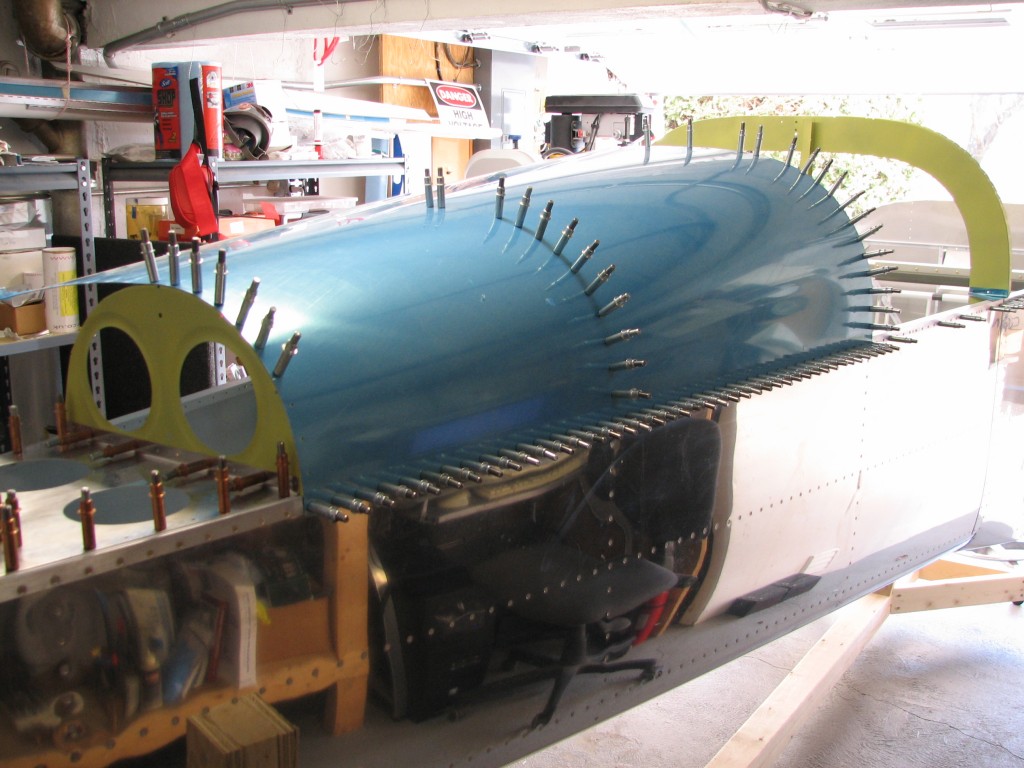
While Bob was around we rechecked the fuselage level and made a couple of tweaks, then drilled the aft deck.  This is an important step, since once the deck is in place, the fuselage is torsionally rigid – any twist is locked in for good.

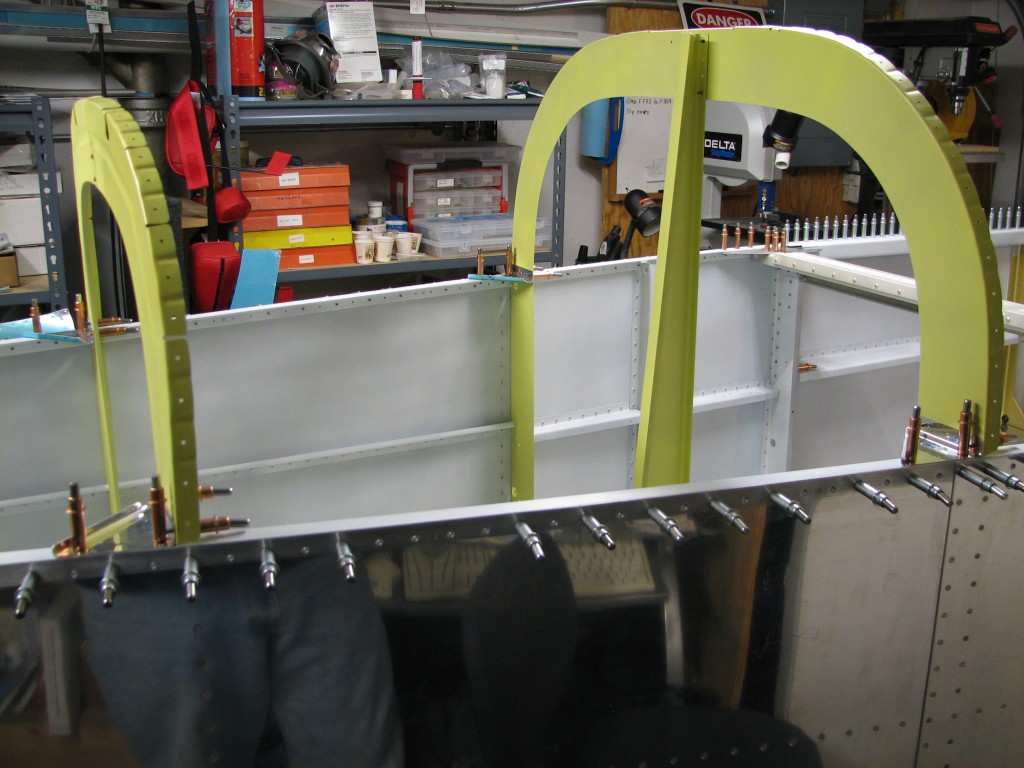
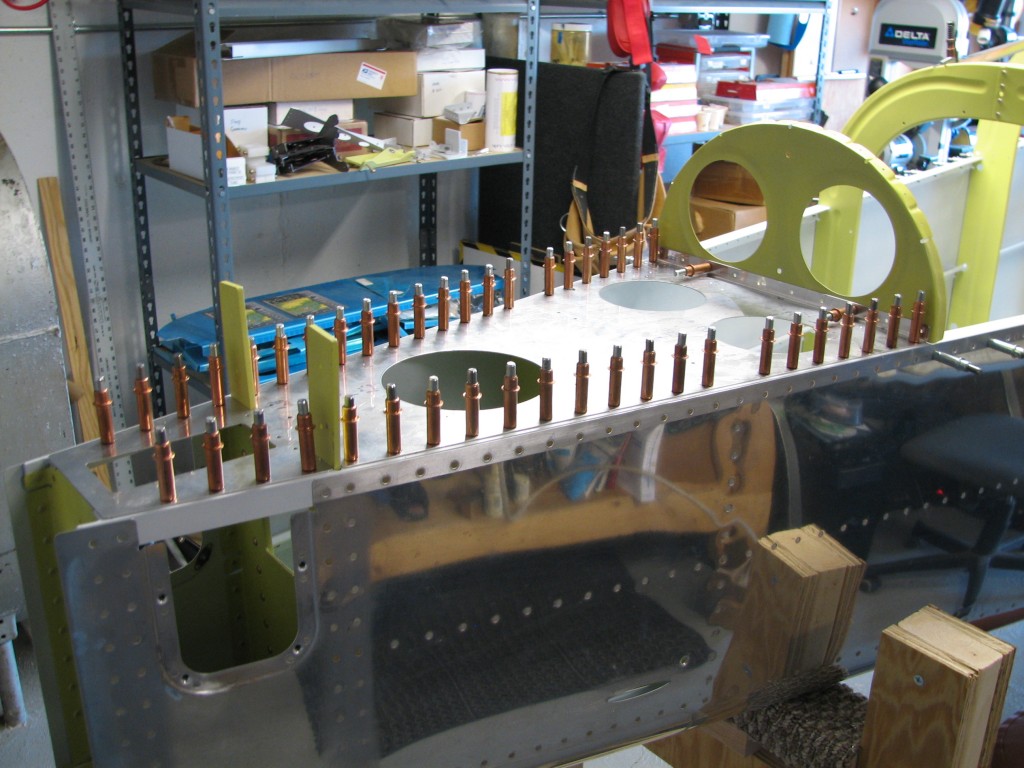
With level double-checked, I clamped the deck in place and drilled it to the longerons…

Deck drilled…and boy is this structure stiff when the deck is in place.  After drilling – and making a big mess with aluminum shavings – I pulled the deck off and fabricated a couple of spacers for the aft bulkheads.

Aft deck spacersThey go here –

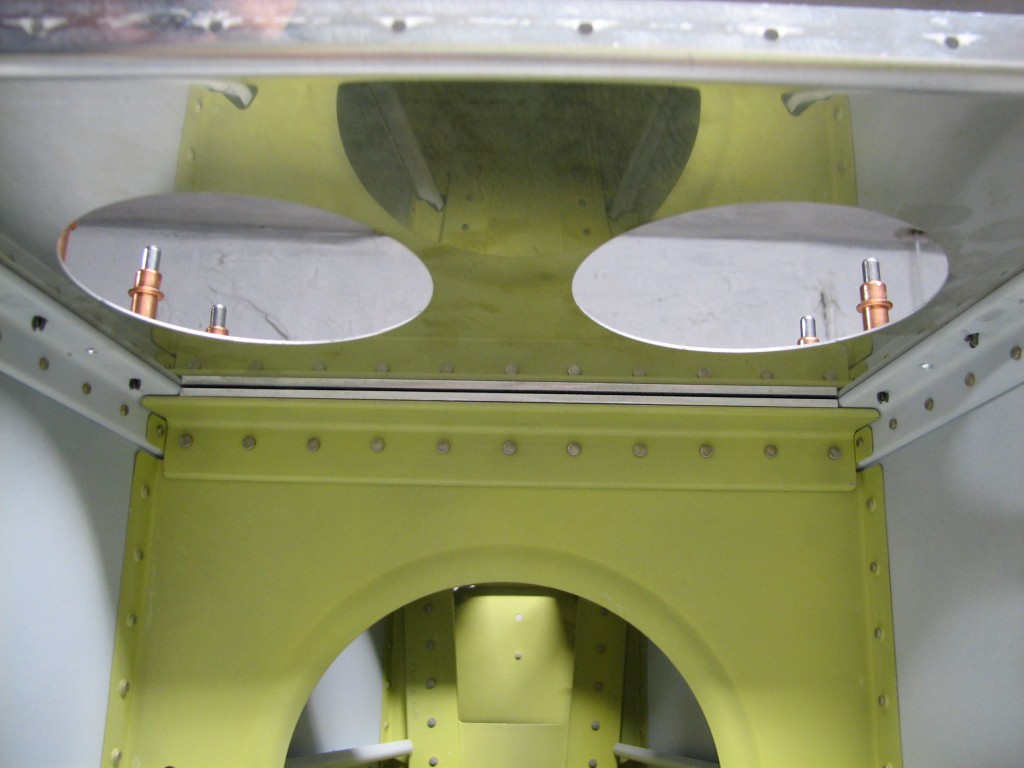
SpacerTurns out that there’s a little gap that will need to be shimmed on the forward bulkhead –

Front bulkhead gapA little 0.016″ sheet will fix this with no problems.

On the level

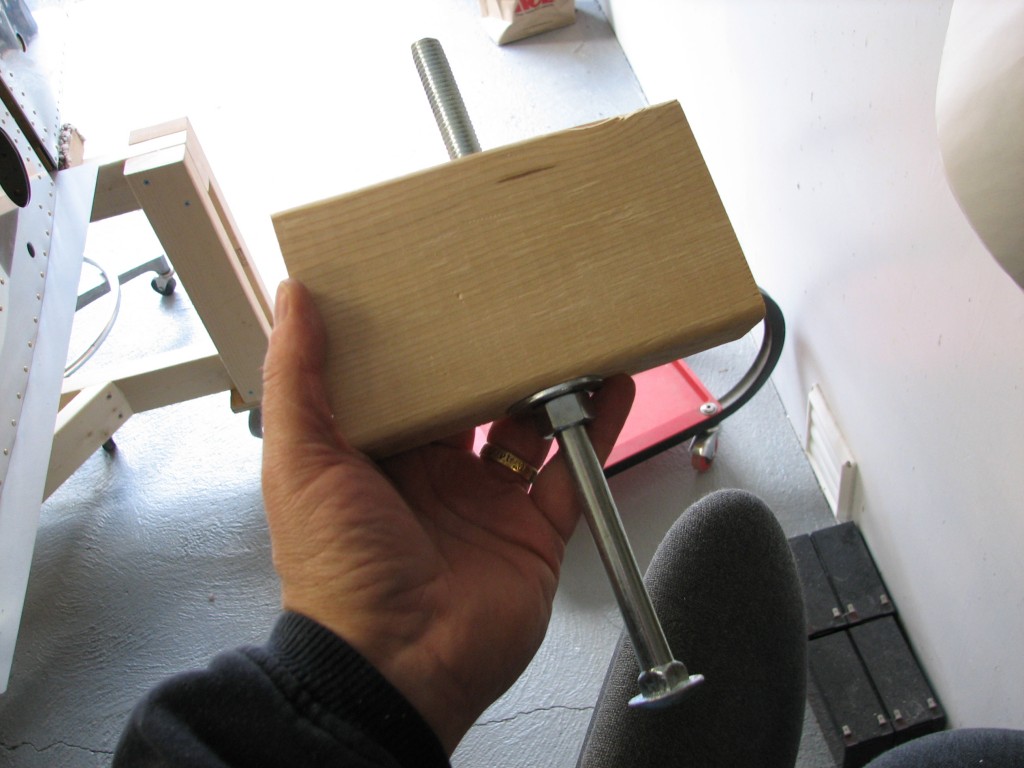
With the fuselage upright on the cradle, I needed a way to level it from side to side and forward to aft to prepare for drilling the aft deck.  Being the obsessive engineer that I am, I wanted a way to make small adjustments and re-level if necessary.  After a little braining on the problem, I came up with this poor man’s jackscrew.

Poor man's jackscrewIt’s a 1/2″ bolt centered in a piece of fir 2″x4″, and I made four of them – one for each corner of the cradle.  The bolt head will rest on the floor, and the bottom nut will adjust the bolt up and down.

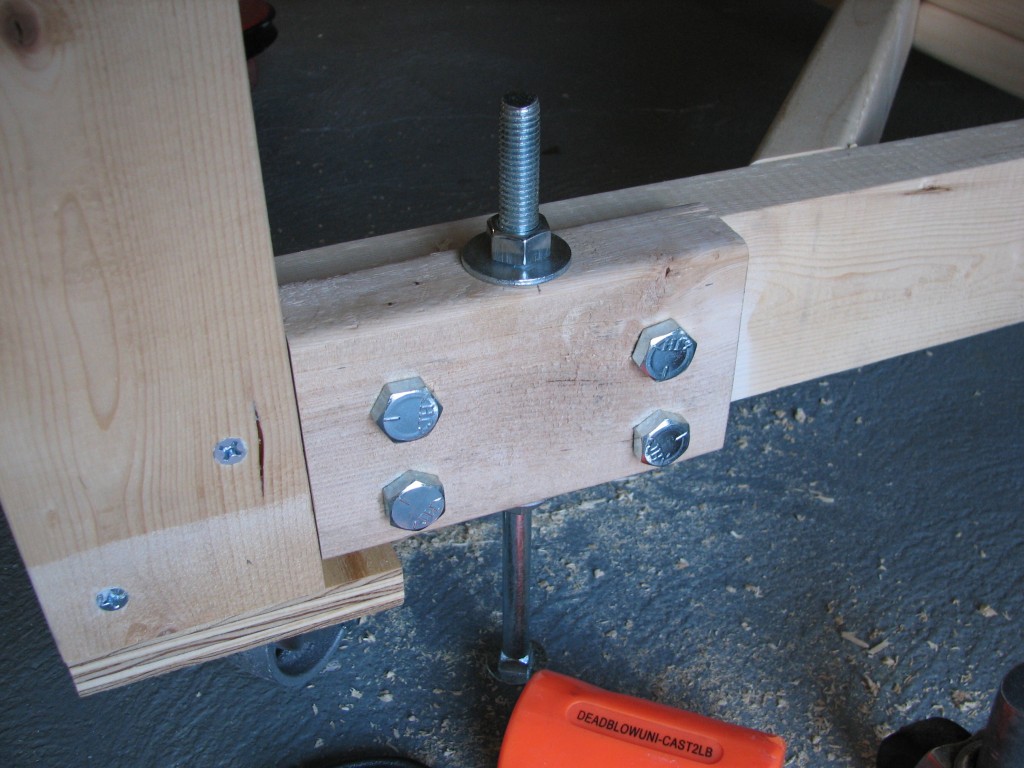
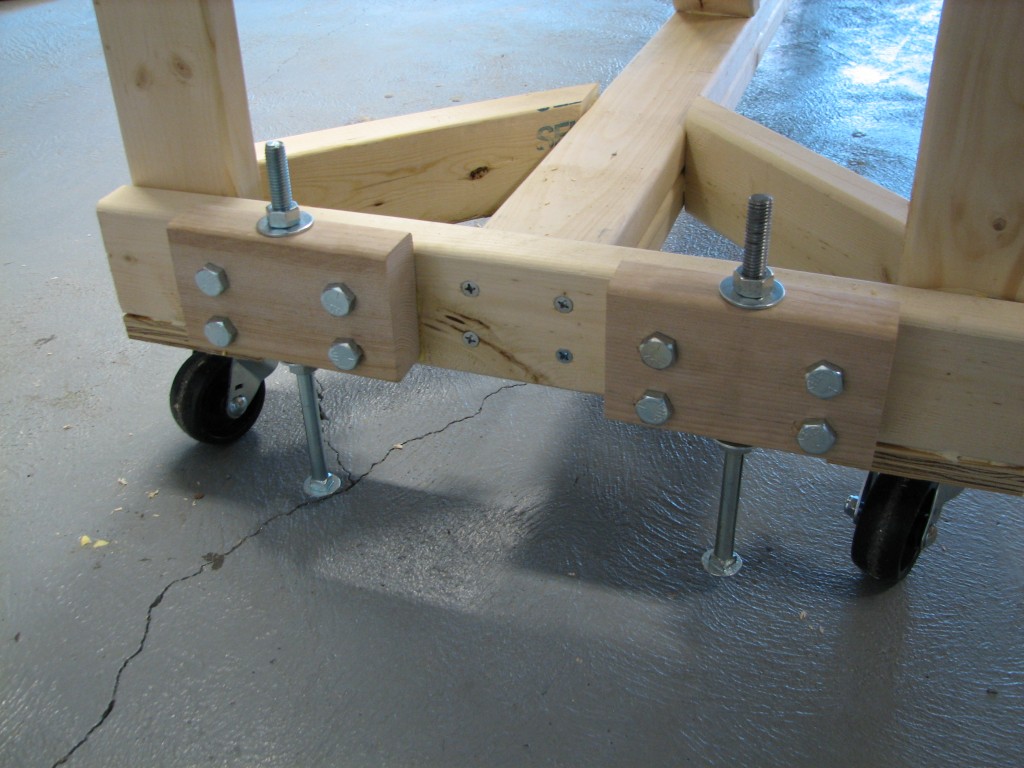
Jackscrew mountedThey’re bolted in place with more 1/2″ fasteners.  I used heavier hardware than was probably needed, but I want to be able to use the same system to keep the fuse nice and level when mounting the wings so a little overkill is justified.

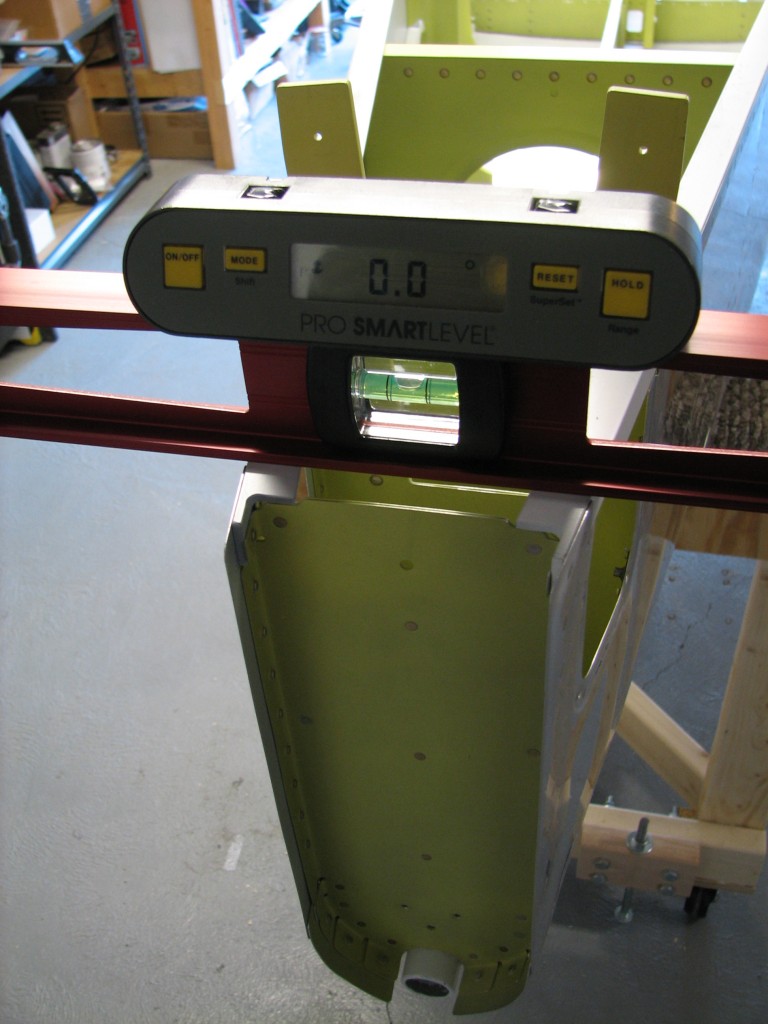
More jackscrewsWith the jackscrews in place on all four corners, I leveled the fuse across the center section…the jackscrews made this really easy.

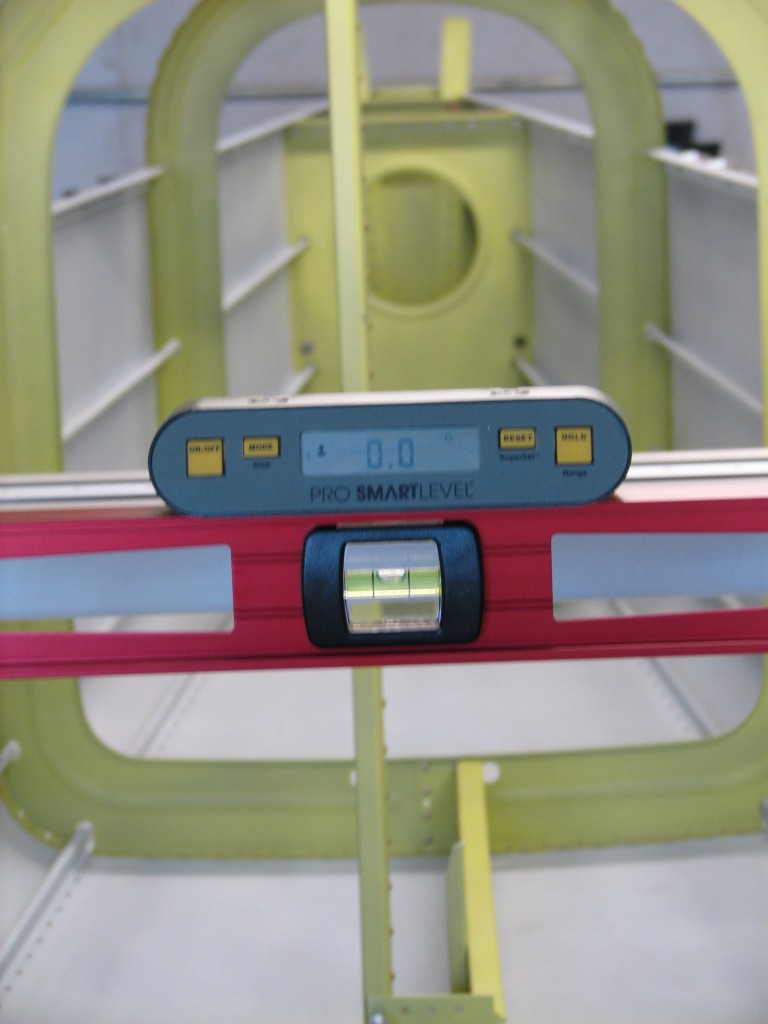
Front levelLooks good…nice and level.  Amazingly, when I placed the level on the tailcone I found..

Aft fuse level..it’s level too.  This is A Good Thing, it means the fuselage has practically no twist, and that all the work I did to keep the fuse level while riveting, really paid off.  The digital level occasionally showed 0.1 degree off – still completely acceptable – but with a little tweaking I got it back to dead center. Very cool.

A flipping good day

After the cradle was finished on Sunday, my good friend Burt came over to retrieve an extra workbench and also to help us the fuselage canoe right-side up.

IMG_5106Getting the fuselage onto the cradle was easy, but flipping it wasn’t.  But eventually we got everything in place.

IMG_5110For any RV slow-builder (and I definitely fall into that category), flipping the fuselage is A Big Deal.

A good dayI’m smiling in that pic…you can’t tell, but I am.  Here’s the flipped canoe in all its glory…

The flippin' canoeAnother picture?  Sure, I knew you’d want one.

Another canoe pic

With the fuse upright, I have some shop cleaning and rearranging to do but then it’s back to work on finishing interior structure and the cockpit.

Building a cradle

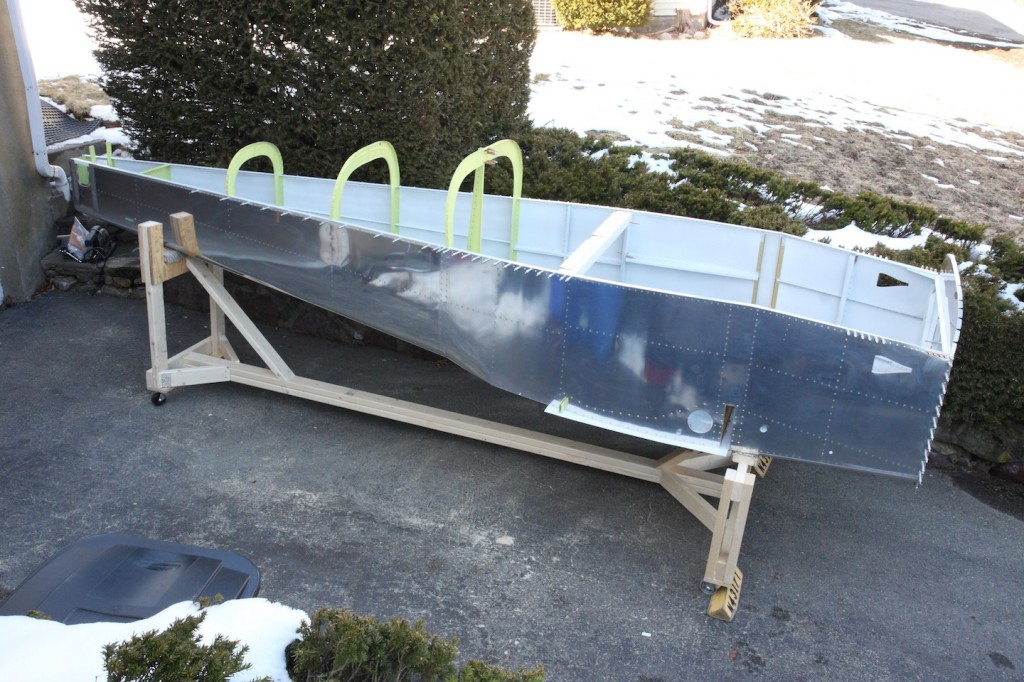
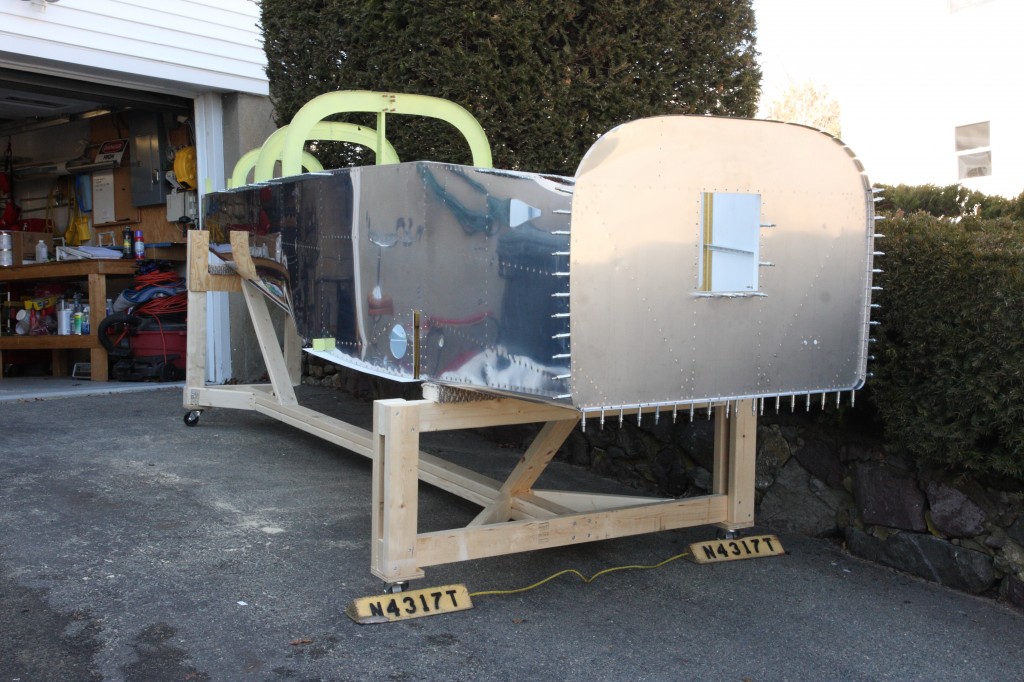
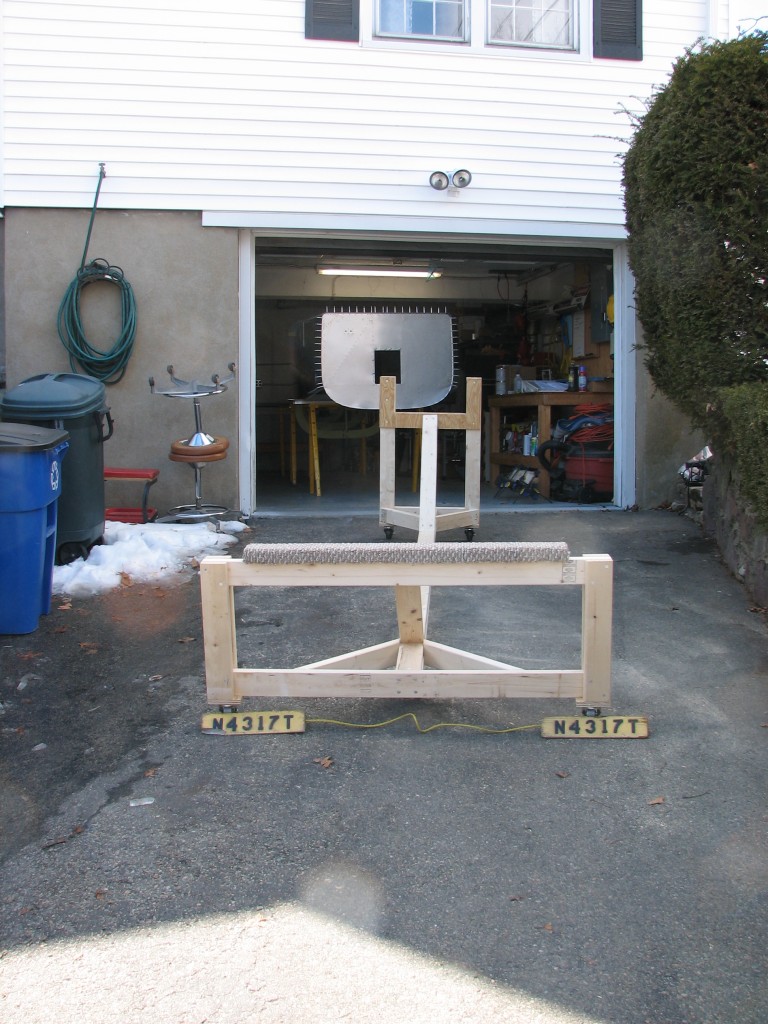
Once upright, the fuselage requires a cradle or stand to support it until the landing gear is attached.  I found a great set of plans on VAF (the Van’s Air Force website, for all you non-RVators), and scavenged or bought enough lumber to build one.  Thanks for the plans, Lars!

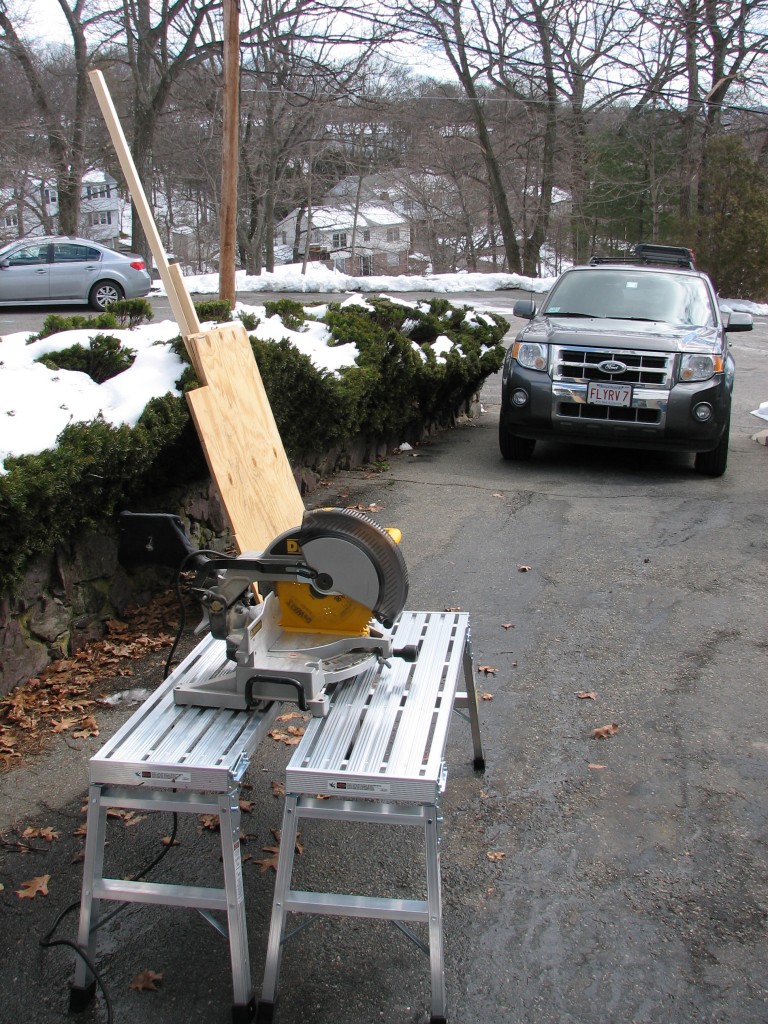
Here’s the raw material and associated stuff…

Power tools and wood

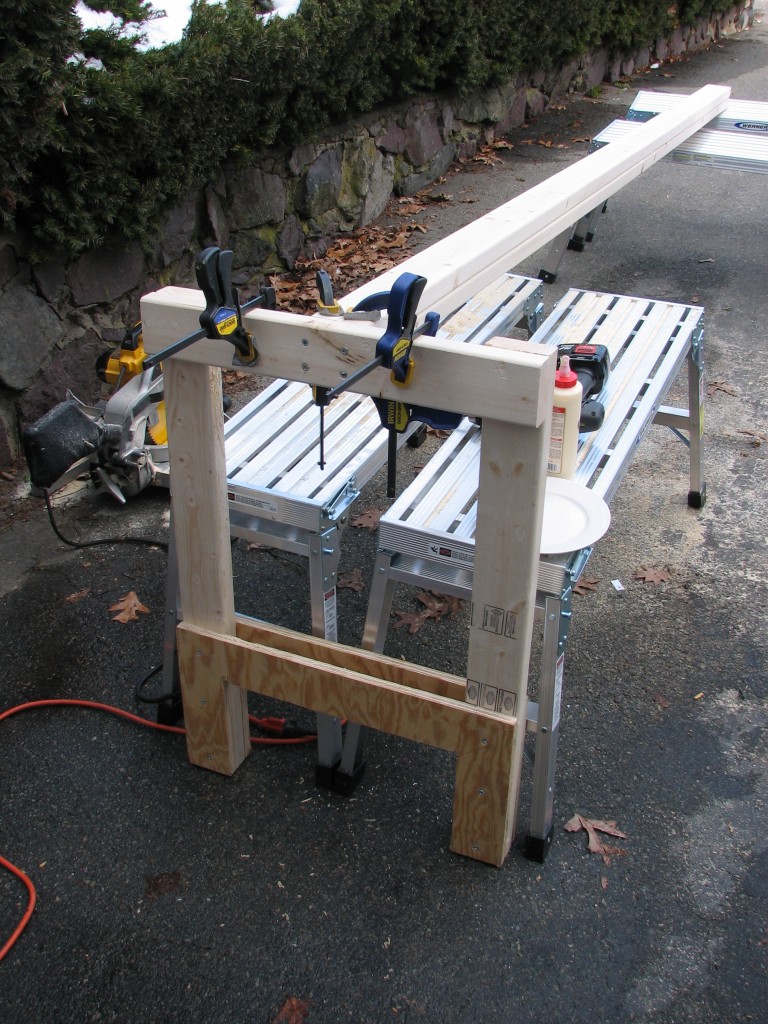
…the aft end of the cradle being attached to the bottom beam…

One end

…and the finished product being held in place by a pair of our old chocks from N4317T, the Mighty Archer.

The finished productThe cradle is ready, and in position for the fuselage to come out of the garage.

You can’t spell “geek” without EE

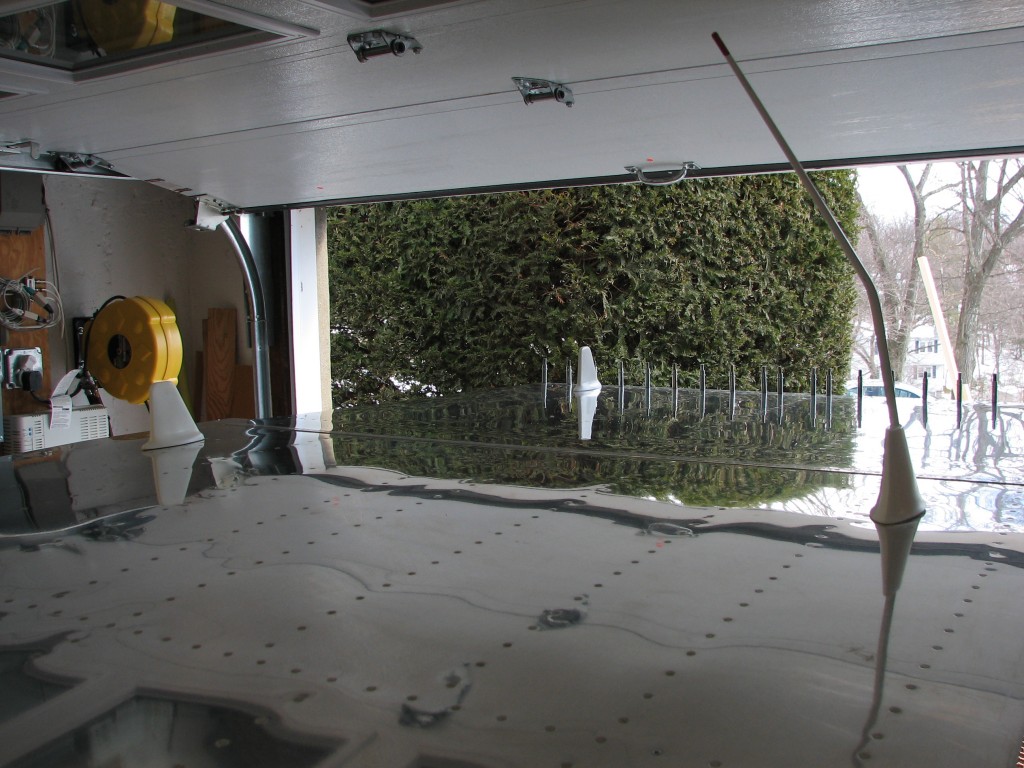
I had to indulge my inner electrical engineer and mock up the VHF comm (right), Mode S/1090 ES ADS-B transponder antenna (left), and ADS-B UAT receive antenna (center/forward) where they’ll be on the fuselage.

The Mighty RV antenna farmThese very nice antennas are all products of Don Pansier at Delta Pop Aviation.  Don specializes in non-TSO’d antennas for the experimental market, and measures each antenna’s performance to ensure it meets spec…very cool.