More wing mating prep

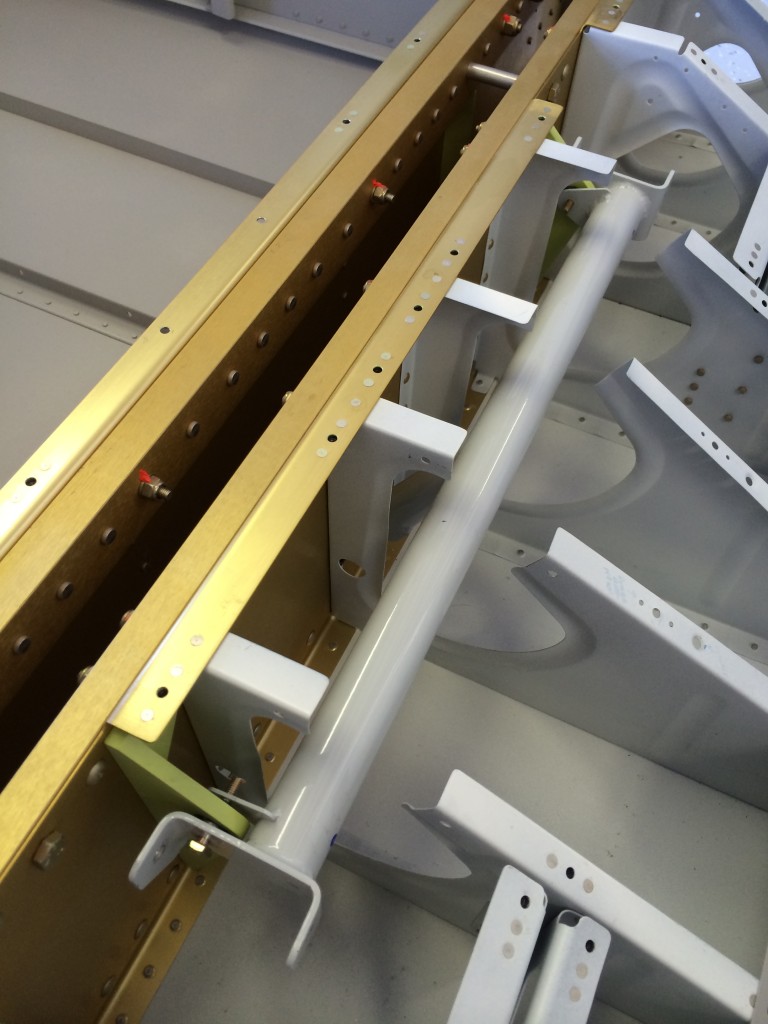
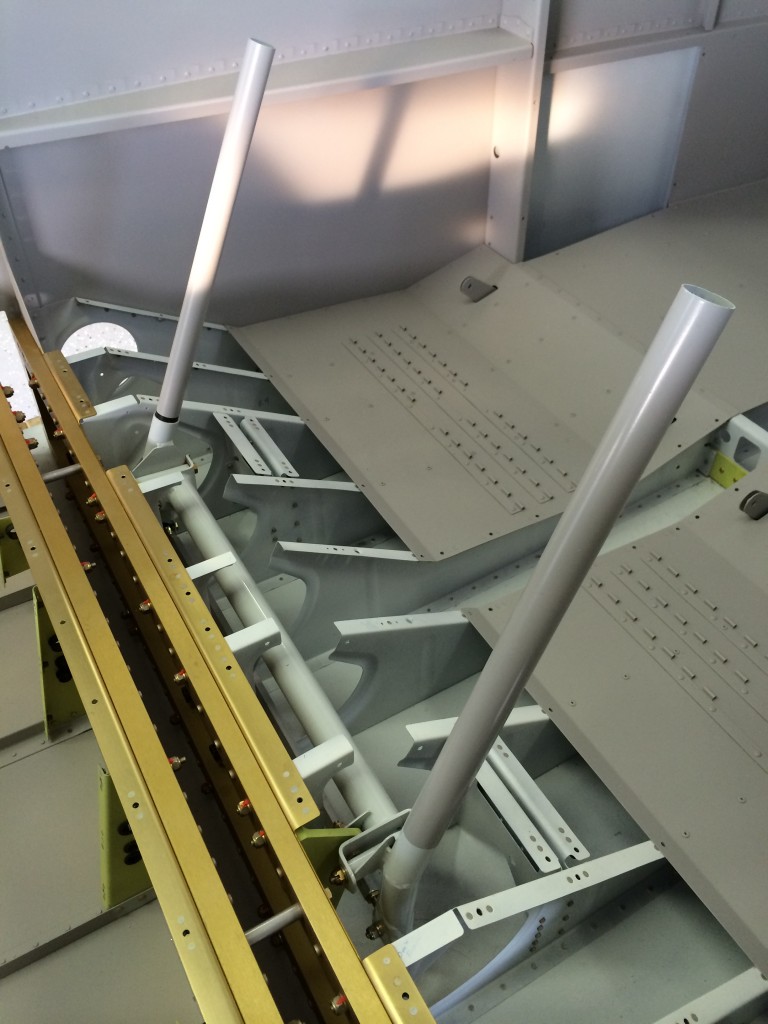
With the the shop rearranged, there are a few prep things that need to be done before the wings can be fitted. First up is reinstalling the control stick mount assembly so the aileron pushrods can attached and rigged. The assembly was initially drilled to the F-704 bulkhead way back when I started the fuse a few years ago.

Installing the control stick torque tube

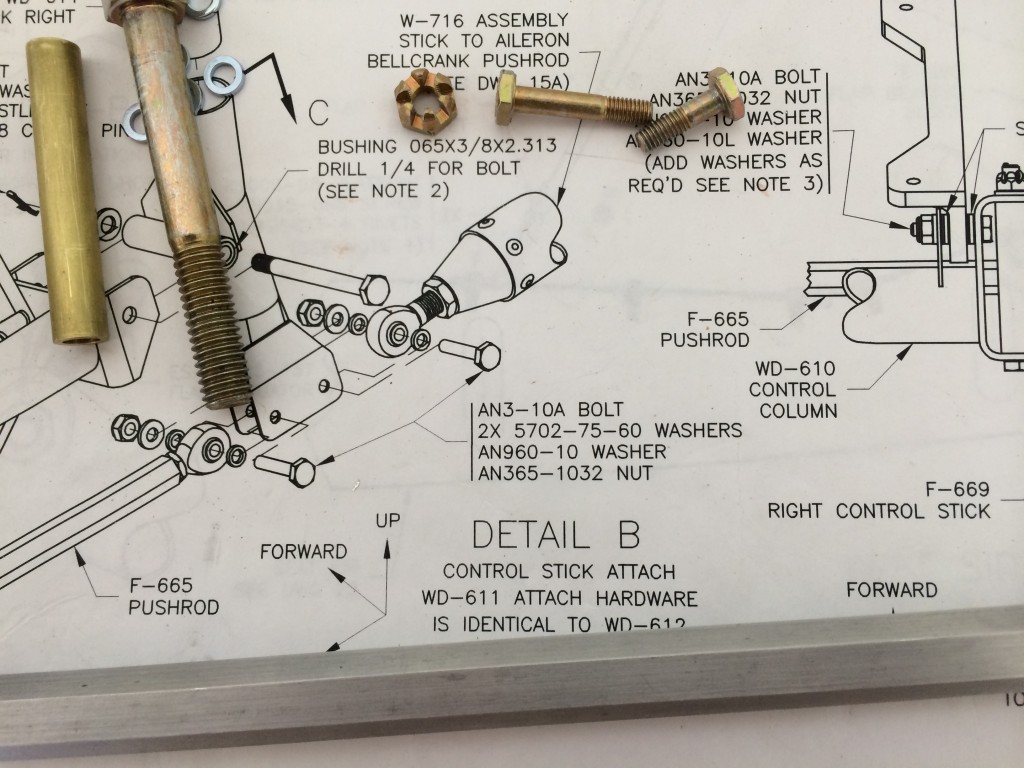
There are a lot of bolts and spacers that must be assembled in order so that there’s no sideload on the bearings when the bolts are tightened.

Lots o hardware

There are a couple of small washers that go on either side of the bolts that attach the control sticks, aileron pushrods and a connecting rod that makes sure the sticks move together.

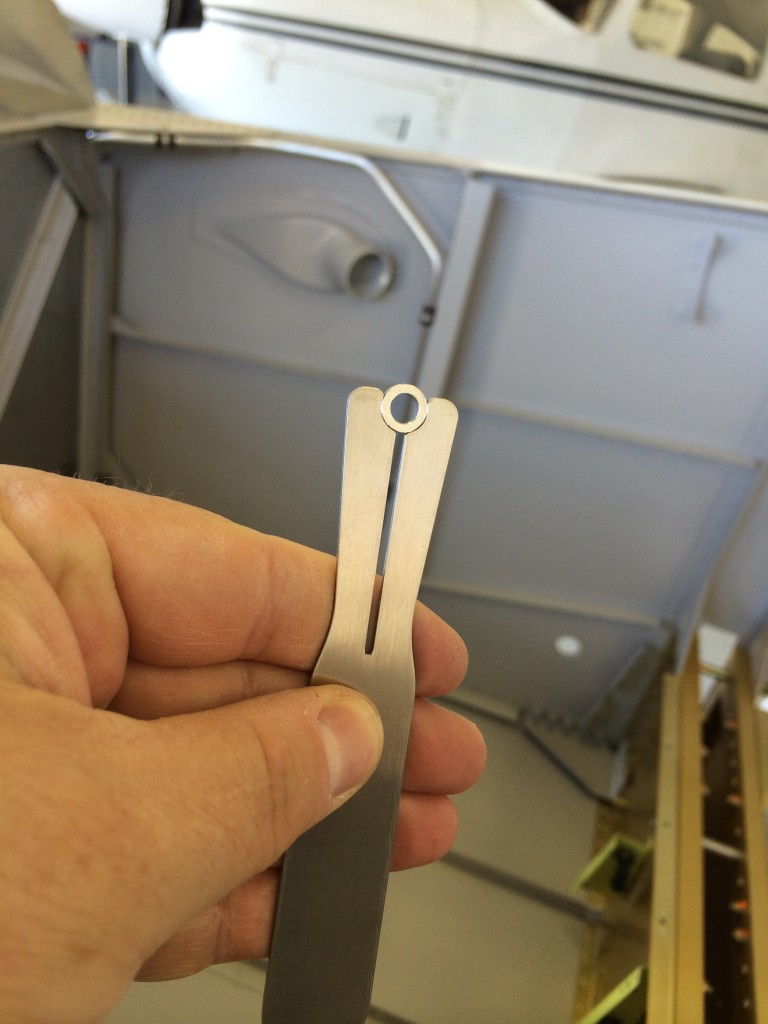
Washer holders - a must-have

These washers are a pain to maneuver without help, so I broke out the Avery washer wrenches…they did the trick.

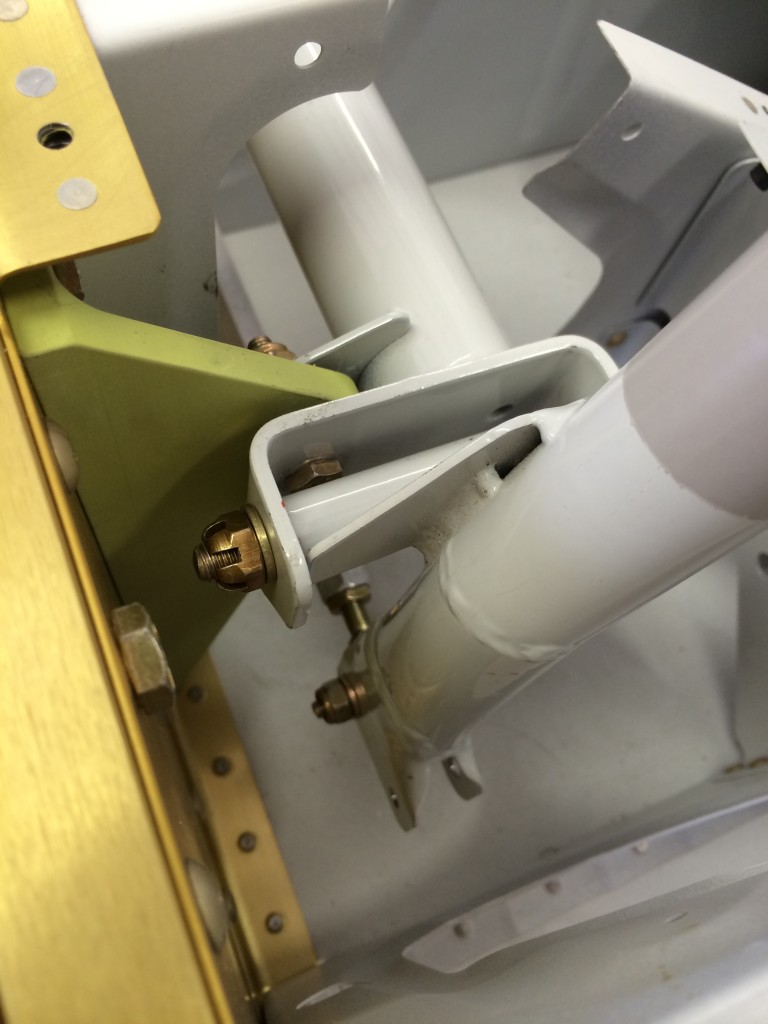
Control sticks attached

The very last bolts to be installed were the ones that that hold the sticks to the mounts and allow them to move laterally. Because this is a rotating joint, normal Nylok self-locking nuts can’t be used – the castle nuts only get torqued enough to allow a cotter pin to be installed. I won’t do that until I’m ready to permanently install the control sticks.

Control assembly attached

On the other hand, they look so good that I might just leave them in!

Farewell, old shop…

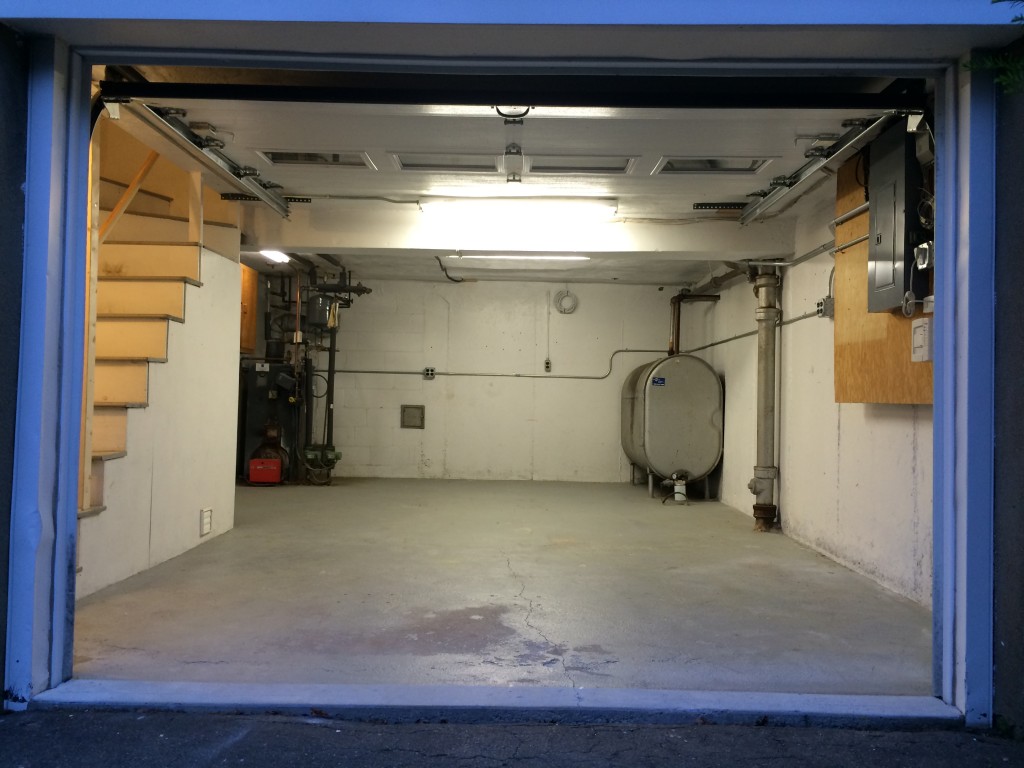
Today was the last day in our home – we’re selling it to move on to better things. I spent several hours cleaning out the last remnants of my airplane-building shop, and building a handrail for the stairs that the new owners insisted on.

Twin Circle Garage - now vacantThe garage is bare.  We did a lot of good RV building here, and I’m a little sad to leave it behind.

Prepping for wing installation

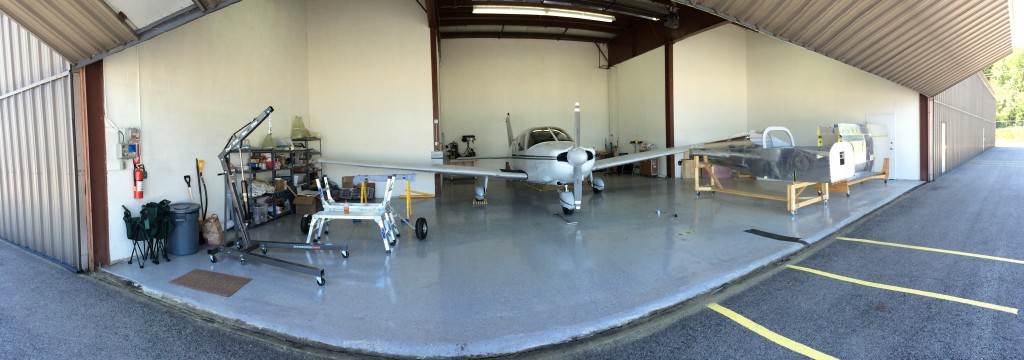
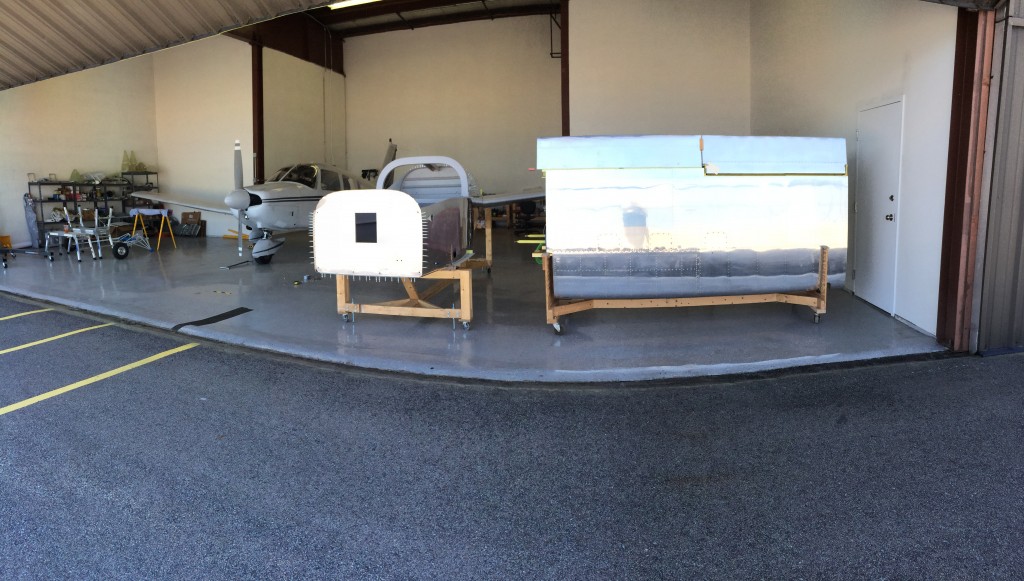
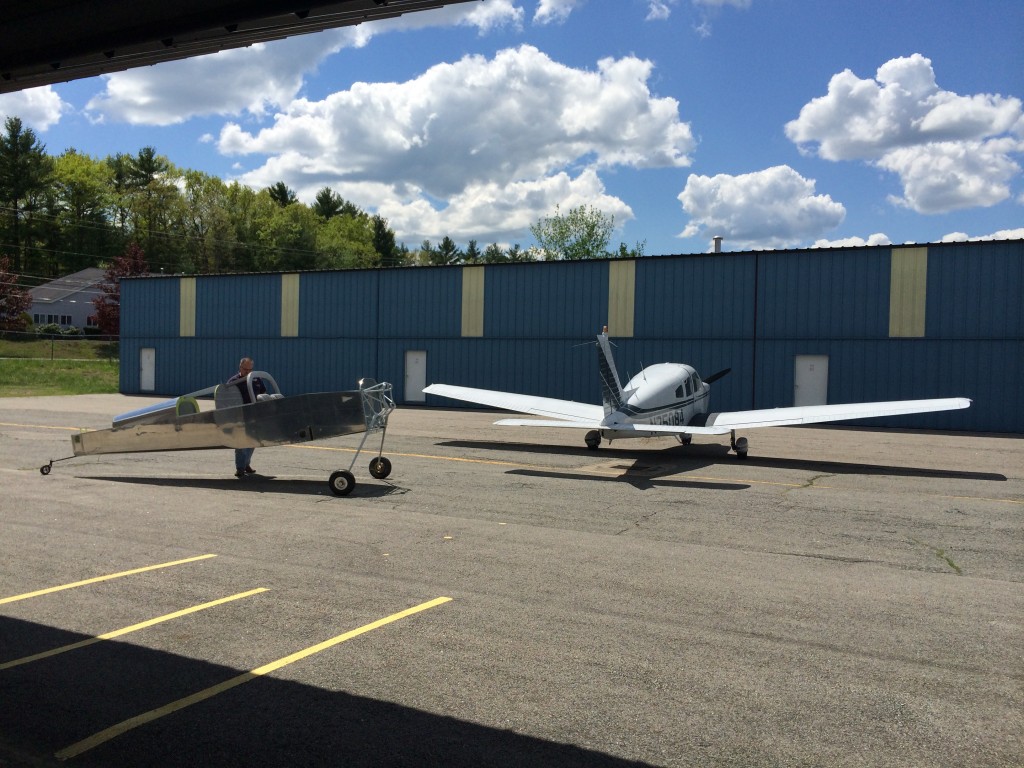
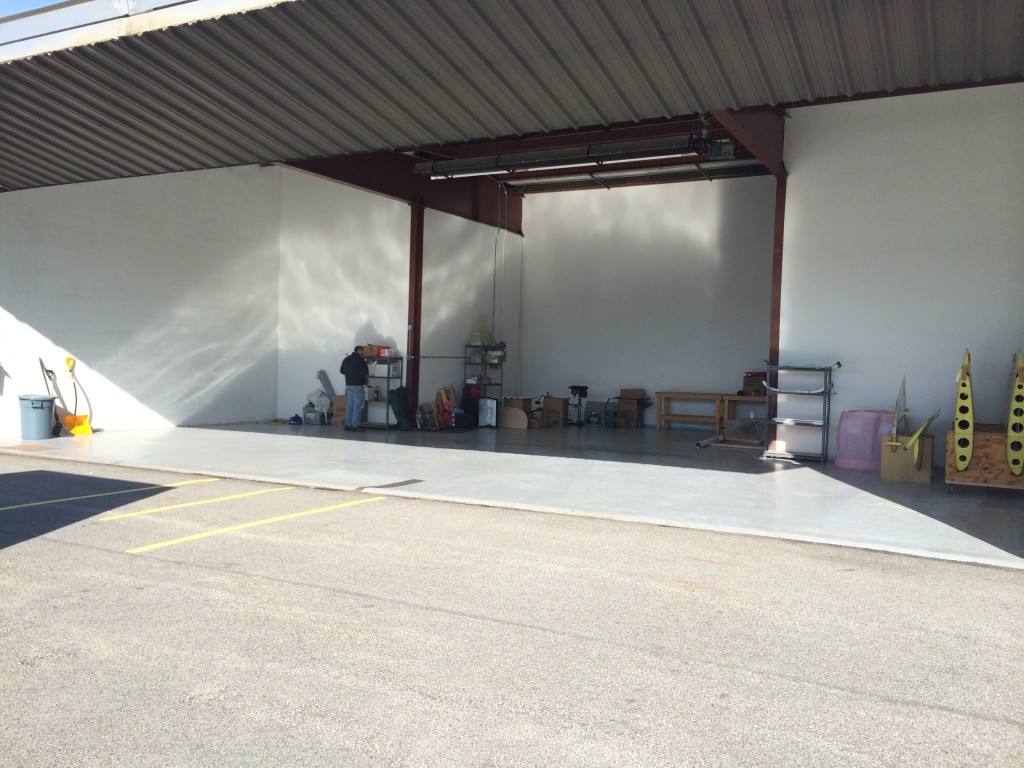
My hangar mates won’t be flying the Archer for awhile, so we’re taking the opportunity to rearrange the hangar in preparation for fitting the wings.  The fuselage gets moved to the front, so there’s plenty of work space.

Hangar panorama

I did some cipherin’ on my cheapo CAD program and the drawings say we should have enough space to get the wings on and still be able to do work around the fuse.

Wings ready for attachmentAnd now it’s back to fun with moving. Only two weeks to go ’til closing…

Bend, fit, repeat

One of the least enjoyable and most time-consuming parts of this project is bending fuel line tubing. With the fuse interior painted it’s time to install interior fuel vent and feed lines, and that means making a lot of tubing bends.

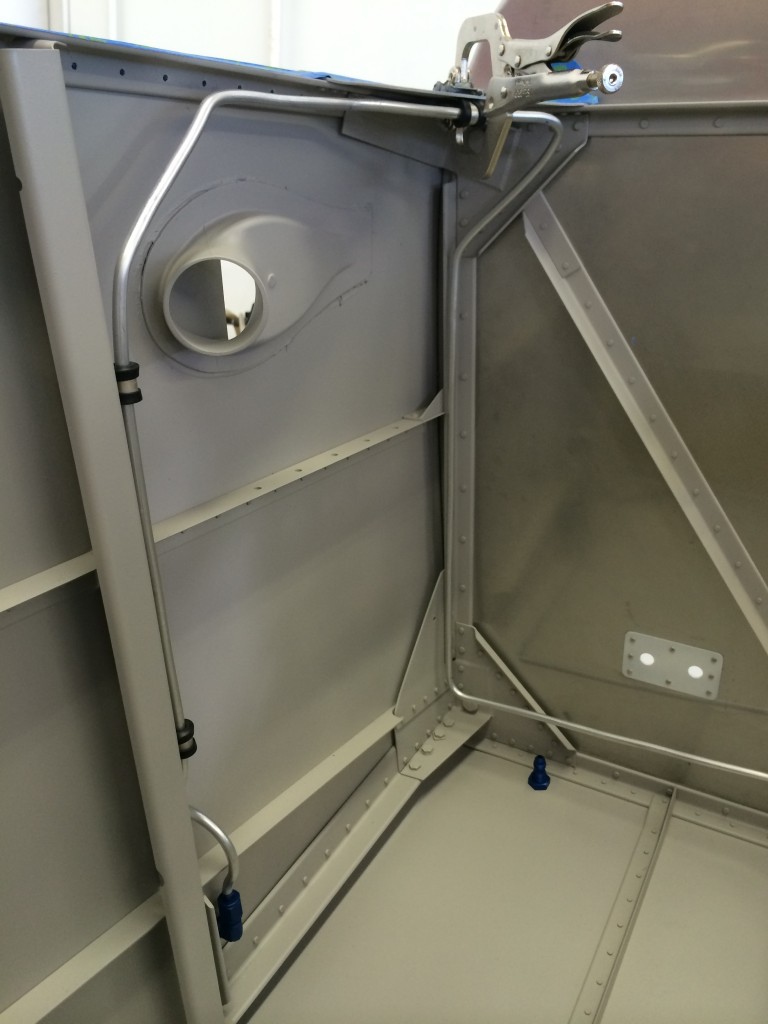
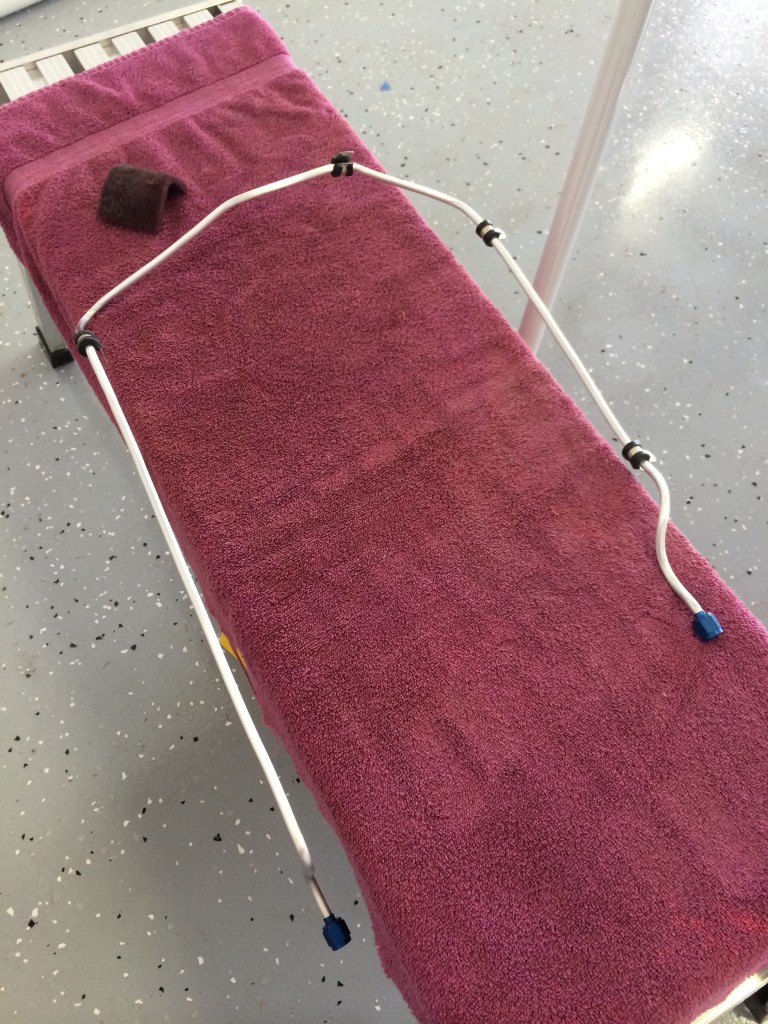
The fuel vent lines are (I hope) the hardest to form.  They connect the vent fittings I fabricated a couple of days ago to their respective bulkhead fittings on each side of the fuselage, where an additional external line will connect with vent lines installed in each tank.  They’re formed in a U-shape so that fuel won’t siphon out of the tanks. And it’s the U-shape that makes them hard to form.

Fitting the vent line

I didn’t take any pictures of forming the complex bend at the lower left but it was a pain in the tuchas, and took three attempts to get it right. After that end of the tube was complete, it was a matter of figuring out where the next bend should be, making it, fitting it to the fuselage and making adjustments, then moving on to the next bend.  It took a few hours, but the end result was good…

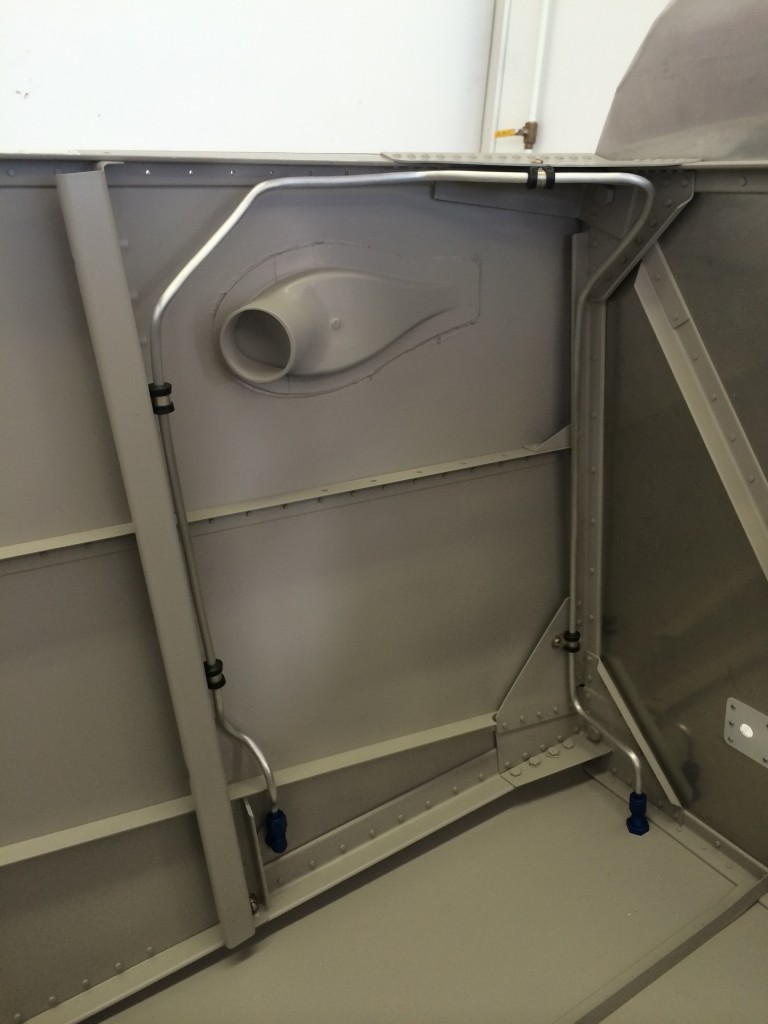
Fabricated vent tubeAnd here it is, installed in the fuselage. The fittings still need to be torqued, but it’s in the fuselage to stay…

Left vent tube installed

I hope the right vent line won’t take so long…

Band-Aid? I don’t need no stinkin’ Band-Aid!

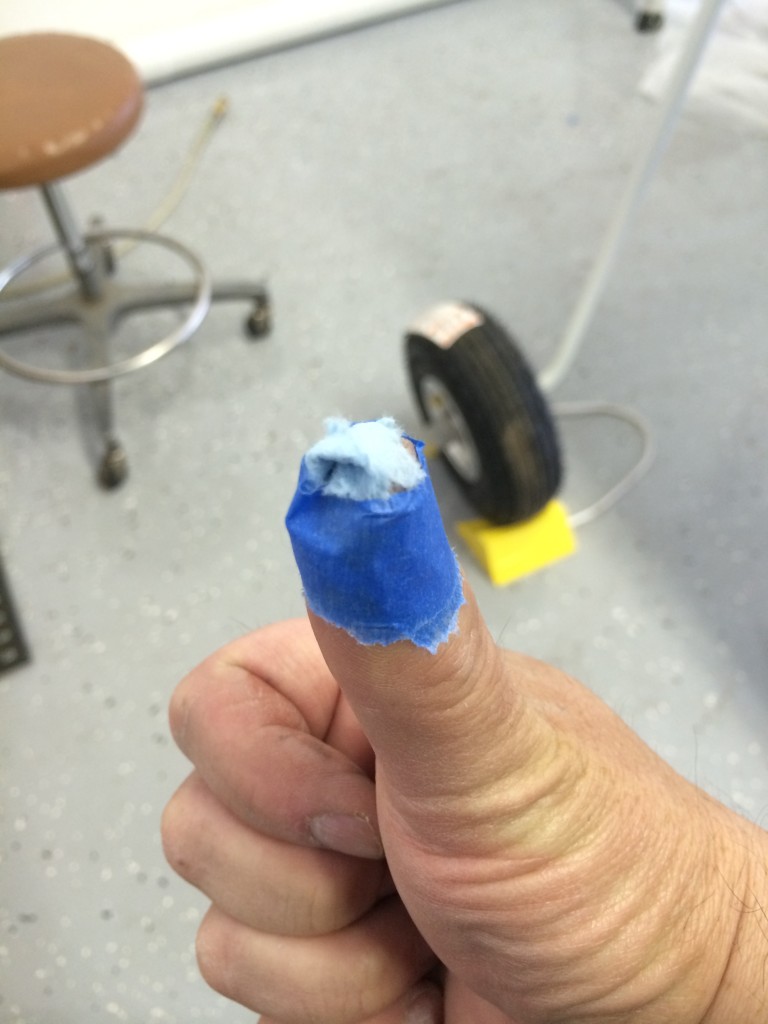
I spent most of the day at the hangar, and realized after I cut myself that one thing I forgot to bring from the house was some bandaids. But I have plenty of blue painter’s tape and lots of paper shop towels…

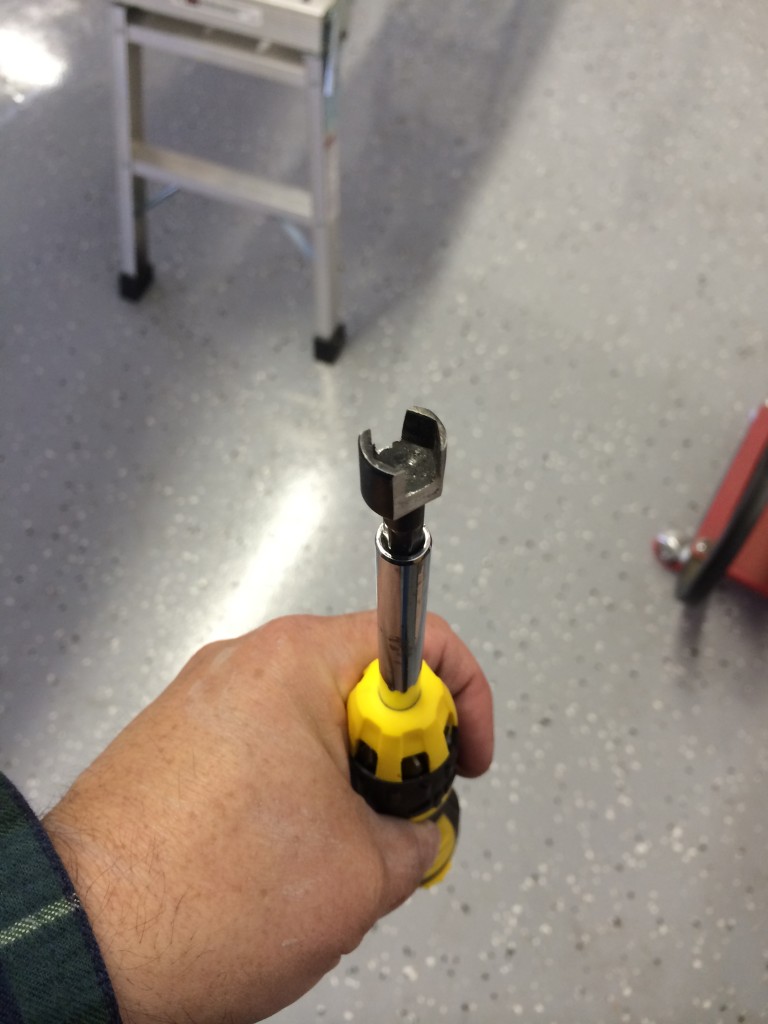
2014-05-23 16.33.45And this is what I cut myself on – a jury-rigged low-profile nut driver, made by grinding down a random 3/8″ driver I found in the tool box…

A jury-rigged nut driver

And why would I need a low-profile nut driver? I knew you’d want to know…

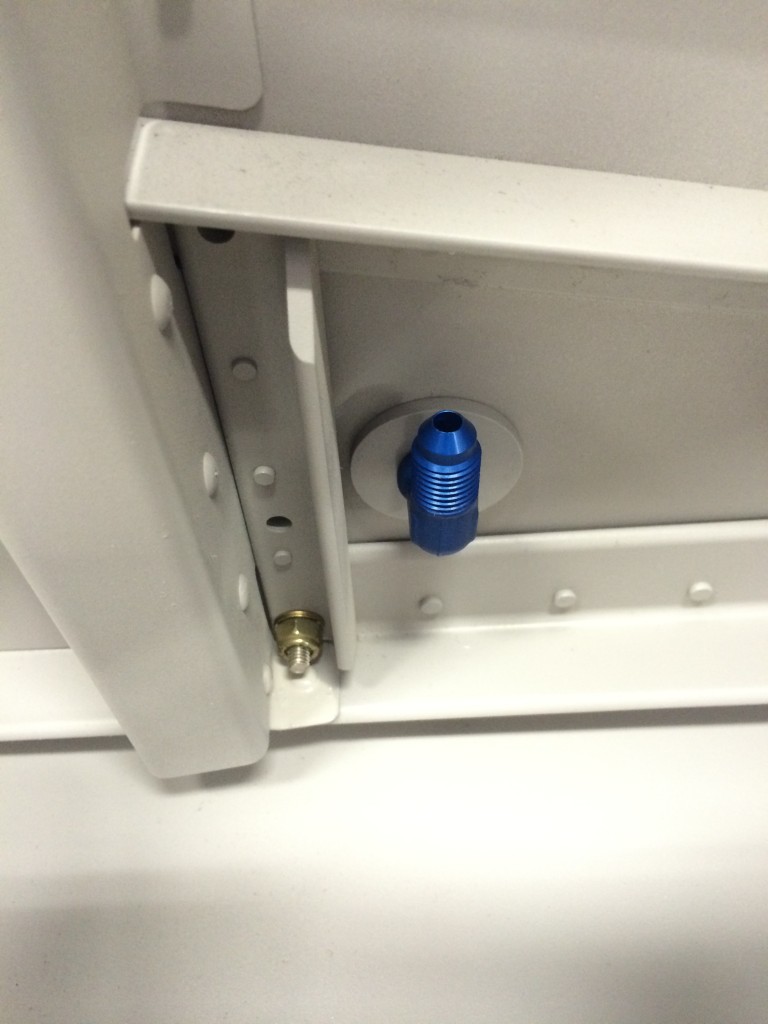
Pesky nut

See that AN365 nut in the bottom center of the picture? There’s not enough space to get a regular socket on it, hence the ground-down nut driver.  Worked great, if I do say so myself…and I do.

Next to it is an AN bulkhead elbow fitting for the left fuel tank vent line.  I spent most of the day getting fittings prepped for the vent lines, including making the vents themselves out of other AN fittings –

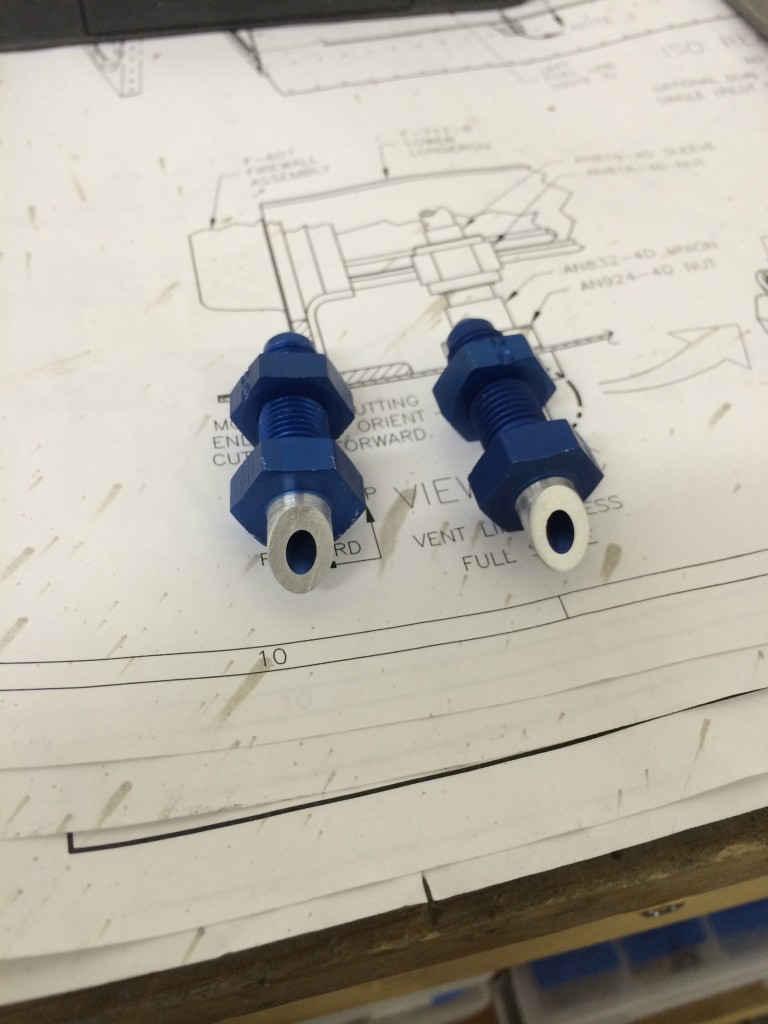
Vent fittings

These are relatively straightforward to make from standard bulkhead fittings, I just wrapped the not-to-be-modified ends with duct tape and chucked them in the drill press.  The portion that’s bright metal in the picture originally had threads, but I removed them with a vixen file while the drill press spun the fitting around (thanks for the idea, Mike!). I cut the finished ends to a 45-degree angle with the band saw, and cleaned them up with sandpaper and scotchbrite.

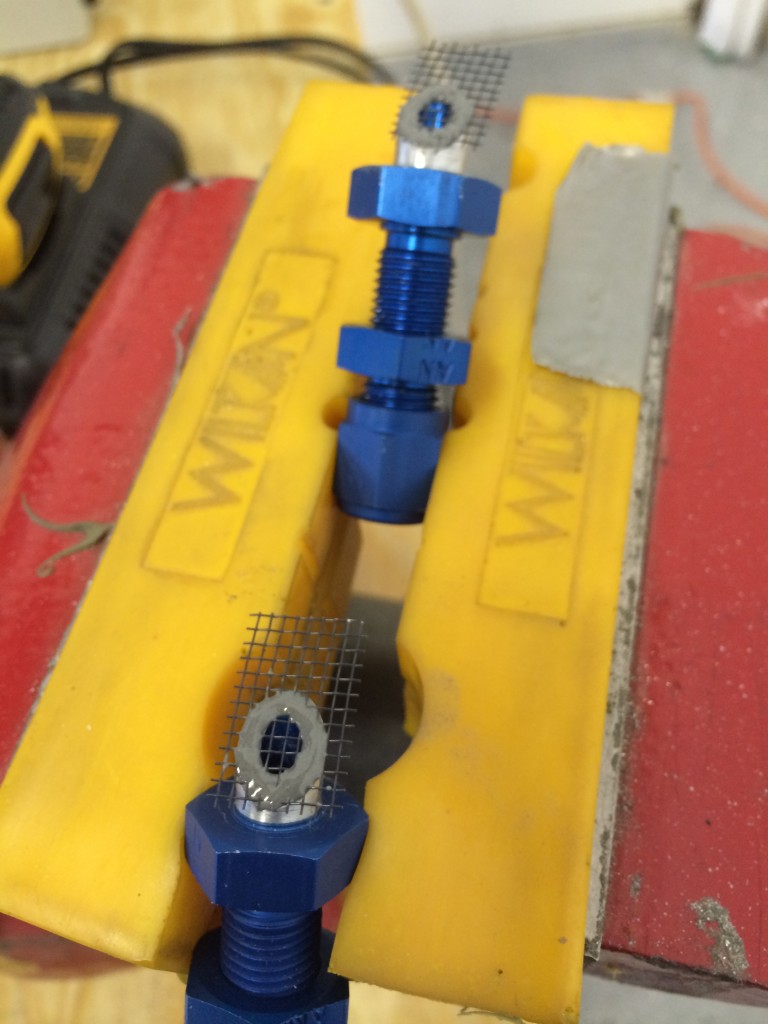
Vans recommends that the scarfed ends be protected by a screen to keep bugs and other  stuff from blocking the fuel vents, so I bought some window screen patches from Home Despot and broke out the JB Weld epoxy…

Vents with screens attachedAfter the JB Weld cures – hopefully by tomorrow – I’ll trim away the excess screen and install the vents in the lower fuselage.

A mostly-successful painting day

I’ve been waiting to paint the interior until the fuse is in the hangar and I have a little space to work. My hangar partners had their Archer outside for awhile, so now was a good time for painting.

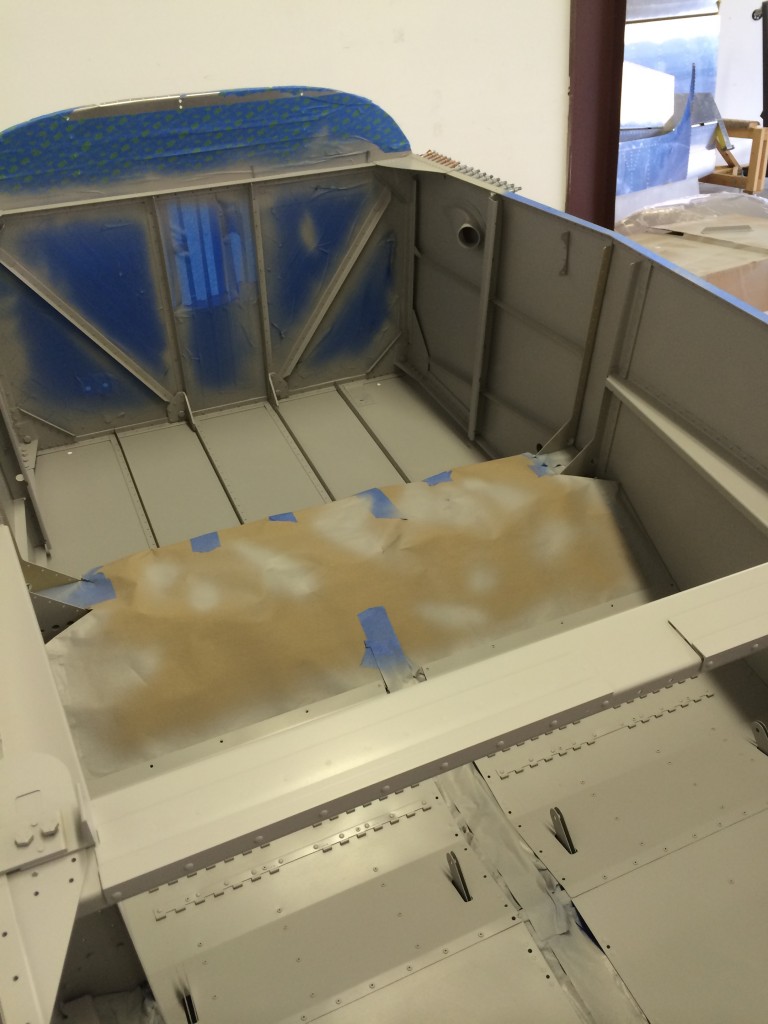
Interior painted

I spent a lot of time masking and prepping the interior, then thinned some JetFlex WR interior paint and started shooting. I can’t say I’m 100 percent happy with how the JetFlex came out – there are some areas where the finish is a little rough – but it’s not bad enough to justify stripping it and reshooting.

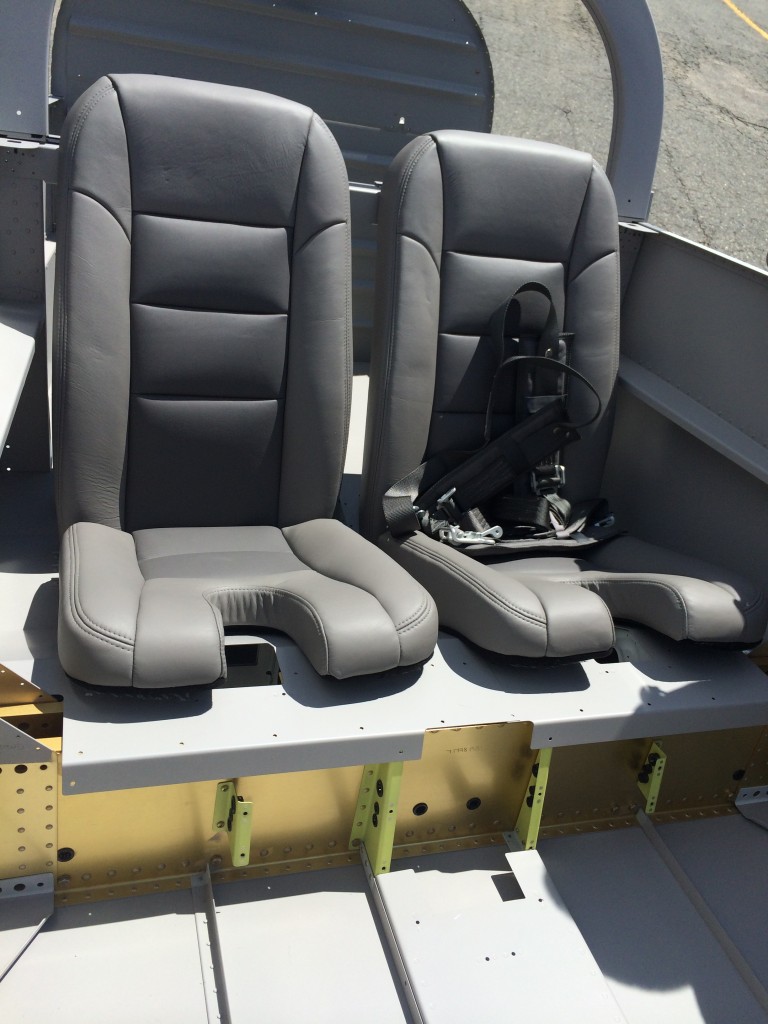
Seats and paint

Once done, I pulled the fuse outside and set our seats and shoulder harnesses in the cockpit to get an idea of how the colors match in bright light. Everything looks good.

Hangar mates

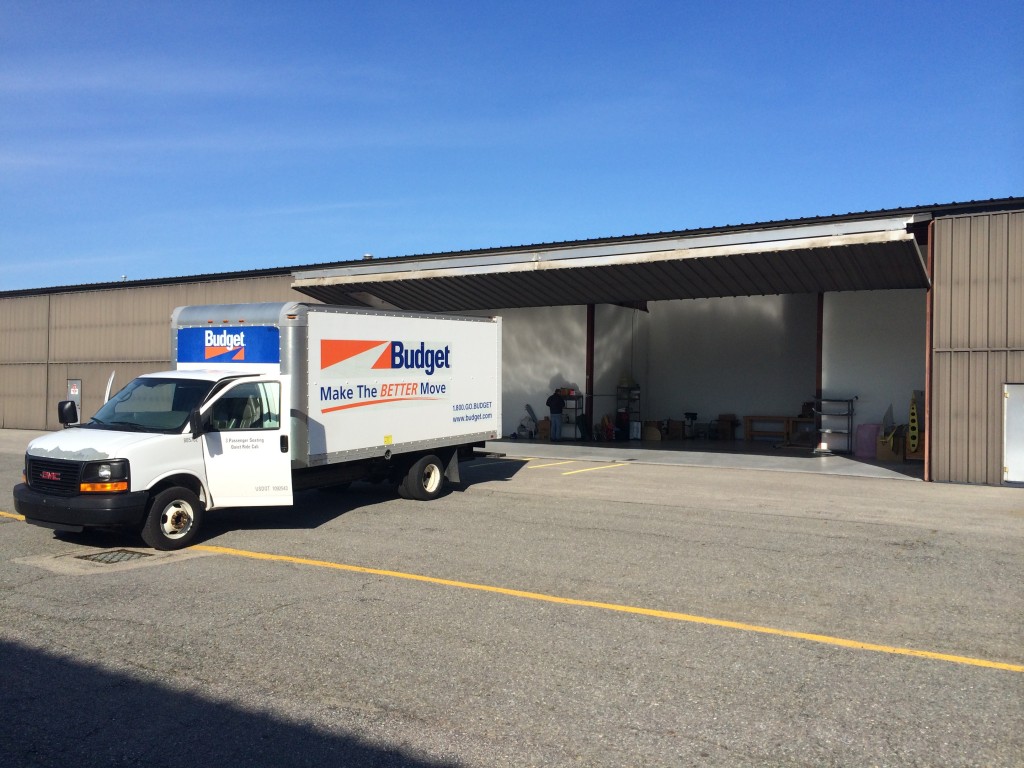
Moving to the hangar

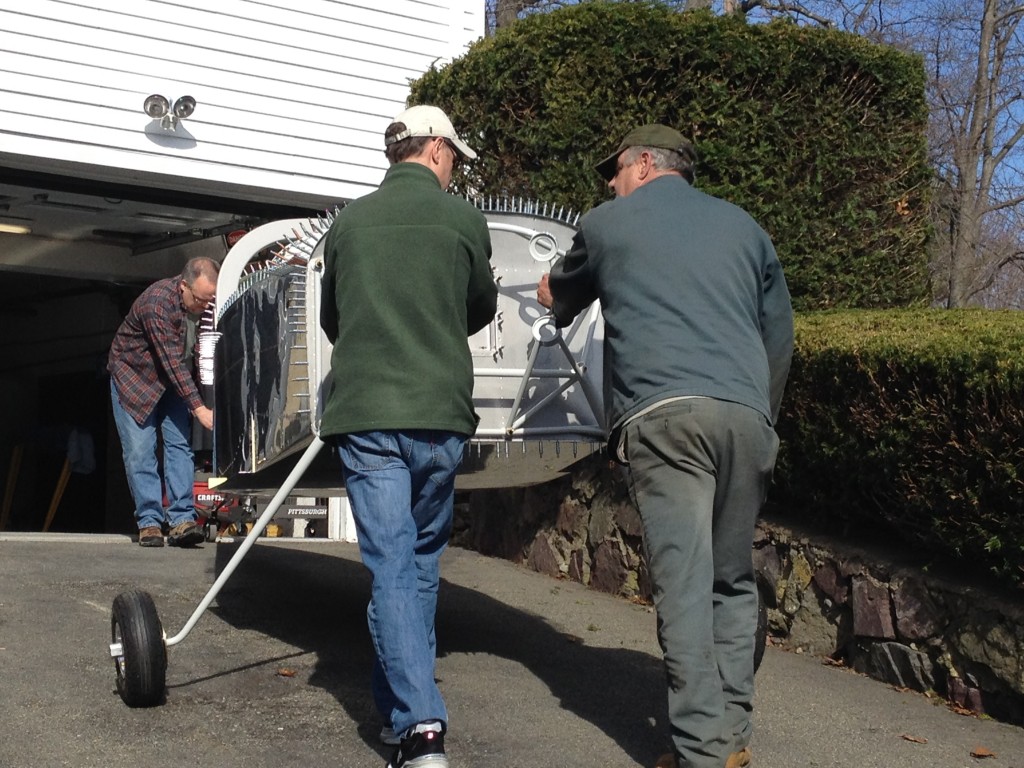
We’ve been struggling to get the house packed and one of the big items to move to Nashua was the fuselage. Ellen and I bribed my brother-in-law Jon and his girlfriend Stefanie to help us get the fuse out of the shop.

Rolling out

I had been braining out a good way to transport the fuse up to Nashua. Some builders use a large U-Haul truck, but they’re expensive and typically don’t have a ramp that’s wide enough for the RV’s gear.

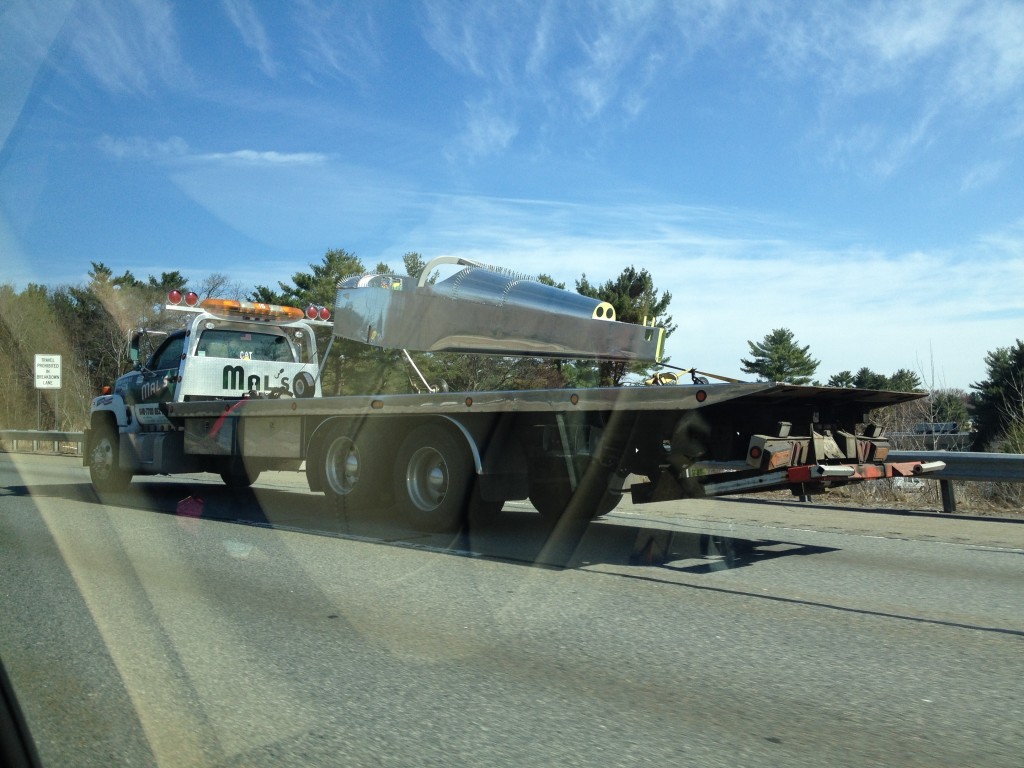
On a whim I called Mal’s, a local car towing company and asked what they’d charge for a flatbed car tow/transporter truck. Turns out it wasn’t significantly more expensive than a U-Haul truck, and the entire bed tilts back to make it easy for loading…so I booked Mal’s.

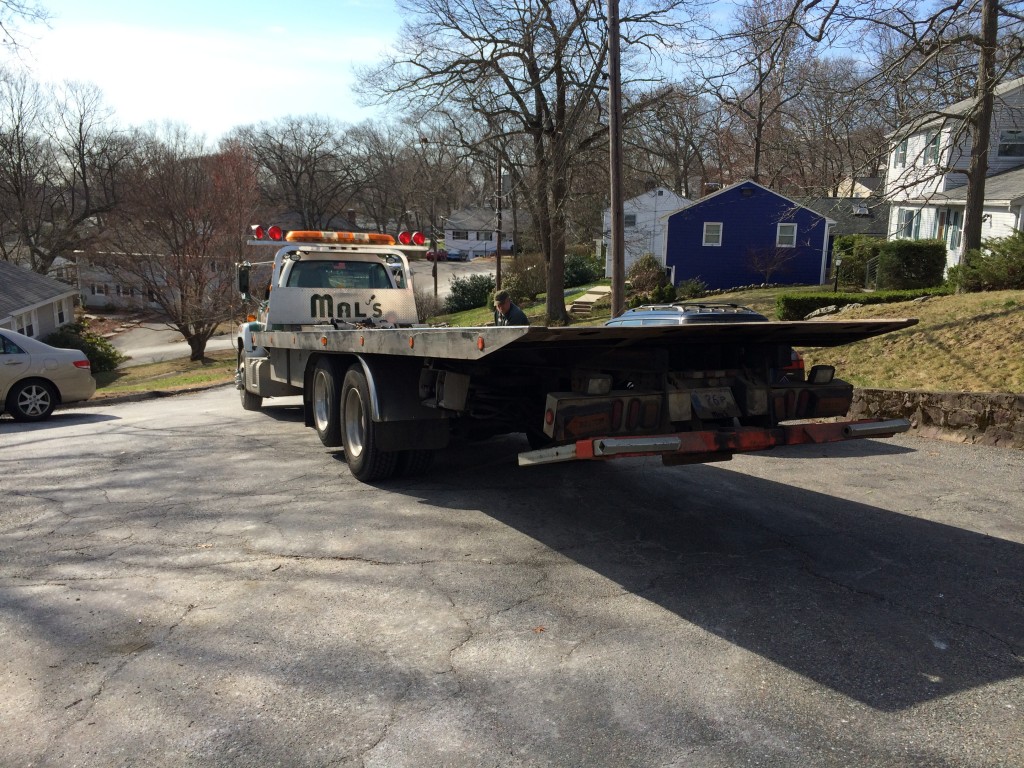
Mal's truck

Mal’s truck and driver showed up right on time. Our street is slightly narrow and we’re on a cul-de-sac, so the driver had to do some maneuvering to get the truck in place.

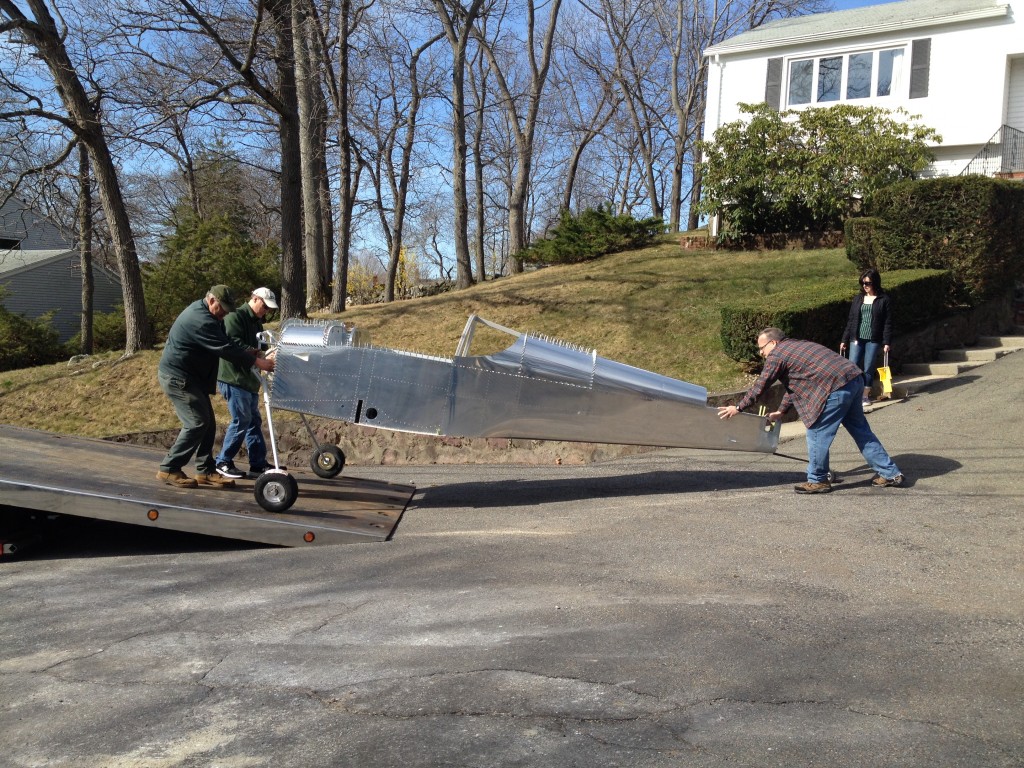
Push me, pull you

With the ramp down, loading the fuse was a non-event.

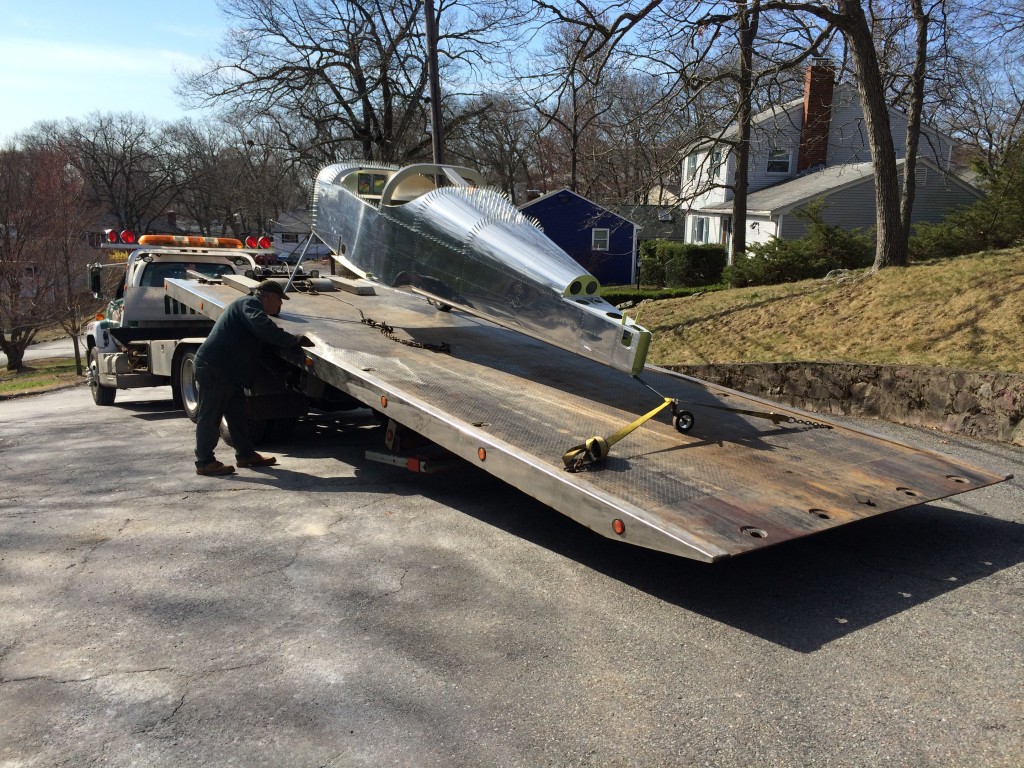
On the trailer

I was pretty apprehensive about what the truck driver would to do secure the fuse on the truck, but Steve from Mal’s was an ace…he had just the right tiedowns for the job, and knew where to secure everything without damaging the fuse. We couldn’t have been happier. I think he was pretty jazzed to be moving an airplane…

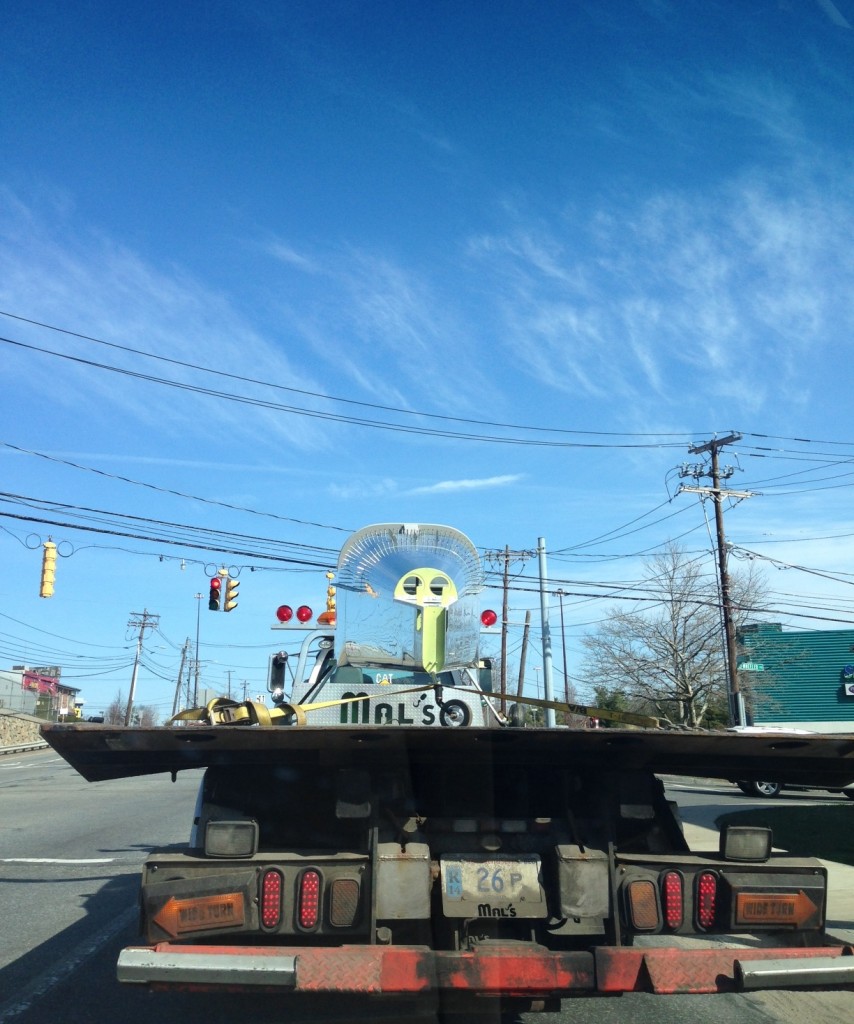
On the wayI rode in the truck with Steve, and Jon, Ellen and Stefanie followed in a car. Jon took this picture at a stoplight in Burlington…pretty neat!

On the road

We got a few looks from other drivers as we trekked up Route 3 to Nashua. I kept a close eye on the fuse, but there was no need to worry – it barely moved an inch.

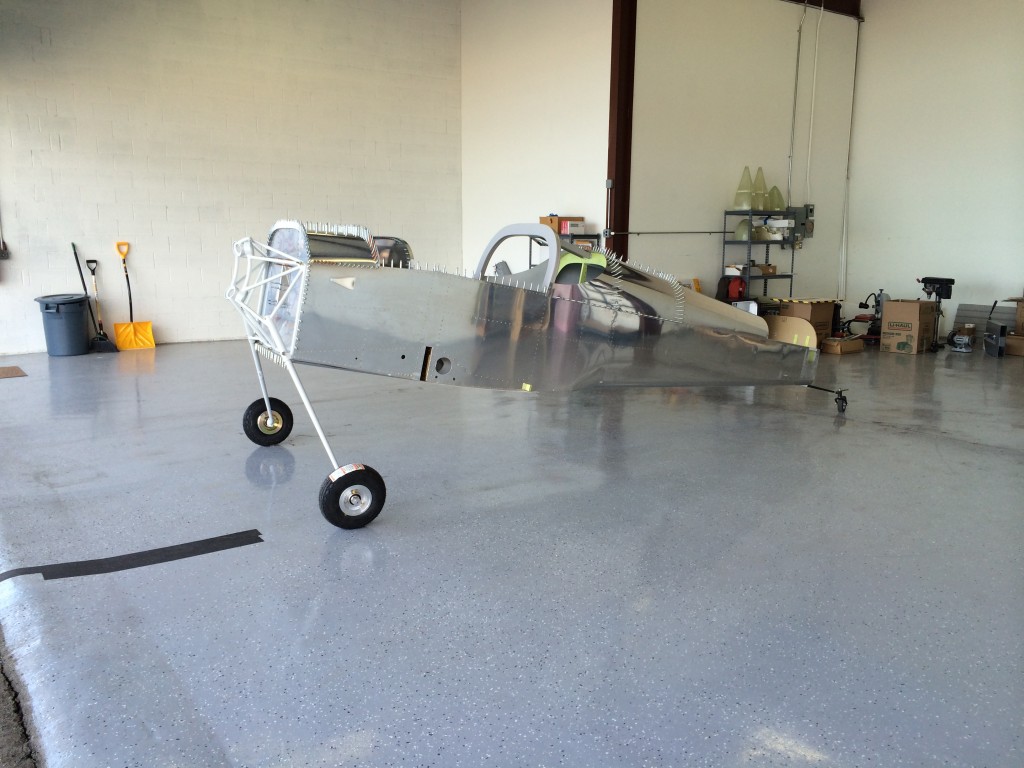
In the hangar

Ellen and I were psyched to see the fuse in its final shop space. For the first time in the 10 years we’ve been building, all the RV parts are in the same place at the same time.  Cool…

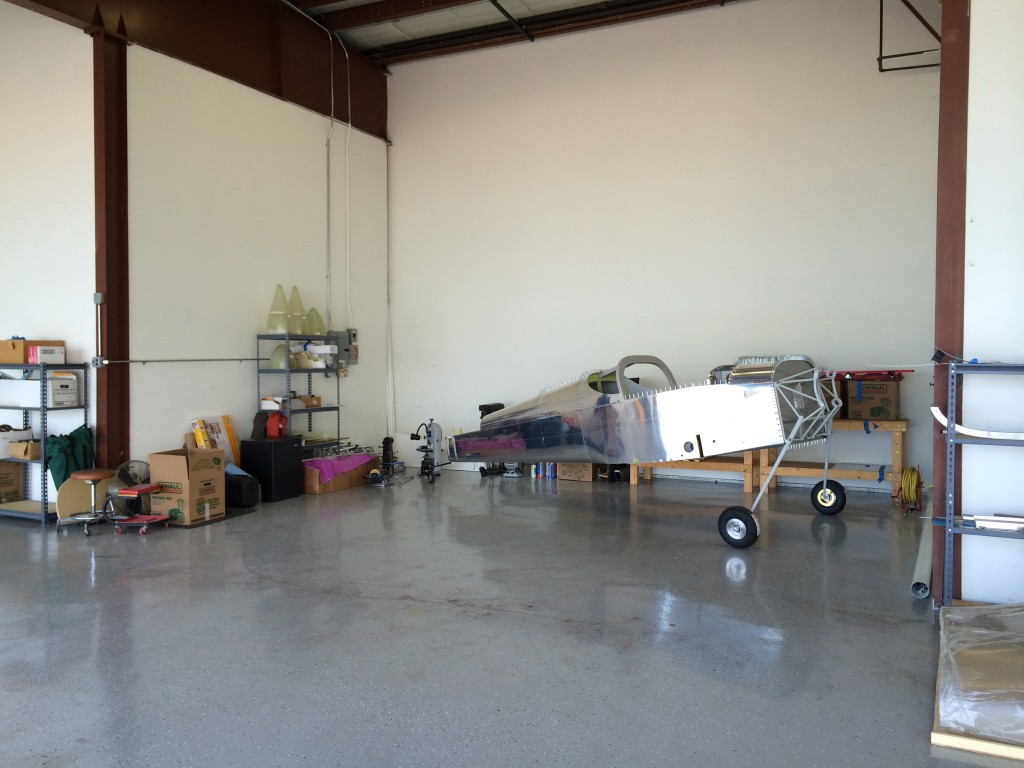
In the hangar pocket

The rear of the hangar will be my primary shop space. The fuse is a good fit, and I’ll have plenty of space to maneuver when the Archer is in the front of the hangar.

On the gear

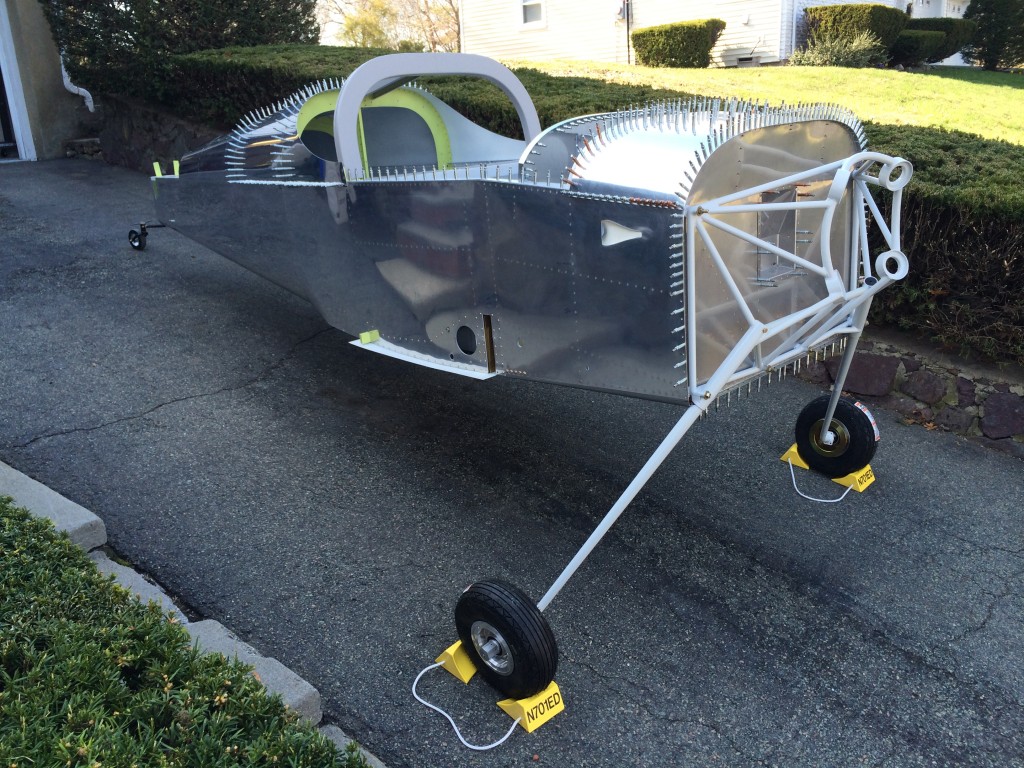
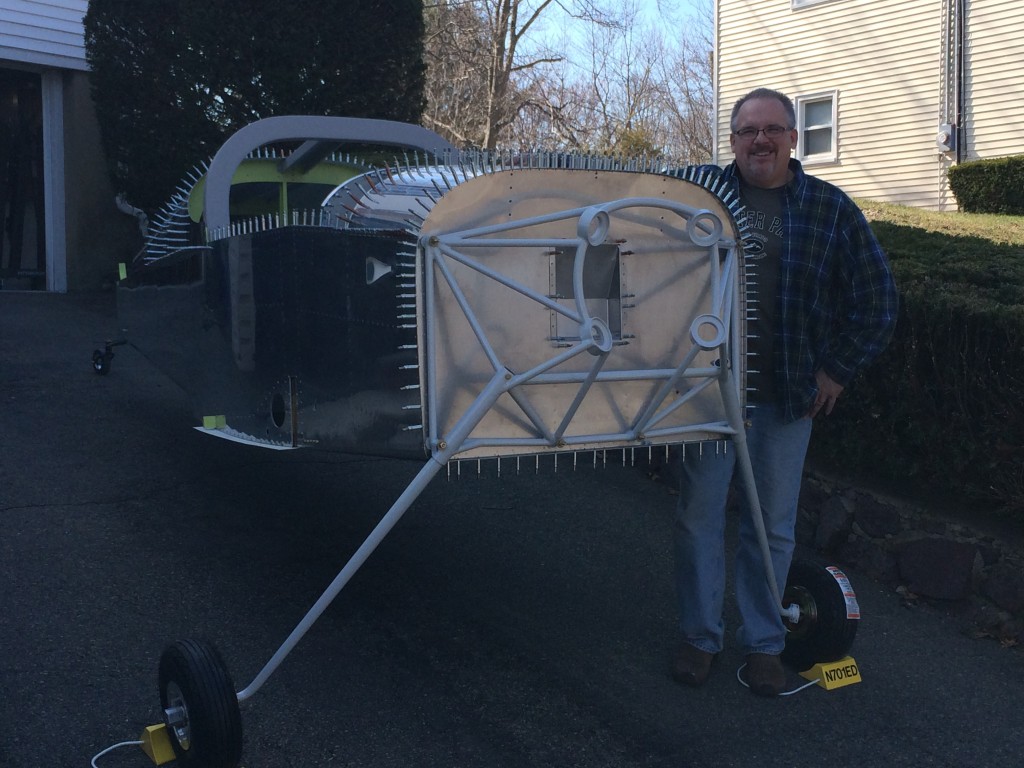
As my friend Jim might say, today was a day of great visual progress. The only remaining task to get the fuse ready for moving was to get the wheels mounted on the gear axles, then the airplane would be ready to sit on its gear and roll out of the garage for a photo op.

That required some relatively-messy wheel bearing packing. Fortunately I remembered a bit about greasing wheel bearings from our days owning the Mighty Archer, and after a few pairs of rubber gloves and some liberal application of Mobilgrease 28, the bearings were packed and the wheels installed.

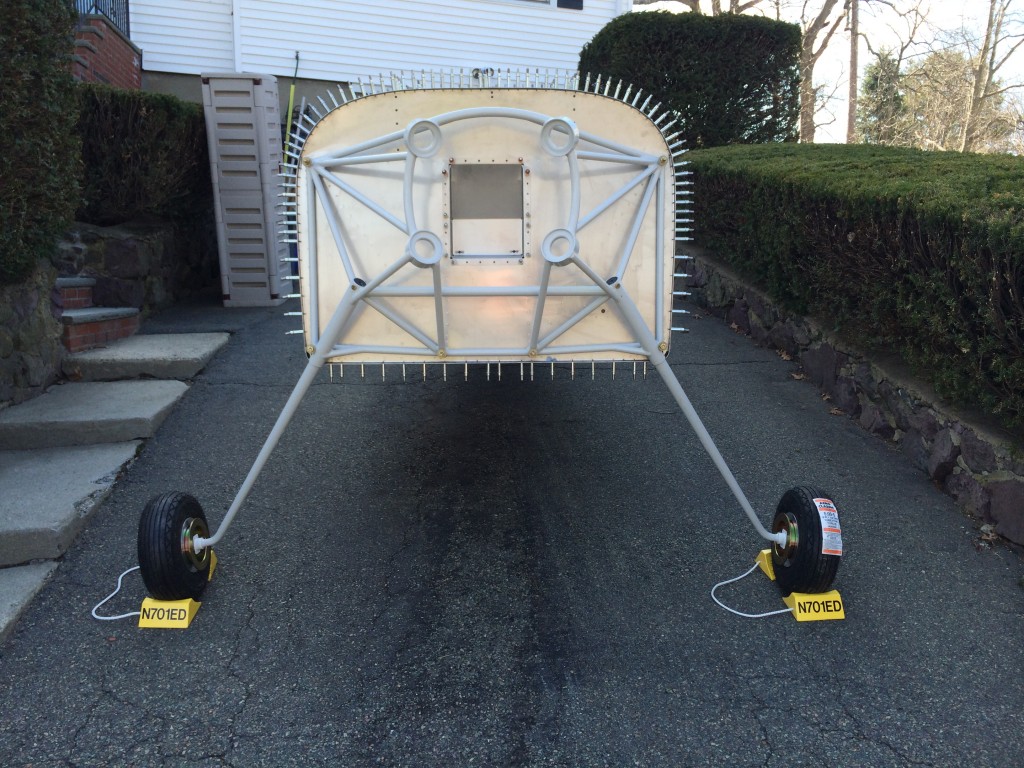
Business end forward

Looks great, don’t you think?

A long time coming

Another picture? Sure, I knew you’d want one…

2014-04-19 16.08.17This was the first opportunity to use the N701ED wheel chocks that Ellen gave me a few years ago…they look nice!

Fire, ice and grease

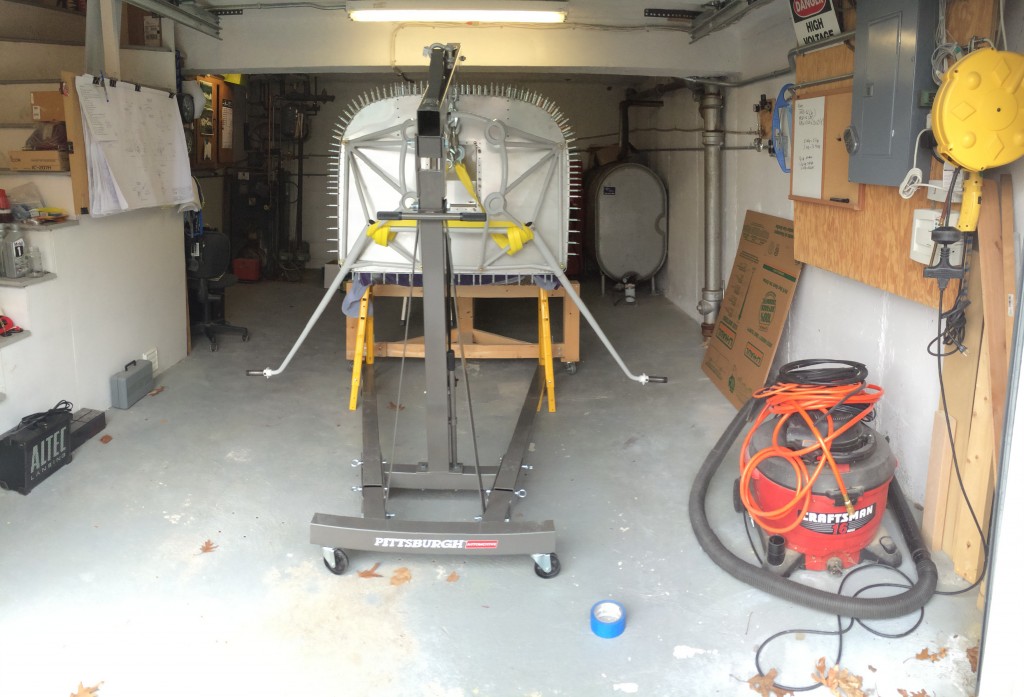
Getting the gear legs attached to the engine mount turned out to be a pain in the posterior. For some of my friends, the legs went easily into the gear sockets but I wasn’t so lucky.

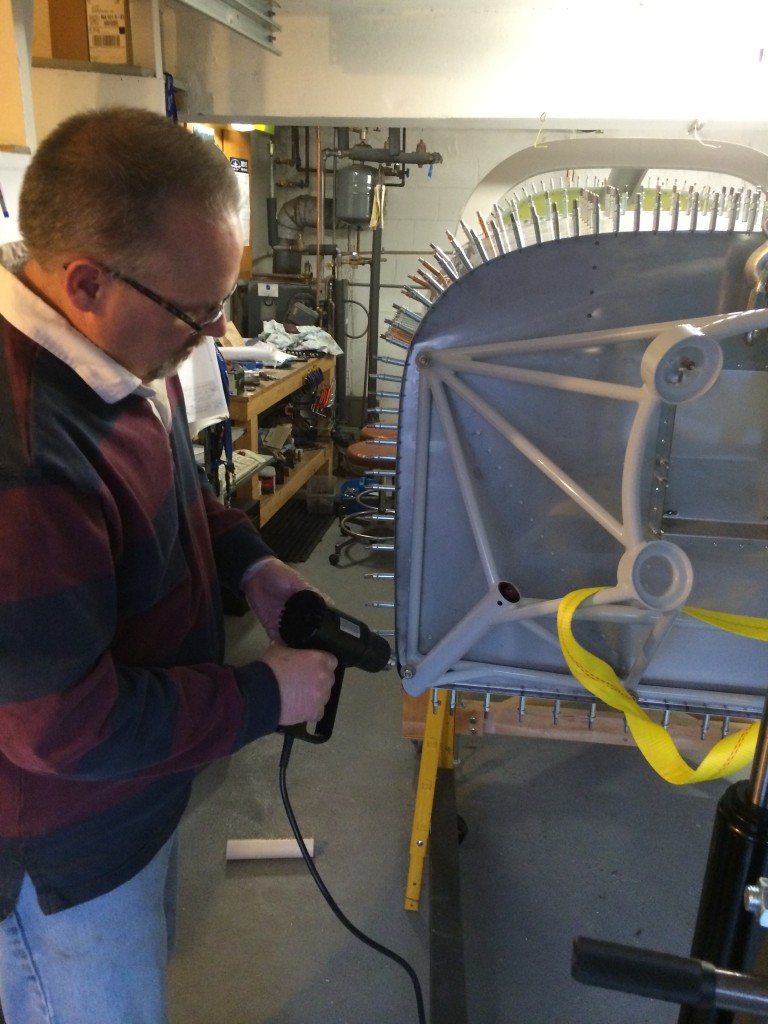
Heat Gunner

I wound up greasing the crap out of the gear legs to make them go in easier, but that only got them in part of the way. I had to get a little creative at that point – I grabbed my trusty heat gun and warmed up the gear sockets just a little to expand them.

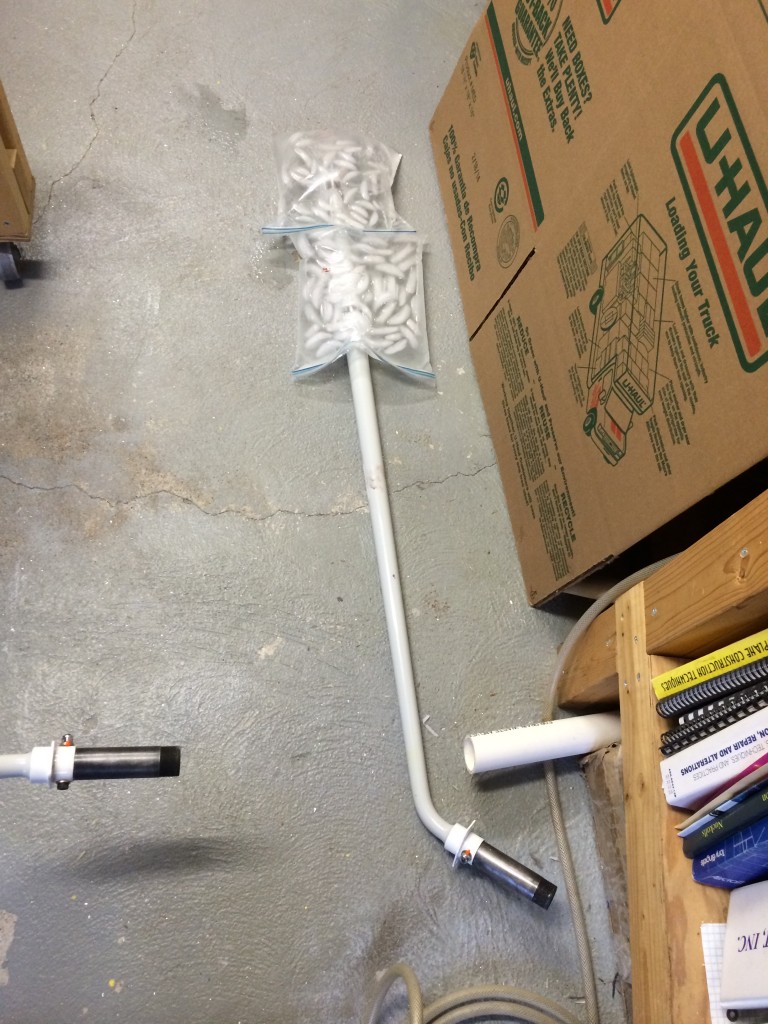
Ice bags

I also put some bags of ice on the gear legs themselves to shrink the metal ever so slightly.

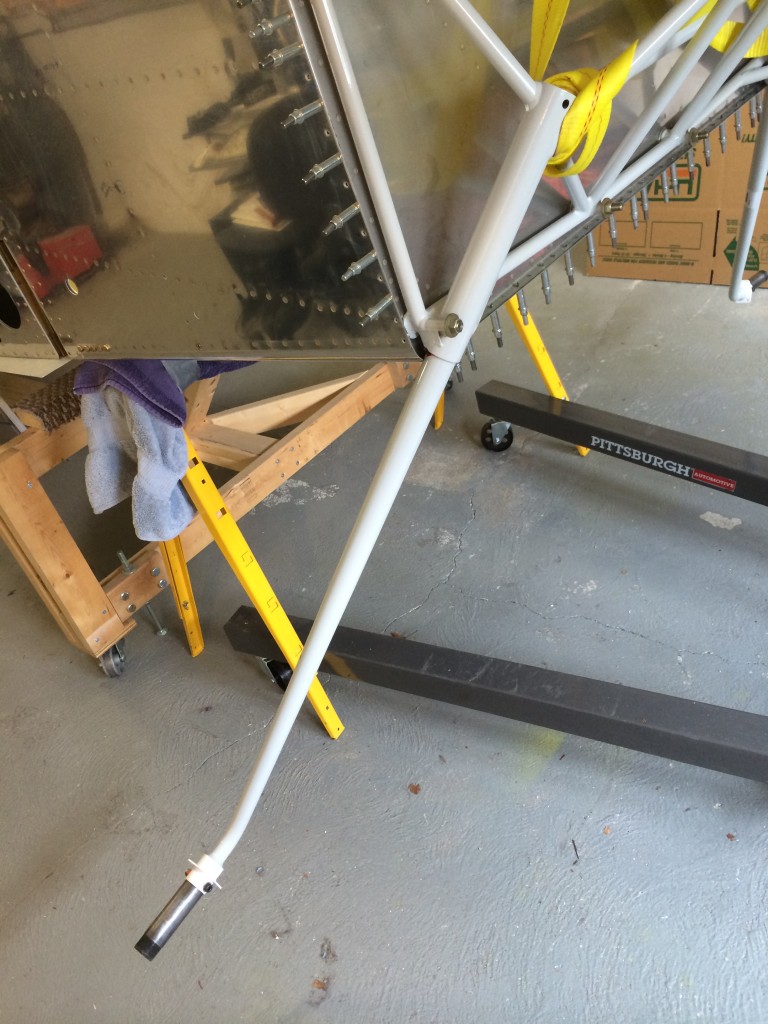
Socketed gearMy very good friend Burt also came over to help.  He kept a firm hand on the fuselage to keep it from moving while I pushed, pulled and twisted on the gear. Thanks Burt!

In the end, we got the gear legs in…but it was a lot of work.