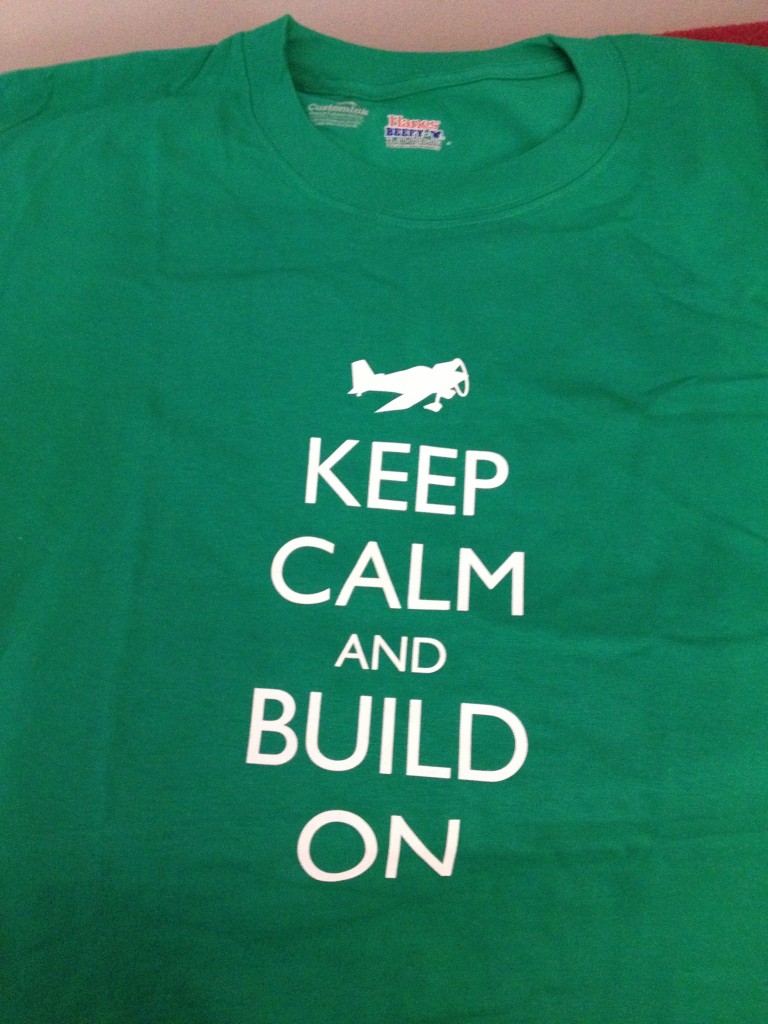
On a whim I designed this T shirt logo…not terribly original, but motivational nonetheless. CustomInk did a nice job of screen printing them at a reasonable price for a very small order.
Fun with seats
This was a busy week around the house but I still managed to keep some momentum on the airplane. The next task on the list was fabricating and installing the hinges that attach both seat backs to the cabin floor.
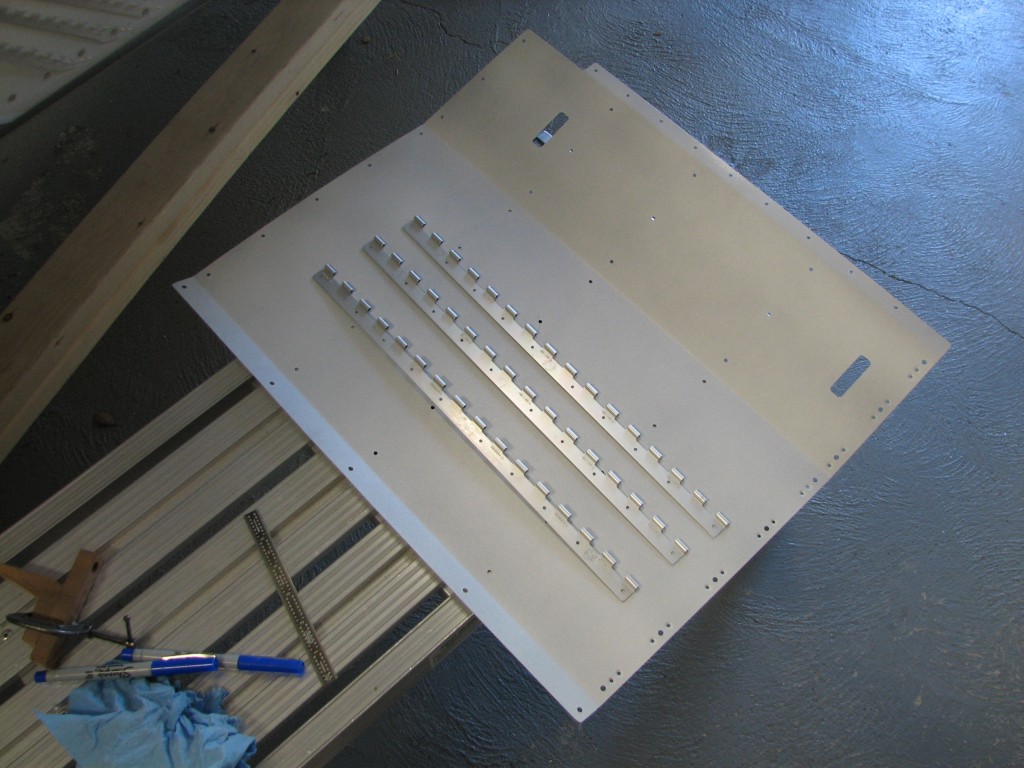
There’s not much to installing these hinges. Trimming the hinge material is trivial, and the only gotcha is to make sure the hinge spacing from the inboard seat floor edge is actually measured from the edge, and not from the center of the nutplate holes as the plans trick you into believing if you’re not careful.
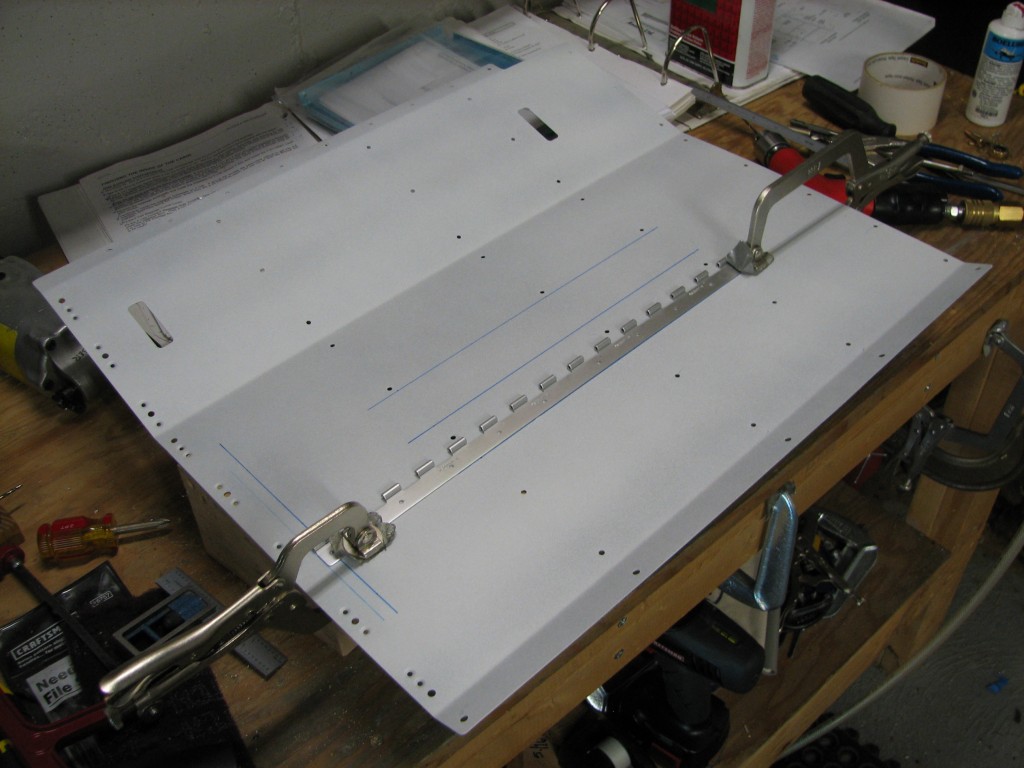
Although I didn’t take any pictures of the process, I laid out and drilled rivet holes on one hinge plate and used it as a template to match-drill the other hinges. It was easy then to clamp the hinges onto the floor and match-drill first to #40, and then final-drill to #30 for the rivets.
Only one or two of the rivets can be squeezed, and I don’t have a C-frame dimpler/riveter, so I just laid out my backrivet plate on the workbench and used it as a bucking bar as I drove the rivets from the top. Worked pretty good. The hinge material is a little on the soft side, which causes them to distort a little when riveted but I can still get a hinge pin in.
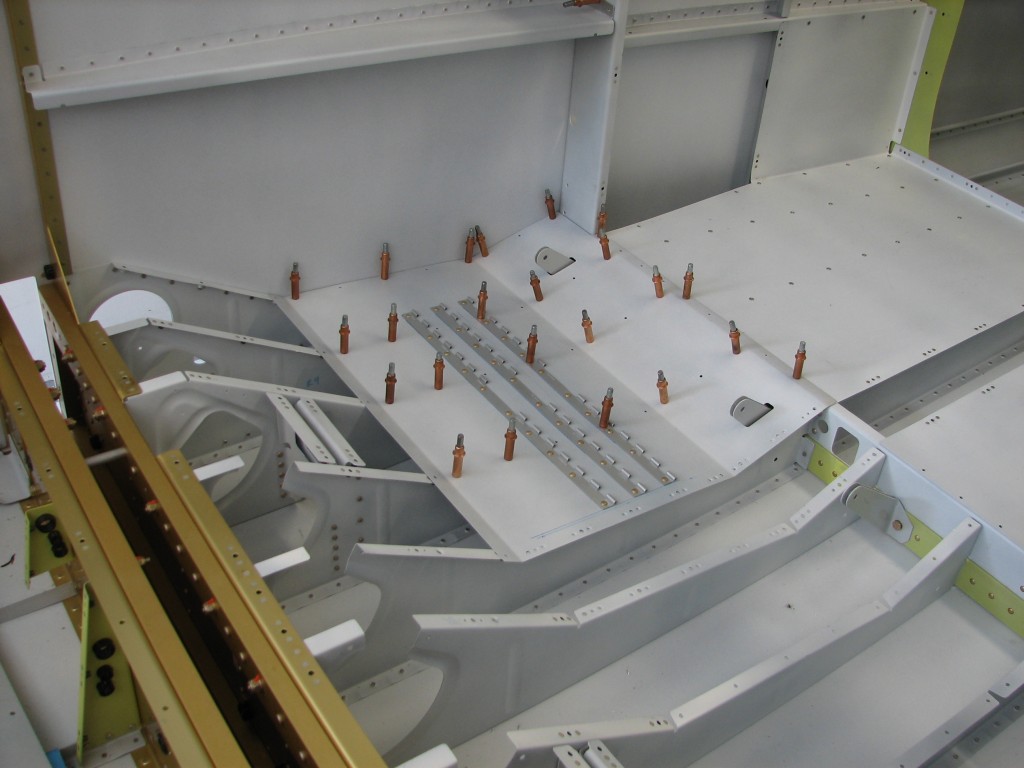 Here’s the copilot side ready to be blind-riveted to the seat ribs. The other side looks pretty much the same, except for one problem.
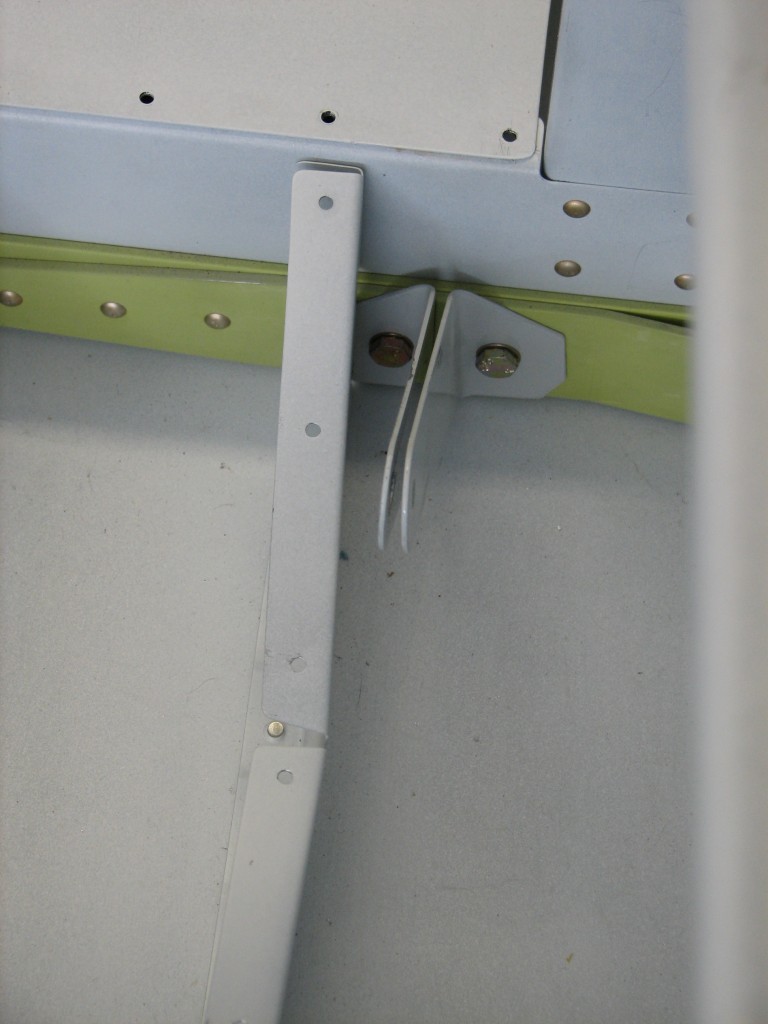 Turns out that one of the pilot’s seatbelt anchors somehow got tweaked out of alignment, and I wasn’t too keen on bashing it back into alignment with a hammer or pliers. This had to be fixed before I can blind-rivet the seat floor, which means drilling out a lot of blind rivets and hard-to-reach solid rivets…merde!
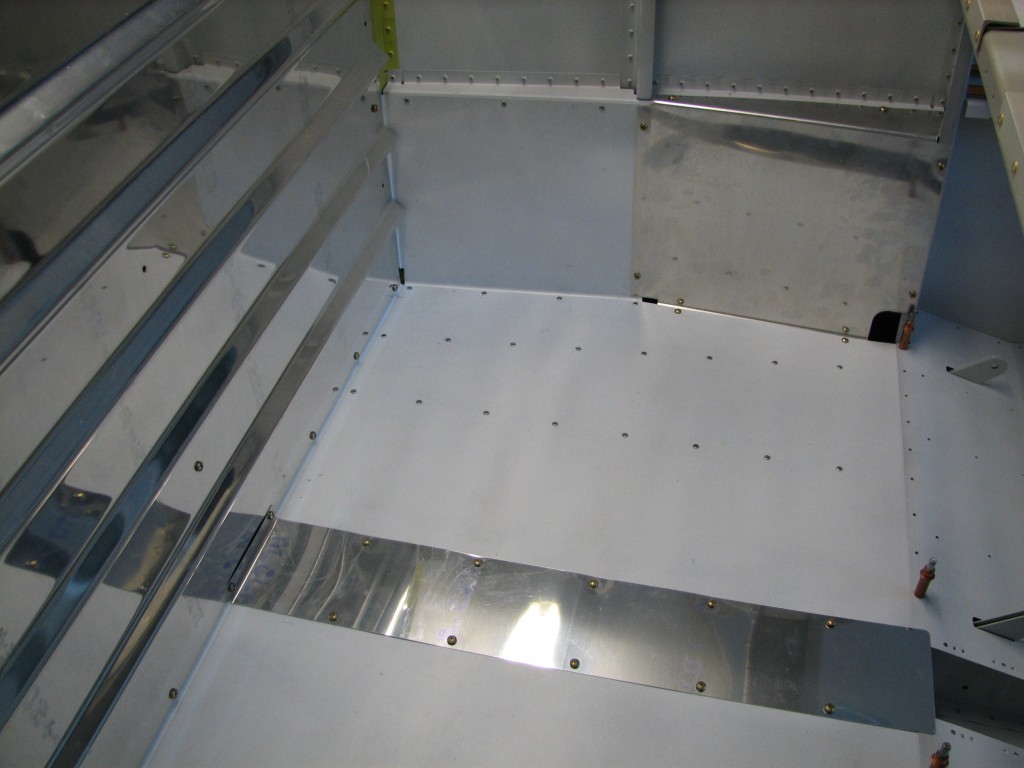
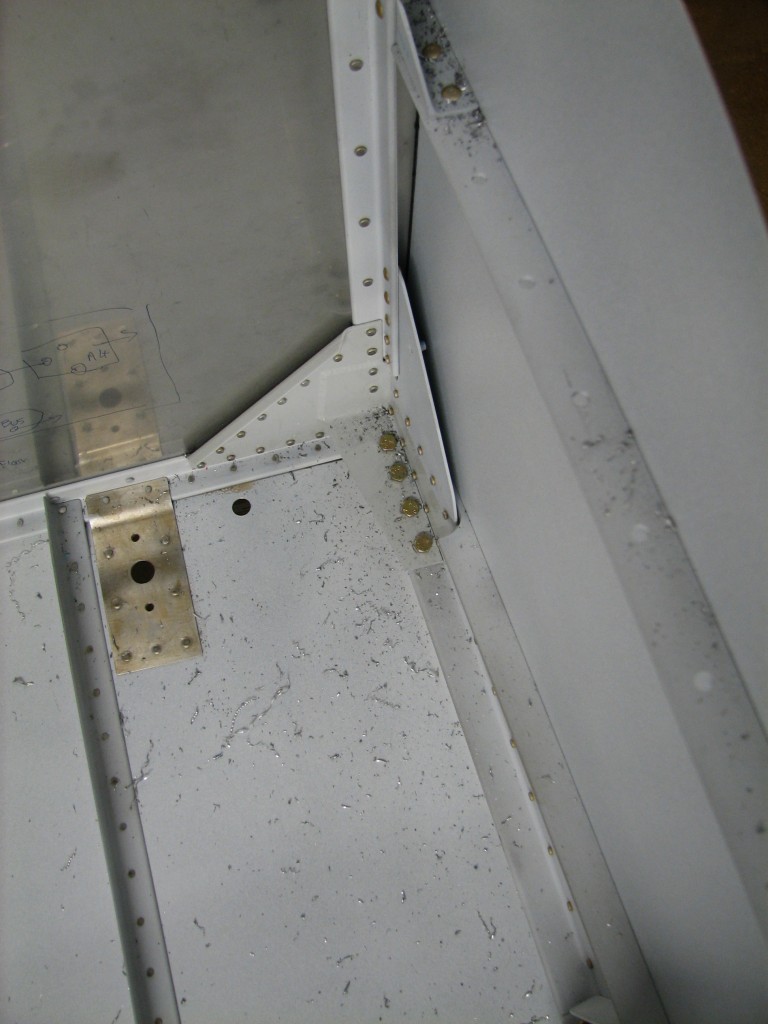
So, I spent my entire shop time on Sunday drilling out all the rivets that attach the left baggage floor, so I could yank it out for access to the anchor bolt. It took a lot of time to *very* carefully remove all the solid-riveted nutplates, because many of them were in corners or in hard-to-reach areas.
With the solid rivets and nutplates removed, I used an ATS Blind Rivet Removal Tool to drill out all the blind rivets – this gadget worked like a champ, unlike other ATS-made tools I’ve owned. The tool’s drill bit is surrounded by a spring-loaded serrated collar that applies pressure to the rivet head when the tool is pressed onto it, keeping the rivet from spinning in the hole as the drill bit does its thing. Driving out the steel mandrel from the blind rivet is essential, since it can cause the drill bit to wander as it punches through the rivet.
After cleaning up all the rivet carcasses, mandrels and shavings, I reinstalled and retorqued the offending seat belt bracket and declared success for the day. It was a lot of work, but worth it to get the job done right.
Lemonade from lemons
Thanks to the leadership of Our Elected Officials™, I won’t be working Fridays for the rest of the fiscal year (that’s the end of September for all you non-government folks) and today was the first day off. They call it a furlough, but I like to think of it as an unpaid holiday – helps me to not focus on the money we’re diverting from Whitney’s tuition to pay our bills.
But an extra day off every week will be great for progress on the RV, so there is a bit of a bright side to government incompetence.
First up today was fitting the baggage compartment tunnel cover. The fit on this part was, shall we say, crappy…I had to apply some kinetic manipulation (i.e., a block of wood and a hammer) to get the rear flange to fit correctly.
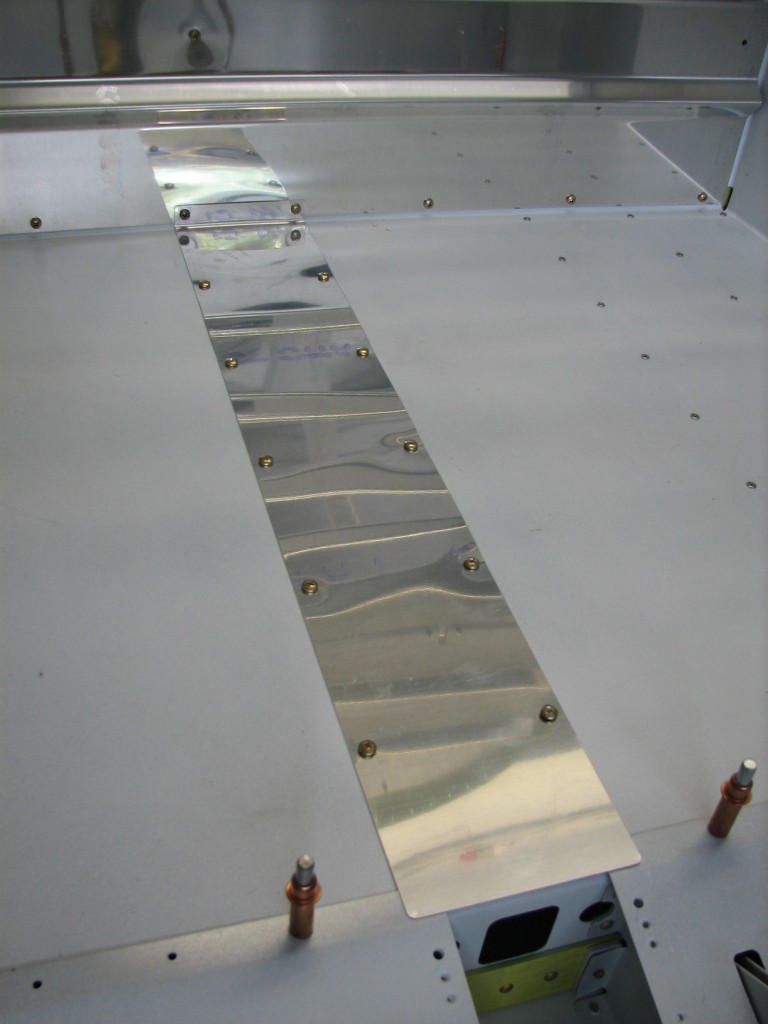 The fit still isn’t great, but I was able to get screws in all the mounting holes without enlarging them. Good enough for government work…if I had been working for the government yesterday.
With the baggage tunnel cover in place, I moved on to the baggage area flap covers which isolate the flap actuator arms from the rest of the baggage compartment. These were a piece of cake…drill holes to final size, debur, dimple the nutplate rivet holes, and attach the nutplates.
That’s the end of the baggage compartment work, it’s on to the seats.
Baggage compartment fun
I’ve had the baggage compartment bulkhead walls sitting around for several years, it was nice to finally break them out for installation. Fitting the bottom bulkhead wall is easy, there are prepunched holes that match the platenuts previously installed on the baggage floor.
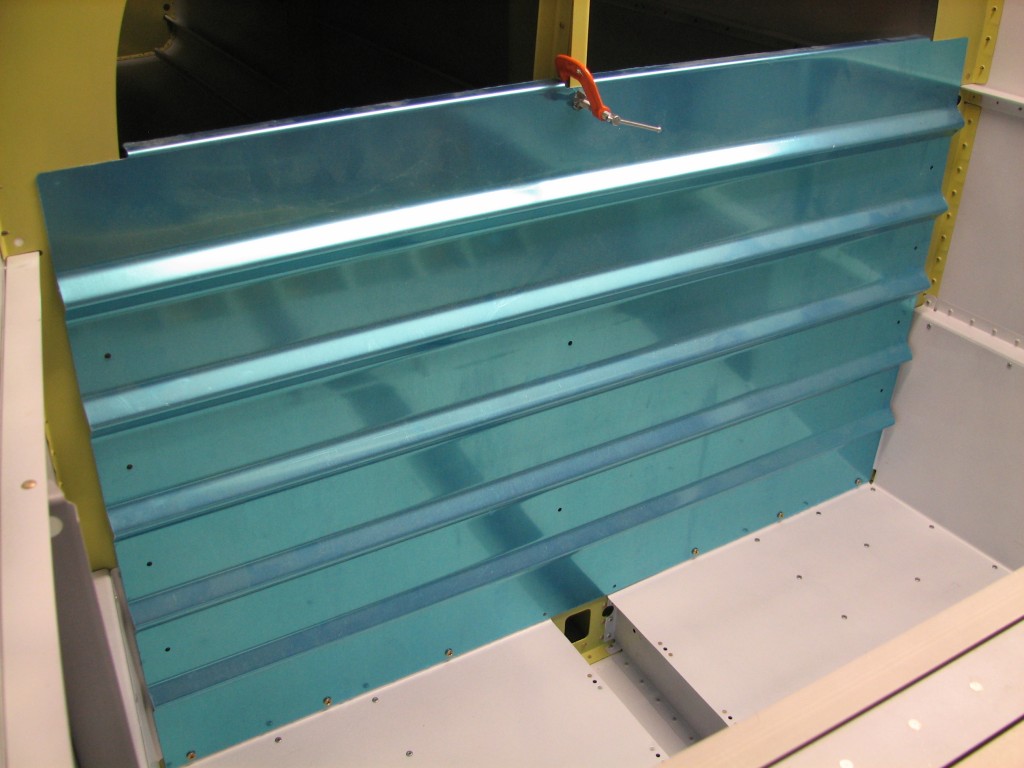 Once the wall bottom was attached with screws, I worked my way up from the bottom, match-drilling the bulkheads through prepunched holes on the sides.
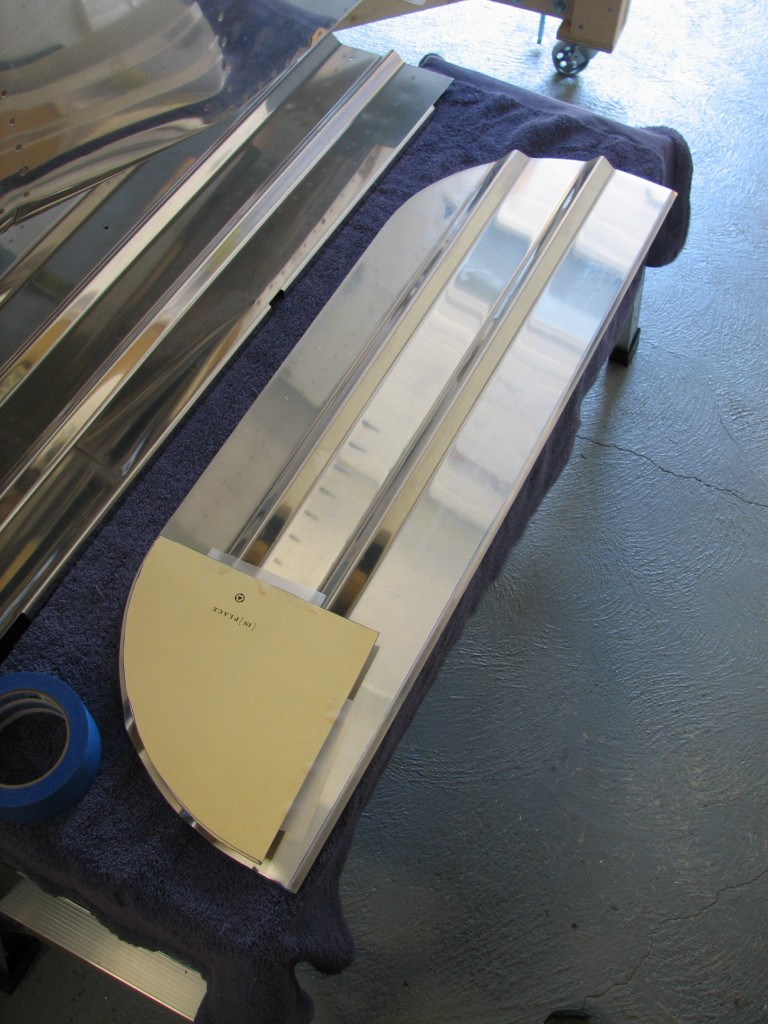
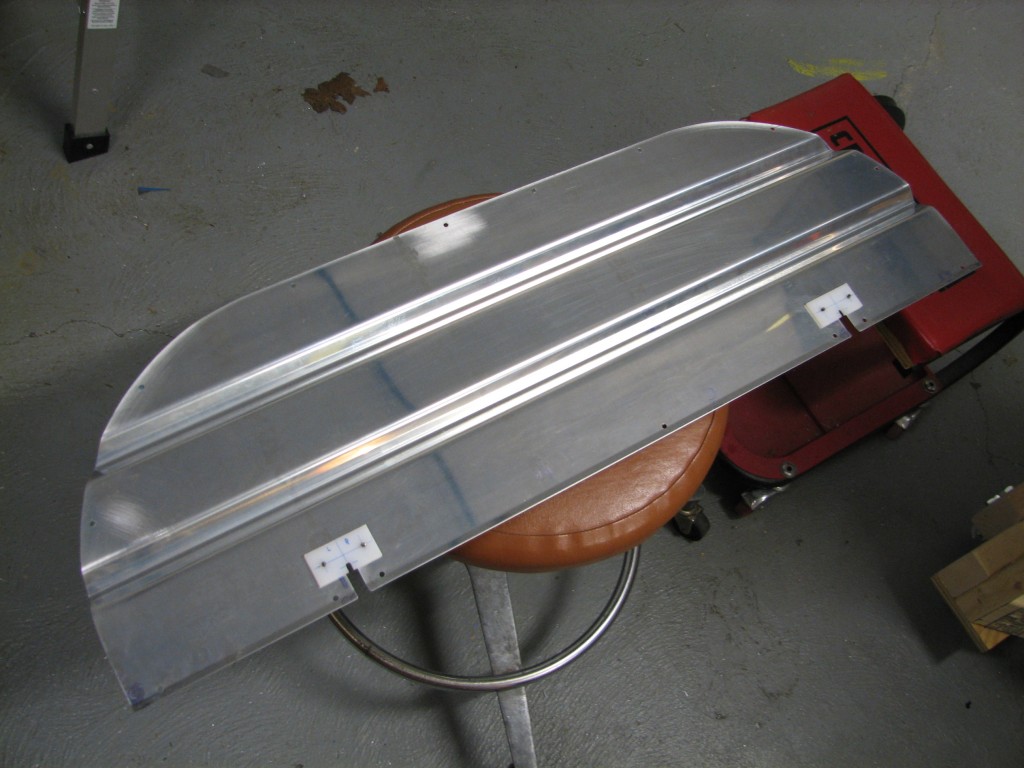
The top of the wall requires a little more work. The upper corners must be trimmed on an 8.5 inch radius, so I borrowed a tip from Mike Bullock and cut a template from stiff paper to lay out the cut line. It was a little tricky tracing and cutting through the wall’s deep corrugations, but with a little filing and trimming they look fine.
With the corners radiused, I laid out and drilled the remaining wall-to-bulkhead screw holes and match-drilled the wall to the bulkhead. Nothing too tricky here.
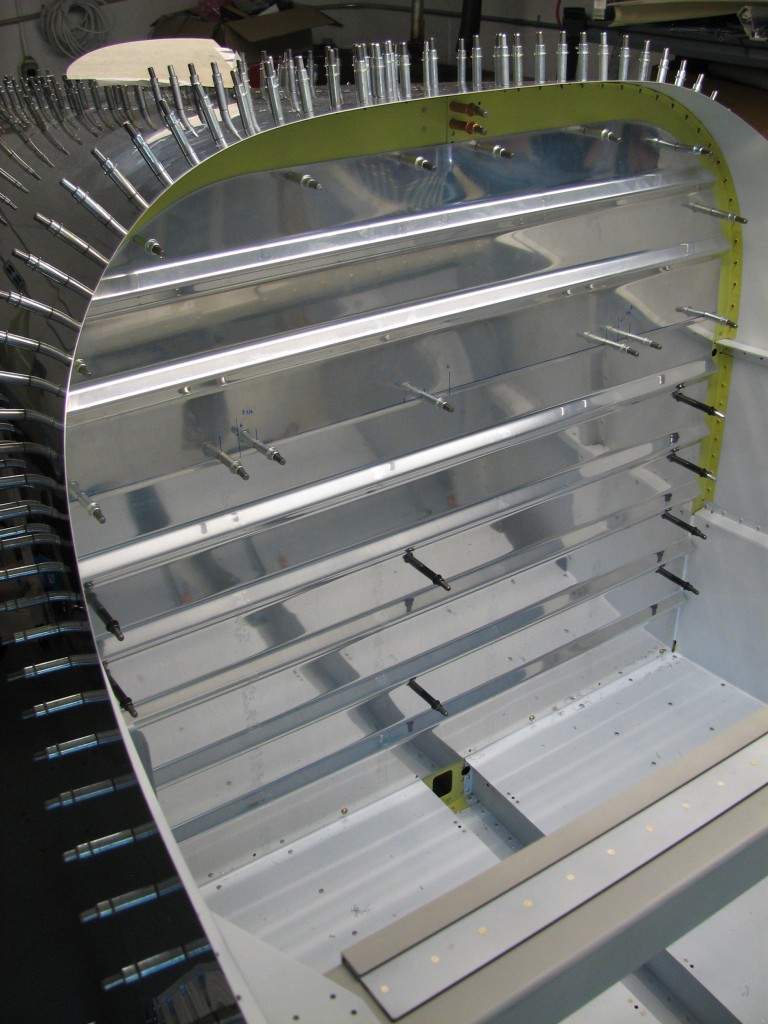 For some reason, it was pretty motivational to see this bulkhead wall in place…makes the fuselage seem more “finished.”
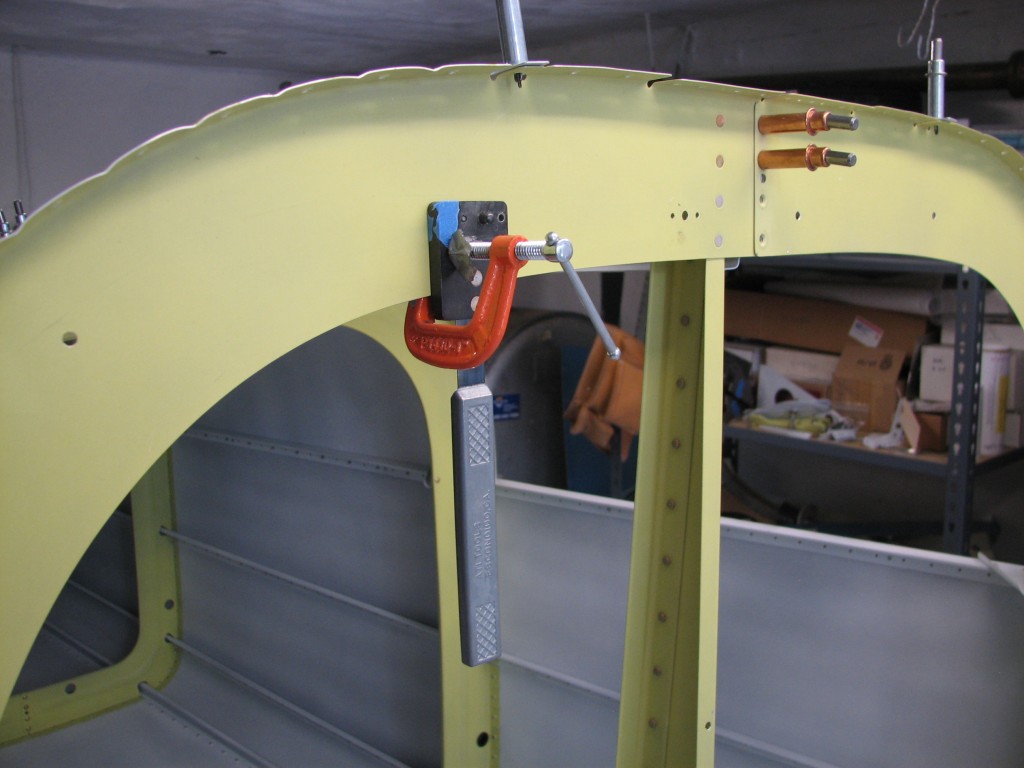 I broke out the #8 nutplate jig, drilled the bulkhead for nutplates, dimpled both the nutplates and mounting holes, and installed the nutplates.
The shoulder harness restraint cables penetrate the bulkhead well, so I laid out and cut slots for the cables. There are a couple of pieces of UHMW plastic that get fitted around these slots to provide a wear surface, so I trimmed and drilled them to the upper and lower walls.
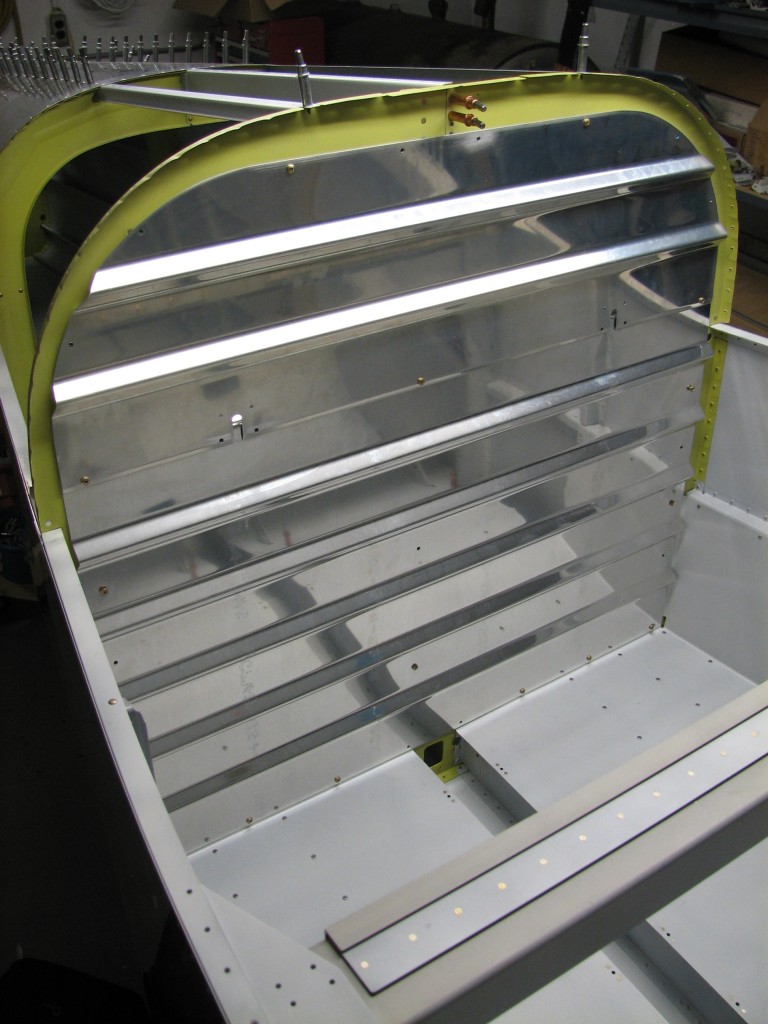 I’m saving the wear block final installation until the walls are painted. I’ll probably do that sooner than later, since we want to see how our interior color choice (JetFlex WR “Pepperdust”) looks. I can paint the wall parts, and if we don’t like the color, I can strip ’em down and find another color.
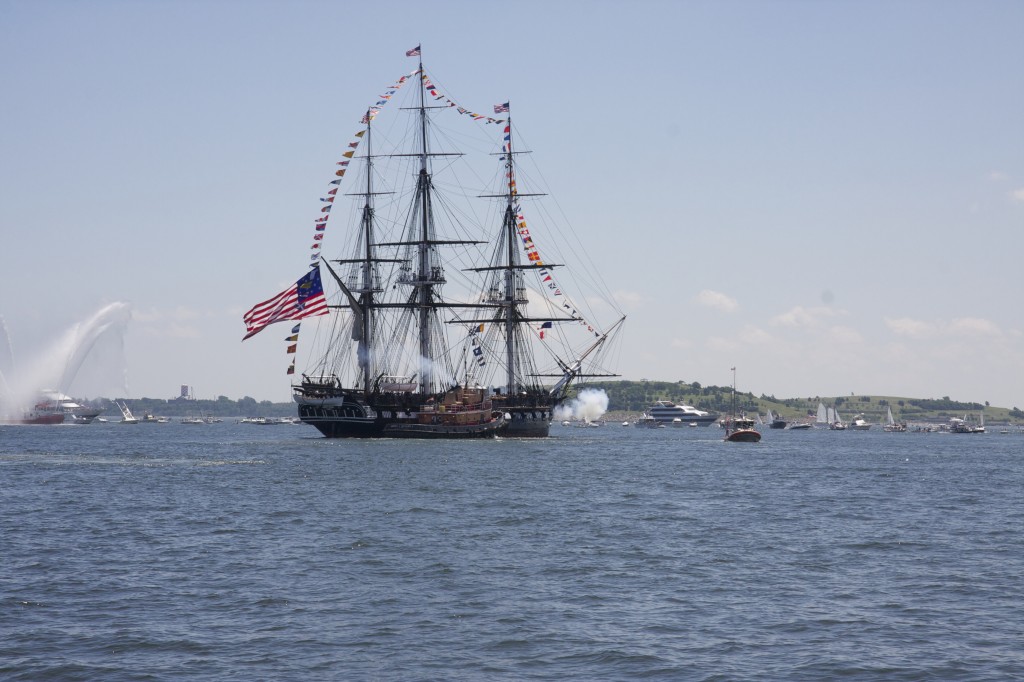
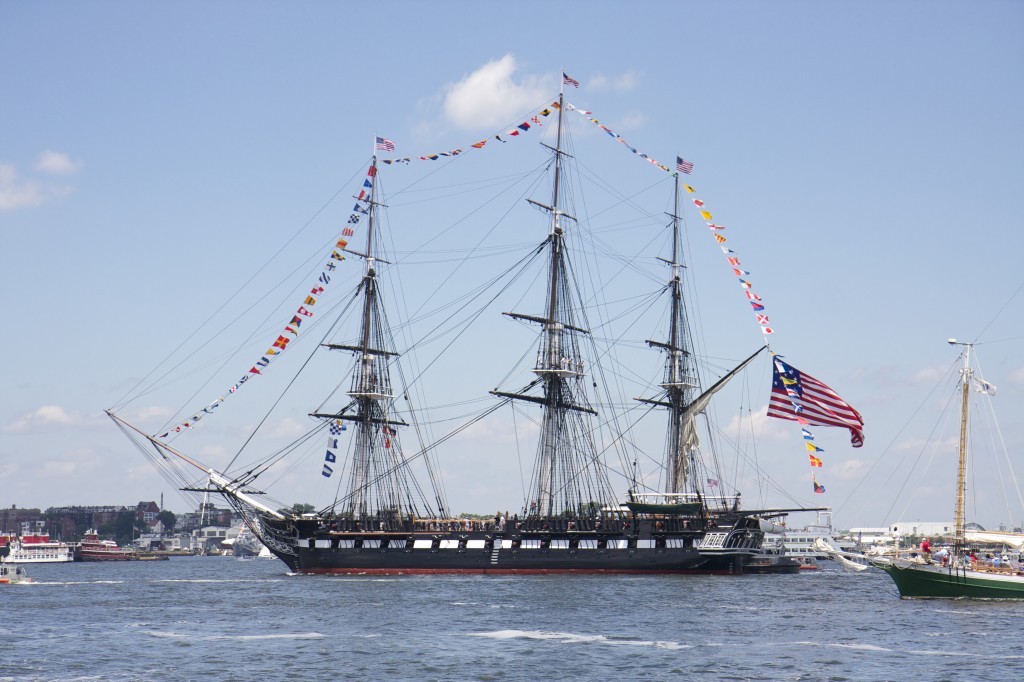
USS Constitution turn-around cruise
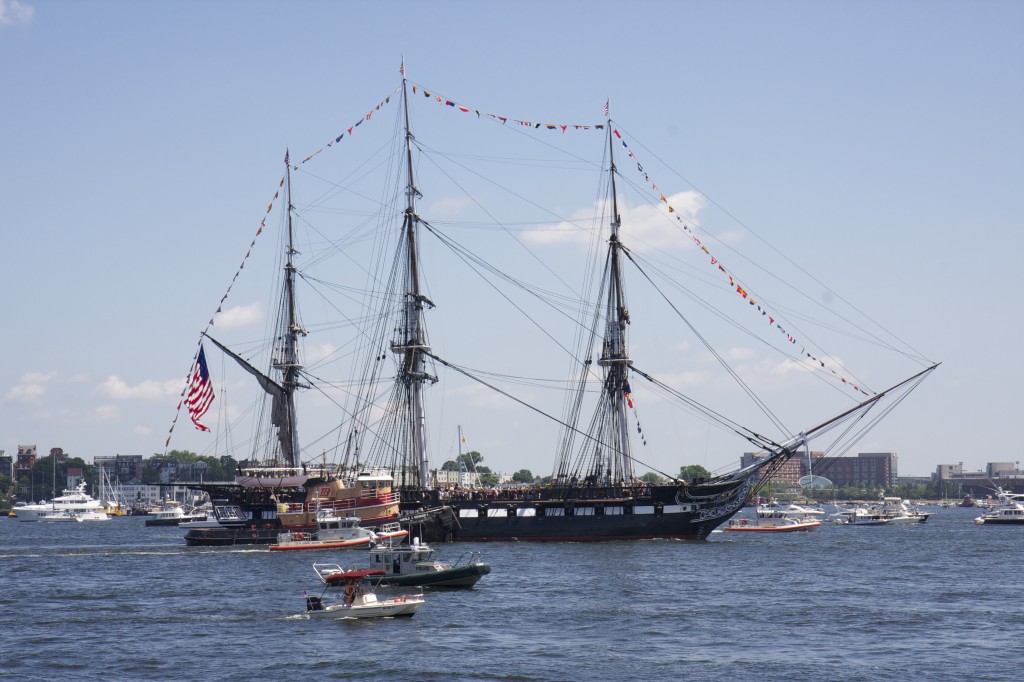
We took a little time off today to celebrate our national independence, and to watch the oldest commissioned warship in the world make one of her periodic turnaround cruises in Boston harbor.
USS Constitution (IX 21) was commissioned in 1797, and has been a museum ship since 1907. She is periodically towed into the middle harbor where she salutes, and in turn is saluted by, Fort Independence. She is then re-berthed in the opposite direction to spread the effects of weather evenly over the hull and rigging.
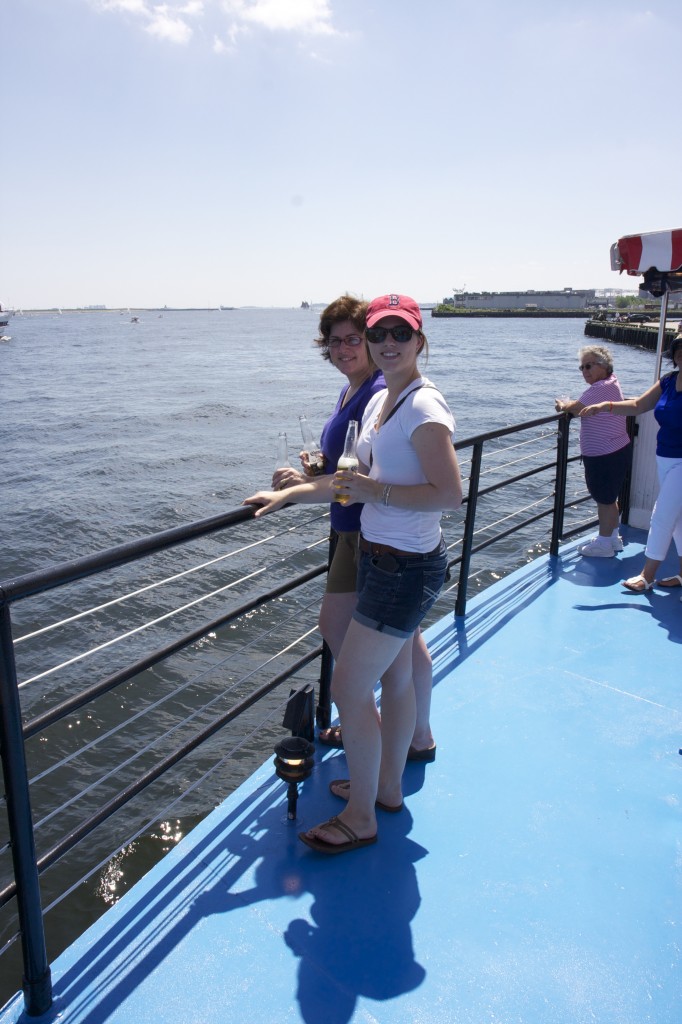
We watched the turnaround from a Boston harbor cruise boat. Fortunately, it isn’t a dry ship…a cold Corona went down well for all three of us.
Constitution hasn’t been under sail since 2012. Power for the turnaround cruise came from a tugboat. There were a lot of other vessels escorting her into the harbor.
Even from a half-mile away, the powder charges were very loud!
One final picture with the tugboat on the other side…the Constitution is a beautiful ship!
A beautiful day for a fly-in…
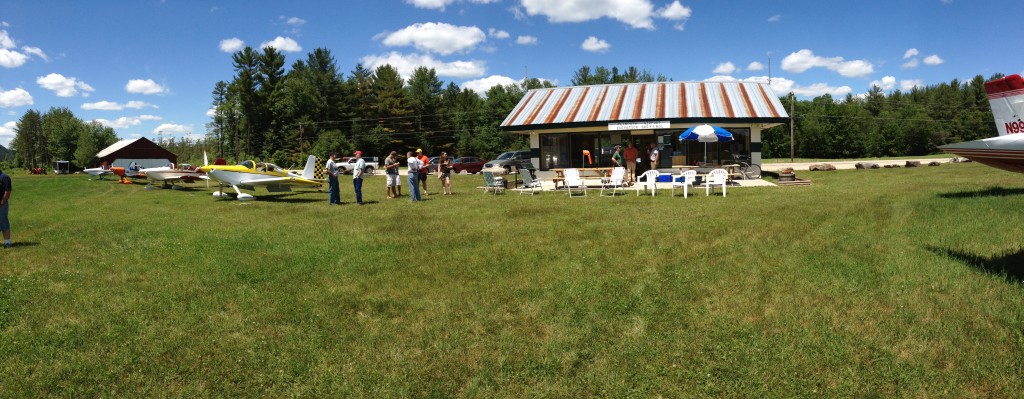
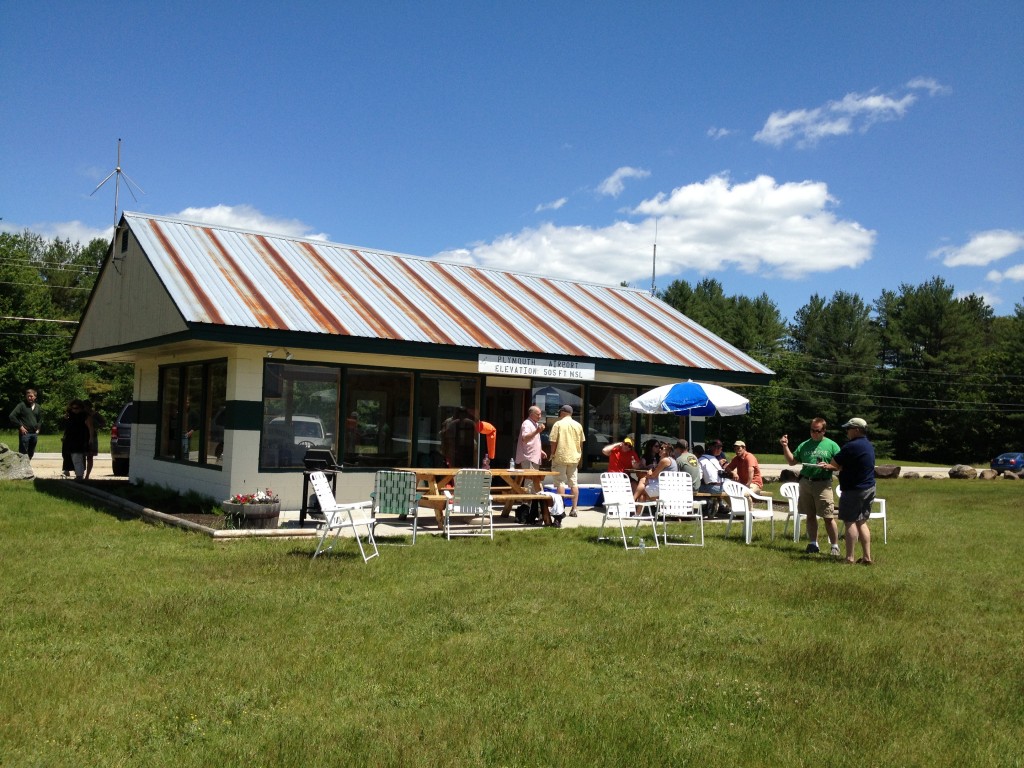
We held our second annual summer fly-in today at the Plymouth, NH Municipal Airport (1P1). 1P1 is a beautiful 2,400 foot grass strip on the edge of the White Mountains; my mother- and father-in-law live a few miles away and we’ve been flying into the airport since the days of the Mighty Archer. So when we went looking for a nice grass strip to share with our RV friends, 1P1 was a shoo-in.
We’ve had a lot of rain in the last week and I was slightly concerned that the field might be too damp for RVs, especially the nosedraggers. But there was enough wind and sun today to dry everything nicely, and the field was in good shape.
In total we had seven RVs….
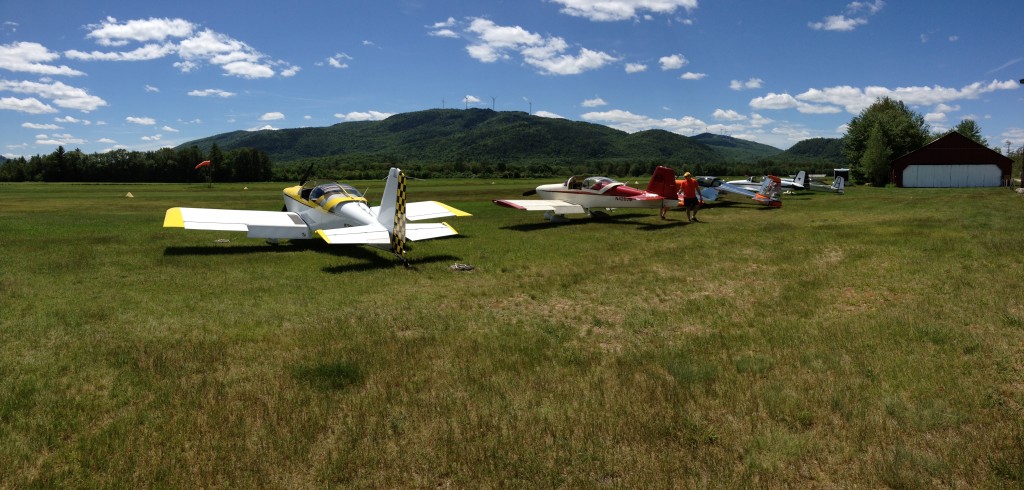 Ellen and I were too busy flinging burgers to get pictures of everyone as they arrived, but we did catch a few folks. Here’s Andy and Allison from Hartford CT/Springfield MA…
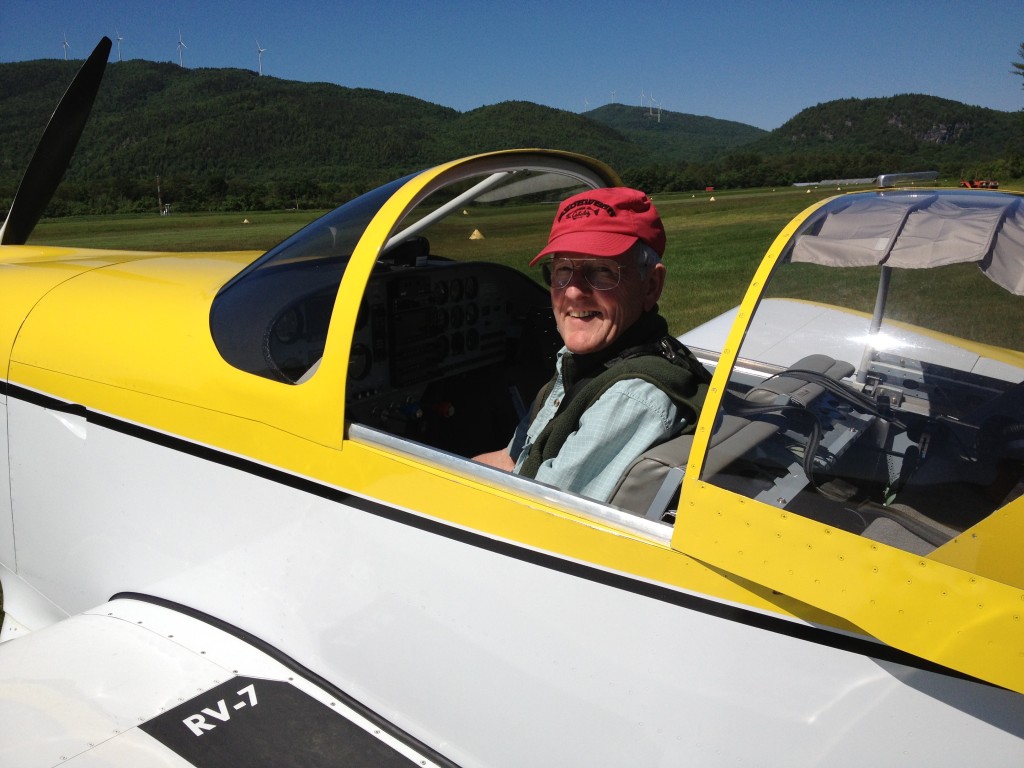
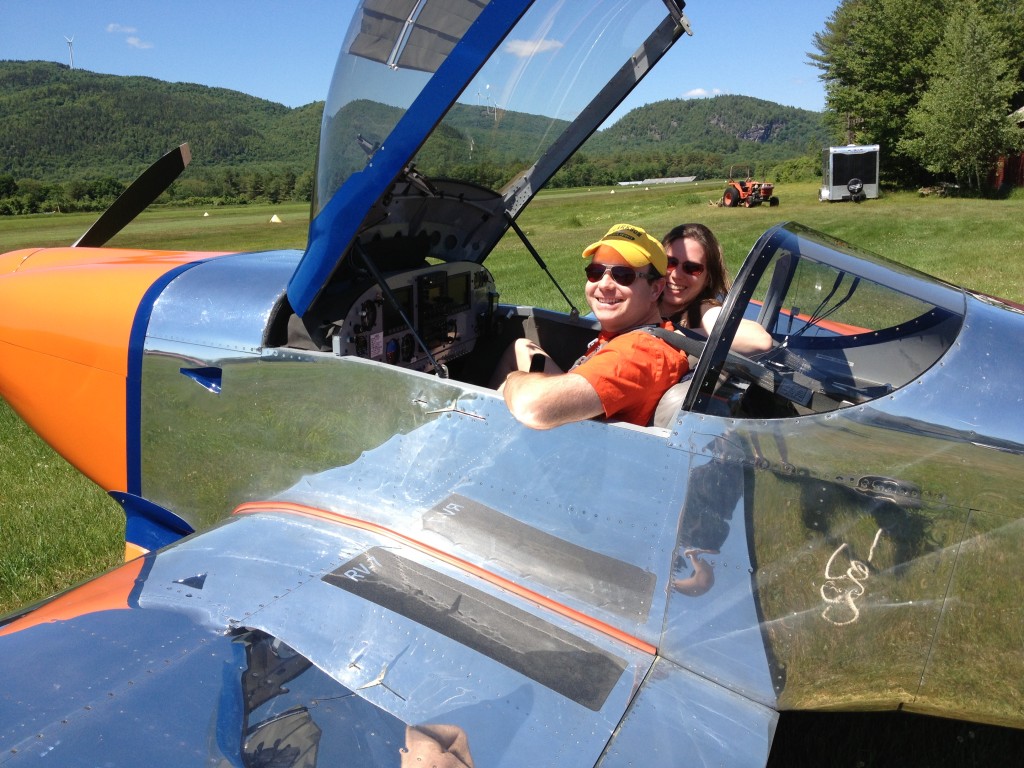 Here’s Steve from Nashua, NH in his flawless RV-7…
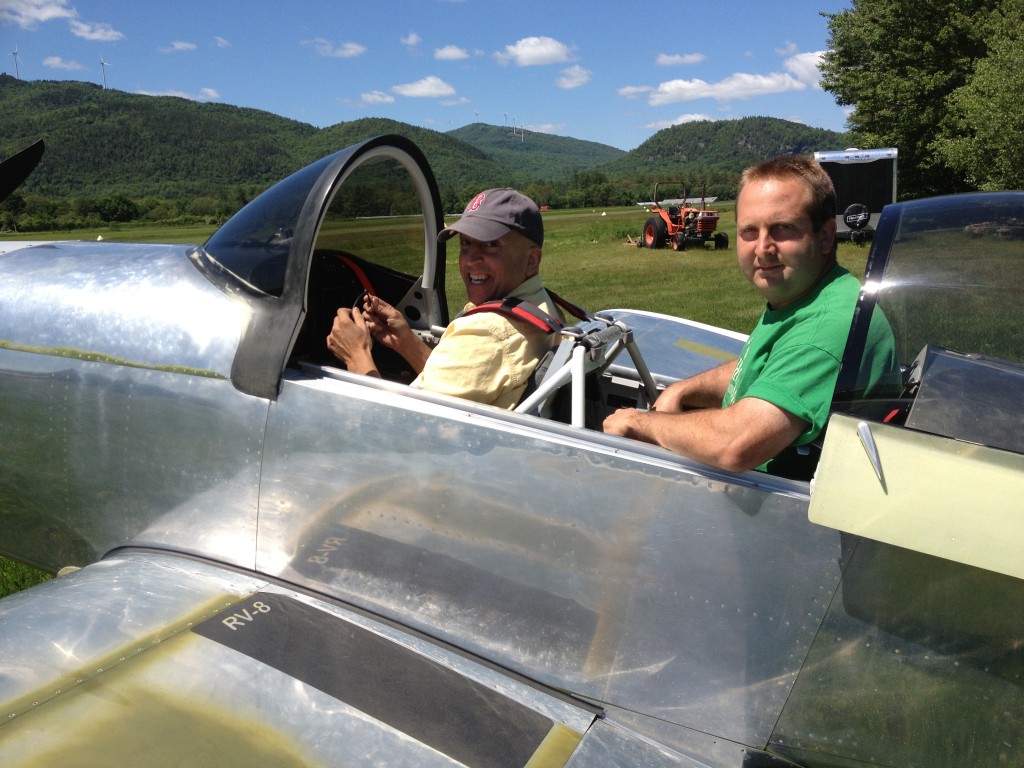
 Mike and Steve from Plymouth, MA in Mike’s soon-to-be-painted RV-8…
 …and Vlad and friend Jeff, all the way from New Jersey via Delaware…
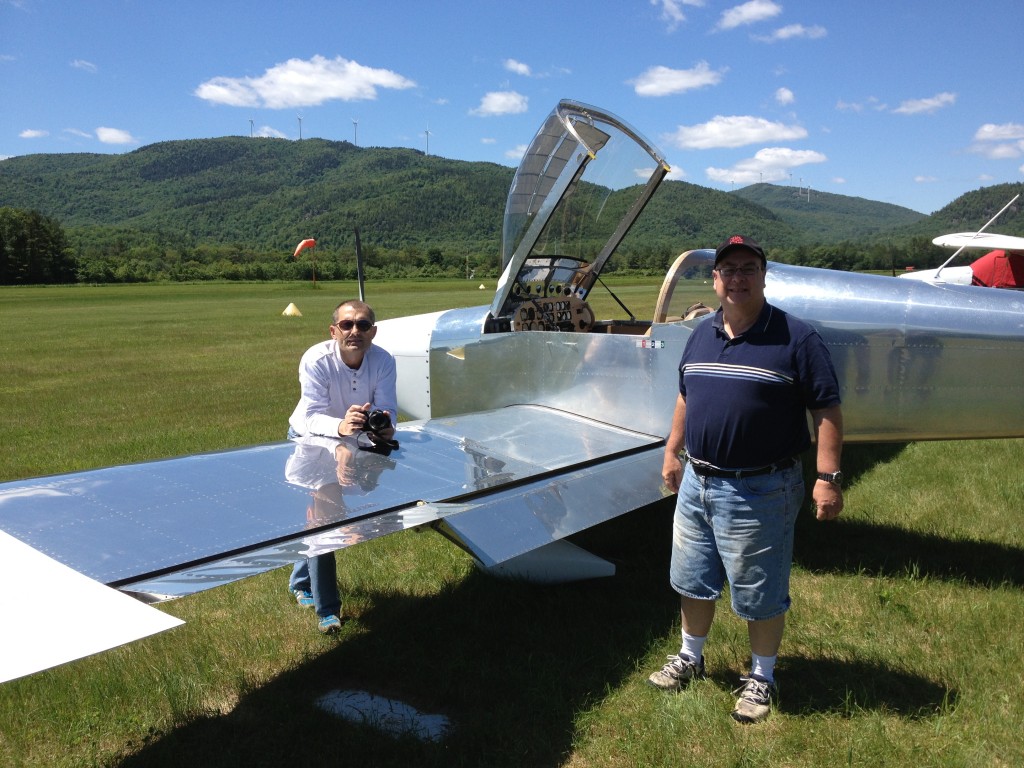 We also had Noah in his RV-7A and Dan and his wife in their RV-6A, both from Rhode Island, and Turbo Eddie joined us from Westfield, MA in his RV-6A. We had a lot of folks from the local Plymouth area as well, including my mother- and father-in-law, who graciously lent us their cooler and grill stuff for the fly-in.
Andy has a GoPro HD camera, and mounted it on his RV for the return trip. I’m looking forward to seeing the video.
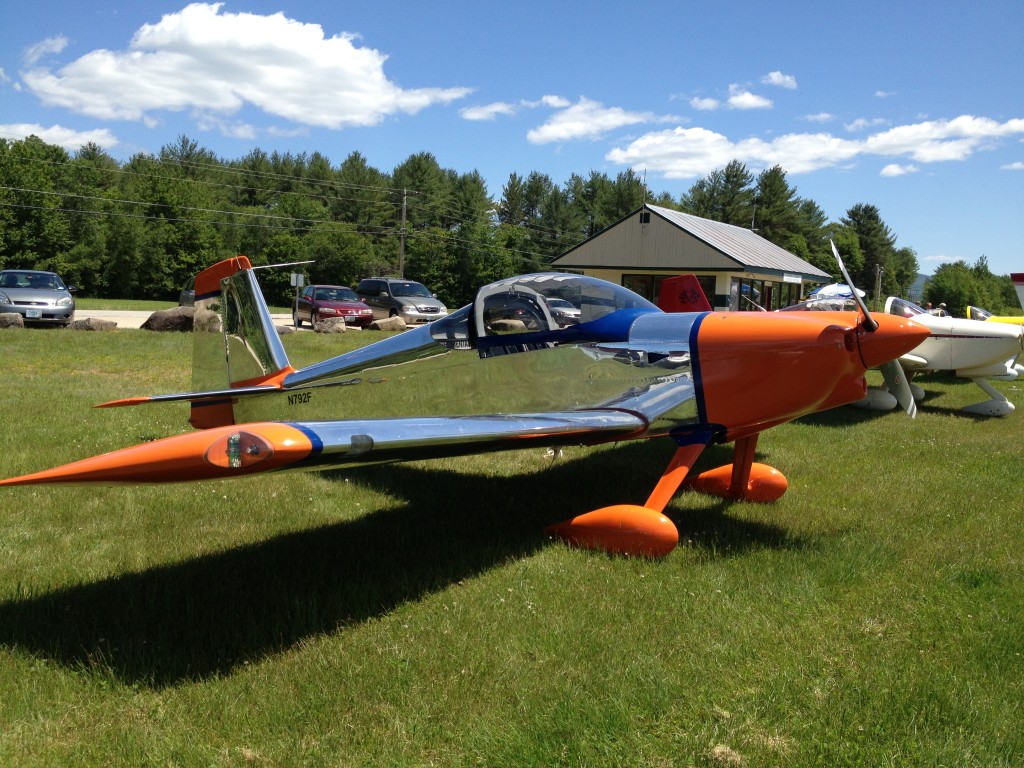
And since we’ve just received the finish kit, we decided that this would be the official first fly-in for N701ED…
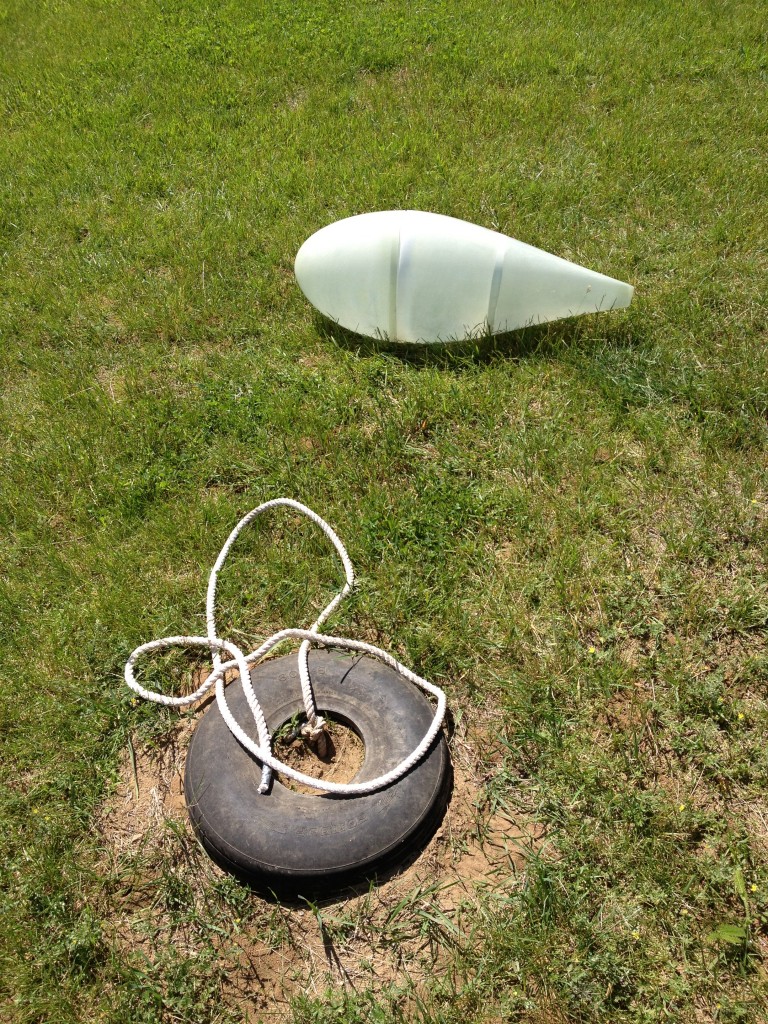 …just imagine that wheel pant being attached to a shiny new RV.
And last but certainly not least, huge thanks to Colin McIver, the Plymouth Municipal Airport manager, for letting us invade his airport for the day and mowing the runway just for us. Thanks Colin!
In the end, the fly-in was exactly what we hoped it would be – the chance to catch up with old friends and make new ones, share one of our favorite airports, and keep the motivational juices flowing on the Mighty RV. It was an awesome day…
Houston, we have a finish kit
The finish kit arrived today!
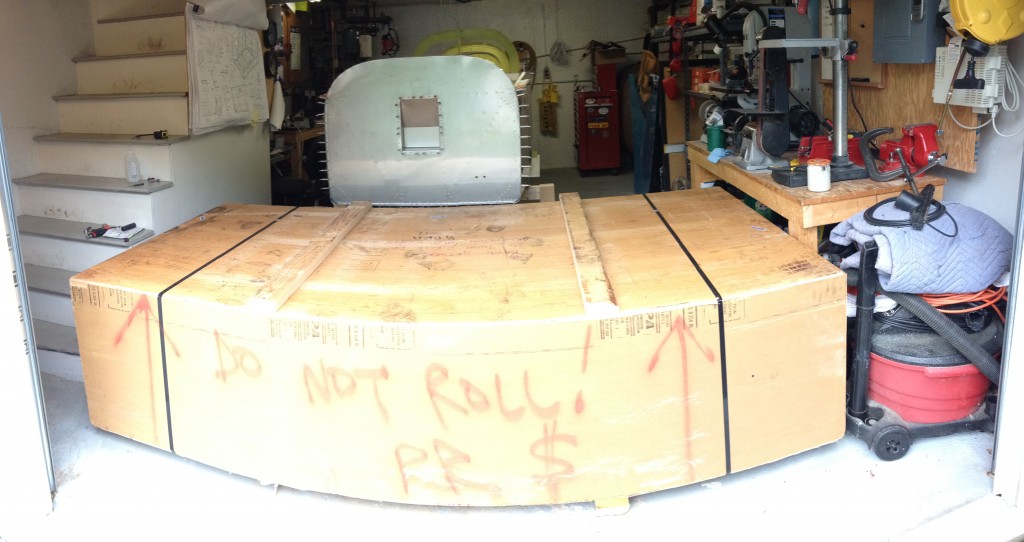 The rolling fuse stand really came in handy…I was able to push the fuse against the back of the garage and we were just barely able to get the finish kit crate into the garage with a little extra room for working around the fuse.
Steve P, I think I’m now officially ahead of you…
Dave 5-0
I had one of those milestone birthdays today, and Ellen and I had a wonderful day.
The night before, two of my co-workers snuck into my office and decorated it. Thanks Mark and Matt!
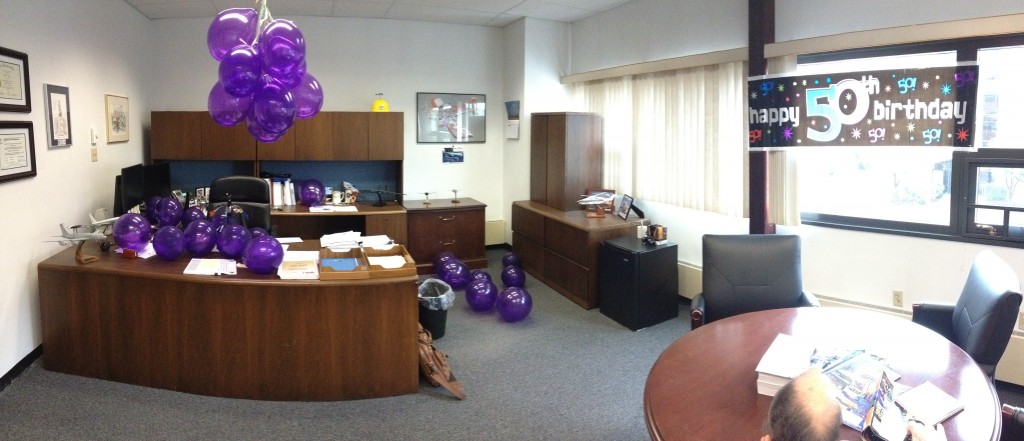 Mark also brought in a cake with black frosting. I didn’t know it was possible to make frosting black, but somehow Mark found a bakery that did it. All I do know is that black frosting turns everything going through your lower digestive tract a bright shade of green, if you know what I mean, which was a bit of a shock on Thursday morning.
Parts is parts
There’s not much to report this week. My wife spent two long sessions in the ER dealing with kidney stones, and everything else took a back seat to helping her. According to the ER doc, kidney stones cause the worst pain a person can experience and after seeing how much pain Ellen was in, I believe him.
Things were a bit more stable over the weekend. I had some time yesterday to deburr all the little gussets and parts I had previously drilled, and after a very nice Mother’s Day lunch this morning with Ellen at our favorite airport restaurant – Nancy’s Airfield Cafe at 6B6/Stow MA airport – I primed all the parts that needed it.
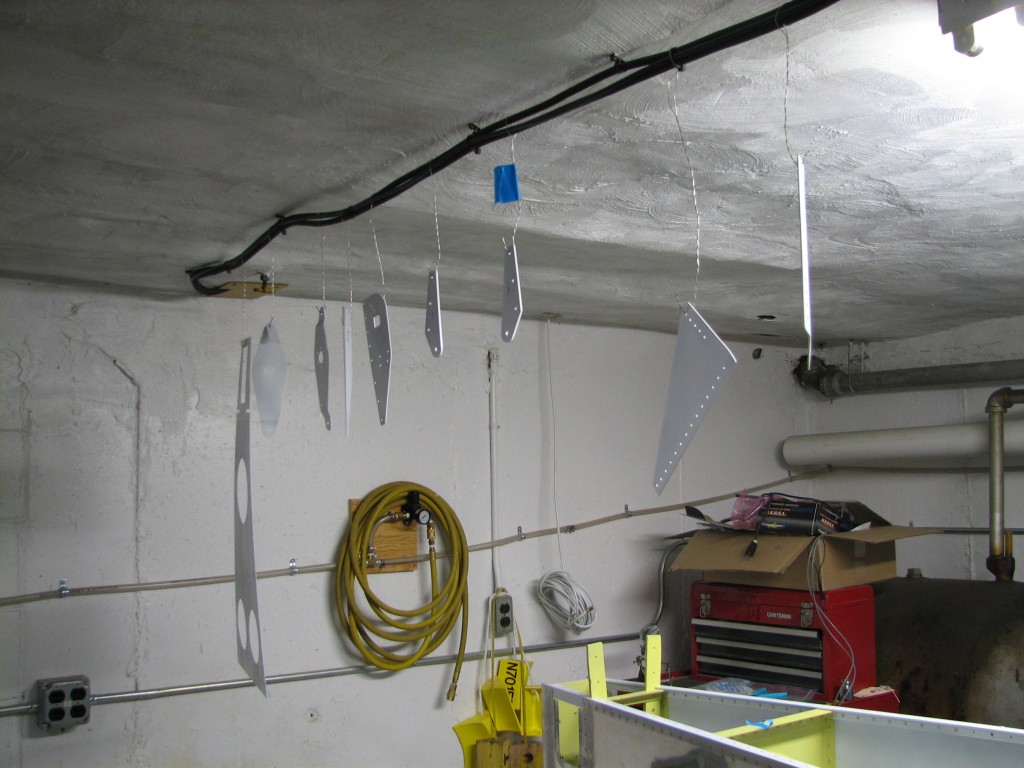 The primer takes a day or so to completely cure, so they’ll be ready for riveting after work tomorrow. I still have some deburring to do on the longerons, however, and I’ll need a couple of extra hands for riveting some of these parts.
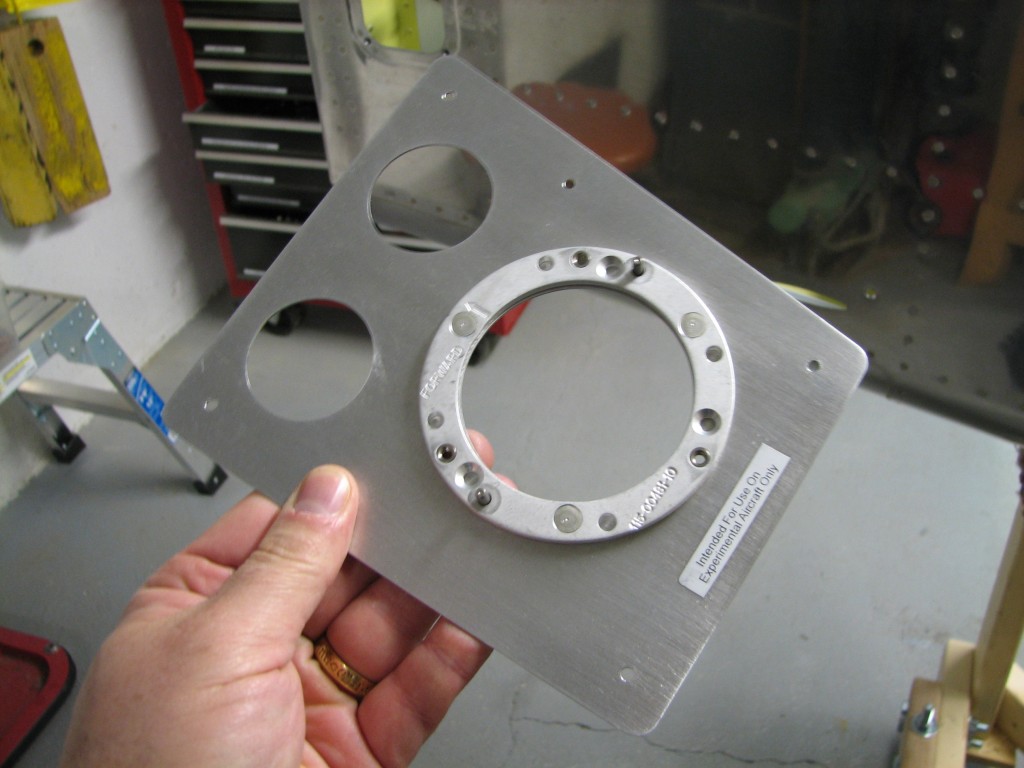
I also riveted a mounting ring on the Garmin magnetometer mounting bracket mentioned in the last post. The alignment pins and screw holes ensure that the magnetometer is correctly oriented to the fuselage, and it’s a lot easier to rivet this now while the bracket isn’t attached to the rear deck.
Nothing to it but to do it…
“There’s nothing to it but to do it”…that’s what my good friend Captain John says whenever he’s confronted with a seemingly difficult task on his RV-7 project. I don’t have any really difficult tasks brewing right now, but there are a few things in the last week that required a little braining out and that’s when I tend to overanalyze things and make them more difficult than they really are. Today’s post is an example.
There are a couple of longeron-to-firewall gussets on the forward fuse that are actually leftover parts from the RV-6. Because of that, they don’t fit precisely on the RV-7 and require some tweaking to fit.
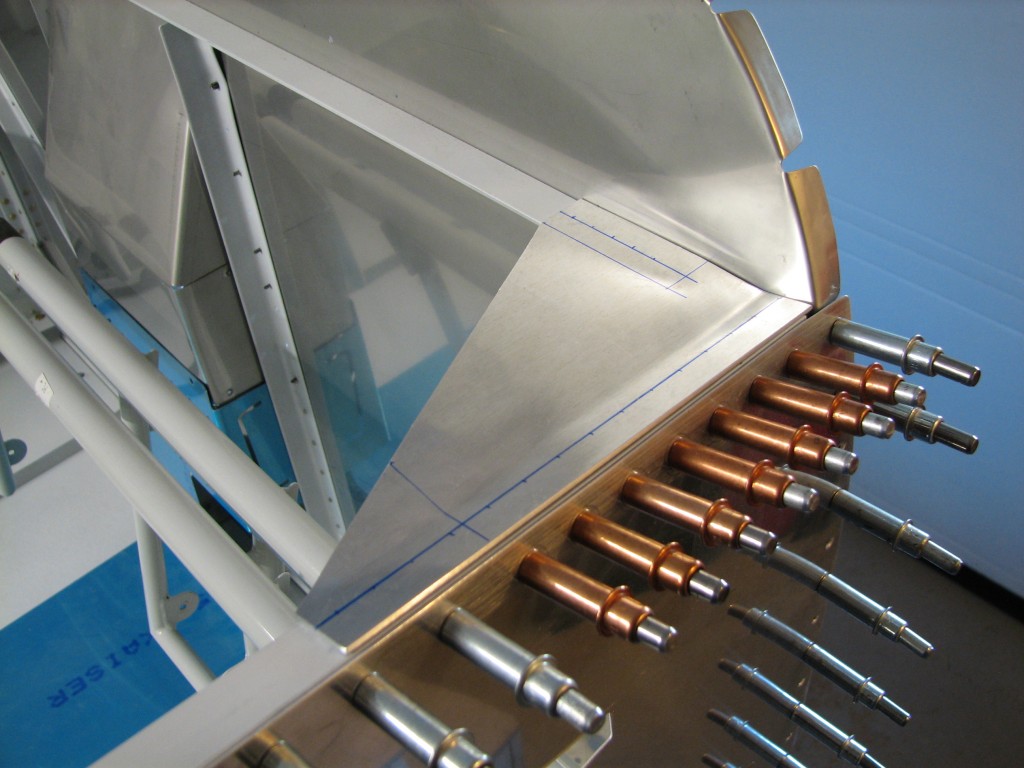 The F-695 gussets tie together the longerons, upper firewall weldments and firewall stiffener, so they have to fit against three surfaces *and* also maintain proper 2D edge distance on the firewall and longeron rivets. As delivered the gusset doesn’t fit flush against the firewall, which would compromise edge distance on the forward rivets in the firewall stiffener. So after consulting with Vans I removed a very small amount of the gusset’s forward edge to make it fit flush.
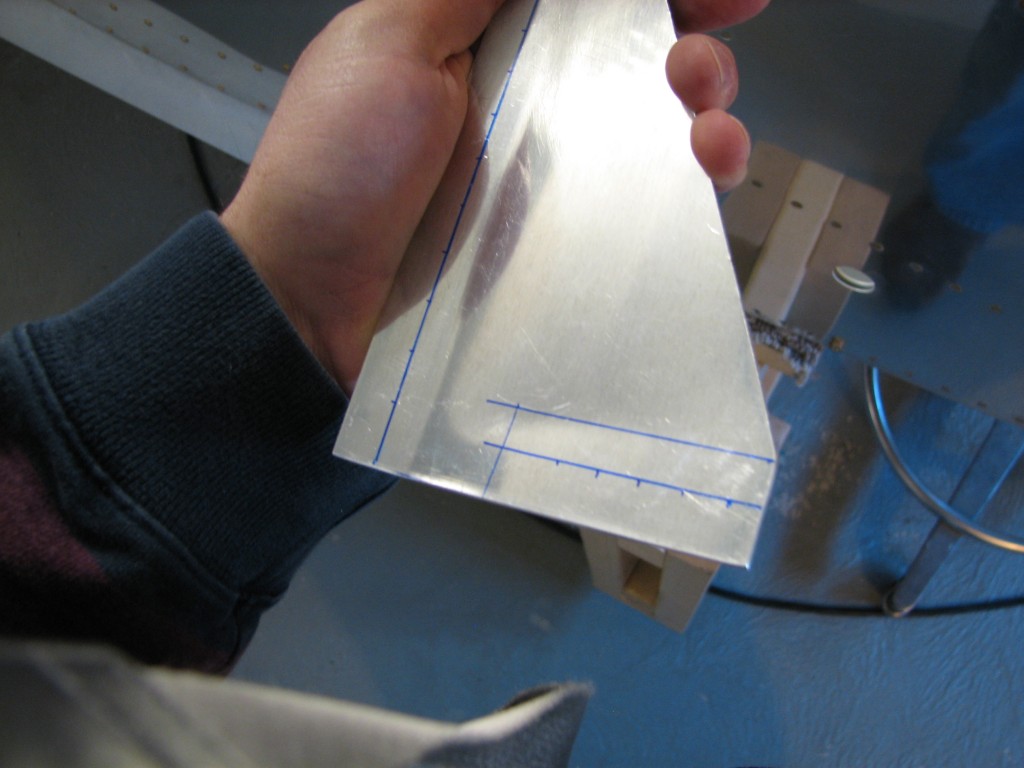 I also had to put a slight upward bend in the forward edge (the bottom edge in this picture) to get it to lay flush on the firewall stiffener. I also laid out the rivet holes not quite per the plans; because the gusset is a few 32nds shorter, the fore-aft rivet spacing had to be adjusted a little.
I pilot-drilled the holes to #40, clamped the gussets in place, then enlarged the holes to #30.
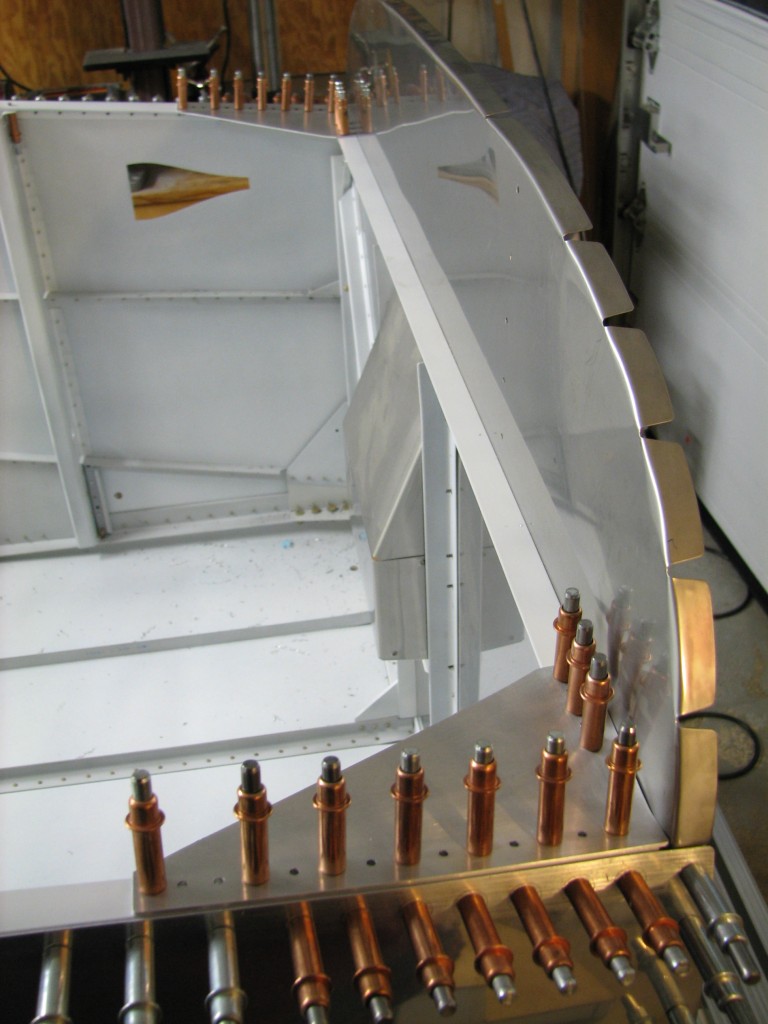 And they’re done, nothing left but to debur, prime and rivet. See what I mean about the overanalyzing comment?
The only downside to all this effort is that I made a big freakin’ mess in the forward floor…
I’ve pretty much committed to installing Garmin’s G3X EFIS system as my primary flight instrumentation. Trying to get ahead of the avionics installation game, I bought a mounting bracket for the G3X magnetometer – basically an electronic compass – so I could install the bracket on the aft deck before riveting it in place. Garmin makes this bracket specifically for the RV-7/9 and has excellent instructions for aligning and installing it.
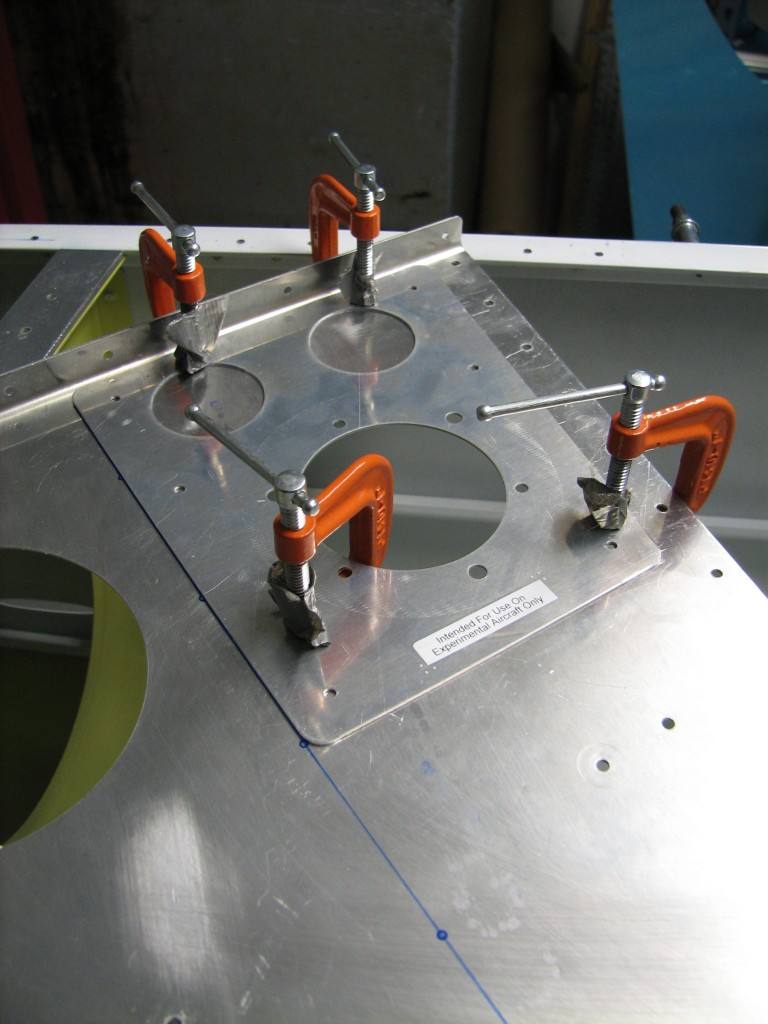 The bracket is easy to install – only six rivets – but it’s important to get it aligned closely with the aircraft centerline, otherwise the compass will have a built-in heading error. So I laid out a very precise centerline on the aft deck, clamped the mounting bracket in place against the forward flange, and match-drilled it…very easy.
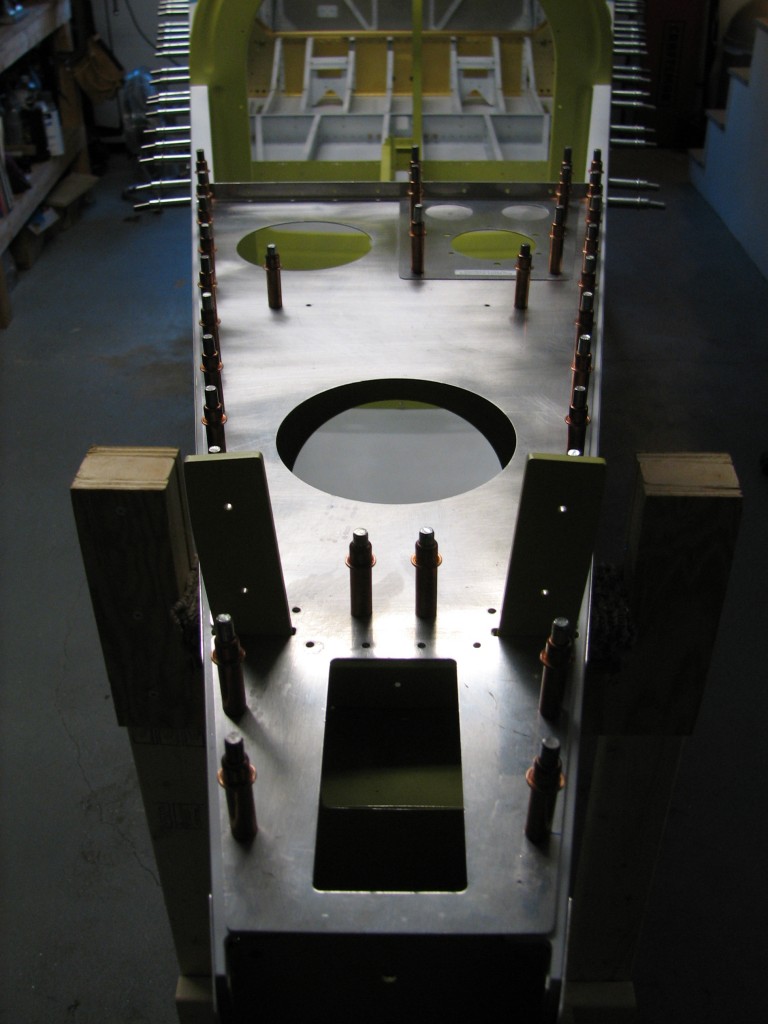 There’s nothing left to do but debur, prime and rivet all the bits-and-pieces parts I’ve fitted over the last couple of weeks. I hope the Boston weather cooperates with priming…

