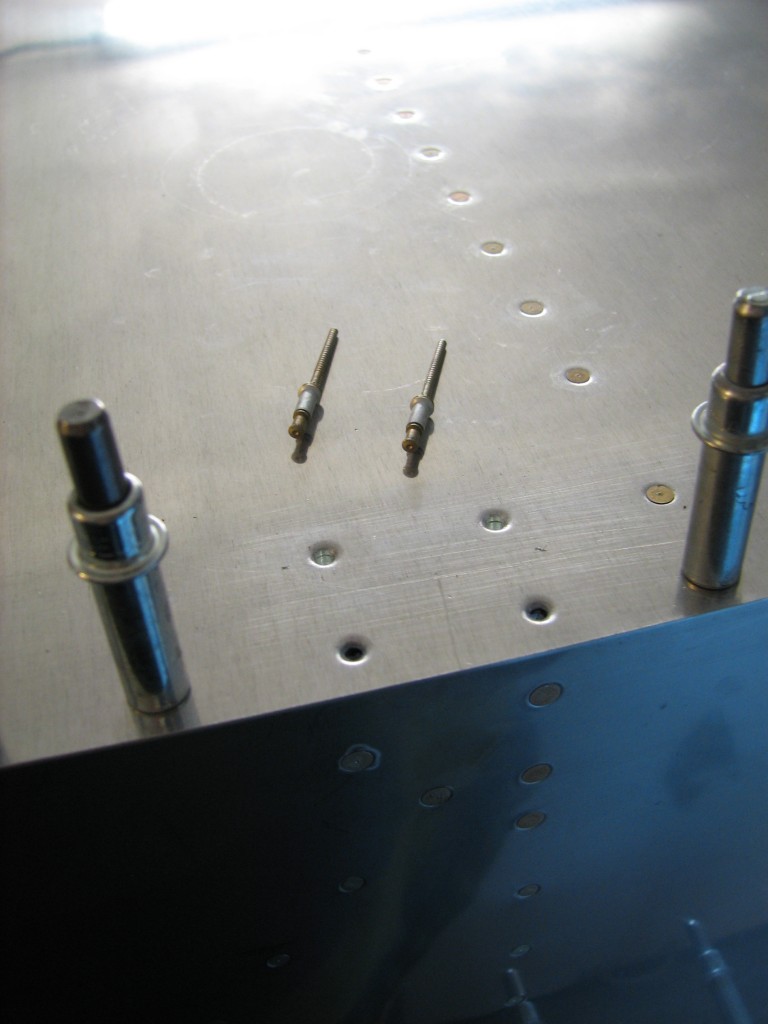
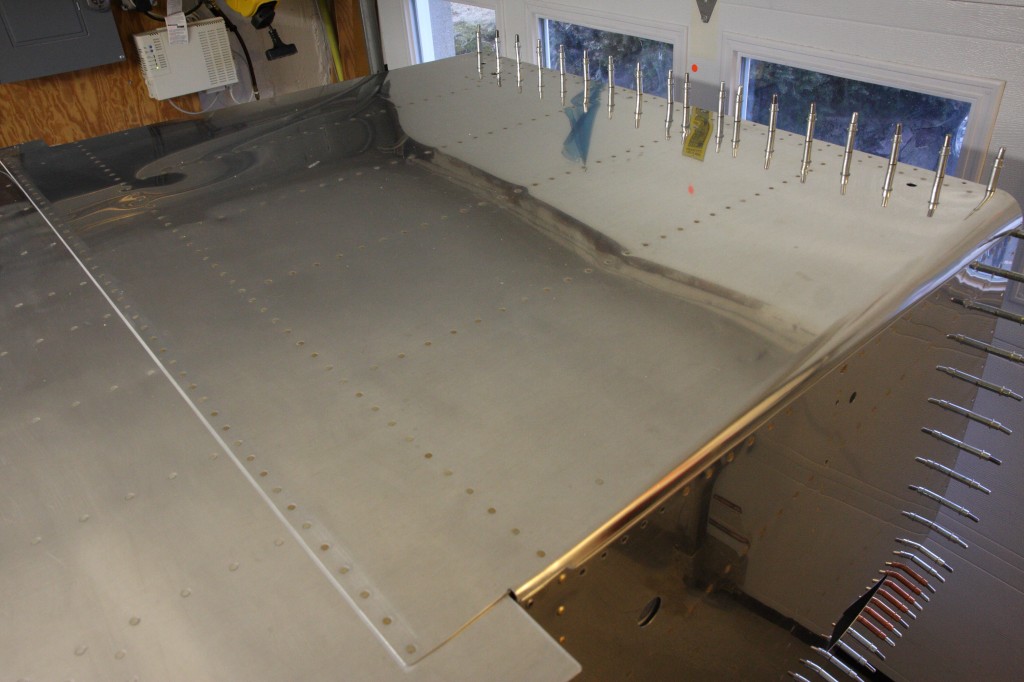
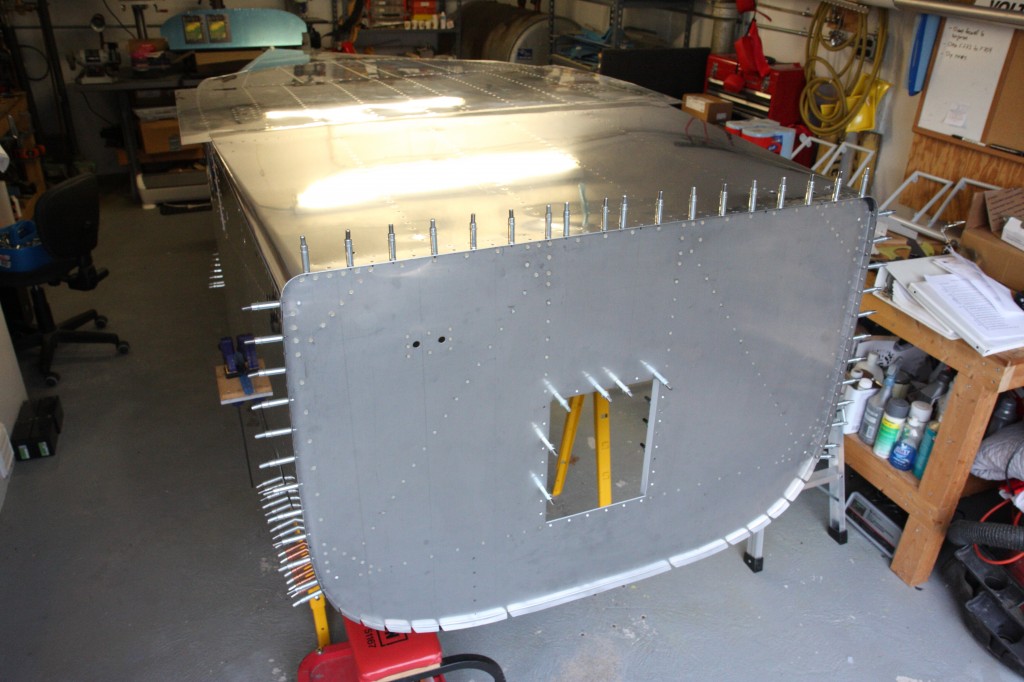
Bits and pieces

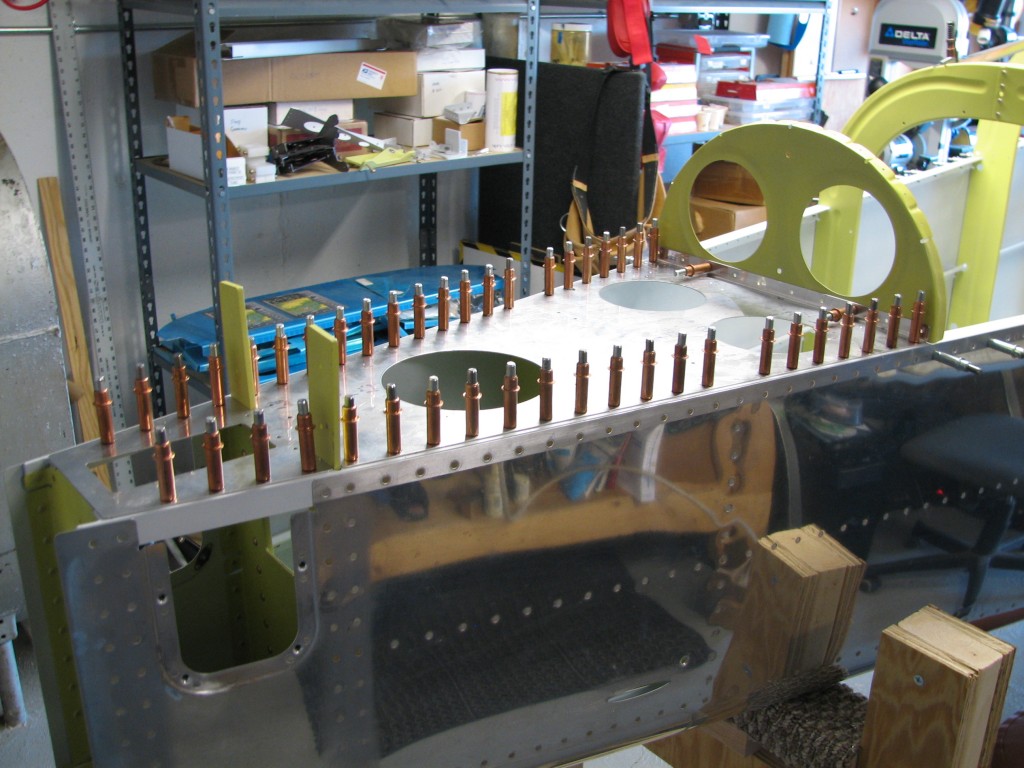
With the rear deck drilled, I have a lot of little bits and pieces – gussets, anchors and such – to fit and drill to the fuselage.  Nothing particularly difficult, but some of the parts are rather important so they need to done correctly.

First up are the gussets that anchor the F-705 bulkheads to the fuse longerons.  These have to be trimmed a bit depending on whether you’re installing a tip-up or sliding canopy.

Canopy gussets

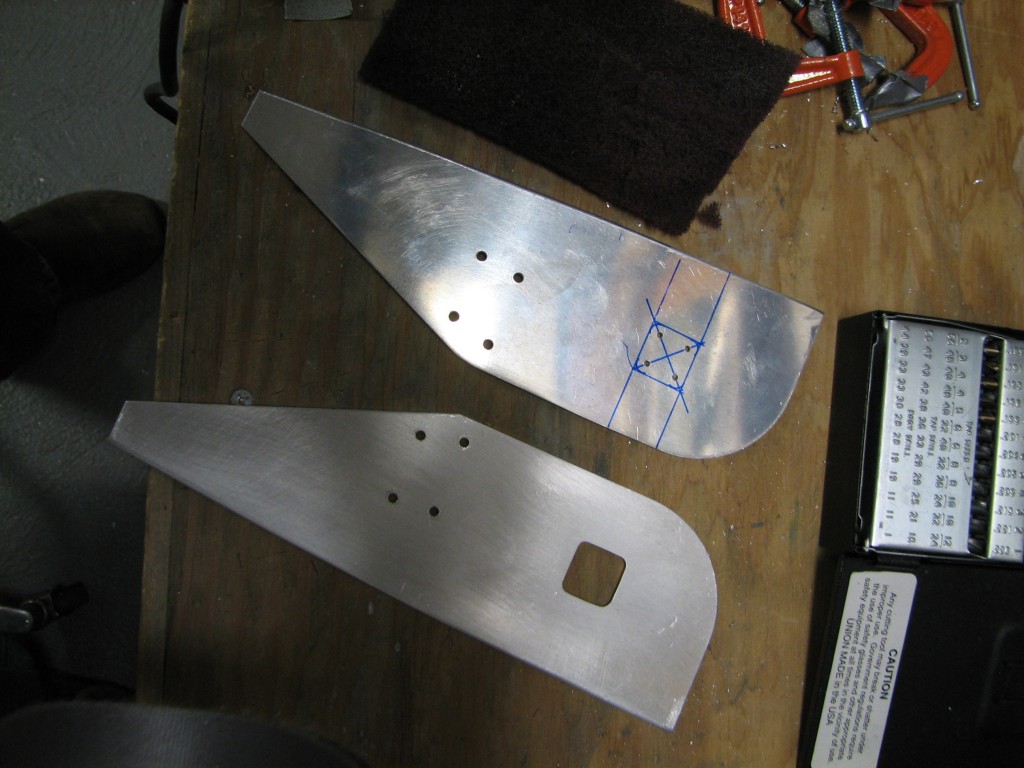
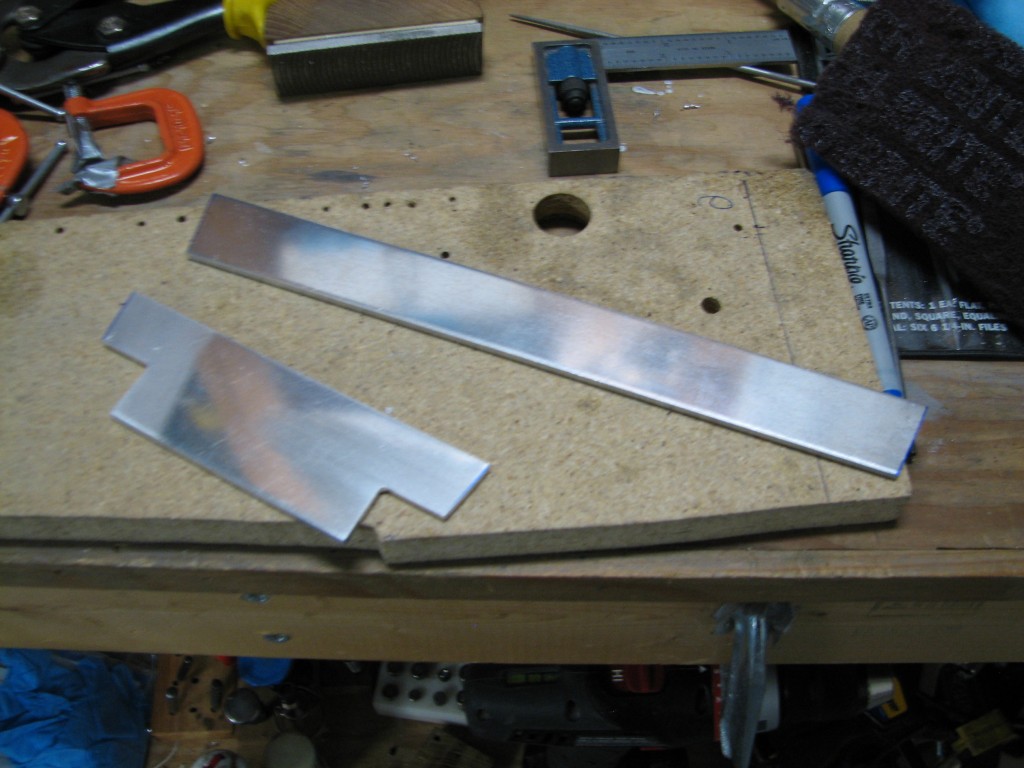
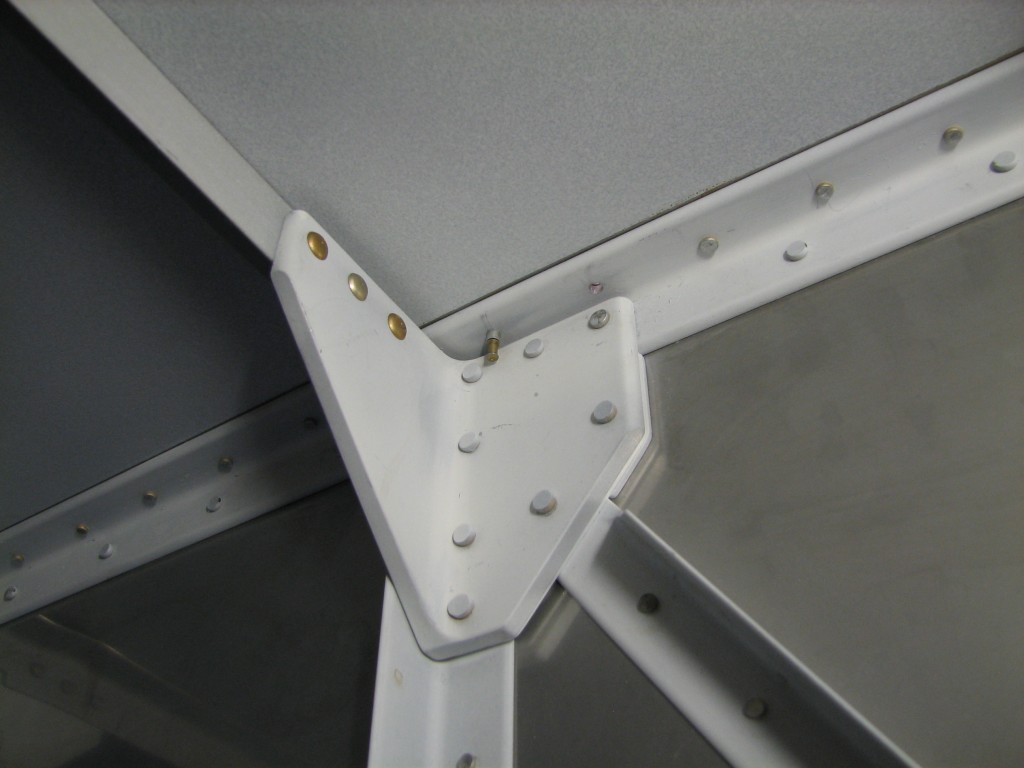
We’re definitely building a tip-up so I laid out and cut a square hole in each gusset which accommodates the canopy latch eyes.  After that I clecoed them in place on the fuse and F-705 bulkhead, and match-drilled them to the longerons – pretty straightforward.

F-705 gusset

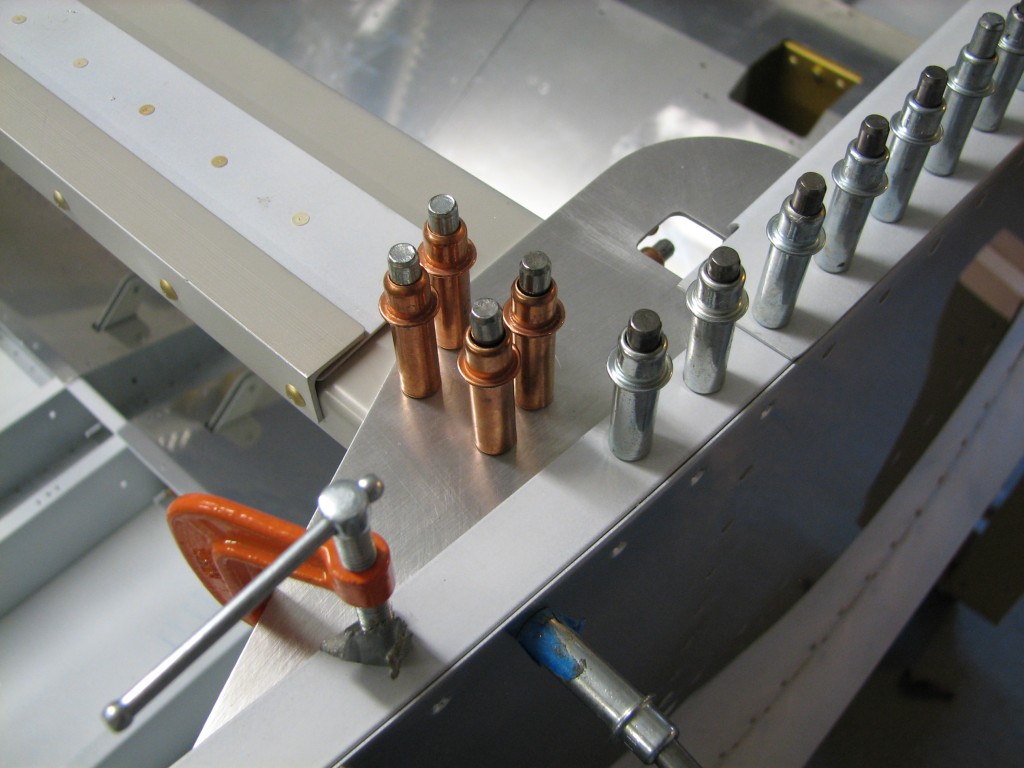
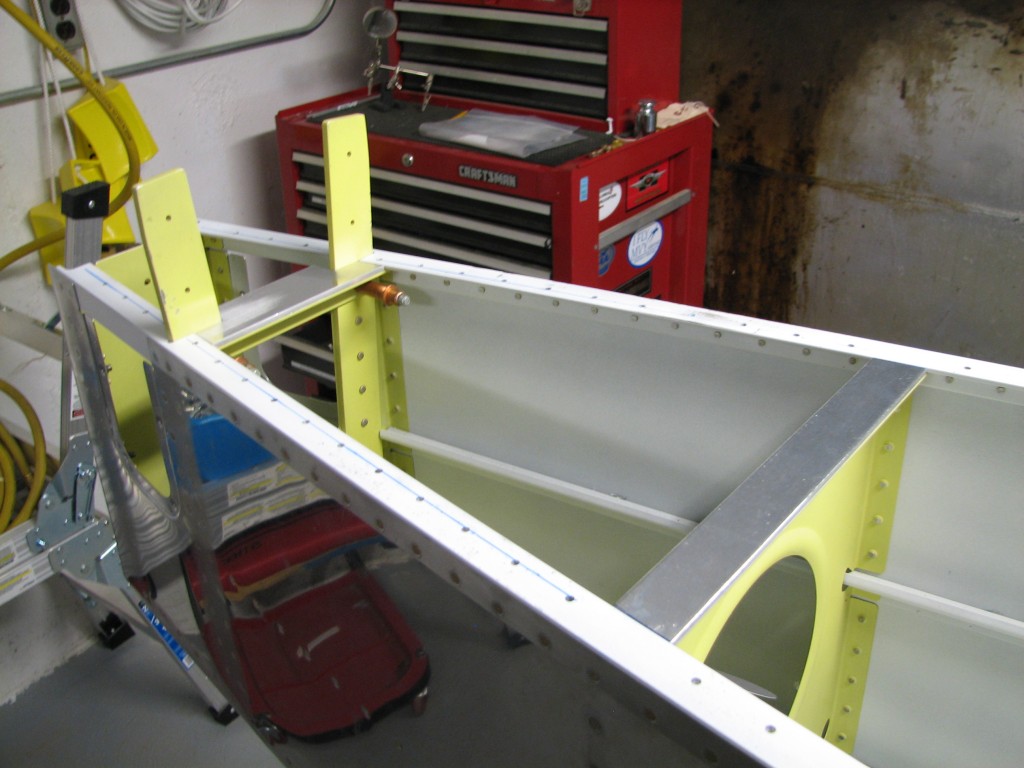
Next up – four gussets that anchor the F-706 and F-707 bulkheads to the longerons.  I clamped them in place, but the bulkheads are pretty wiggly at this point and it was hard to tell if the gussets were aligned properly in the forward-aft direction.
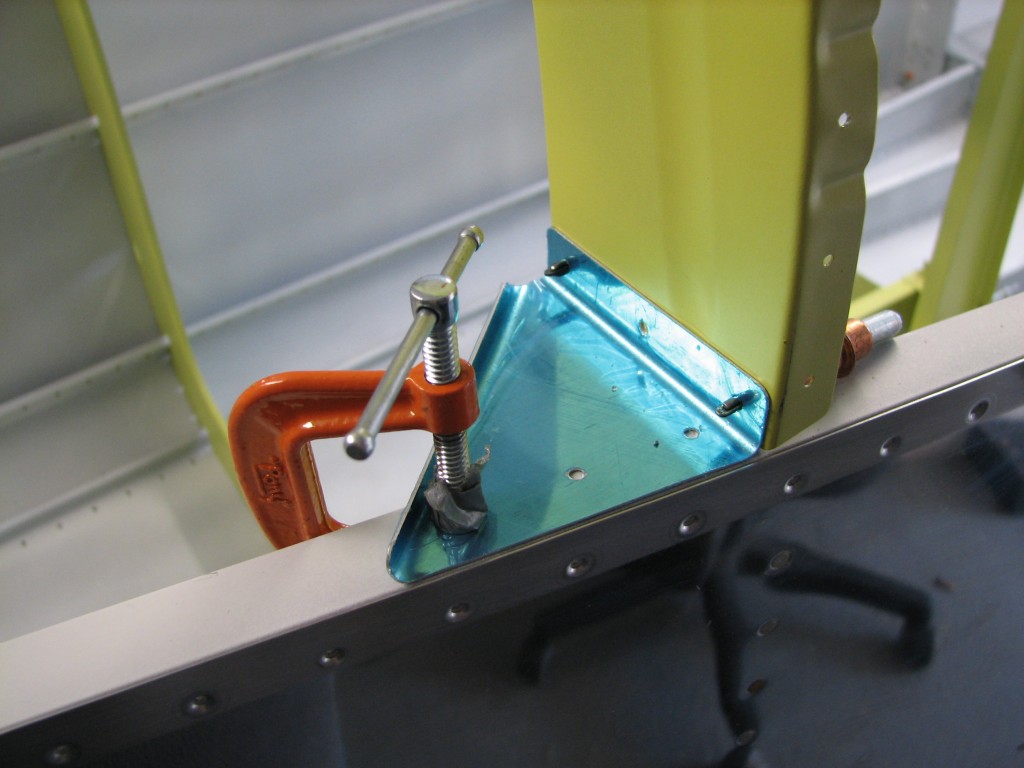
Bulkhead gussetsJust to make sure these pieces were in the right place, I clecoed the upper skins onto the fuse and adjusted the gusset positions.  This had the added benefit of providing a little visual motivation – it was nice to see another major fuse skin in place, even if only temporarily.
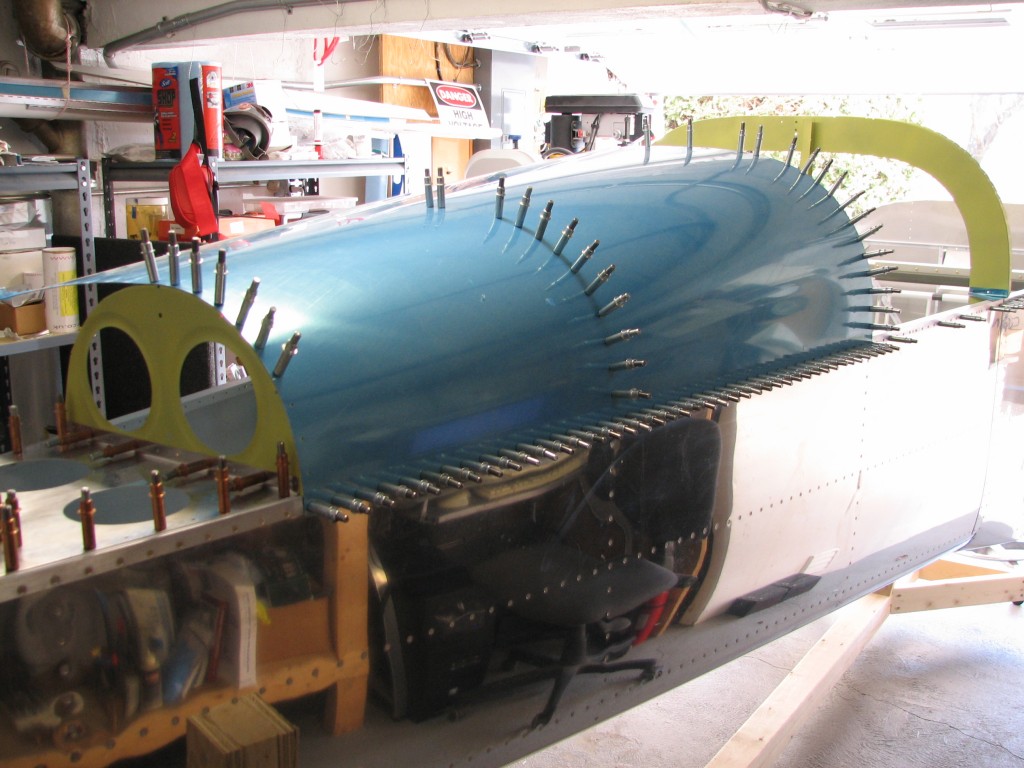
Upper skinWith all that clecoing and clamping done, I drilled the gussets in place…
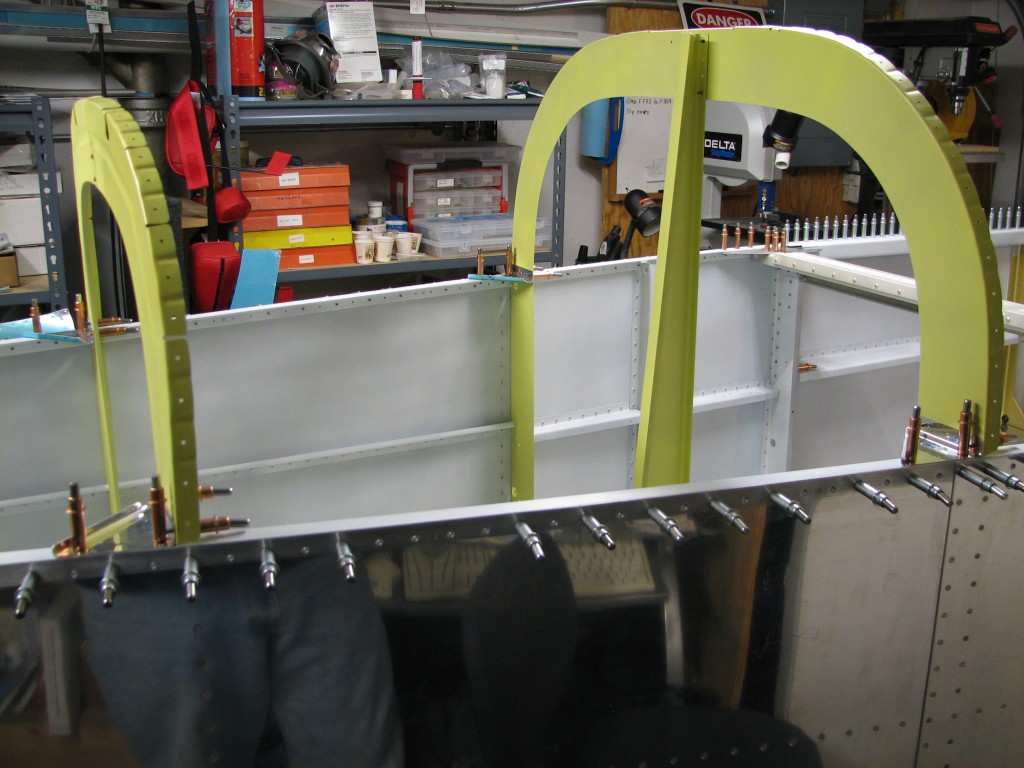
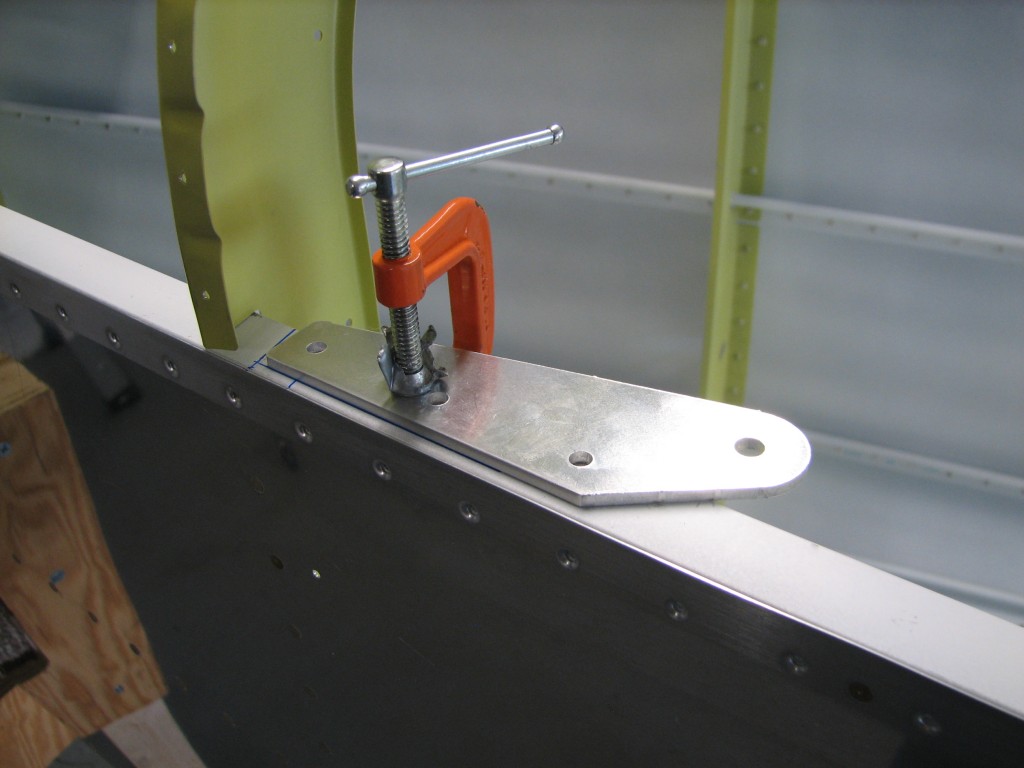
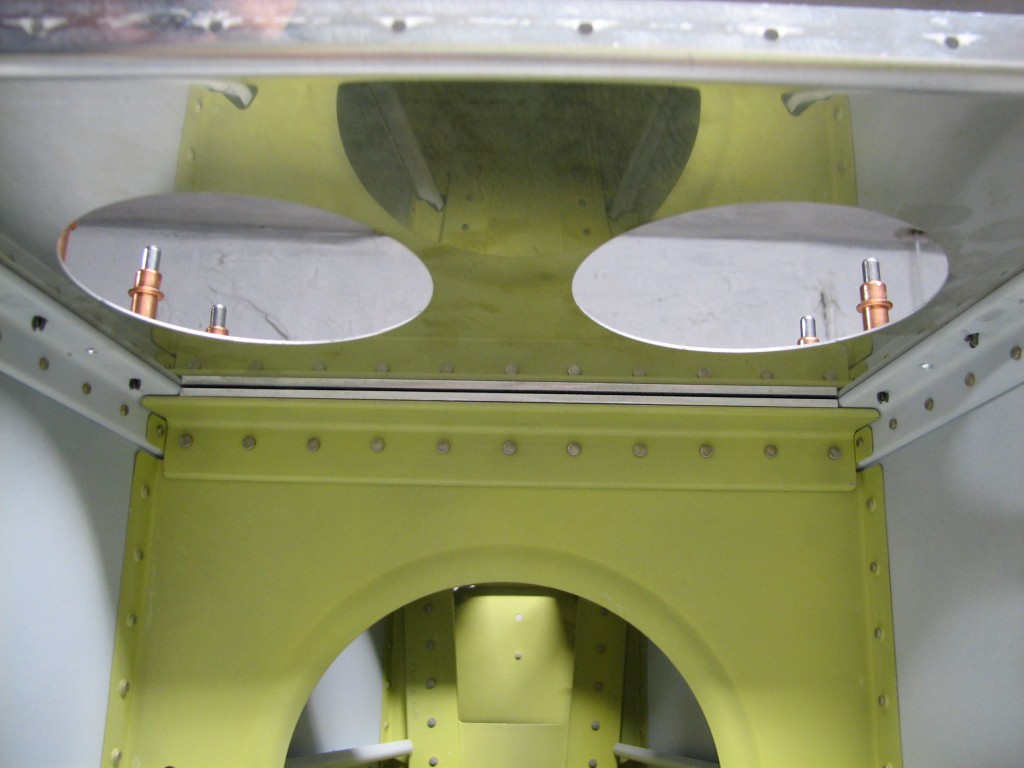
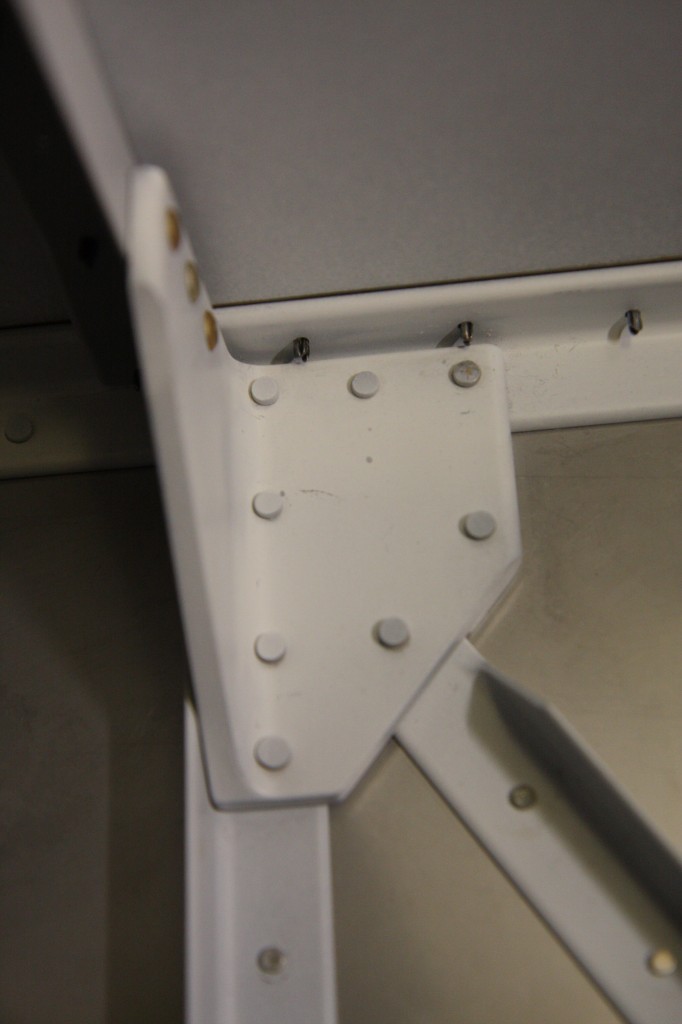
Gussets drilled …and then moved onto the shoulder harness anchors.  These are kinda important, so I took my time placing them…

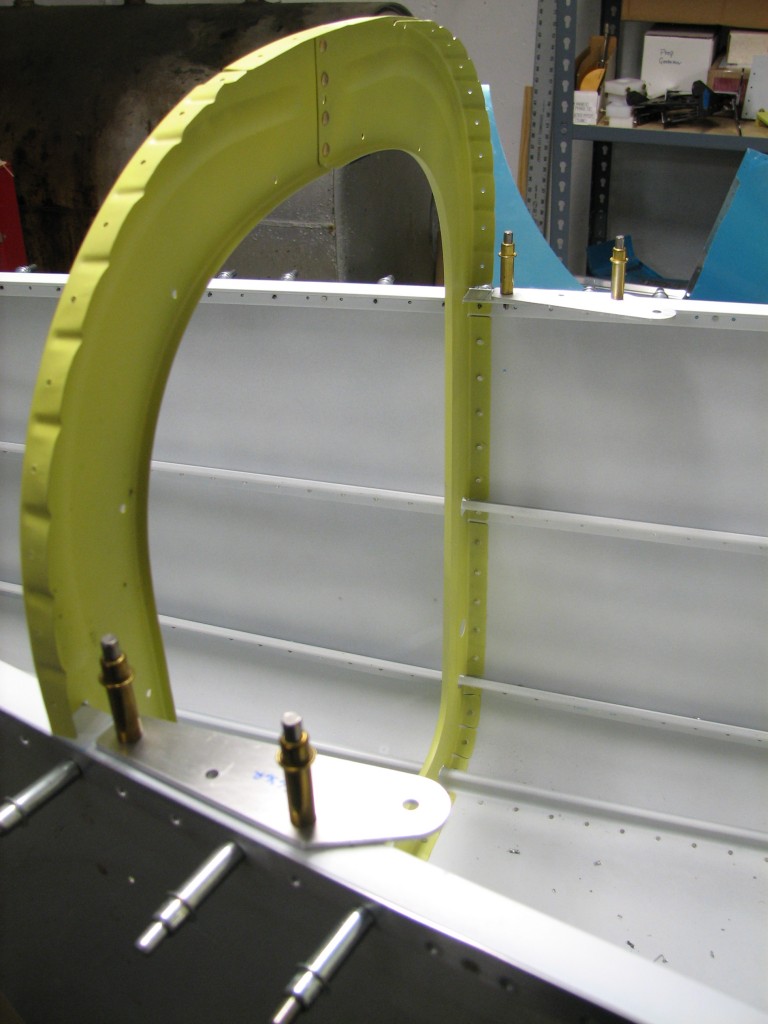
Shoulder harness gusset…and drilling them in place.

Harnesses drilled

Only a couple of more gussets to go, and it’s time for priming and riveting.

Moving day…again

For the last few years we’ve been storing the wings and tail at the Hanscom Aero Club hangar, as we had intended to do final assembly and first flight there.  But after some discussions with local DARs and consideration of other first-flight airports in the local area, we decided that Hanscom just isn’t the best place for us to finish the RV.

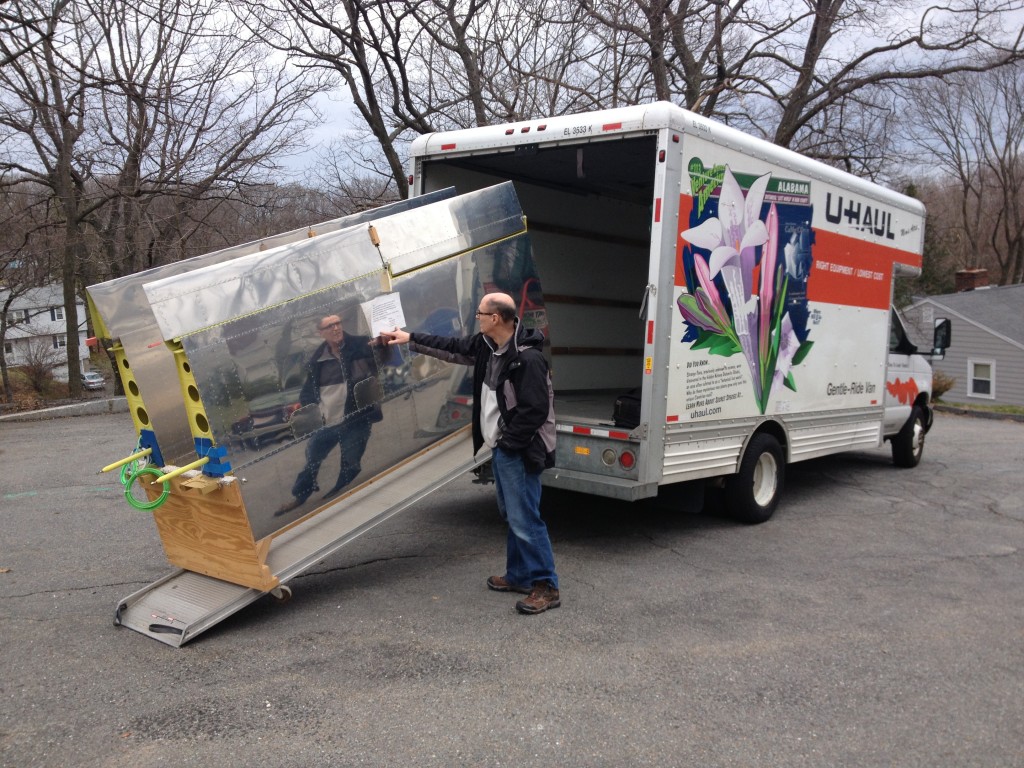
So last Sunday we rented a U-Haul truck to move our parts back home.  My good friend Burt flew down to meet us at Hanscom and help us load and unload.  Loading was easy, but the ride back was a little bumpy – one of the supports on the wing cradle splintered and we wound up supporting one end of the wings while bracing ourselves in the front corners of the truck.  And yes, I know it’s illegal to ride in the back of a U-Haul truck…don’t tell anybody we did it.

Burt, wings and truck

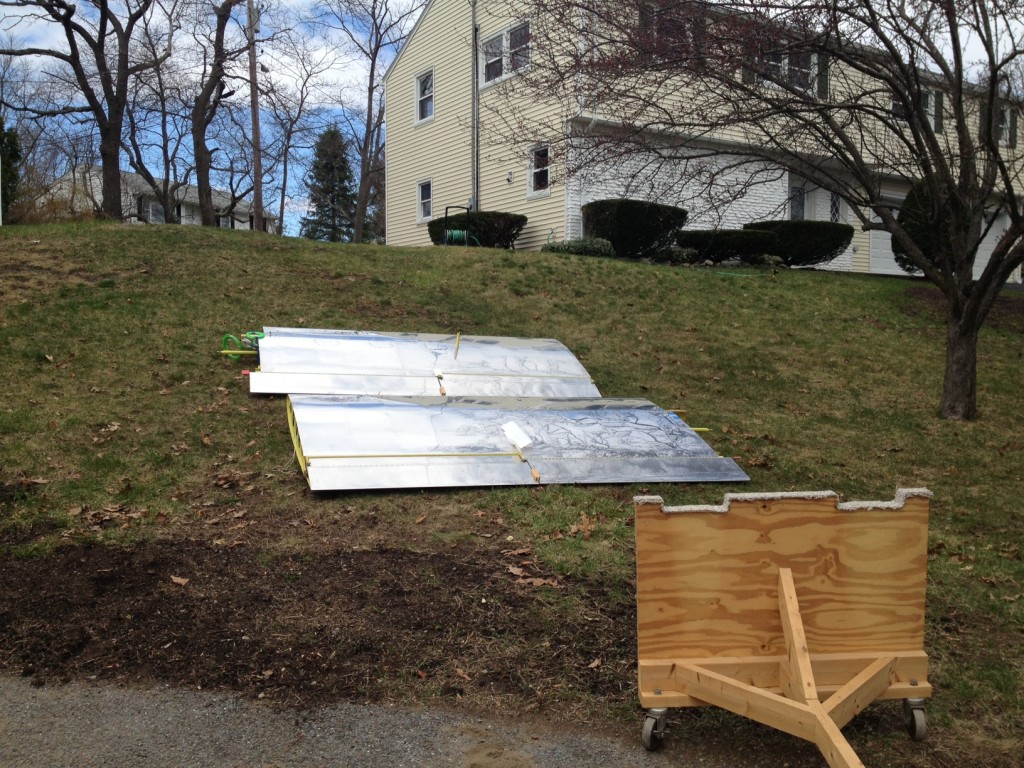
We had to unload the wings from the cradle so I repair it, and also so we could get everything across the lawn and into the den.  Fortunately, the snow is gone and the lawn is soft enough to lay the wings down.

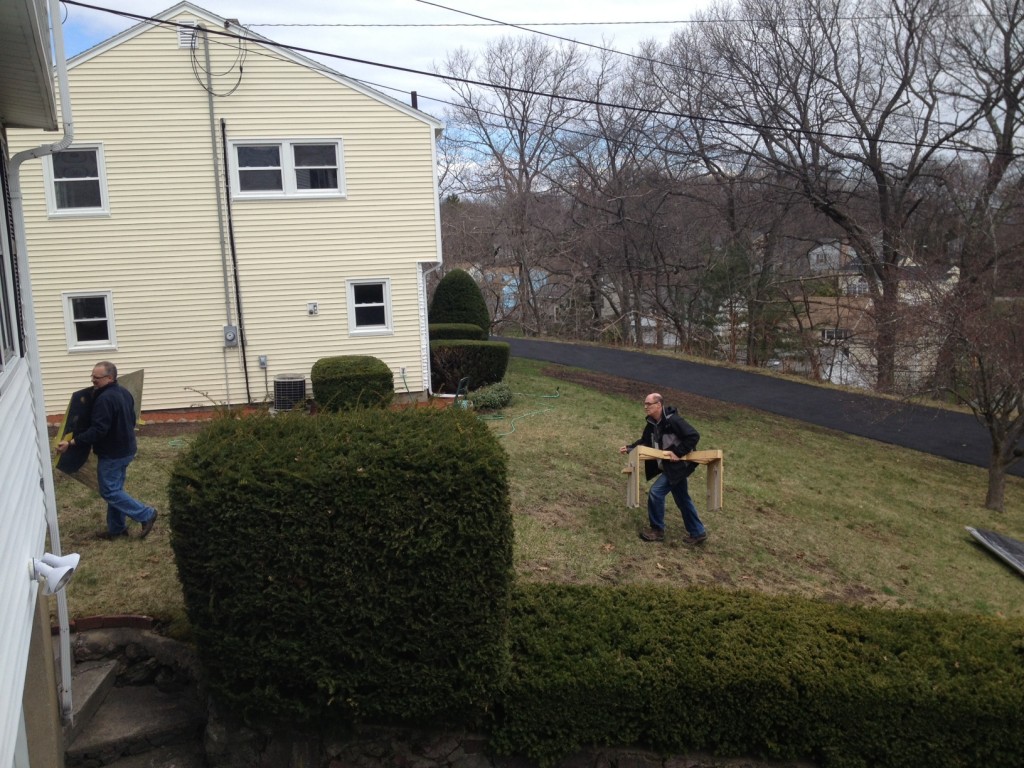
Don't they look pretty?It was nice to see the wings out in the sunshine…pretty motivating, actually.  Once the wing cradle was repaired and the wings were in the den, Burt and I moved the tail and its cradle.

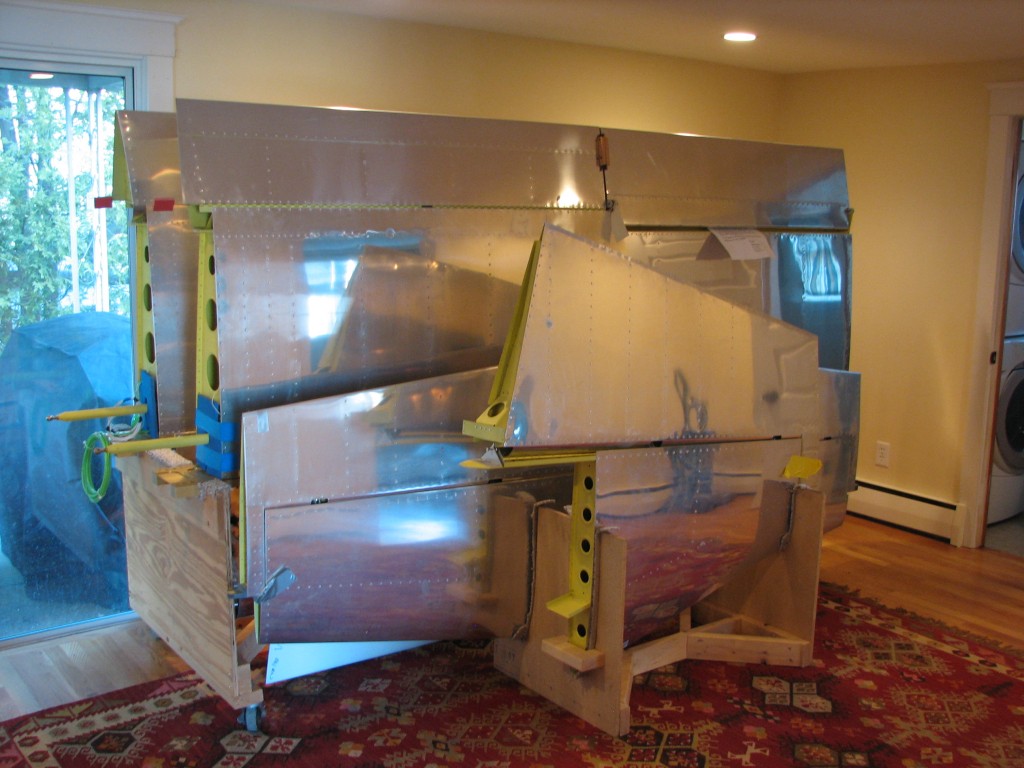
MovingEt voila, we have all our airplane parts in the den, with some space left over for the soon-to-arrive finish kit.

Parts at home

A tech inspection, and drilling the aft deck

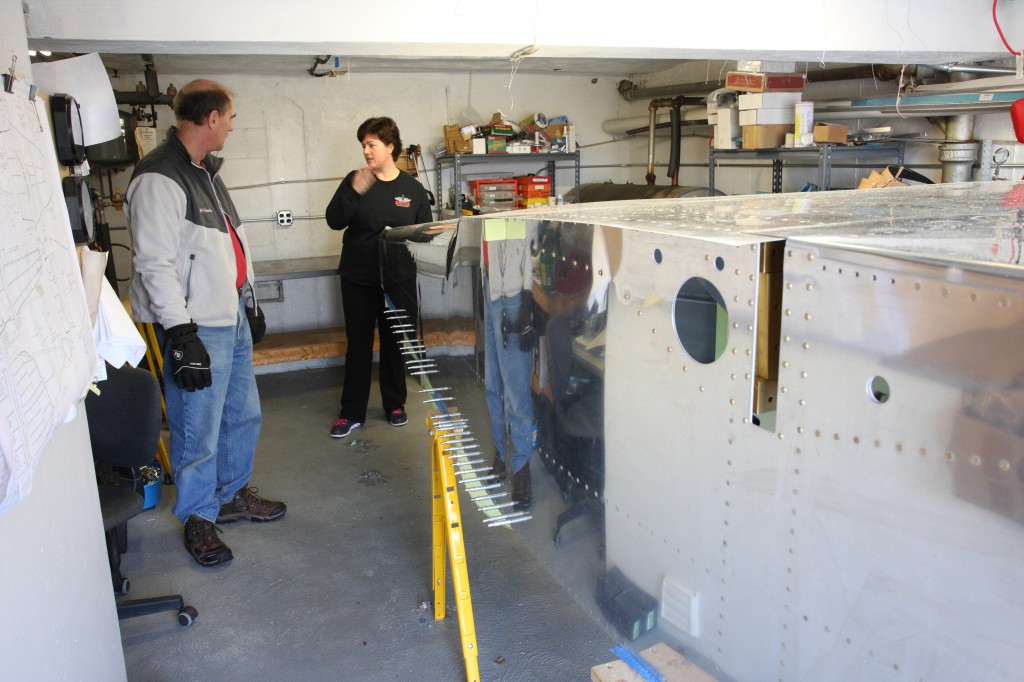
My EAA volunteer Tech Counselor came over this weekend.  With the fuse upright, I wanted another set of expert eyes to look at our work.  We ended up fixing a handful of rivets that needed a few more hits with the gun, and also drilled out and replaced a couple that I wasn’t happy with.  All in all, it was a successful inspection and Bob thinks we’re building a fine ship.  Thanks again, Bob!

While Bob was around we rechecked the fuselage level and made a couple of tweaks, then drilled the aft deck.  This is an important step, since once the deck is in place, the fuselage is torsionally rigid – any twist is locked in for good.

With level double-checked, I clamped the deck in place and drilled it to the longerons…

Deck drilled…and boy is this structure stiff when the deck is in place.  After drilling – and making a big mess with aluminum shavings – I pulled the deck off and fabricated a couple of spacers for the aft bulkheads.

Aft deck spacersThey go here –

SpacerTurns out that there’s a little gap that will need to be shimmed on the forward bulkhead –

Front bulkhead gapA little 0.016″ sheet will fix this with no problems.

On the level

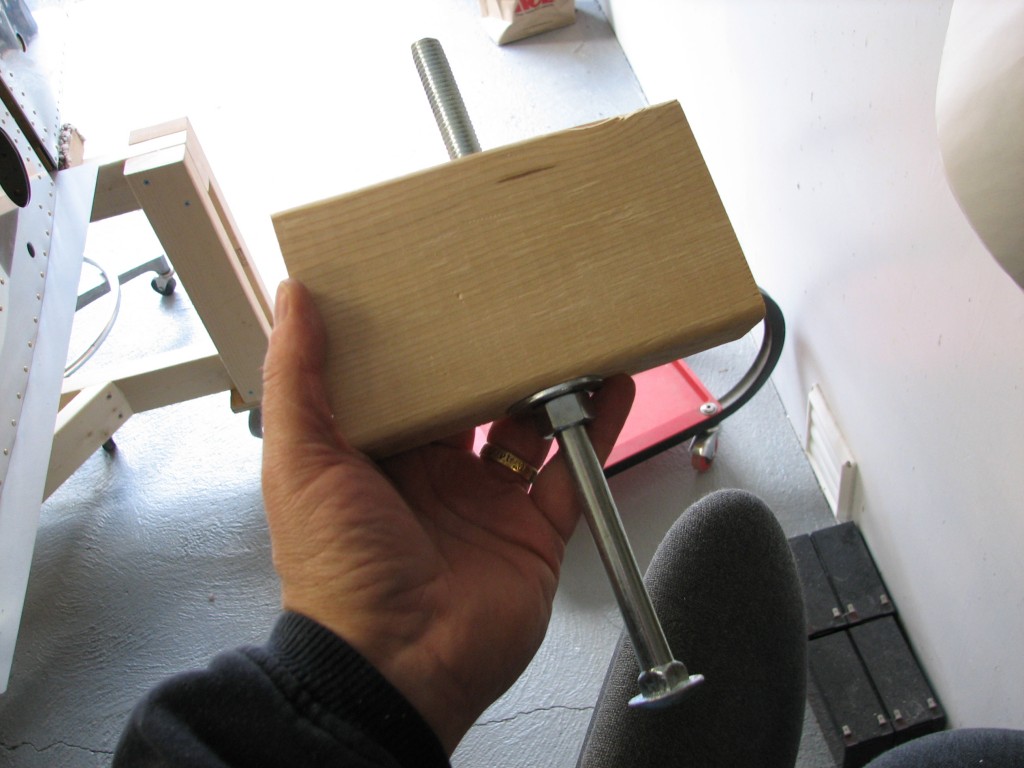
With the fuselage upright on the cradle, I needed a way to level it from side to side and forward to aft to prepare for drilling the aft deck.  Being the obsessive engineer that I am, I wanted a way to make small adjustments and re-level if necessary.  After a little braining on the problem, I came up with this poor man’s jackscrew.

Poor man's jackscrewIt’s a 1/2″ bolt centered in a piece of fir 2″x4″, and I made four of them – one for each corner of the cradle.  The bolt head will rest on the floor, and the bottom nut will adjust the bolt up and down.

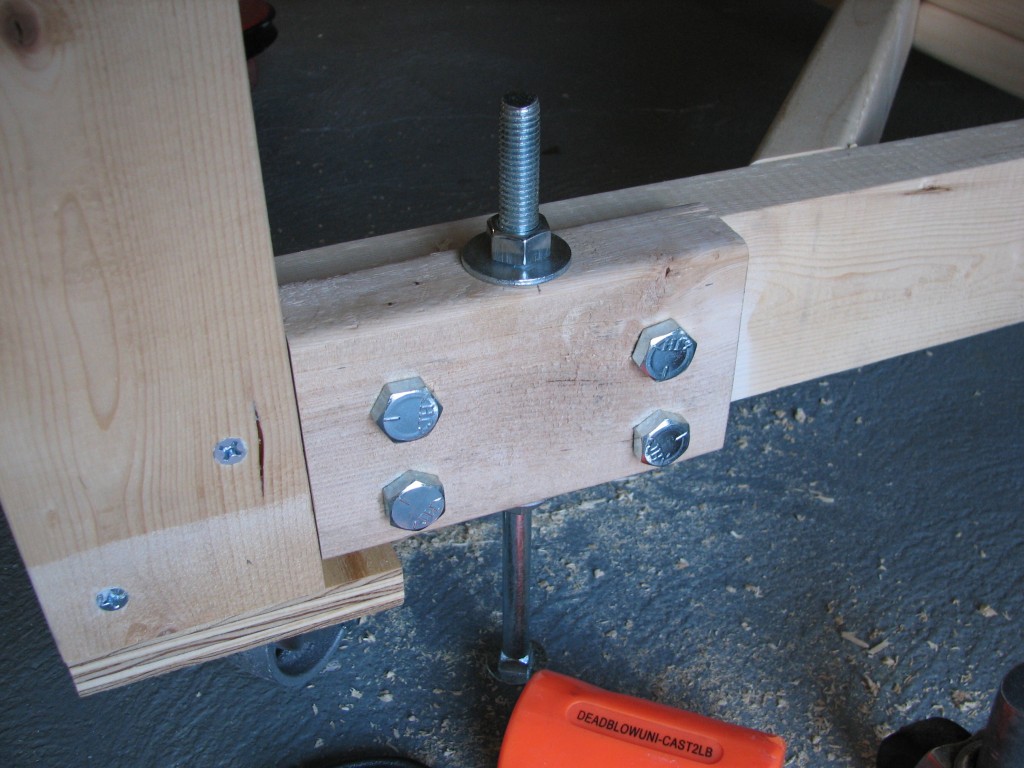
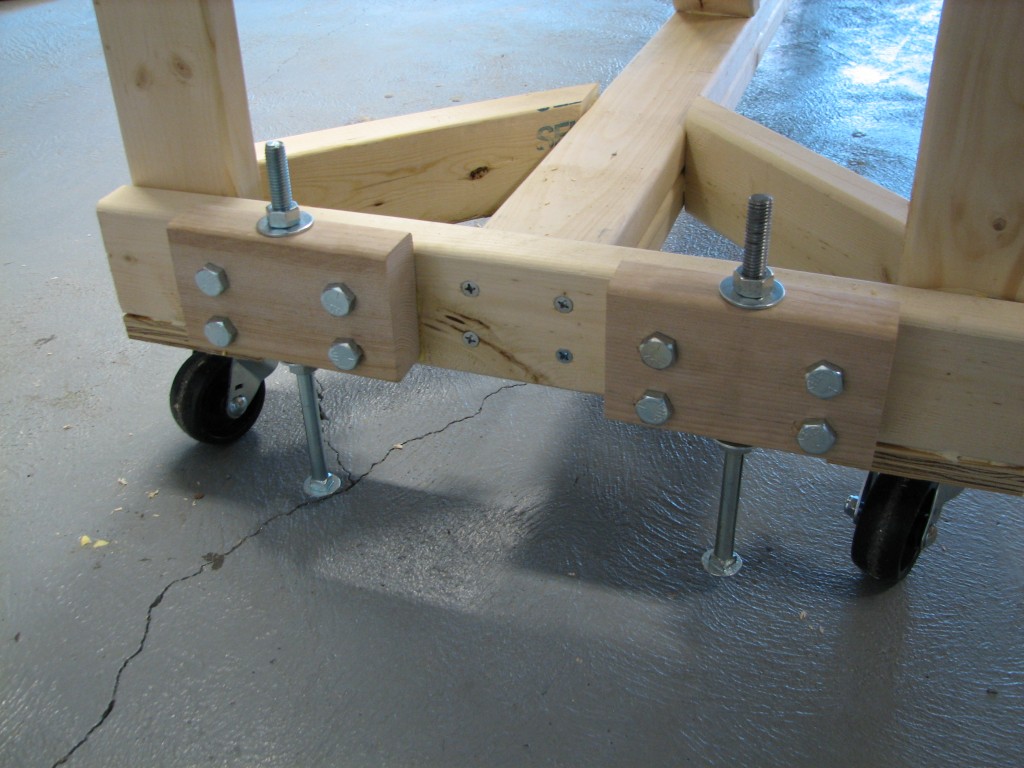
Jackscrew mountedThey’re bolted in place with more 1/2″ fasteners.  I used heavier hardware than was probably needed, but I want to be able to use the same system to keep the fuse nice and level when mounting the wings so a little overkill is justified.

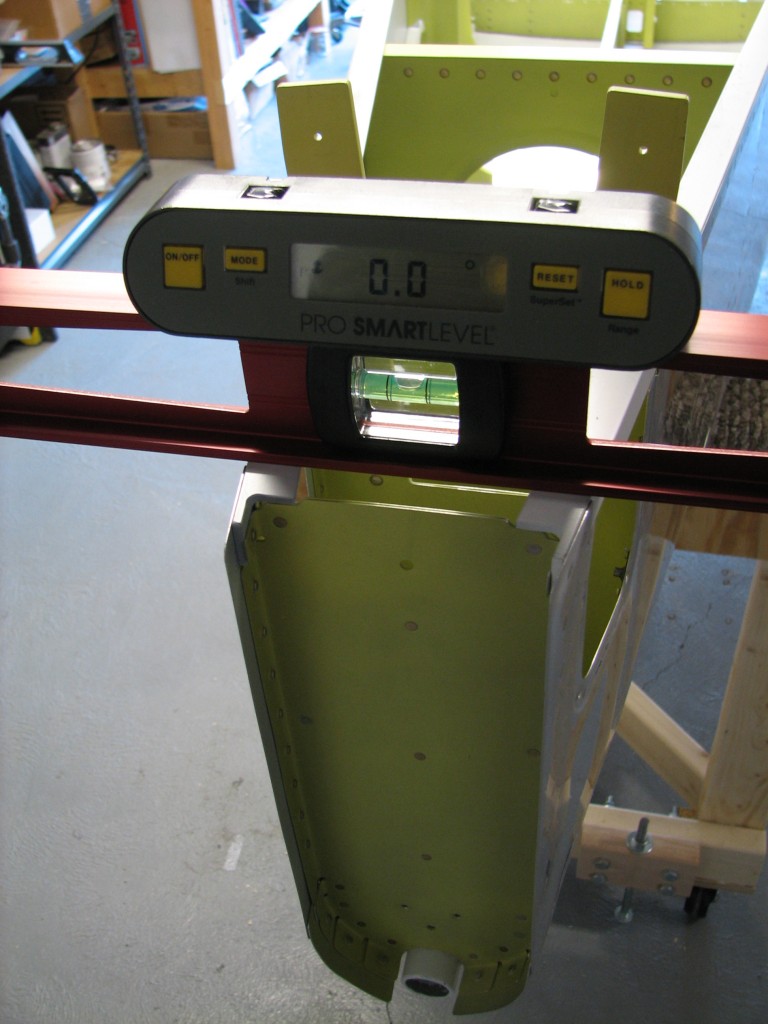
More jackscrewsWith the jackscrews in place on all four corners, I leveled the fuse across the center section…the jackscrews made this really easy.

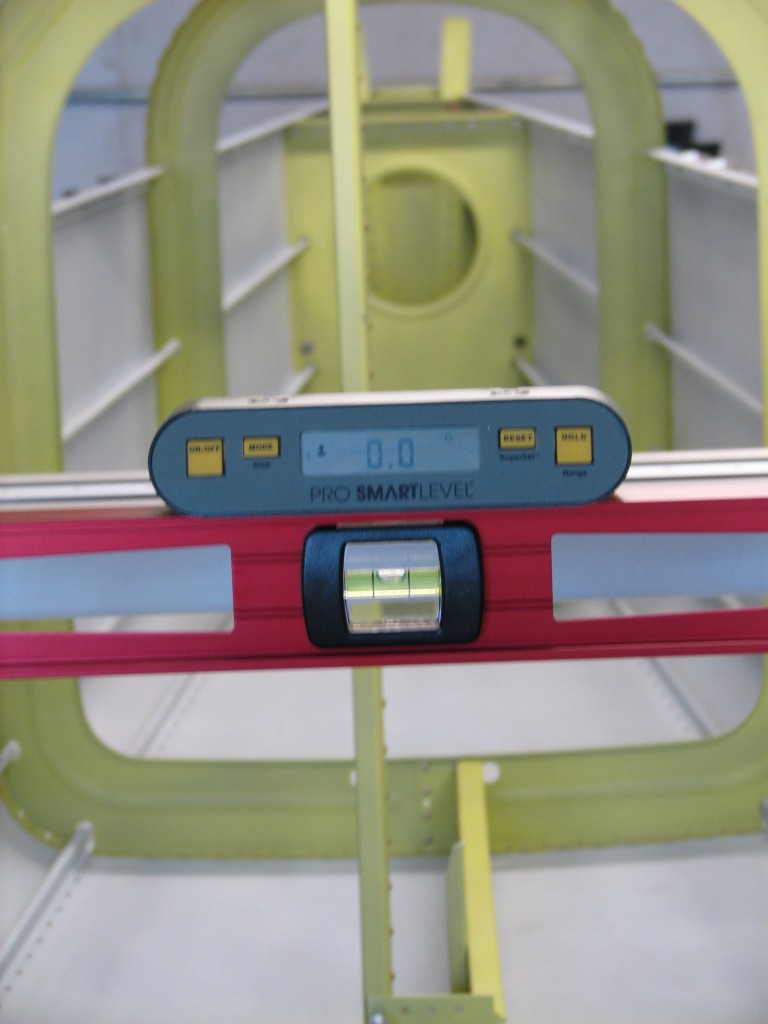
Front levelLooks good…nice and level.  Amazingly, when I placed the level on the tailcone I found..

Aft fuse level..it’s level too.  This is A Good Thing, it means the fuselage has practically no twist, and that all the work I did to keep the fuse level while riveting, really paid off.  The digital level occasionally showed 0.1 degree off – still completely acceptable – but with a little tweaking I got it back to dead center. Very cool.

A flipping good day

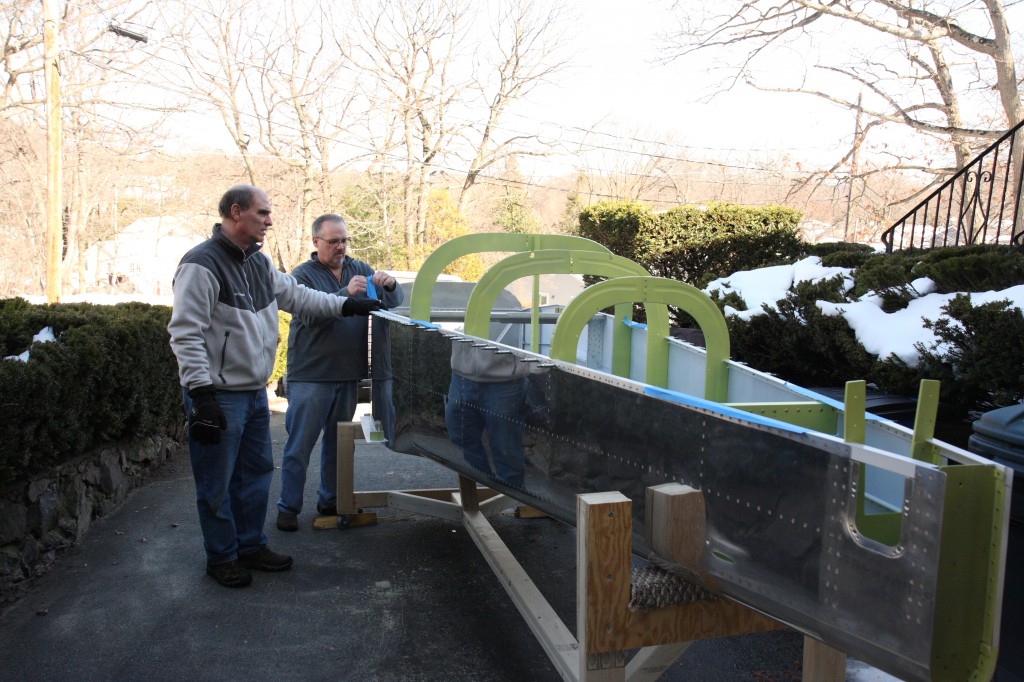
After the cradle was finished on Sunday, my good friend Burt came over to retrieve an extra workbench and also to help us the fuselage canoe right-side up.

IMG_5106Getting the fuselage onto the cradle was easy, but flipping it wasn’t.  But eventually we got everything in place.

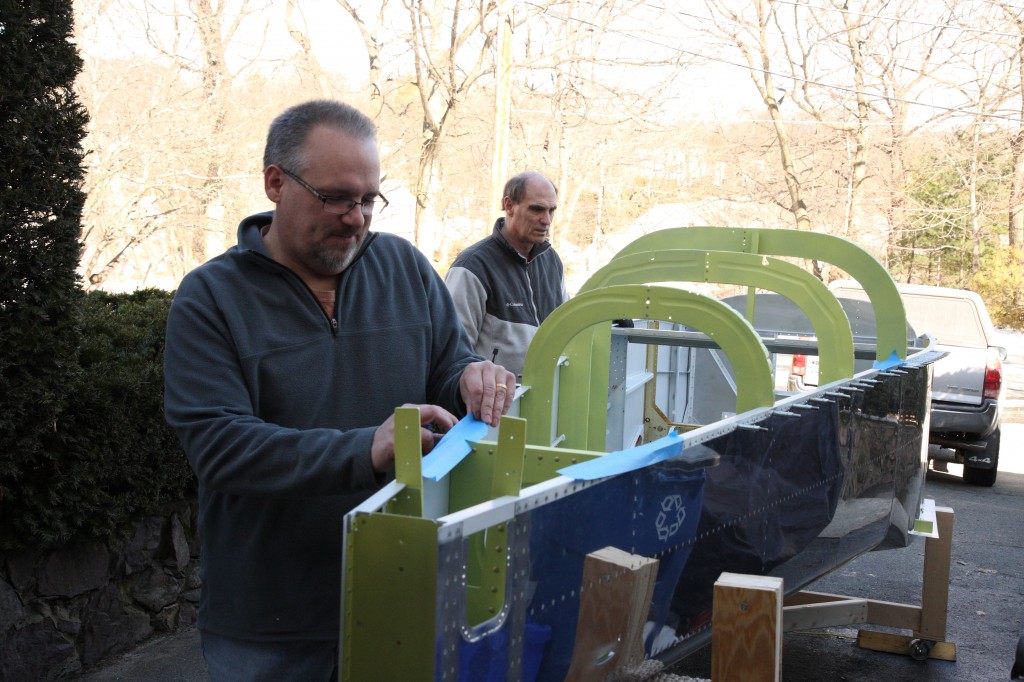
IMG_5110For any RV slow-builder (and I definitely fall into that category), flipping the fuselage is A Big Deal.

A good dayI’m smiling in that pic…you can’t tell, but I am.  Here’s the flipped canoe in all its glory…

The flippin' canoeAnother picture?  Sure, I knew you’d want one.

Another canoe pic

With the fuse upright, I have some shop cleaning and rearranging to do but then it’s back to work on finishing interior structure and the cockpit.

Building a cradle

Once upright, the fuselage requires a cradle or stand to support it until the landing gear is attached.  I found a great set of plans on VAF (the Van’s Air Force website, for all you non-RVators), and scavenged or bought enough lumber to build one.  Thanks for the plans, Lars!

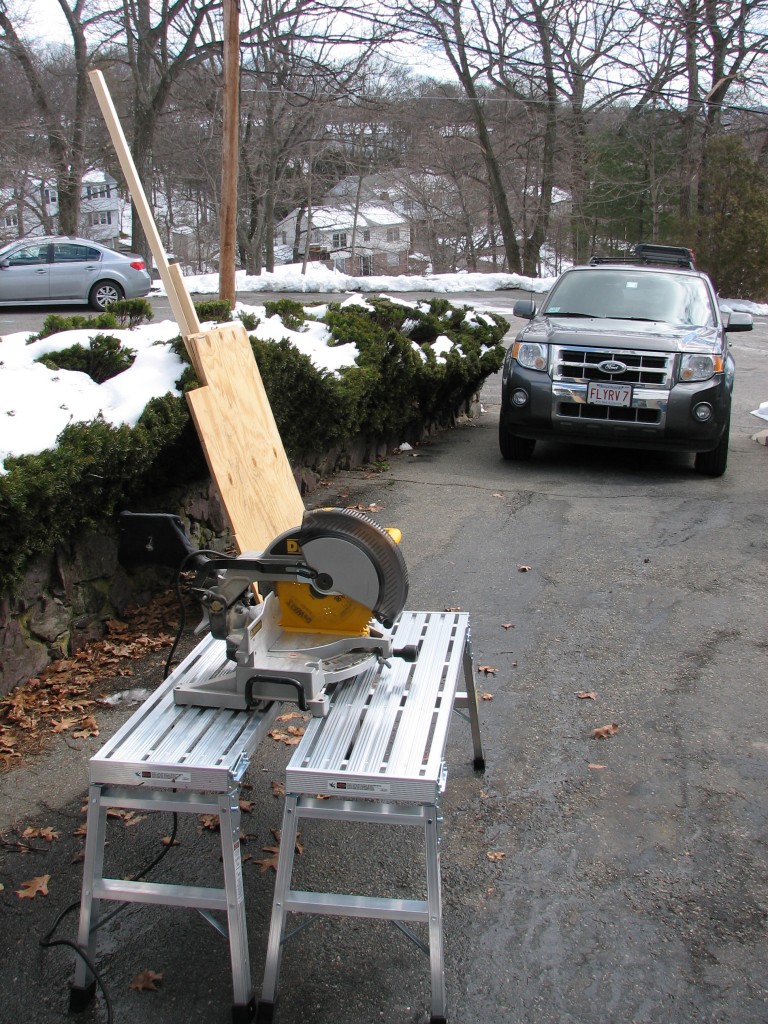
Here’s the raw material and associated stuff…

Power tools and wood

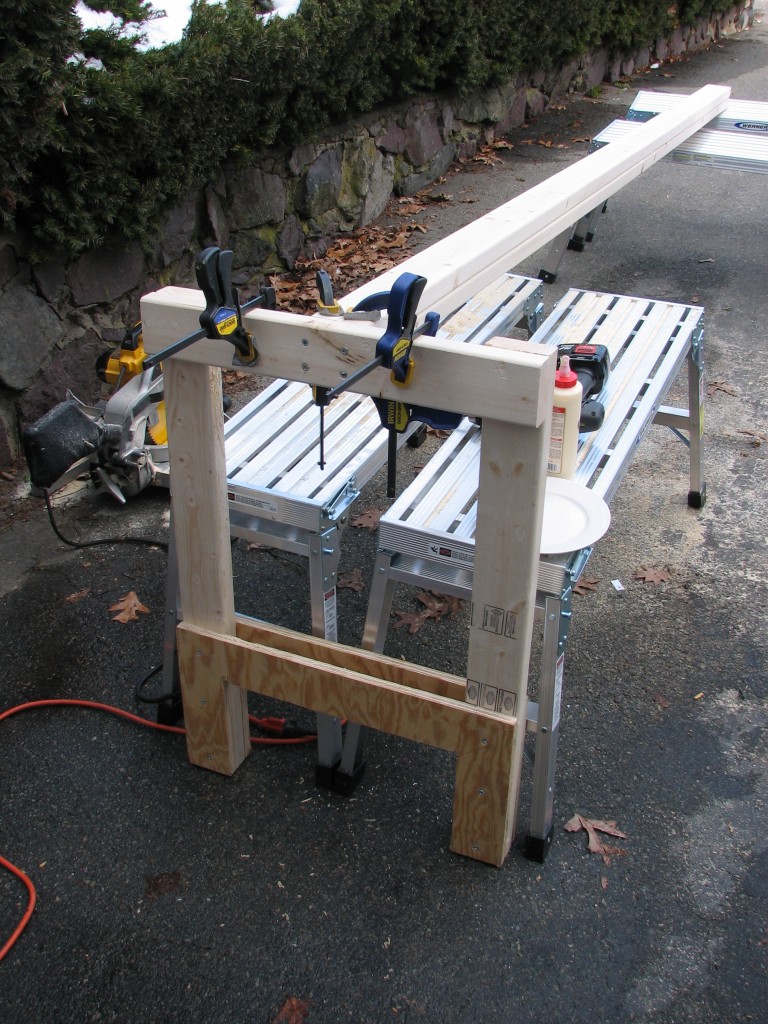
…the aft end of the cradle being attached to the bottom beam…

One end

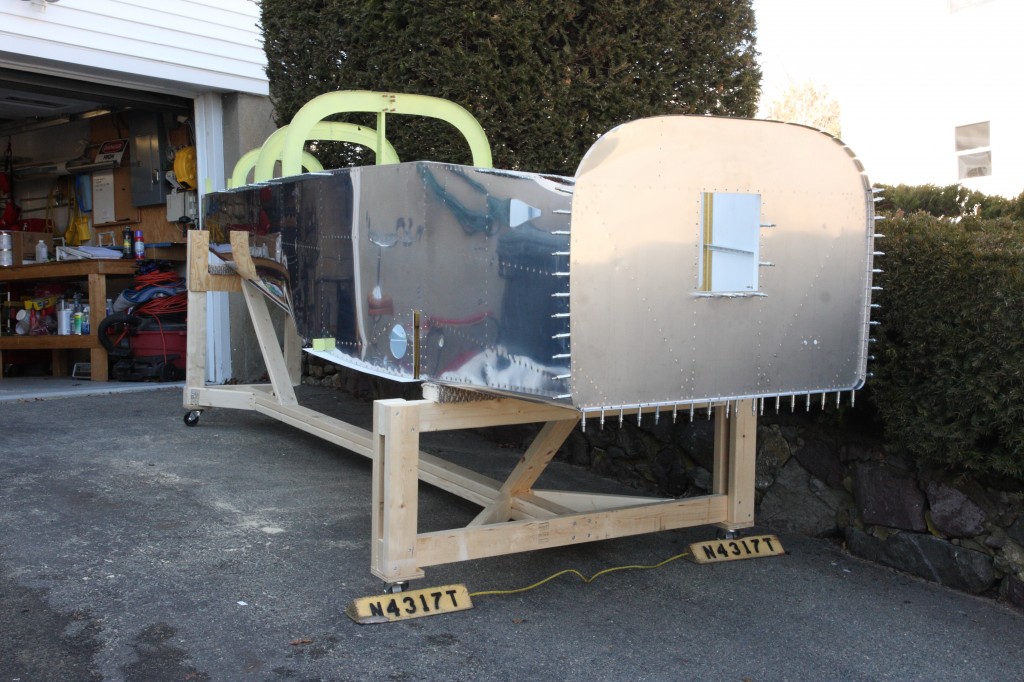
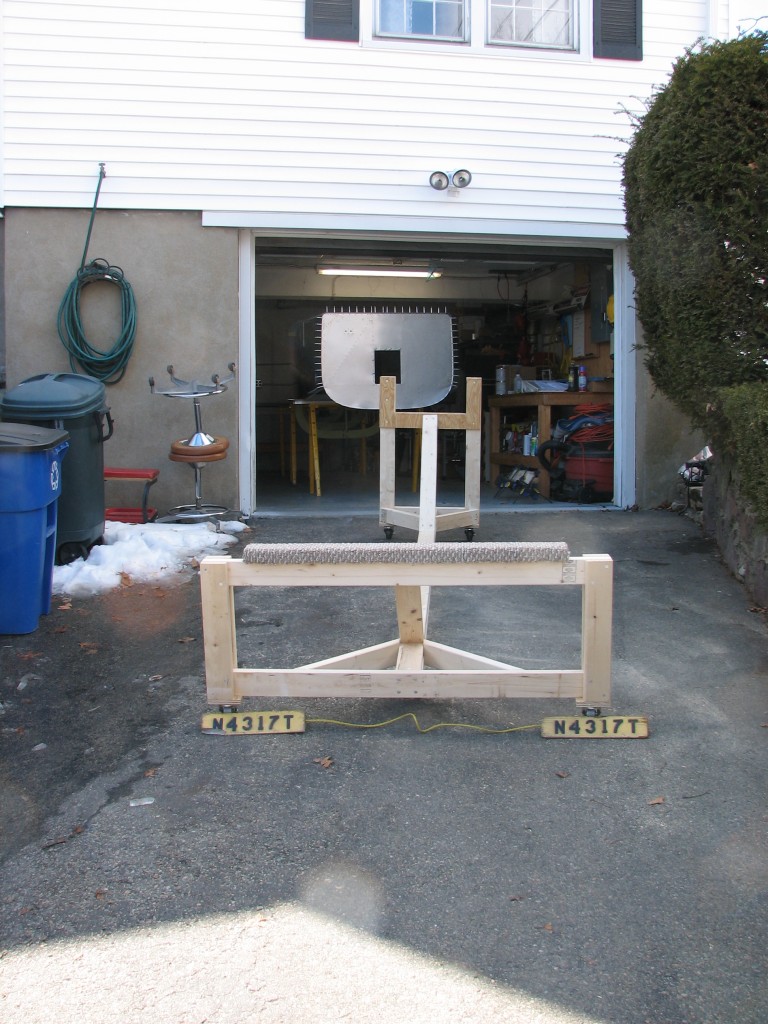
…and the finished product being held in place by a pair of our old chocks from N4317T, the Mighty Archer.

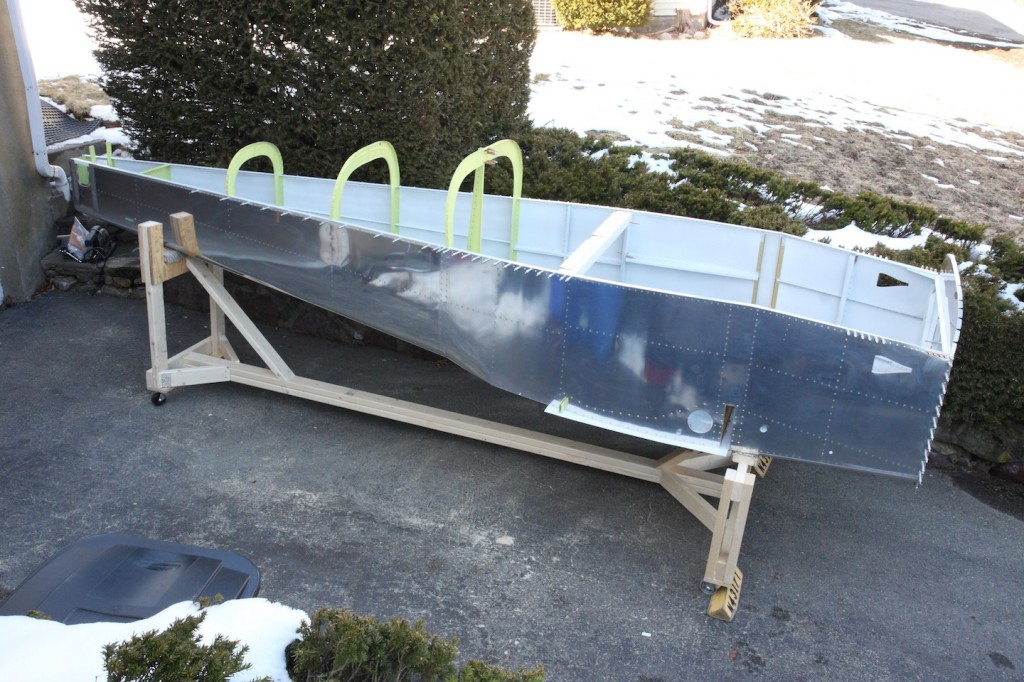
The finished productThe cradle is ready, and in position for the fuselage to come out of the garage.

Practicing the RV grin

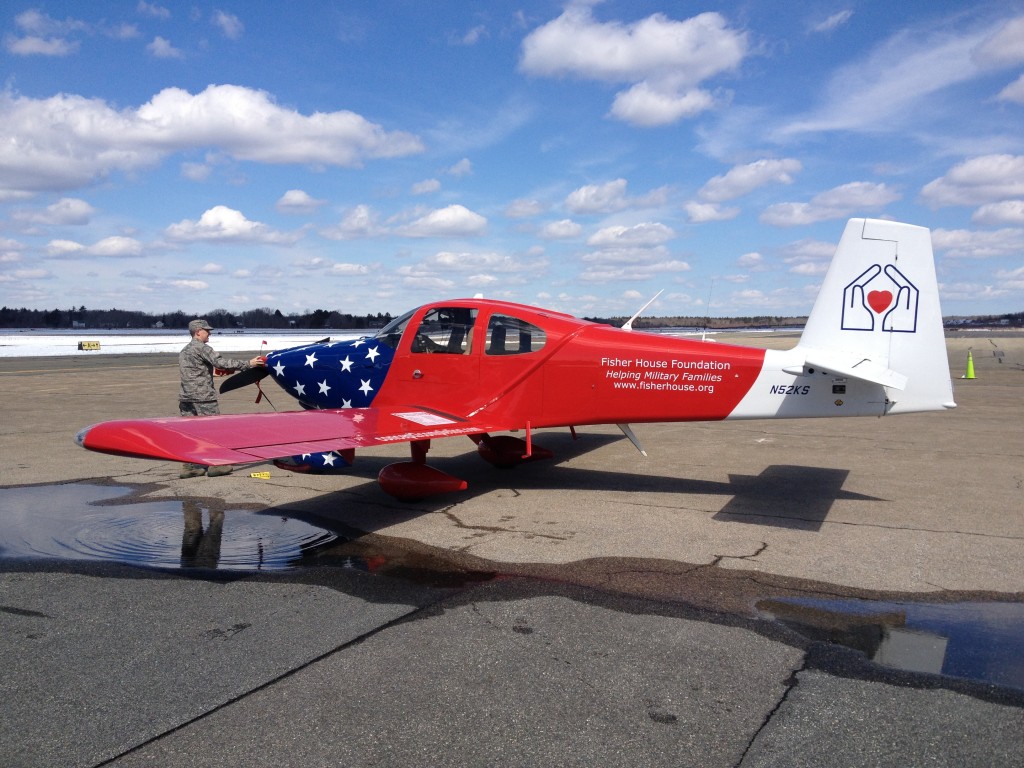
Van’s Aircraft likes to talk about the “RV Grin”…the smile we builders eventually have when we finally get to fly our RVs.  I got a chance to practice my grin today when I flew to lunch at New Bedford with my friend Tim in his beautiful RV-10.

Tim's RV-10

Tim’s airplane is unique in a couple of ways.  First, it has a ballistic parachute recovery system integrated into the fuselage.  The fairings below and behind the cockpit windows house parachute risers that are attached to fittings on the main wing spar carrythrough.

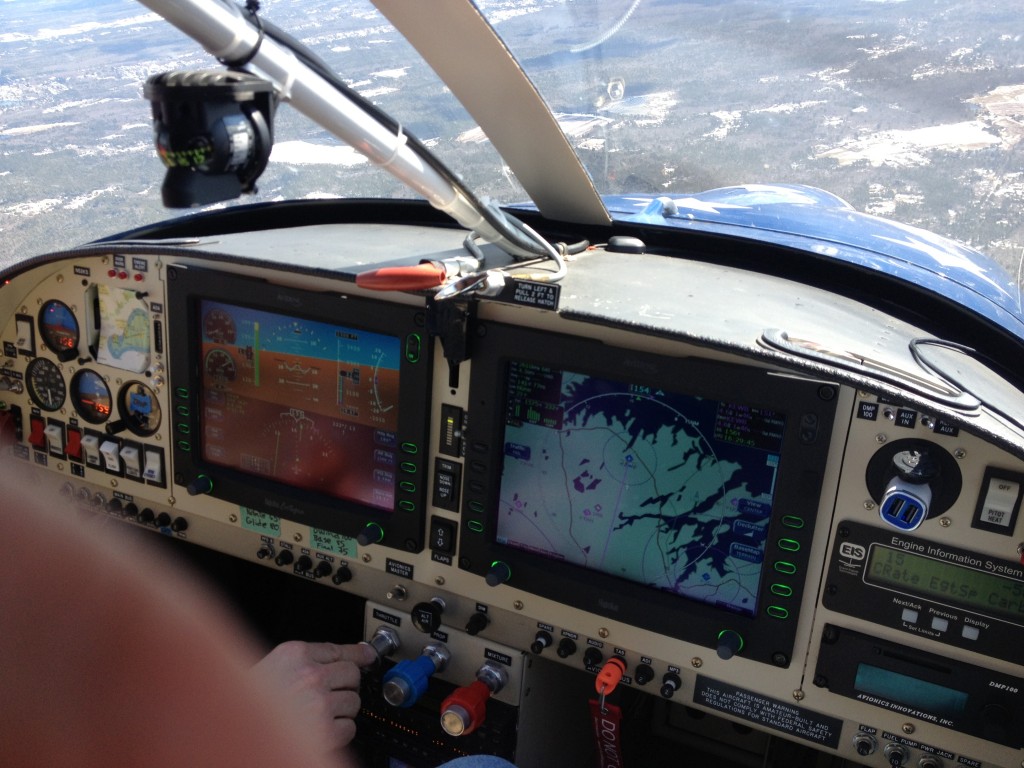
Tim's Avidyne panel

The other novel aspect of Tim’s airplane is his Avidyne Entegra PFD and MFD.  I don’t know of any other RV (or any experimental airplane, for that matter) with Avidyne avionics…it’s a very nice addition.

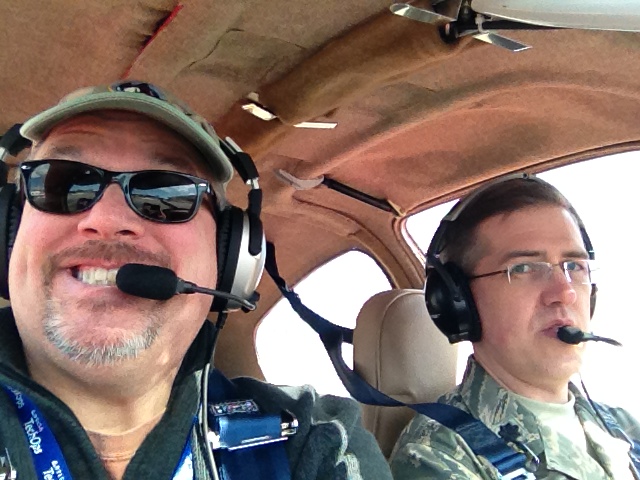
Dave's RV grinI’m definitely smiling, and I think I caught Tim by surprise…but I’m sure he’s about to smile too.  Thanks for the ride, Tim…it was a great motivational boost!

You can’t spell “geek” without EE

I had to indulge my inner electrical engineer and mock up the VHF comm (right), Mode S/1090 ES ADS-B transponder antenna (left), and ADS-B UAT receive antenna (center/forward) where they’ll be on the fuselage.

The Mighty RV antenna farmThese very nice antennas are all products of Don Pansier at Delta Pop Aviation.  Don specializes in non-TSO’d antennas for the experimental market, and measures each antenna’s performance to ensure it meets spec…very cool.


Another bite out of the elephant

You know the old adage – “How do you eat an elephant? One bite at a time!”  During my assignment to the Air Force Flight Test Center at Edwards AFB, an airplane building colleague in EAA Chapter 1000 had that statement posted in his workshop and it’s absolutely true.  How do we tackle a huge project like building an airplane?  One step at a time.

Today we took a big bite out of the elephant and finished riveting the fuselage “canoe.”  If you’re joining this program in progress, in RV-speak a “canoe” is the stage of fuselage assembly when the major components – tailcone, center section and firewall – are riveted together while upside down, looking like a large aluminum canoe.  Ellen and I spent practically the whole day finishing up a bunch of fuselage rivets, including the wing spar carrythrough, forward belly skin, and firewall areas.

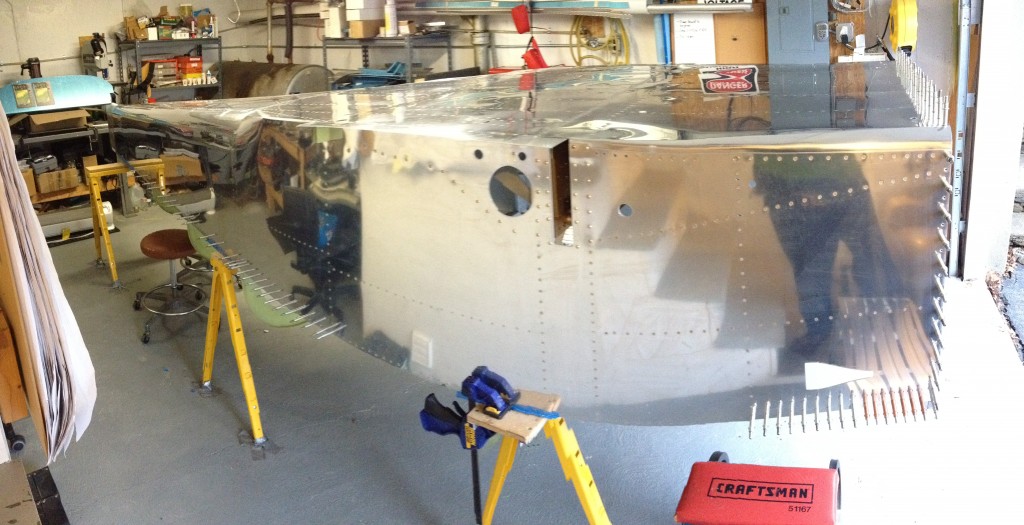
Here’s an iPhone panorama of our canoe at the end of our session today – click on it for the large version.

Canoe panorama

We ran into one problem area.  A couple of aluminum angles on the firewall bottom just don’t leave enough room to buck a few of the rivets on the lower firewall stiffener.  Van’s offsets these rivet holes a little aft to provide more room, but the extra space isn’t enough to get a bucking bar in there without beating up the angle.

IMG_5083

Some folks remove a little material from the angle to allow those rivets to be bucked, but I elected to use blind rivets.  Fortunately, I had some Cherrymax CR3214 structural blind rivets on hand – they’re the Cherry equivalent of NAS1097 “oops” solid rivets – they have 1/8″ shanks, but also have a flush head that fits dimples or countersinks for 3/32″ flush rivets.  So all I had to do was drill the problematic holes out to #30 and use the Cherrys.  Problem solved…

IMG_8427

To paraphrase an old Tom Cruise movie, “Cherrymax…there is no substitute.”

Cherrymax...there is no substitute

The result of all that work?  A nice, smooth belly skin.

Forward belly skin riveted

Another picture of the final product…I knew you’d want one.

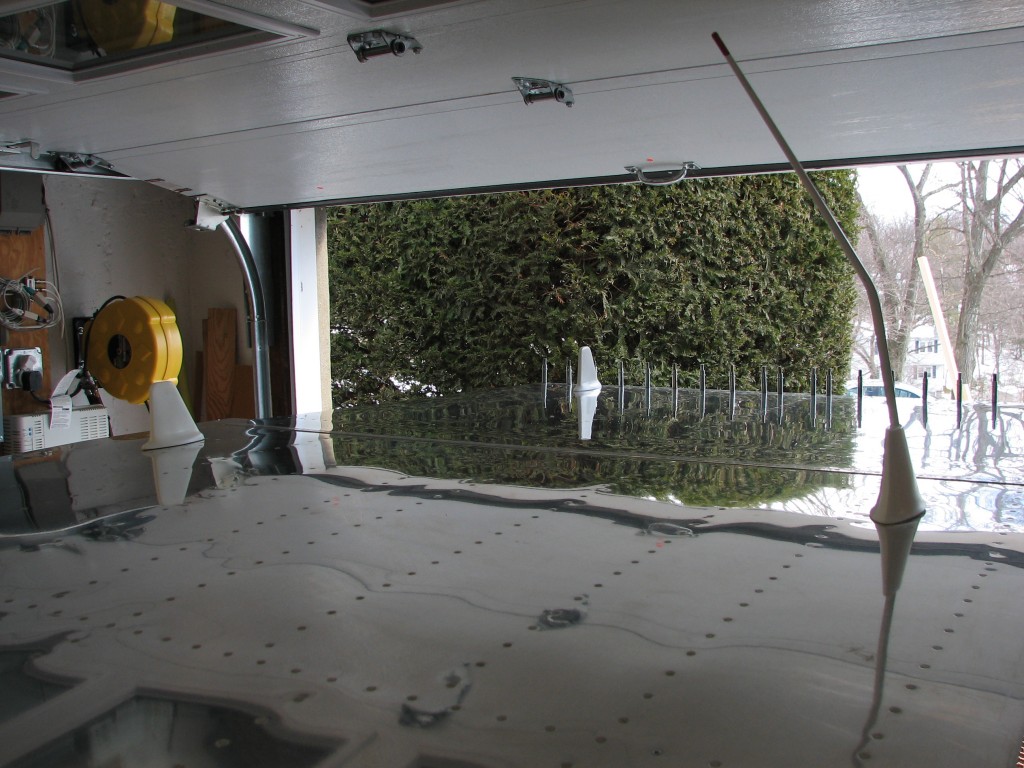
Another riveted canoe picWe need something to hold the fuselage at a convenient height, so one of my tasks for the week is to fabricate a rolling cradle that will let us make the most of our limited shop space.  We’re also rearranging the shop to free up enough maneuvering room for future work, like installing the canopy and hanging the engine.