
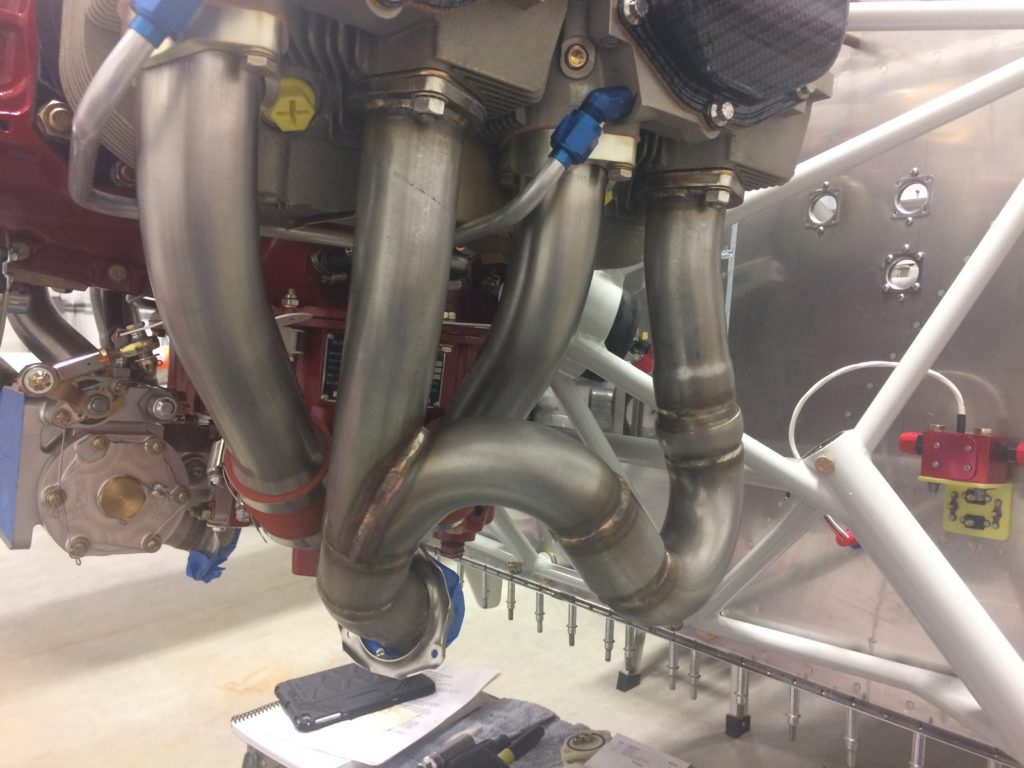
More to follow on this one, but as a teaser, things didn’t go so well after this picture was taken…
…so you’ll just have to deal with the plain, unvarnished facts.
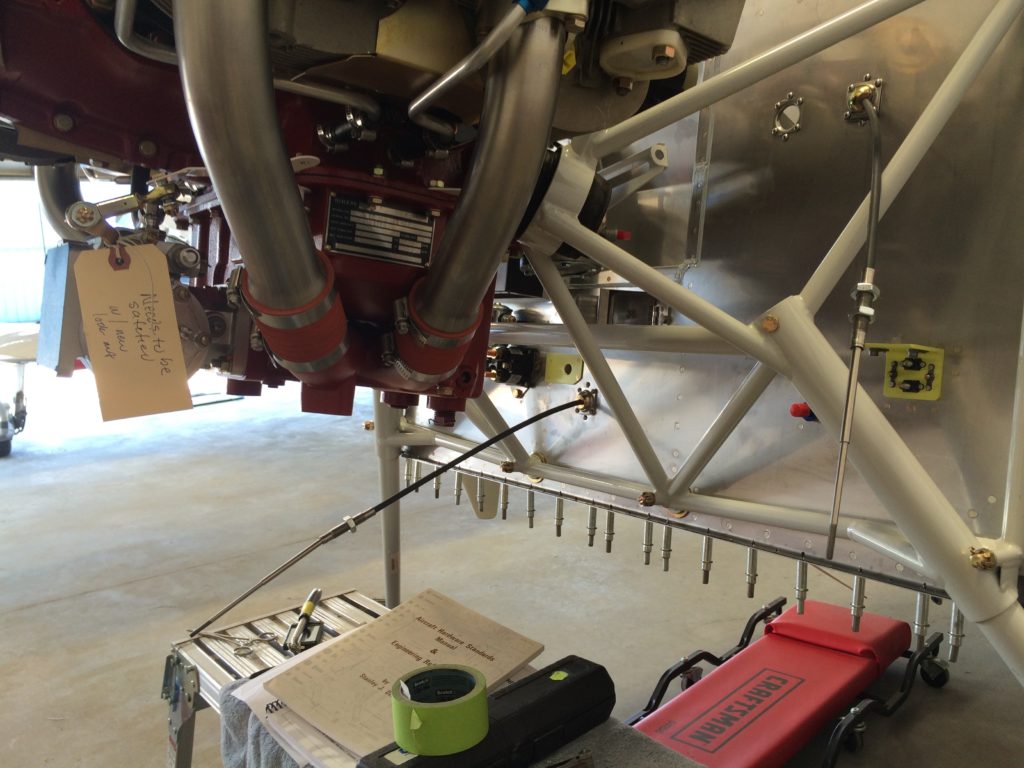

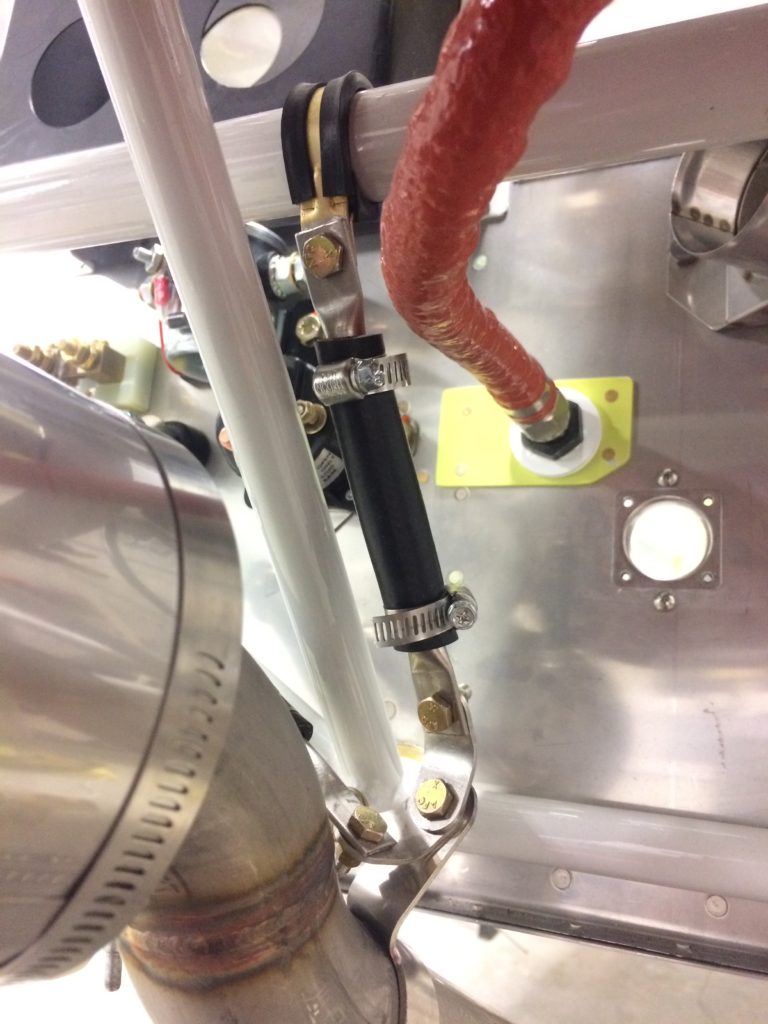
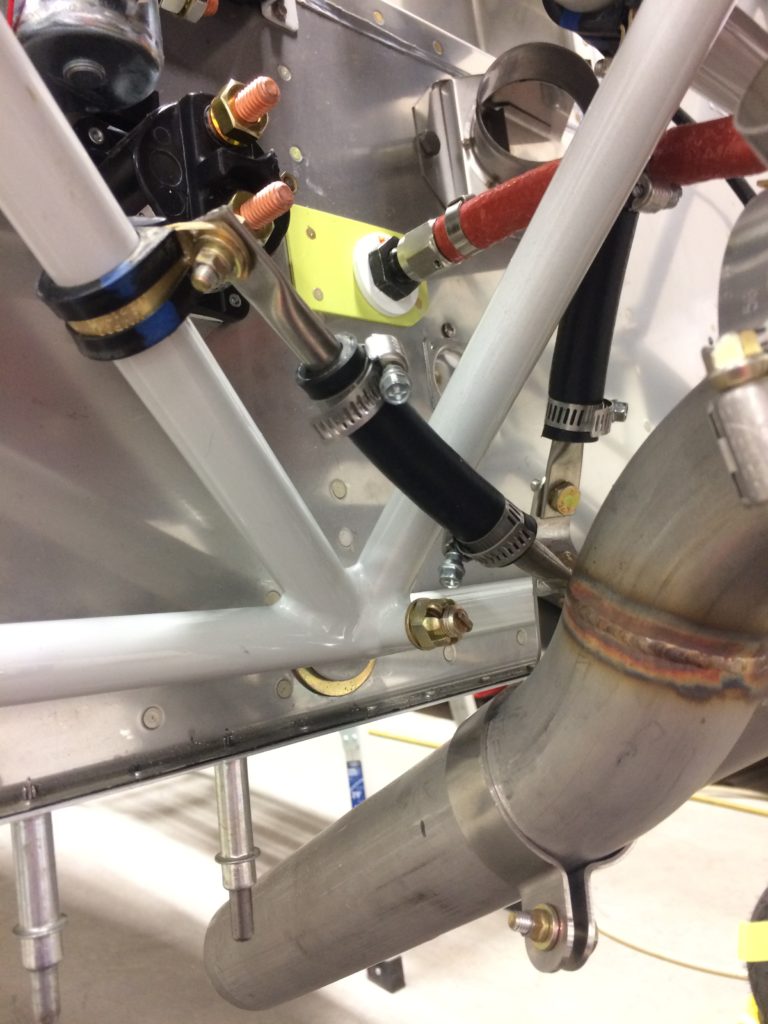
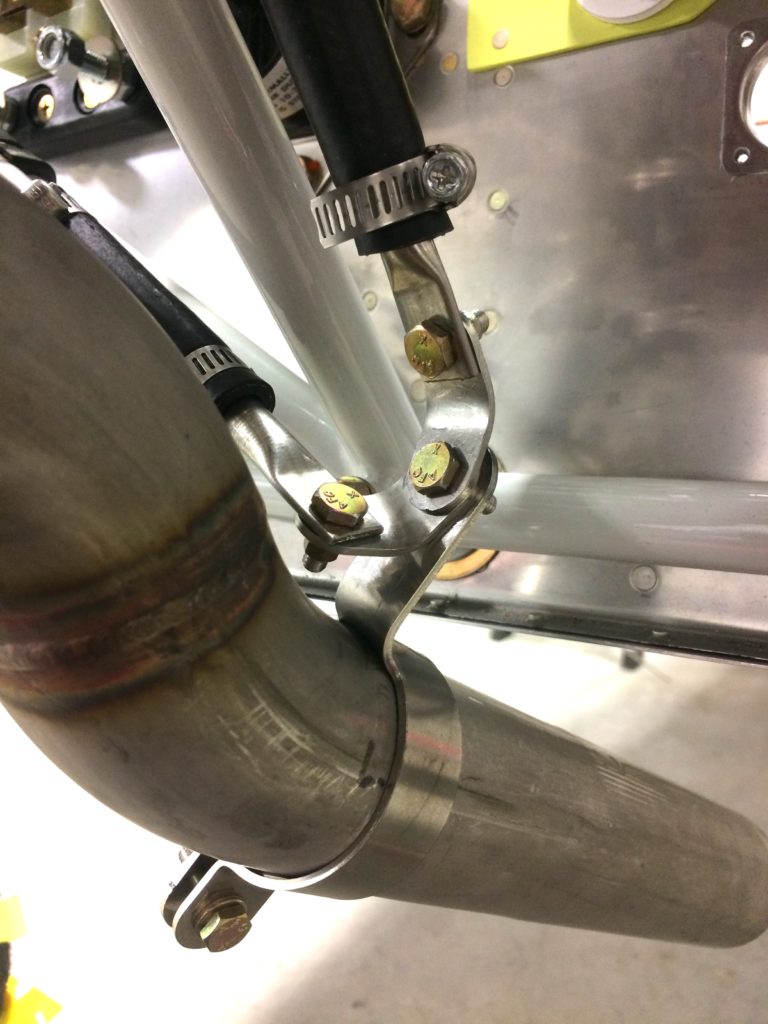
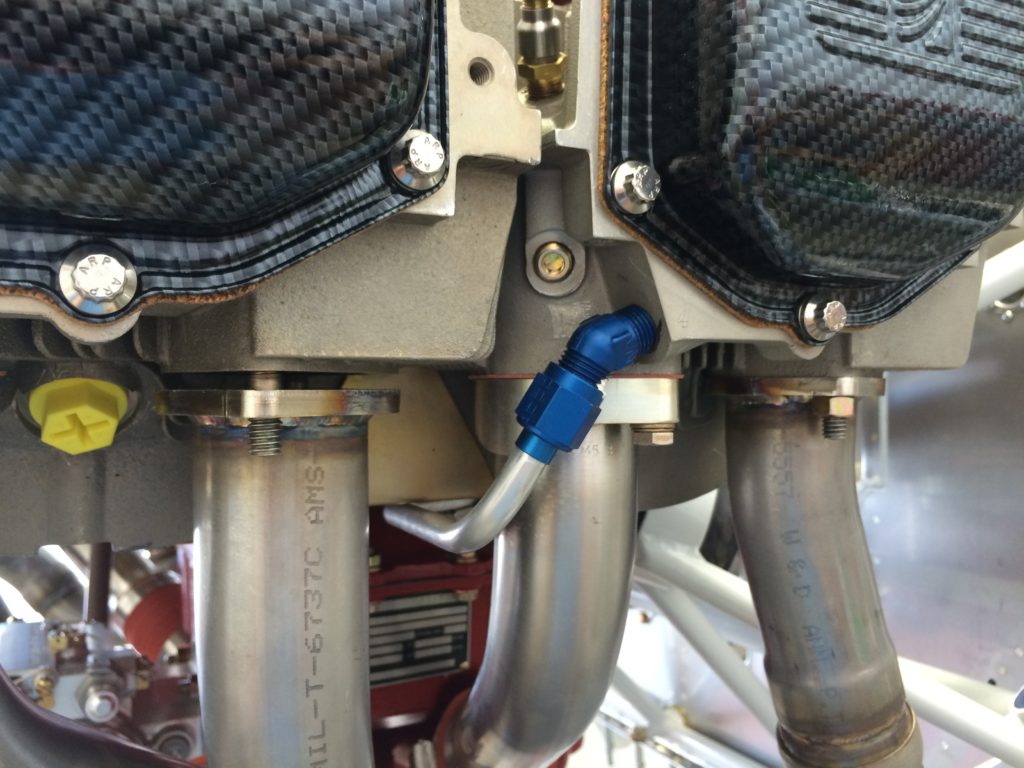
Test-fitting the exhaust.
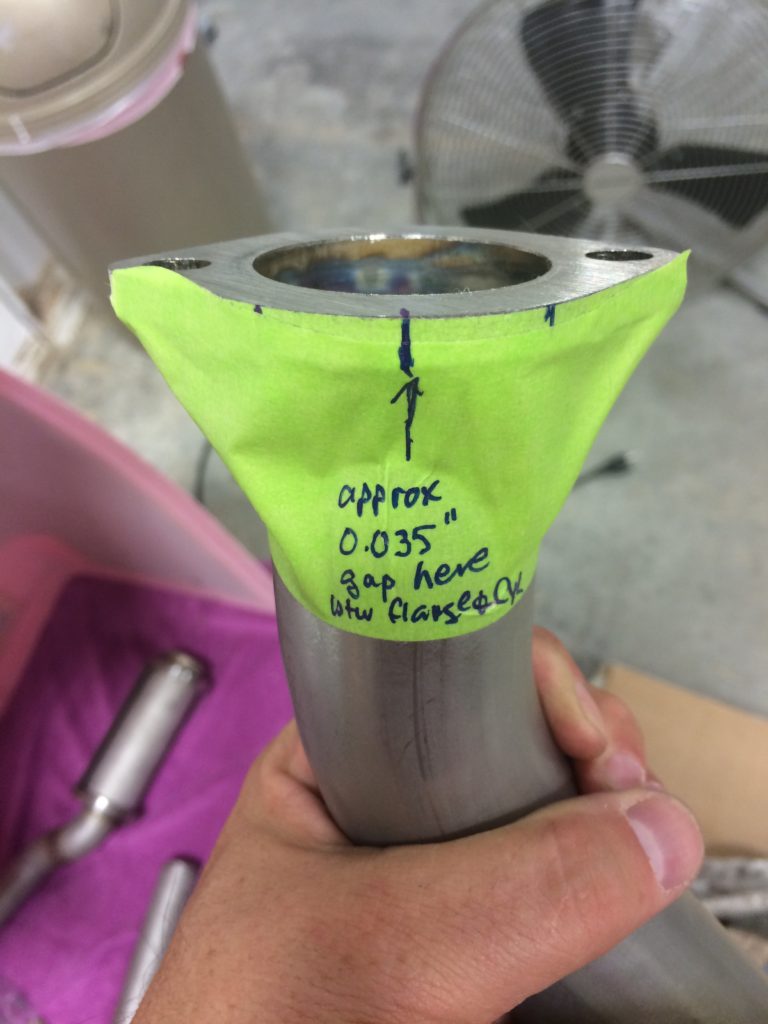
Problems with primary exhaust flange fit
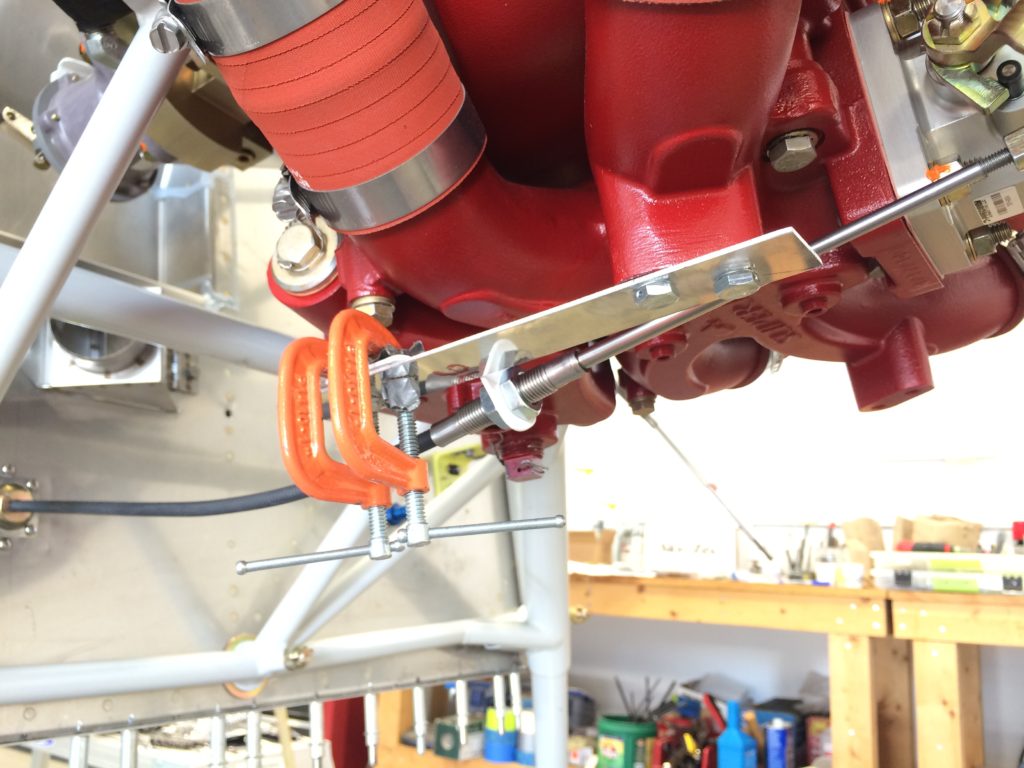
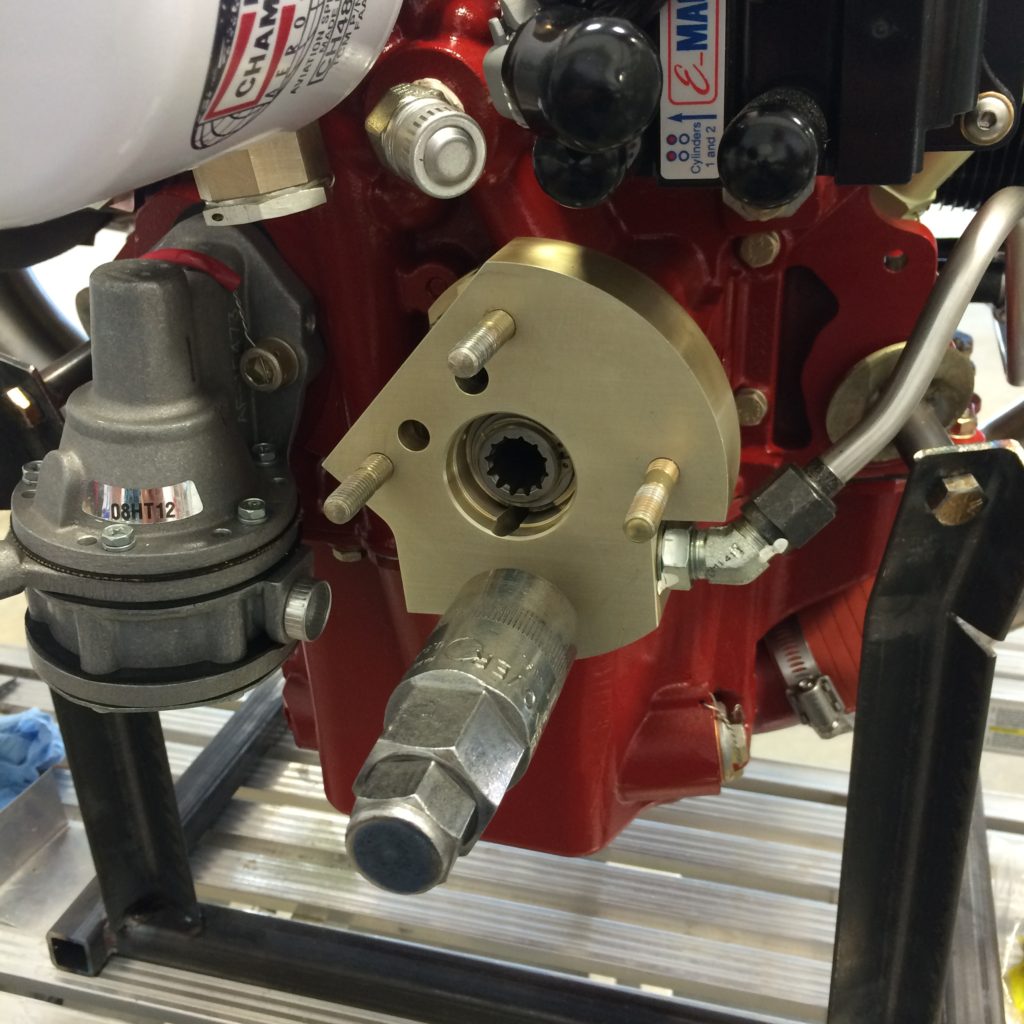
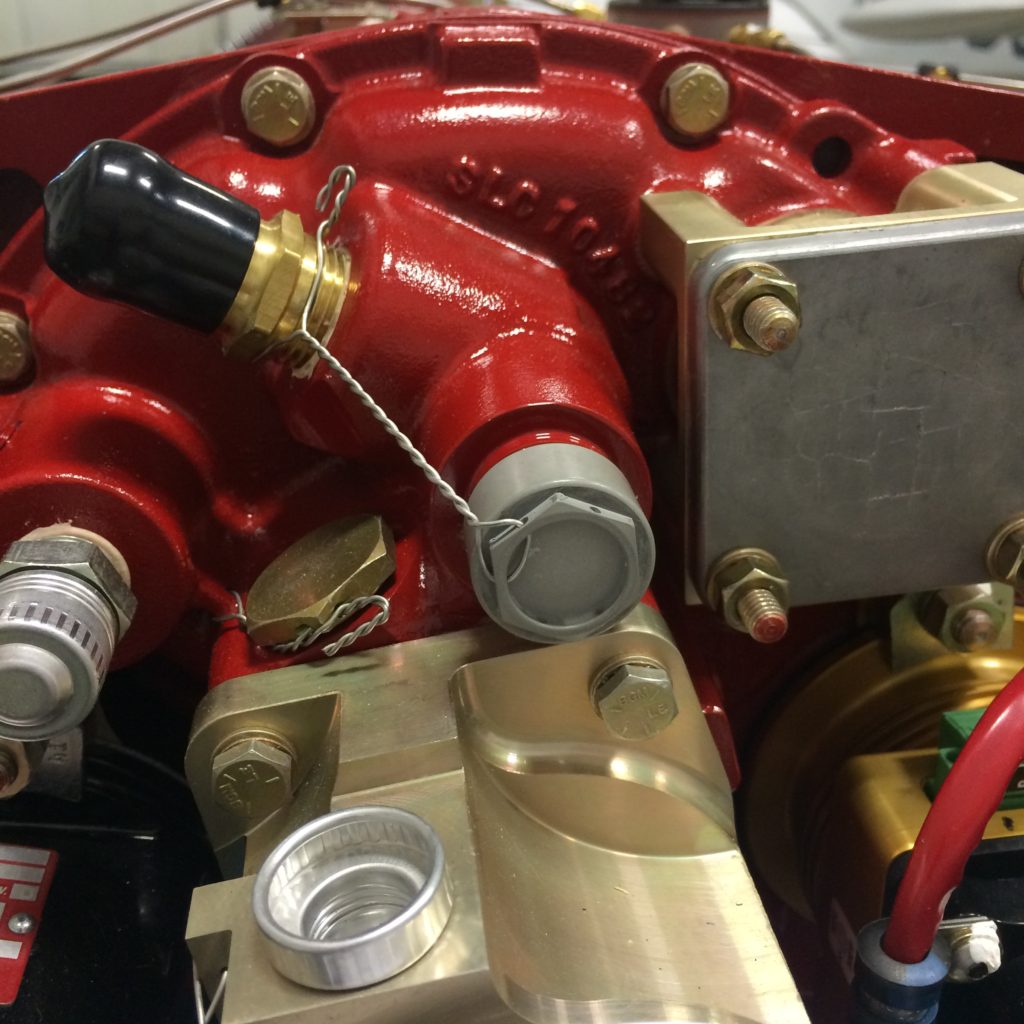
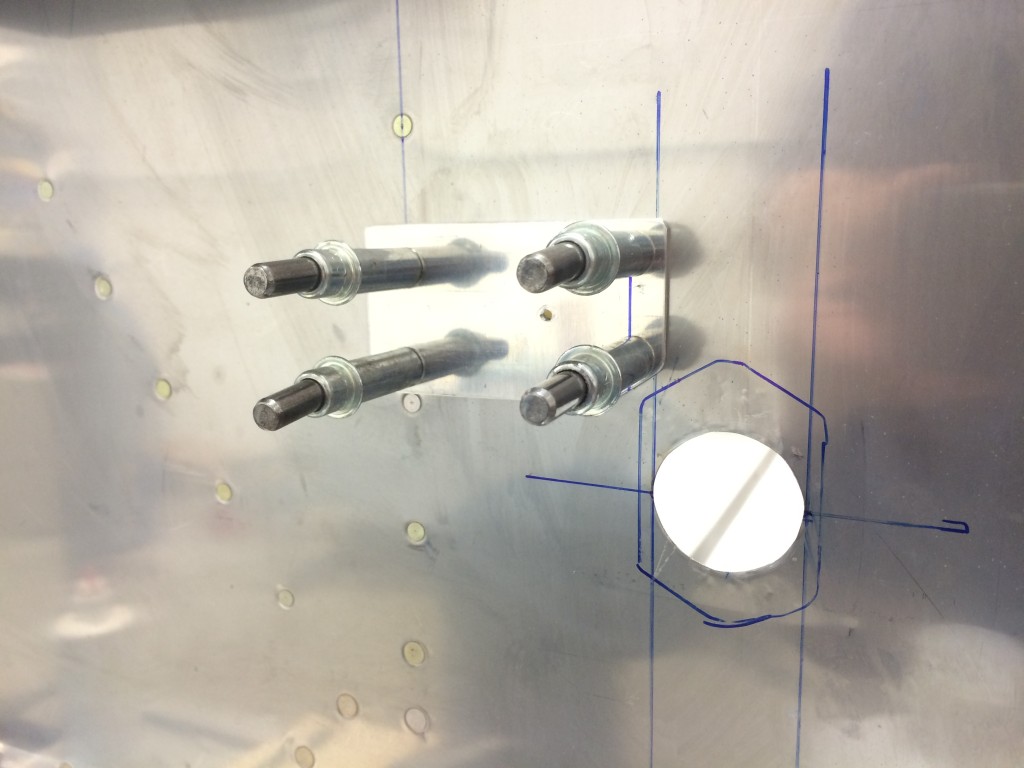
Swapping out fuel injector servo mounting studs.
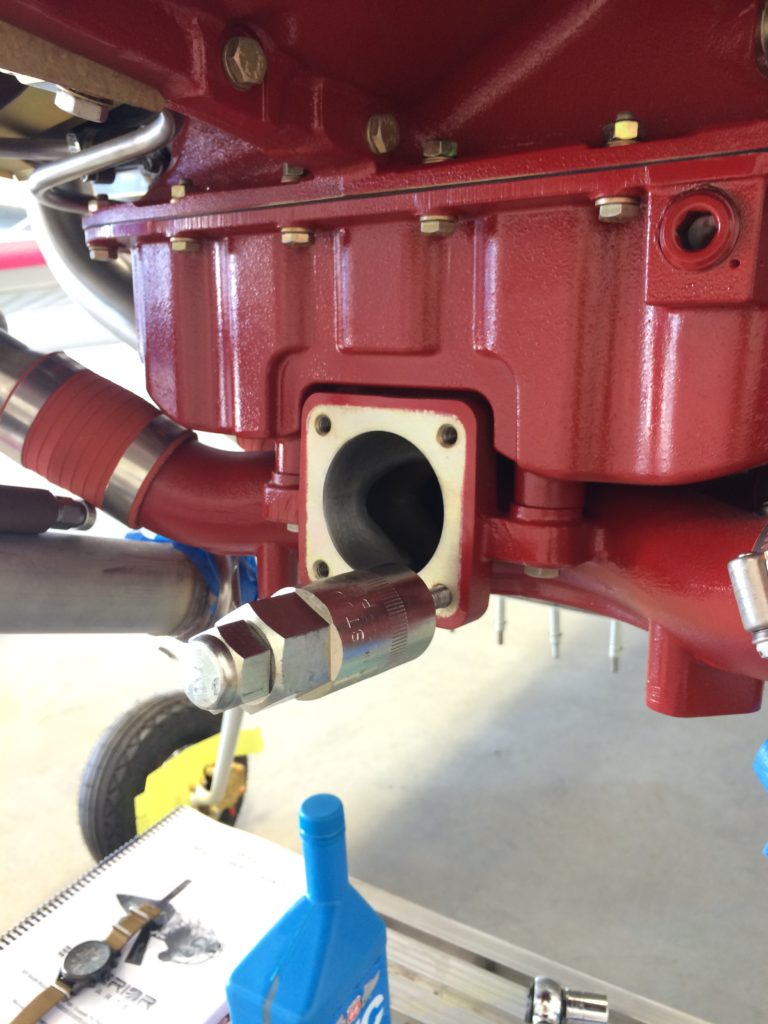
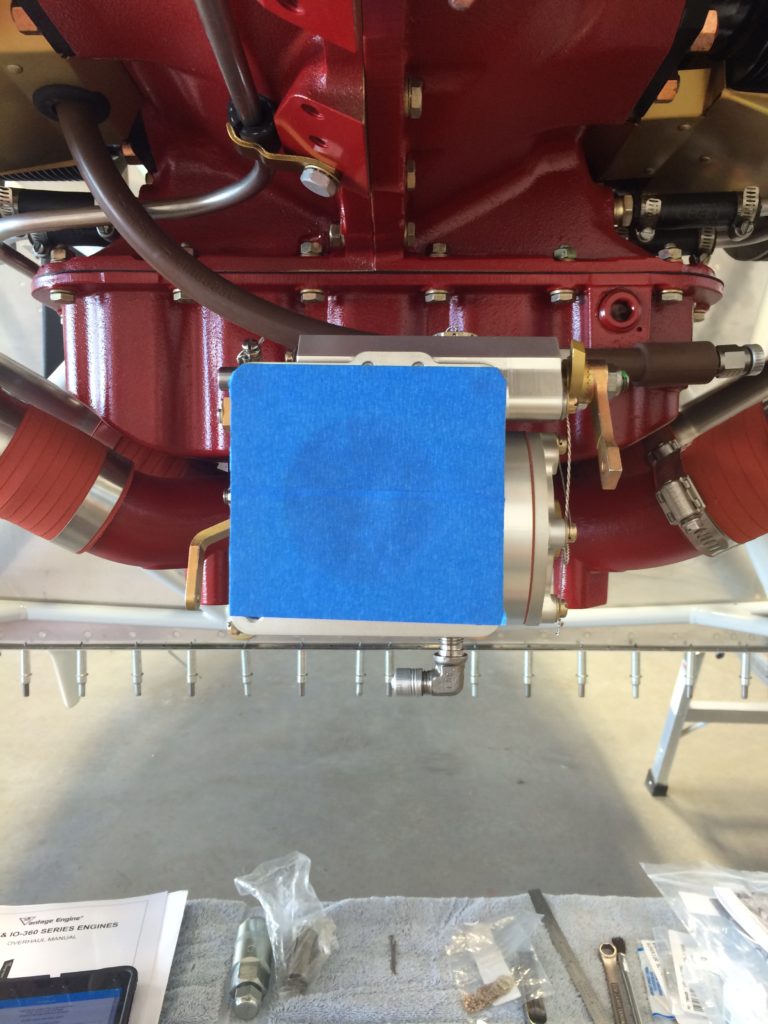
Fuel injection servo installed, intake masked off to keep stuff out.
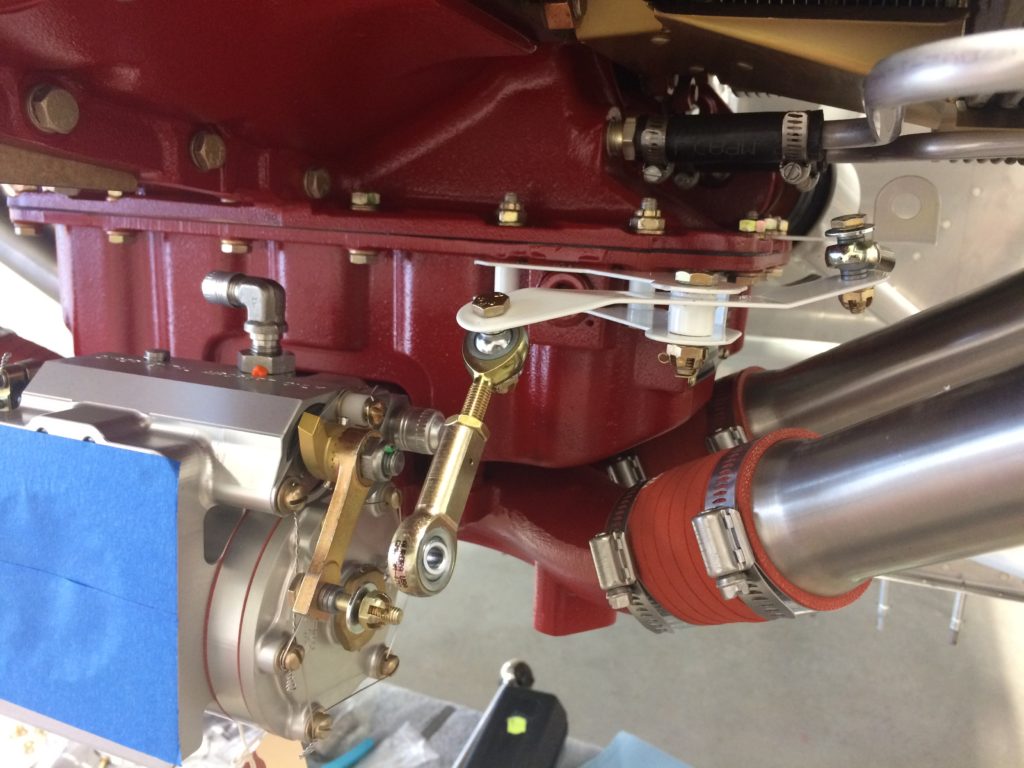
Mounting the engine controls, starting with the mixture bellcrank.
Had a few minutes to spare, so why not install the alternator?
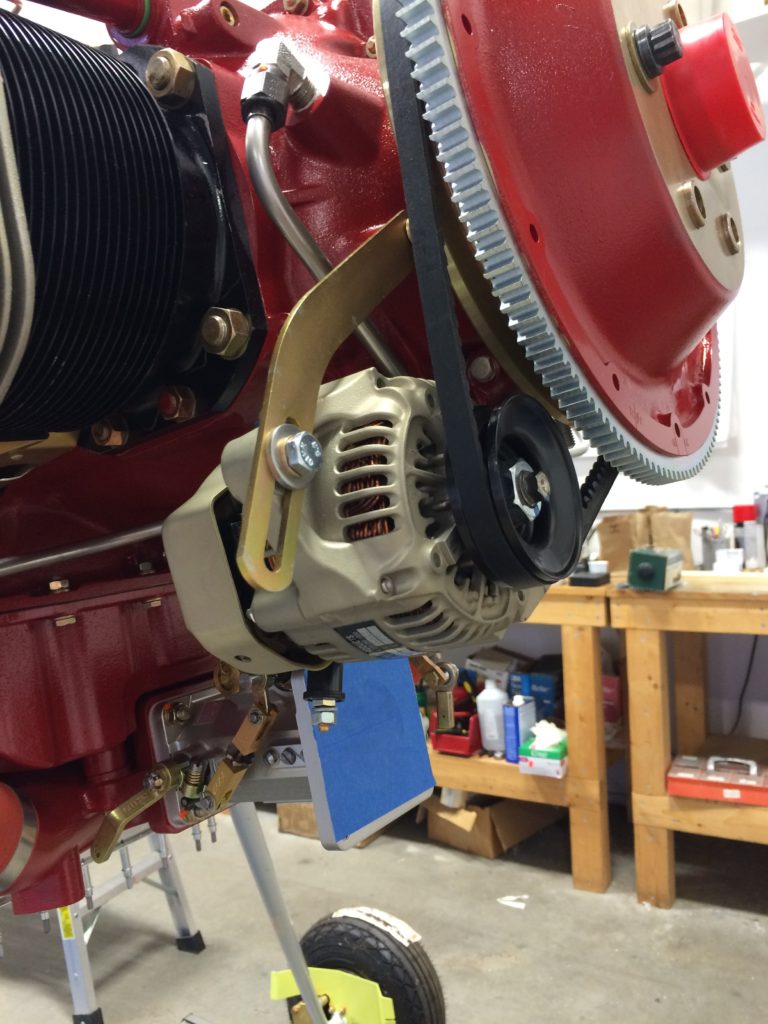
The tensioner arm and pivot bolt still need to be torqued, but that’ll wait until the prop is on and the alternator belt is correctly tensioned.
I’m finally getting caught up on all the missing text I didn’t add when I posted these pictures…
Like Unwrapping the PCU-5000 governor after 9-plus years of storage.
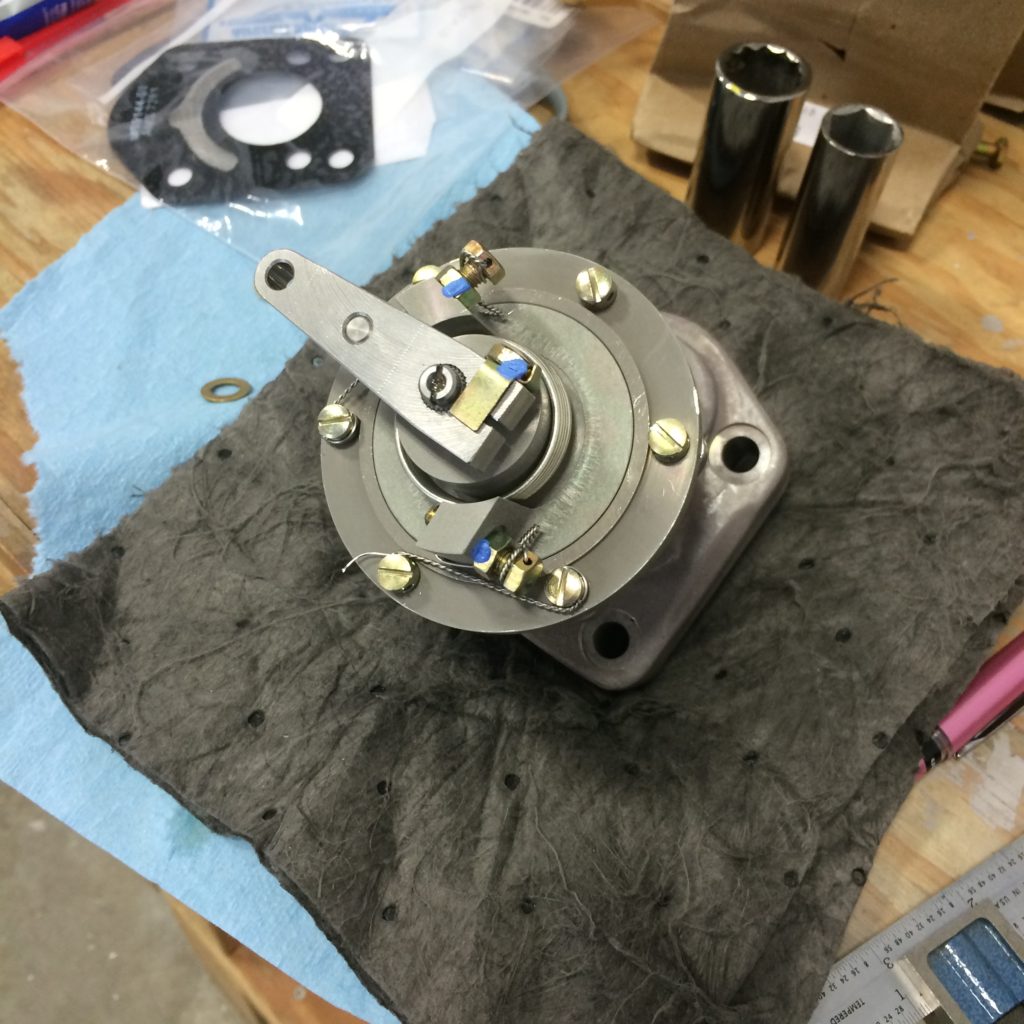
Installing longer mounting studs.
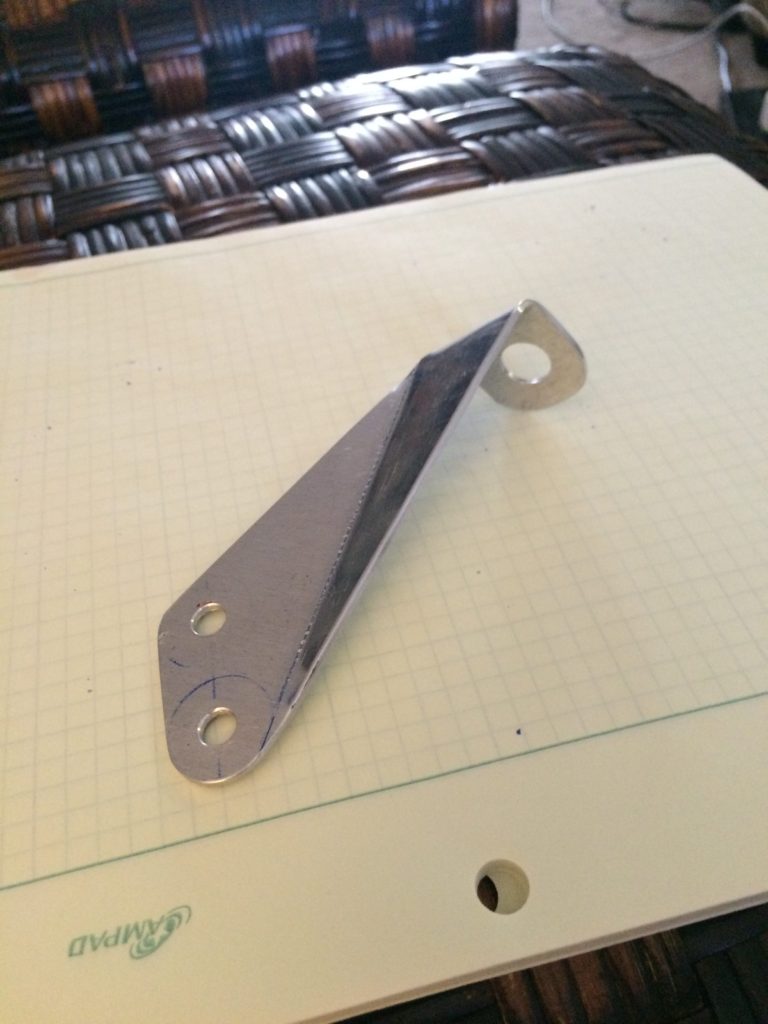
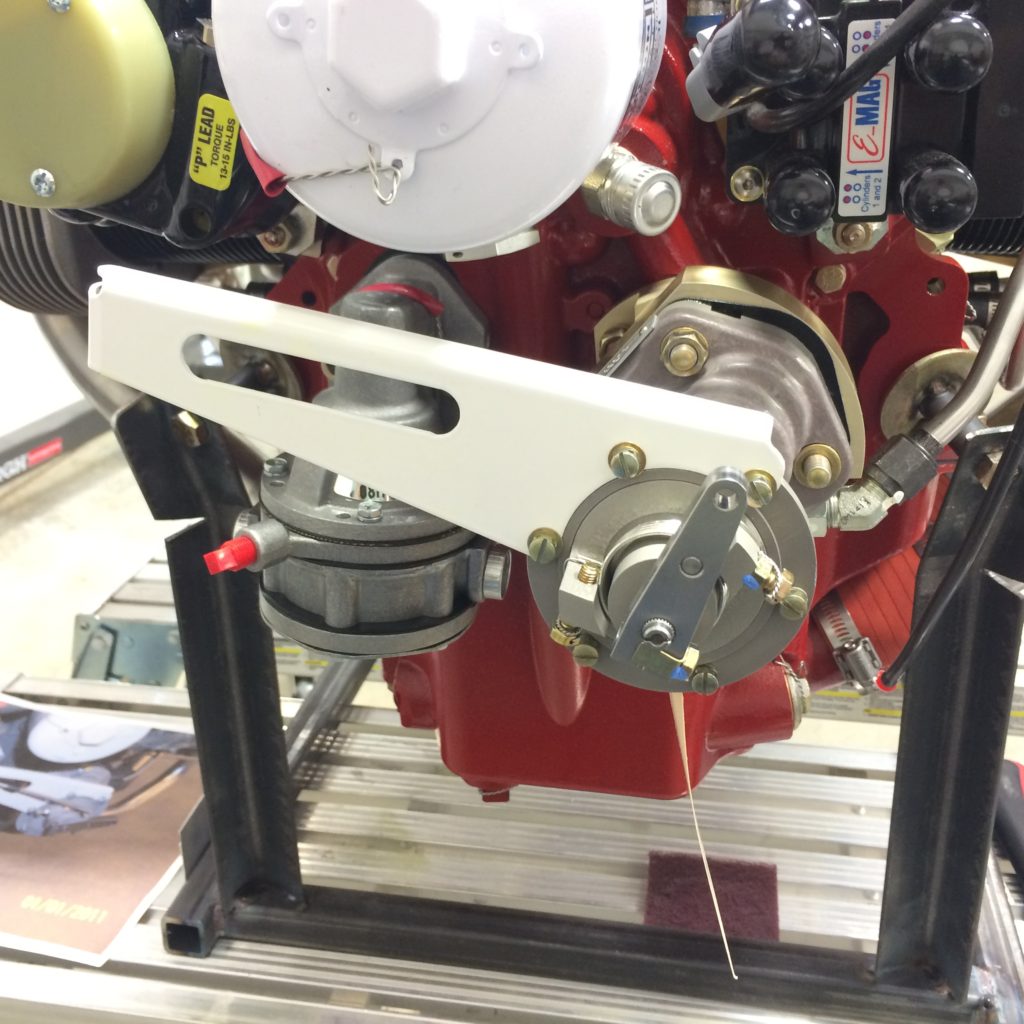
Adapting the stock Van’s governor cable bracket.

Governor cable bracket installed
Tachometer drive cable installed.
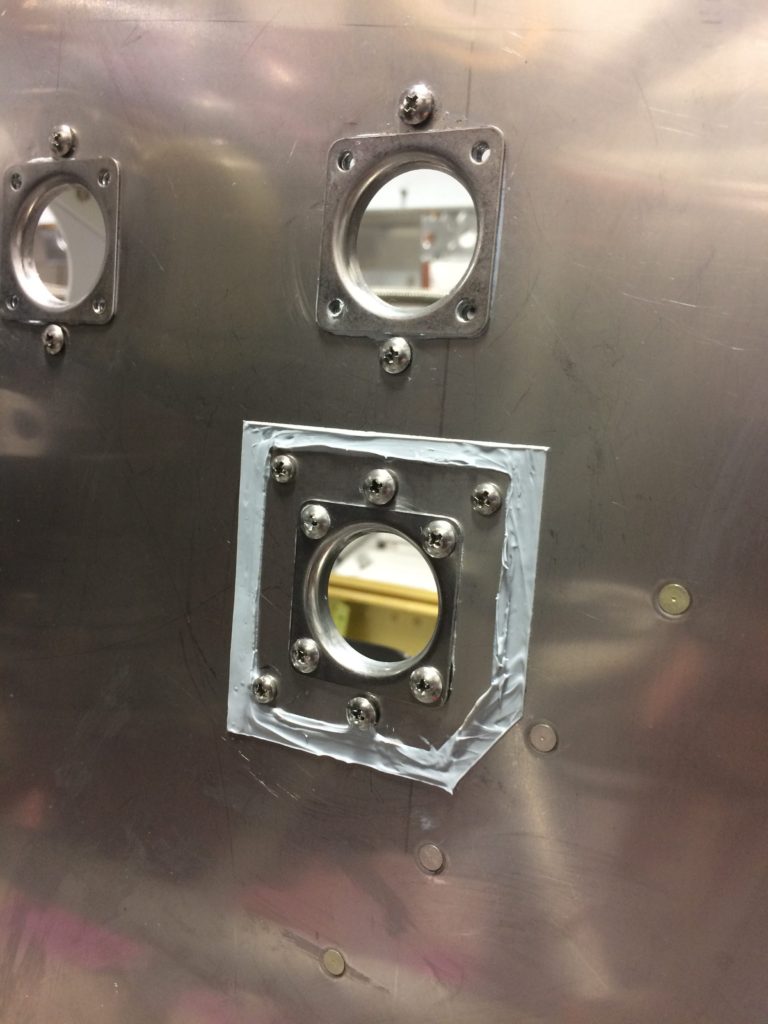
The remainder of canopy work, mostly laying up the fiberglass front fairing, is on hold until warmer weather. So for the last two weeks I’ve been working on laying out and installing everything that needs to be on the firewall before the engine mount is permanently reattached.
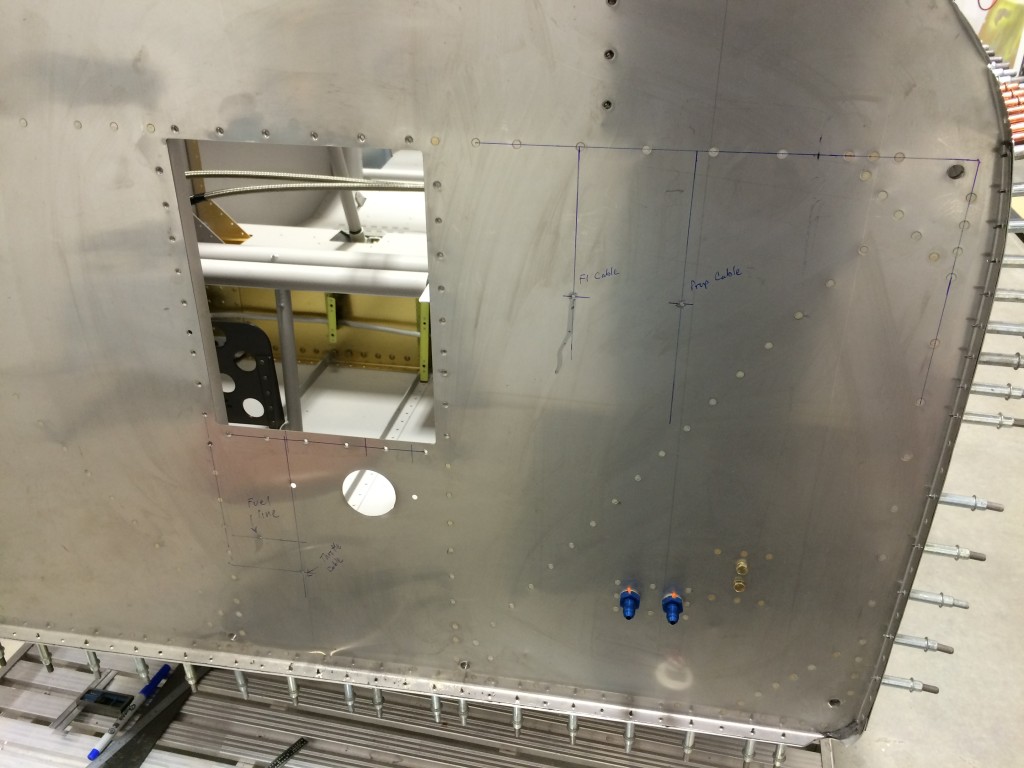
Throttle, mixture and prop cable penetrations laid out on firewall.
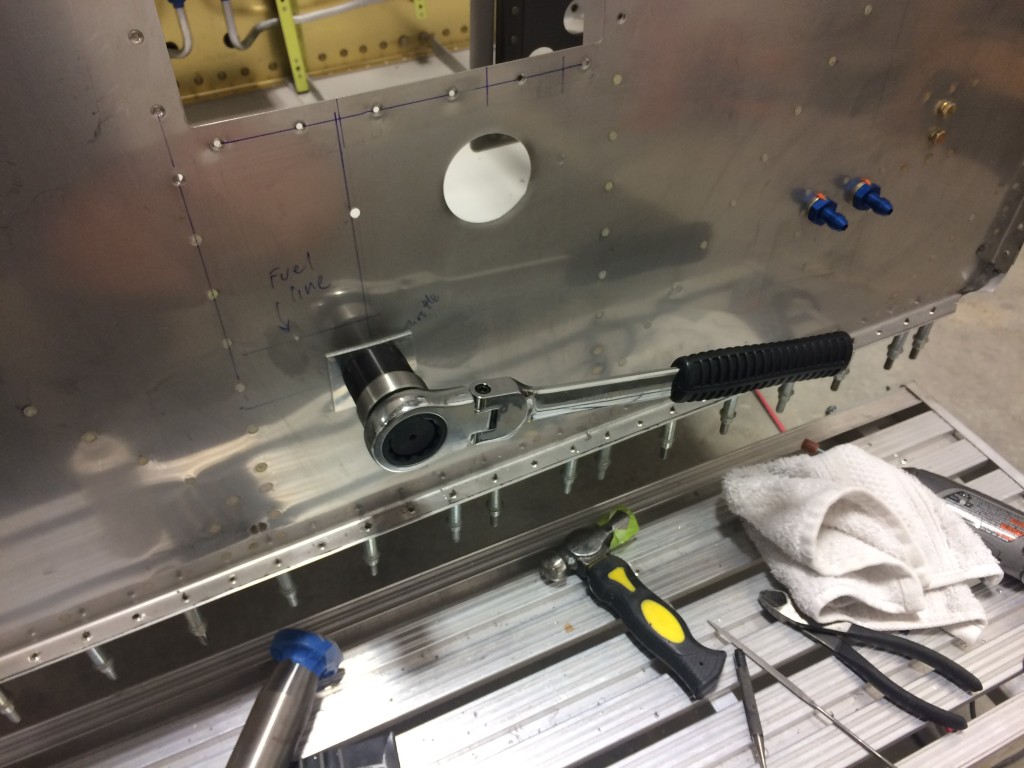
Cabin heat control box mounting holes cut, using my inexpensive Lowe’s knockout punch to cut the throttle cable penetration.
Not a super clean hole, but better than I could have done otherwise.
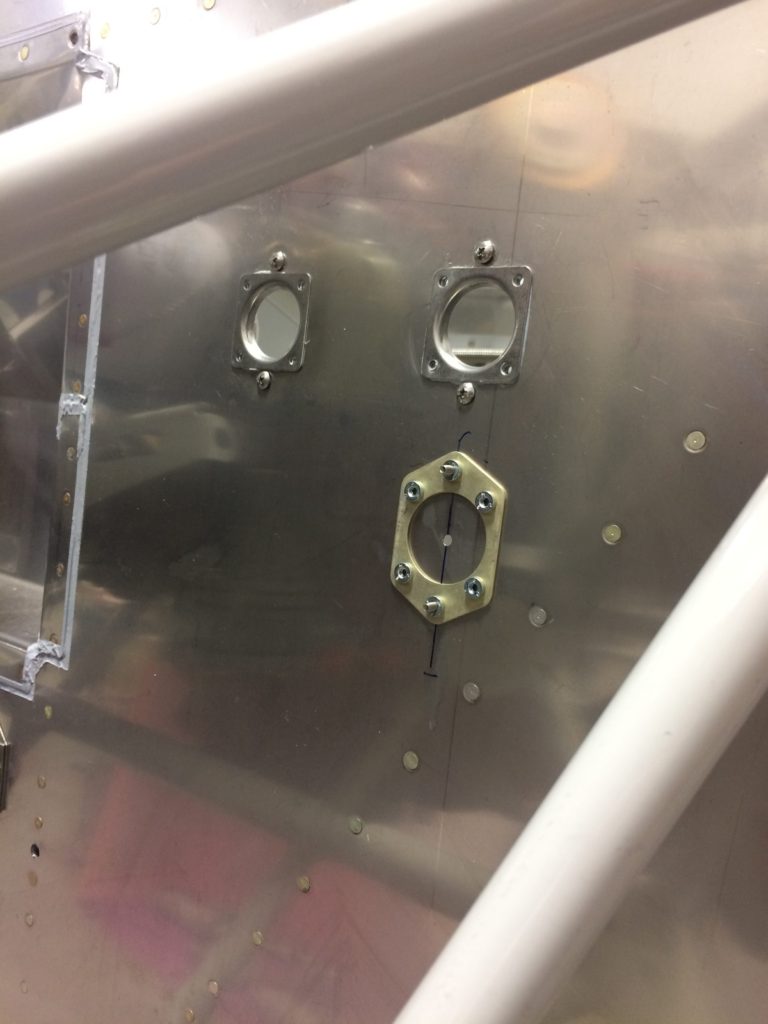
Fitting the fuel line penetration doubler.
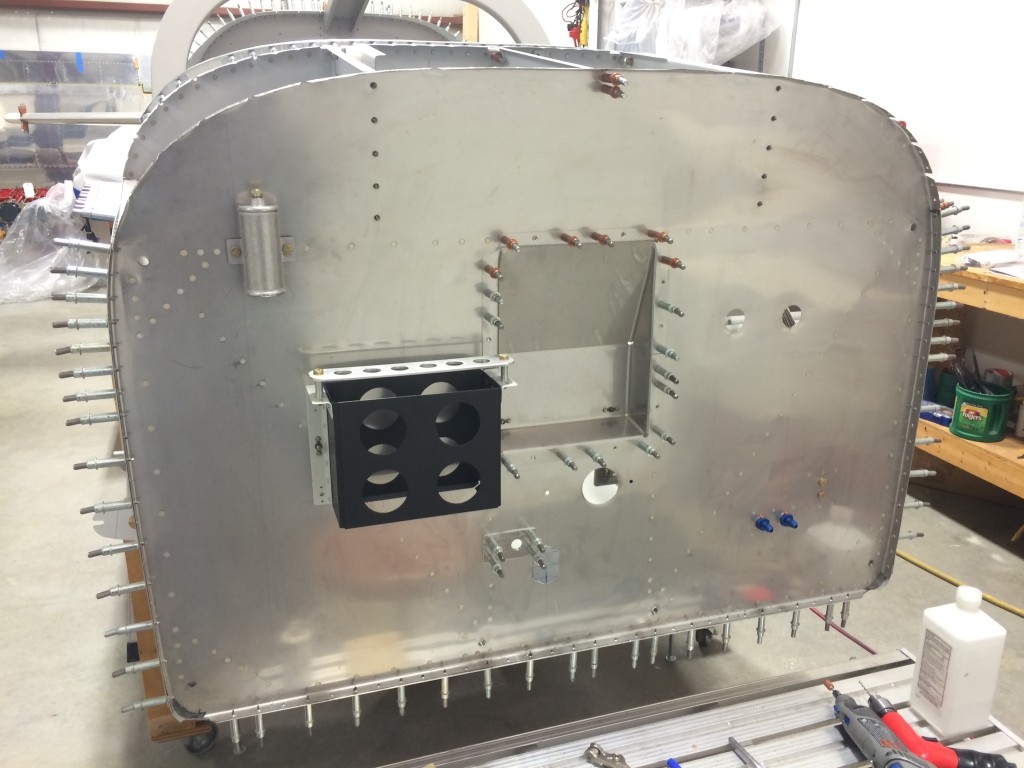
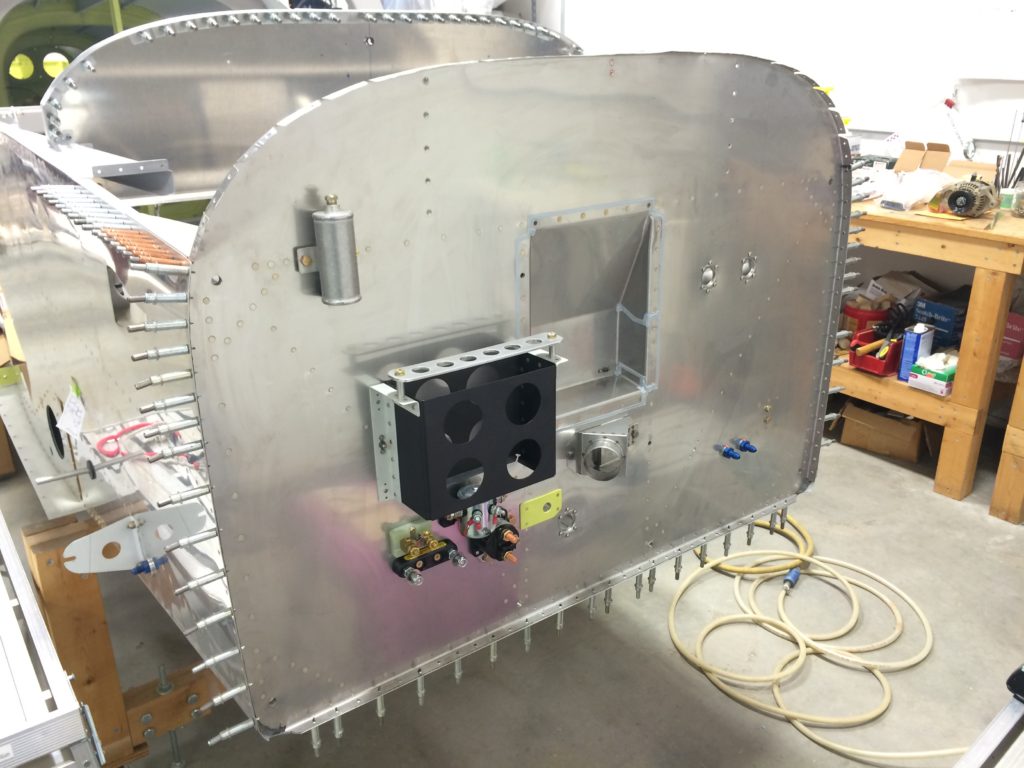
The oil filter cutout and battery box are in temporarily installed so I can begin laying out battery and starter contractor locations.

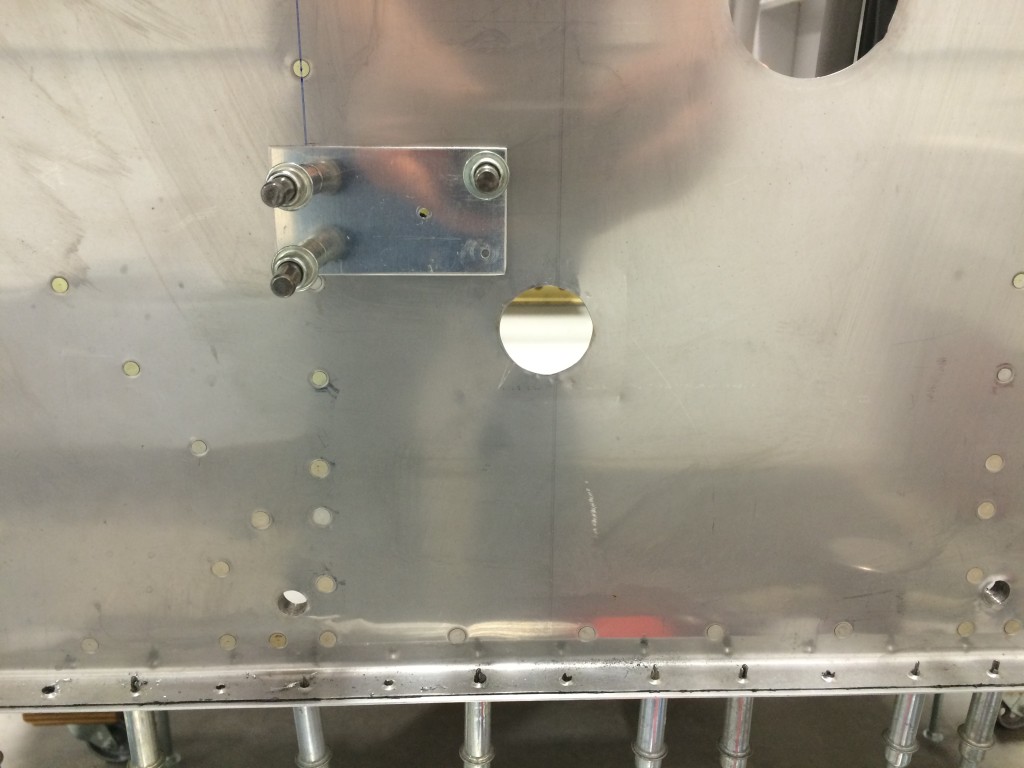
Fitting the starter/battery contactor doubler.
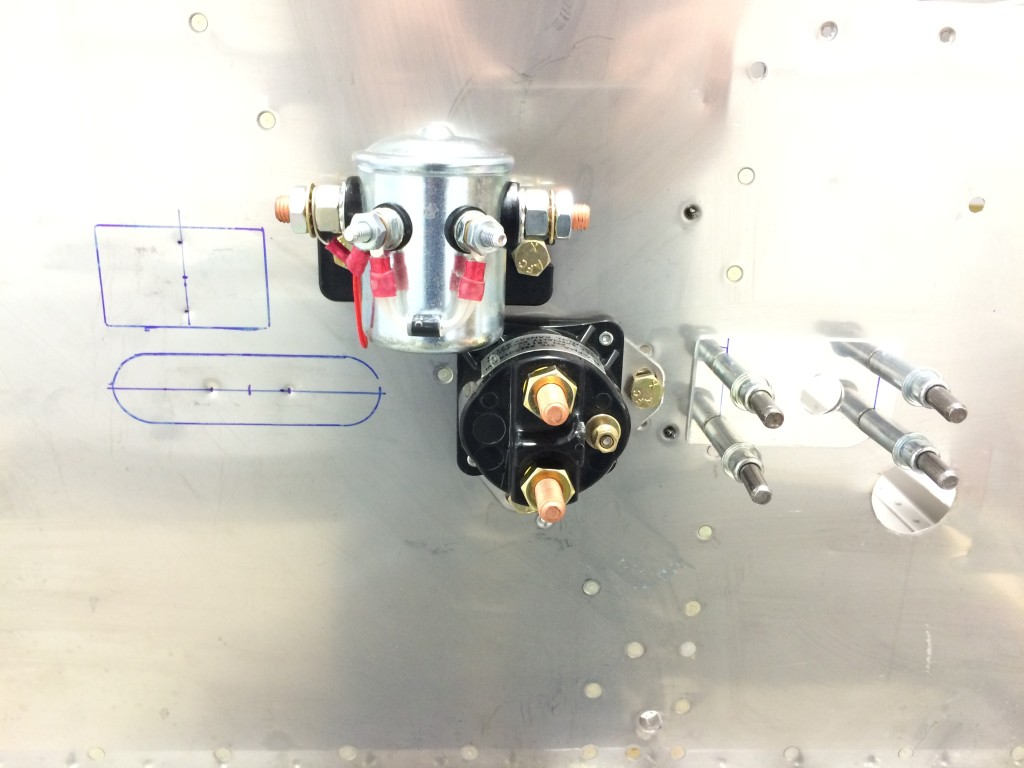
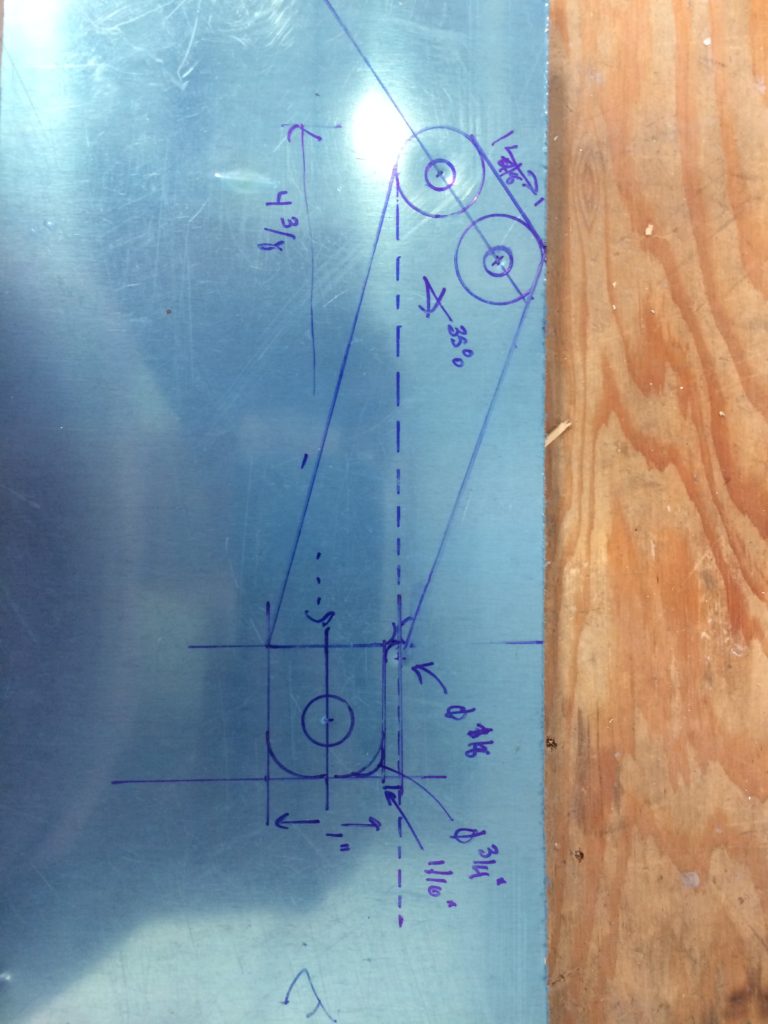
Battery and starter temp fitted, laying out location of ANL fuse holder and current-measuring shunt. The relative locations of the battery (top, silver) and starter (black, bottom) contactors was as close as I could get to Van’s plans locations while still accommodating the different style of starter contactor sold by B&C.
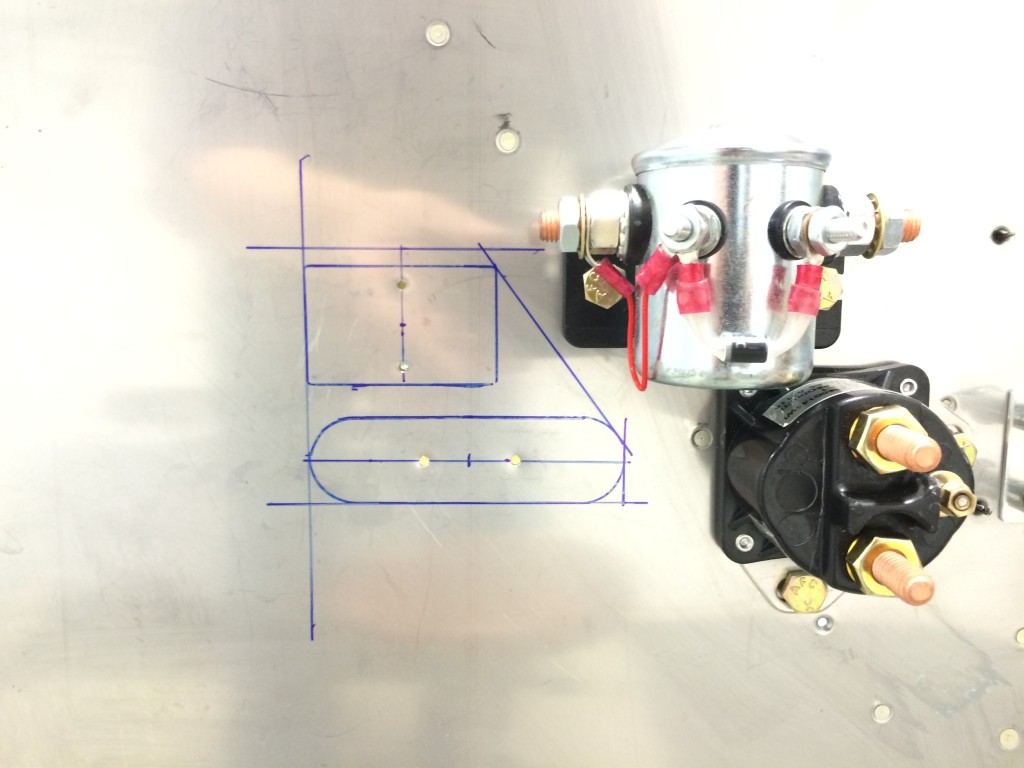
Doubler outline laid out, ready for fabrication.
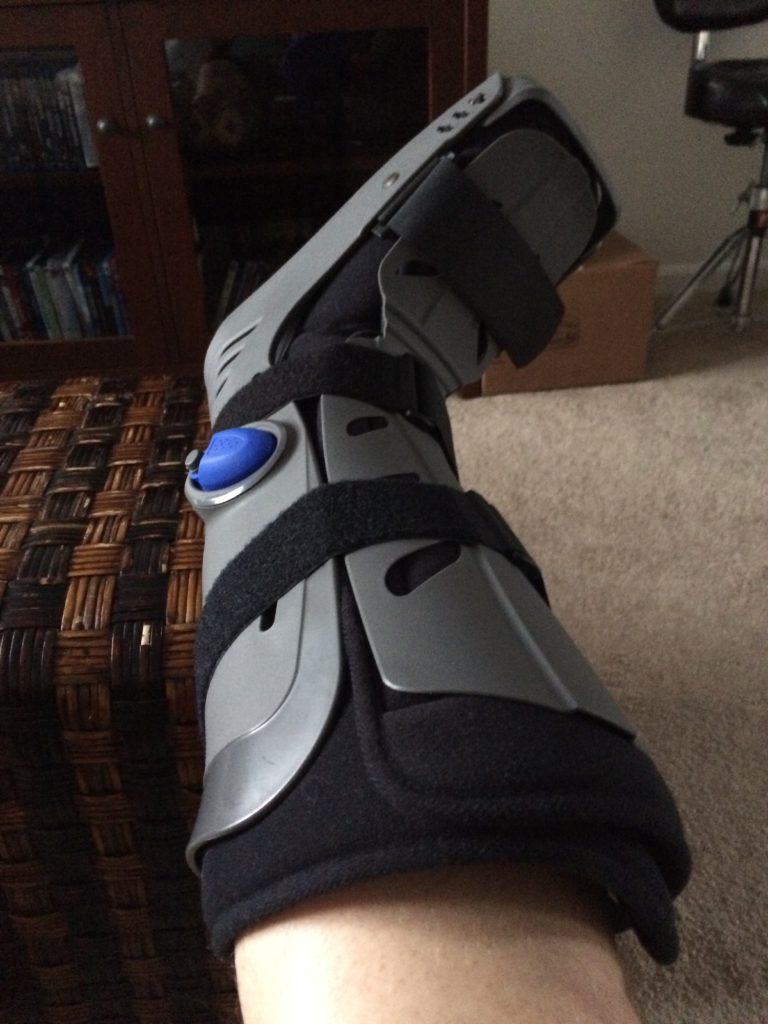
Mid-April – a running misstep led to a fractured ankle. No airplane work for a couple of weeks…this sucks.
Back to work in early May despite the booted ankle. With Ellen’s help, we got the contactor/fuse/shunt doublers and nutplates riveted to the firewall.
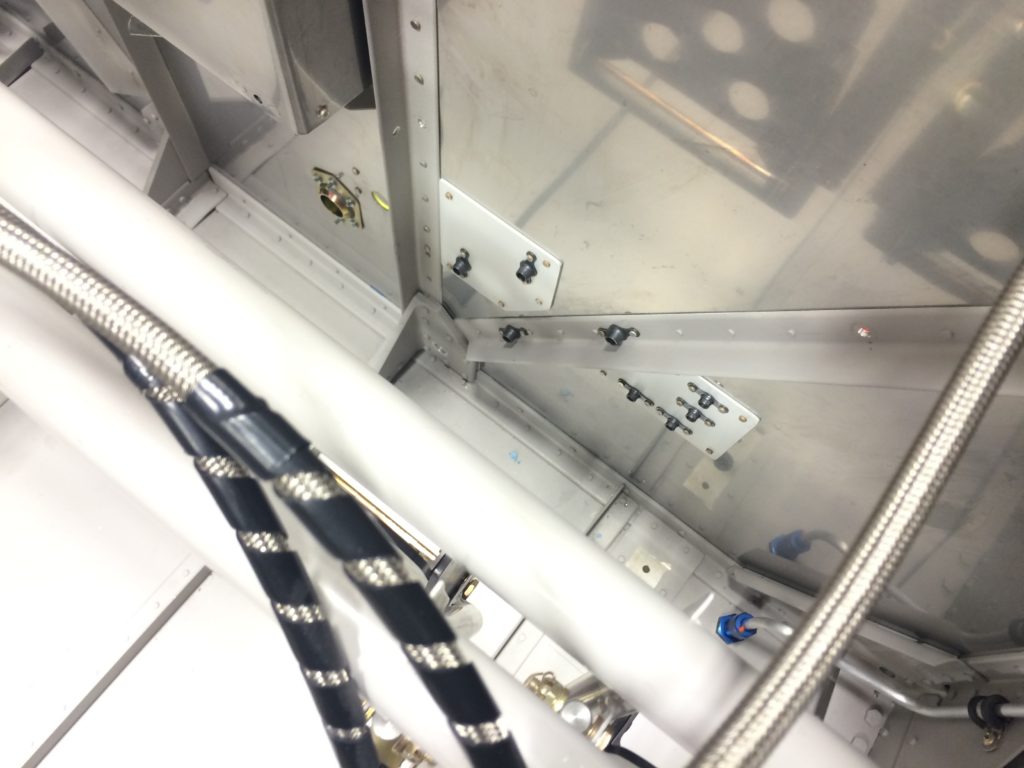
The result of an evening’s work – battery and starter contractor doublers and nutplates riveted to the firewall.
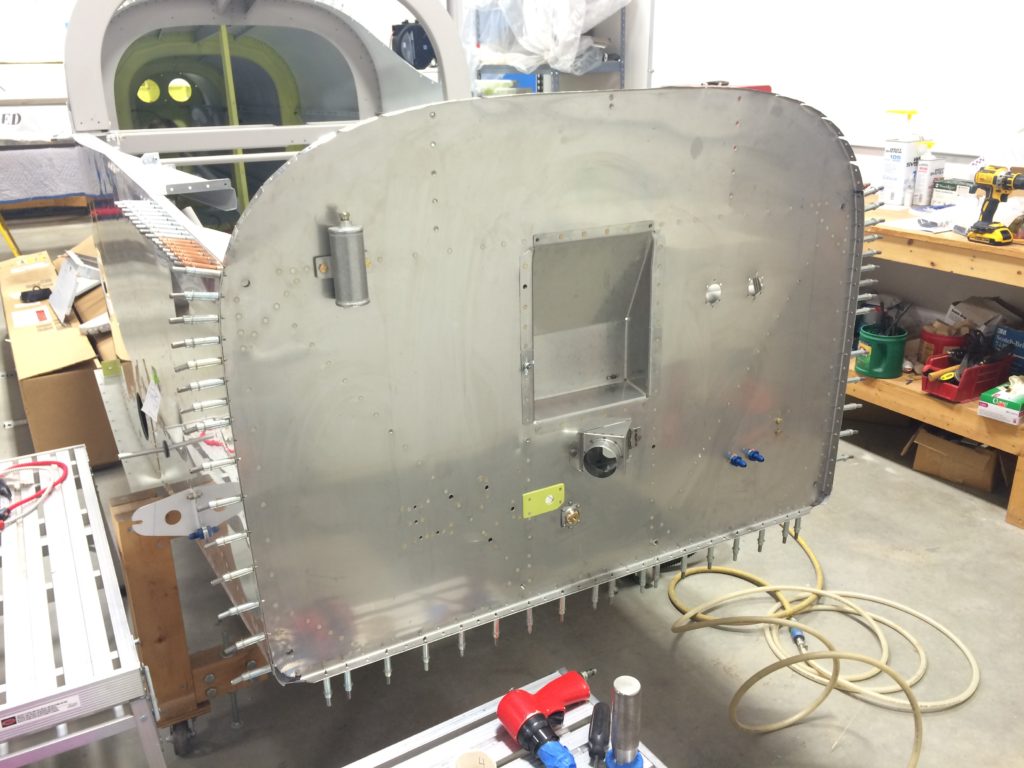
Everything (almost) is now riveted to the firewall, ready to install electrical components, battery box and control cable passthroughs.
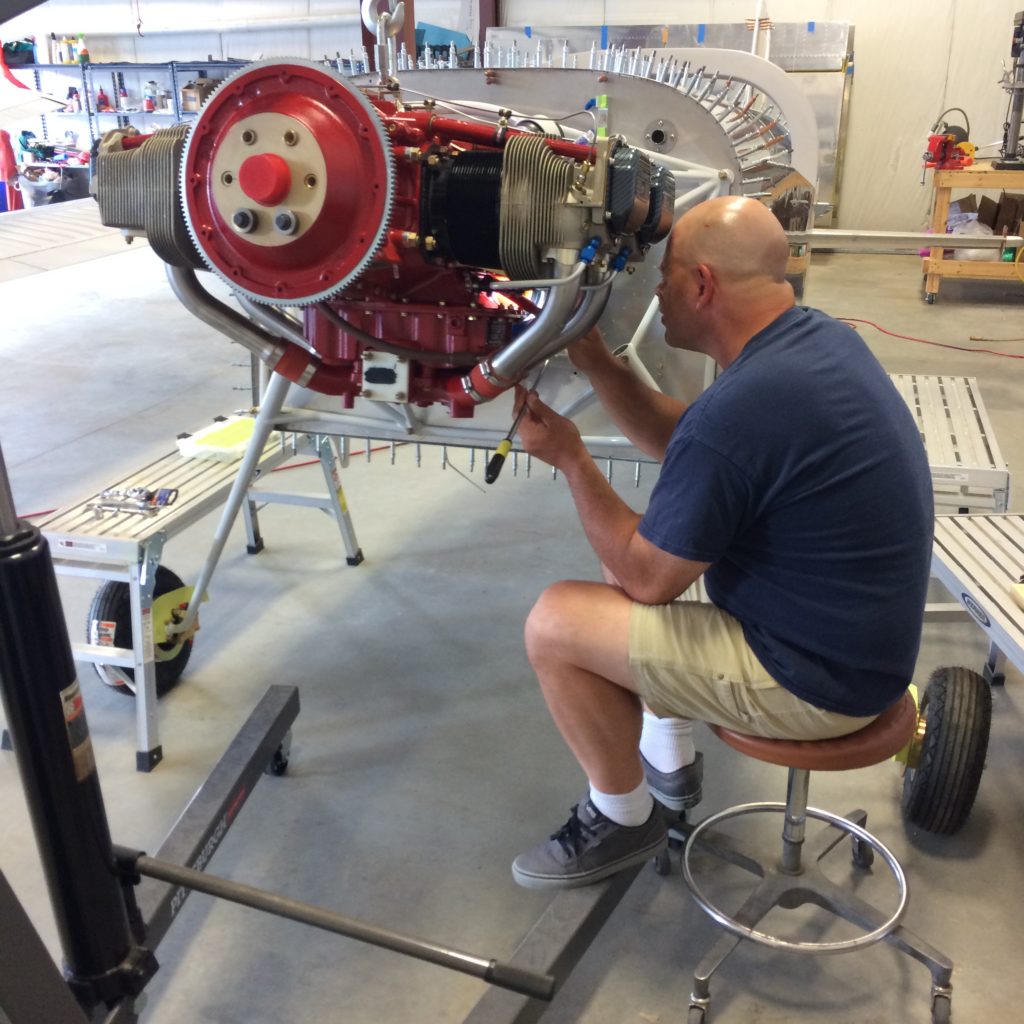
I was able to sneak away for a few hours and get most everything installed on the firewall. A few minutes of work for a nice little bit of visual progress.
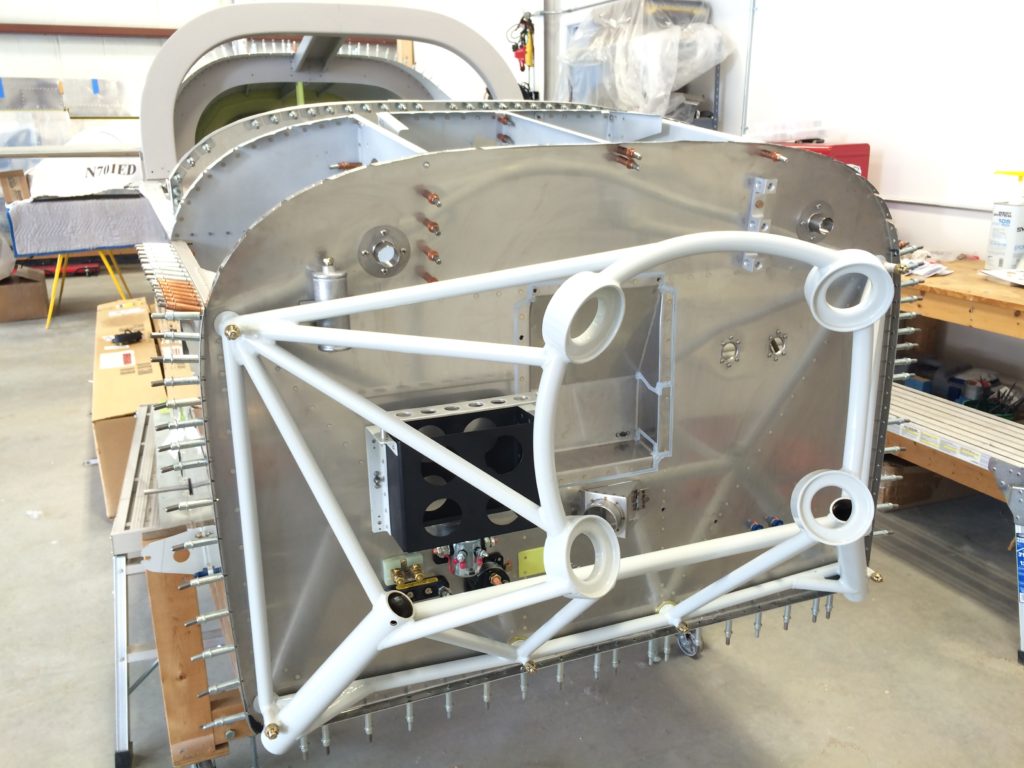
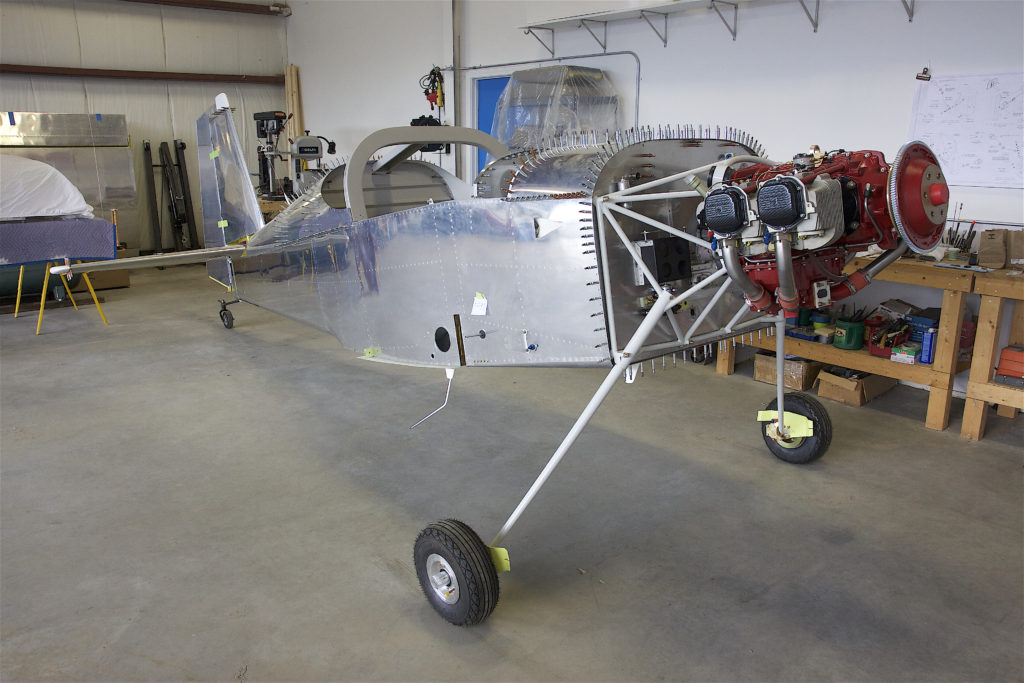
Fast forward a few days to finishing firewall prep and permanently reinstalling the engine mount. Ellen joined me at the hangar to help with fitting, bolting, torquing, hoisting and gear reinstallation. No more ankle boot, so moving around the airplane was a lot easier.
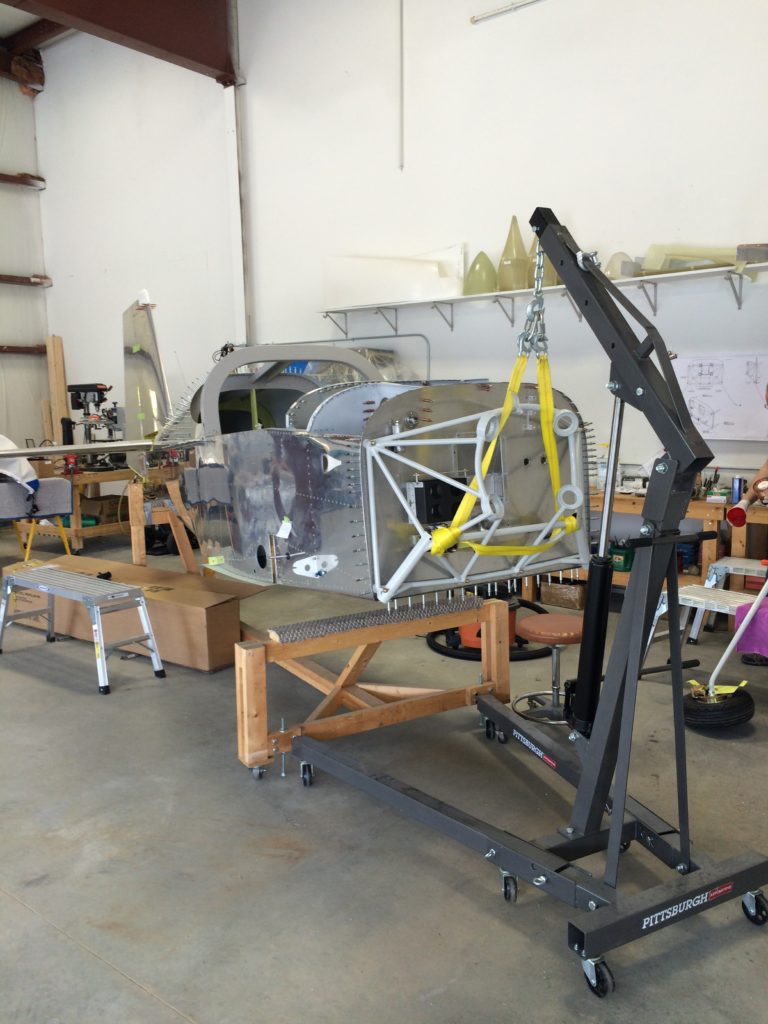
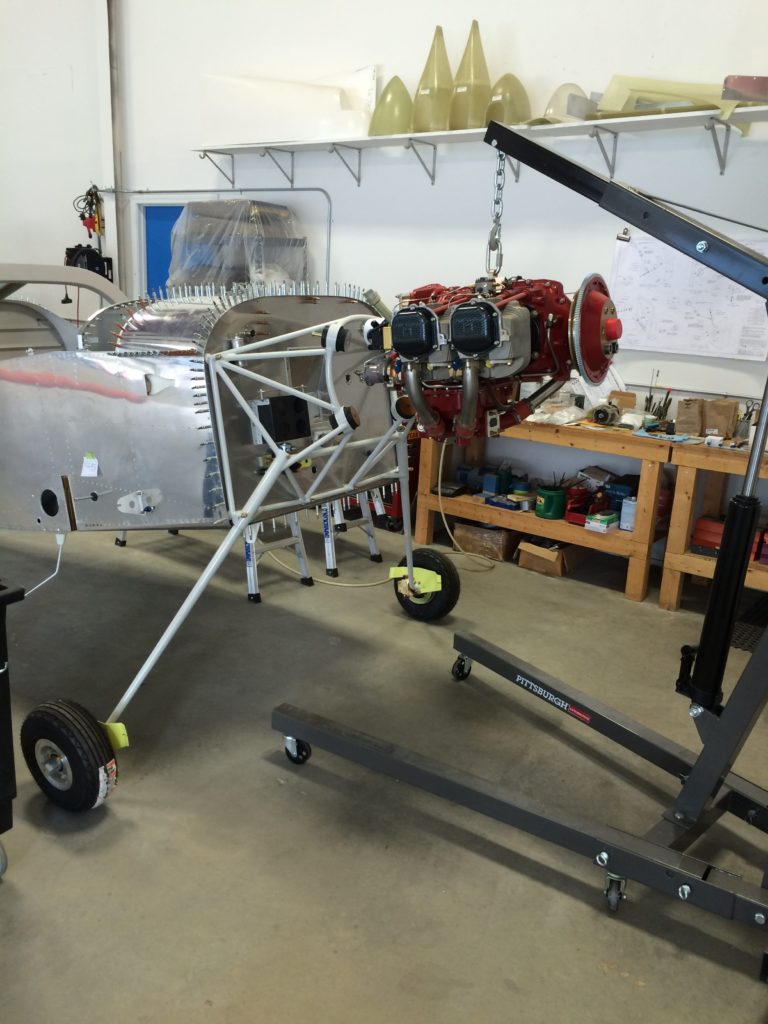
With the engine mount firmly and permanently attached, we hauled out the engine hoist and tow strap to get the fuselage high enough for the landing gear to be reinstalled.
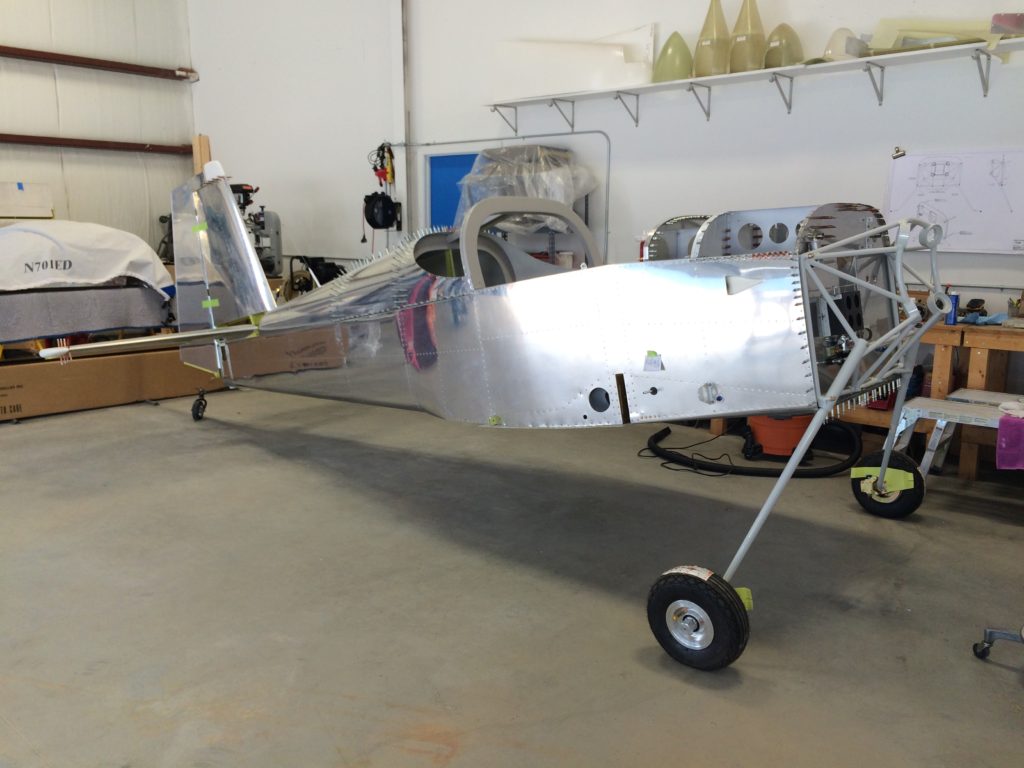
…and the fuselage is back on the gear for good. It’s engine hangin’ time!
Back before we moved the project to KASH, I temporarily installed the engine mount and landing gear so we could move the fuselage more easily. Because it’s almost time to permanently reinstall both items, the brakes need to be installed before the airplane is on the landing gear for good.
This is probably the most poorly documented part of the project so far in Van’s instructions, in part because they reference Cleveland wheels and brakes – and Van’s delivered MATCO wheels and brakes with my kit. I don’t know why and I don’t think I asked for them, but whatever.
One of the big differences between Cleveland and MATCO wheels is MATCO’s use of sealed wheel bearings rather than Cleveland’s unsealed versions. Bearings with an integrated dust seal last longer, but they’re harder to pack with grease – I couldn’t use my spiffy Lisle bearing packer device which pushes grease through the bearings. Instead, I had to put on rubber gloves and pack them by hand by shoving grease into every available nook and cranny.
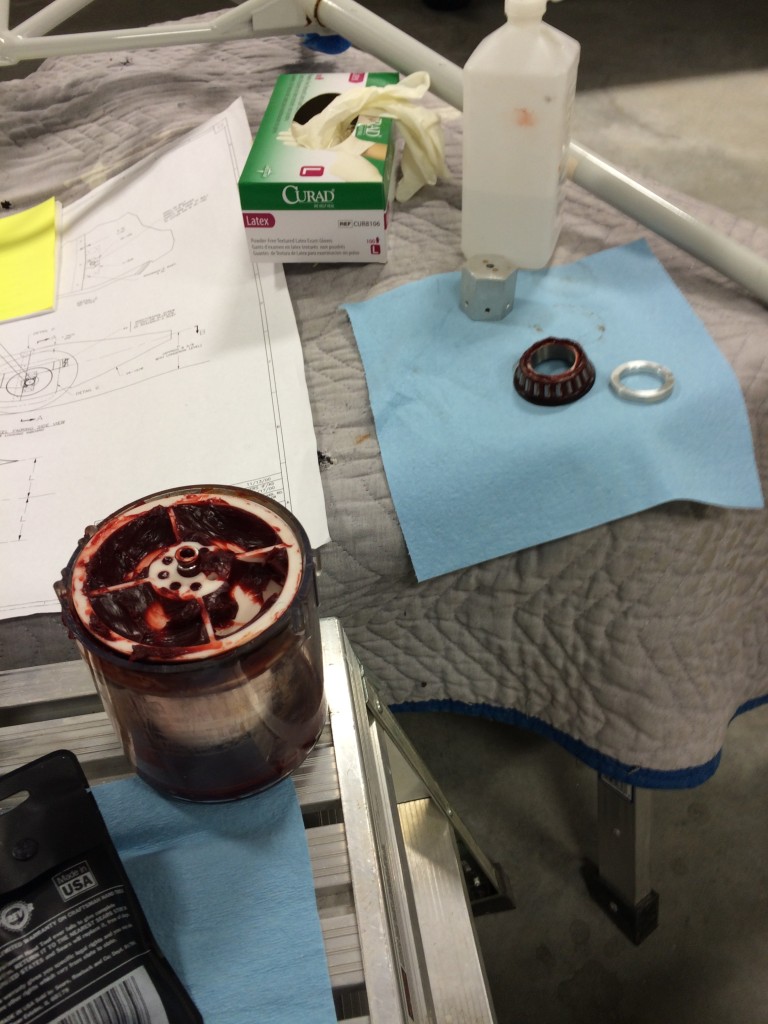
Yes, it’s a messy job.
One other thing to note about MATCO wheels is that the bearing races are milled into the wheels themselves, and the bearings don’t rotate around the axle. Therefore, it’s important to torque the wheel nuts sufficiently to provide enough friction to keep the bearings from rotating.
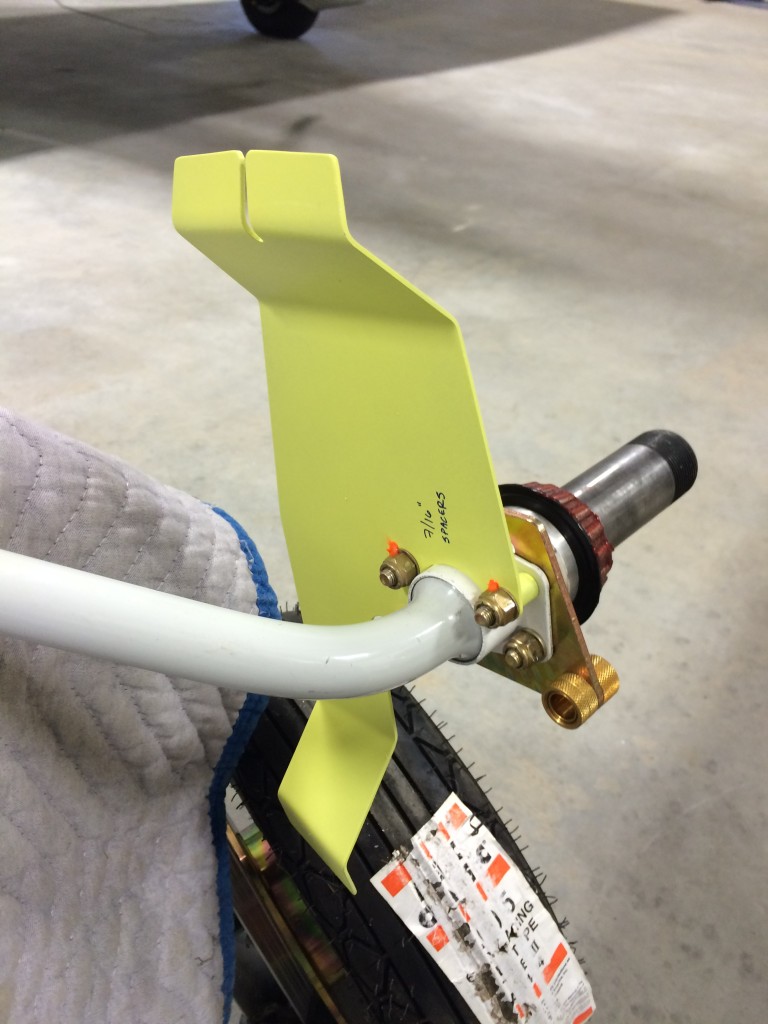
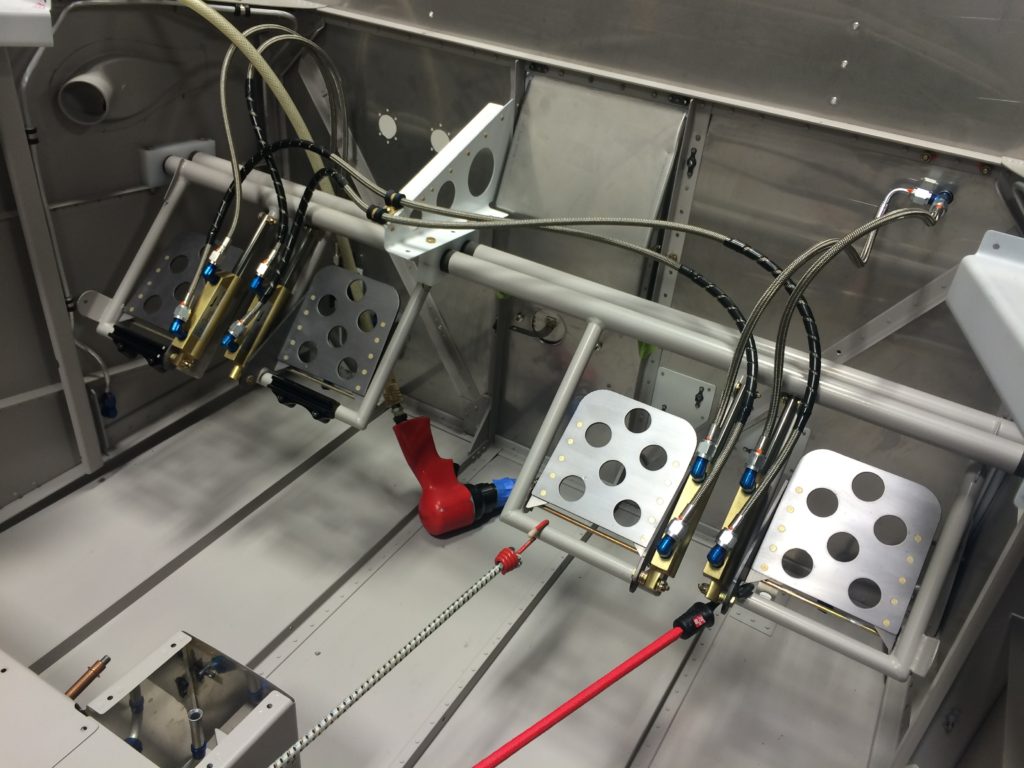
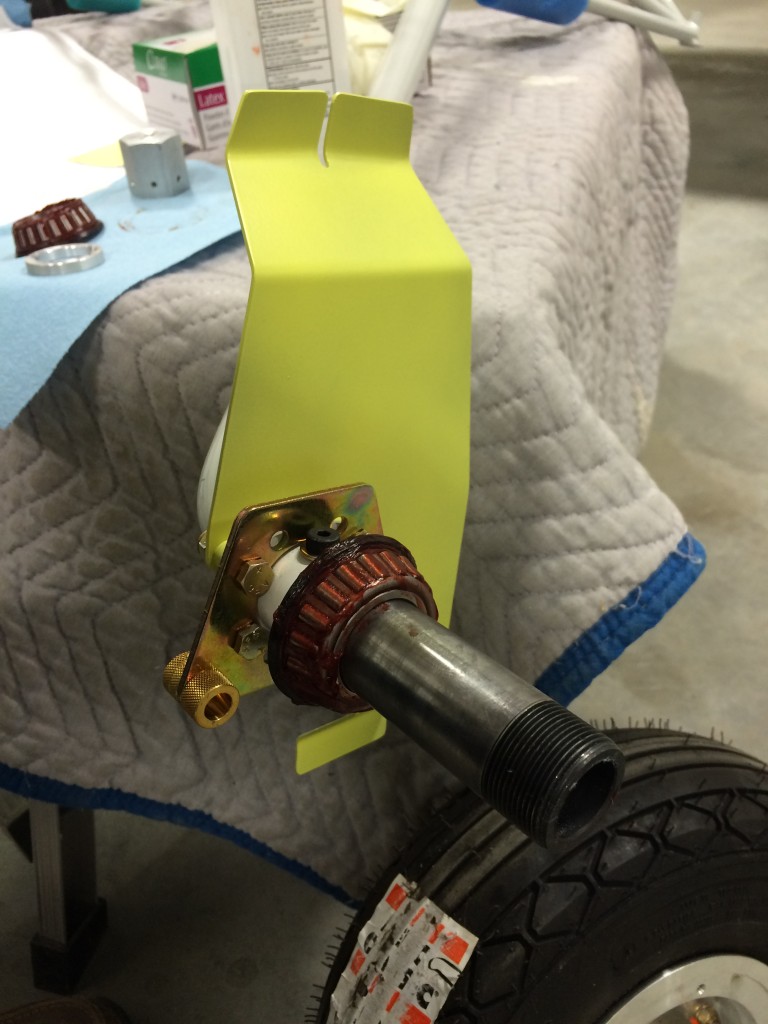
The drawings are also unclear about how the brake caliper and wheel pant support brackets are arranged on the axle. So for those of you who are scratching your heads over this as I did, here are a couple of pictures that show how the assembly goes together. In both pictures the large portion of the wheel pant bracket pointing up, is oriented forward with respect to the airplane.
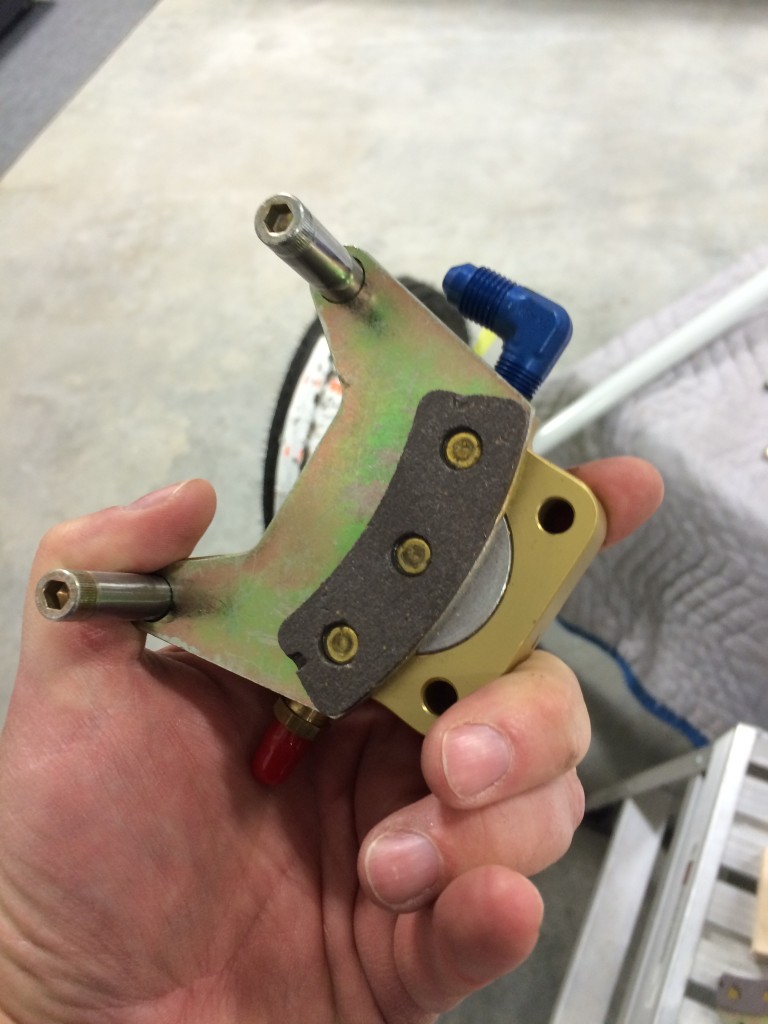
Another thing that wasn’t clear was how to get the brake caliper apart to fit it over the brake disc. It’s actually easy, there are two bolts on the back of the caliper that are removed, then it’s an easy matter to install the wheel, torque the wheel nut, then slip the caliper back in place and reinstall/torque the caliper bolts.
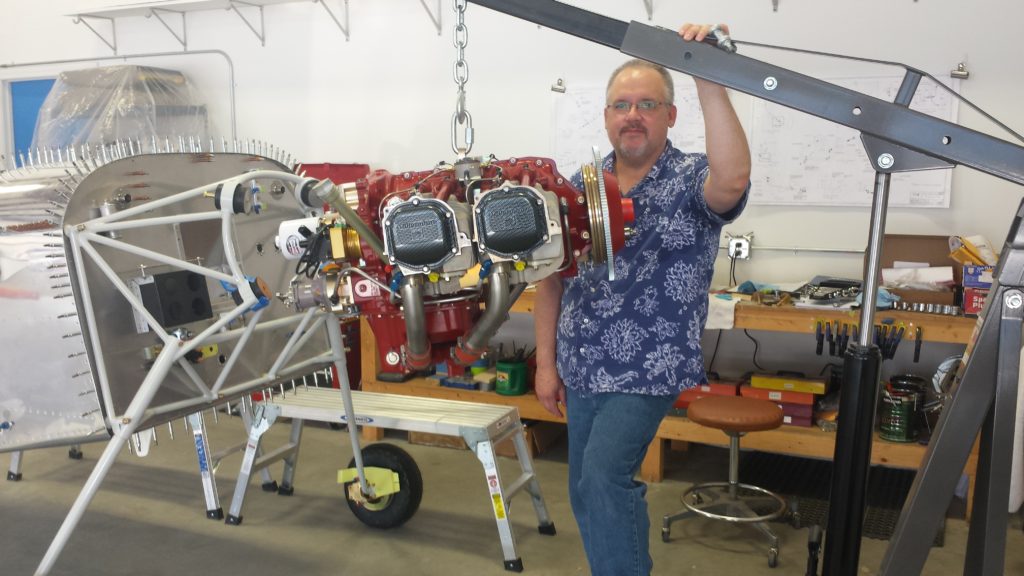
Over the last couple of weeks the heart of the Mighty RV arrived at the ThermosWorks. If you recall from past posts, I engaged Tim Hess at Unlimited Aero Engines to build, flow-match, balance and test a Superior XP-360 engine.
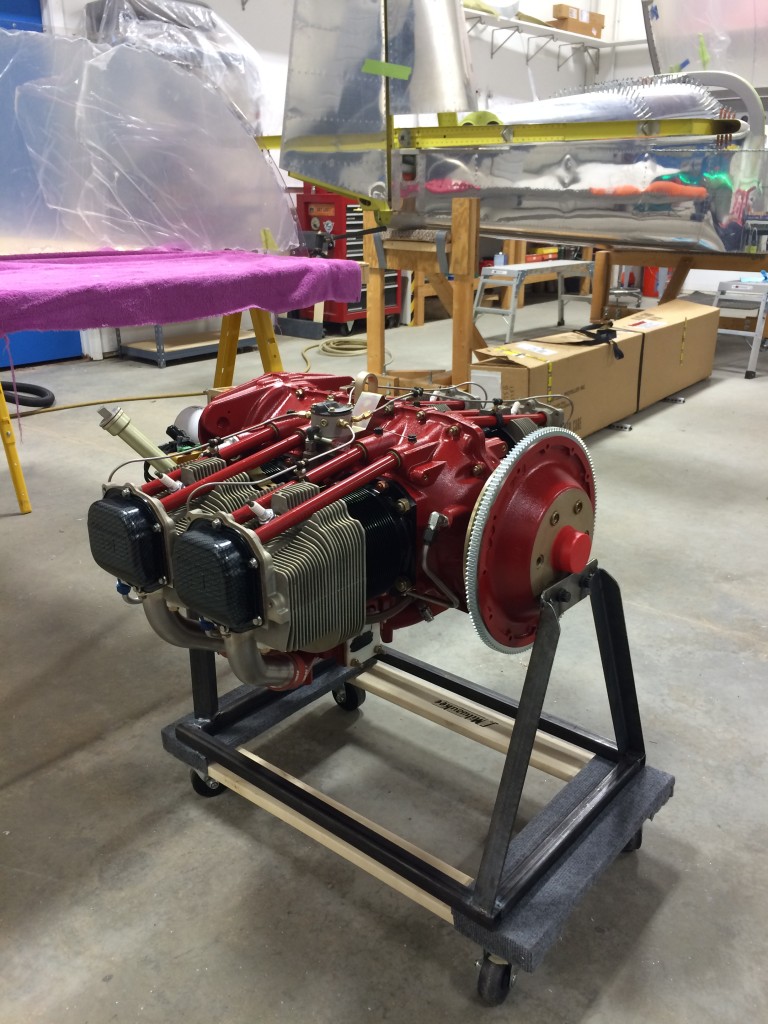
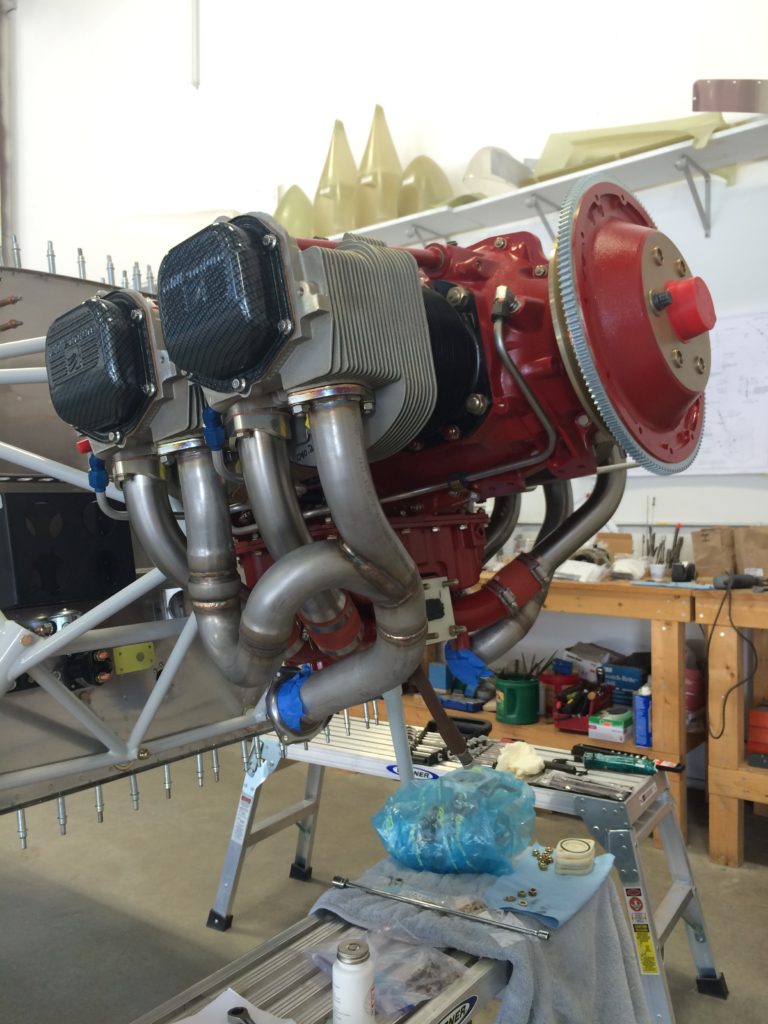
In mid-February, Tim delivered this work of art to the hangar. It’s been test-run on a dyne stand and produces 184.9 horsepower. The rocker box covers have been hydro-dipped in a carbon fiber weave pattern – Tim’s idea, and they look great…
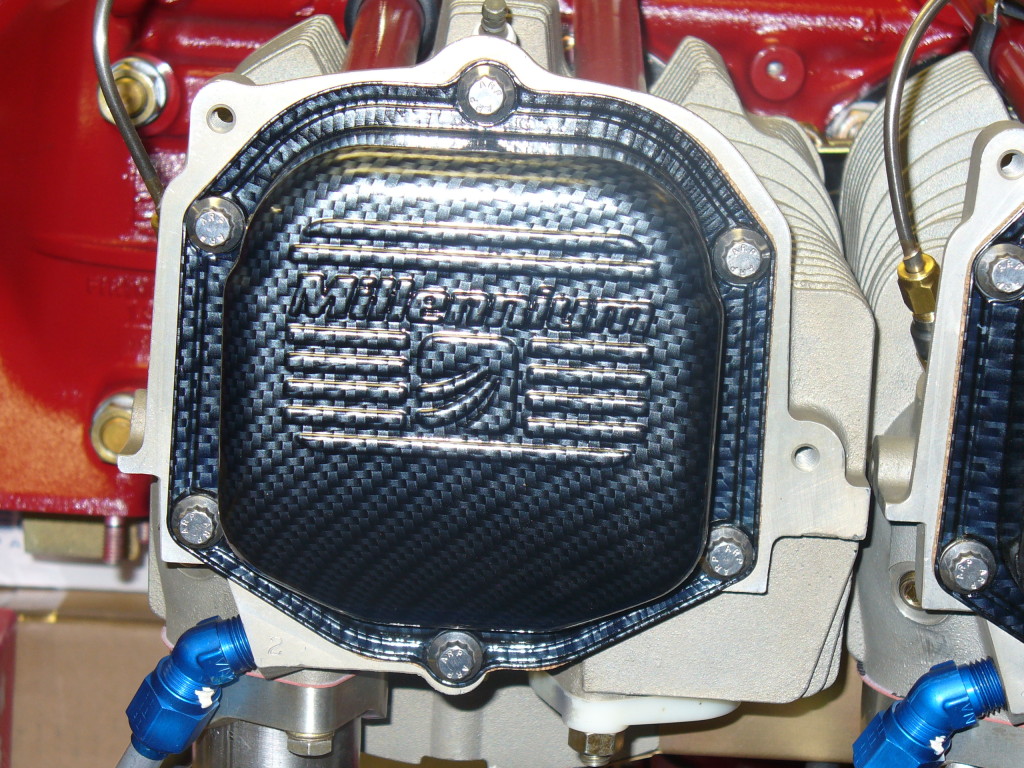
In fact, they look so nice that I’ll replace them with stock covers until the cowl is fitted!
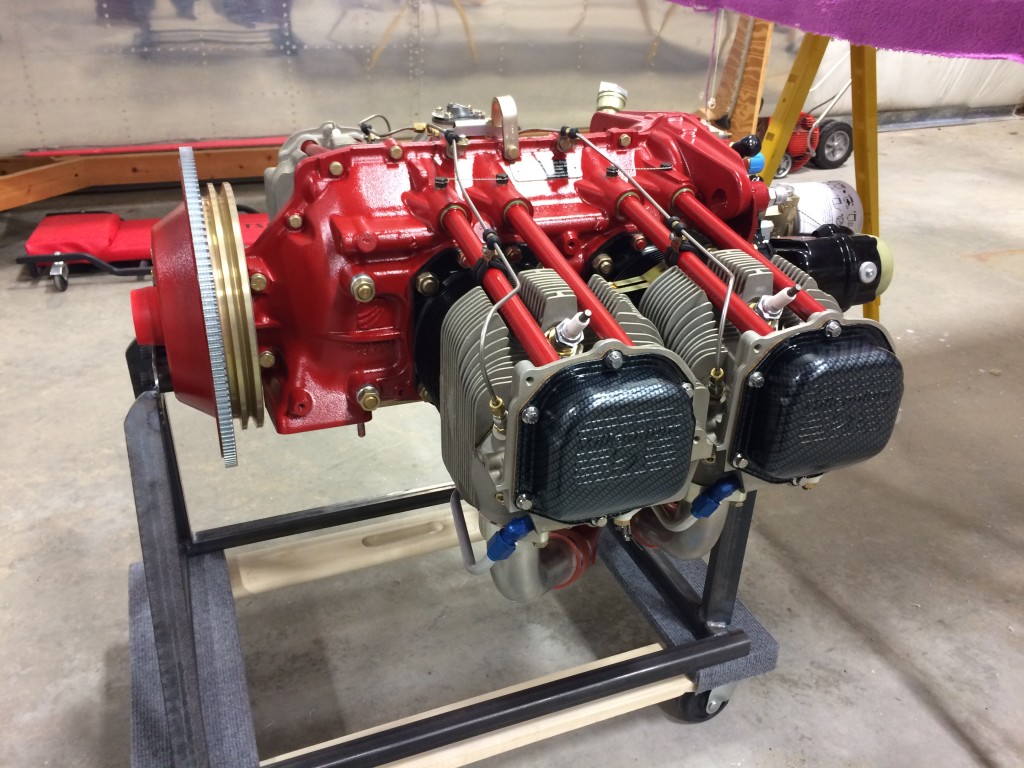
The choice of color was Ellen’s, and as usual, she was spot on. The engine is gorgeous, and my only concern is keeping it looking this way once it’s in the airplane.
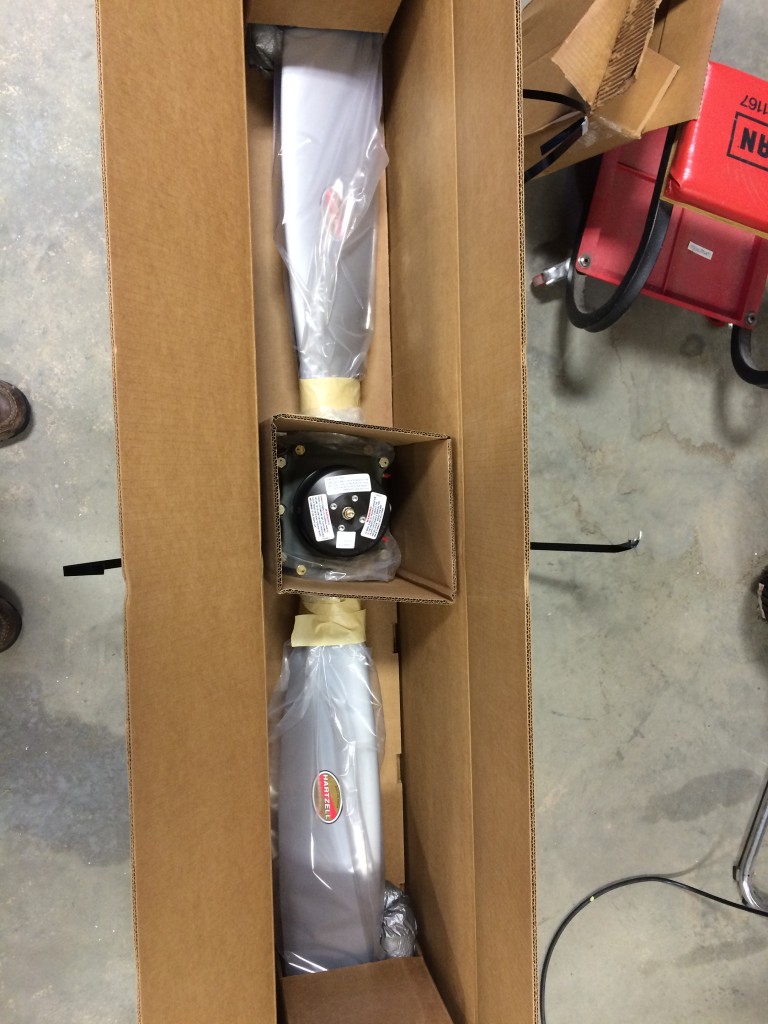
The other chambers of the Mighty RV’s heart were drop-shipped from Piqua, Ohio by the good folks at Hartzell Propeller…

Not much to see in the box, and the prop will stay there for awhile until it’s time to put it on the engine.
It’s been a long haul to get to this point, and with the delivery of the engine and prop, everything has suddenly become a lot more real…it’s easier to envision this assemblage of aluminum, steel, plastic, blood, sweat and tears as an airplane.